Simple flower pot painting is about speed, clean ideas, and low-cost tools. You do not need advanced art skills to turn plain terracotta pots into quick DIY decor. Painter’s tape can make sharp stripes. A sponge can add soft color layers. A pencil eraser can stamp dots. A paint pen can add labels, short quotes, or small details. Start with one base coat, keep your color palette limited, and choose a design you can finish in one sitting.
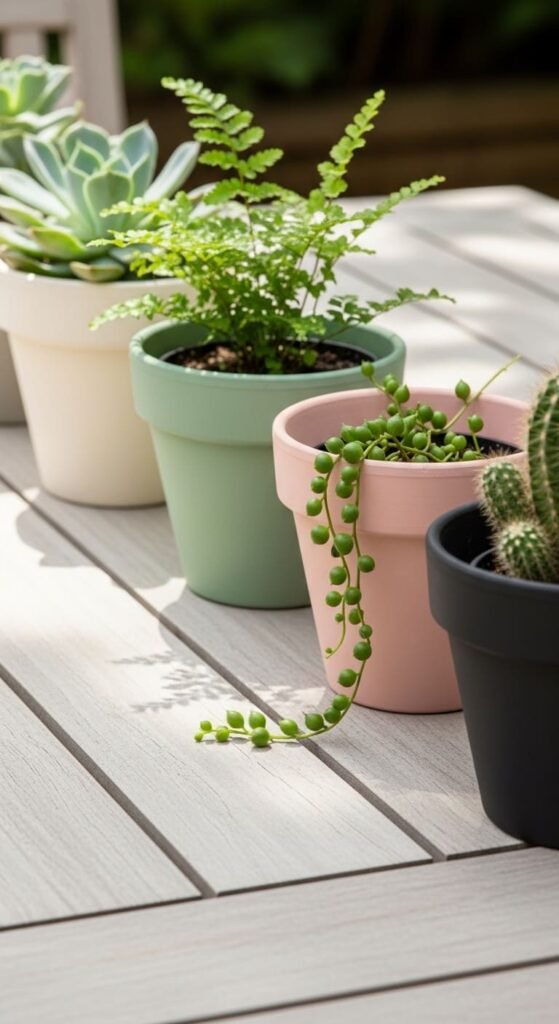
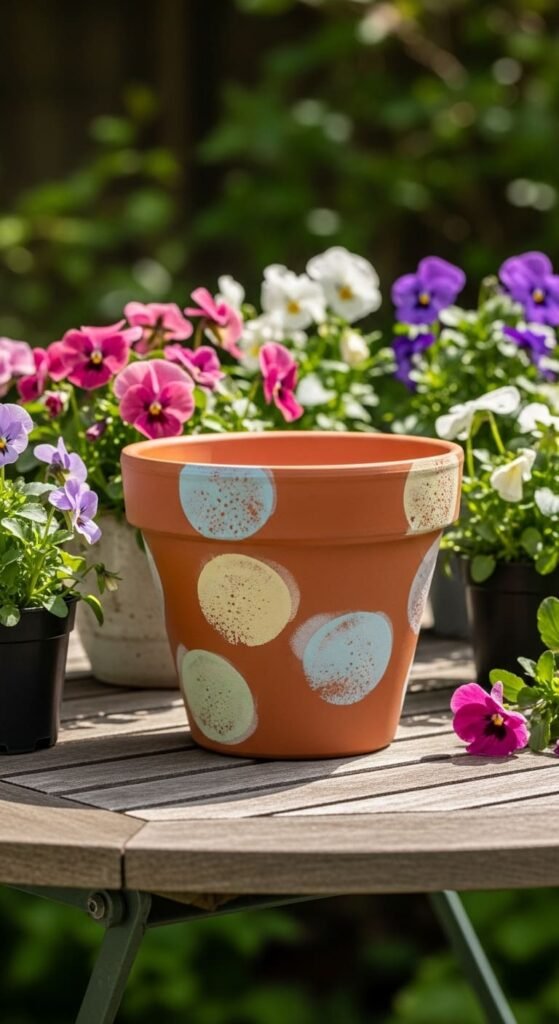
1. Pastel Sponge Layer Pots
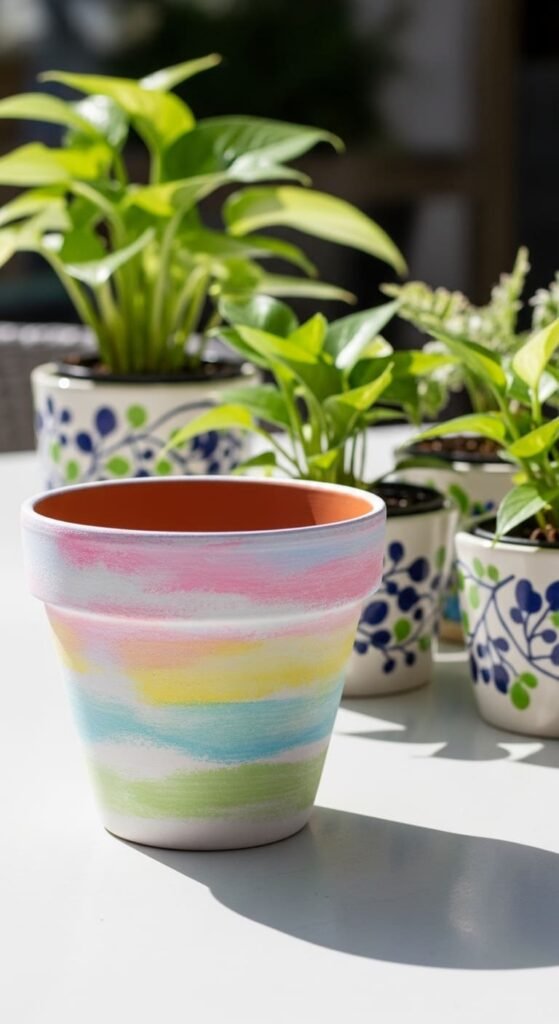
Pastel sponge pots are simple because the sponge hides uneven marks.
Start with a white base coat.
Let it dry.
Pick three soft colors, such as pink, mint, and lavender.
Dip a craft sponge into one color.
Dab lightly across the pot.
Add the next color in open spaces.
Do not rub the sponge. Tap it.
That keeps the texture soft.
This design works well for spring decor, kids’ crafts, and small balcony planters.
Use a cut-up kitchen sponge if you do not want to buy craft tools.
Keep the paint thin.
Thick paint can look clumpy on terracotta.
If the pot looks too busy, add a few white sponge taps over the top.
That calms the design.
Use this idea on mini pots for herbs, succulents, or tiny flowers.
Seal the surface if the pot will sit outdoors.
2. Simple Dot Flower Pots
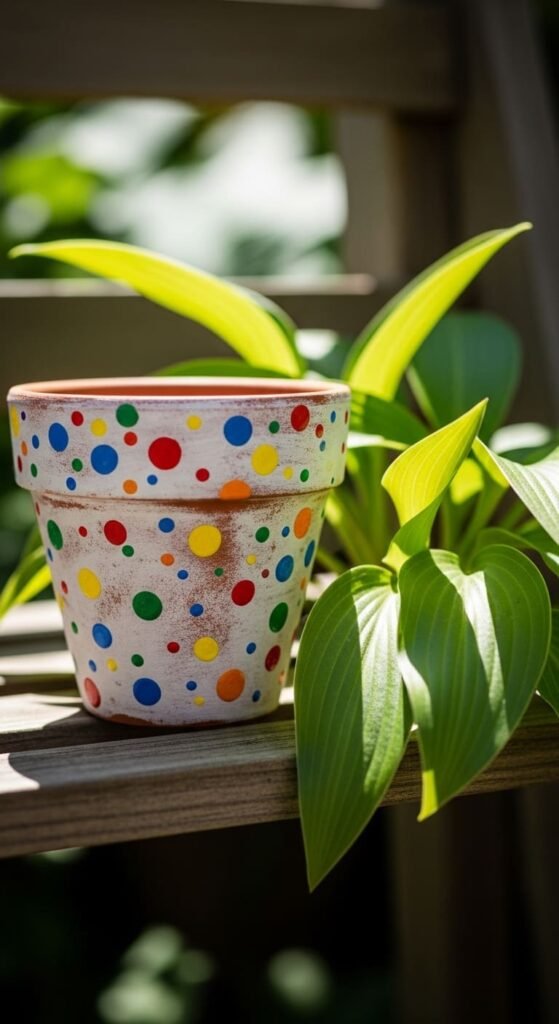
Dot pots are hard to mess up.
Use a pencil eraser, cotton swab, or sponge dauber.
Dip it into paint.
Press it onto the pot.
Repeat until the surface feels balanced.
Use one color for a clean look.
Use three colors for a more playful design.
Do not chase perfect spacing.
That wastes time.
Random dots look handmade and relaxed.
For a modern pot, paint a black base and add white dots.
For a softer pot, use cream with pastel dots.
This is a smart project for kids because the motion is simple.
It also works well for adults who want quick decor without drawing.
Use tiny dots near the rim and larger dots near the bottom.
That gives the pot shape without extra work.
Let each color dry before adding the next.
Finish with a clear coat if the pot will be touched often.
3. Masking Tape Geometric Pots
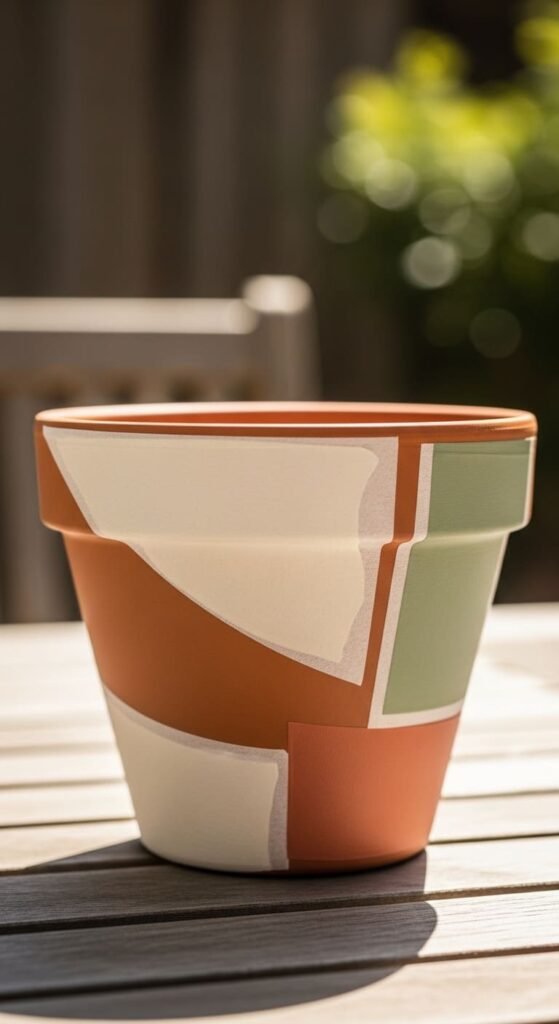
Tape is your shortcut to clean lines.
Place masking tape across the pot in triangles, bands, or angled blocks.
Press the tape edges firmly.
Paint over the exposed areas.
Let the paint dry before peeling.
If you peel too early, the edges can smear.
Use two or three colors only.
Too many colors make the design look crowded.
Try cream, sage, and clay red for a calm look.
Try black, white, and gold for stronger contrast.
This idea works best on larger pots because the shapes have room to breathe.
Use cheap acrylic paint and basic tape.
No special tools required.
If paint leaks under the tape, touch it up with the base color.
Do not panic.
Small flaws are normal on curved surfaces.
Seal the pot after the final layer dries.
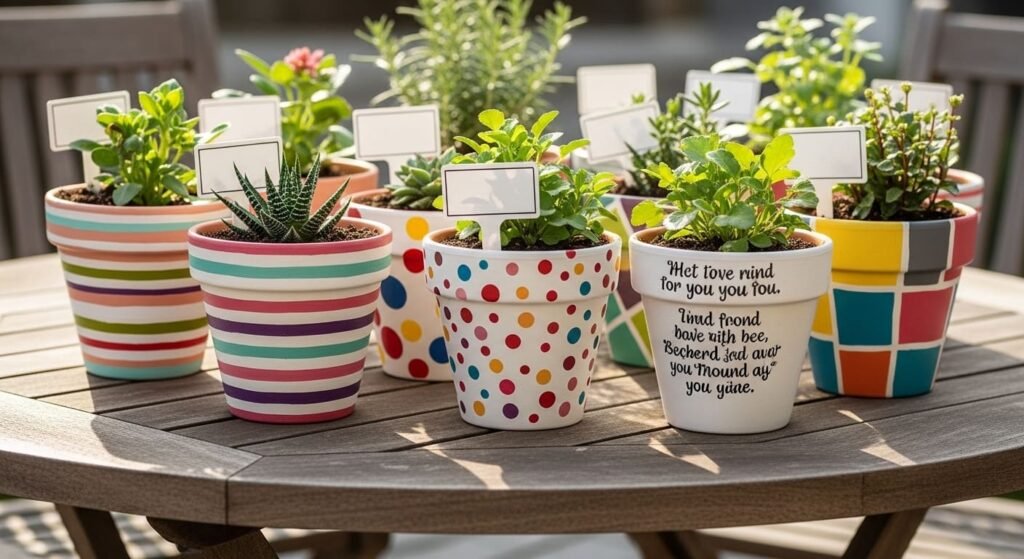
4. Thin Word Quote Pots
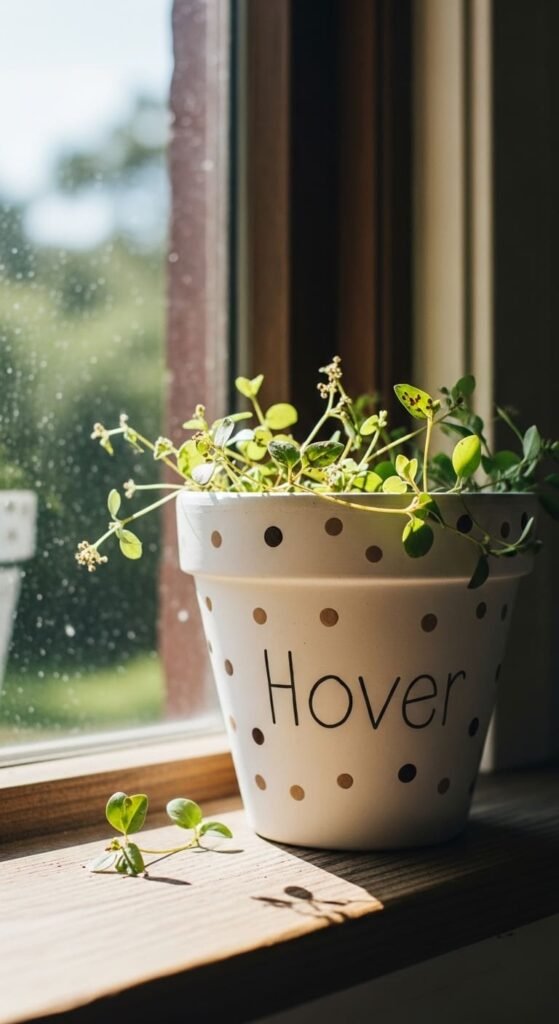
Word pots are simple when you keep the phrase short.
Paint the pot with a solid base color.
White, black, beige, and sage work well.
Use a paint pen to add a short word or plant name.
Keep the lettering thin.
Short words work best on curved pots.
Try words like “grow,” “bloom,” “joy,” or the herb name.
Do not write a full sentence.
It will look cramped.
If your handwriting is shaky, pencil the word lightly first.
You can also use letter stickers as a guide.
Add small dots or leaves around the word.
Stop early.
Too many extras weaken the clean look.
This idea works well for kitchen herbs, desk plants, and gift pots.
Use a matte sealer if you want a softer finish.
Use gloss if the pot will sit outdoors.
5. Hand-Cut Stencil Pots
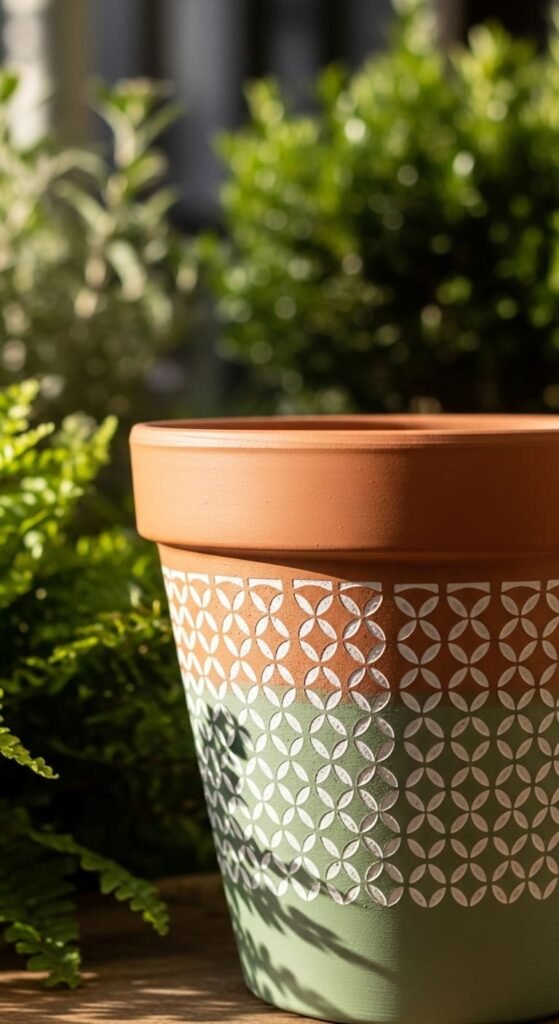
Stencil pots look polished without much skill.
Paint the pot with a base color first.
Let it dry fully.
Use a store-bought stencil or cut one from paper.
Hold it tight against the pot.
Dab paint over it with a sponge.
Do not overload the sponge.
Too much paint can bleed under the stencil.
Lift the stencil slowly.
Repeat the pattern around the pot if you want a border.
Simple leaves, stars, moons, arches, and flowers work well.
If you have a cutting machine, use it.
If not, hand-cut shapes are enough.
This is a good way to update old pots with scratches.
Paint over the old surface, then stencil on top.
Use one stencil color for a clean result.
Seal the design after drying.
6. Rainbow Stripe Pots
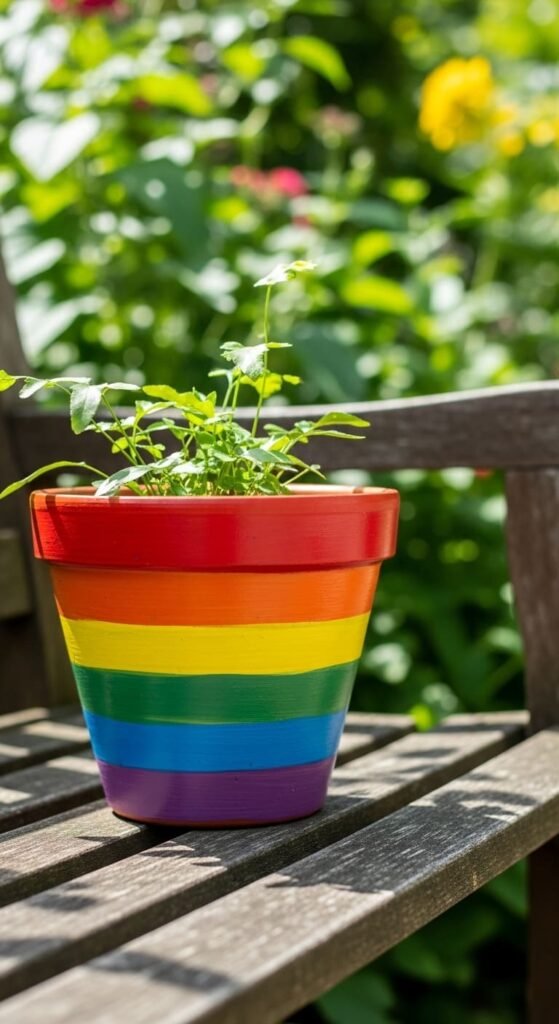
Rainbow stripes are fast and cheerful.
Paint bands around the pot using bright colors.
Red, orange, yellow, green, blue, and purple work well.
Use tape if you want straight lines.
Skip tape if you want a softer handmade look.
Paint one band at a time.
Let each band dry before touching the next.
This is a great project for kids because the steps are clear.
It also works for tired old pots that look dull.
Use leftover craft paints instead of buying a full new set.
If bold rainbow colors feel too loud, use pastel versions.
For a smaller pot, make fewer stripes.
Three or four bands are enough.
This design works best with simple green plants.
The leaves balance the color.
Add sealer for outdoor pots, especially in strong sun.
7. Solid Color Base Pots
A solid color pot is not boring if the color is right.
Start by wiping the pot clean.
Paint one thin coat.
Let it dry.
Add a second coat.
A third coat may help if the terracotta still shows through.
Use cream for a soft home look.
Use black for modern decor.
Use sage or clay pink for a calm garden shelf.
This is the best starting point for beginners.
You can stop here or add dots, words, stripes, or flowers later.
Do not slap on thick paint.
Thin coats look smoother.
Use a foam brush if you dislike brush marks.
This method is cheap and practical.
It also makes mismatched pots look like a set.
Paint several pots in related colors.
Group them together for quick decor.
Finish with a sealer if the pots stay outside.
8. Tiny Daisy Pots
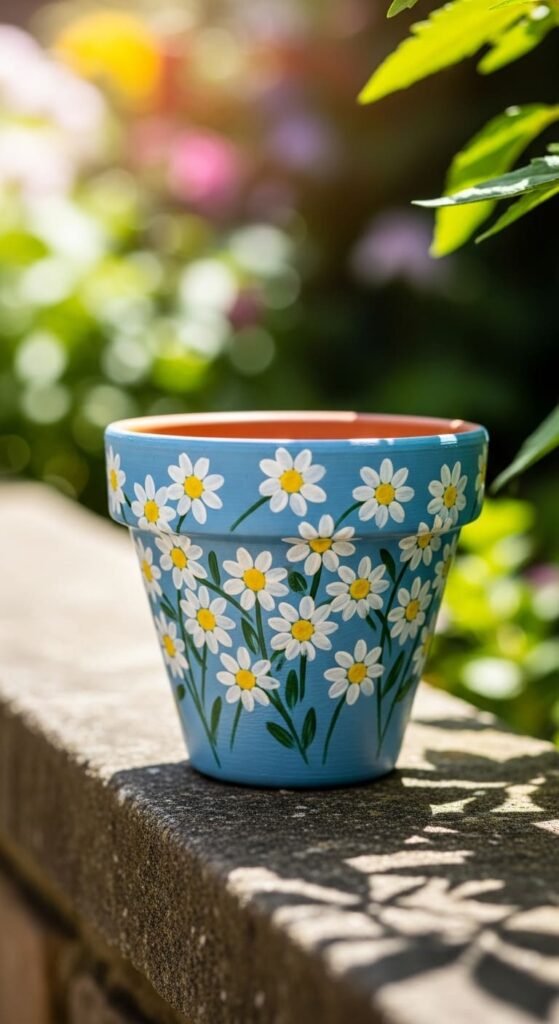
Daisies are easy because they use basic dots and strokes.
Paint a base color first.
Soft blue, green, or pink works well.
Use yellow dots for the flower centers.
Add short white strokes around each dot.
Do not worry if petals are uneven.
Tiny flowers look charming when they are loose.
Use a cotton swab for the yellow centers.
Use a small brush or toothpick for the petals.
Scatter daisies across the front.
Leave some empty space.
A crowded pot can feel messy.
This idea works well on small pots for herbs, succulents, or flowers.
For a faster version, paint daisies only around the rim.
You can also add small green leaves between flowers.
Keep the color count low.
Base color, white, yellow, and green are enough.
Seal once dry.
9. Rim Quote Pots
A rim quote pot keeps the design contained.
Paint the pot one solid color.
Use a different color on the rim.
Add a short phrase or plant name around the rim.
Use a paint pen for cleaner letters.
Keep the letters simple and spaced apart.
This is perfect for herb pots.
Write basil, mint, parsley, or thyme.
You can also add small leaves between words.
Do not add large designs below the rim.
Let the top detail be the focus.
This style is useful because it looks decorative and labels the plant.
Use chalkboard paint on the rim if you want editable labels.
That works well for seasonal herbs.
Let the paint cure before watering.
Terracotta can absorb moisture, so dry time matters.
Seal the painted area for longer wear.
10. Black and White Minimal Pots
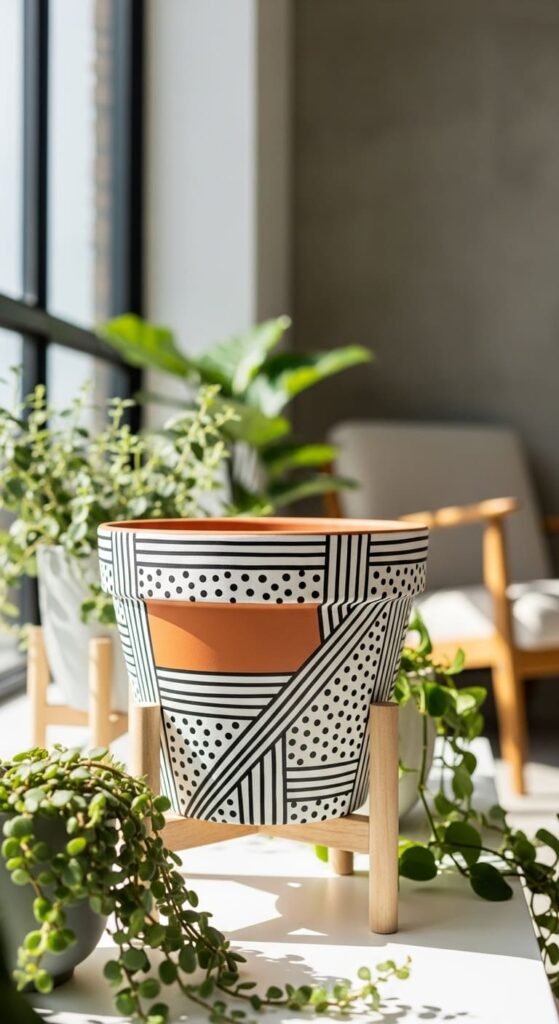
Black and white pots are simple and hard to date.
Paint the base white or black.
Use the opposite color for details.
Try dots, stripes, arches, tiny leaves, or short words.
Keep the pattern sparse.
Minimal designs look better with breathing room.
This style works in modern homes, offices, and neutral patios.
Use a paint pen for thin marks.
Use tape for clean bands.
If you make a mistake on a white base, paint over it with white.
Do not keep adding marks to cover errors.
That creates clutter.
A black base with white details looks bold.
A white base with black details looks lighter.
Both pair well with green plants.
Use matte sealer for a soft finish.
Gloss can work outside but may look less subtle indoors.
11. Sponge Circle Pots
Sponge circles are great for quick pattern work.
Cut a small round sponge shape.
Dip it into paint.
Press it gently onto the pot.
Repeat in rows or random clusters.
Use one color for a clean design.
Use mixed colors for a playful one.
The sponge texture makes each circle slightly different.
That is part of the charm.
This is easier than painting circles by hand.
It also covers large pots quickly.
Try white circles on a terracotta base.
Or pastel circles on a white base.
For kids, use bigger sponge pieces.
For adult decor, use smaller circles with more space between them.
Let the first color dry before adding another.
You can layer a smaller dot inside each circle if you want more detail.
Seal the surface after drying.
12. Bright Flower Accent Pots
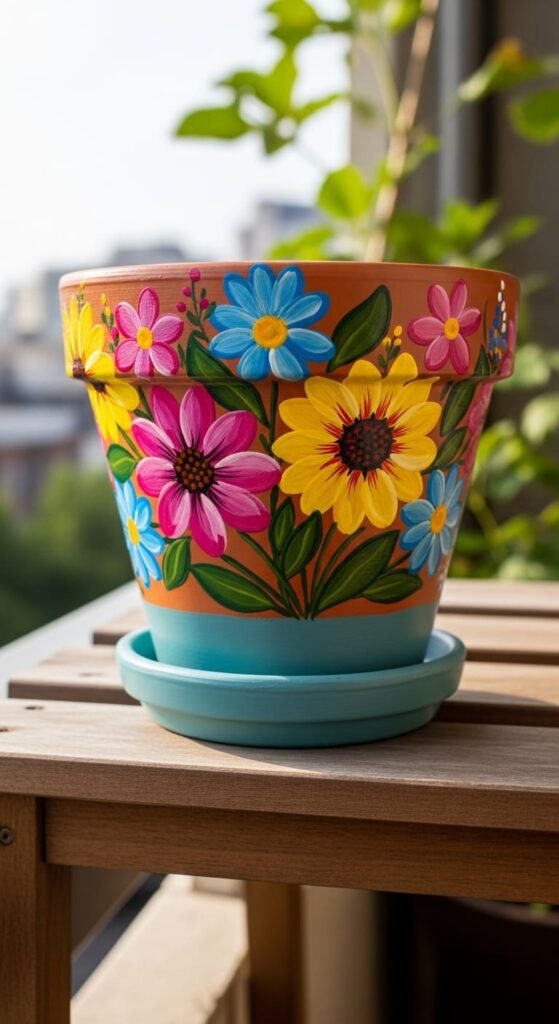
You do not have to cover the whole pot with flowers.
Paint a solid base first.
Then add two or three large blooms on the front.
Use simple circles for centers.
Add short strokes for petals.
Yellow, pink, white, and orange work well.
Keep the flowers large enough to see from a distance.
This idea is good for balconies and porch steps.
A few bright flowers can make a plain corner feel more cheerful.
Use leftover paint from other projects.
No fancy brush required.
A small flat brush can make petals quickly.
If you do not trust your hand, sketch the flowers with pencil first.
Add green leaves only if the design feels empty.
Stop before the pot gets crowded.
Seal for outdoor display.
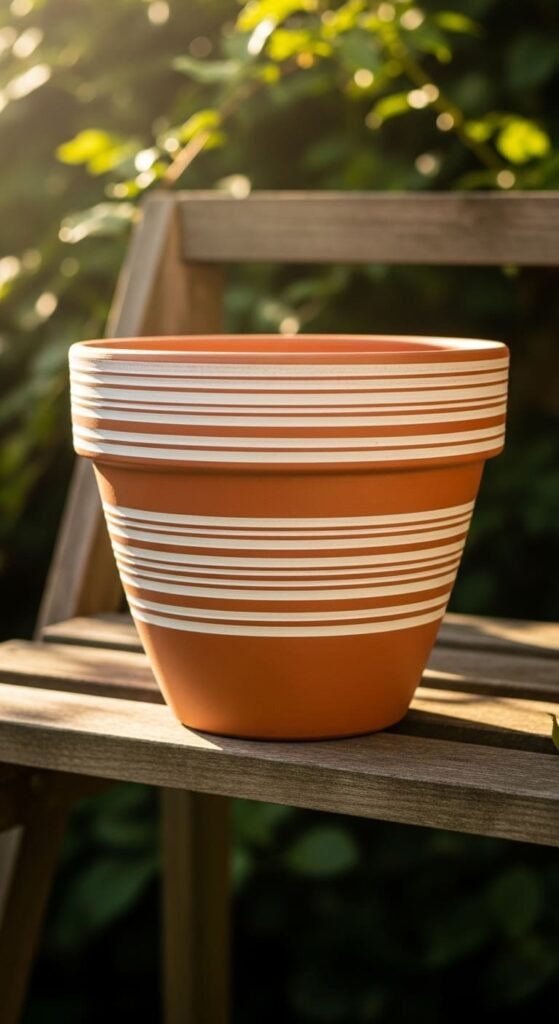
13. Horizontal Stripe Pots
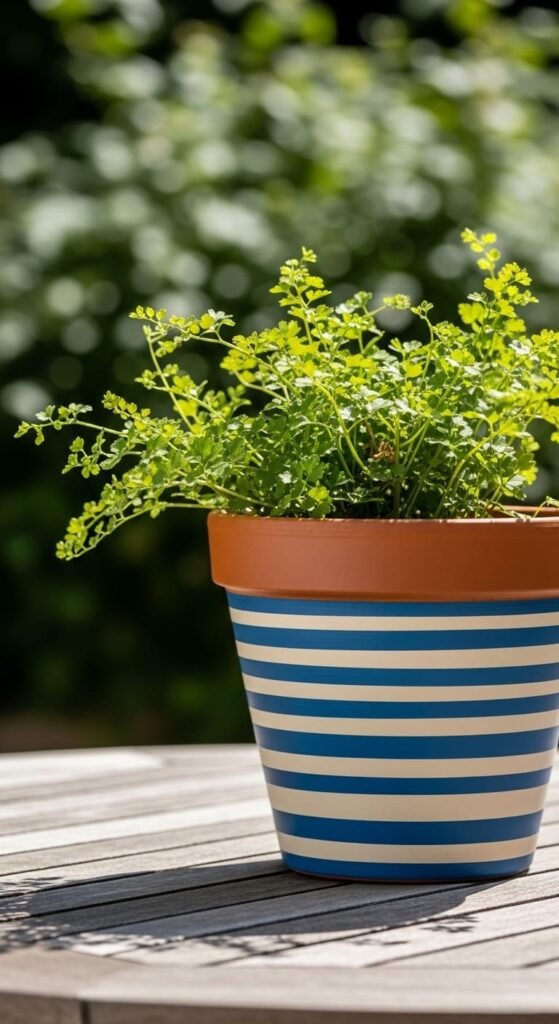
Horizontal stripes are one of the most reliable designs.
Wrap tape around the pot.
Paint between the tape lines.
Let it dry.
Peel carefully.
Use two colors for a clean finish.
Cream and blue feel coastal.
Black and white feel modern.
Pink and orange feel playful.
If the pot is small, use fewer stripes.
Large pots can handle more bands.
You can paint only the lower half and leave the rim plain.
That saves time and paint.
For a handmade look, skip the tape and paint soft lines freehand.
Do not stress over tiny wobbles.
Plants soften the final look.
Add a clear coat if the pot will be outdoors.
14. Abstract Color Block Pots
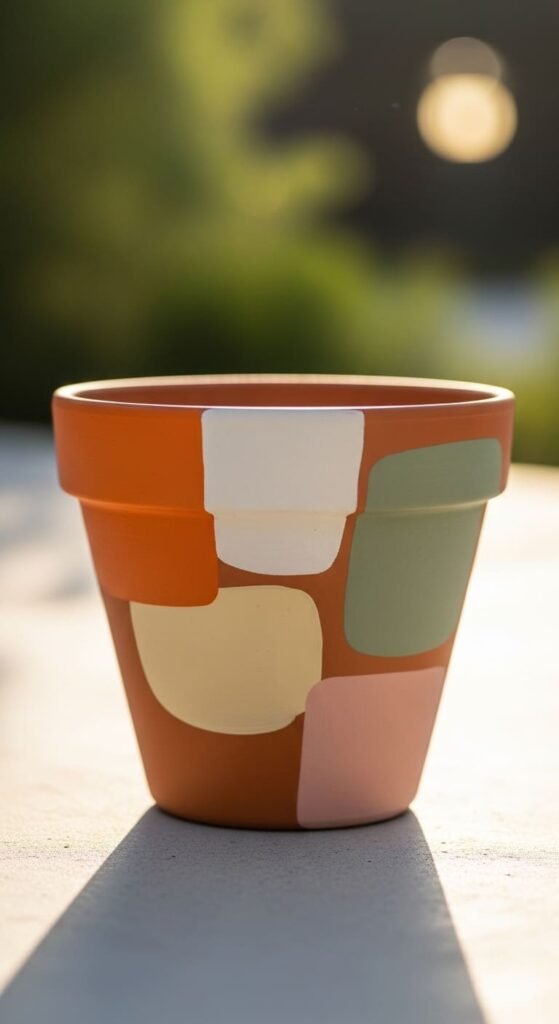
Abstract blocks are perfect if you dislike patterns.
Paint random shapes across the pot.
Use rounded rectangles, arches, half circles, or uneven patches.
Keep your colors limited to three or four.
That keeps the pot from looking chaotic.
Use tape for sharp blocks.
Freehand the shapes for a softer look.
This style works well on old pots with stains because the blocks cover flaws.
Start with the largest shapes.
Then add smaller ones only where the pot feels empty.
Do not outline every shape.
Simple blocks look better without too much detail.
Try earthy tones for indoor decor.
Use brighter colors for patio pots.
This is a good project when you have leftover paint jars.
Finish with sealer if the pot will live outside.
15. Ring Tape Design Pots
Ring designs follow the pot shape, so they feel natural.
Wrap painter’s tape around the pot in circular bands.
Keep the lines level.
Paint the open spaces.
Remove tape after the paint dries.
Use two wide rings for a simple style.
Use several thin rings for a striped look.
This works well on curved pots because the pattern moves with the shape.
Try a natural terracotta base with white rings.
Or paint the base black and add tan rings.
This design is fast and tidy.
It also looks more polished than the effort suggests.
Use a foam brush to avoid thick brush marks.
If tape lifts paint, the base coat was probably not dry enough.
Let each layer dry fully next time.
Seal the pot after finishing.
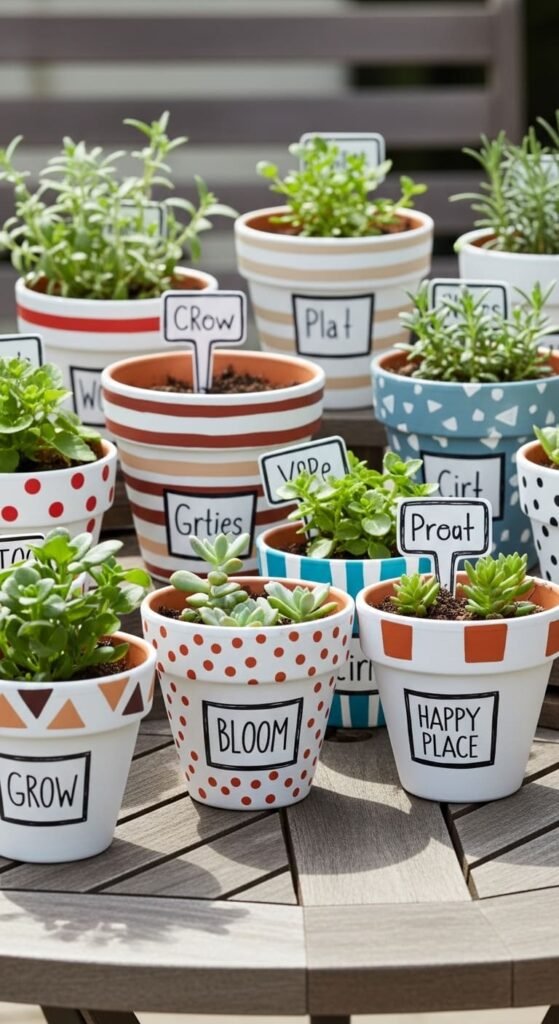
16. Plant Name Label Pots
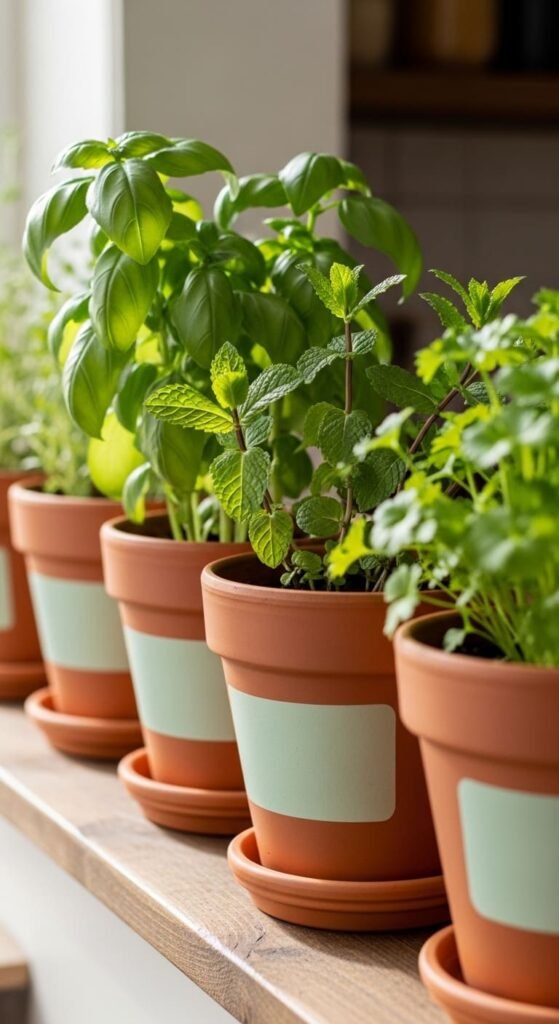
Plant label pots are practical and decorative.
Paint the pot one color.
Add a small label shape on the front.
Use black, white, or chalkboard paint for the label area.
Write the plant name with chalk or a paint pen.
This works especially well for herbs.
Mint, basil, rosemary, and parsley can look similar when small.
Labels stop confusion.
Keep the label shape simple.
A rectangle, oval, or small arch works.
Use tape if you want clean edges.
Use chalkboard paint if you change plants often.
For a cheap version, paint a black patch with acrylic and use a white paint pen.
Add tiny leaves around the label if you want a softer look.
Seal around the label, but avoid sealing over chalk areas if you want to erase them.
17. Simple Triangle Pots
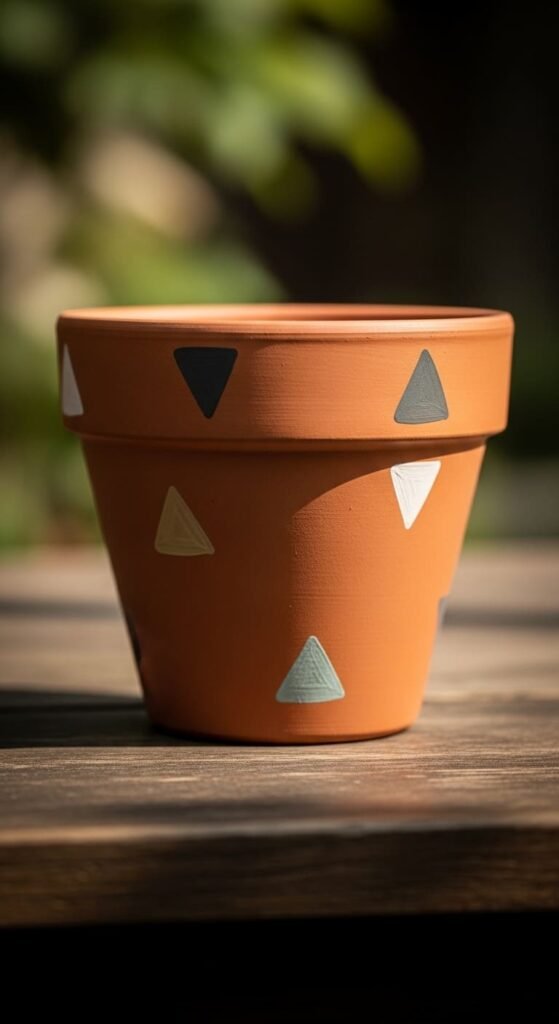
Triangles are easy with tape.
Place tape strips in angled lines.
Create triangle spaces.
Paint inside each section.
Use two or three colors only.
Try white, mustard, and green.
Or black, tan, and cream.
Let the paint dry before removing tape.
This design works well on medium and large pots.
Tiny pots do not give the shapes enough room.
You can place triangles around the rim only.
That saves time.
Or cover the lower half for a bolder look.
If the edges are not perfect, touch them up with a small brush.
Do not redo the whole pot.
That is wasted effort.
A clean triangle design pairs well with simple plants like snake plants, pothos, or succulents.
Seal it for outdoor use.
18. Half-Painted Dip Look Pots
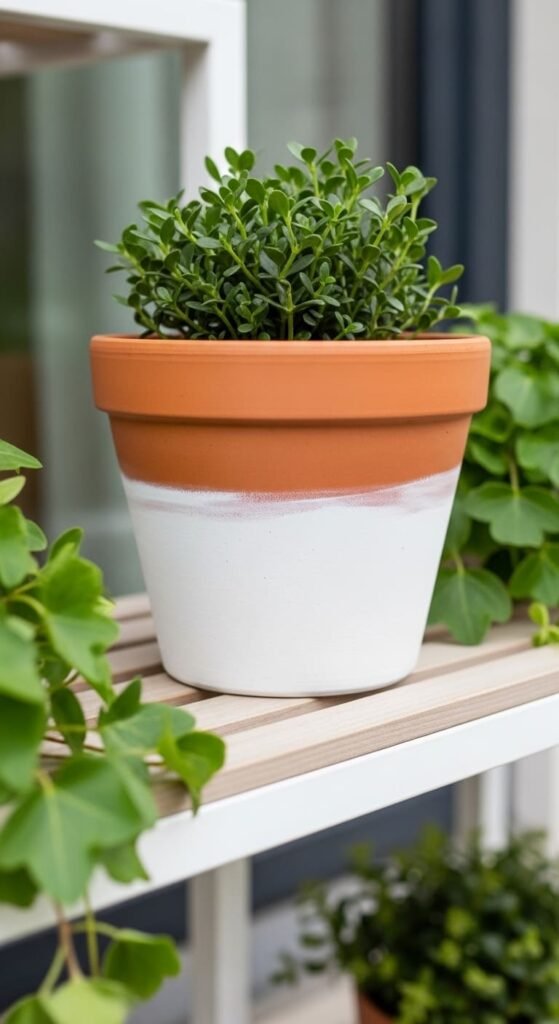
The dip look is clean and fast.
You do not actually have to dip the pot.
Use tape to mark a horizontal line.
Paint the lower half.
Leave the upper half natural terracotta.
White, black, sage, and blush are good choices.
This style works well if you like simple decor.
It also uses less paint than full coverage.
Try painting the bottom half white and leaving the rim raw.
Or paint the top half and leave the bottom natural.
Use a foam brush for smoother coverage.
Peel tape only after the paint dries.
This design looks good in sets.
Paint three pots in different but related colors.
Use the same line height so they match.
Seal the painted area if the pot will sit outside.
19. Simple Arch Pattern Pots
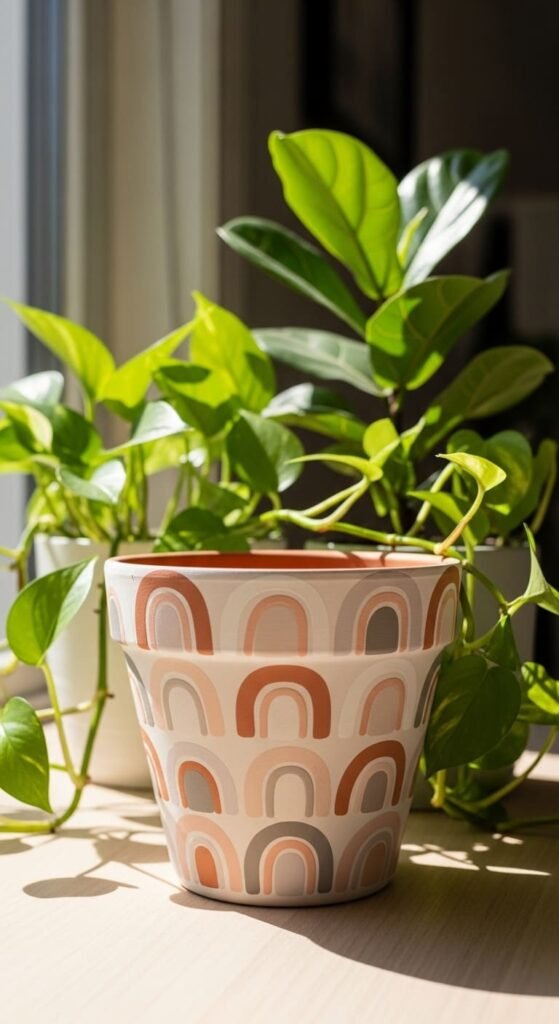
Arches are trendy but still easy.
Paint a solid base color.
Use a small brush to create upside-down U shapes.
Repeat them around the pot.
Keep the arches the same size if you want a cleaner look.
Make them uneven if you want a handmade style.
Use cream arches on a clay base.
Or white arches on a sage green base.
This pattern works well on indoor pots and shelf decor.
Use a paint pen if you want thinner arches.
Use a flat brush for thicker ones.
Do not cover every inch.
Leave space between shapes.
That keeps the design light.
Try painting arches only on the front if the pot will face one direction.
Seal lightly when dry.
20. Checkerboard Rim Pots
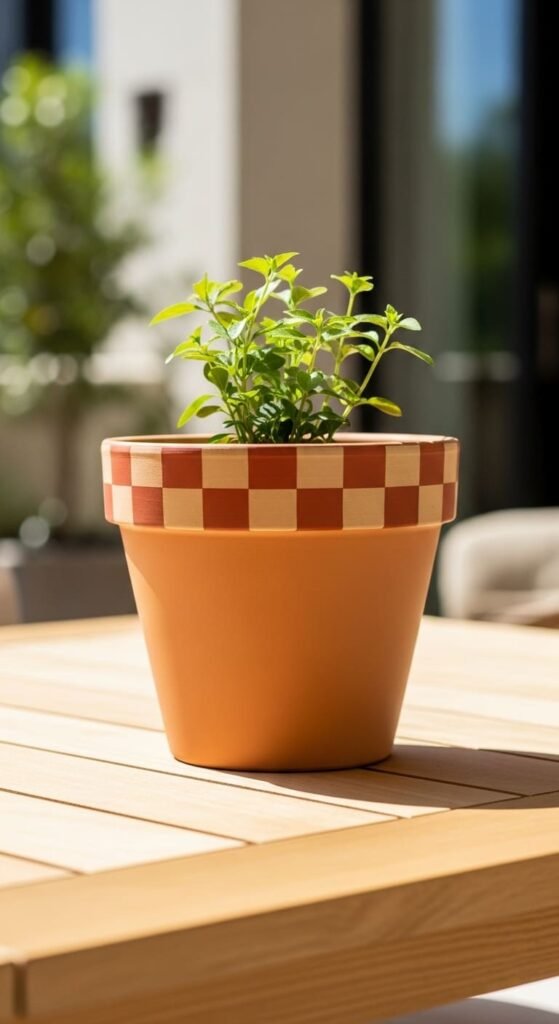
A checkerboard rim gives detail without covering the whole pot.
Paint the pot body one solid color.
Leave the rim for the pattern.
Use a pencil to mark small squares.
Paint every other square.
Black and white works best.
You can also use soft colors for a gentler look.
This is slower than dots but still simple.
Keep the squares large enough to paint easily.
Tiny squares are frustrating on curved rims.
If you make a mistake, paint over it with the base color.
This design looks good with plain green plants.
It adds pattern without overwhelming the pot.
Use paint pens for cleaner edges if brushes feel clumsy.
Seal after the rim dries fully.
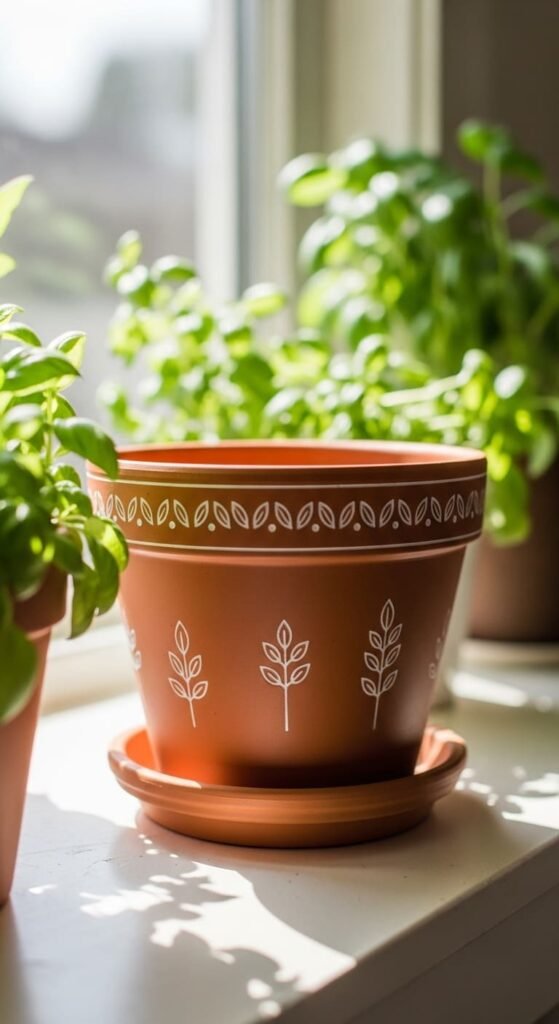
21. Simple Leaf Doodle Pots
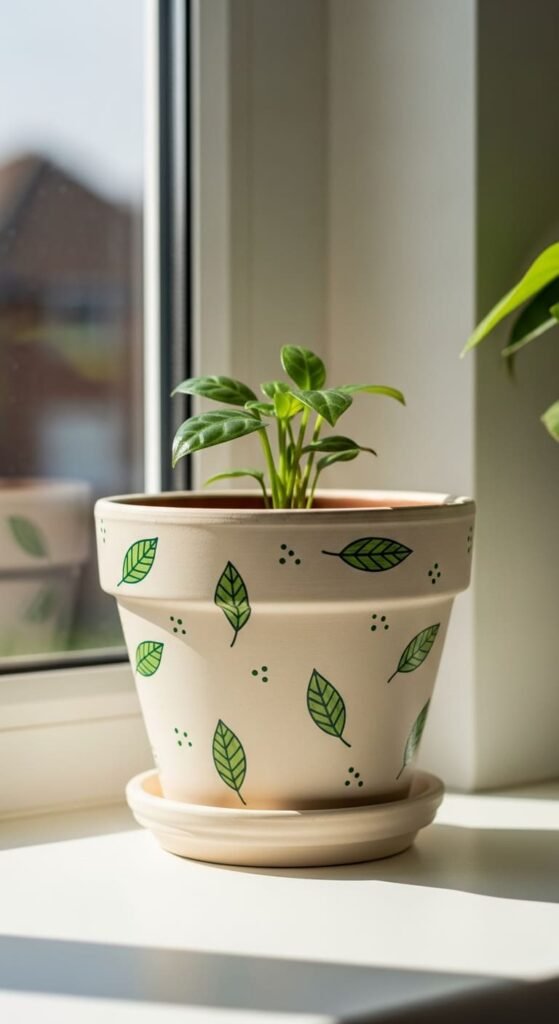
Leaf doodles are simple and useful for plant decor.
Paint the pot in a light base color.
Draw thin green stems.
Add small oval leaves on each side.
Repeat in a few spots.
Do not fill the whole pot.
A few leaf sprigs are enough.
Use a paint pen for cleaner lines.
Use a small brush if you want a softer handmade look.
This idea works well for herb pots, indoor plants, and gifts.
Add tiny dots between leaves if the design feels too empty.
Keep the palette simple.
Green, white, and terracotta are enough.
For a natural look, leave some clay showing.
This saves paint and keeps the pot grounded.
Seal the finished design if it will get wet.
22. Seasonal Face Pots
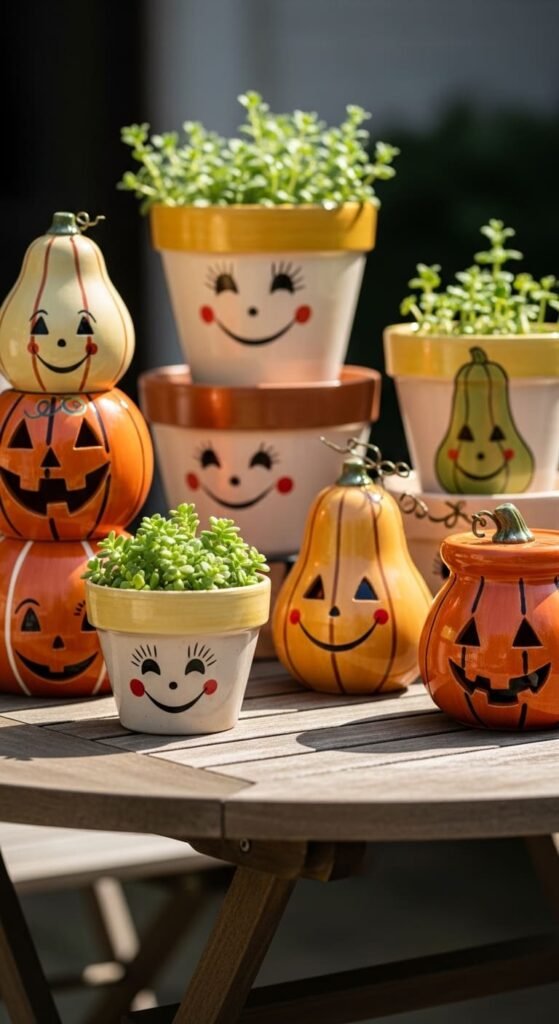
Seasonal face pots are quick because faces use basic shapes.
Paint the base color to match the season.
Orange for fall.
Pastel colors for spring.
White and blue for winter.
Add eyes, a mouth, and a few small accents.
For fall, make a simple pumpkin face.
For spring, add tiny flowers around the cheeks.
For winter, use dots like snow.
This idea helps you reuse the same pot style across the year.
You do not need complex details.
Simple faces read clearly from a distance.
Use paint pens for eyes and mouths.
Use cotton swabs for cheeks or dots.
Make a set of three pots for a porch, shelf, or table centerpiece.
Seal outdoor pots after painting.
Conclusion
Simple flower pot painting works because it removes the excuses. You can use tape, sponges, dots, solid colors, labels, and tiny doodles to update plain terracotta pots fast. Keep the color count low. Let layers dry. Use cheap acrylic paint. Seal outdoor pots. Pick one idea from this list and finish it today. A completed simple pot beats a complicated project that never gets done.