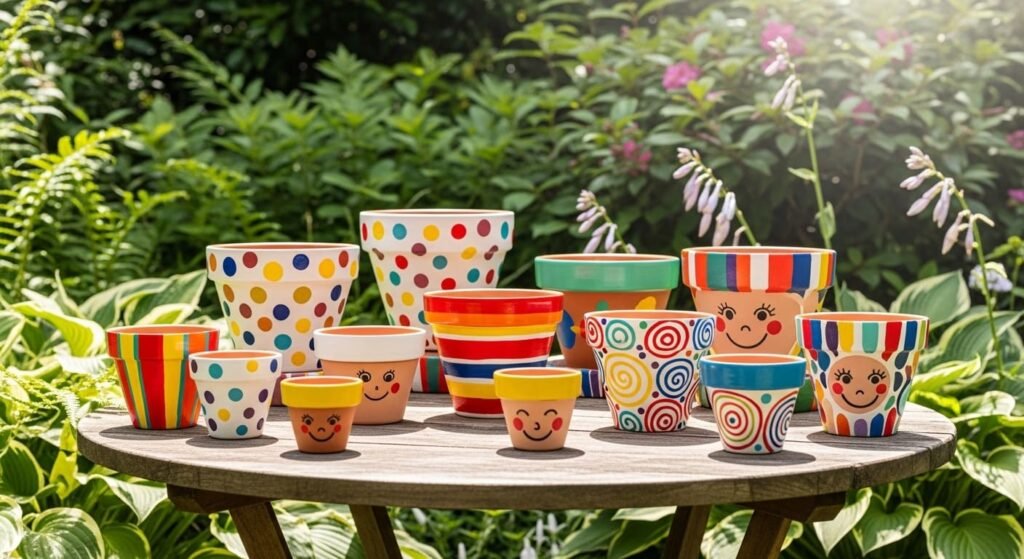
Most beginners fail at DIY because they pick designs that are too detailed. That’s the mistake. Flower pot painting works when you keep it simple and repeatable. You don’t need fancy brushes or expensive kits. A pencil eraser, cotton swab, or even your finger is enough. These ideas focus on fast execution, low cost, and minimal skill. If you can press, dab, or tape—you can do this.
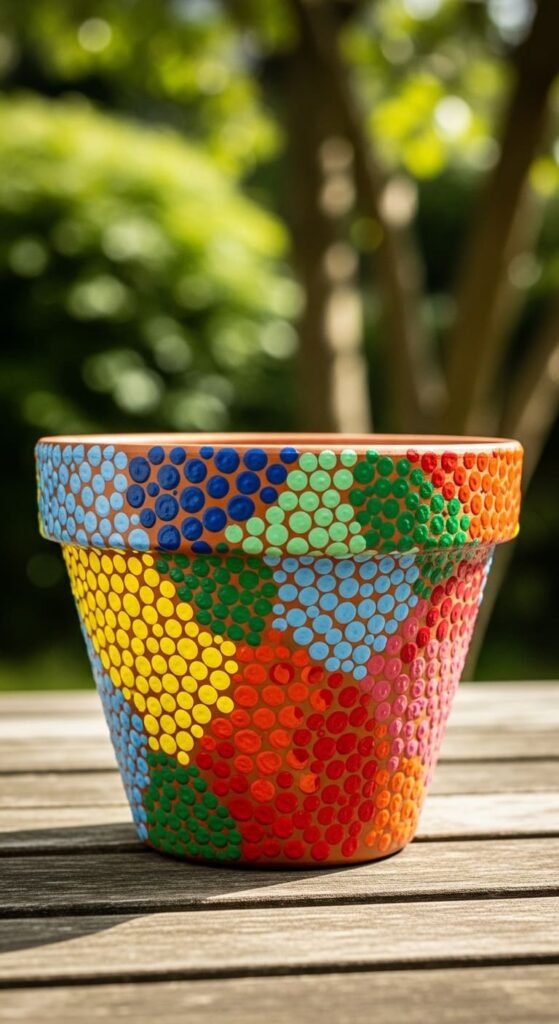
1. Pencil Eraser Polka Dot Pots
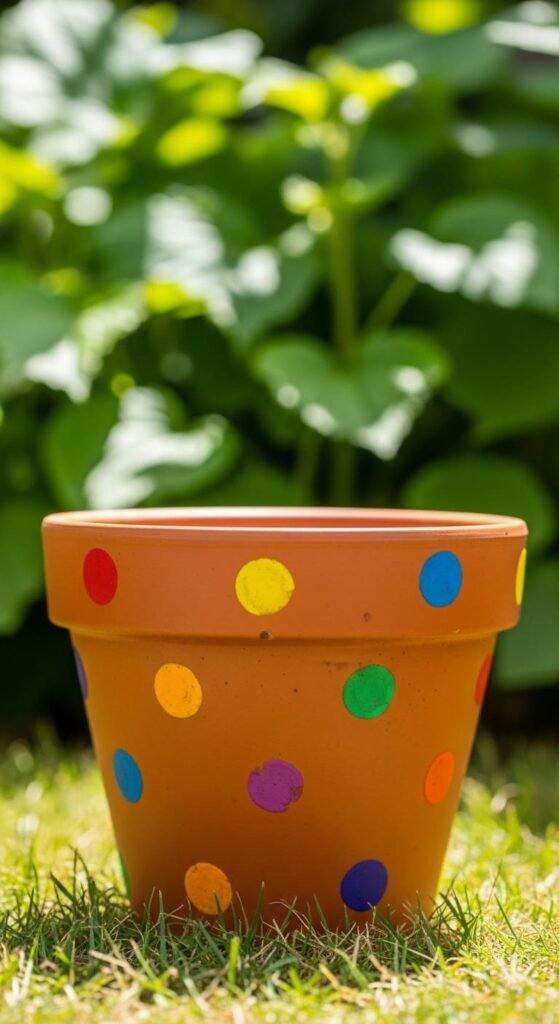
This is as easy as it gets.
Take a pencil. Dip the eraser into paint. Press it onto the pot. That’s your dot.
Repeat until the surface is filled. Use two or three colors if you want variation.
Keep spacing random. Trying to make it perfect slows you down and doesn’t improve the look.
Cheap acrylic paint works fine. No reason to overspend.
If the base color shows through too much, add a quick white coat first.
This is great for kids. It also works when you’re short on time.
Seal it if the pot sits outside. Otherwise, the dots will fade fast.
2. Tape Resist Stripe Pots
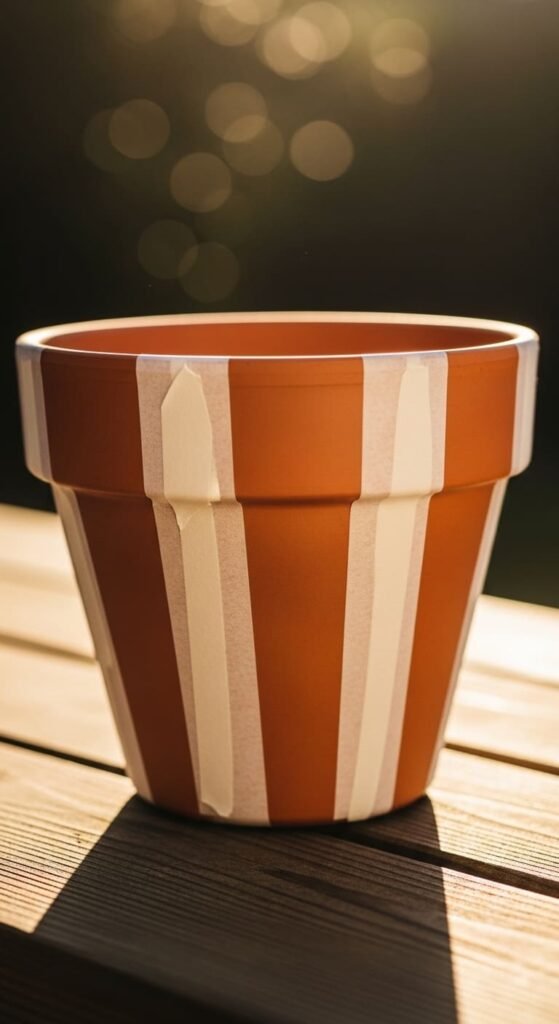
Painter’s tape does the hard part.
Wrap tape around the pot in straight lines. Paint over the entire surface.
Once dry, peel the tape. You’ll get clean stripes without effort.
Use bold colors for contrast. Or stick to neutrals for a quieter look.
Don’t rush the drying step. That’s where most people mess this up.
3. Cotton Swab Dot Patterns
Cotton swabs give more control than fingers.
Dip one end into paint. Tap lightly onto the pot.
Create patterns like flowers, hearts, or simple shapes.
This works well for small details.
Keep a few swabs ready so colors don’t mix accidentally.
4. One-Stroke Flower Pots
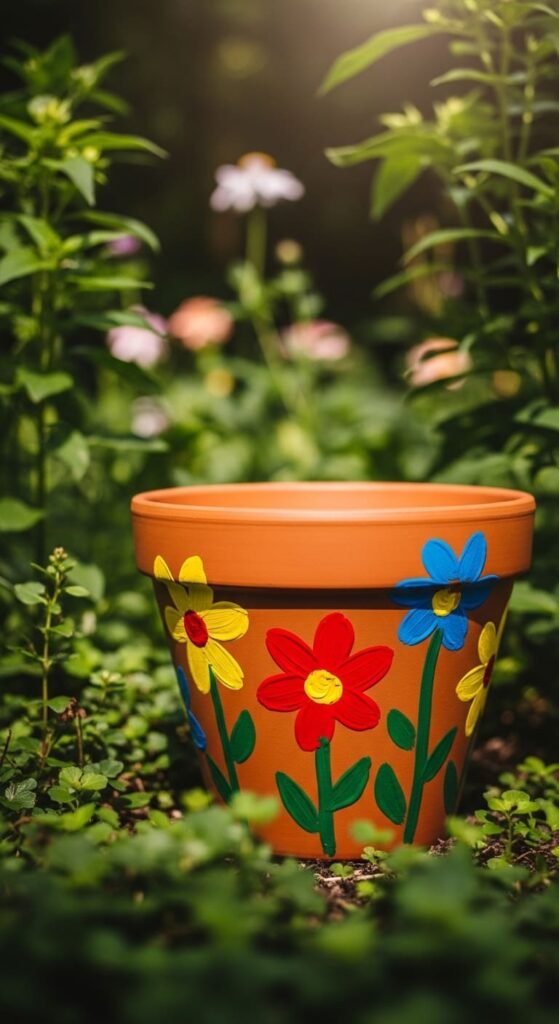
You don’t need detailed flowers.
Load your brush with paint. Press and pull once to create a petal.
Repeat around a center dot.
Stick to simple shapes. Overworking petals ruins the look.
5. Simple Daisy Design Pots
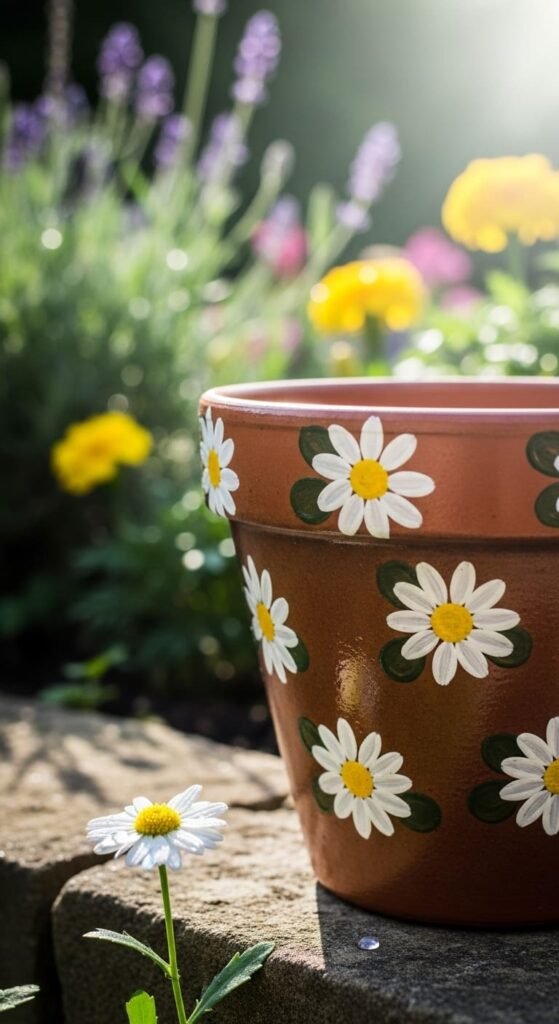
White petals. Yellow center. Done.
Use a dot for the middle. Add small strokes around it.
Repeat across the pot.
Keep spacing loose. Uniform patterns look stiff.
6. Animal Face Pots
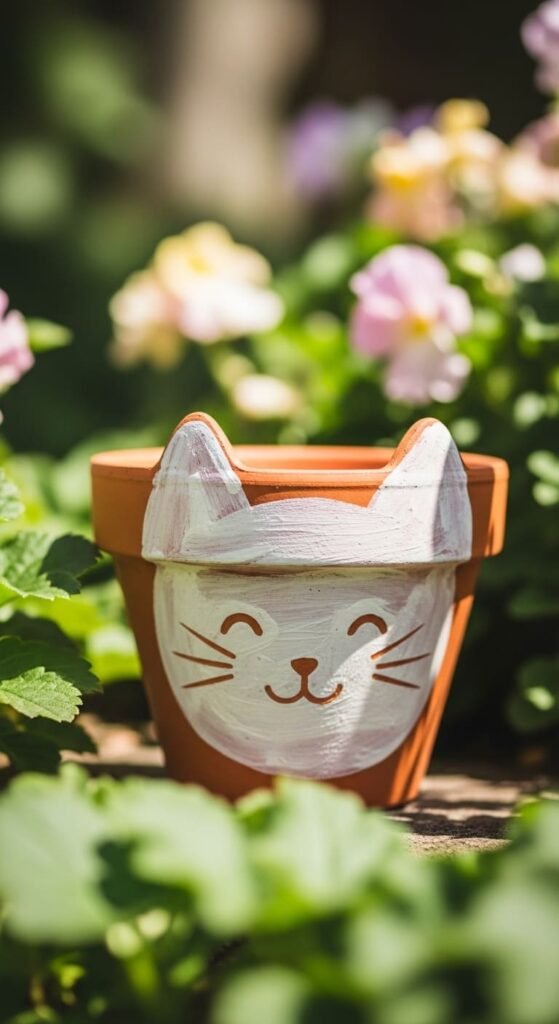
Start with a white base.
Add simple shapes for eyes, nose, and ears.
Don’t aim for realism. Cartoon style works better.
This is perfect for kids’ rooms.
7. Ice Cream Cone Pots
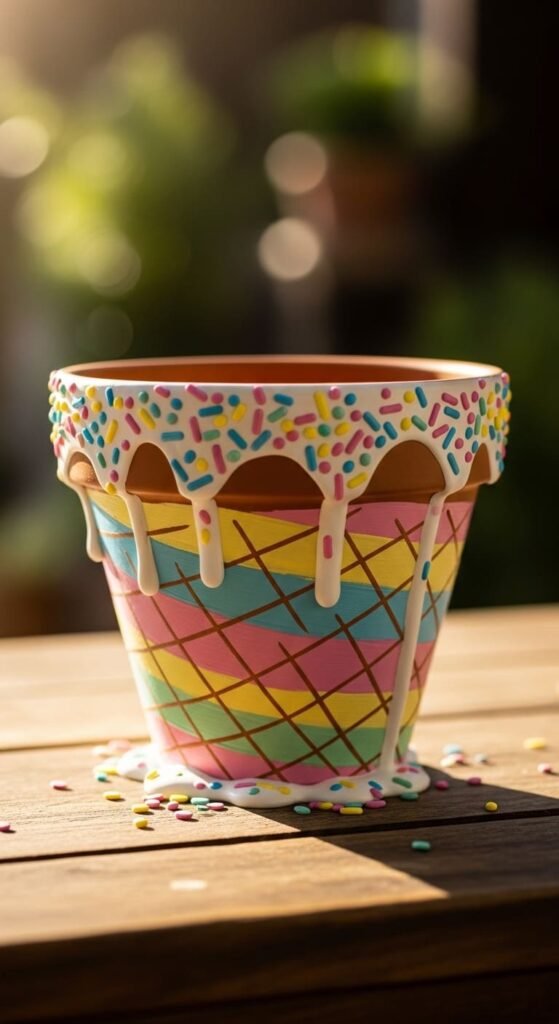
Paint the bottom tan.
Top part gets pastel colors like pink or white.
Add sprinkles with small dots.
This is quick and fun.
8. Basic Ombré Pots
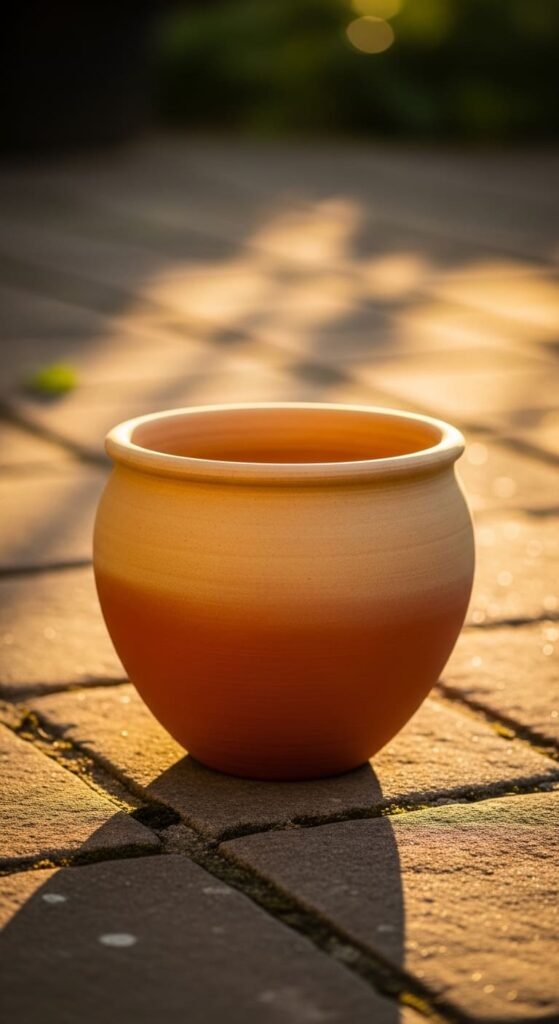
Pick three shades of one color.
Paint darkest at the bottom.
Fade upward using a sponge.
Work fast while paint is wet.
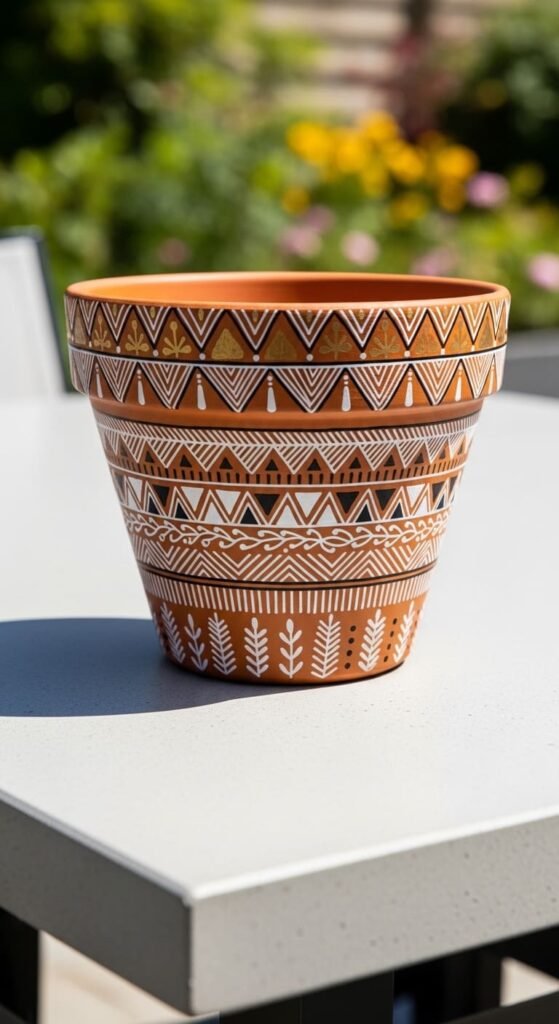
9. Stencil Pattern Pots
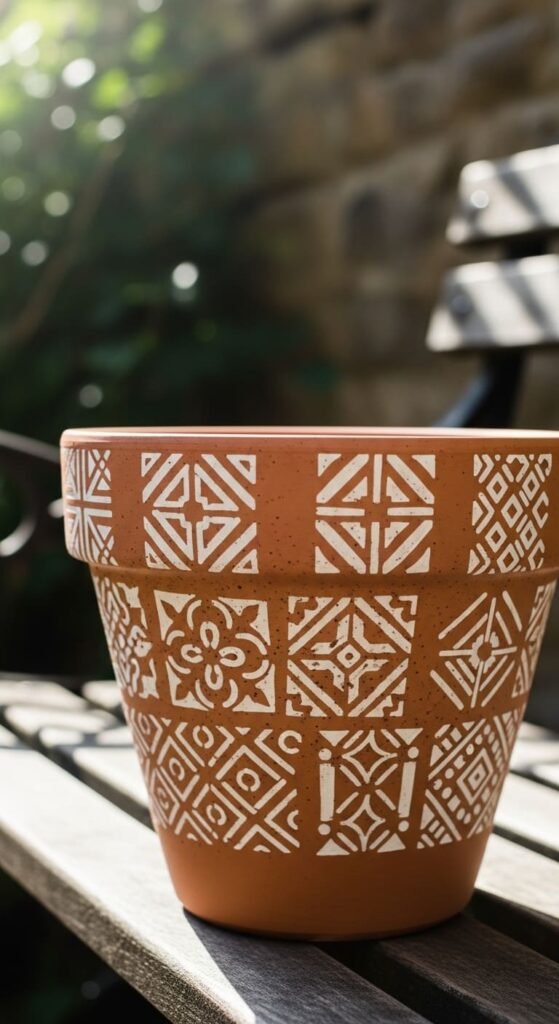
Buy cheap stencils or cut your own.
Hold firmly. Paint over lightly.
Remove carefully.
This gives a clean look without skill.
10. Kawaii Sleepy Face Pots
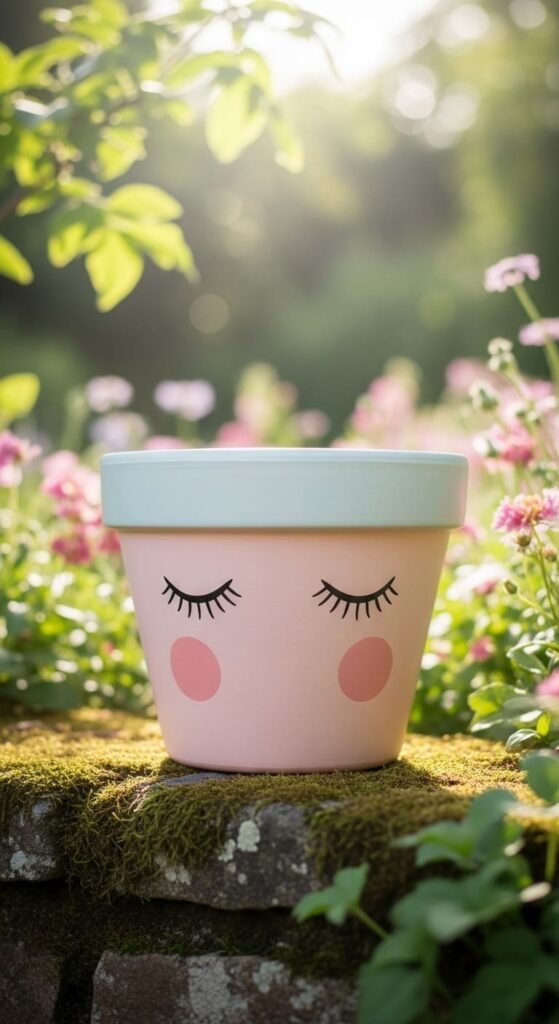
Use curved lines for closed eyes.
Add pink circles for cheeks.
Keep expressions simple.
Too much detail ruins the charm.
11. Finger Dot Abstract Pots
Dip your finger into paint.
Press randomly.
Layer colors for depth.
This is messy but fast.
12. Paint Marker Line Pots
Use paint markers instead of brushes.
Draw lines, zigzags, or patterns.
No cleanup required.
Good for quick detailing.
13. Vine Wrap Pots
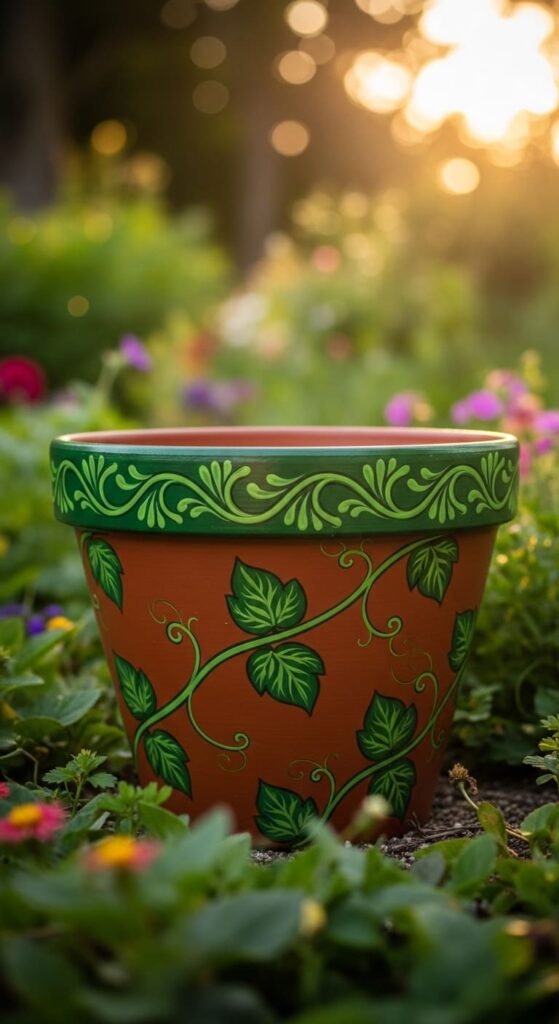
Paint thin green lines spiraling upward.
Add small leaves.
Keep lines loose.
Works well for herb pots.
14. Black and White Minimal Pots
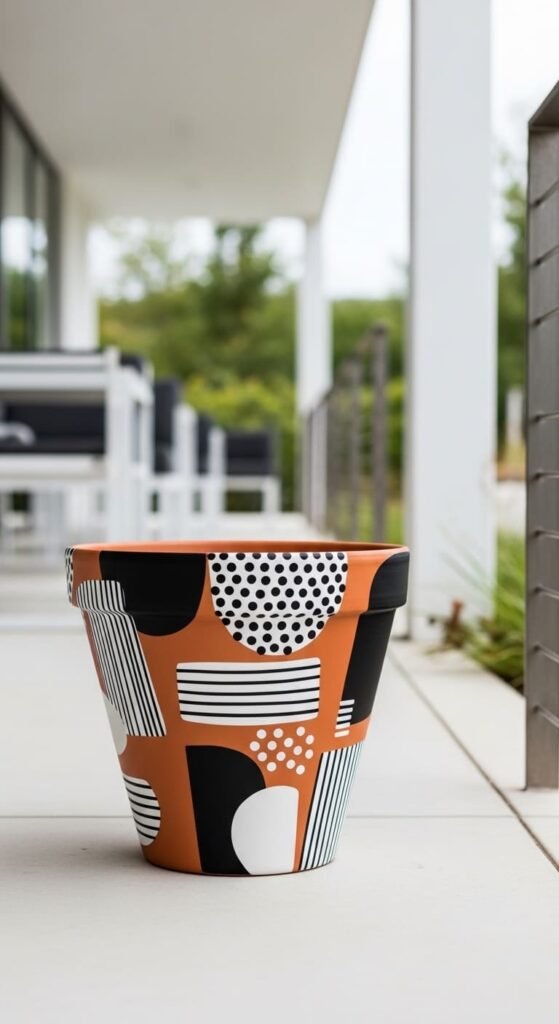
Use only black and white.
Stripes, dots, or simple shapes.
This keeps things clean.
Add gold if you want contrast.
15. Fruit Theme Pots
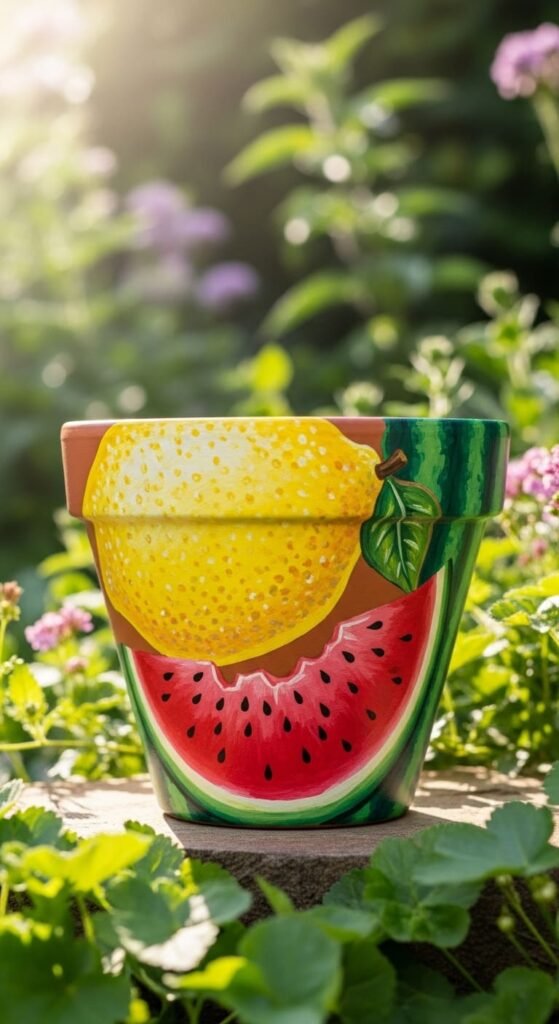
Pick a fruit.
Use basic shapes and colors.
Watermelon and lemon are easiest.
Bright and simple.
16. Bee and Ladybug Pots
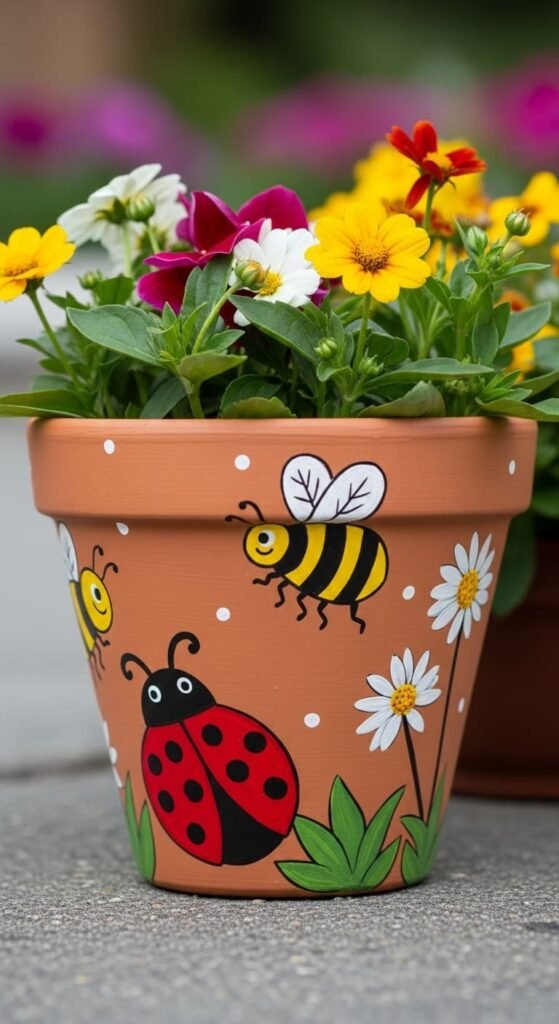
Use yellow and black for bees.
Red and black for ladybugs.
Keep shapes basic.
Adds a garden theme.
17. Rainbow Band Pots
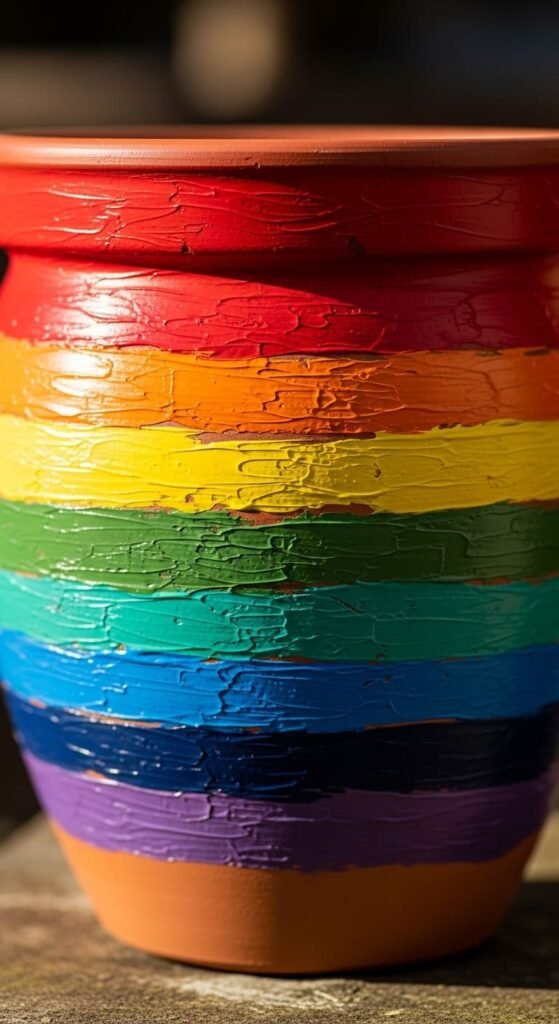
Paint thick color bands.
No need for perfect lines.
Use bold colors.
Great for kids.
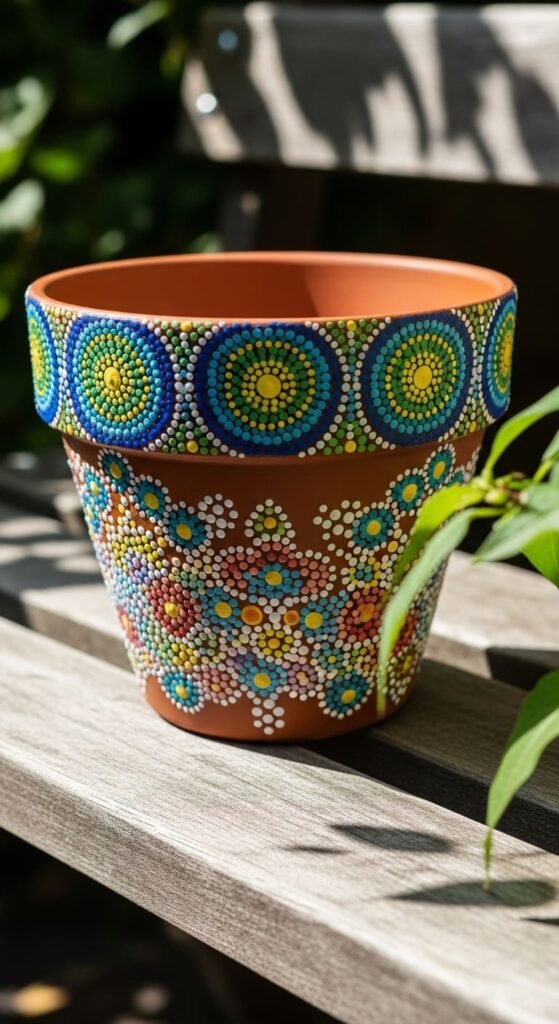
18. Pointillism Dot Art Pots
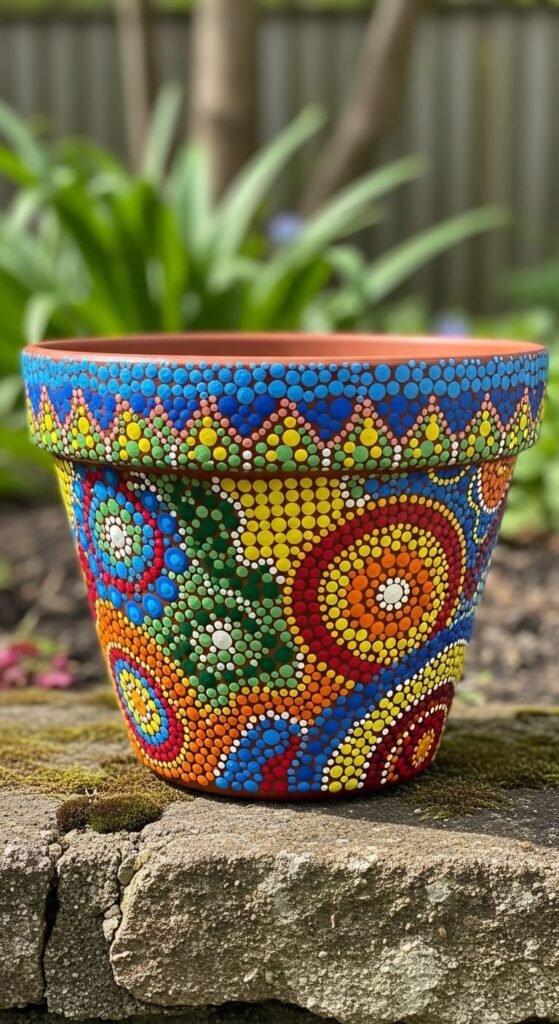
Use different dot sizes.
Layer colors slowly.
Creates depth.
Time-consuming but simple.
19. Base Coat Solid Color Pots
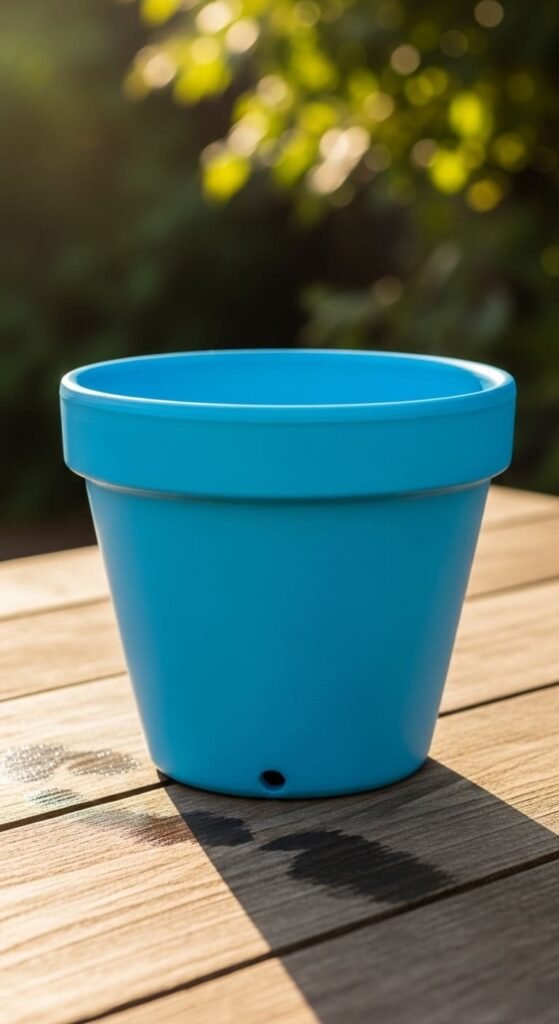
Sometimes plain works.
Apply two or three coats.
This gives a clean base.
Use as-is or add details later.
20. Funny Face Plant Pots
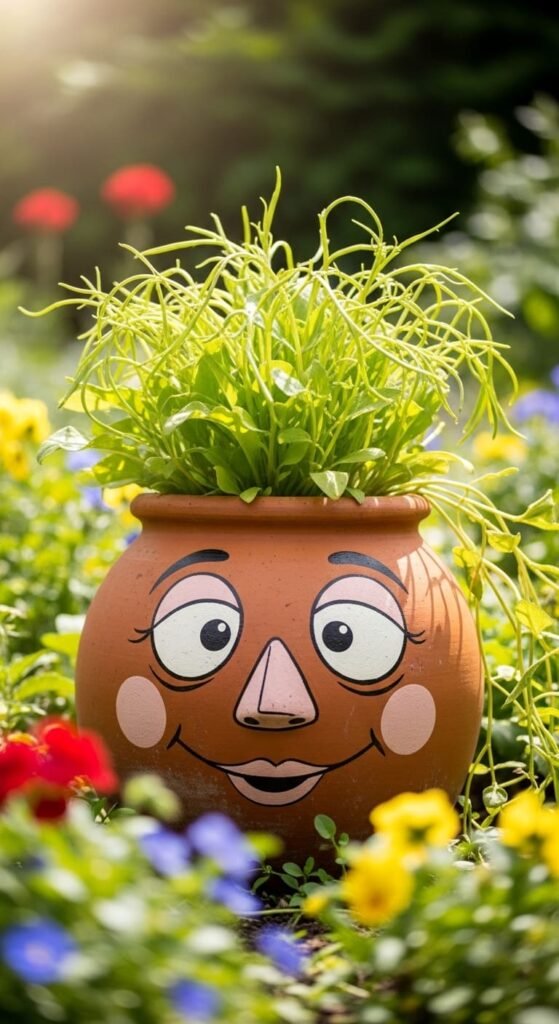
Paint a simple face.
Let the plant act as hair.
Use curved pots for better effect.
This adds humor easily.
21. Tape Animal Print Pots

Use tape to create shapes.
Paint over with contrasting colors.
Peel after drying.
Animal prints without effort.
22. Simple Heart Pattern Pots
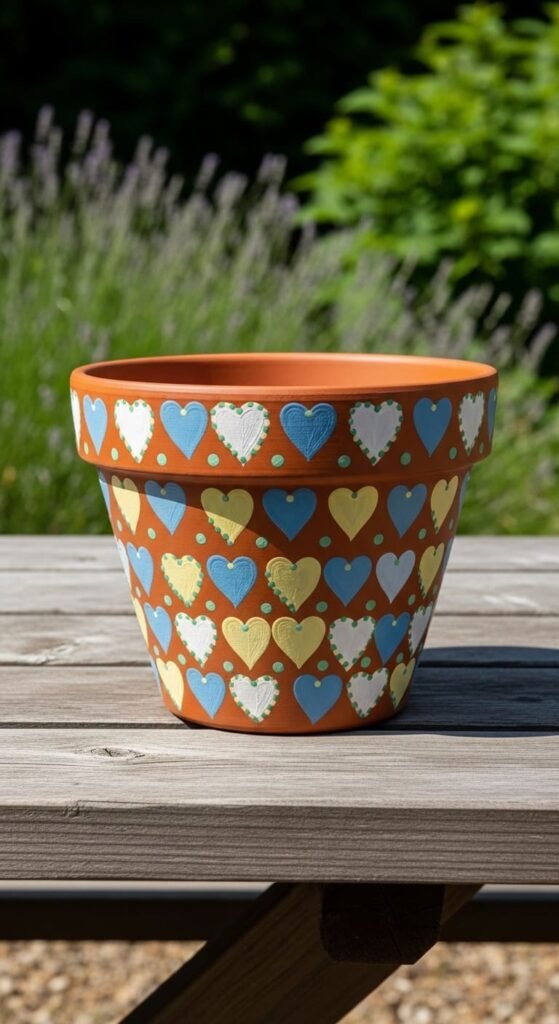
Draw small hearts using a brush or swab.
Repeat across the pot.
Keep shapes simple.
Works well for gifts.
23. Swirl Pattern Pots
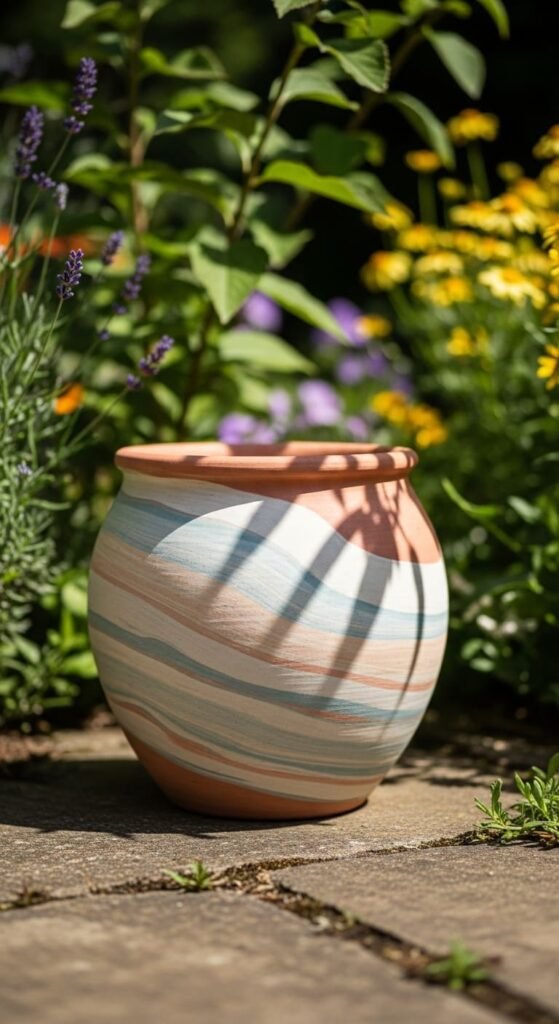
Use a brush to create curved lines.
Layer colors lightly.
Keep strokes loose.
No precision needed.
24. Two-Tone Dip Pots
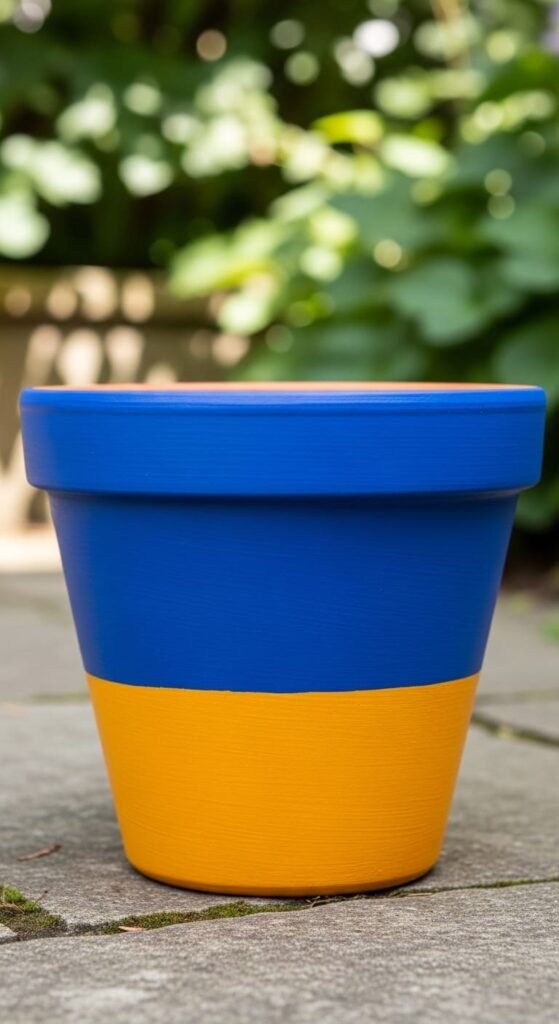
Paint half the pot one color.
Other half a different color.
Use tape for a clean line.
Simple and modern.
25. Leaf Stamp Pots
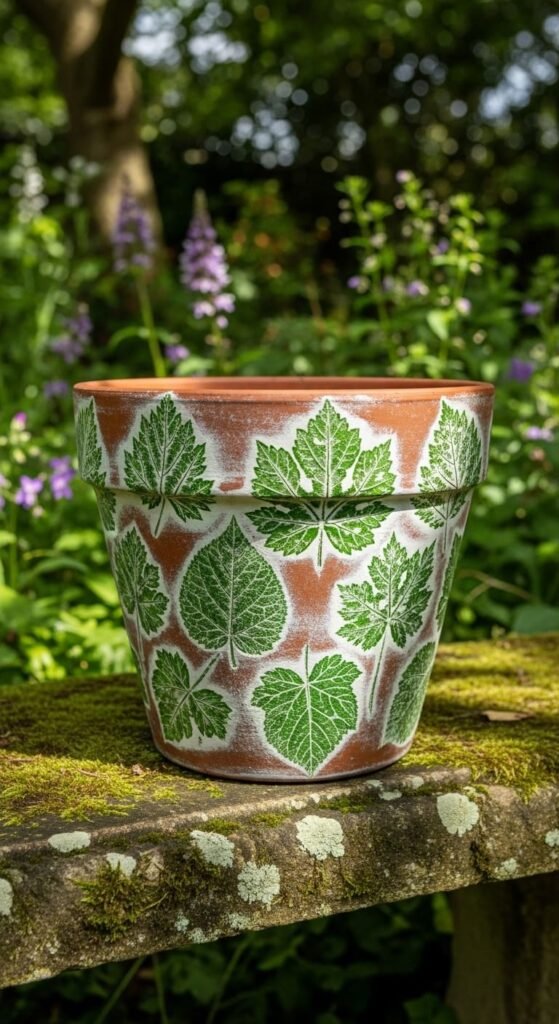
Use real leaves.
Dip into paint.
Press onto the pot.
Free and quick design.
Conclusion
You don’t need skill. You need to start. Most of these ideas take less than an hour and use tools already at home. The biggest mistake is overthinking and not finishing. Pick one idea, complete it, and move on to the next. That’s how you actually get better instead of staying stuck planning.