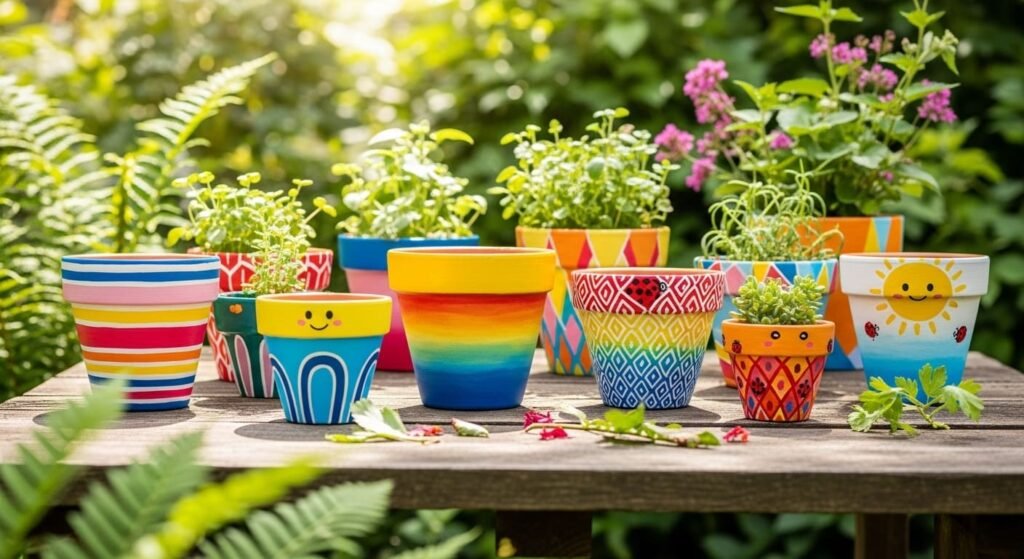
Most people overcomplicate DIY projects and then quit halfway. Painting flower pots isn’t one of those things that should be hard. You’re working with cheap terracotta, basic acrylic paint, and simple tools. The real win here is personality, not perfection. If your pots look slightly uneven, good—that means they don’t look mass-produced. The ideas below are practical, low-cost, and fast enough to actually finish. Pick one and execute instead of collecting ideas you’ll never use.
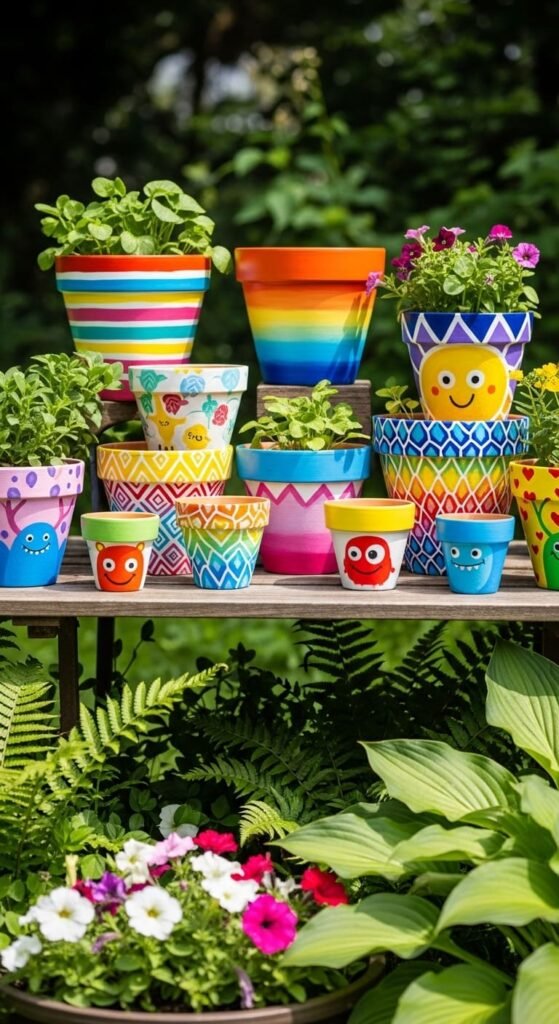
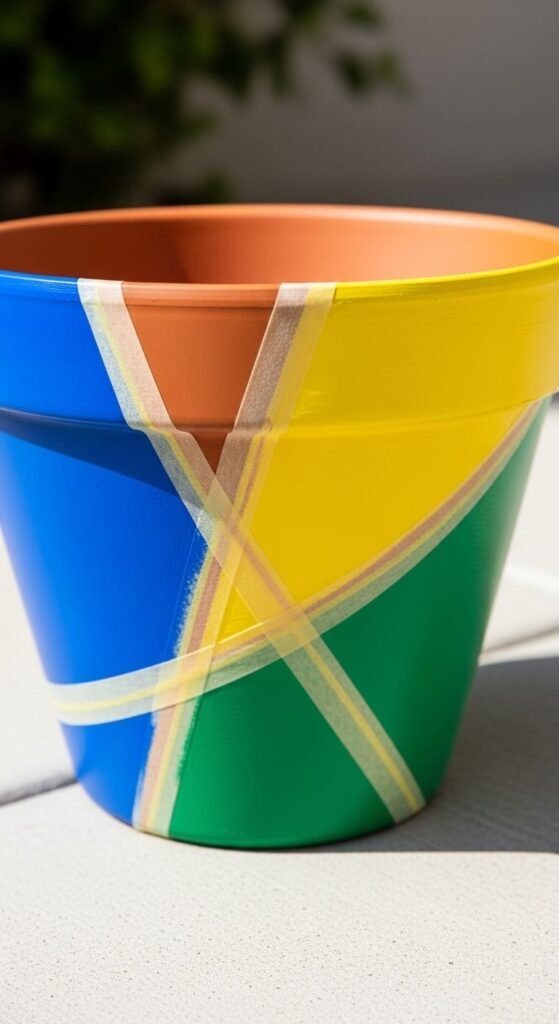
1. Rainbow Stripe Energy Pots
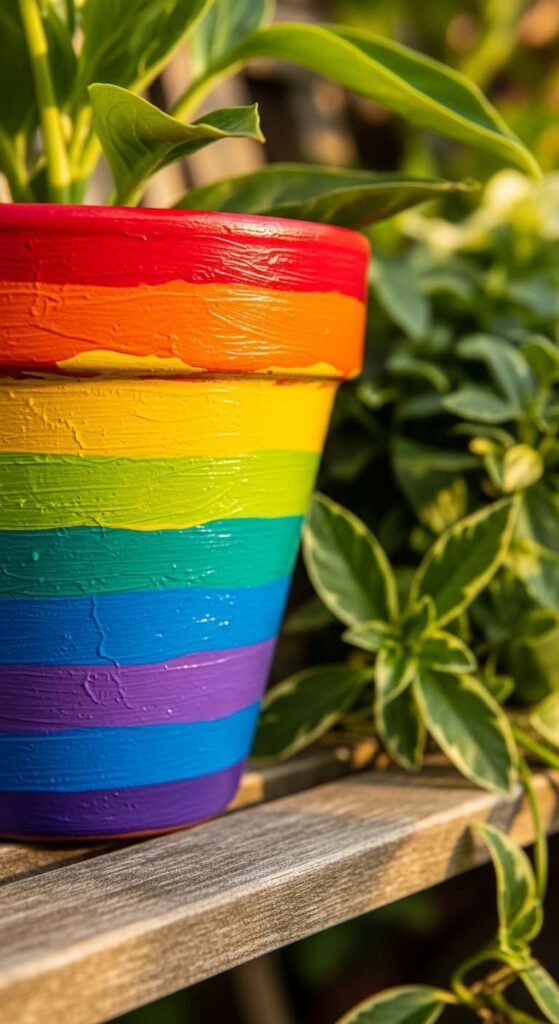
Use masking tape to divide your pot into stripes. Horizontal is safer. Vertical if you want something different. Paint each section in bright colors like red, yellow, blue, and green. Don’t overthink color combinations.
Let each section dry before removing tape. If you rush, you’ll ruin the lines.
You don’t need expensive paint. Cheap acrylics work fine. Two coats are enough.
If you want variation, mix stripe thickness. Thick at the bottom, thin at the top. It adds interest without effort.
Seal the pot if it stays outside. Sunlight will fade colors fast.
2. Soft Ombré Gradient Planters
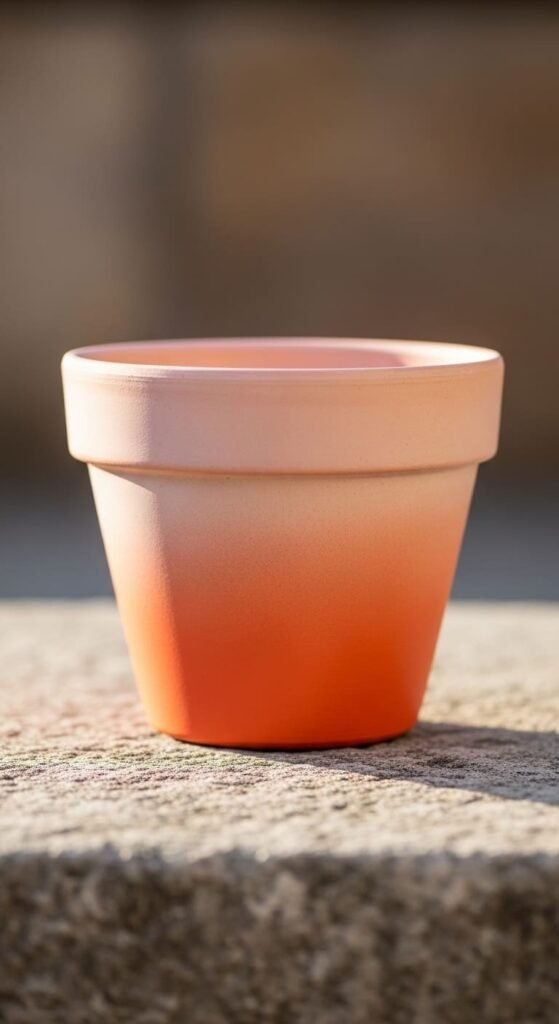
This looks harder than it is.
Pick two or three shades of one color. Start dark at the bottom and go lighter as you move up.
Use a damp sponge. Dab and blend while the paint is still wet. Don’t aim for perfection. Slight unevenness looks natural.
Work fast. Acrylic dries quickly.
Stick to earthy tones if you want something calm. Go bold if your space is plain.
This style fits modern homes without trying too hard.
3. Tape-Based Geometric Designs
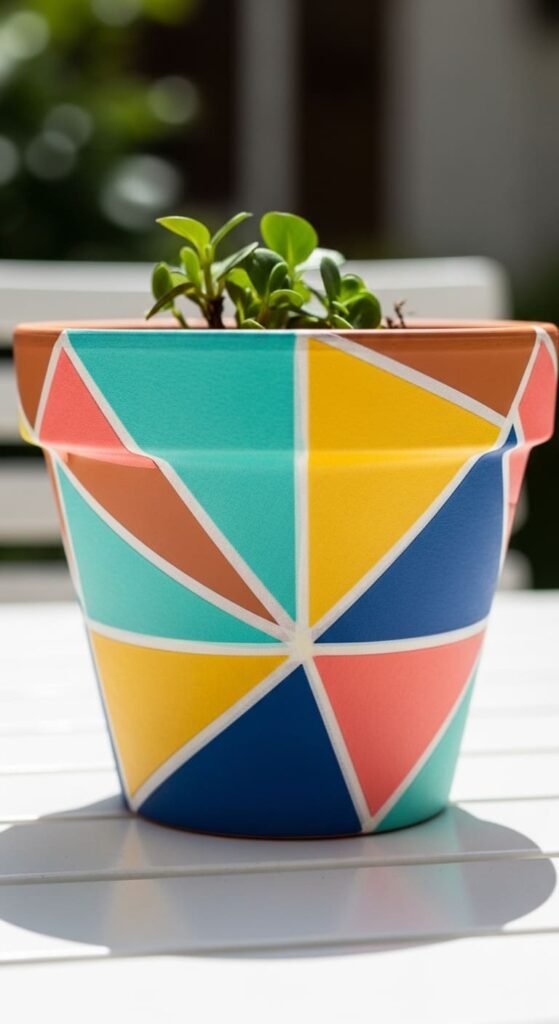
You don’t need steady hands. Tape does the work.
Stick masking tape in triangles, lines, or random angles. Paint inside each section.
Use contrasting colors like black and white, or two bold tones.
Let it dry fully before peeling the tape. If you rush, edges will bleed.
This is one of the fastest upgrades you can do. Looks clean with minimal effort.
4. Sponge Texture Pots
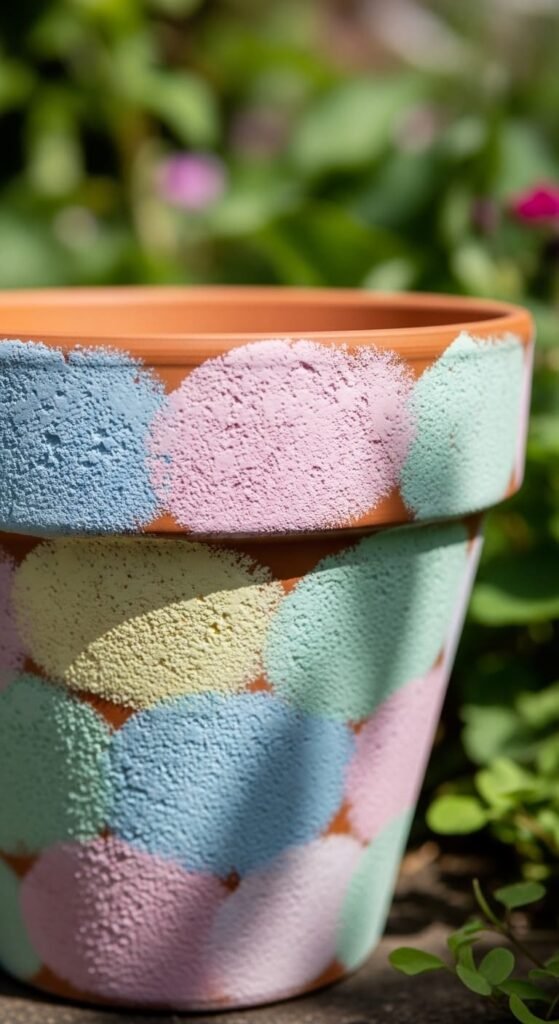
No brush required.
Dip a sponge into paint and dab lightly across the surface. Layer multiple colors for depth.
Pastels work well here. They hide mistakes.
Try using a crumpled plastic bag instead of a sponge for a rough texture.
This method is forgiving. Messy technique, decent result.
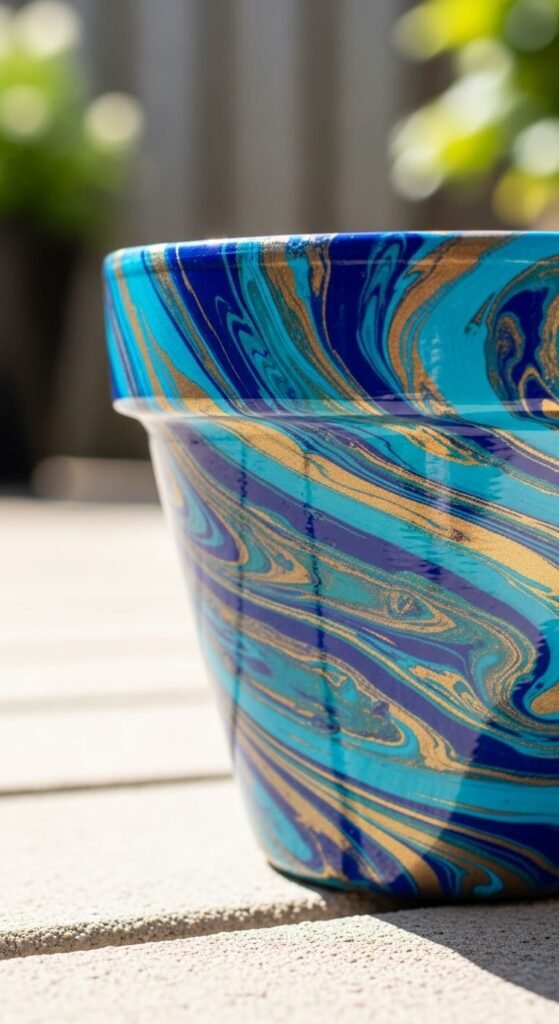
5. Marble Pour Effect Pots
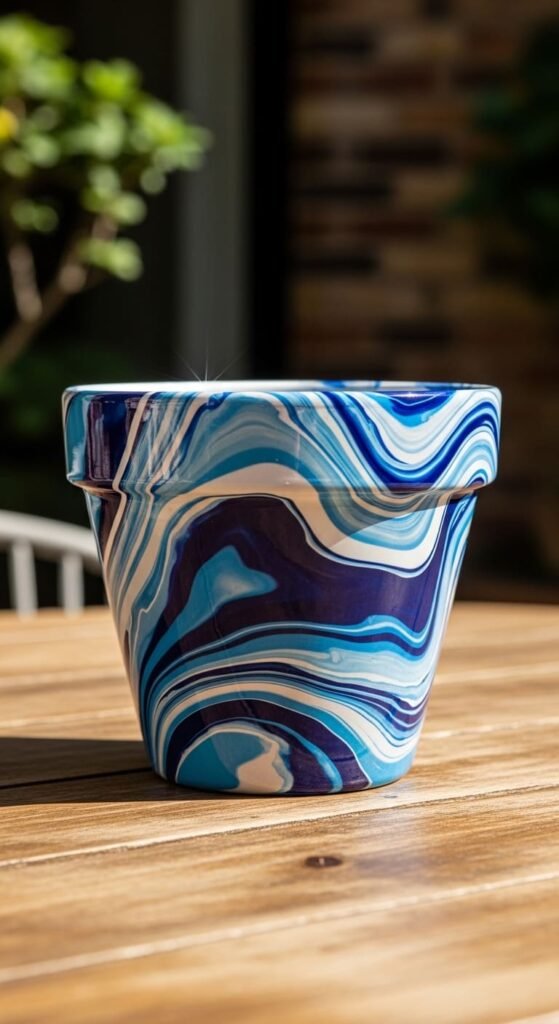
This is messy. Accept it.
Pour different paint colors slowly over the pot. Let gravity move the paint.
Rotate the pot while pouring for better flow.
Use a tray underneath. Cleanup is annoying if you skip this.
Finish with a clear sealant to enhance shine.
6. Polka Dot Playful Pots
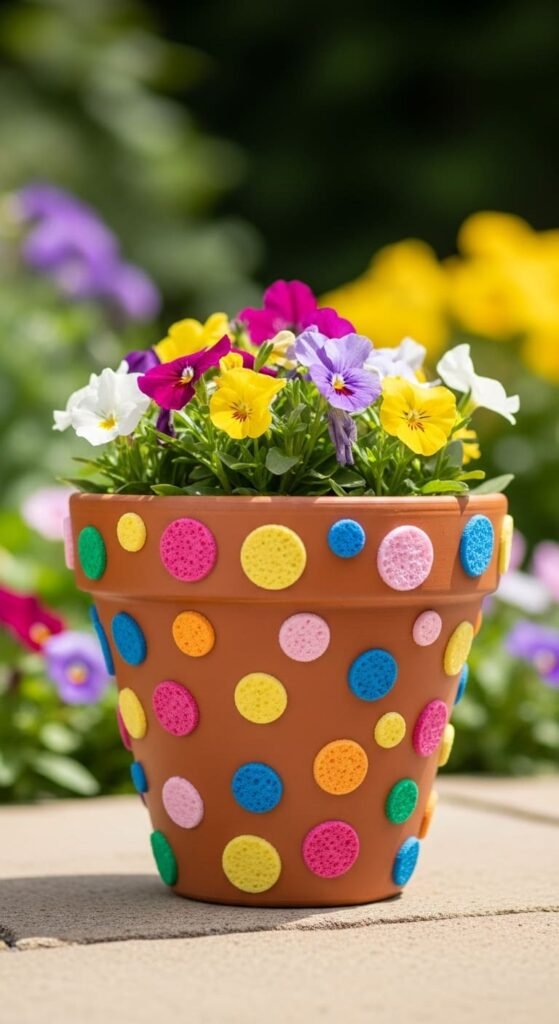
Simple always works.
Use a pencil eraser or sponge tip. Dip it into paint and press onto the pot.
Repeat across the surface.
Use contrasting colors for better visibility.
Spacing doesn’t need to be perfect. Random looks better.
7. Galaxy Night Sky Pots
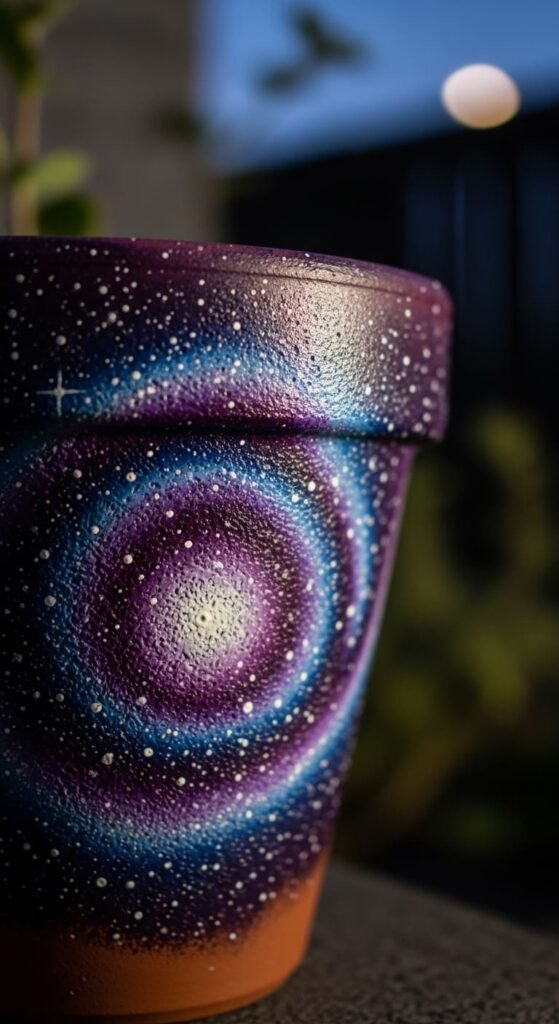
Start with a black base.
Use a sponge to dab purple and blue randomly.
Flick white paint using a toothbrush for stars.
Add glow paint if you want a night effect.
Mistakes blend into the design, so it’s beginner-friendly.
8. Cute Kawaii Face Pots
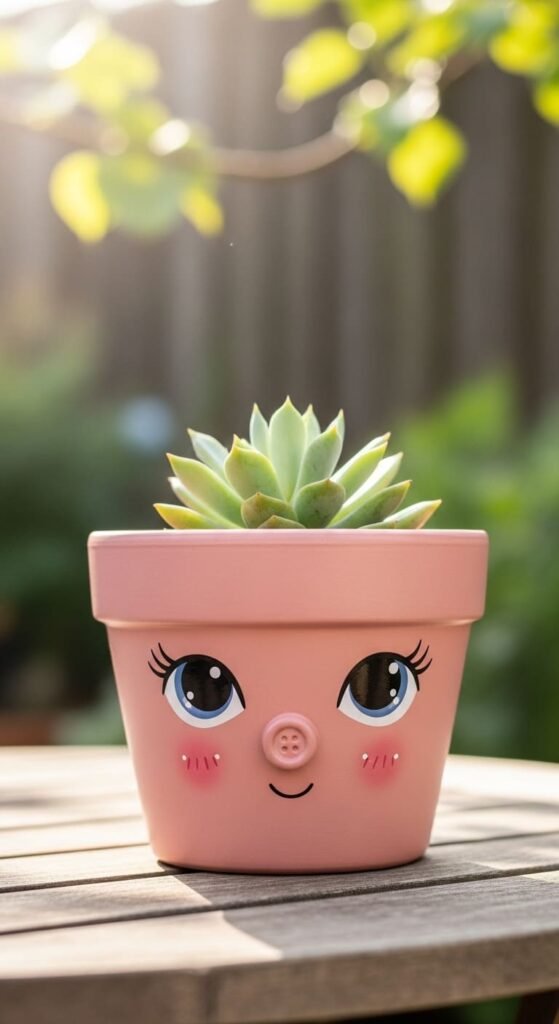
Faces make pots more engaging.
Use simple shapes. Two dots for eyes. A small curve for a smile.
Add blush using light pink circles.
Don’t over-detail. It ruins the charm.
Great for gifts or kids’ spaces.
9. Ice Cream Drip Pots
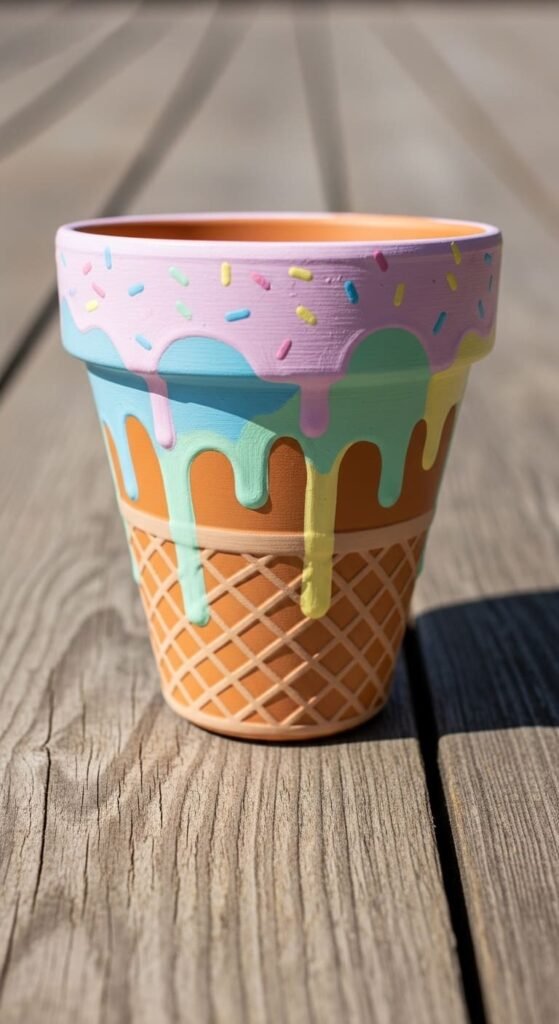
Paint the base brown like a cone.
Add pastel drips at the top.
Let them flow naturally instead of forcing symmetry.
Add sprinkles using small dots or lines.
Works well for summer setups.
10. Chalkboard Label Pots
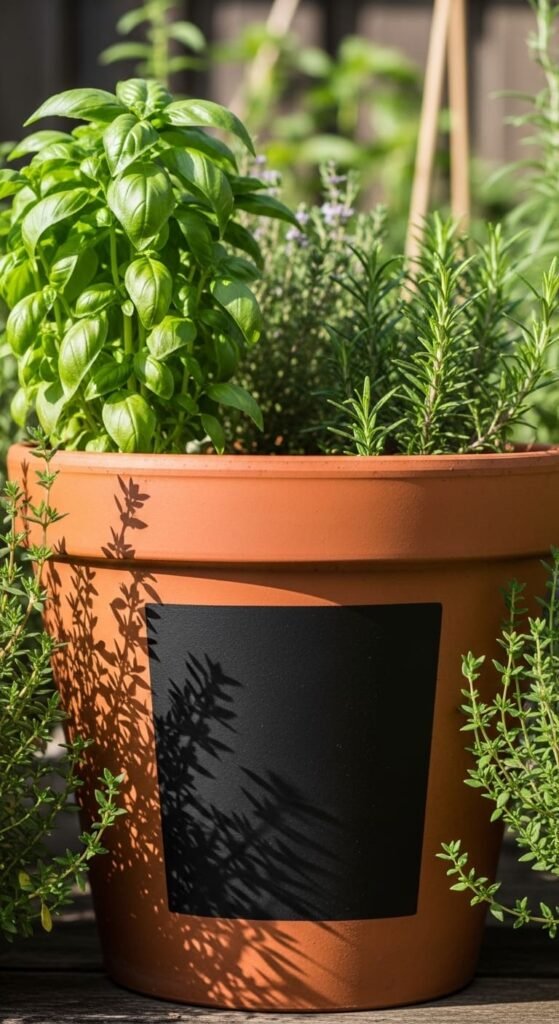
Paint a section using chalkboard paint.
Write plant names with chalk.
Erase and rewrite whenever needed.
This is useful, not just decorative.
11. Sunset Gradient Pots
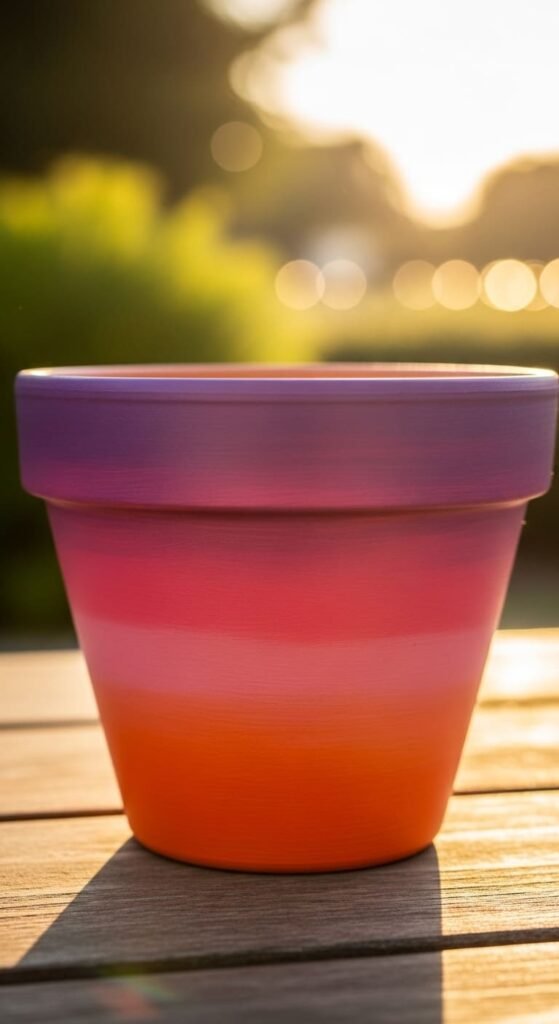
Use warm tones like orange, pink, and purple.
Blend with a sponge.
Keep transitions soft.
Looks great with small plants or succulents.
12. Neon Pop Art Pots
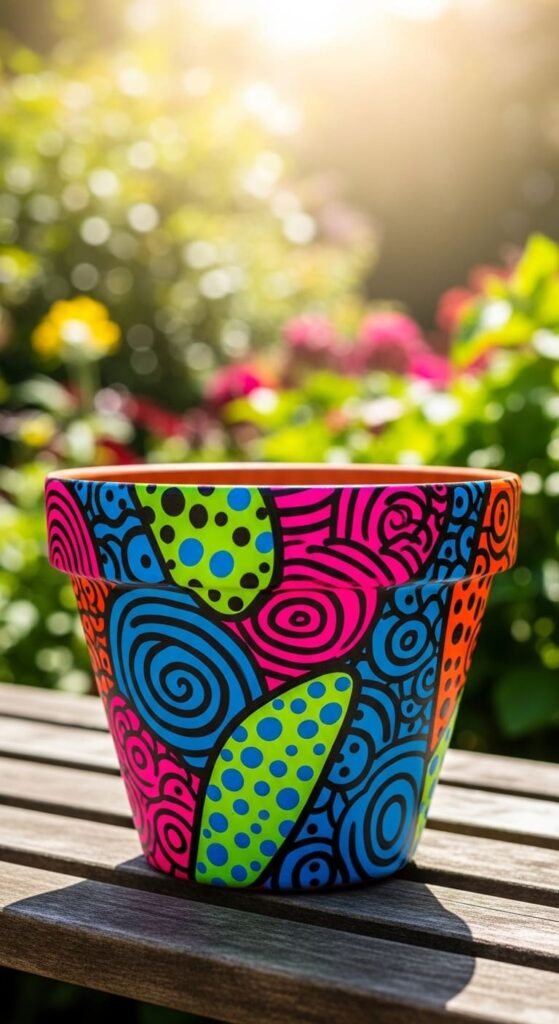
Use highlighter colors.
Add bold shapes or outlines.
Keep the base simple so colors stand out.
Works best in bright environments.
13. Floral Finger-Paint Pots
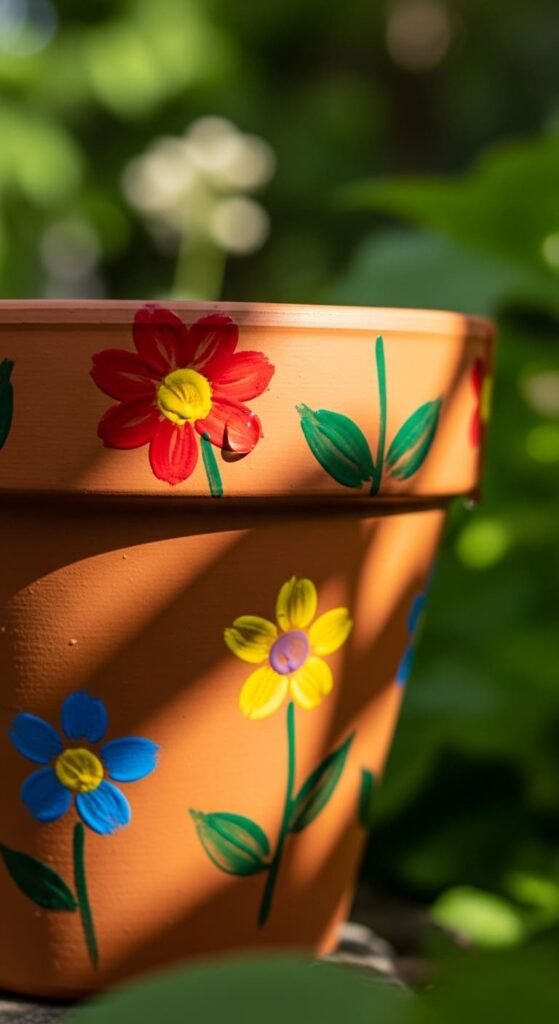
Dip your finger into paint.
Press petals around a center dot.
Repeat across the pot.
Fast, cheap, and easy.
14. Bee and Ladybug Pots
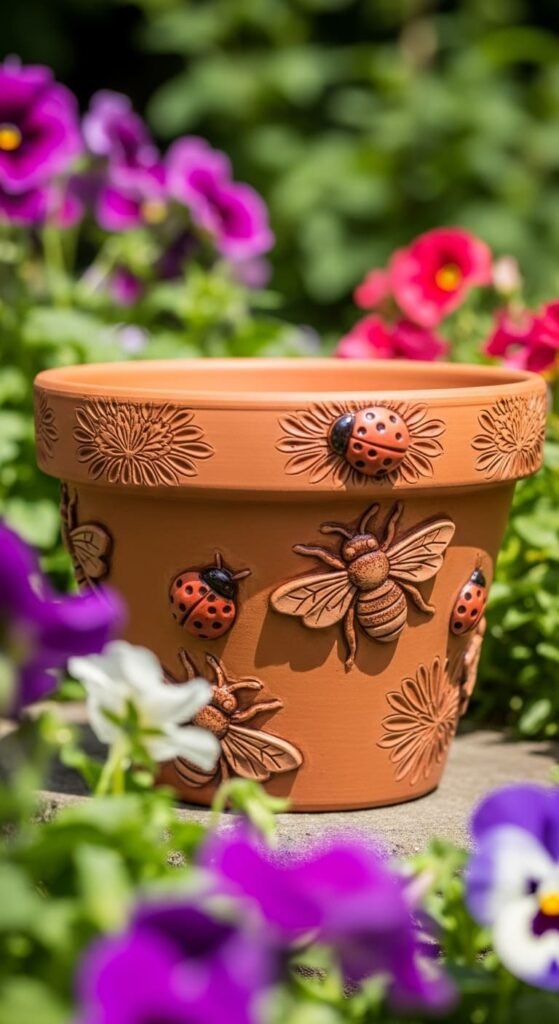
Use basic shapes.
Yellow and black for bees.
Red and black for ladybugs.
Simple designs work best.
15. Color Block Modern Pots
Divide sections using tape.
Paint each block a different color.
Limit colors to keep it clean.
Modern look with minimal effort.
16. Zen Line Art Pots
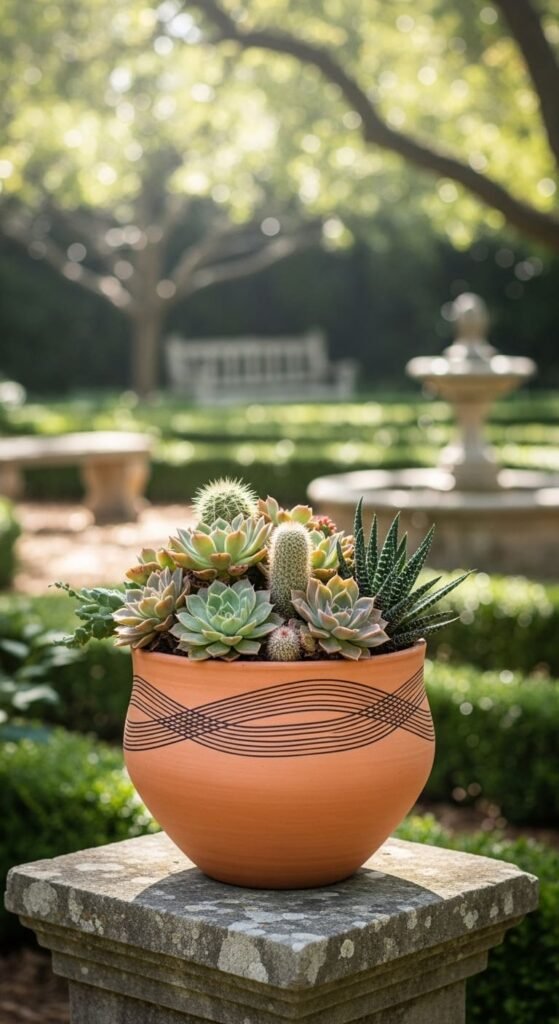
Use a neutral base color.
Draw thin black lines or waves.
Keep spacing consistent.
Creates a calm look.
17. Pet Portrait Pots
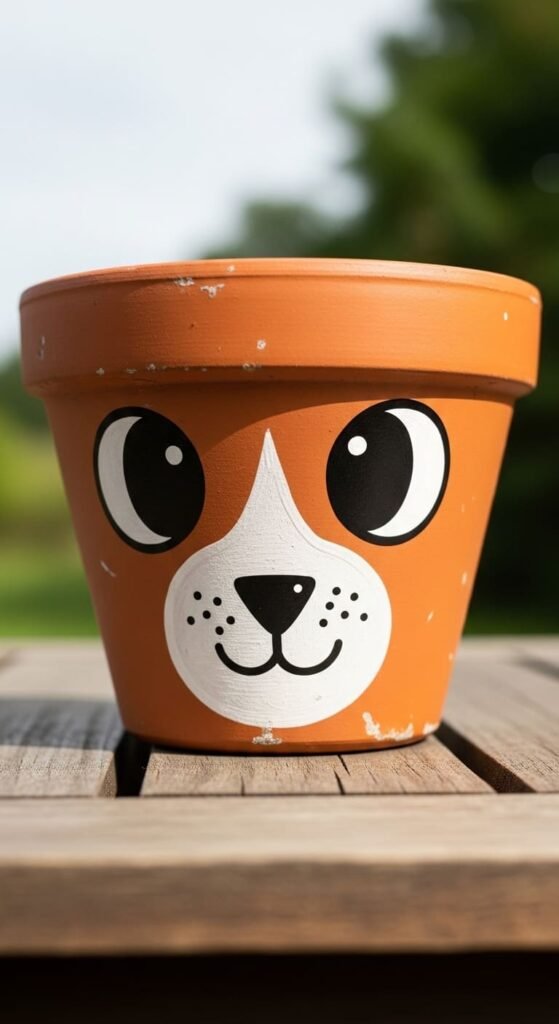
Don’t aim for realism.
Use simple shapes and colors.
Focus on key features like ears or spots.
Makes a personal gift.
18. Watermelon Slice Pots
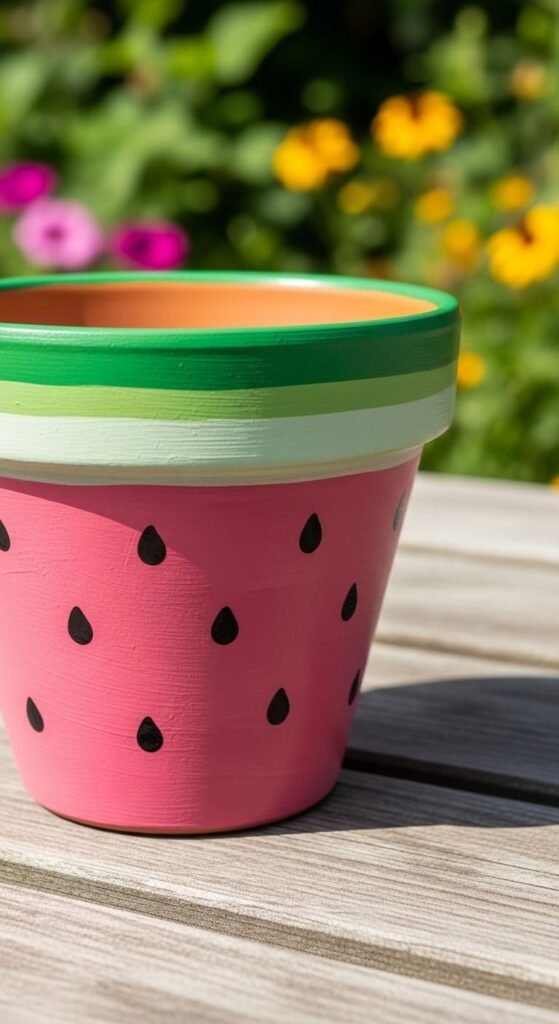
Paint the rim green.
Body pink.
Add black seeds.
Bright and playful.
19. Quote and Word Pots
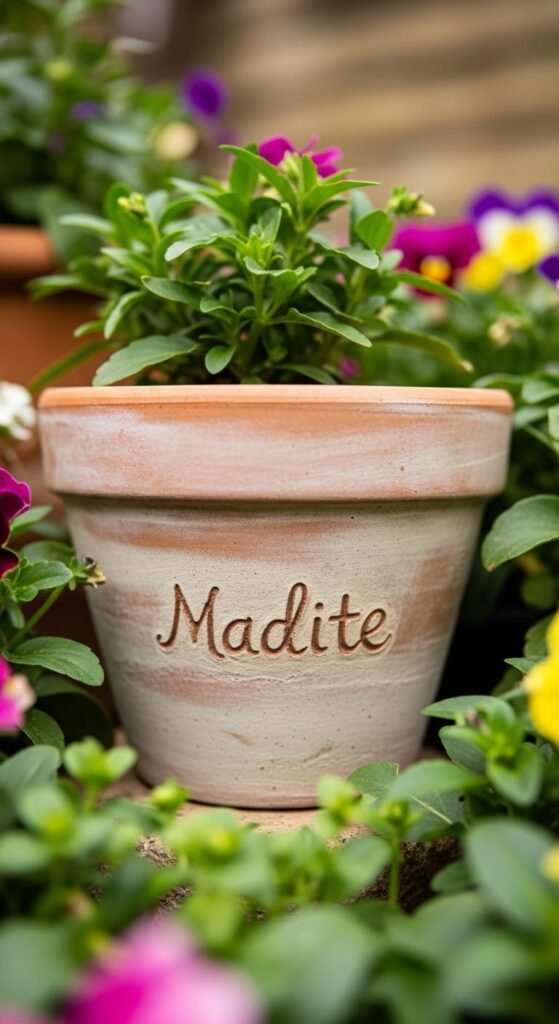
Paint a neutral base.
Write short words like “grow” or “home”.
Use a thin brush.
Keep it simple.
20. Leaf Stamp Nature Pots
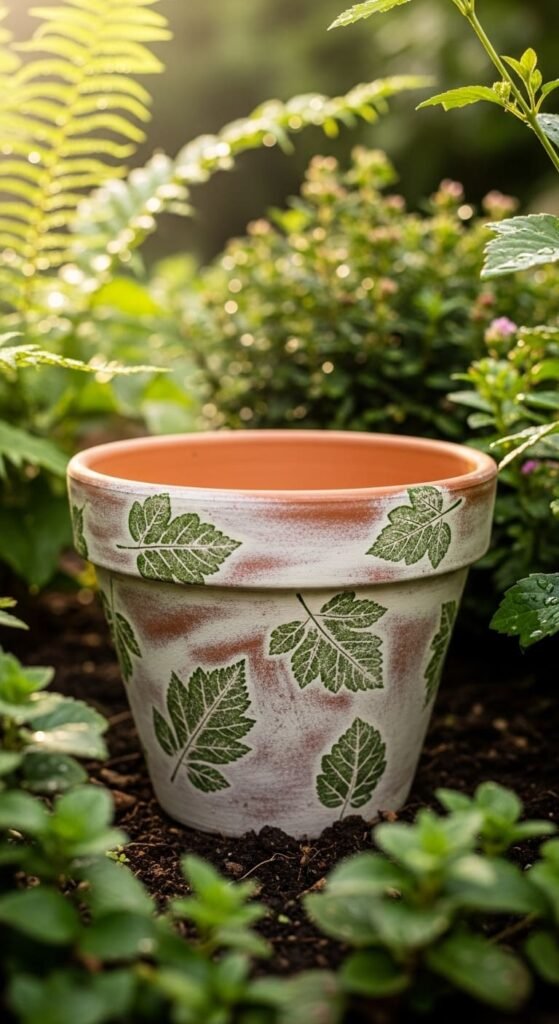
Use real leaves.
Dip in paint.
Press onto the pot.
Free and effective design.
21. Marble Nail Polish Dip Pots
Fill a container with water.
Add drops of nail polish.
Swirl lightly.
Dip the pot.
Quick and glossy result.
22. Pixel Art Retro Pots
Use small square shapes.
Create simple patterns or icons.
Bright colors work best.
This stands out without effort.
Conclusion
You don’t lack ideas. You lack execution. Most of these designs take under an hour and cost almost nothing. The only thing stopping you is hesitation or trying to make it perfect. Start with one pot. Finish it. Then do another. That’s how you build something that actually looks good instead of staying stuck in planning mode.