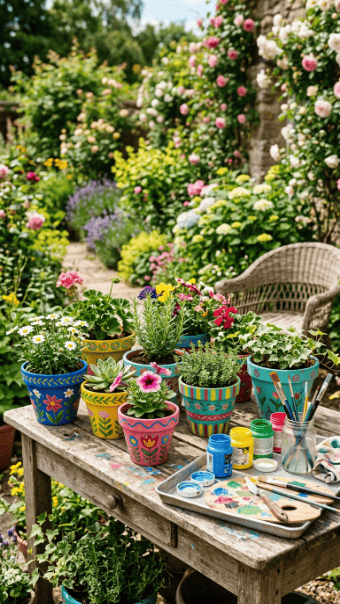
Your garden doesn’t need expensive upgrades to look stunning—just a little paint and intention. A plain terracotta pot can go from forgettable to eye-catching in an afternoon. The difference? Most people rush the process and end up with peeling paint and uneven finishes. If you actually want something that lasts, you need to do it right.
Why Painted Pots Often Fail (And How to Avoid It)
Let’s address the obvious mistake: people treat terracotta like any other surface. It’s not. It’s porous, absorbs moisture, and will destroy your paint job if you ignore that.
Here’s what usually goes wrong:
- Paint peeling after a few weeks
- Uneven, blotchy color
- Fading under sunlight
- Cracks from trapped moisture
The fix isn’t complicated—it just requires discipline:
- Seal the surface properly
- Use the right paint
- Apply thin, controlled layers
If you skip prep, you’re wasting your time.
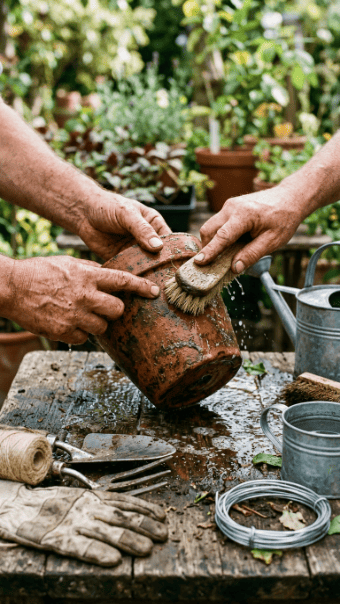
Step 1: Clean and Prep the Pot Properly
This step is boring—and that’s exactly why people skip it. That’s also why their results look amateur.
What to do:
- Wash the pot with water to remove dust and debris
- Scrub off any residue or old paint
- Let it dry completely (don’t rush this)
For terracotta:
- Apply a primer or sealer to block moisture absorption
- Let it dry fully before painting
Leave the drainage hole unpainted. Blocking it messes with plant health—don’t sabotage your own work.
Step 2: Choose the Right Paint (This Matters More Than You Think)
Not all paint is equal. If you grab whatever’s lying around, expect poor results.
Best options:
- Outdoor acrylic or latex paint → durable, fade-resistant, ideal for most projects
- Chalk paint → matte, vintage look (better for indoor or decorative use)
- Multi-surface paint (like Zinsser-type products) → works on plastic, concrete, and mixed materials
Avoid cheap, low-quality paint. You’ll just repaint sooner.
For plastic pots:
- Use an adhesion primer first
- Then apply spray paint or multi-surface paint
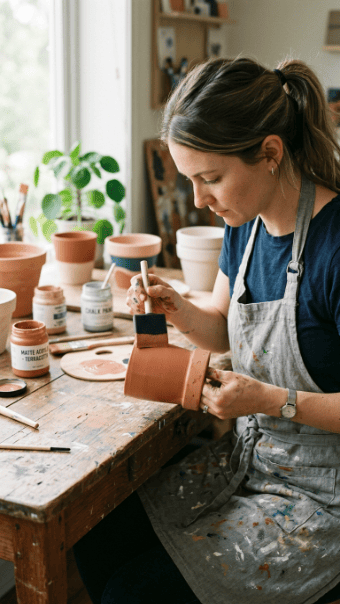
Step 3: Apply Thin, Even Coats (Stop Overloading the Brush)
This is where most people ruin the finish. Thick coats don’t save time—they create streaks and cracks.
Do it properly:
- Use a foam brush for smooth coverage
- Apply thin layers—not thick ones
- Wait 1–2 hours between coats
Expect to apply 2–3 coats minimum for solid color.
If you’re impatient, this project isn’t for you.
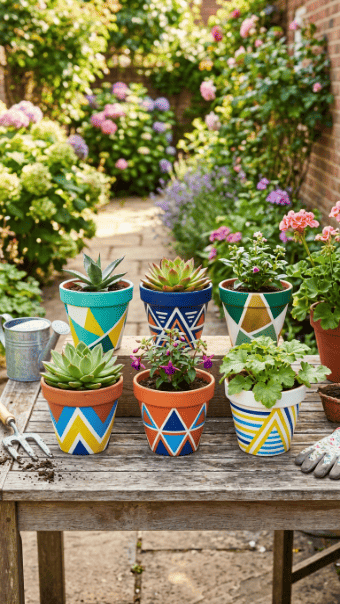
Step 4: Add Designs That Actually Look Good
Random patterns rarely work. You need some structure.
Easy design techniques:
- Painter’s tape → clean stripes, color blocking
- Stencils → floral, geometric, or minimalist designs
- Layering colors → depth and contrast
Want more texture?
- Dab paint with a sponge for a soft, mottled effect
- Use a rag or plastic wrap for abstract finishes
Keep it simple. Overcomplicated designs usually look messy unless you have serious skill.
Step 5: Seal It or Accept That It Won’t Last
Skipping sealing is the fastest way to ruin your work.
After your paint fully dries:
- Apply a clear sealer (matte, satin, or gloss)
- Use 1–2 coats for protection
- Let it cure completely before placing plants inside
Options:
- Clear acrylic sealer spray
- Brush-on sealers
- Products like Mod Podge (for decorative use)
This step protects against:
- Moisture
- UV fading
- Surface scratches
No seal = short lifespan. Simple as that.
Extra Tips That Actually Make a Difference
If you want your pots to look intentional—not like a rushed DIY—pay attention to these:
- Water down thick paint slightly for smoother application
- Work in good lighting so you can see uneven areas
- Use a drop cloth to avoid a mess (paint travels more than you think)
- Stick to a color palette instead of random colors
- Test your design on paper first if you’re unsure
And one more thing: don’t try to fix mistakes while the paint is wet. Let it dry, then correct it. Otherwise, you’ll just make it worse.
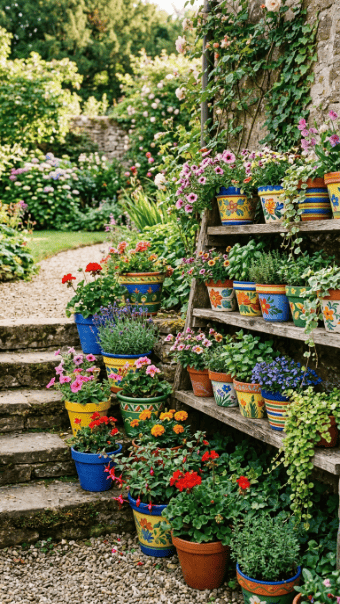
Final Result: A Garden That Actually Looks Designed
When done right, painted pots don’t just “look nice”—they elevate the entire space. Suddenly your garden feels curated instead of chaotic.
Final Takeaway
Most people fail at this because they rush and cut corners. If you slow down, prep properly, and use the right materials, you’ll get results that actually last.
This isn’t about creativity alone—it’s about execution.
Now decide: are you going to do it properly, or just repaint the same pots again in a month?
Save this idea, pick your colors, and start.