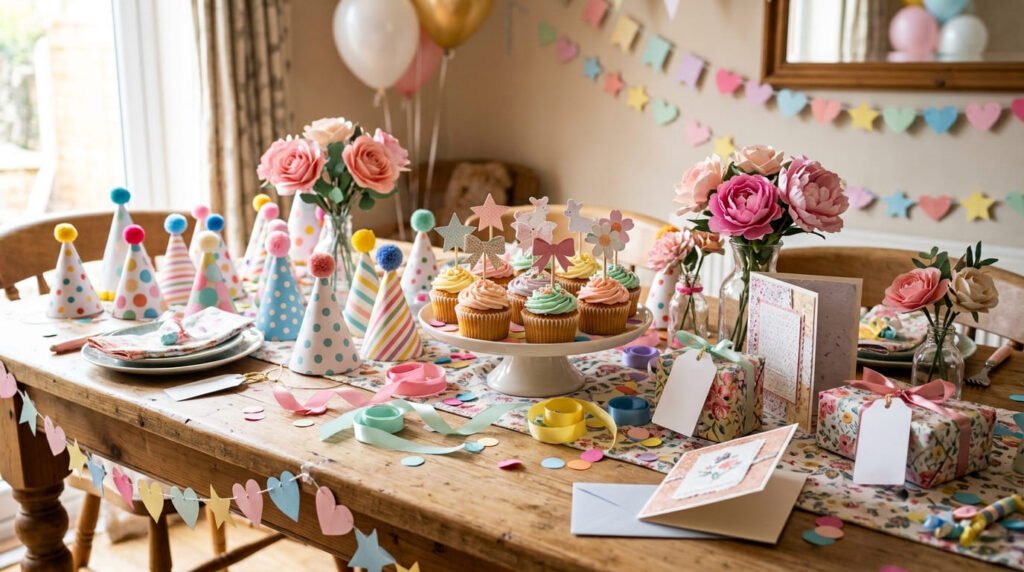
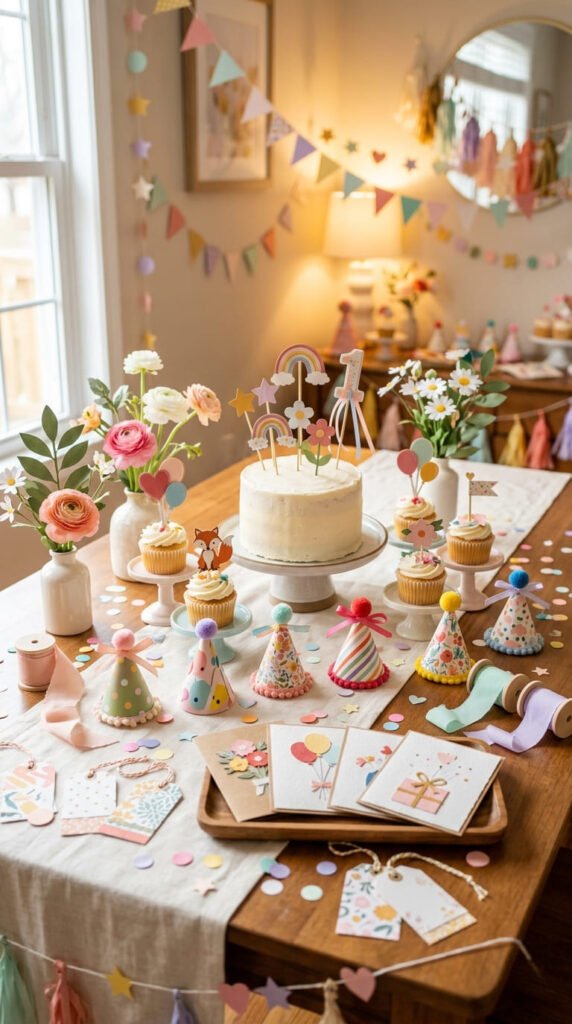
Birthday paper crafts are a fun way to add cute party details without spending a lot on store decorations. With cardstock, tissue paper, wrapping scraps, ribbon, glue, tape, and scissors, you can make handmade birthday cards, toppers, banners, favor bags, table accents, and keepsake pieces that feel personal. These birthday paper crafts work for kids’ parties, teen birthdays, family dinners, classroom celebrations, and last-minute gift tables. Pick a color theme, make a few matching pieces, and your party setup will look thoughtful, happy, and handmade.
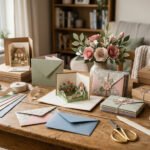
1. Pop-Up Birthday Cake Card
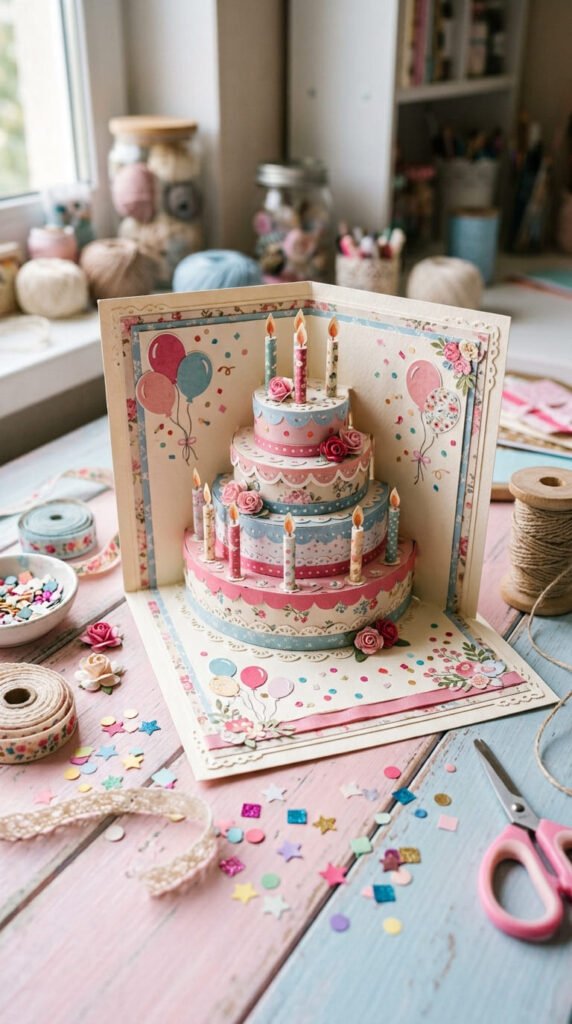
A pop-up birthday cake card is a cute paper craft that feels like a tiny surprise.
Start with a folded cardstock card.
Cut small slits along the fold. Push the cut sections forward so they stand up inside the card.
Cover each pop-up tab with colored paper strips to make cake layers.
Add tiny paper candles on top.
Use scraps for frosting lines, hearts, stars, sprinkles, or small flags.
This card works well when you want a handmade birthday gift but have a small budget.
Use white cardstock for the base and bright paper for the cake.
For a softer style, try pink, cream, peach, and gold.
Kids can decorate the cake pieces while adults handle the cutting.
Keep the layers light so the card closes neatly.
Add a matching paper envelope if you want the gift to feel complete.
This project is great for family birthdays, classroom cards, and best-friend surprises.
It turns a plain folded card into a small birthday moment.
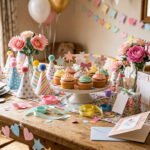
2. Paper Cupcake Toppers
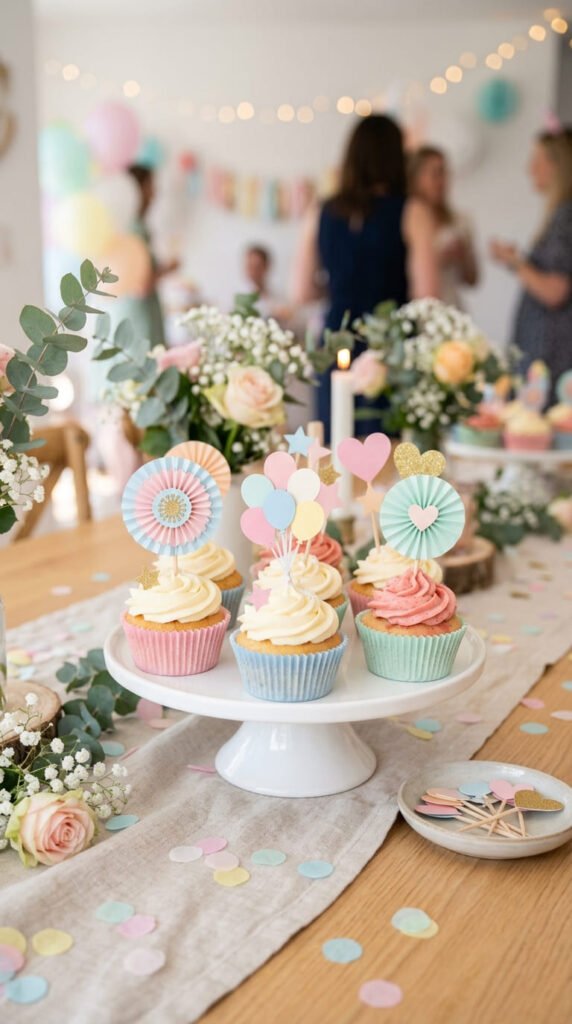
Paper cupcake toppers make simple cupcakes look party-ready in minutes.
Cut small circles, stars, hearts, balloons, flowers, or flags from cardstock.
Glue each shape onto a toothpick, paper straw, or wooden skewer.
Use two matching shapes back to back so the topper looks neat from both sides.
Add small paper layers for extra detail.
Try a tiny rosette, paper bow, or mini balloon shape.
This craft is budget-friendly because one sheet of cardstock can make many toppers.
Use colors from the party theme so the dessert table feels coordinated.
For kids’ birthdays, use bright colors and playful shapes.
For an older birthday, use cream, gold, black, or soft pastels.
Keep the toppers lightweight so they stand upright.
Make them ahead and store them flat in a box.
Place them in cupcakes, donuts, fruit cups, snack jars, or mini cakes.
This is one of the easiest birthday paper crafts because it gives quick results with very little paper.
3. Mini Paper Party Hats
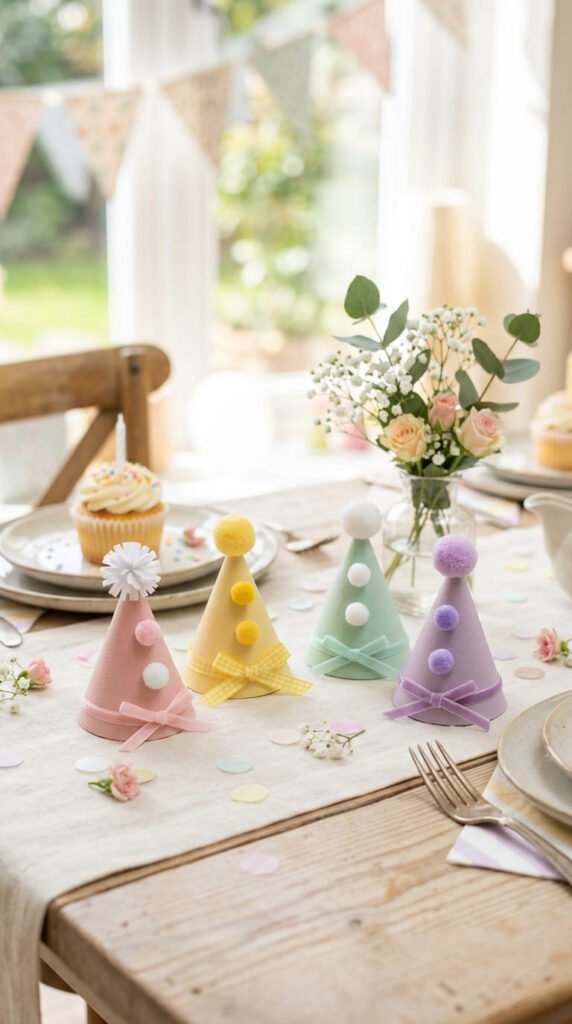
Mini paper party hats are adorable for guests, dolls, pets, cupcakes, or table decor.
Cut a semicircle from cardstock.
Roll it into a cone and tape the side seam.
Add a small paper pom-pom, star, or fringe piece to the top.
Punch two small holes on opposite sides if the hat will be worn.
Tie elastic, string, or ribbon through the holes.
For cupcake hats, glue the mini cone to a toothpick instead.
Use patterned paper, wrapping paper, or scrapbook scraps for a cheap version.
Decorate each hat with paper dots, tiny stars, or fringe around the bottom edge.
Kids can help decorate the cones after an adult cuts the shape.
Make a matching set for the party table.
You can place one mini hat at each seat as a cute place setting.
For photos, create a few larger hats in the same color theme.
This craft is simple, fast, and fun for birthday party details.
It gives the table a playful handmade touch.
4. Layered Birthday Gift Tags
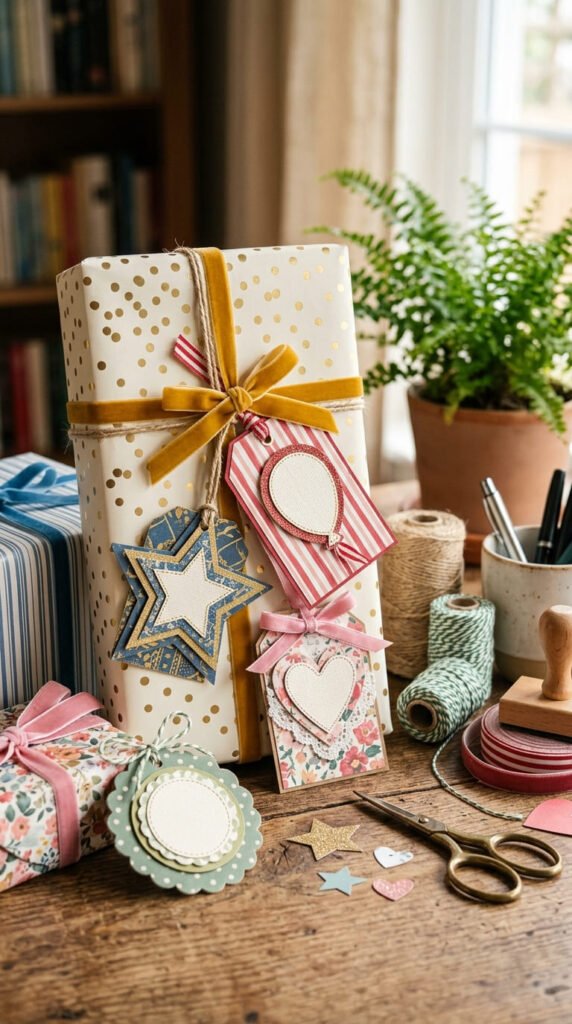
Layered birthday gift tags make even plain wrapping look thoughtful.
Cut tag shapes from cardstock.
Try circles, stars, hearts, balloons, cupcakes, or simple rectangles.
Layer a smaller shape on top of each tag for color.
Punch a hole at the top and add ribbon, yarn, or twine.
Use paper scraps for the top layers, so nothing goes to waste.
A kraft paper tag with a pastel heart looks sweet.
A black tag with gold paper stars feels more grown-up.
Make a full set before the party and keep them in an envelope.
Use the tags on gift bags, favor bags, jars, boxes, or flower bouquets.
For a low-cost party setup, wrap gifts in plain paper and add bold handmade tags.
This saves money while still looking planned.
Kids can make simple tags with punched shapes.
Older crafters can add layered borders, tiny paper bows, or folded flowers.
Gift tags are small, useful, and easy to match with any birthday theme.
5. Paper Balloon Wall Cluster
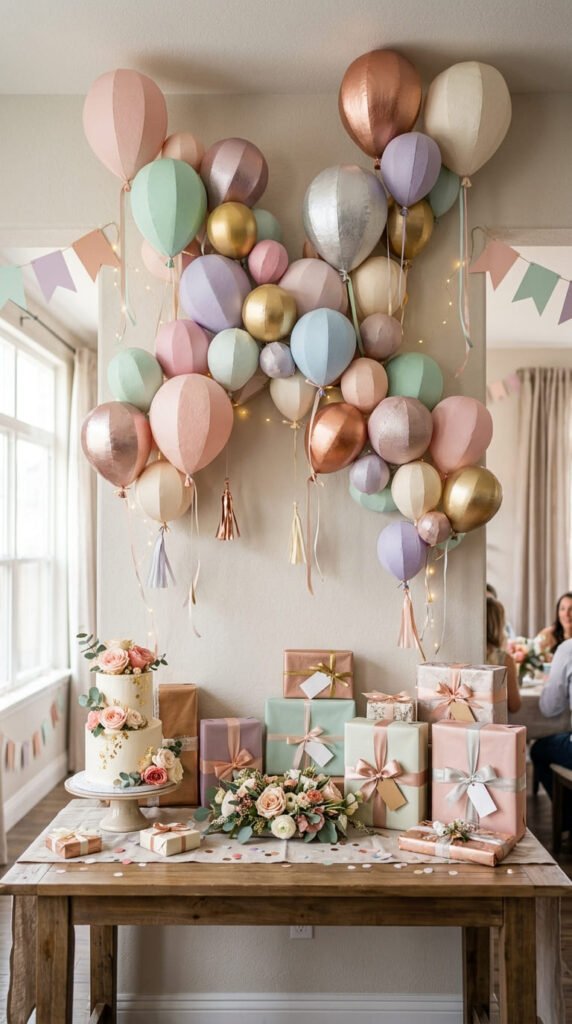
A paper balloon wall cluster gives a birthday backdrop a fun look without real balloons.
Cut balloon shapes from cardstock in different sizes.
Fold each balloon gently down the center so it lifts from the wall.
Add a small paper knot shape at the bottom.
Attach thin string, yarn, or paper strips under each balloon.
Arrange the balloons in a cluster above the cake table, gift table, or photo corner.
Use removable tape or wall-safe dots for hanging.
Choose colors that match the party theme.
Pastels look soft and cute. Bright colors feel playful. Gold and white feel chic.
For a budget version, use leftover cardstock, wrapping paper, or old gift bags.
Place the biggest balloons near the center.
Use smaller balloons around the edges.
You can also add paper clouds, stars, or confetti circles.
This craft is light, easy to remove, and cheaper than buying balloon decor.
It works well for apartments, classrooms, and small home parties.
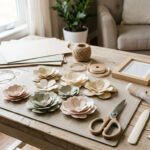
6. Paper Rosette Cake Table Backdrop
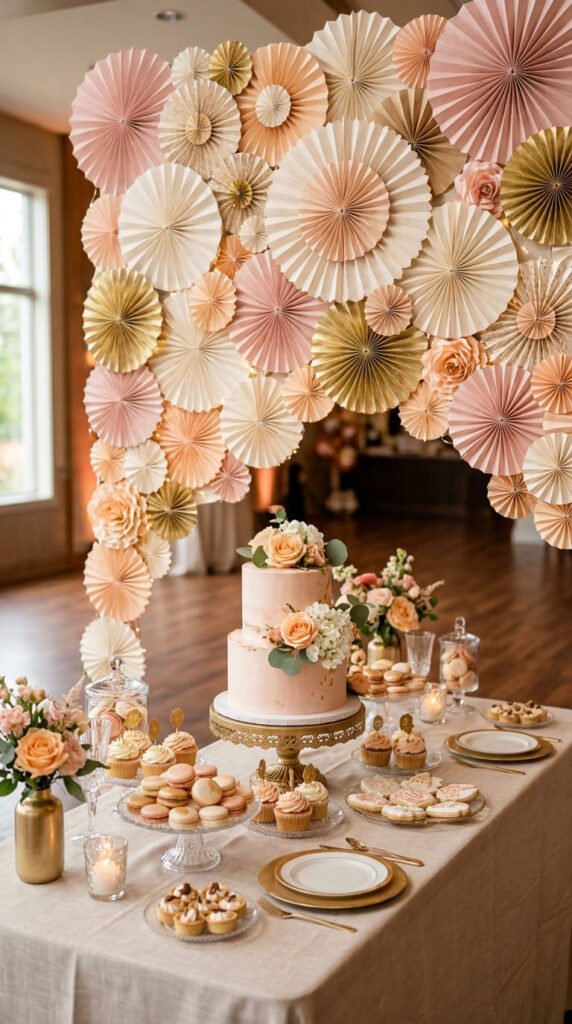
A paper rosette backdrop makes the cake table feel bright and handmade.
Cut long strips of paper.
Fold each strip back and forth like an accordion.
Glue the ends together to make a circle.
Press the circle flat and glue a small paper circle in the center.
Make rosettes in different sizes.
Large ones fill the main wall space. Small ones cover gaps.
Use two or three colors for a clean party look.
Blush, cream, and gold work well for a soft birthday.
Rainbow colors work well for kids.
For a low-cost option, use wrapping paper, old calendars, or magazine pages.
Attach the rosettes to foam board if you do not want to stick them directly to the wall.
Lean the board behind the cake table.
This makes cleanup easier.
Rosettes fold flat after the party, so you can store them for later.
The craft looks detailed, but the folding is simple.
It is a strong choice for cute birthday party photos.
7. Folded Birthday Money Envelope
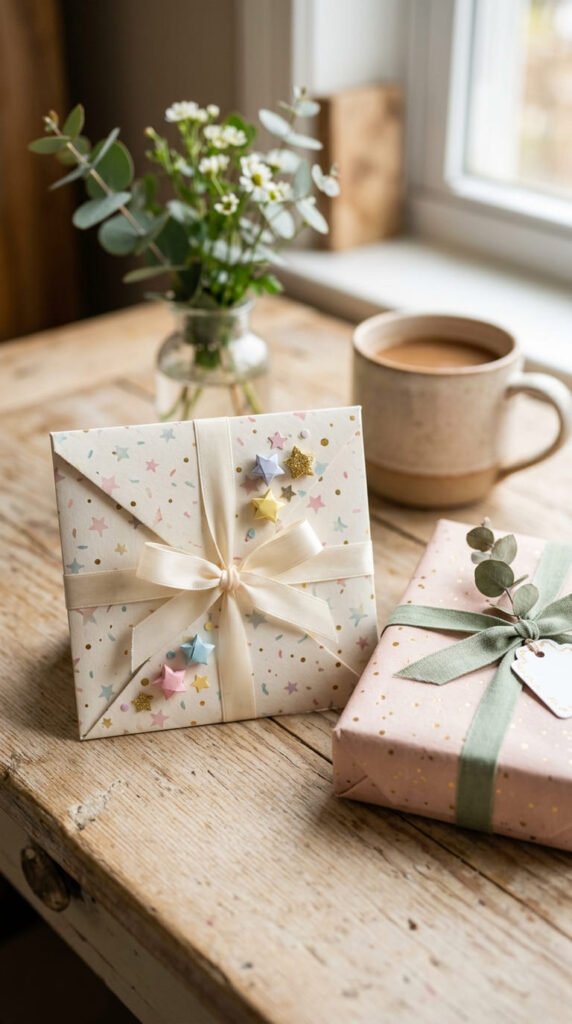
A folded birthday money envelope is a thoughtful way to give cash or gift cards.
Use patterned paper, cardstock, or recycled wrapping paper.
Fold the bottom up to create a pocket.
Fold the sides inward and glue only the edges.
Add a top flap that tucks down neatly.
Decorate the front with paper stars, balloons, hearts, or tiny flowers.
Tie it with ribbon if you want it to feel more like a gift.
This craft works for teens, adults, teachers, coworkers, and family birthdays.
It looks much nicer than handing over a plain envelope.
For a budget-friendly version, use leftover gift wrap over a plain paper base.
Make the pocket slightly larger than the card or money.
Add a small pull tab inside if you want the gift card to slide out easily.
Use thick paper so the envelope holds its shape.
You can match the envelope to the birthday theme.
It is quick, useful, and easy to personalize.
8. Paper Confetti Favor Pouches
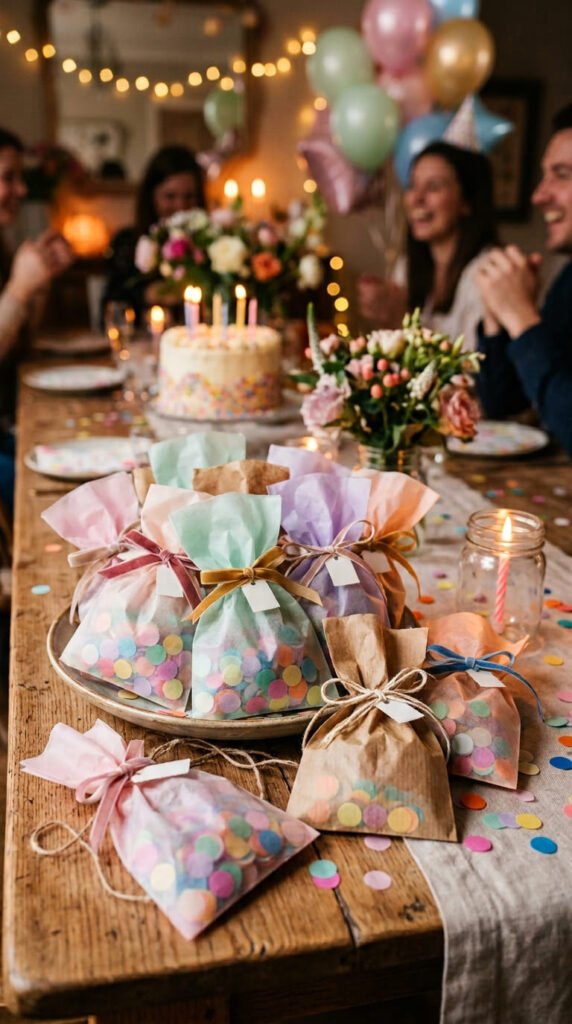
Paper confetti favor pouches are cute for party tables, gift bags, and photo moments.
Cut small rectangles from tissue paper, vellum-style paper, or thin wrapping paper.
Fold each rectangle in half.
Tape or glue the side edges to make a pouch.
Fill it with paper confetti made from punched circles, stars, hearts, or tiny scraps.
Close the top with ribbon, twine, or a folded paper seal.
Use colors that match the party palette.
This craft is very budget-friendly because confetti can be made from leftover paper.
Keep the pouches small so they do not make a big mess.
You can place one at each seat or tuck them into favor bags.
For a no-mess version, fill the pouch with paper stars or mini notes instead.
Kids can help punch the confetti if an adult handles the tool.
These pouches are simple, cute, and easy to make in batches.
They add a handmade detail that guests will notice.
9. Birthday Crown Headbands
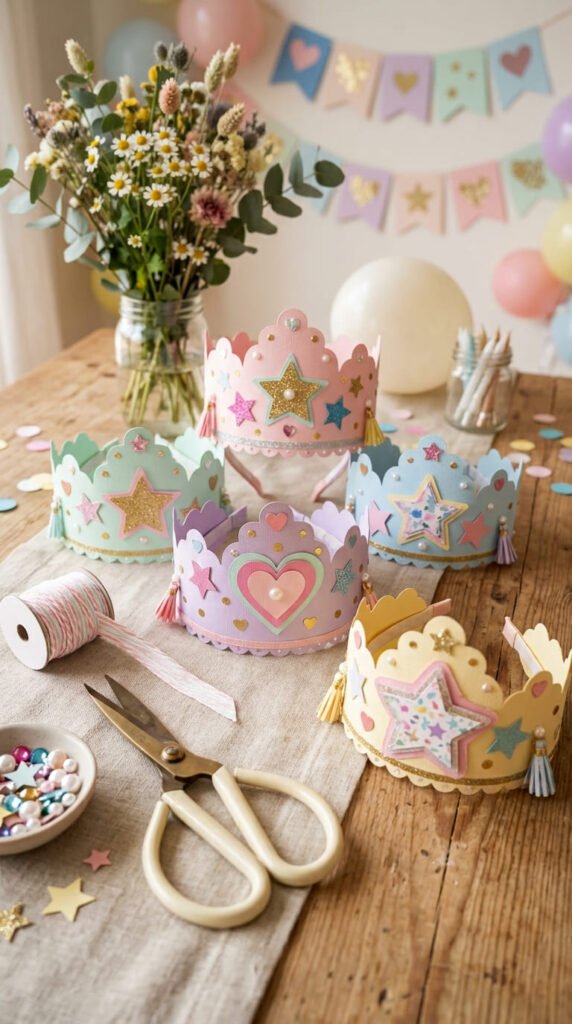
Birthday crown headbands are fun for the birthday person and guests.
Cut a long strip of cardstock for the band.
Add triangle points, rounded arches, or scalloped edges along the top.
Wrap the strip around the head to check the size.
Tape or glue the ends.
Decorate the crown with paper gems, stars, hearts, flowers, or tiny circles.
Use gold paper for a classic birthday crown.
Use pastel paper for a softer look.
Use bright colors for kids’ parties.
For a budget-friendly option, cut crowns from poster board scraps or cereal boxes covered with paper.
Make one larger crown for the birthday person and smaller crowns for guests.
This craft can also become a party activity.
Set out pre-cut crowns and let guests decorate their own.
Keep the decorations light so the headband stays comfortable.
These crowns are cute in photos and easy to match with the party theme.
They bring handmade fun to the celebration without a big cost.
10. Paper Flower Party Centerpieces
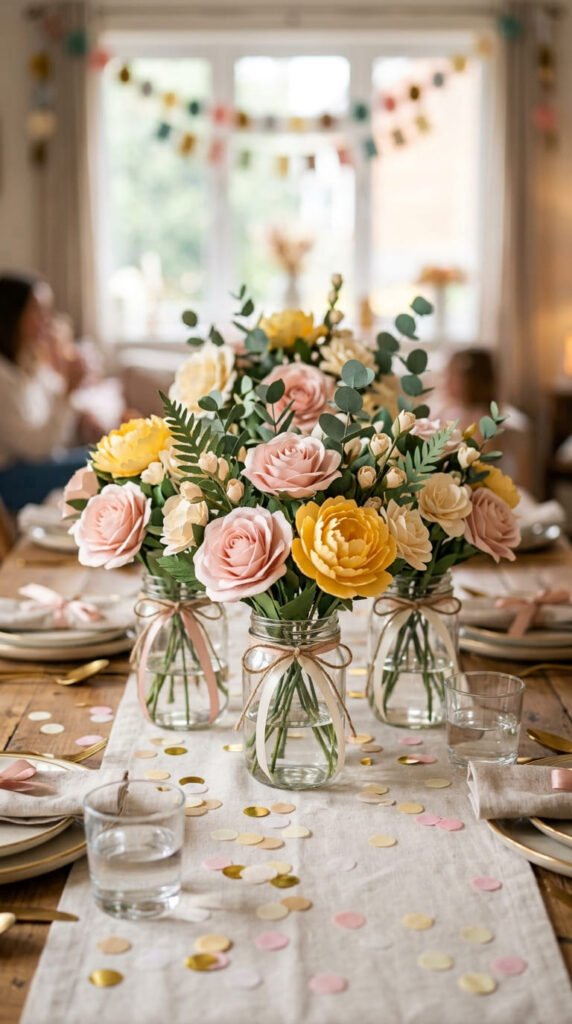
Paper flower centerpieces are pretty, affordable, and easy to match with any birthday theme.
Cut simple petal shapes from colored paper or cardstock.
Curl the petals with a pencil.
Glue them around a small paper circle.
Add a rolled paper center or a tiny button.
Use paper straws, skewers, or rolled green paper for stems.
Place the flowers in jars, cups, or small vases.
Wrap the jars with ribbon, twine, or paper bands.
Make one centerpiece for the cake table and smaller ones for guest tables.
For a budget-friendly version, use glass jars from sauces or drinks.
Cover labels with paper or ribbon.
Choose colors based on the party style.
Pink and peach feel sweet. Yellow and white feel cheerful. Blue and silver feel cool.
Add paper leaves to make the arrangement look fuller.
These flowers can be made days before the party.
After the celebration, they can become room decor or a small thank-you gift.
They are simple, cute, and long-lasting.
11. Surprise Pull-Tab Birthday Card
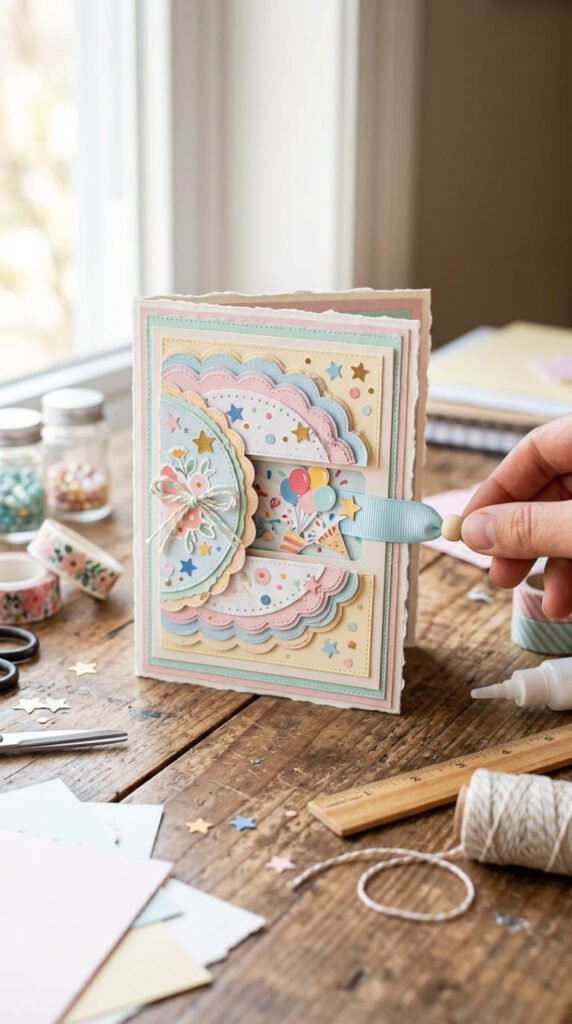
A surprise pull-tab birthday card adds a playful reveal to a handmade greeting.
Start with a folded cardstock card.
Create a paper pocket on the front by gluing only the side and bottom edges.
Cut a long paper tab that slides inside the pocket.
Attach a ribbon or small paper circle at the top of the tab.
Decorate the front with paper balloons, stars, cupcakes, or confetti shapes.
When the receiver pulls the tab, a hidden message or picture appears.
Use thick paper so the tab slides smoothly.
Keep glue away from the center track.
This craft works for kids, teens, best friends, and family birthdays.
For a cheap version, use plain cardstock with scrap paper decorations.
Make the card brighter by layering small paper shapes.
You can add a tiny paper cake on the pull tab for extra fun.
Test the sliding piece before finishing the card.
This project is still simple, but it feels more interactive than a flat card.
It is great for birthdays that deserve a little surprise.
12. Paper Star Garland
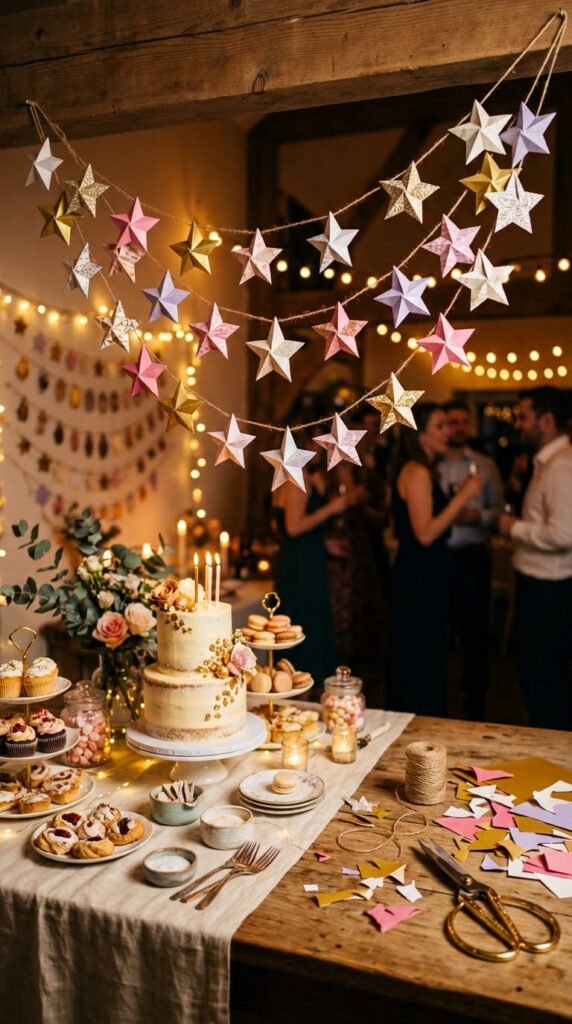
A paper star garland is a simple birthday decoration that works in many themes.
Cut stars from cardstock, wrapping paper, or recycled gift bags.
Make them in different sizes for a playful look.
Punch two small holes in each star and thread string through them.
If you do not have a punch, tape the stars to the string from the back.
Use gold and white for a classy party.
Use rainbow stars for kids.
Use pink, lavender, and silver for a sweet theme.
Hang the garland above the cake table, doorway, photo wall, or gift station.
For a budget-friendly version, use old birthday wrapping paper.
You can also fold each star gently in half for a 3D effect.
Store the garland after the party by wrapping it around cardboard.
This helps stop tangles.
Paper star garlands are lightweight, cheap, and easy to make in one sitting.
They add sparkle without glitter, mess, or expensive decor.
13. Mini Paper Gift Boxes
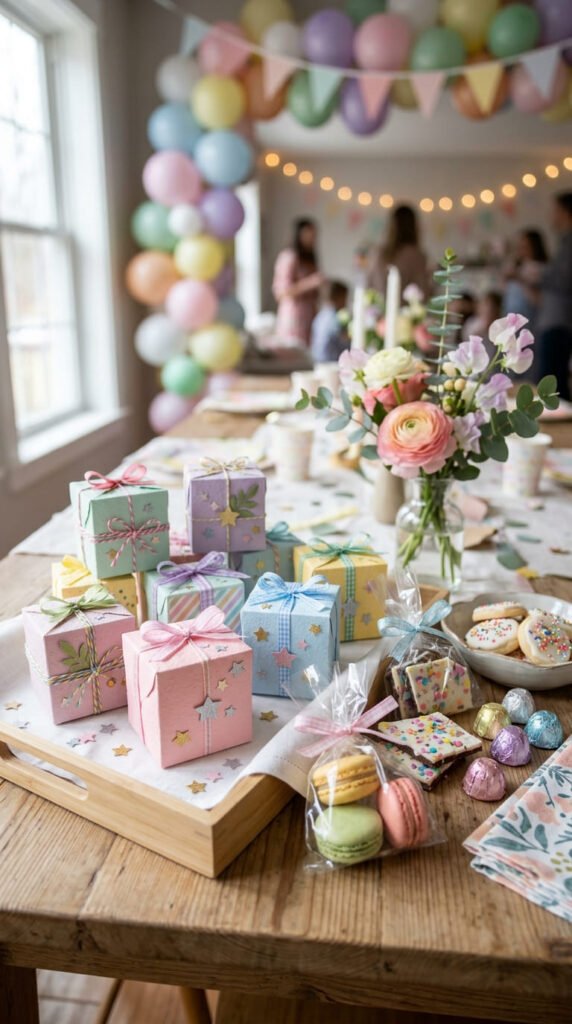
Mini paper gift boxes are perfect for small birthday treats and favors.
Use cardstock for the best shape.
Fold one square into a small box.
Fold another square slightly larger for the lid.
If folding feels tricky, cover a small recycled box with cute paper.
Decorate the lid with a paper bow, star, heart, flower, or tiny rosette.
Fill the box with candy, stickers, hair clips, mini toys, or folded notes.
Use colors from the party theme so the boxes match the table.
For a budget-friendly option, use cereal box cardboard covered with wrapping paper.
Make one box for each guest.
Place them on plates, in a basket, or near the exit table.
You can also use them as cupcake boxes if the paper is strong enough and food is wrapped.
Keep the gifts light so the boxes do not bend.
Mini boxes are cute because they feel like tiny presents.
They take a little folding, but the final result is useful and party-ready.
14. Paper Ice Cream Cone Decor
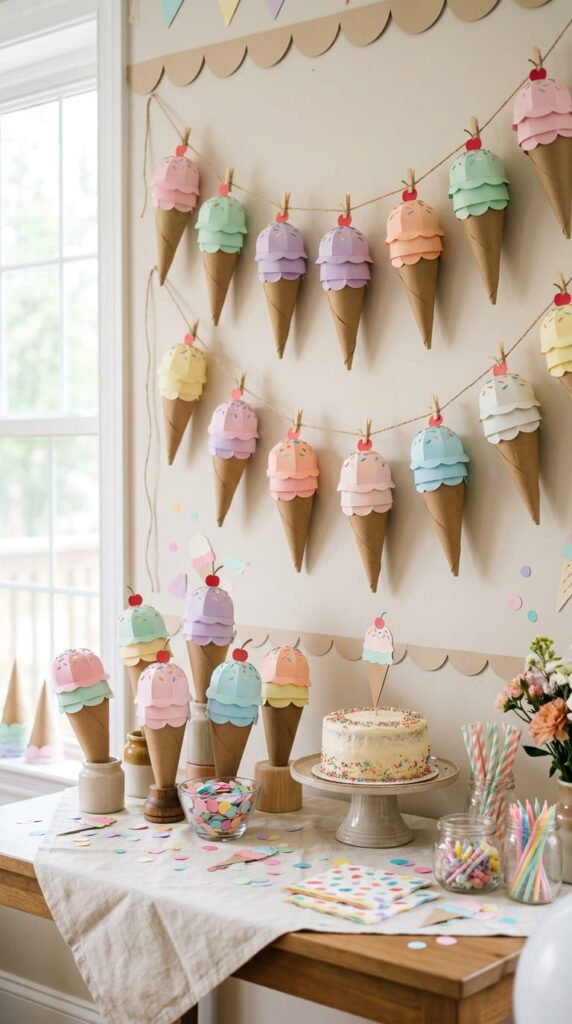
Paper ice cream cone decor is a cute choice for summer birthdays and kids’ parties.
Cut triangle shapes from kraft paper or brown cardstock for cones.
Add thin paper strips or marker lines for a waffle pattern.
Cut round scoop shapes from pastel or bright paper.
Stack two or three scoops above each cone.
Add tiny paper sprinkles, cherries, hearts, or stars.
Use the cones on a wall, banner, table runner, or favor bag.
For a budget-friendly version, use paper scraps for the sprinkles and scoops.
Make a full set in different “flavors” so the display feels playful.
Kids can help build the cones as a pre-party craft.
Use tape or glue sticks for easy assembly.
You can also attach mini cones to toothpicks as cupcake toppers.
This craft works well with pastel party plates, candy tables, and pretend ice cream stations.
It is simple, cheerful, and very easy to customize.
The dessert theme feels fun without needing expensive decor.
15. Handmade Birthday Banner Pieces
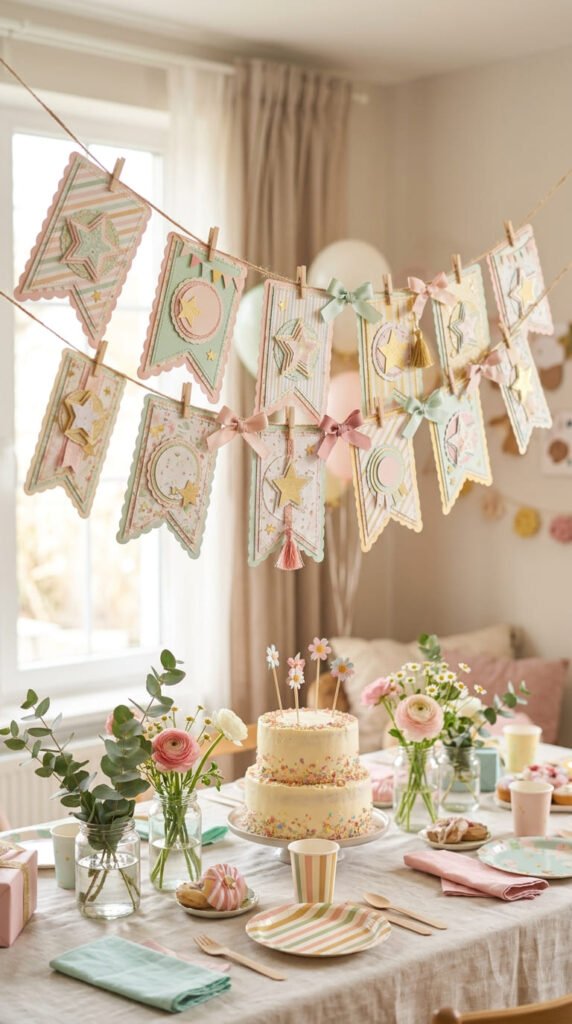
Handmade banner pieces can dress up a wall, doorway, cake table, or photo corner.
Cut flag shapes from cardstock.
Try triangles, rectangles, scallops, circles, or shield shapes.
Layer smaller paper pieces on top for color.
Punch holes at the top corners and thread string or ribbon through.
Use one color theme so the banner looks neat.
For a low-cost version, use leftover gift wrap glued onto cardstock.
Add paper stars, flowers, balloons, or mini rosettes between the flags.
You can make the banner small for a chair back or long for a wall.
If you want it to last, use thicker paper and reinforce the holes with tape.
This craft can be made before the party and reused later.
Store it flat in a folder or box.
Banners are great because they fill space quickly.
They also help tie the whole party table together.
Even simple paper flags can make a birthday setup feel more festive and handmade.
16. Paper Photo Booth Props
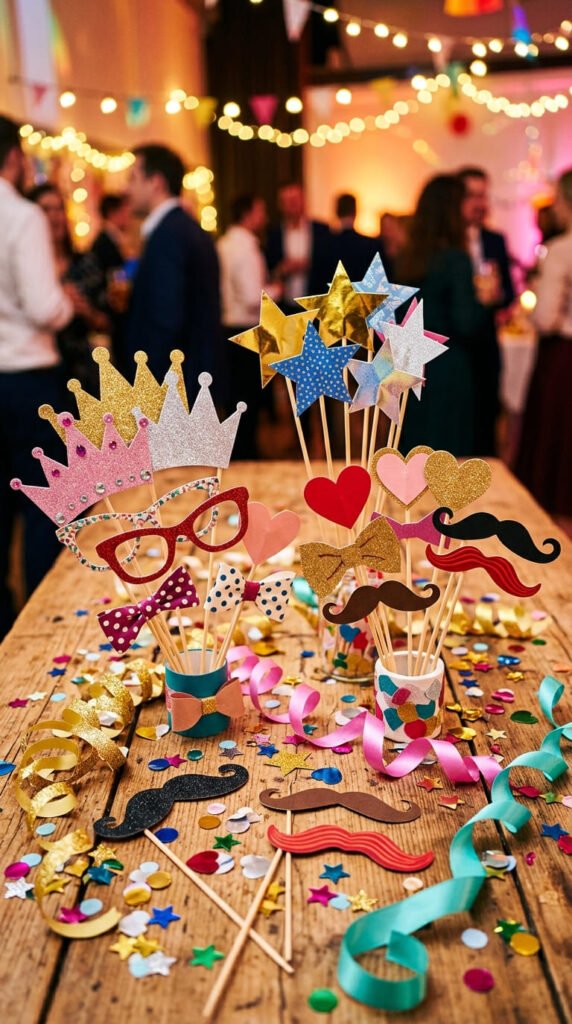
Paper photo booth props make birthday pictures more fun without buying a prop kit.
Cut shapes from cardstock.
Try crowns, stars, hearts, glasses, bows, speech bubbles without writing, mustaches, lips, cupcakes, or party hats.
Glue each shape to a wooden skewer, paper straw, or rolled paper handle.
Use thicker paper so the props stay straight.
Decorate them with layered shapes, dots, stripes, or metallic paper accents.
For a budget-friendly set, use scrap cardstock and leftover wrapping paper.
Place the props in a jar near a blank wall or paper backdrop.
Guests can grab one for photos.
Make a few large props and several small ones.
Kids can help decorate the shapes before the party starts.
Keep sharp stick ends covered with tape for safety.
This craft is great for all ages because it turns simple paper into party entertainment.
The props also make the photo area look styled.
After the party, store them for another celebration.
17. Tissue Paper Pom-Pom Flowers
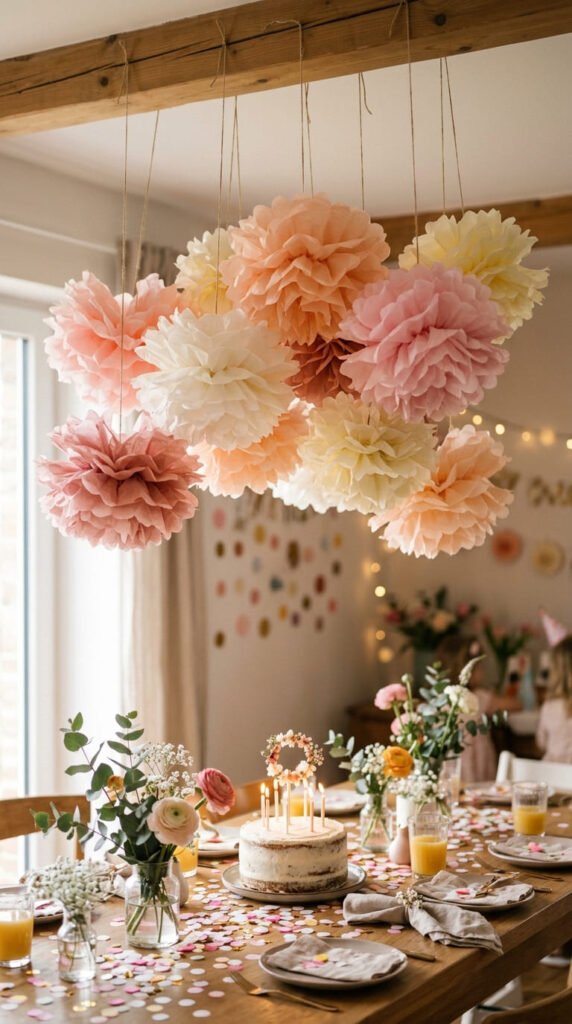
Tissue paper pom-pom flowers add color and volume to a birthday space.
Stack several sheets of tissue paper.
Fold them back and forth like an accordion.
Tie the center with string, ribbon, or a twist tie.
Trim the ends into rounded or pointed shapes.
Pull the tissue layers apart slowly.
Fluff each side until the flower looks full.
Make several sizes for a softer display.
Hang them above the cake table, tape them to a wall, or place them around a party backdrop.
Tissue paper is cheap and lightweight, so this craft is great for larger spaces.
Use one color for a clean theme or mix two colors in each flower.
For a budget tip, use tissue paper saved from gift bags.
Make them a day before the party and store them in a large box.
Do not crush them under heavy items.
These pom-poms are fast, cute, and perfect for birthdays at home.
They fill empty space without heavy decorations or costly supplies.
18. Paper Candle Cake Picks
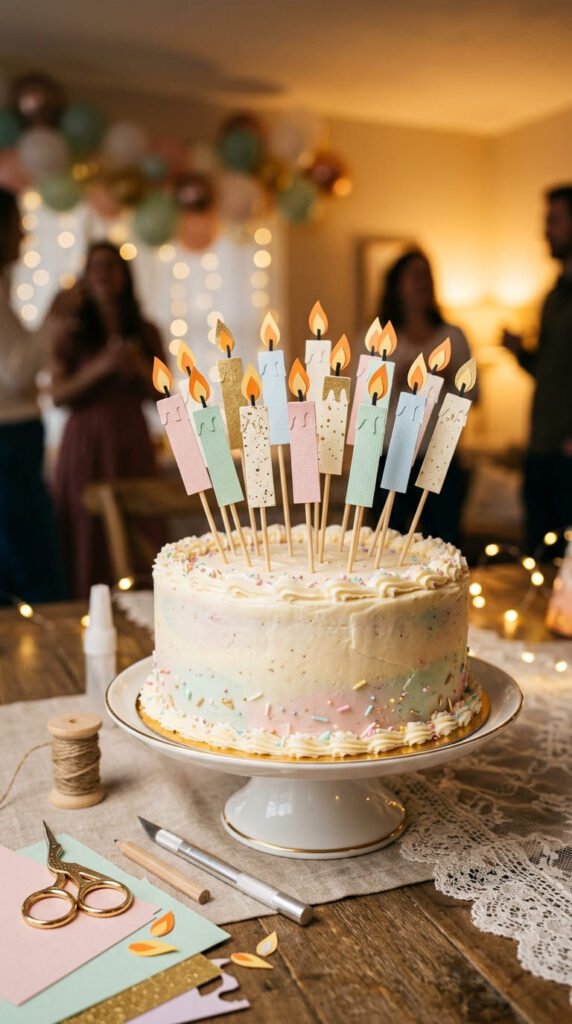
Paper candle cake picks are cute for dessert tables, especially when real candles are not the focus.
Cut small rectangles from colored paper for candle bodies.
Add tiny flame shapes from yellow and orange paper.
Glue the candle pieces onto toothpicks or paper straws.
Use striped paper, glitter-look paper, or pastel cardstock for the candle bodies.
Make several picks in different heights.
Place them in cupcakes, wrapped treats, or a decorative foam cake.
For food safety, keep glue and paper away from anything wet.
Insert picks only into wrapped treats or use food-safe barriers.
This craft is great for photo cakes, faux cakes, dessert stands, and cupcake displays.
A budget-friendly version can use paper scraps from other birthday crafts.
Make matching candle picks and cupcake toppers for a coordinated table.
You can also add paper stars or mini bows behind the candles.
They are easy to make and give the dessert table a handmade birthday look.
They work especially well for kids’ parties and pastel themes.
19. Birthday Memory Jar Notes
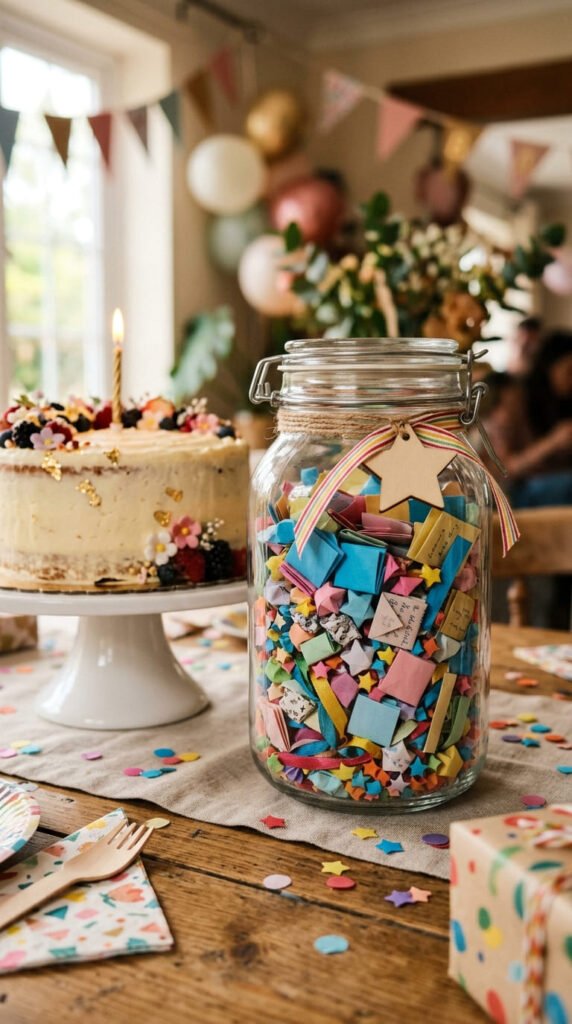
Birthday memory jar notes make a simple craft feel personal.
Cut small paper rectangles from colored paper.
Fold each note and place it in a jar, box, or paper pouch.
Guests can add memories, wishes, jokes, drawings, or kind messages.
Decorate the jar with paper stars, hearts, flowers, or ribbon.
Use a recycled jar to keep the cost low.
Place extra blank slips and pens near the jar during the party.
For kids, use larger paper pieces so writing is easier.
For a family birthday dinner, ask everyone to add one note before cake.
After the party, the birthday person can open the notes slowly.
This craft doubles as an activity and keepsake.
It is a nice option when you want more than party decor.
Make the slips match the party colors.
Use a paper band around the jar for a finished look.
This project is easy, affordable, and meaningful.
It gives the birthday person something to keep long after the cake is gone.
20. Paper Butterfly Party Accents
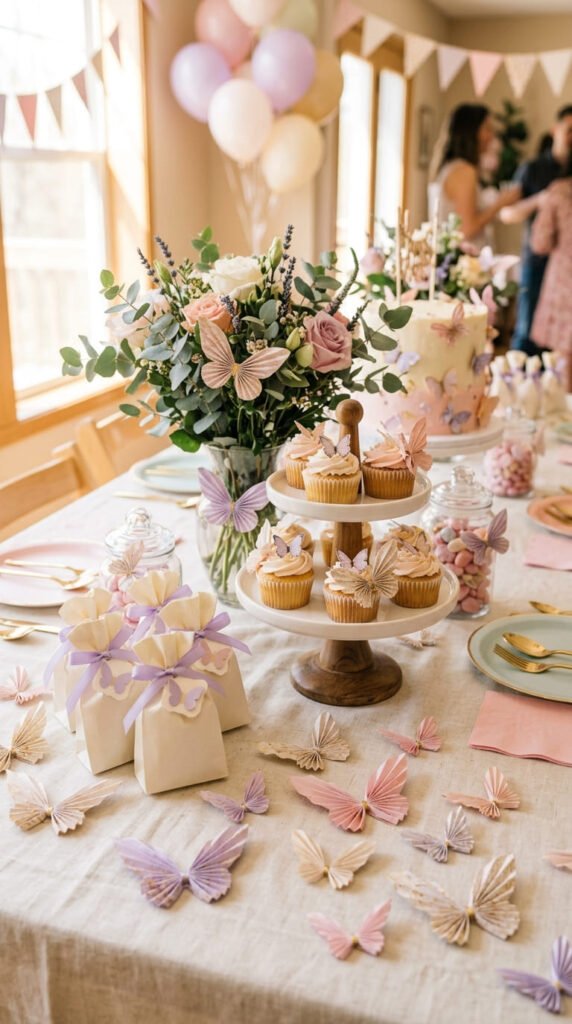
Paper butterfly accents add a soft, cute detail to birthday decor.
Cut butterfly shapes from cardstock or patterned paper.
Fold each butterfly down the middle so the wings lift.
Layer a smaller butterfly over a larger one if you want more depth.
Use them on favor bags, gift boxes, cupcake toppers, wall clusters, or table settings.
Attach them with glue dots, tape, or tiny clips.
For a budget-friendly version, use wrapping paper scraps or old gift bags.
Butterflies work well for garden parties, fairy themes, pastel birthdays, and spring celebrations.
Use soft pink, lavender, cream, and gold for a gentle look.
Use bright colors for kids’ parties.
Make a few large butterflies for the wall and many small ones for the table.
They are quick to cut and easy to store flat.
The folded wings create cute shadows in photos.
This craft is simple but adds a polished detail across the whole party.
21. Recycled Wrapping Paper Garland
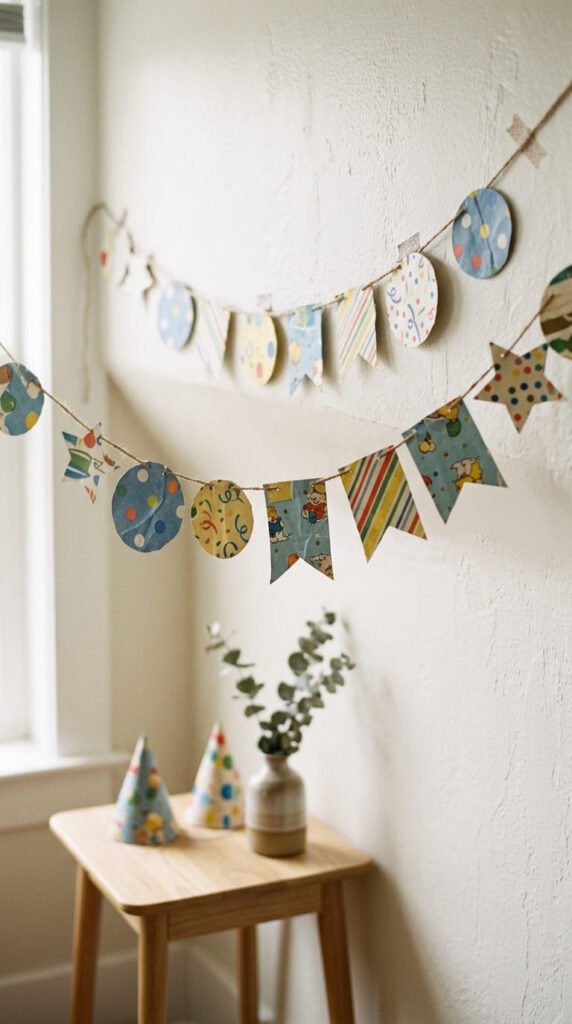
A recycled wrapping paper garland is a smart way to use paper you already have.
Save gift wrap from earlier birthdays, holidays, or packages.
Cut it into circles, flags, stars, hearts, or strips.
Attach the shapes to string with tape or glue.
You can also sew through the paper if you have a sewing machine, but tape works fine.
Mix solid paper with patterned paper so the garland does not feel too busy.
Hang it across a wall, doorway, window, table edge, or dessert backdrop.
This craft costs almost nothing and can be made quickly.
It is also a good activity for kids if adults cut the shapes first.
Use the best pieces of wrapping paper and avoid torn sections.
If the paper is thin, glue it onto plain paper first.
This makes the shapes stronger.
The garland adds color to the party while reducing paper waste.
It is cute, practical, and easy to match with birthday gift wrapping.
22. Mini Accordion Birthday Scrapbook
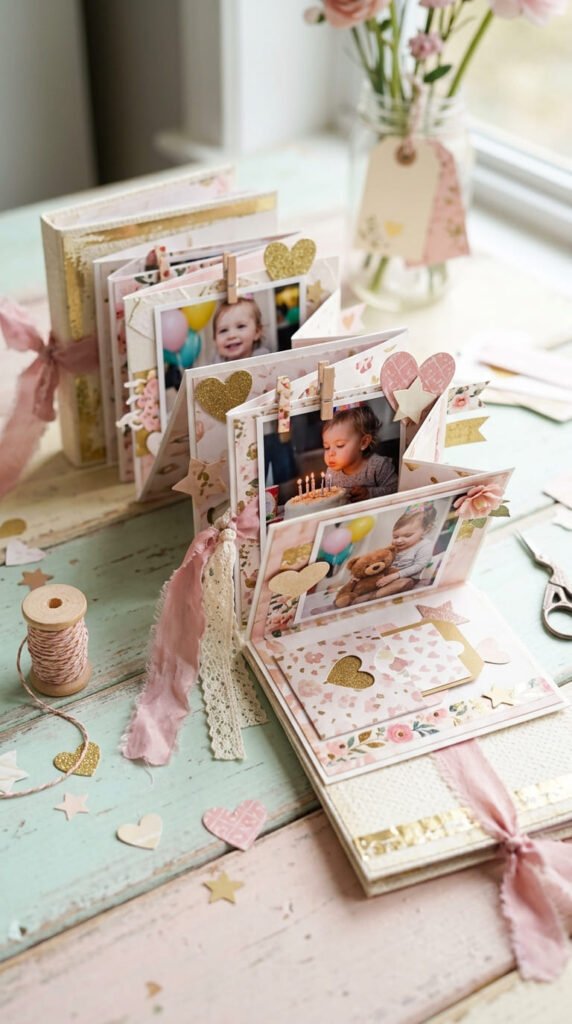
A mini accordion birthday scrapbook is a thoughtful paper keepsake.
Cut a long strip of cardstock.
Fold it back and forth into equal panels.
Decorate each panel with small photos, paper shapes, ticket stubs, birthday notes, or tiny pockets.
Tie the folded scrapbook closed with ribbon.
Use a small paper cover on the front and back for a book-like finish.
This craft works well for best friends, parents, siblings, partners, and milestone birthdays.
Keep each page simple so the scrapbook folds flat.
Use matching colors across the panels for a clean look.
A budget-friendly version can use recycled envelopes as pockets.
Add paper stars, balloons, flowers, or hearts for birthday details.
Make it small enough to fit inside a gift box.
This craft takes more time than a card, but it feels much more personal.
It is a sweet way to turn paper into a memory gift.
The receiver can keep it on a desk, shelf, or memory box.
23. Paper Treat Cone Favors
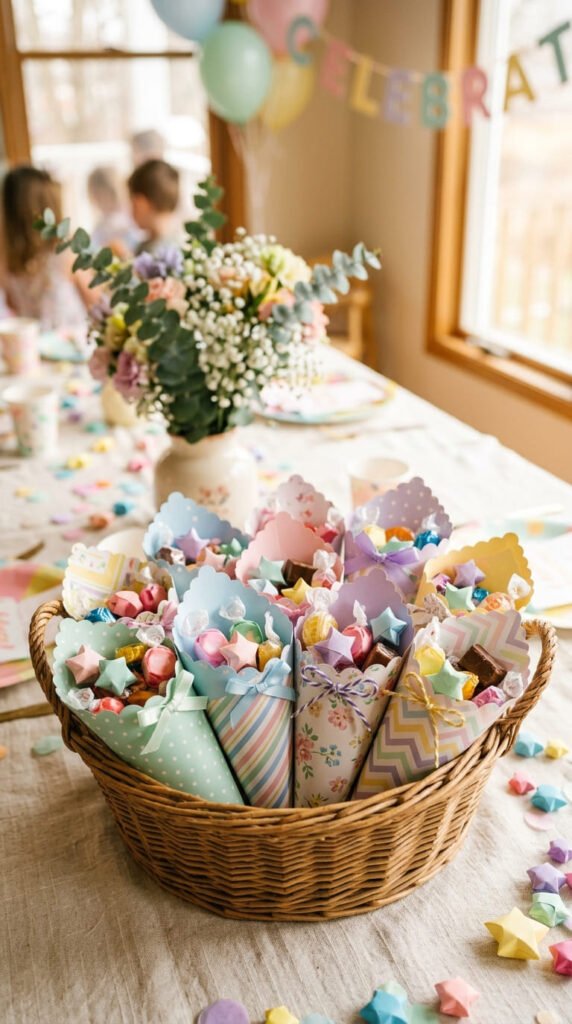
Paper treat cone favors are cute, quick, and perfect for birthday guests.
Roll a sheet of paper into a cone shape.
Tape or glue the side seam.
Trim the top edge if it looks uneven.
Add a handle with ribbon, string, or a paper strip.
Fill the cone with wrapped candy, popcorn, stickers, tiny toys, or paper stars.
Use cardstock for stronger cones.
Use wrapping paper for a prettier outside layer.
For a budget-friendly version, roll kraft paper and decorate it with paper hearts or stars.
Place the cones in a basket or stand them inside cups.
Make one cone for each guest.
Use party colors so the favors match the table.
Do not overfill the cones, or the paper may bend.
Add tissue paper at the top for a fuller look.
These favors can be made the night before the party.
They are lightweight, easy to carry, and fun for kids to take home.
This craft turns simple paper into a sweet party detail.
Conclusion
Birthday paper crafts can make a party feel cute, personal, and handmade without a big budget. Start with one main detail, like a pop-up card, cupcake topper, banner, paper flower centerpiece, or favor cone. Then repeat the same colors across smaller items such as tags, garlands, toppers, and envelopes. With paper, glue, ribbon, and a little time, you can create birthday details that look thoughtful, photograph well, and make the celebration feel extra special.