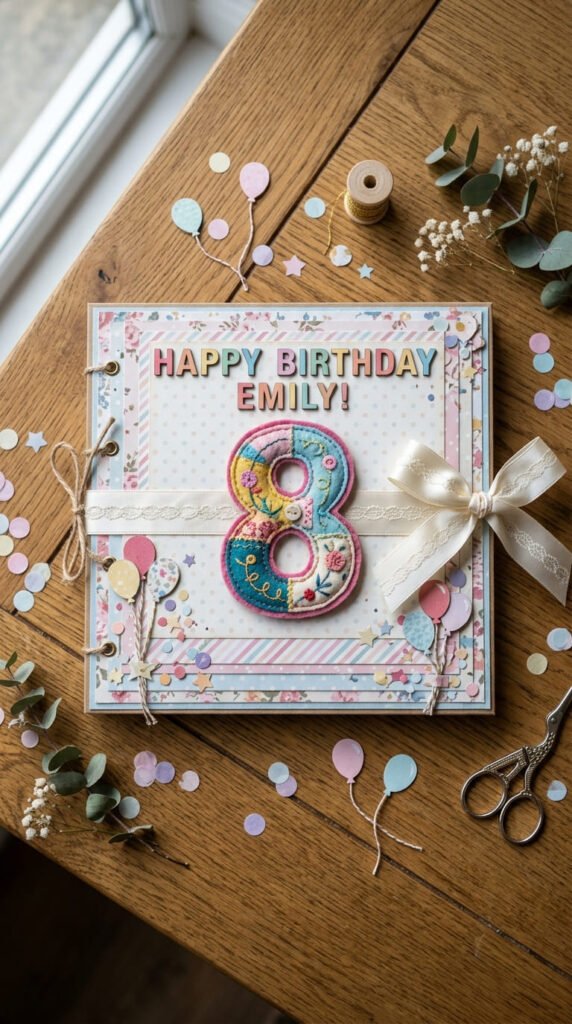
Making a birthday scrapbook cover is where the whole album starts to feel personal. The cover sets the mood before anyone flips a single page. It tells the story of who the album is for, how old they turned, and what made the day special. You don’t need fancy skills or expensive supplies to make one look polished. A little patterned paper, some stickers, a ribbon, and a bold title can carry the whole design. This list walks you through 22 simple, affordable cover ideas you can make at home. Each one comes with easy DIY steps and budget tips so you can move from idea to finished cover fast. Whether you’re crafting for a first birthday, an 18th, or a milestone 50th, there’s a style here that fits. Let’s get into the ideas.
1. Bold Age Number as the Star
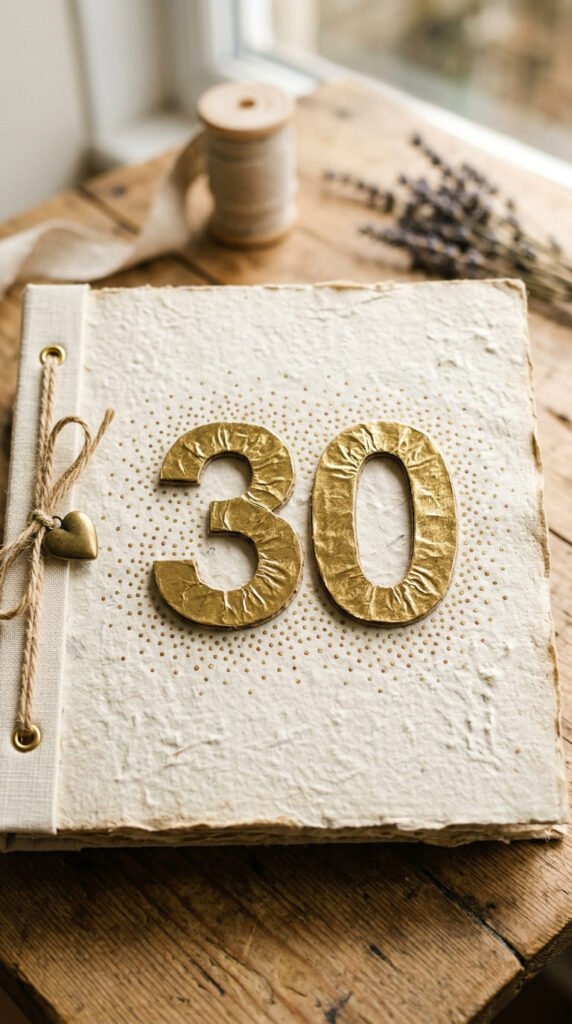
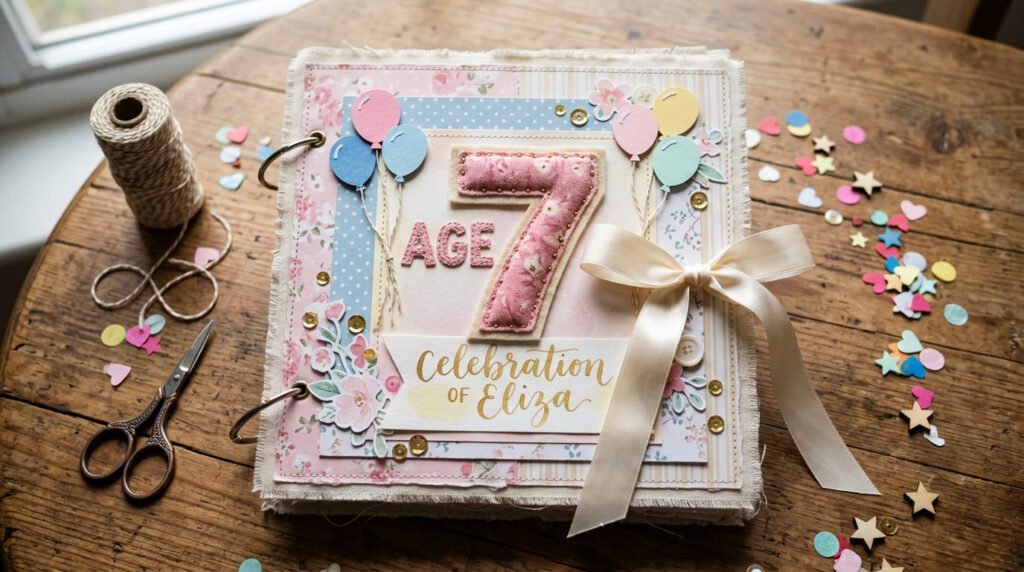
Put the birthday age front and center. A big number instantly tells everyone what the album celebrates. Cut a large number from thick cardstock or foam board. Cover it in foil paper, glitter, or patterned scrapbook sheets. Glue it right in the middle of your cover.
Keep the background simple so the number pops. A plain kraft or white base works best. Add a few small accents around it, like paper dots or tiny stars.
Budget tip: use leftover wrapping paper to wrap the number. It costs nothing and adds instant shine. You can also trace the number from a printed template on your phone screen.
This style works for any age. It shines most for milestones like 16, 18, 21, or 50. The bigger the number, the bolder the cover feels.
2. Happy Birthday Title Front and Center
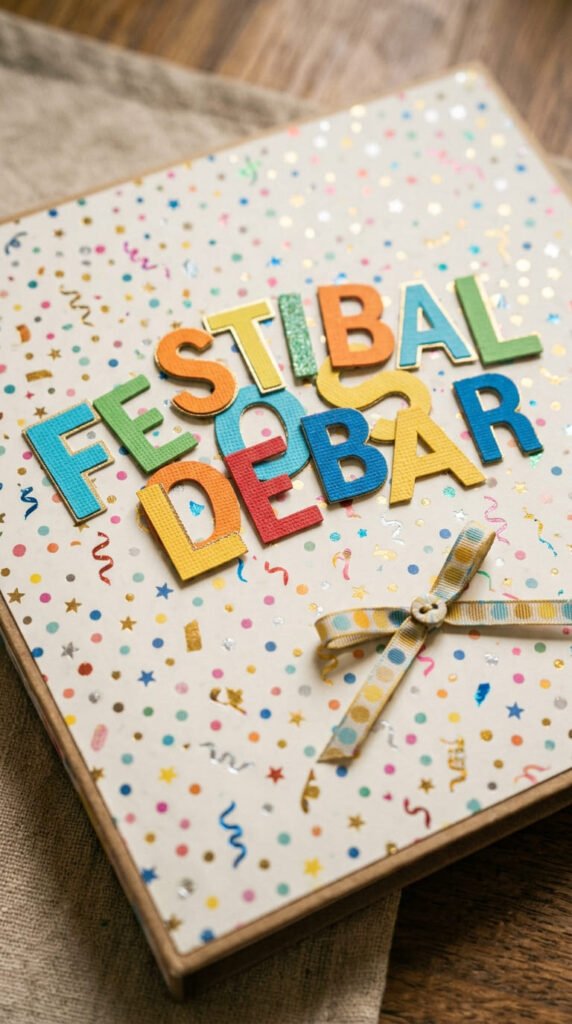
Let the title do the heavy lifting. A clear “Happy Birthday” across the top sets the tone right away. Use alphabet stickers, cut letters, or stencils for a clean look.
Line the letters up straight for a tidy feel. Or stagger them slightly for a playful vibe. Both work well on birthday covers.
Pick two colors that match the party theme. Keep the rest of the cover simple so the words stand out.
Budget tip: print block letters at home and cut them out. A free font and plain paper give you a custom title for pennies. Alphabet sticker packs from dollar stores also stretch far.
Add the person’s name under the title if you have room. It makes the cover feel made just for them.
This is one of the easiest covers for beginners. No layering, no fuss. Just letters, a background, and a small accent or two.
3. Theme-Matched Party Colors
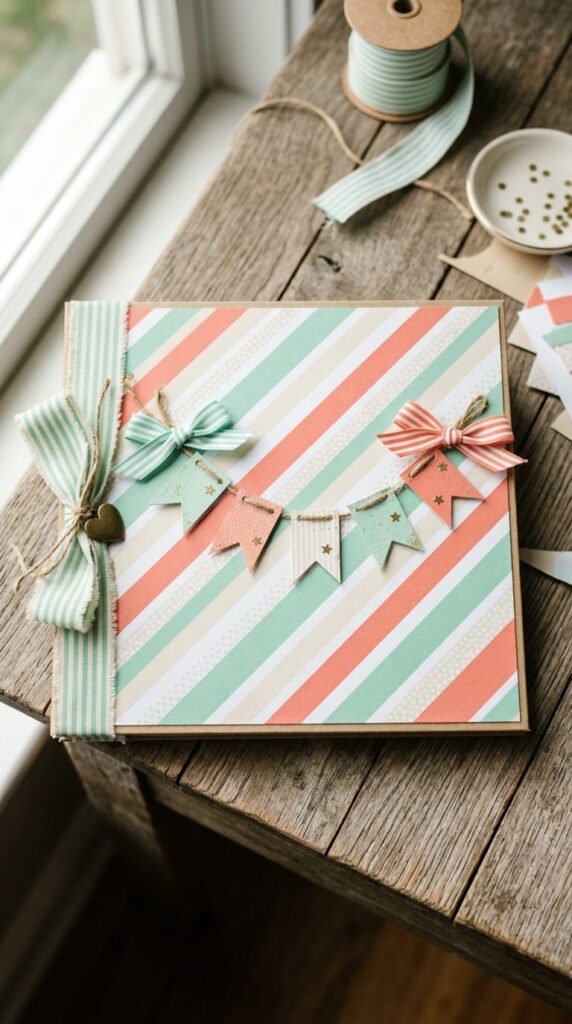
Match your cover to the party theme. Pull the same colors from the balloons, plates, and decorations. This ties the whole album together and looks intentional.
Pick two or three main colors. Use them in your paper, ribbon, and stickers. Repeating the shades keeps things cohesive.
A mini paper banner across the cover adds festive charm. String tiny triangles on thread and glue the ends down.
Budget tip: save leftover party napkins and streamers. Cut them into shapes or strips for cheap themed accents. Nothing goes to waste, and the colors already match perfectly.
Think about the person’s favorite color too. A cover built around what they love feels more personal.
This idea works for kids and adults alike. A pastel unicorn party or a sleek black-and-gold birthday both fit the same method. The colors carry the theme without extra effort.
4. Recycled Wrapping Paper Cover
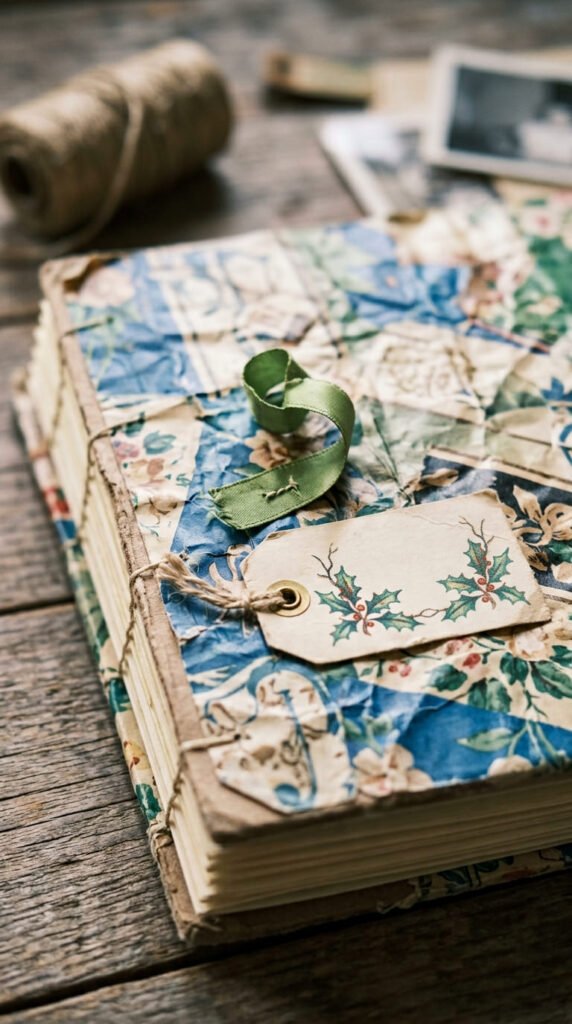
Reuse the wrapping paper from the gifts. It carries real memories from the day and costs nothing. The patterns are already festive and colorful.
Smooth out a nice section of paper. Glue it flat across your cover as the base. Choose a piece with a print you love.
Add a saved gift tag or a curl of ribbon on top. These little leftovers make the cover feel like part of the celebration.
Budget tip: this is the cheapest cover on the list. Everything comes from things you’d normally toss. Birthday cards, tissue paper, and bows all work too.
The slight creases add charm, so don’t stress about perfection. A little texture makes it feel handmade and real.
This works beautifully as a surprise gift album. The person often recognizes the paper their present came in. That small detail sparks a warm memory every time they open it.
5. Minimalist One-Number Design
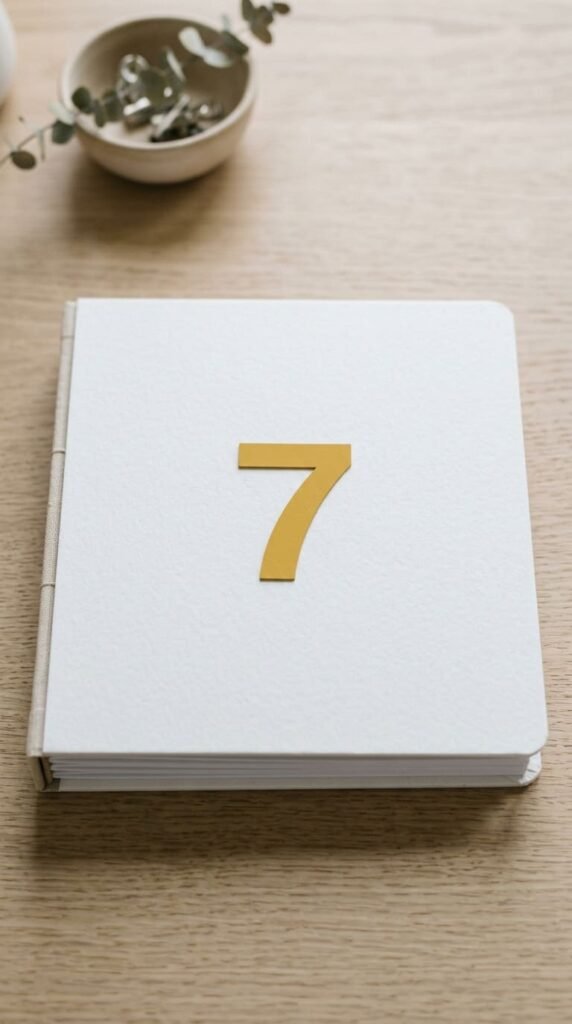
Less can say more. A minimalist cover uses one bold number and one accent color. The empty space around it feels modern and calm.
Start with a clean white or cream base. Place a single large number slightly off-center. Pick one color for it and stop there.
Skip the stickers and clutter. The simplicity is the whole point. It looks like something from a design shop.
Budget tip: minimalism saves money because you use fewer supplies. One sheet of cardstock and a single accent are all you need. Cut the number by hand for a custom size.
This style suits grown-up birthdays and gift albums. It reads as polished without any fancy skill.
Add a thin line or small dot for a finishing touch. Keep it subtle. The beauty here comes from restraint, not decoration.
6. Layered Patterned Paper Base
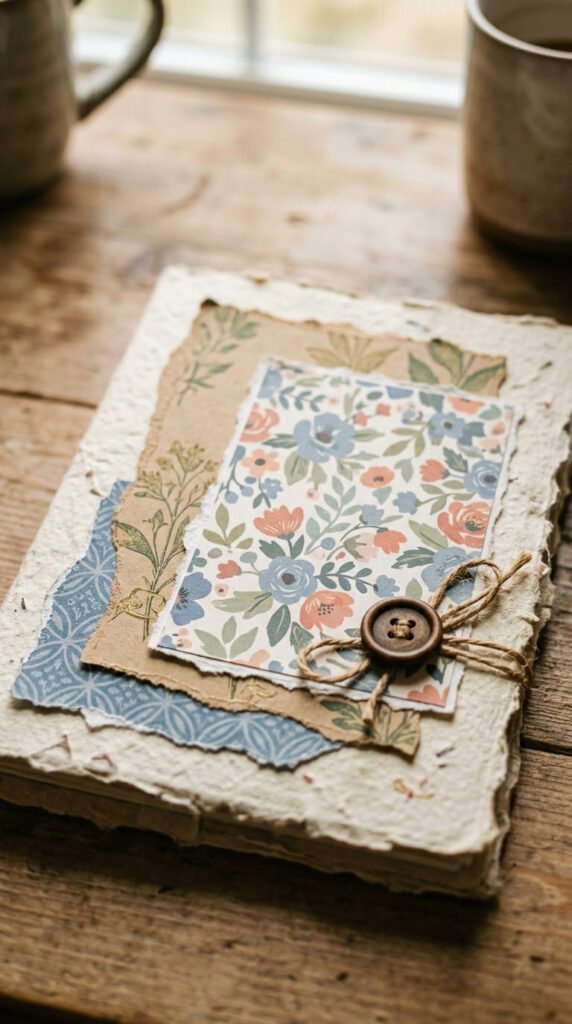
Build depth with layers. Stack two or three patterned papers on top of each other. Each layer adds texture and interest to the cover.
Start with the largest sheet as your base. Add a smaller patterned piece on top. Finish with a third, even smaller layer.
Mix prints that share a color. A stripe, a dot, and a floral can all live together if they match in tone.
Budget tip: use paper scraps from other projects. Layering is a great way to use up small leftover pieces. Nothing has to be full-size.
Tear the edges of one layer for a soft, rustic feel. Or keep them crisp for a clean look. Both add character.
Top it off with a small button, sticker, or title. The layered base does most of the work. This method hides imperfections well, which makes it forgiving for beginners.
7. Ribbon Border Frame
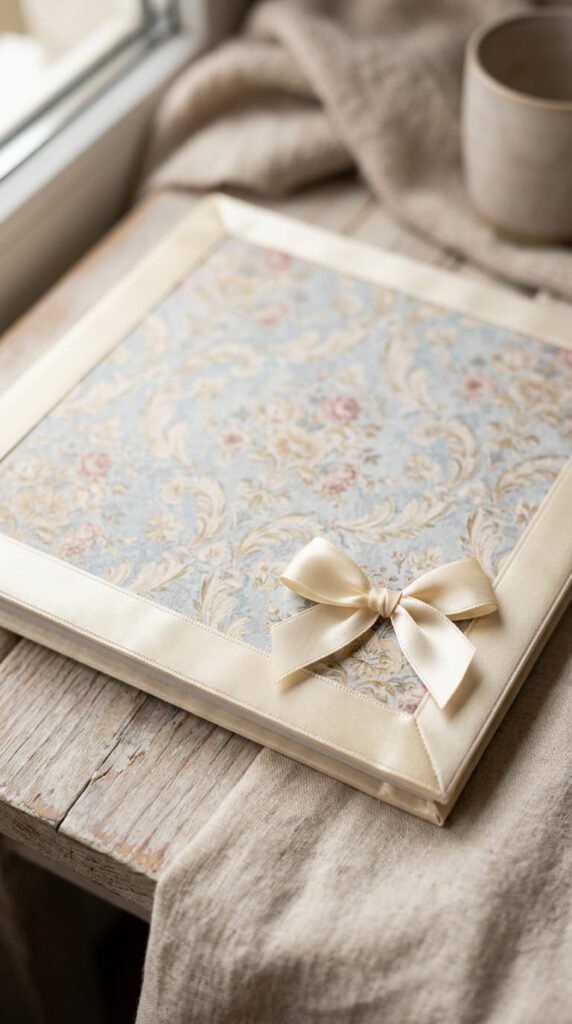
Frame the cover with ribbon. A neat border instantly makes the design look finished. It draws the eye inward to your title or photo.
Glue ribbon along all four edges. Fold the corners cleanly for a tidy frame. Satin or grosgrain both work well.
Pick a ribbon color that matches your theme. A contrasting shade makes the frame stand out more.
Budget tip: ribbon from dollar stores or craft bins is cheap and plentiful. Save ribbon from gift bags too. Even a single roll covers many covers.
Add a small bow in one corner for extra charm. It’s a tiny touch that feels special.
This frame works over almost any base. Plain paper, a photo, or a patterned sheet all look better with a ribbon edge. It’s a simple trick that lifts the whole cover with minimal effort and cost.
8. Photo-Front Cover
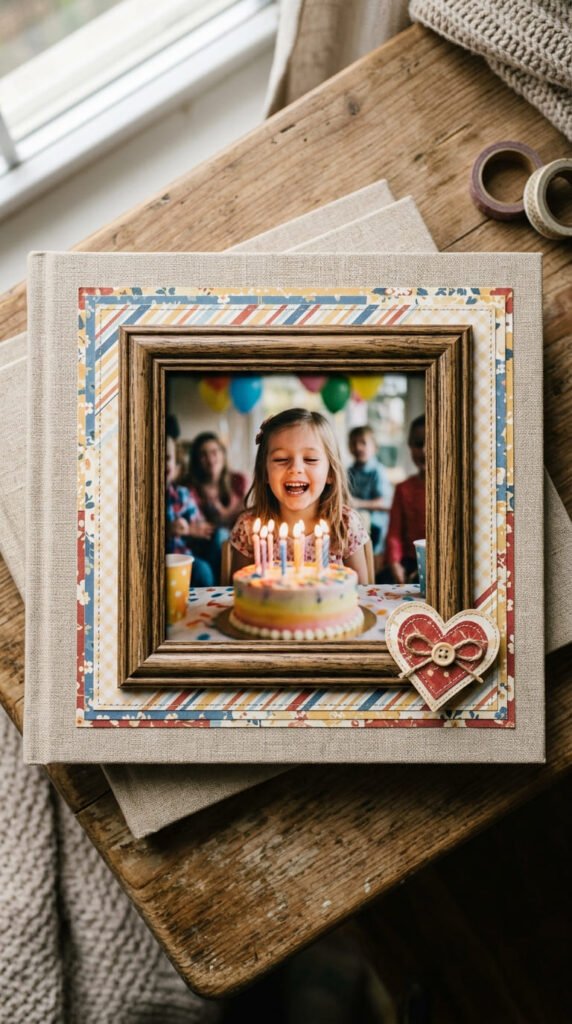
Let a photo lead the cover. A single favorite picture sets an emotional tone right away. It shows exactly whose birthday the album holds.
Pick one clear, happy photo from the day. Print it and mount it on cardstock for a framed look. Center it on your cover.
Leave a border around the photo. Add a thin patterned strip or ribbon frame to set it off.
Budget tip: print photos at home or use cheap in-store printing. A single 4×6 costs very little. Choose the one shot that captures the whole mood.
Add the age or name beneath the photo. Keep the text small so the picture stays the star.
This cover feels deeply personal. It works well for gift albums and milestone birthdays. The person sees themselves the moment they pick it up, which makes the album feel special before they even open it.
9. Confetti and Balloon Motif
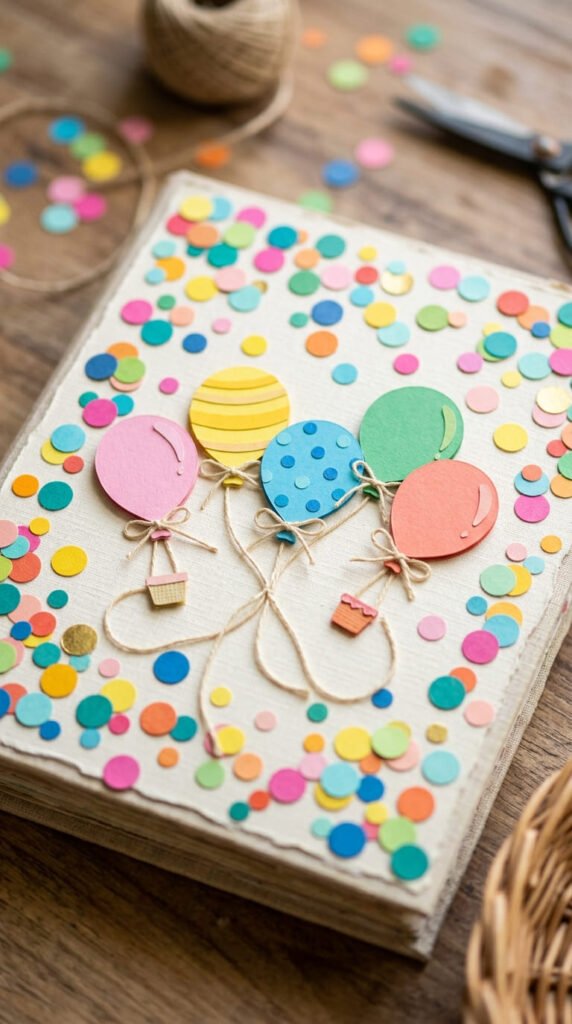
Scatter confetti and balloons across the cover. These classic birthday shapes read as celebration instantly. They add movement and fun to the design.
Cut small circles for confetti from colorful scraps. Punch them out fast with a hole punch. Sprinkle and glue them across the cover.
Add a few paper balloons with thin string tails. Draw the strings with a fine pen. Cluster them in one corner.
Budget tip: a hole punch and scrap paper make endless confetti for free. Save punched dots in a jar for future projects.
Keep the colors bright and mixed for a playful feel. Or stick to two shades for a cleaner look.
This motif suits kids’ birthdays especially well. It’s cheerful and easy to make. Leave space in the middle for a title or age so the confetti frames it rather than crowds it.
10. Milestone 18th Birthday Cover
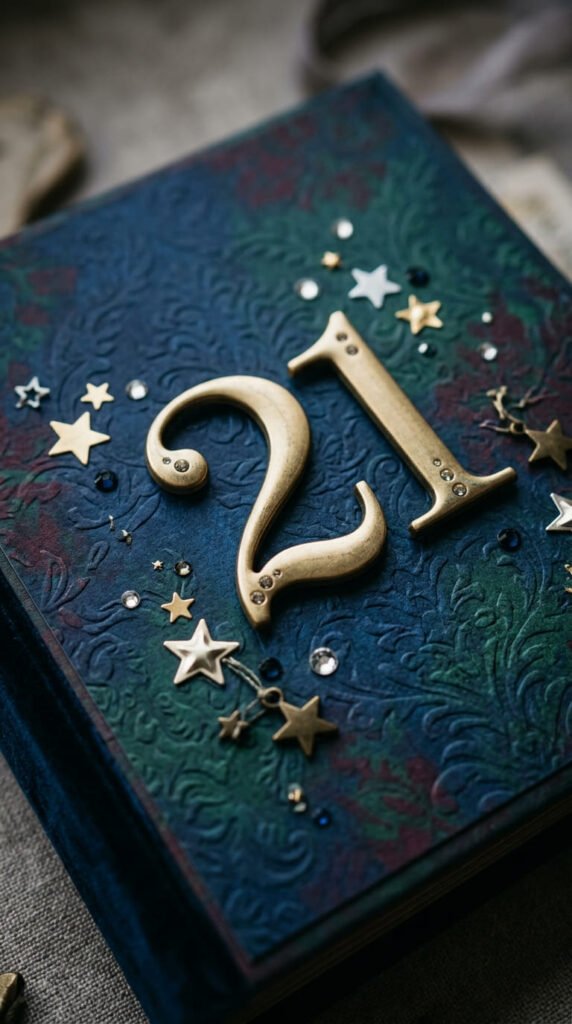
Mark the 18th with something grown-up. This birthday feels like a big step, so the cover can look more mature. Skip the cartoon vibes and go elegant.
Use a large “18” as the focal point. Add metallic or foil accents for a touch of shine. Deep colors like navy, plum, or black feel sophisticated.
Add small stars or a thin gold line for polish. Keep it clean and confident.
Budget tip: gold marker and dark cardstock create a luxe look for very little money. A metallic pen goes a long way on a dark base.
Include the year to mark the milestone. It adds meaning and a keepsake feel.
This cover works as a gift for a friend or family member turning 18. It respects that they’re growing up. The mix of a bold number and refined colors captures the weight of the occasion without feeling stiff.
11. Milestone 21st Birthday Cover
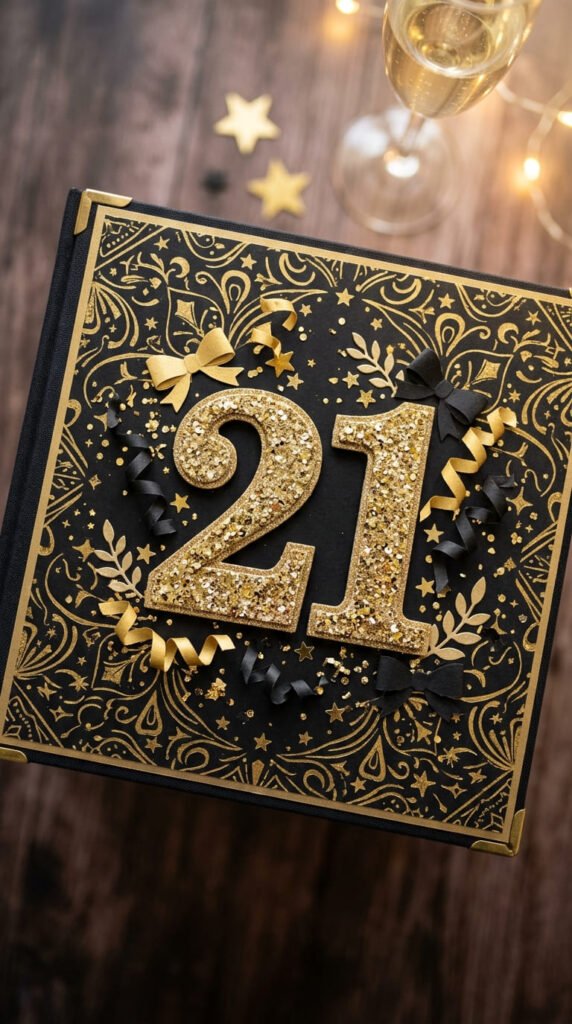
The 21st calls for a bit of sparkle. It’s a big celebration, so the cover can feel festive and fun. Glitter and gold suit the mood.
Make a large “21” the centerpiece. Add glitter paper or sequins for shine. Black and gold is a classic pairing here.
Toss in a few paper streamers or star cutouts. They add energy without much work.
Budget tip: a small tube of glitter or one sheet of sparkle paper covers this cover fully. A little sparkle goes a long way, so use it sparingly.
Add the name in a bold script for a personal touch. Keep the layout balanced so it doesn’t feel busy.
This cover celebrates a milestone that people love to remember. It works for a night-out album or a full year recap. The glam styling matches the excitement of turning 21 and makes the album feel like part of the party.
12. First Birthday Keepsake Cover
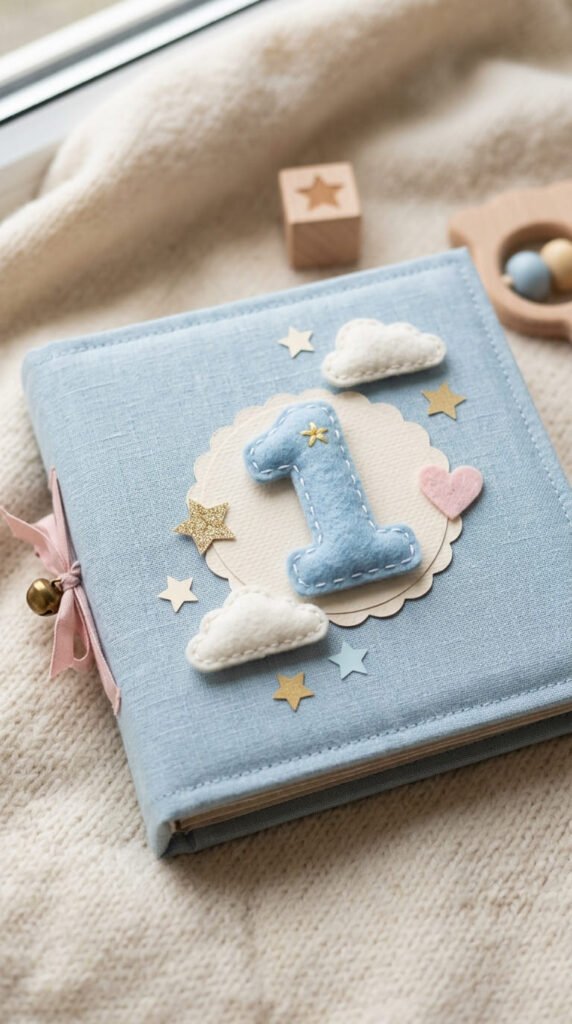
A first birthday deserves a soft, sweet cover. Gentle pastels feel right for a baby album. The whole design can lean tender and calm.
Use a small felt or paper “1” as the focus. Pick soft pinks, blues, or creams. Add tiny clouds, stars, or hearts around it.
Keep textures cozy. Felt, fabric scraps, and cotton feel warm and baby-friendly.
Budget tip: felt sheets are cheap and easy to cut. One sheet makes several soft shapes. Old baby clothes can offer fabric scraps too.
Add the baby’s name and birth date. Parents love keeping these details close.
This cover becomes a treasured keepsake for the family. It captures a moment they’ll want to revisit for years. The soft palette and gentle shapes match how special a first birthday feels, and the simple approach keeps it easy for busy new parents to make.
13. Retro Birth-Year Cover
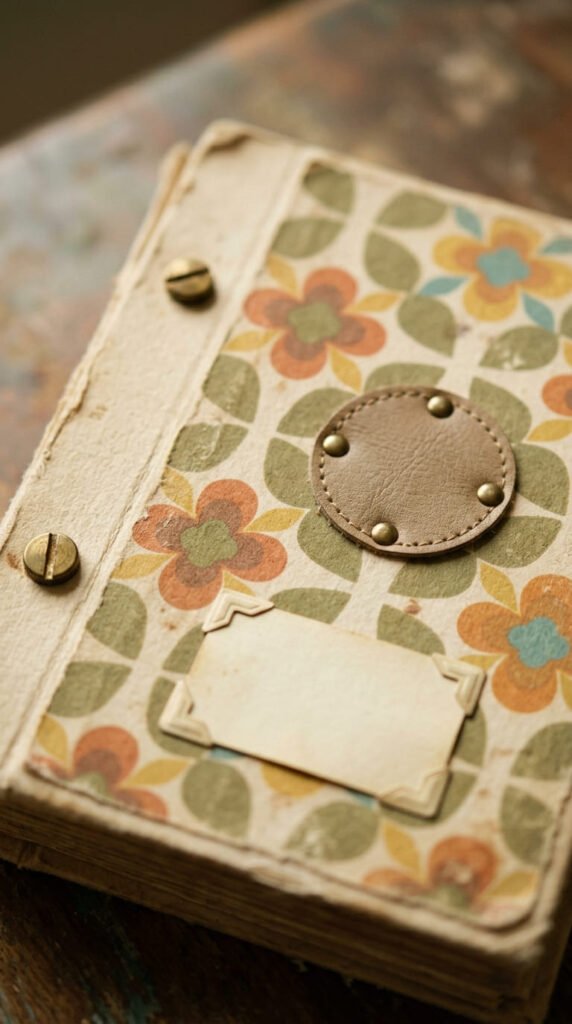
Travel back to their birth year. A retro cover nods to the decade someone was born. It adds a fun, nostalgic layer to the album.
Pick colors and patterns from that era. Think mustard and orange for the 70s, or bright neon for the 80s. Rounded shapes and bold prints fit the vibe.
Add the birth year as a design feature. It anchors the theme clearly.
Budget tip: search free vintage patterns online and print them at home. You get authentic retro looks without buying special paper.
Age the paper slightly with a light tea stain if you want. It adds an old-photo feel.
This cover works great for milestone adult birthdays. It sparks memories and conversation. Matching the style to their decade makes the album feel personal and thoughtful, and the nostalgia gives it a warmth that plain designs can’t match.
14. Cake and Candles Cover
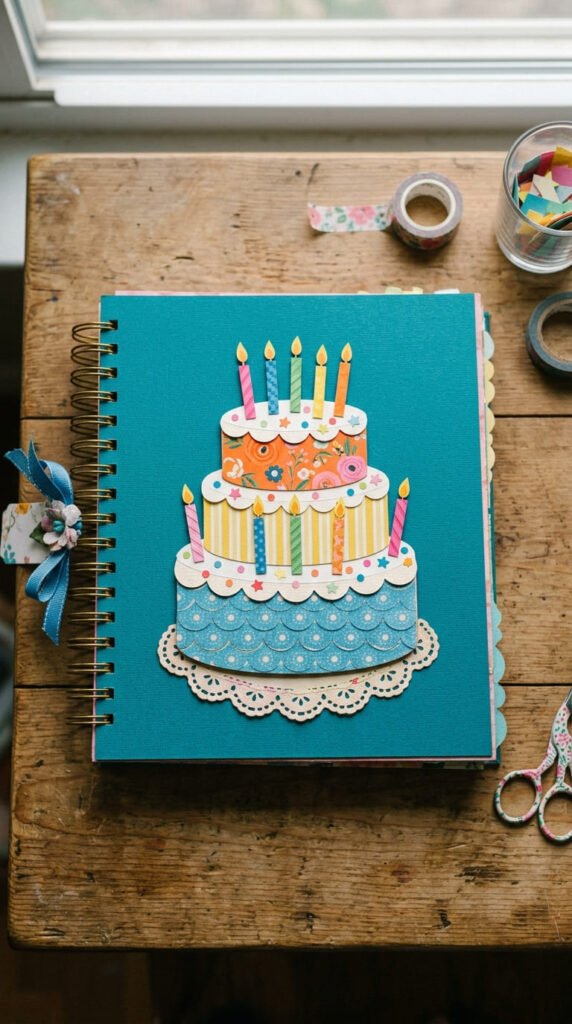
Nothing says birthday like cake. A paper cake with candles instantly signals the occasion. It’s cheerful and easy to make.
Cut layered rectangles for a tiered cake. Stack them and glue them to the cover. Add thin candles on top with tiny flame shapes.
Use patterned paper for the cake layers. Mix colors for a fun, sweet look.
Budget tip: scrap paper makes the whole cake for free. Draw candle flames with a marker instead of cutting them.
Add the age as the number of candles. It ties the design to the birthday nicely.
This motif works for any age but shines for kids. It’s simple, colorful, and recognizable. Place it in the center or lower half of the cover, leaving room for a title above. The cake carries the birthday message all on its own.
15. Alphabet Sticker Name Cover
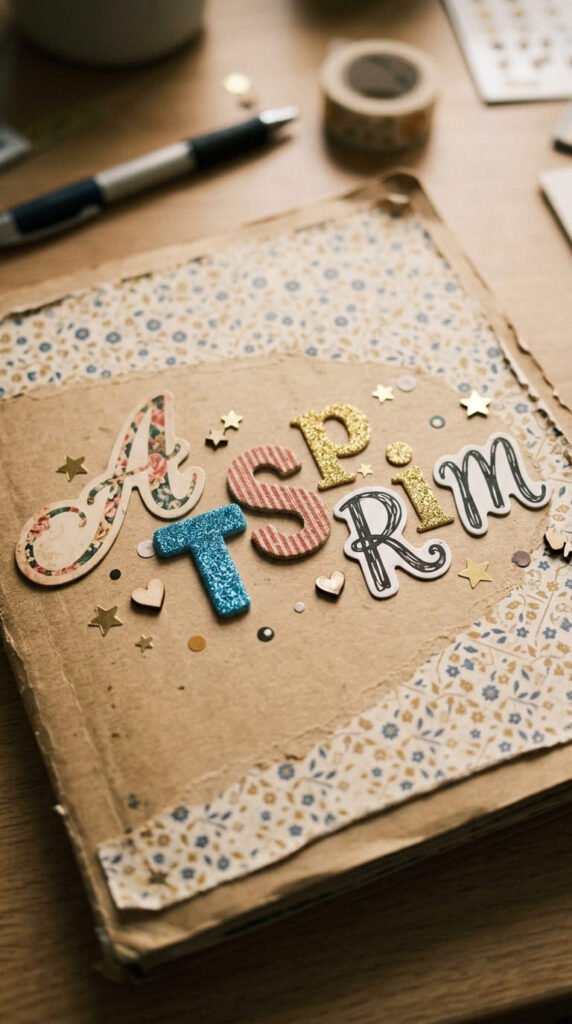
Spell out the name in stickers. Alphabet stickers make the cover feel custom with almost no effort. Just peel and place.
Mix sticker styles for a playful look. Or match them for a clean feel. Both approaches work well.
Center the name across the cover. Add the age below or beside it if there’s room.
Budget tip: dollar store sticker packs stretch across many projects. One pack often covers several covers.
Pick a simple background so the name reads clearly. Plain or lightly patterned paper works best.
Add a few small stars or dots around the letters. They fill space and add charm.
This is a beginner-friendly cover with fast results. No cutting, no stencils, no fuss. The name makes the album feel made just for that person, and stickers keep the whole thing quick and affordable.
16. Stamped Design Cover
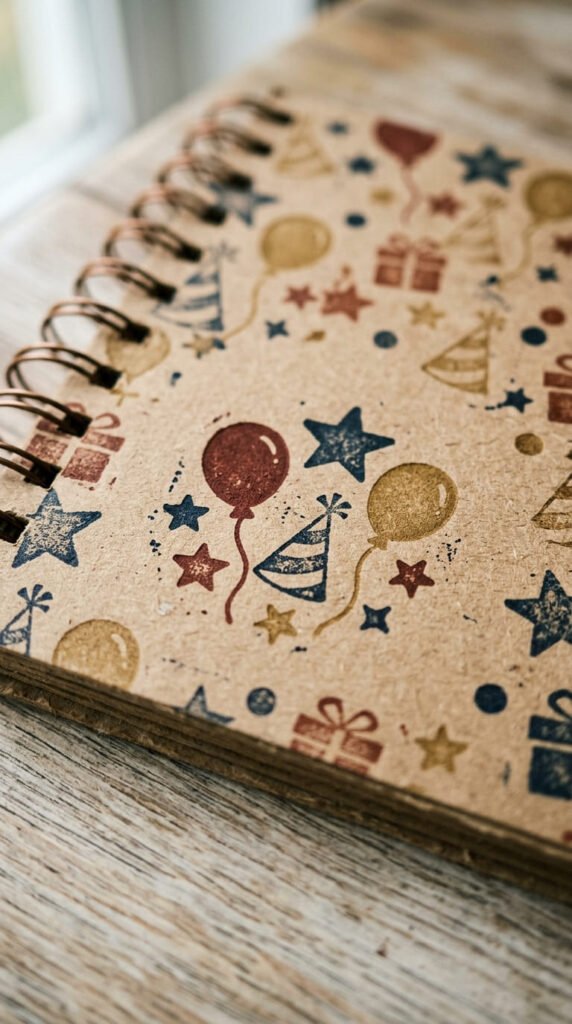
Stamp a pattern across the cover. Repeated shapes give a handmade, artisanal feel. It’s quick once you get going.
Use birthday stamps like stars, balloons, or dots. Ink them and press in a repeating pattern. Cover the whole surface or just the border.
Kraft paper makes a great base for stamped designs. The ink shows up nicely against it.
Budget tip: a single stamp and one ink pad go a long way. You can also carve simple stamps from a potato or eraser for free.
Vary the colors if you have more than one ink pad. It adds depth to the pattern.
Leave a clear space in the center for a title or number. The stamped pattern frames it. This cover feels custom and textured, and it’s forgiving since small imperfections just add to the handmade charm.
17. Metallic Foil Luxury Cover
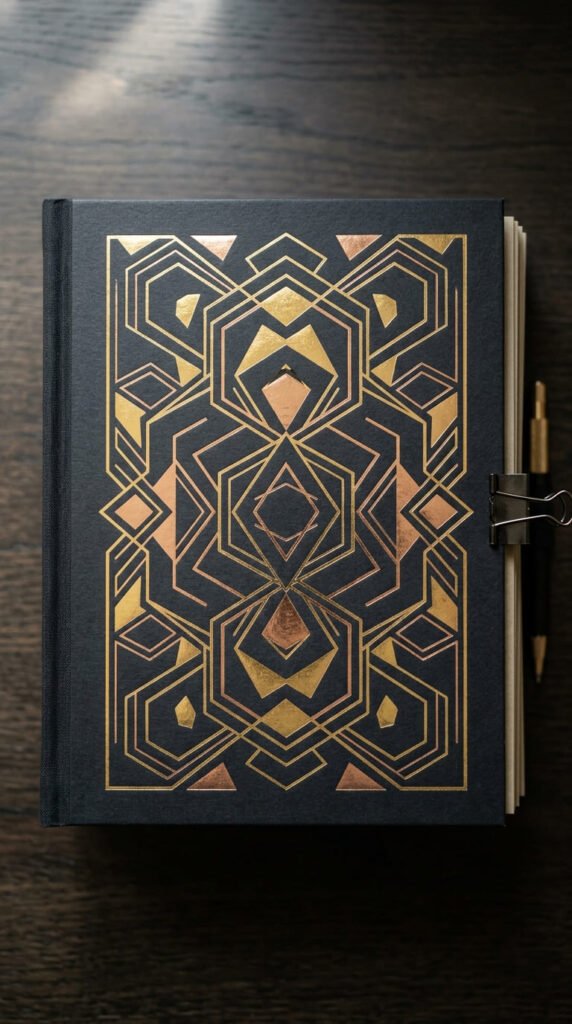
Add shine for a luxe feel. Metallic foil makes even a simple cover look upscale. A little goes a long way.
Use foil paper, foil pens, or foil tape. Add clean geometric shapes or a bold number. Keep the layout simple so the shine stands out.
Dark backgrounds make metallics pop. Black, navy, or deep green work beautifully.
Budget tip: foil markers are affordable and last a long time. Save foil from candy wrappers or gift bags for accent pieces.
Skip the clutter here. The metallic finish is the whole statement. Too many extras hide its effect.
This cover suits grown-up birthdays and gift albums. It looks polished without much effort. The contrast between a dark base and bright foil gives it a designer feel, proving that an elegant cover doesn’t have to cost much to make.
18. Washi Tape Border Cover
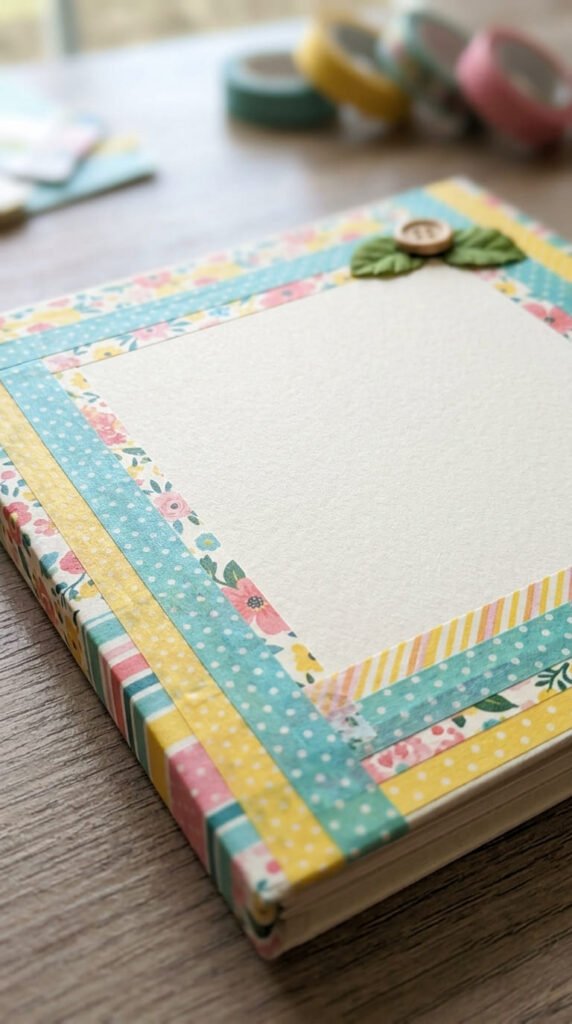
Frame it with washi tape. These patterned tapes make quick, colorful borders. No glue, no cutting mess.
Line the edges with strips of tape. Overlap patterns for a layered look. Keep them straight or angle them for fun.
Match the tape colors to your theme. Mixing two or three patterns adds interest.
Budget tip: washi tape rolls are cheap and last across many projects. A small set gives you tons of pattern options.
Leave the center plain for a title or photo. The tape border does the decorating.
Add a strip or two across the middle if you want more pattern. It’s flexible and forgiving.
This cover is perfect for beginners and quick projects. Washi tape sticks easily and peels off if you make a mistake. That makes it low-stress and budget-friendly, with bright results in just a few minutes.
19. Die-Cut Shapes Cover
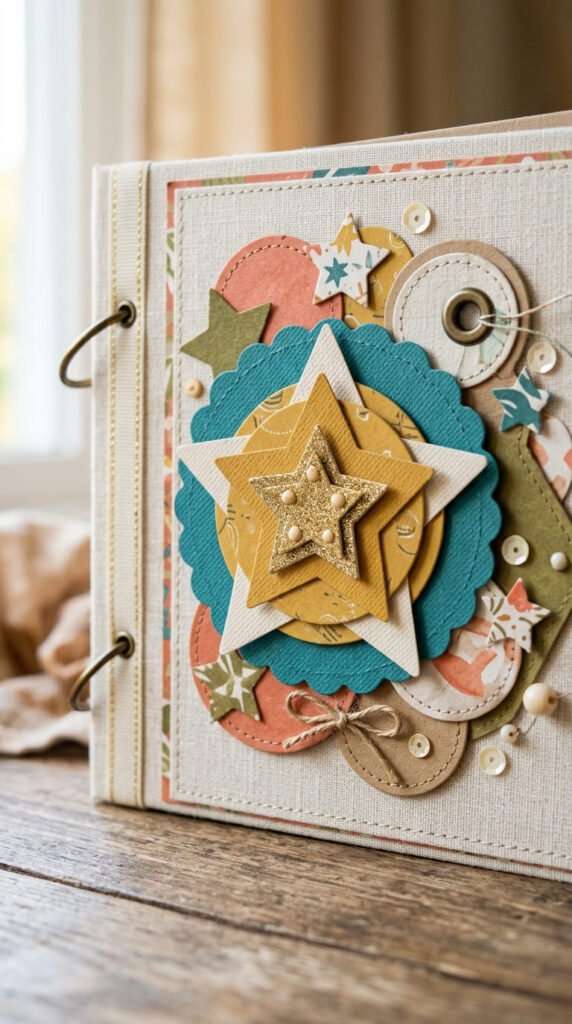
Add dimension with die-cut shapes. Layered paper cutouts give the cover a crafted, textured look. They catch the eye with depth.
Cut or punch shapes like stars, circles, or scallops. Layer them slightly for a 3D effect. Cluster them in a corner or spread them across.
Match the shapes to your color theme. Mixing sizes adds variety.
Budget tip: paper punches pay off fast since they work with any scrap paper. No punch? Trace shapes and cut by hand.
Pop a few shapes up on foam dots for real dimension. It makes them stand off the page.
Keep a clear area for your title or number. The shapes frame it nicely.
This cover feels rich and layered without special skills. It’s a great way to use up scraps. The dimension makes a simple design look more finished, which lifts the whole album from the very first page.
20. Handwritten Title Cover
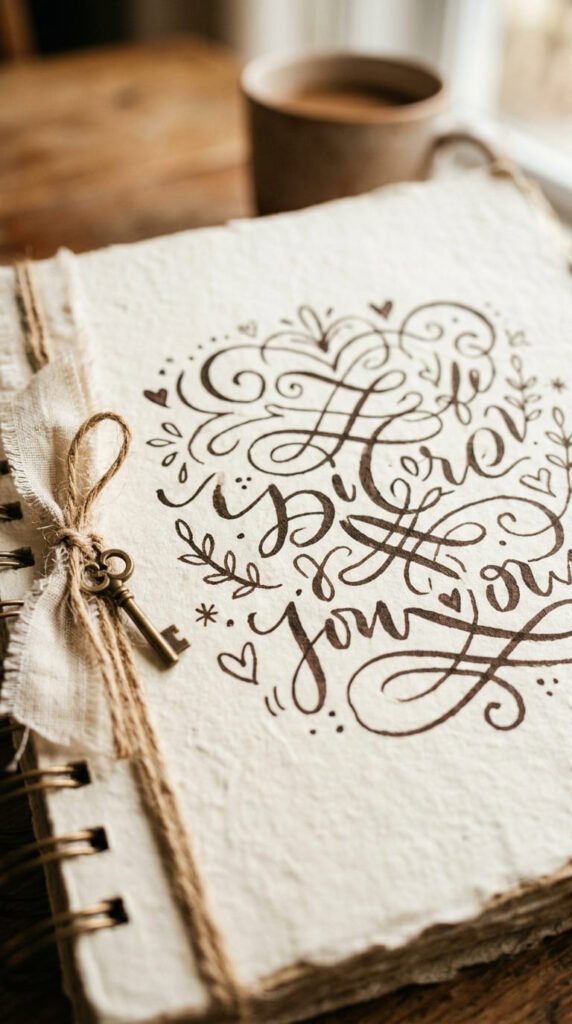
Write the title by hand. A hand-lettered phrase feels personal and warm. It shows the human touch behind the album.
Use a brush pen or marker for the title. Practice on scrap paper first. Then write it boldly across the cover.
Don’t worry about perfect lettering. Slight imperfections make it charming. That’s the beauty of handmade.
Budget tip: one good marker is all you need. No stickers or stencils required, which keeps costs near zero.
Add small doodles around the words, like stars or swirls. They fill space and add personality.
Pick a simple background so your writing stands out. Plain or lightly textured paper works best.
This cover suits people who like a personal, artsy feel. It’s quick and deeply custom. Your own handwriting makes the album feel like a heartfelt letter, and that warmth is something no store-bought cover can copy.
21. Fabric and Button Cover
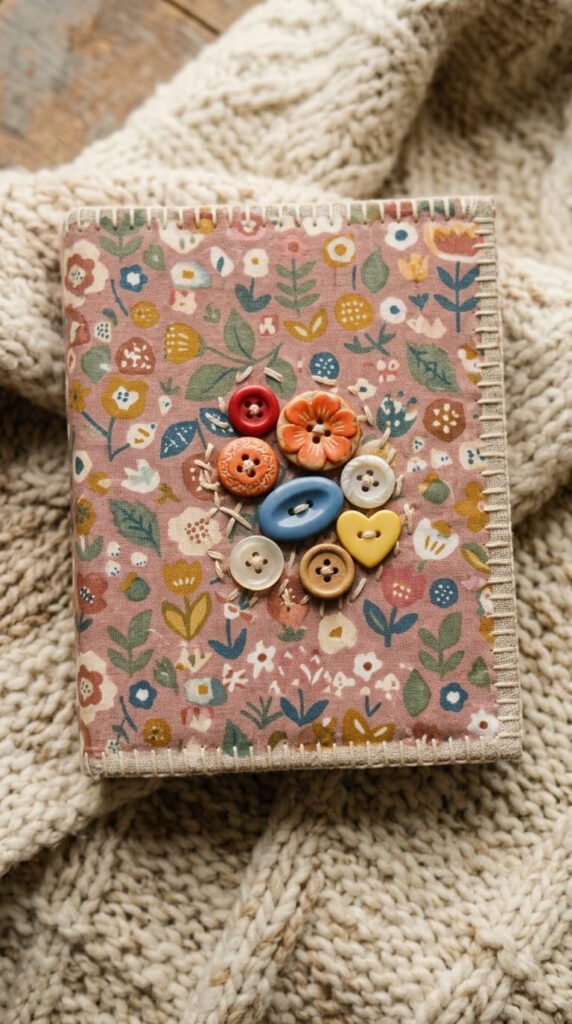
Wrap the cover in fabric. A cloth surface adds cozy texture that paper can’t match. Buttons add a sweet finishing touch.
Cut fabric slightly larger than your cover. Wrap it around and glue the edges on the back. Pull it tight for a smooth finish.
Add a few buttons in a small cluster or line. Stitch or glue them on. Mix sizes and colors for charm.
Budget tip: use fabric scraps or an old shirt. A button jar from around the house covers this whole design for free.
Pick a patterned fabric that matches the theme. Small prints work best on a cover.
Add a ribbon or a fabric title patch if you like. Keep it simple so the texture shines.
This cover feels warm and homemade. It’s soft to hold and stands out from paper covers. The cozy fabric gives the album a keepsake quality that people love to touch and revisit.
22. Mixed-Media Collage Cover
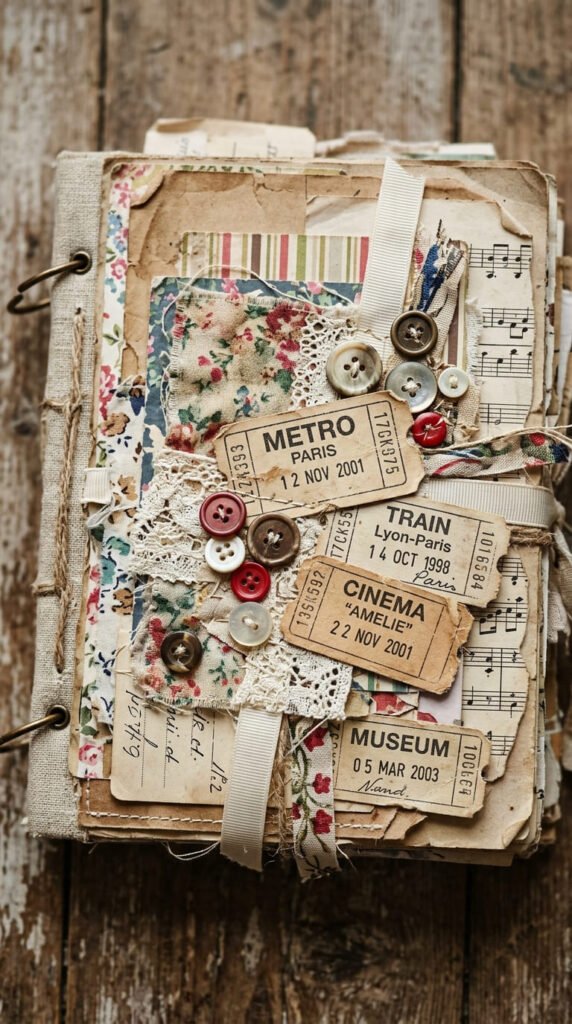
Combine it all into a collage. A mixed-media cover layers paper, fabric, ribbon, and small keepsakes. It feels rich and full of memories.
Gather leftover bits from the day. Think tickets, confetti, ribbon, and paper scraps. Arrange them into a layered design.
Overlap the pieces for depth. Glue down the flat items first, then add texture on top.
Budget tip: this cover uses up all your leftover craft bits and party scraps. Nothing new needed, which makes it the most resourceful option.
Balance busy and calm areas so it doesn’t feel cluttered. Leave a clear spot for a title or number.
Add a small photo or gift tag as the centerpiece. It grounds the collage.
This cover tells a full story before the album even opens. Each piece carries a memory from the day. It’s perfect for people who love texture, layers, and keeping every little memento close.
Conclusion
A birthday scrapbook cover doesn’t have to be hard or expensive to look special. The best covers pull from what you already have, like wrapping paper, ribbon scraps, buttons, and photos from the day. Start by picking one focus, whether it’s a bold age number, a favorite photo, or a hand-lettered title. Match your colors to the party, keep the layout simple, and add one or two accents to finish. Milestone birthdays like the 1st, 18th, and 21st get an extra spark from themed touches, while minimalist and metallic styles suit grown-up gift albums. Pick the idea that fits the person and the occasion, then gather your supplies and make a start. Your cover sets the mood for every page inside, so have fun with it. The person receiving it will feel that care the moment they pick it up.