Kids’ craft supplies can go from cute and creative to chaotic very quickly. One day you have crayons, glue sticks, paper, stickers, and pom-poms neatly tucked away. The next day, everything is scattered across the table, under the sofa, and somehow inside the toy box.
The good news is that organizing craft supplies for kids does not have to be complicated or expensive. The goal is not to create a perfect Pinterest closet that no one touches. The goal is to make supplies easy for kids to find, easy to use, and easy to put back.
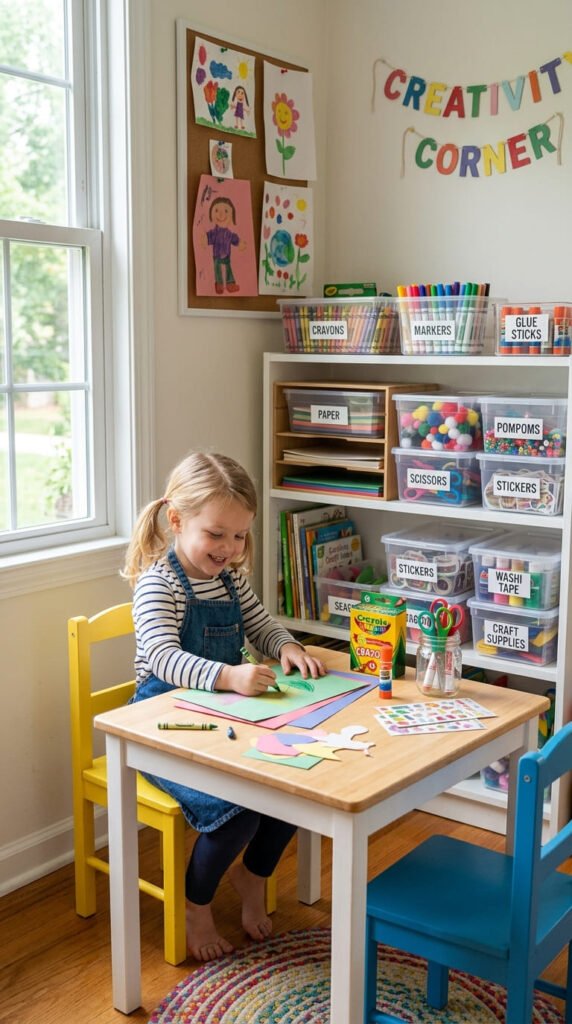
Start by Decluttering First
Before buying bins or baskets, take everything out and see what you actually have. Craft supplies pile up fast because kids collect half-used stickers, dried markers, tiny scraps of paper, broken crayons, and random craft kits.
Make three simple piles:
- Keep: supplies your kids use often
- Donate: unopened or extra items still in good condition
- Toss: dried glue, empty markers, broken tools, and unusable scraps
Be honest about what your kids really use. If no one has touched a craft kit in a year, it may not need to stay in the main craft area.
Decluttering first makes organizing much easier. You may realize you already have enough containers once the extra clutter is gone.
Sort Supplies into Simple Categories
Kids do better with broad categories, not tiny complicated systems. Instead of sorting every sticker by theme or every paper by shade, keep it simple.
Good categories include:
- Drawing supplies
- Paper
- Glue and tape
- Cutting tools
- Paint supplies
- Stickers and stamps
- Beads, pom-poms, and pipe cleaners
- Finished projects
This makes cleanup easier because kids do not need to think too hard. They just need to know that markers go with drawing supplies and paper goes in the paper bin.
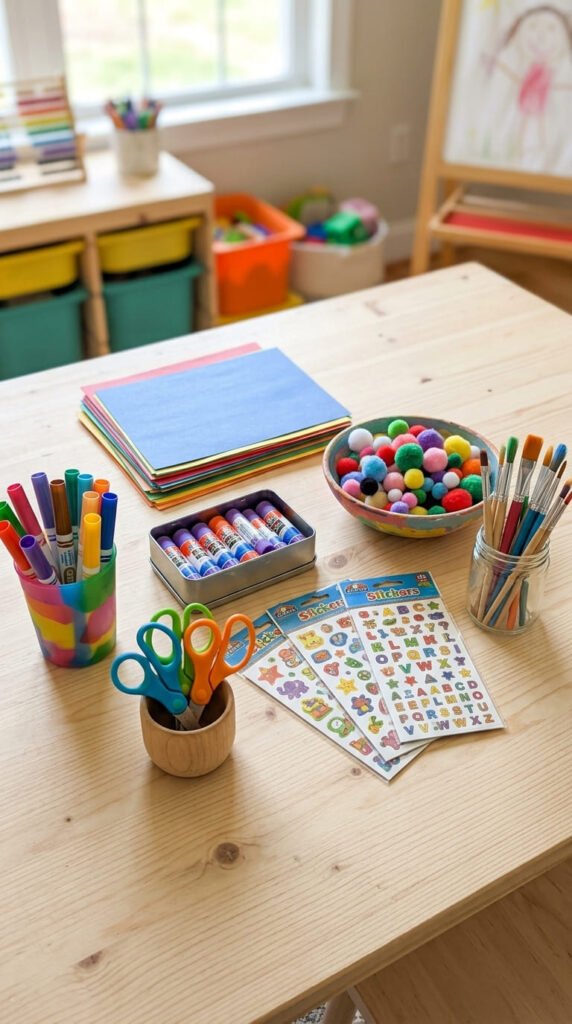
Use Clear Bins So Kids Can See Everything
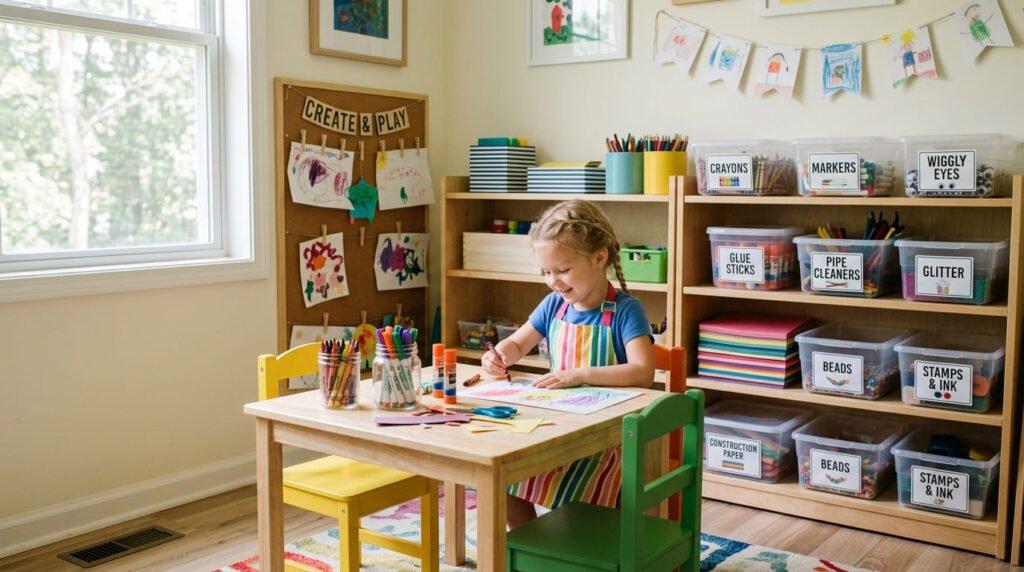
Clear bins are one of the easiest storage solutions for kids’ crafts. When children can see what is inside, they are more likely to find what they need without dumping everything out.
Use clear containers for:
- Markers and crayons
- Glue sticks
- Stickers
- Craft paper scraps
- Pom-poms
- Pipe cleaners
- Beads
- Small craft kits
Choose bins that are not too deep. Shallow bins make it easier for kids to grab supplies and put them back. If the bin is too big, everything gets mixed together and messy again.
For small items, use jars, pencil cups, small boxes, or drawer organizers.
Label Everything Clearly
Labels are a small detail that make a big difference. They help kids know where things belong, especially during cleanup.
For older kids, word labels work well. For younger children, use picture labels. You can draw simple icons, print small pictures, or tape a sample item to the front of the bin.
Label ideas include:
- Crayons
- Markers
- Glue
- Paper
- Stickers
- Paint
- Scissors
- Pom-poms
- Finished Art
Try to place labels on the front of the bin or shelf where kids can easily see them. Keep the wording short and simple.
Create a Kid-Friendly Craft Station
A craft station does not need to be a whole room. It can be one shelf, one rolling cart, one cabinet, or one corner near the kitchen table.
A good craft station should be:
- Easy for kids to reach
- Close to where they craft
- Simple to clean up
- Safe for their age
- Organized by category
Put everyday supplies on lower shelves. This can include crayons, paper, stickers, glue sticks, and coloring books. Place messier or adult-supervised supplies higher up, such as paint, glitter, sharp scissors, hot glue, or permanent markers.
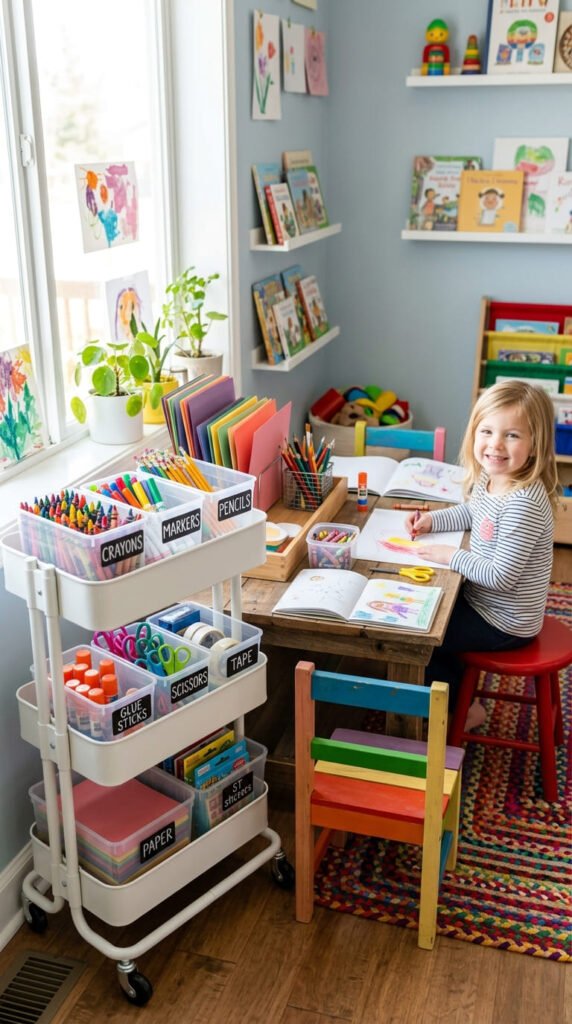
Make a Portable Craft Caddy
A portable craft caddy is perfect if your kids craft at the kitchen table, living room floor, or different spots around the house. It keeps basic supplies together and makes cleanup faster.
Add simple everyday items like:
- Crayons
- Markers
- Glue sticks
- Safety scissors
- Tape
- Stickers
- Small paper pieces
- A pencil
Keep this caddy light and simple. It should only hold the supplies your kids use most often. Extra supplies can stay in a closet, cabinet, or larger storage bin.
A craft caddy is also great for rainy days, road trips, playdates, and quick after-school activities.
Store Paper the Smart Way
Paper is often the messiest craft category because it bends, tears, and spreads everywhere. Give paper its own storage system.
Try these ideas:
- Use magazine holders for coloring books and pads.
- Use flat trays for construction paper.
- Use folders for stickers or printable templates.
- Keep scrap paper in one small bin.
- Store large cardstock flat if possible.
Do not keep every tiny paper scrap. Save only pieces that are big enough to reuse. Once the scrap bin is full, it is time to recycle some.
Rotate Supplies to Reduce Clutter
Kids do not need access to every craft supply all the time. Too many choices can create more mess and make crafting feel overwhelming.
Keep a small set of supplies out and store the extras away. Every few weeks, rotate in something new, like stamps, watercolor paints, paper plates, or seasonal craft items.
This keeps the craft area fresh without overcrowding it.
For example:
- Spring: flowers, butterflies, pastel paper
- Summer: ocean crafts, bright paper, popsicle sticks
- Fall: leaves, orange paper, pumpkin stickers
- Winter: snowflakes, cotton balls, silver paper
Create a Place for Finished Projects
Finished art can become clutter too. Give completed crafts a clear home so they do not pile up on every surface.
Try these ideas:
- Clip artwork to a string display.
- Use one folder for special pieces.
- Take photos of bulky crafts.
- Keep a small memory box.
- Rotate fridge art weekly.
- Recycle projects after a set time.
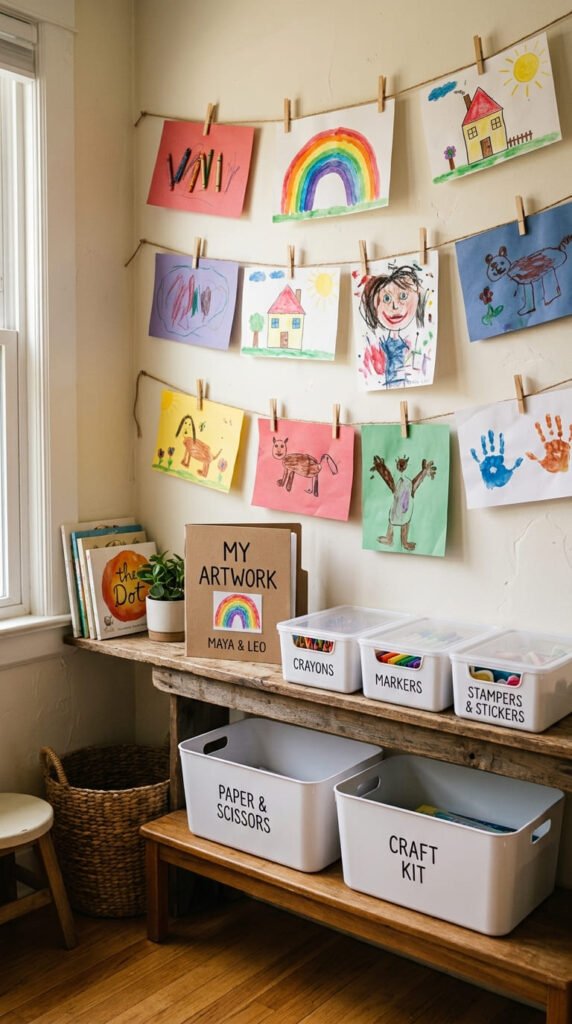
Teach Kids the Cleanup Routine
The best organizing system only works if kids know how to use it. Keep the cleanup routine short and clear.
Try this simple rule: “One craft out, one craft cleaned up.”
You can also use a quick cleanup checklist:
- Markers back in the cup
- Paper scraps in the bin
- Glue closed and put away
- Scissors returned
- Finished art placed in the display area
- Trash thrown away
Make cleanup part of craft time, not something that happens hours later.
Final Takeaway
Organizing craft supplies for kids is all about making creativity easier and mess smaller. Start by decluttering, sort supplies into simple categories, use clear bins, add labels, and keep everyday items within reach.
A kid-friendly system does not have to be perfect. It just needs to be simple enough for kids to use and easy enough for parents to maintain. Save this guide for later, and use it whenever your craft corner needs a fresh, less-mess reset.