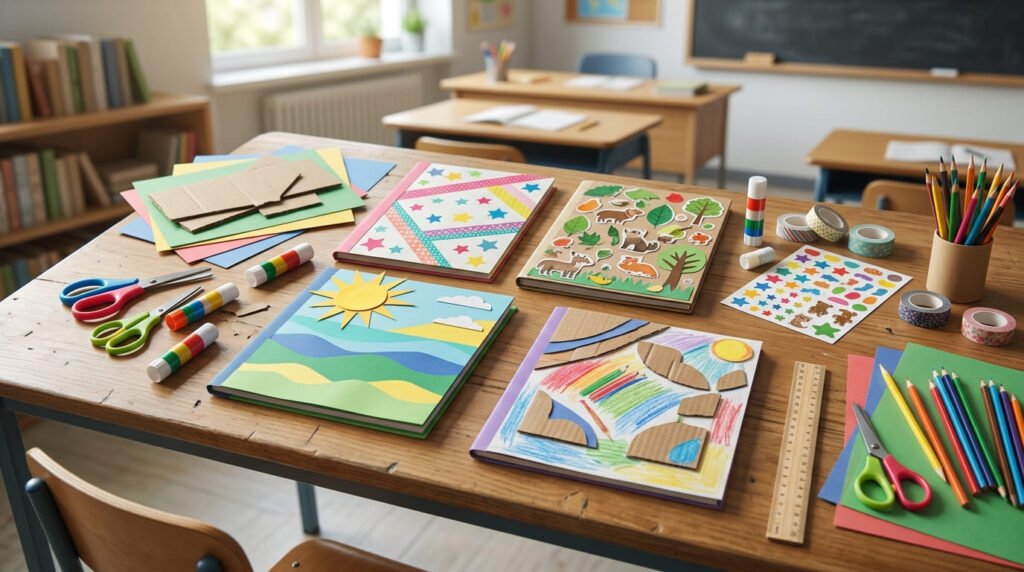
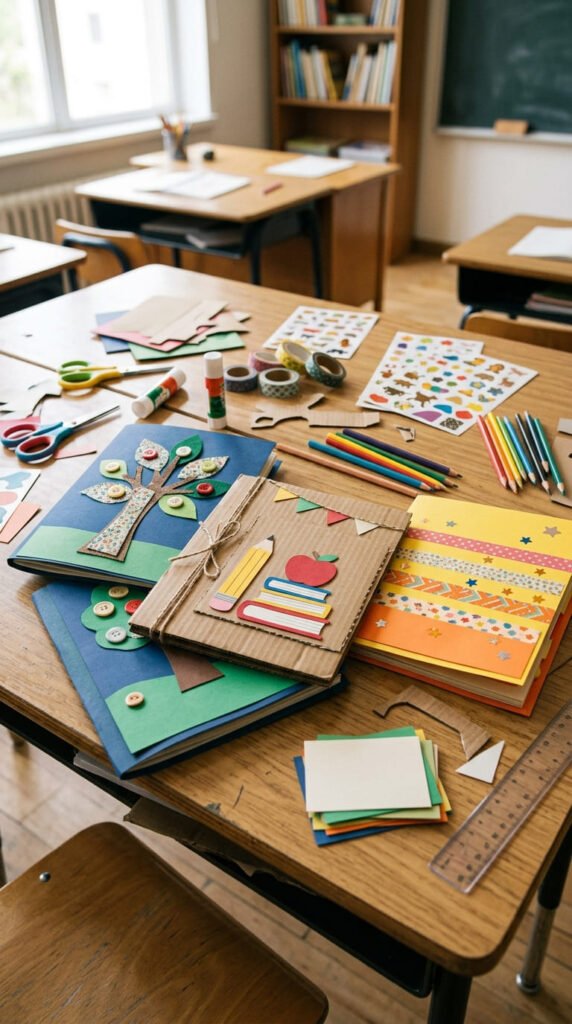
A scrapbook cover for a school project should look neat, creative, and easy to understand. It is the first thing your teacher sees, so the cover should match the subject and make the project feel organized. You do not have to spend much money or use hard craft skills. Construction paper, recycled cardboard, old folders, stickers, washi tape, paper cutouts, printed pictures, yarn, and markers can help you make a cover that looks clean and class-ready. These easy scrapbook cover ideas are made for quick creative results using supplies students often already have at home or in school.
1. Color Block Construction Paper Cover
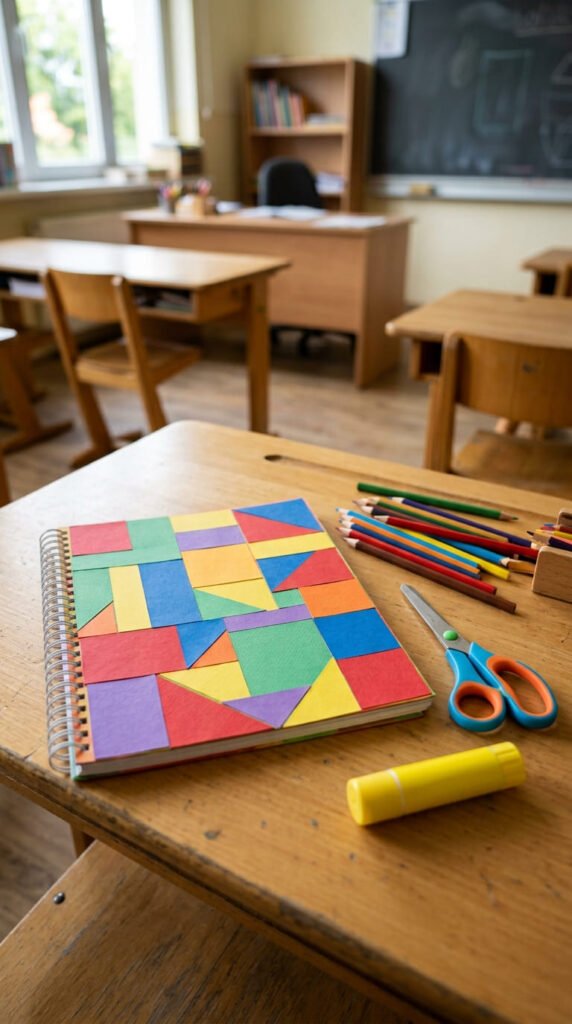
A color block cover is fast, neat, and easy for almost any school subject.
Pick three colors of construction paper. Use colors that match your topic. Green and blue work well for nature or science. Brown and cream fit history. Red, yellow, and blue feel good for art or class memory books.
Cut the paper into large rectangles or squares. Arrange them on the cover before gluing. Keep the biggest piece in the background and place smaller blocks on top.
Use a ruler for straight edges. This one step makes the whole cover look cleaner.
Leave one blank space in the middle for the project label later. For image prompts, keep the cover free from words.
Budget tip: use leftover construction paper from old assignments. Small scraps can still create corners, borders, and color blocks.
This idea works well when time is short. It gives the project a bright, organized look without drawing, painting, or buying extra decorations.
2. Recycled Cardboard Cover
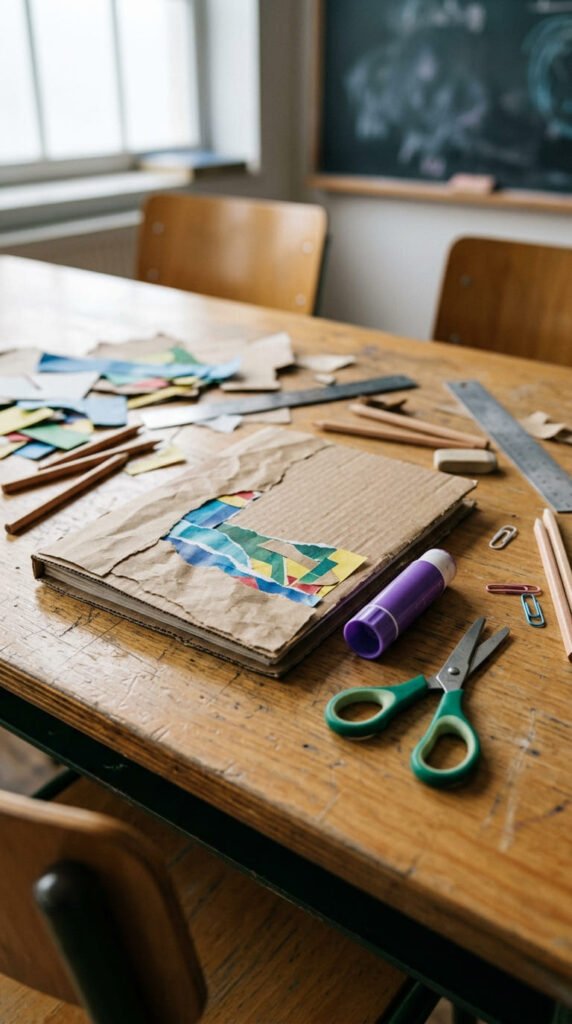
A recycled cardboard cover is perfect when you want a strong project cover with almost no cost.
Use cardboard from a cereal box, cake box, shipping box, or old notebook back. Cut it to match the size of your scrapbook pages. Cover the front with craft paper, printer paper, or construction paper.
Fold the paper edges to the inside and glue them down. Add another sheet inside to hide the folds.
Now decorate the front with paper strips, washi tape, stickers, or cutout shapes.
This idea works well for environment projects, science books, geography scrapbooks, and classroom portfolios.
Budget tip: use clean packaging from home. Smooth cardboard is easier to cover and gives a better finish.
If the box has bright printing, use two paper layers so the design does not show through.
Punch holes on the side and tie pages with yarn or binder rings if you are making the whole scrapbook by hand.
It is cheap, strong, and school-friendly.
3. Washi Tape Border Cover
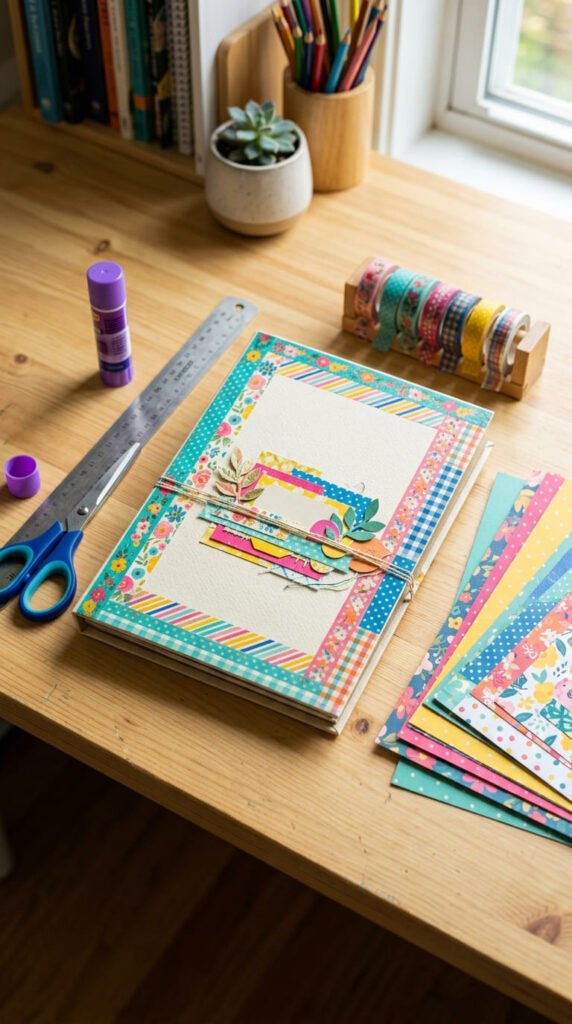
A washi tape border cover is one of the quickest ways to make a scrapbook look finished.
Start with a plain cover. White, black, kraft brown, or pastel cardstock works well. Choose two or three washi tape designs that match your school subject.
Place tape around the cover edges like a frame. You can also add diagonal tape on the corners or make one bold side strip.
Press the tape firmly so the edges stay flat. Fold the ends inside the cover for a cleaner finish.
This idea is great for students who do not enjoy drawing. The tape adds color and pattern with very little effort.
Budget tip: if you do not have washi tape, cut thin strips from gift wrap, notebook covers, old magazines, or colored paper.
Leave the middle area plain for a project label later.
This cover fits science, English, art, geography, and history projects. It looks neat, takes little time, and creates a clean classroom presentation.
4. Simple Doodle Border Cover
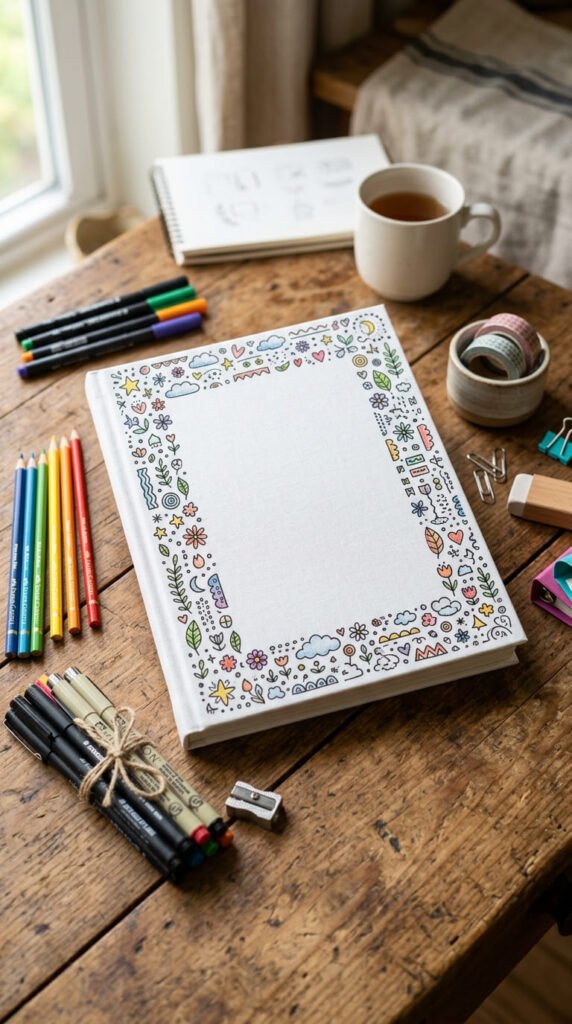
A simple doodle border cover is great if you like drawing small shapes.
Use white, cream, or light-colored paper as the base. Draw tiny icons around the edges. Use shapes that fit your project topic.
For science, draw stars, leaves, circles, or planets. For English, draw books, pencils, or small bookmarks. For history, draw scroll shapes, clocks, or simple map pieces.
Keep the center empty so the project label can be added later.
Use a black pen for outlines. Add light color with colored pencils or markers. Do not fill every space. A little open space makes the cover look cleaner.
Budget tip: use notebook paper glued onto cardboard if you do not have cardstock.
If drawing is hard, trace coins, bottle caps, rulers, or small objects to make easy shapes.
Repeat the same icons several times. Repetition makes the cover look planned.
This idea costs almost nothing and still shows effort. It is a quick way to make a school scrapbook feel personal.
5. Center Frame Cover
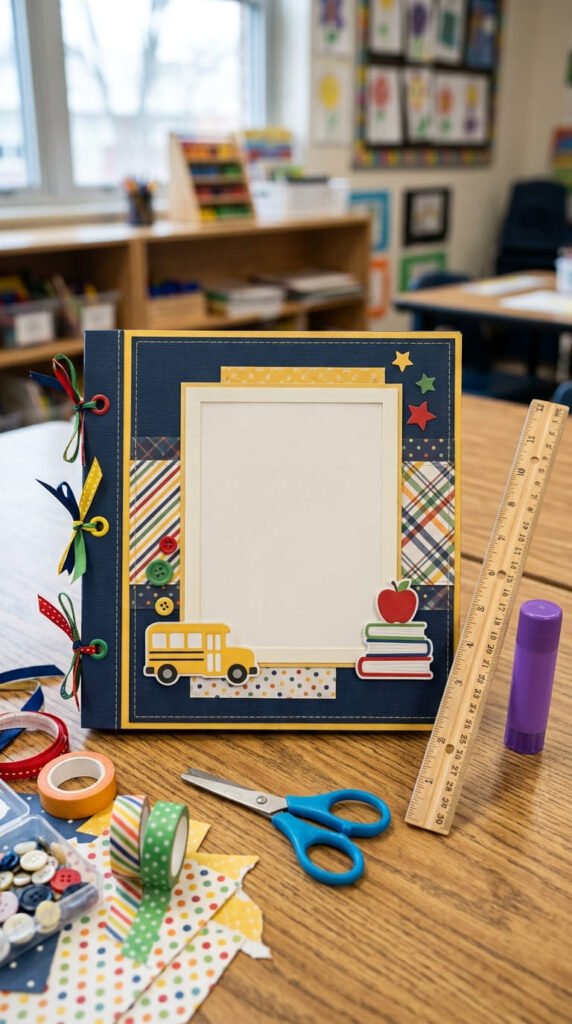
A center frame cover is clean, clear, and perfect for school submissions.
Cut a large rectangle from light paper. Glue it in the middle of the cover. Add a slightly larger colored rectangle behind it so it looks like a frame.
Decorate around the frame with small paper shapes, stickers, or washi tape. Keep the center blank for the project title later.
This layout works for almost every subject because the main space stays easy to read.
Use colors that match the topic. Green and brown fit nature. Blue and white fit science. Cream and dark red fit history.
Budget tip: use printer paper for the center frame and old folder paper for the colored backing.
Use a ruler before gluing. A straight frame makes the whole cover look more careful.
If the border feels plain, add paper corners or small cutouts near the frame.
This is a good last-minute idea because it gives structure fast. It looks organized without using many supplies.
6. Printed Picture Collage Cover
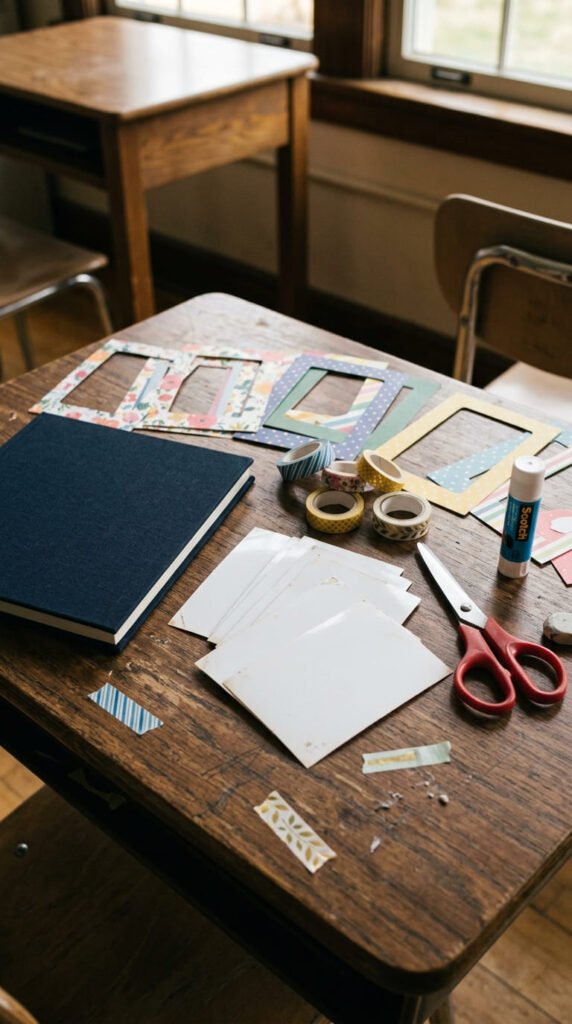
A printed picture collage cover is great when your school project has a visual topic.
Print three to five pictures related to your subject. For a real project, use topic photos. For image prompts, keep pictures turned away or without readable details.
Cut the pictures into neat squares or rectangles. Glue colored paper behind each one to create a small mat.
Arrange the pictures in a grid or gentle collage. Leave space between them so the cover does not look crowded.
This idea works for history, geography, environment, science, biography, culture, and travel projects.
Budget tip: print in black and white to save money. Use bright paper behind the photos to add color.
Use glue stick instead of liquid glue. It helps thin paper stay smoother.
Add washi tape corners for a handmade school look.
A picture collage cover is helpful because the images explain the subject quickly. It is also easy to finish when you already have printed material for the project.
7. Notebook Paper Cover
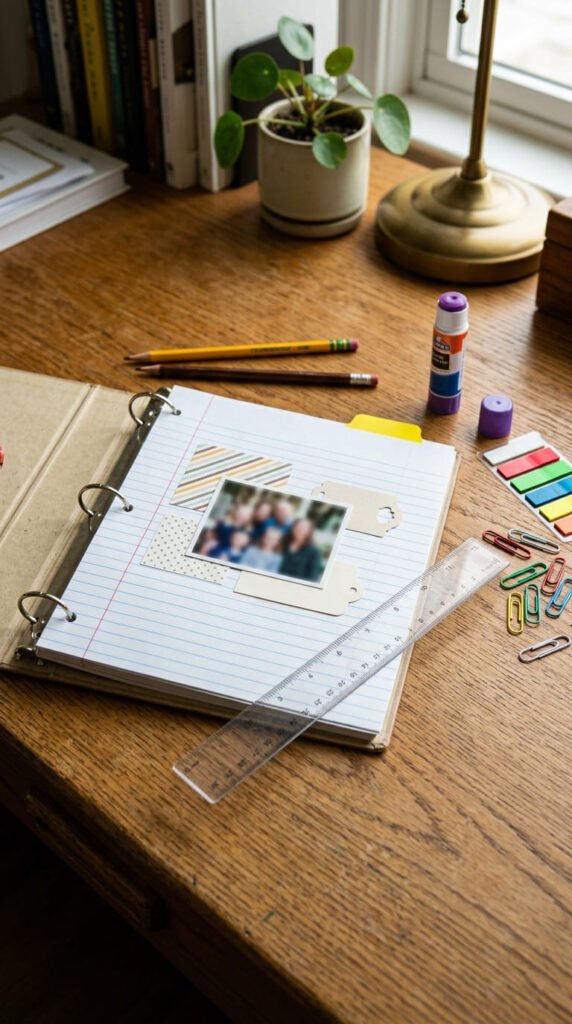
A notebook paper cover fits school projects because it already feels academic.
Use lined paper, graph paper, or plain notebook paper as the main background. Glue it onto cardstock or recycled cardboard.
Add colored tabs on one side using construction paper. You can also add paper clips, pencil shapes, or washi tape strips.
Keep the layout neat and flat so the scrapbook is easy to carry in a school bag.
This idea works for English projects, math scrapbooks, reading logs, class journals, and revision books.
Budget tip: use one page from an old notebook. Cover torn edges with paper strips or tape.
Add a blank frame in the center for the title later.
Use school colors like yellow, blue, red, and white if you want a classic classroom style.
This cover is quick because the background is ready-made. You only add borders, tabs, and small shapes.
It is a smart choice when the assignment should look organized, tidy, and easy for the teacher to read.
8. File Folder Portfolio Cover
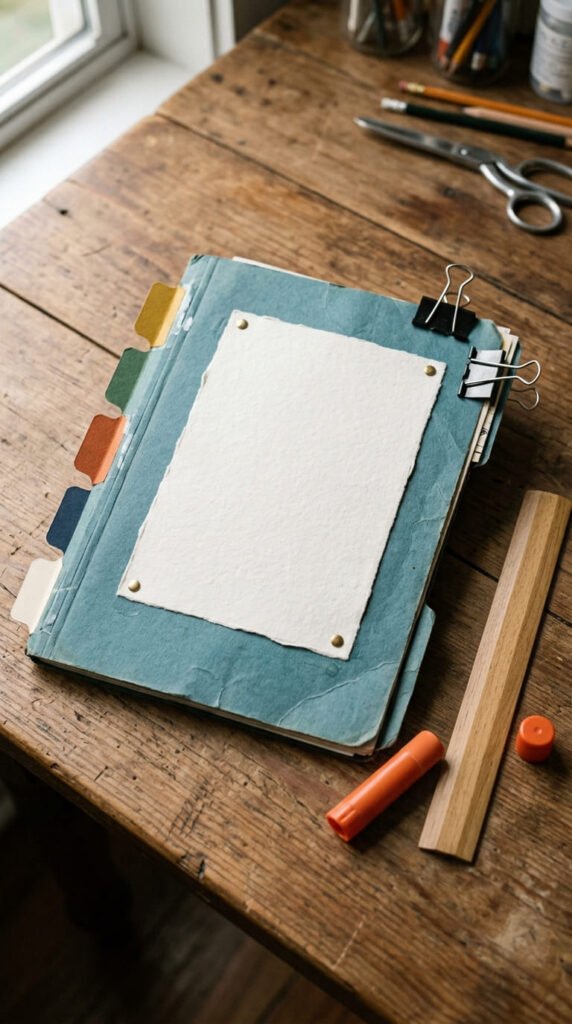
A file folder portfolio cover is great for school reports and class submissions.
Use an old file folder as the cover base. If it feels thin, glue it onto cardboard. Keep the folder color or cover it with construction paper.
Add paper tabs on the side or top. Use different colors for each tab. In the real project, tabs can match sections inside the scrapbook.
Place a blank panel in the center for the project label later.
This cover works for science files, history projects, research scrapbooks, and social studies portfolios.
Budget tip: reuse an old folder from home or school. Cover marks with paper strips, stickers, or tape.
Use a ruler to cut straight tabs. Clean tabs make the project look more organized.
Add a pocket inside the cover for notes, extra pictures, or reference cards.
This idea is helpful when your scrapbook has several sections. It looks more like a school portfolio and less like a random craft book.
9. Paper Circle Pattern Cover
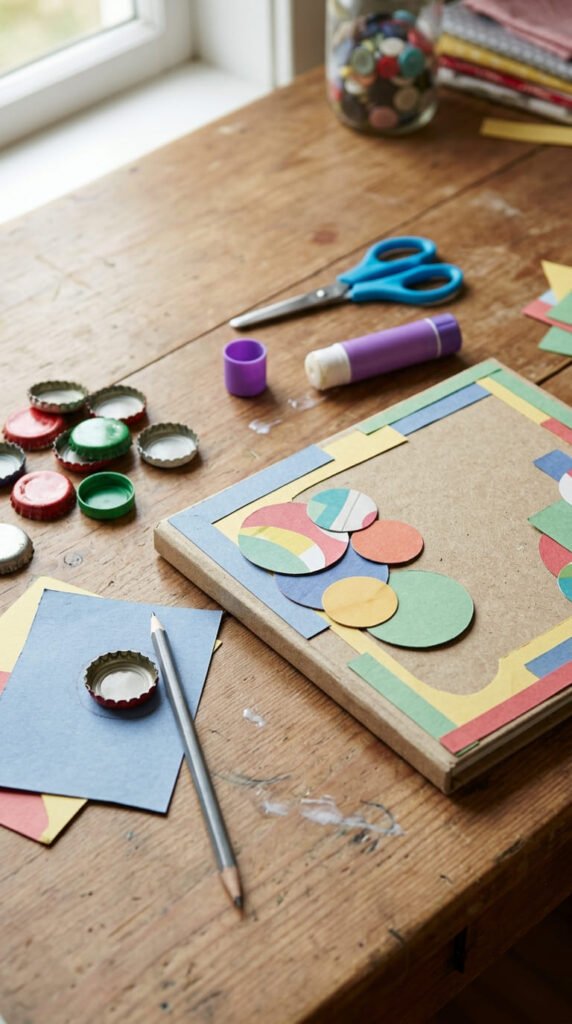
A paper circle pattern cover is bright, easy, and fun to make.
Cut circles from construction paper, old magazines, colored envelopes, or scrap paper. Use different sizes for a playful look.
Arrange the circles in rows, corners, or a diagonal pattern. Glue the largest circles first. Add smaller circles around them.
This cover works well for math, science, art, class memory books, and creative writing projects.
For math, circles can connect to geometry. For science, they can look like cells, atoms, planets, or bubbles.
Budget tip: trace coins, bottle caps, cups, or lids instead of buying a circle cutter.
Use three or four colors only. Too many colors can make the cover look messy.
If you have a hole punch, make tiny dots for a border.
This idea is fast because circles are easy to trace and cut. It gives the cover a creative look without drawing complex shapes or using special supplies.
10. Geography Map Cover
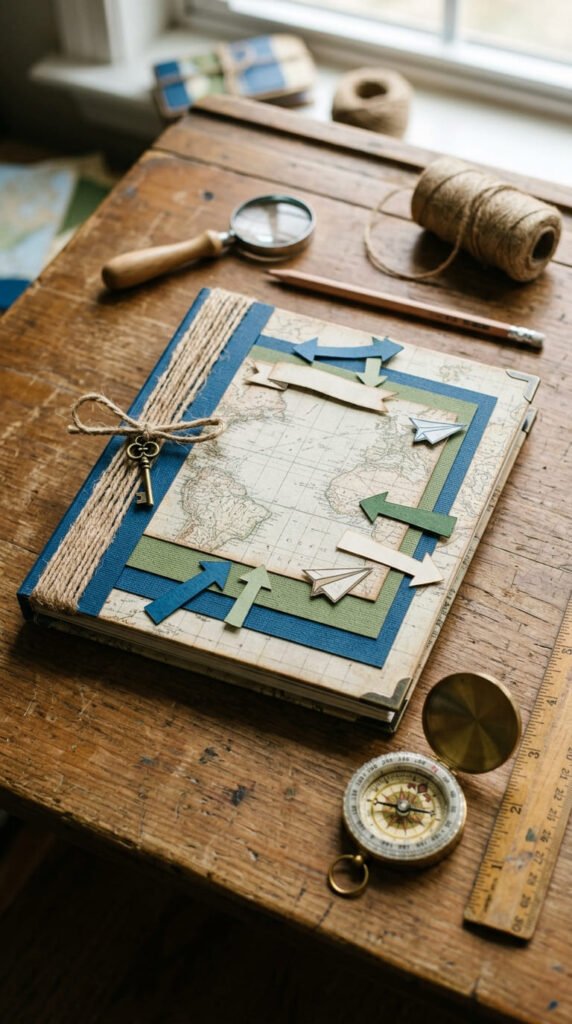
A geography map cover is perfect for country reports, travel topics, and world studies.
Use an old map, printed map-style paper, or blue and green construction paper. Place the map as the background or cut it into smaller pieces.
Add paper arrows, circles, tags, or tiny route shapes. Keep them blank if you are creating an image prompt.
This cover works for geography, history, culture, environment, and travel-based school projects.
Budget tip: use old atlas pages, travel brochures, or printed outlines. You can also cut land shapes from green paper and place them on blue paper.
Do not cover the map with too many decorations. Let the map texture show.
Add twine along the spine for a travel journal look.
Place a blank frame in one corner for the project title later.
This cover gives the subject a clear visual theme. It is quick, low-cost, and easy for classmates or teachers to understand right away.
11. Science Shapes Cover
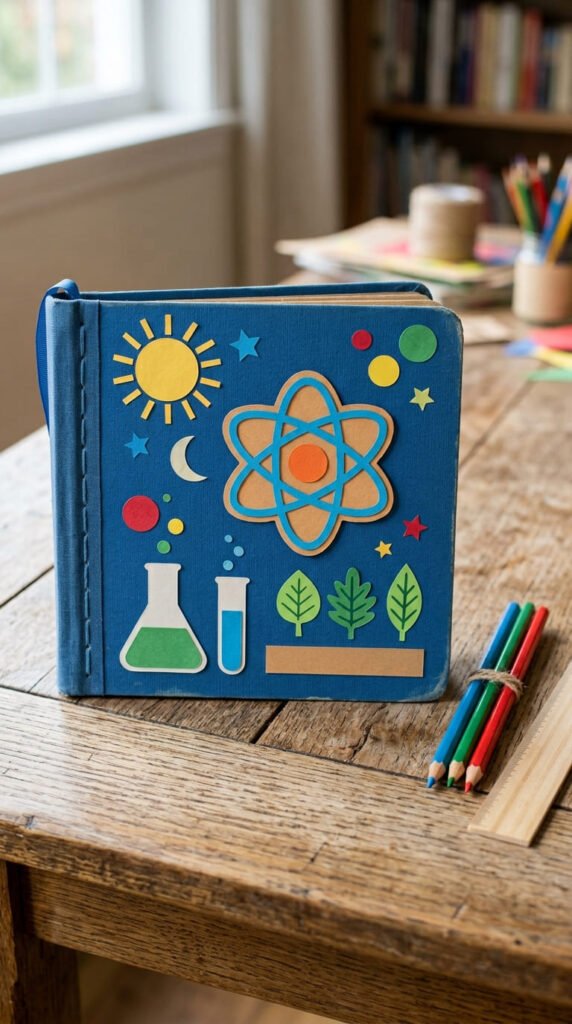
A science shapes cover is easy to make with paper cutouts.
Use blue, white, green, black, or silver paper. Cut circles, stars, leaves, planet shapes, or atom-style rings. Keep the shapes large enough to cut easily.
Place the shapes around the edges and leave the middle clear for a label later.
This cover works for biology, chemistry, physics, space, environment, and general science projects.
Budget tip: use scrap paper from old worksheets, folders, or notebooks. Color plain paper with markers if you do not have colored sheets.
For biology, use green leaves and circles. For space, use stars and planets. For chemistry, use circles connected by small paper strips.
Avoid too many tiny pieces. A few clean shapes look better and save time.
Use glue stick for flat paper shapes. Use tape for pieces that lift at the edges.
A science shapes cover makes the project topic clear without hard drawing. It is also easy to change for different science chapters.
12. History Timeline Cover
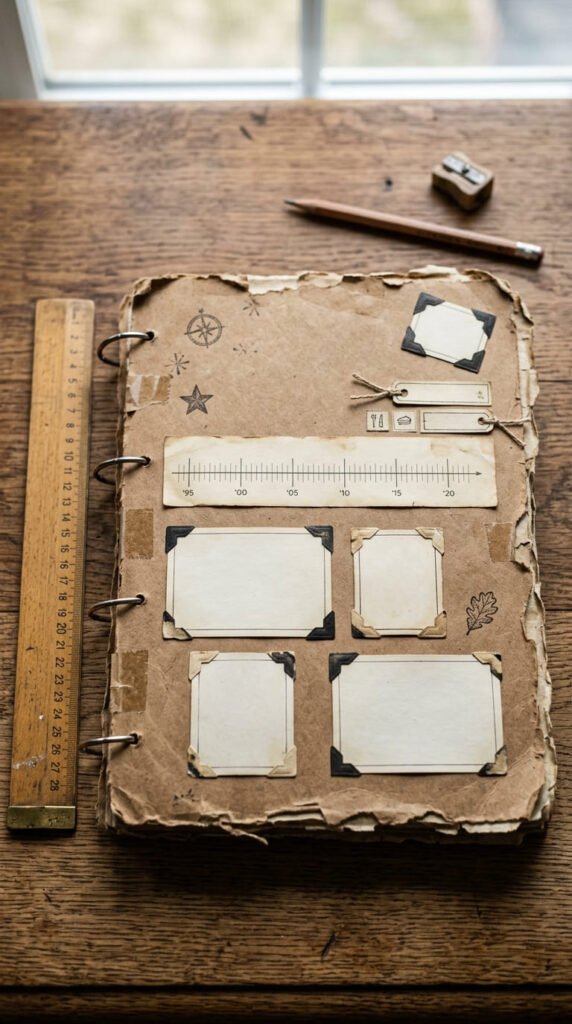
[Image Prompt: A high-end camera photograph of a school scrapbook cover with brown paper, a blank timeline strip, small empty boxes, torn edges, photo corners, and ruler on a desk. No or words in the image.]
A history timeline cover is neat and subject-focused.
Use brown, cream, dark red, or black paper. Cut one long strip of paper and place it across the cover like a timeline.
Add small blank boxes or circles along the strip. In your real project, these can hold dates or key events later.
This cover works for history, biography, culture, social studies, and event-based assignments.
Budget tip: use brown paper bags, old envelopes, tea-stained paper, or recycled cardboard.
Add torn paper edges, map scraps, or photo corners for an old-document style.
Use a ruler to keep the timeline straight. A clean line helps the project look serious and organized.
Keep the rest of the cover simple so the timeline stands out.
This idea is useful because history often follows a sequence. The cover gives a clue about the subject before the reader opens the scrapbook.
It looks thoughtful but uses only paper, glue, and a ruler.
13. Literature Book Cover
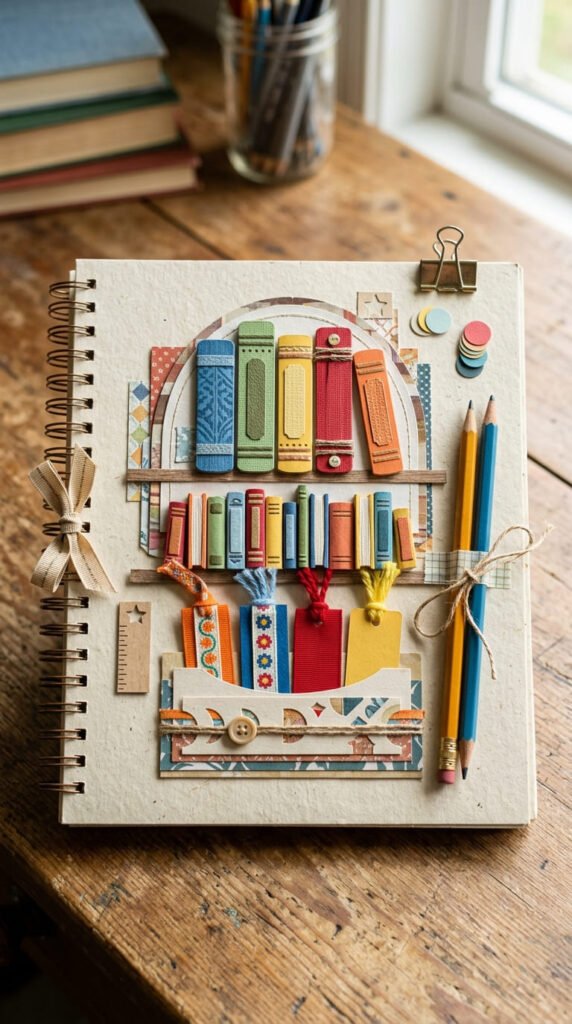
A literature book cover is a good match for English, reading, poetry, or author projects.
Cut a simple open-book shape from white or cream paper. Glue it onto a colored base. Add small bookmark shapes, pencil cutouts, stars, leaves, or paper strips around it.
Use calm colors like navy, cream, brown, green, or burgundy for a library-style look.
This cover works for book reports, reading logs, author studies, story projects, and poetry scrapbooks.
Budget tip: use notebook paper, old folders, or damaged book pages as background texture. Keep any image prompt free from readable words.
For your real project, the center can hold the book title or topic.
Keep the cover flat so it fits inside a school bag.
Add a ribbon strip along the spine if you want it to look more like a real book.
The book shape is easy to cut, and the subject is clear. This makes the cover quick, useful, and class-ready.
14. Eco Green Cover
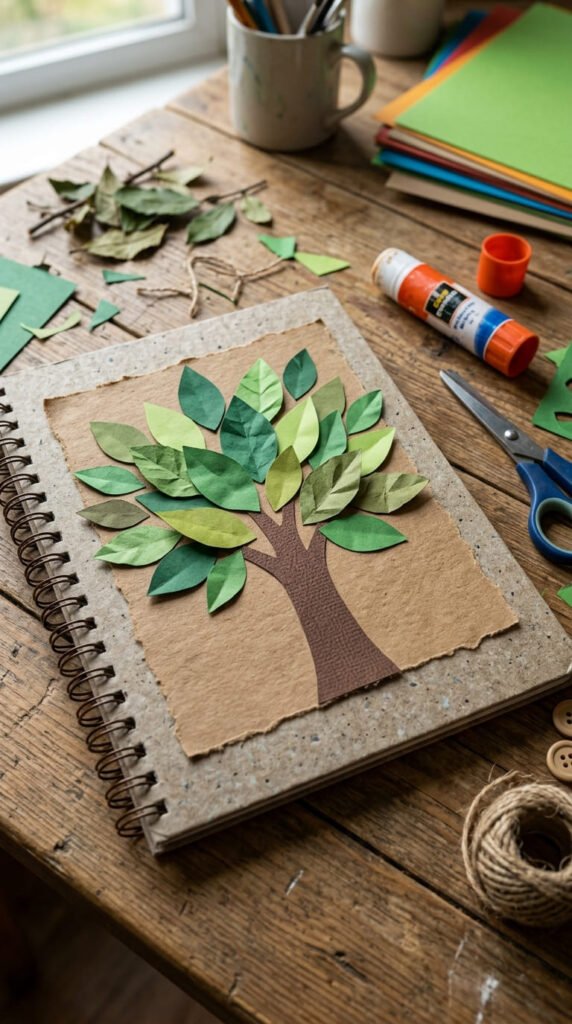
An eco green cover is perfect for environment, plant, recycling, or nature projects.
Use recycled cardboard for the base. Cover it with green, brown, or cream paper. Cut leaves from green construction paper, old folders, magazines, or paper scraps.
Arrange the leaves around the border or in one corner. Add small circles, paper strips, or kraft paper layers if the cover feels empty.
This cover works for environmental science, biology, plant studies, recycling projects, and Earth-themed assignments.
Budget tip: use delivery boxes, grocery bags, and scrap paper from home. These materials fit the eco theme and cost nothing.
You can use real dried leaves, but paper leaves are stronger for school handling.
Keep the design clean by using only a few green shades.
Leave a blank label area for the project name later.
This cover is easy to explain and easy to make. It also shows the project theme through the materials, not only the decoration.
15. Space Theme Cover
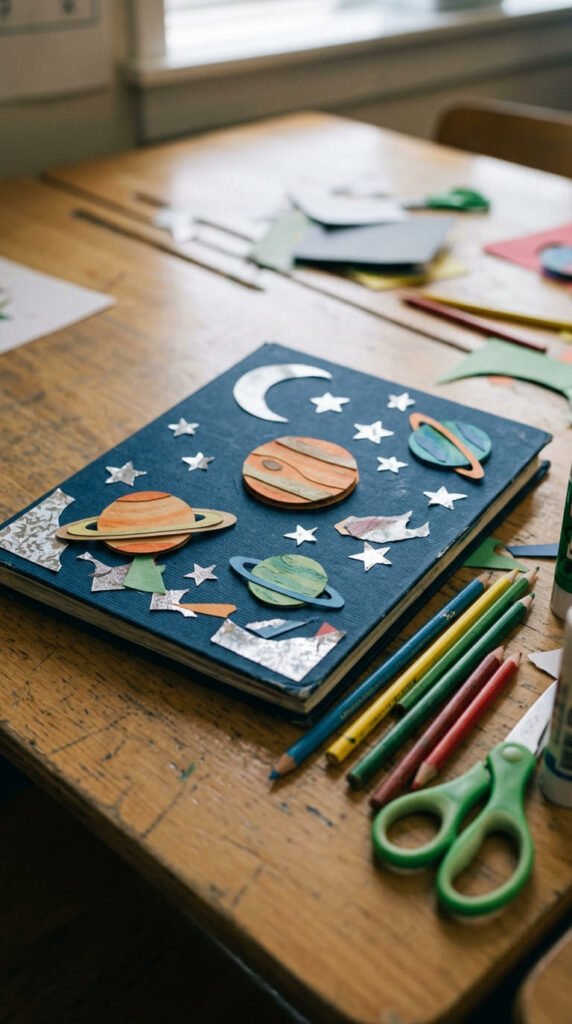
A space theme cover is fun for astronomy and science projects.
Use dark blue, black, purple, or gray paper as the base. Cut circles for planets, small stars, and a moon shape from paper scraps.
Glue the largest planet first. Add smaller stars around it. Keep the center or lower area clear for the project label later.
This cover works for solar system projects, space research, physics scrapbooks, and class science displays.
Budget tip: cut shiny parts from gift bags, snack packaging, or old cards to make stars and planets.
Trace cups, coins, or bottle caps for round shapes.
Use paper stars instead of glitter if you want less mess. Glitter can fall off inside a school bag.
Add white dots with a pencil or paint pen for a night-sky feel.
This cover is quick because planets and stars are simple shapes. It looks exciting and makes the topic clear right away.
16. Art Class Paper Strip Cover
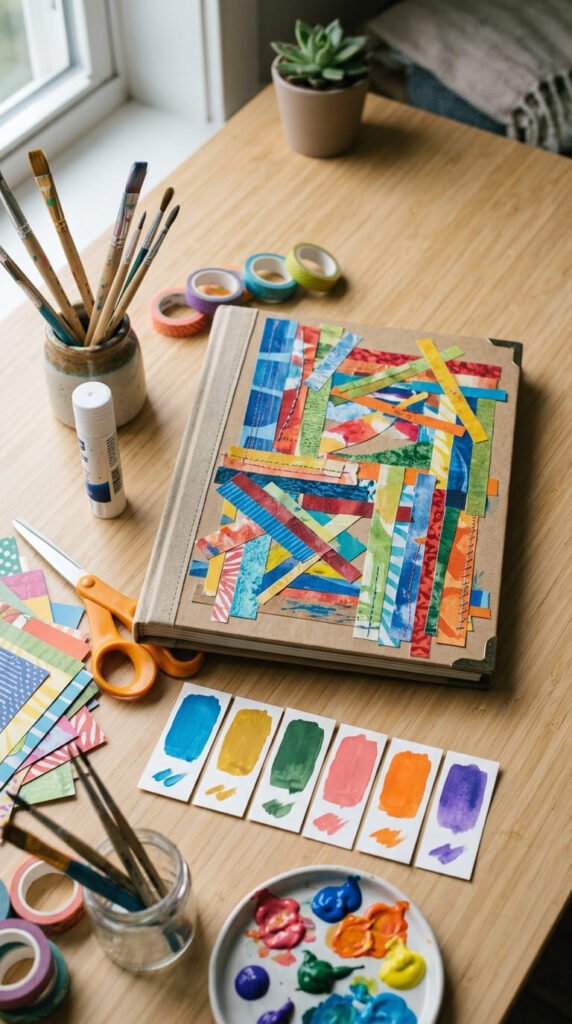
An art class paper strip cover is bright and fast.
Cut strips from colored paper, old art sheets, paint sample cards, magazines, or leftover project paper. Arrange the strips vertically, horizontally, or diagonally.
Use glue stick to keep the strips smooth. Trim the edges after gluing so the cover looks clean.
This cover works for art projects, design portfolios, craft assignments, and creative writing scrapbooks.
Budget tip: use paper scraps from other school projects. Even uneven pieces can become neat strips once trimmed.
Choose colors that match the mood. Rainbow strips feel playful. Warm colors feel bold. Cool colors feel calm.
Add a blank center frame if you want a title space later.
You can also place strips only in one corner for a lighter look.
This idea is helpful when time is short because cutting strips is faster than making detailed shapes.
It gives the cover color, movement, and a strong classroom project style with basic supplies.
17. Sticker Cluster Cover
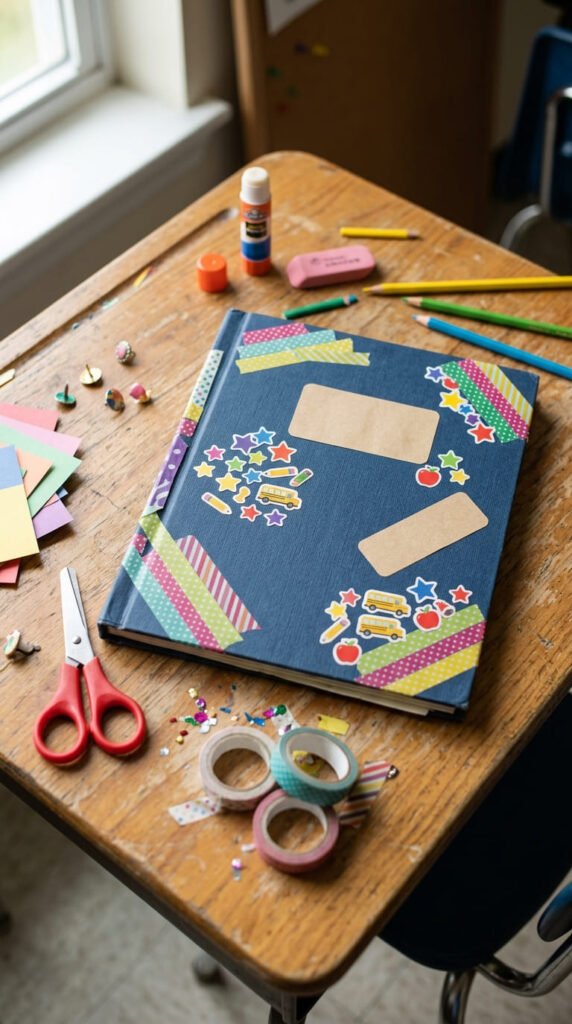
A sticker cluster cover is perfect if you want a no-drawing design.
Choose stickers that match your subject. Use stars for space, leaves for nature, books for English, pencils for school themes, or simple shapes for art projects.
Place the stickers in one corner, around a center frame, or along one side. Avoid spreading them everywhere.
A cluster looks cleaner than random placement.
If you do not have stickers, cut small images from magazines, old cards, or packaging. Glue them like handmade stickers.
This cover works for almost any school assignment.
Budget tip: use planner stickers, leftover sticker sheets, or cutouts from home. New sticker packs are not required.
Pair stickers with a plain base. White, kraft, or pastel paper lets the cluster stand out.
Add washi tape corners for extra color.
This idea saves time and helps students who feel unsure about drawing. It looks decorated but stays easy and low-mess.
18. Yarn Spine Cover
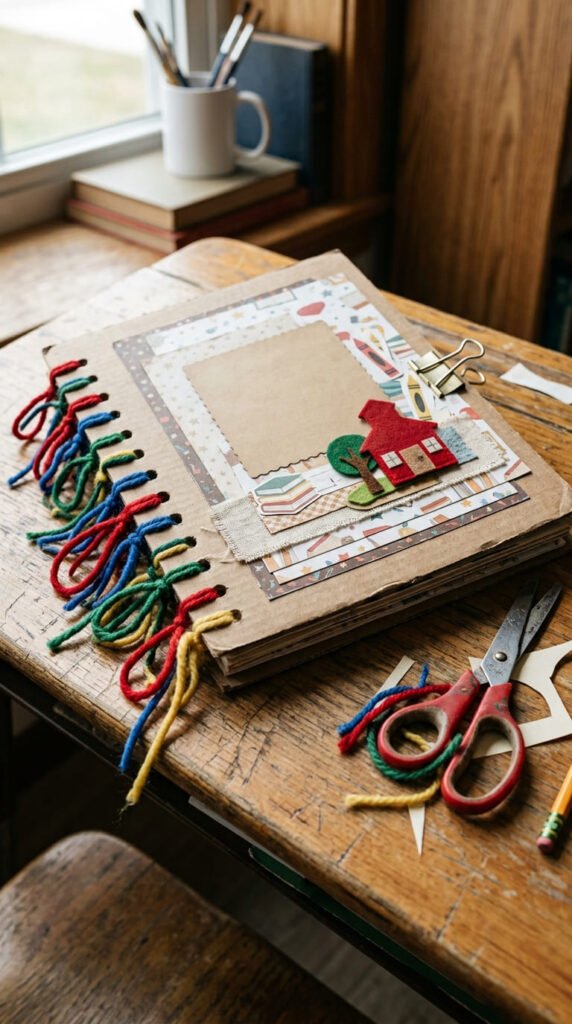
A yarn spine cover gives your scrapbook a handmade finish.
Use cardboard or cardstock for the cover base. Punch holes along one side. Wrap yarn through the holes or tie it around binder rings.
Choose yarn that matches the subject colors. Green works for nature. Blue works for science. Brown works for history. Red or yellow works for art.
Decorate the front with paper layers, a simple frame, or topic shapes.
This cover works for handmade scrapbooks, class memory books, art projects, and portfolio-style assignments.
Budget tip: use leftover yarn, embroidery thread, or ribbon from home. Short pieces can still decorate the spine.
Do not pull the yarn too tight. The pages should turn easily.
Ask an adult for help if you are making holes through thick cardboard.
A yarn spine cover is useful when building the scrapbook from scratch. It holds pages together and makes the project look complete without using costly binding supplies.
19. Subject Icon Collage Cover
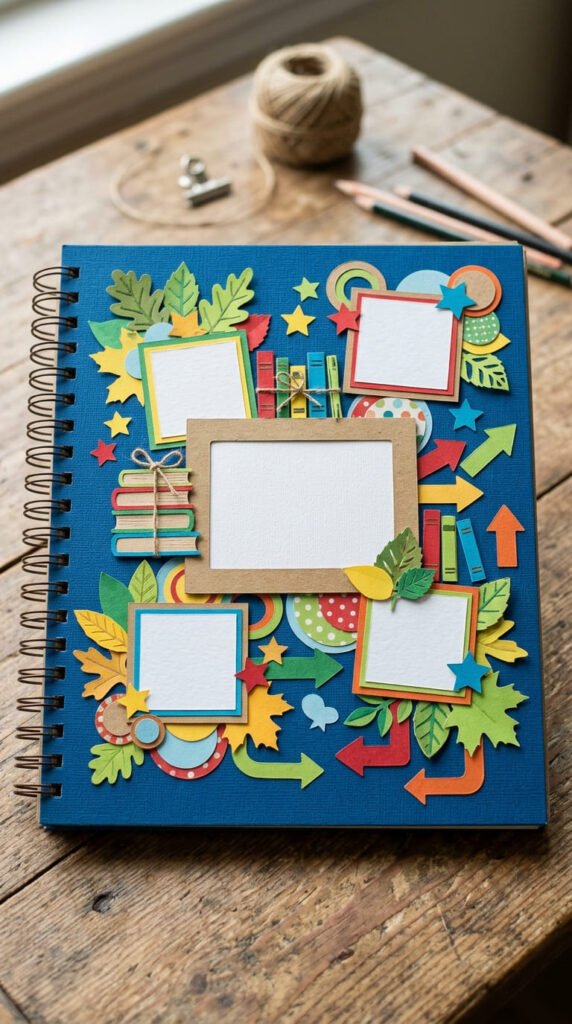
A subject icon collage cover helps the topic show clearly.
Choose five to seven simple icons related to your project. For science, use leaves, circles, stars, and atom shapes. For literature, use books, bookmarks, and pencils. For geography, use maps, arrows, and globe shapes.
Cut each icon from colored paper. Keep the shapes bold and simple.
Arrange the icons around the edges or in a diagonal flow. Leave one blank space for the project label later.
This cover works for nearly any school subject.
Budget tip: draw easy shapes on scrap paper and cut them out. You can also trace coins, rulers, bottle caps, or small objects.
Use two or three main colors. This keeps the cover tidy.
If cutting many shapes feels slow, make fewer icons but make them larger.
This design is practical because it tells the viewer what the scrapbook is about right away.
It uses only paper, glue, and basic school supplies, so it is quick and affordable.
20. Checkerboard Paper Cover
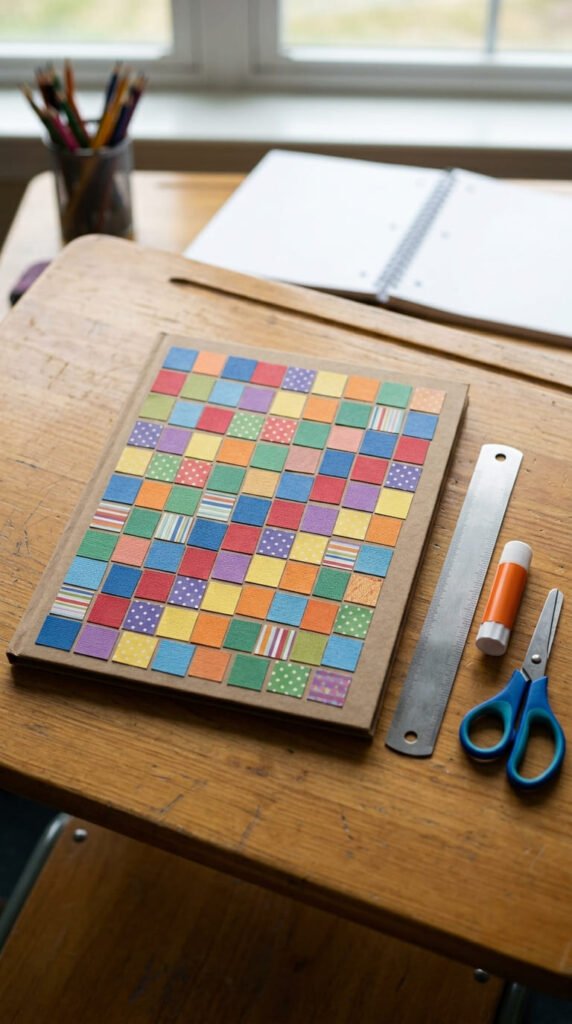
A checkerboard paper cover looks clean and creative with simple supplies.
Cut equal squares from two or three colors of construction paper. Arrange them in a checkerboard pattern on the cover.
Glue row by row. Trim the outside edges when finished.
This cover works for math projects, art portfolios, school memory books, and modern class assignments.
Budget tip: use leftover paper scraps. Small pieces are perfect for this style.
For a soft look, use pastel colors. For a bold cover, use black and white with one bright accent color.
You do not have to cover the whole front. A checkerboard strip on one side can look just as neat.
Leave a blank rectangle for the project title later.
Use a ruler for cleaner squares. Even paper patterns look better when the pieces line up.
This design is easy because it repeats one shape. It also gives the cover a neat, graphic look that feels school-ready and quick to make.
21. Paper Corner Protector Cover
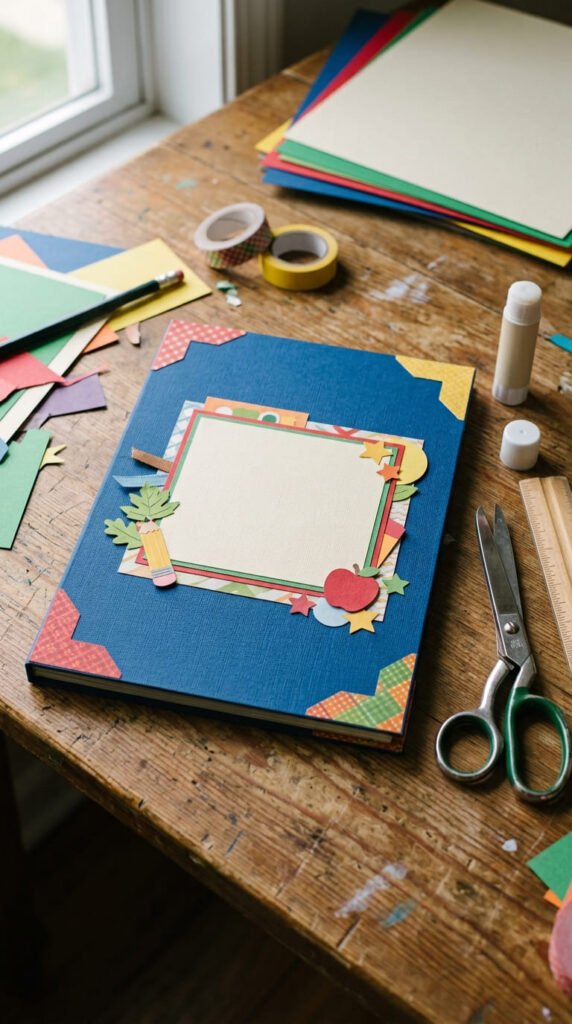
Paper corner protectors can make a plain cover look tidy in minutes.
Cut four small triangles from colored paper. Glue them onto the four corners of the cover. They look like decorative photo corners and also hide rough edges.
Add a blank sheet or paper frame in the center. Keep the rest of the cover clean.
This idea works for portfolios, photo-based projects, history scrapbooks, and neat class submissions.
Budget tip: use tiny scraps from construction paper, old folders, or gift wrap. The pieces are small, so almost any leftover paper works.
Match the corner color to the subject. Green for nature, blue for science, brown for history, red for art, or yellow for classroom themes.
Use a ruler so all four triangles look similar.
Add a thin border with marker or tape if the cover feels too plain.
This is a good last-minute design because it cleans up the cover fast and helps the project look more finished.
22. Mini Paper Banner Cover
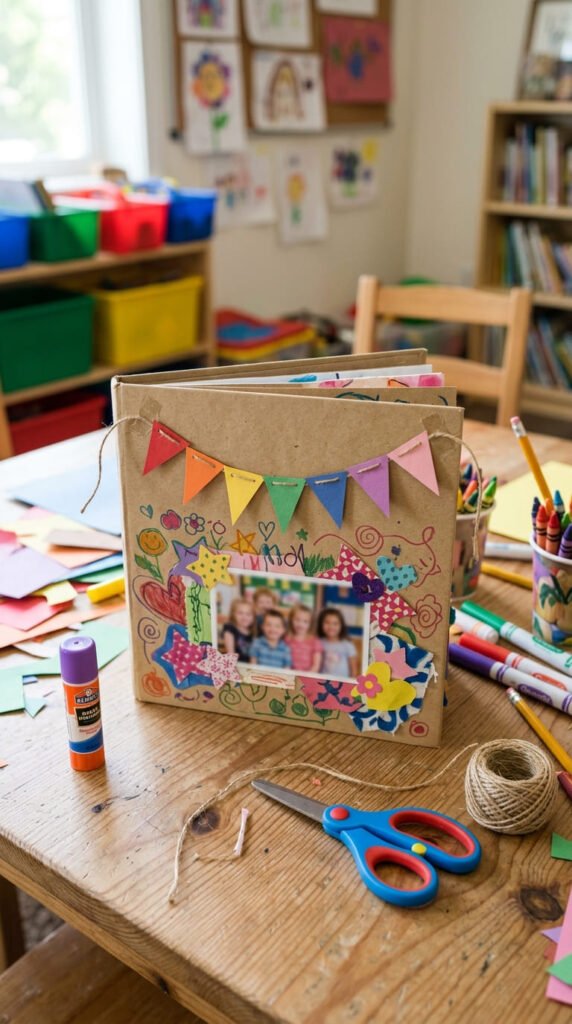
A mini paper banner cover looks cheerful and quick.
Cut small triangles or rectangles from colored paper. Arrange them along a curved line near the top of the cover. Add a thin string under them if you want a handmade banner effect.
Keep the rest of the cover simple. Add a center frame or subject icons below the banner.
This idea works for class memory books, art scrapbooks, birthday school projects, and presentation covers.
Budget tip: use leftover wrapping paper, magazine scraps, or construction paper. Tiny pieces are enough.
Choose colors that match the subject. Pastels look soft. Primary colors feel school-like. Earth tones work for history or nature.
Do not make the banner too large. It should decorate the cover, not cover the whole front.
Use glue stick for paper banners and a tiny dot of glue for string.
This design gives quick creative results with almost no drawing. It makes the scrapbook feel fun and neat.
23. Clean Portfolio Cover
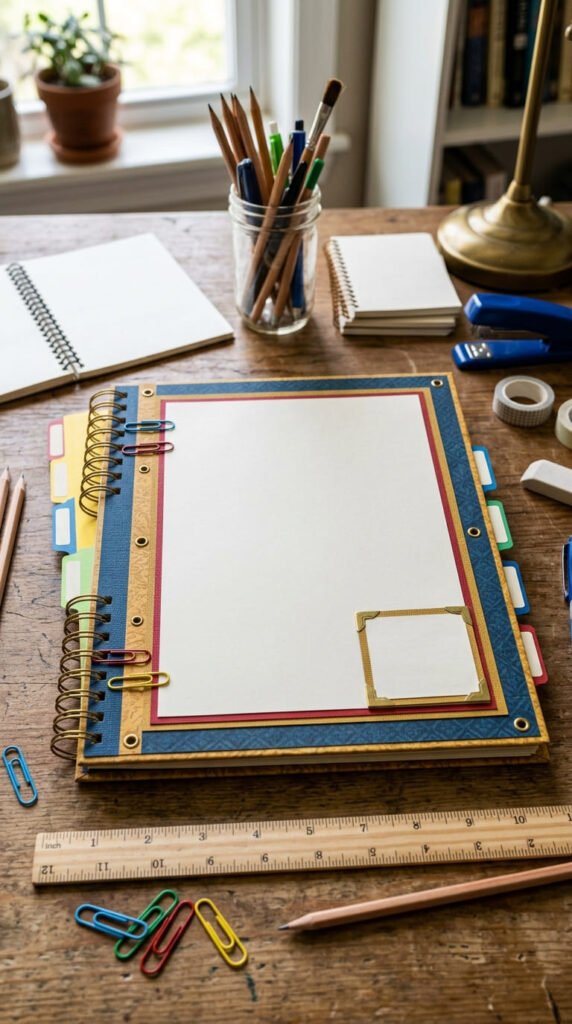
A clean portfolio cover is best when your school project should look serious and organized.
Use a plain base color like white, navy, black, gray, or kraft brown. Add one colored border around the edge. Place a large blank rectangle in the center for the project label later.
Add small tabs, paper clips, or a thin strip of washi tape for detail.
This cover works for research projects, final assignments, science files, history reports, and subject portfolios.
Budget tip: use an old folder or cardboard cover. Add clean paper on top to hide marks.
Keep the decoration flat so the scrapbook is easy to carry.
Use a ruler for every edge. Straight lines make a simple cover look more careful.
If the cover feels too plain, add one small paper icon in the corner.
This idea is quick, low-cost, and ready for class. It gives the project a tidy first impression without extra craft work.
Conclusion
Easy scrapbook cover ideas for school projects work best when they are neat, quick, and connected to the subject. Construction paper, recycled cardboard, old folders, washi tape, stickers, printed pictures, yarn, and paper cutouts can create a strong cover without a big budget. Choose one layout, pick two or three colors, and leave a clear space for the project label. With simple supplies and clean spacing, your scrapbook can look creative, organized, and ready to submit.