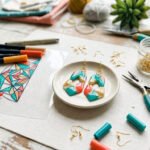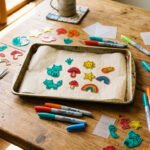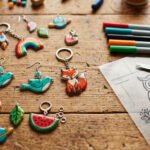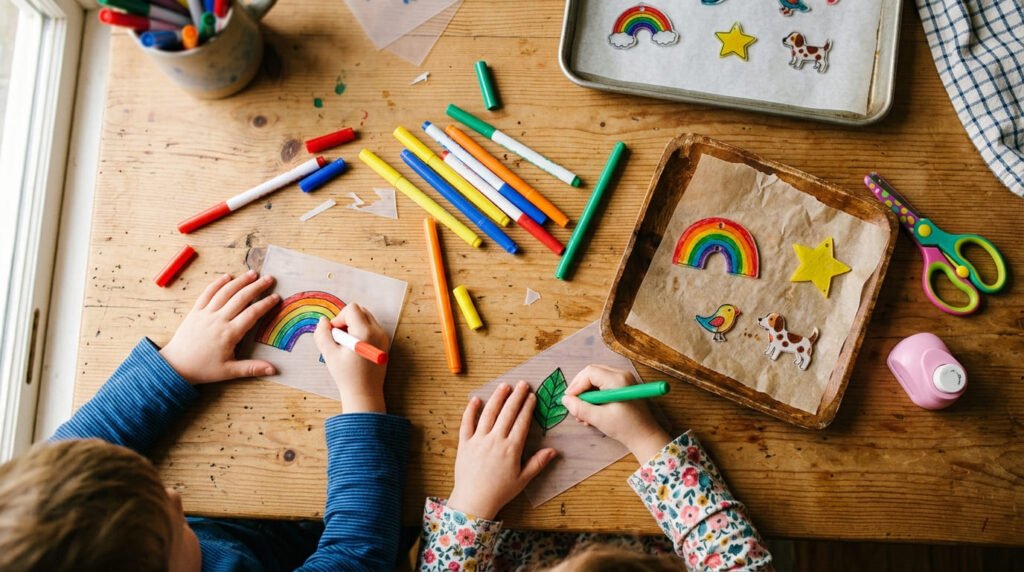
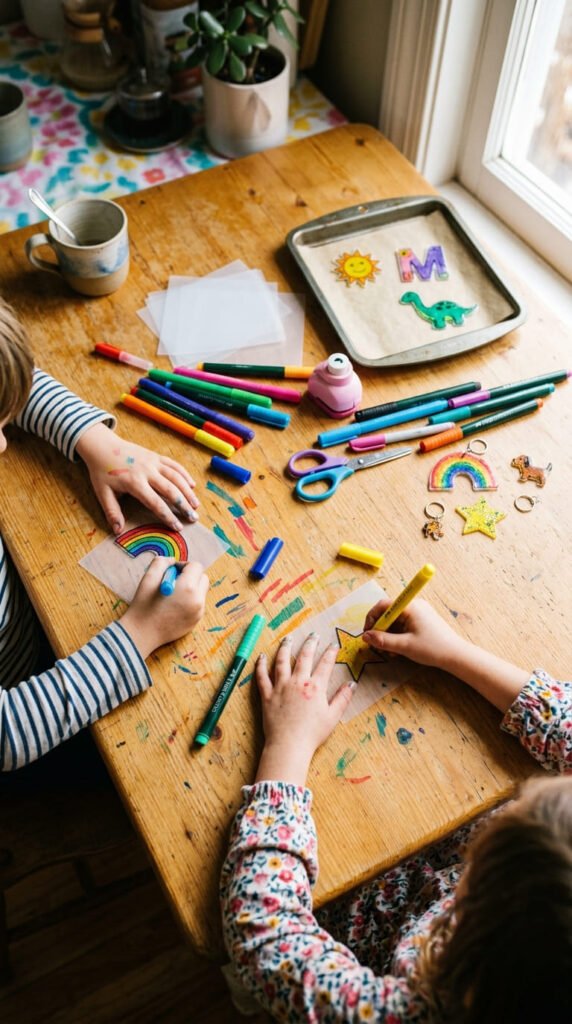
Few crafts hold a kid’s attention like Shrinky Dinks. You draw on a flat sheet, pop it in the oven, and watch it curl, wiggle, and shrink into a thick little charm. That bit of oven magic gets gasps every single time. The best part for parents? It is cheap, quick, and uses stuff you likely already have. One sheet of plastic and a handful of markers turn into keychains, magnets, and toys for about $5 a project. Most ideas take 15 to 25 minutes start to finish, so they fit neatly into a rainy afternoon. An adult handles the hot oven, and the kids do the fun parts: drawing, coloring, and watching the show. Below are 24 craft ideas, each with simple steps and money-saving tips. They suit a range of ages, and many can be made in one baking session. Grab some markers and let the kids get creative.
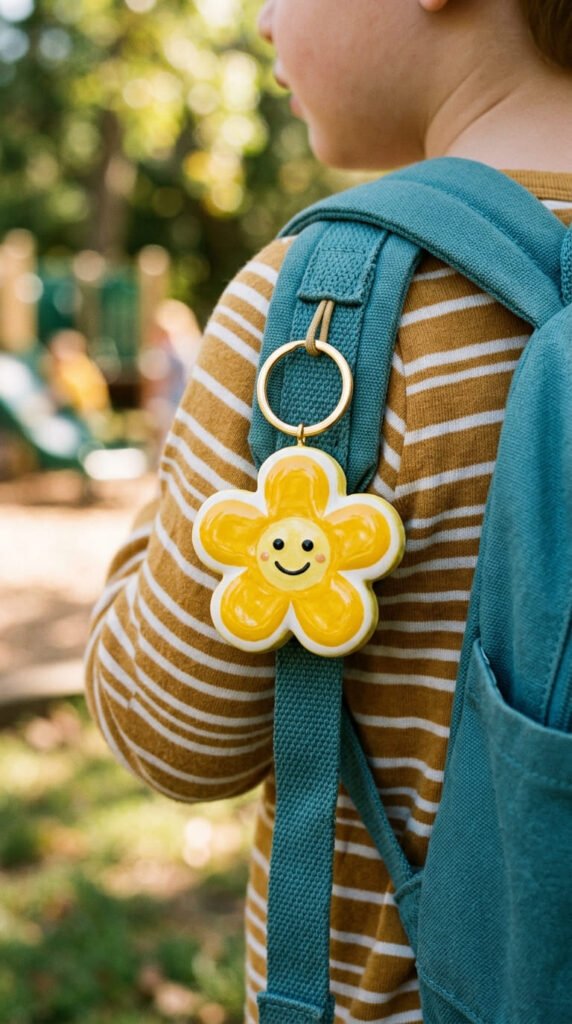
1. Custom Backpack Keychains
Keychains are the number-one kids’ project, and the easiest place to start. Let your child draw any shape they love. A dinosaur, a unicorn, a favorite snack. Color it with permanent markers, then punch a hole near the top before baking. The hole shrinks too, so make it bigger than you think. After baking and cooling, clip on a jump ring and a key ring. Budget tip: save the rings from old, broken keychains instead of buying new ones. Kids can hang these on backpacks, lunch boxes, or zippers. They also help kids tell their identical school bags apart. Brush on a coat of Mod Podge to keep the color from chipping. Make a batch in one oven session so siblings each get a few. Because they are quick, a child can design several in an afternoon. These also make sweet, low-cost gifts for friends. One sheet of plastic yields eight to ten keychains, so the cost per piece is almost nothing.
2. School Name Tags

Lost mittens and mystery water bottles are a parent’s daily battle. Name tags help. Have your child draw a fun shape, then write their name on it with a fine marker before coloring around it. Punch a hole, bake, and clip it to a backpack, lunchbox, or jacket zipper. Money-saver: one sheet makes tags for the whole family, so everything from gym bags to coat loops gets labeled for pennies. Keep the writing chunky, since thin letters can blur as the plastic shrinks. Pick a bright color so the tag is easy to spot in a pile of identical bags at school. Seal it with a clear coat, because these take a beating in busy hands. Kids enjoy decorating their own, which makes them more likely to actually use them. Make a few spares for when one inevitably goes missing. A homemade tag stands out more than a plain store sticker and lasts far longer. It is a small craft that solves a real, everyday problem.
3. Colorful Fridge Magnets
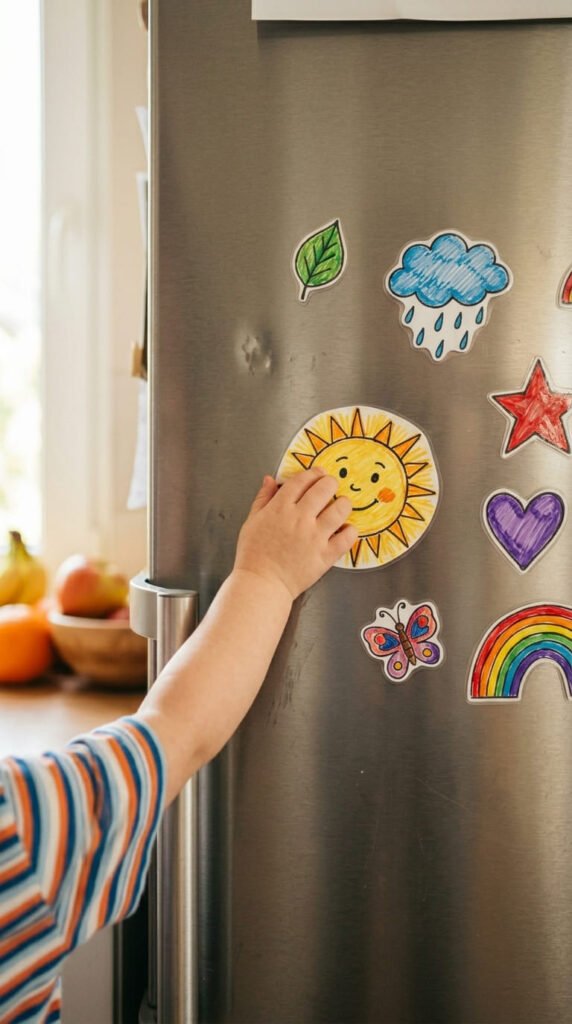
Magnets turn the fridge into a kid art gallery. Let your child draw and color a small shape, bake it, then glue a magnet to the back once it cools. Small round magnets come in big bags for very little money. Tip: use stronger magnets for bigger shapes so they actually hold a drawing or a school note. Use a hot glue gun yourself, or a strong craft glue the child can manage with help. Make a set around a theme like animals, weather, or food. These also make heartfelt gifts. A magnet with a child’s own drawing on it becomes a keepsake grandparents adore. Seal the front with a clear coat before gluing the magnet on, so kitchen steam doesn’t fade the color. One afternoon can produce a dozen magnets. Tuck a few into birthday cards as little surprises from your child. Because they are flat and simple, even young kids manage the drawing part easily. They cost almost nothing and give kids a real sense of pride seeing their work on display.
4. Reading Bookmarks
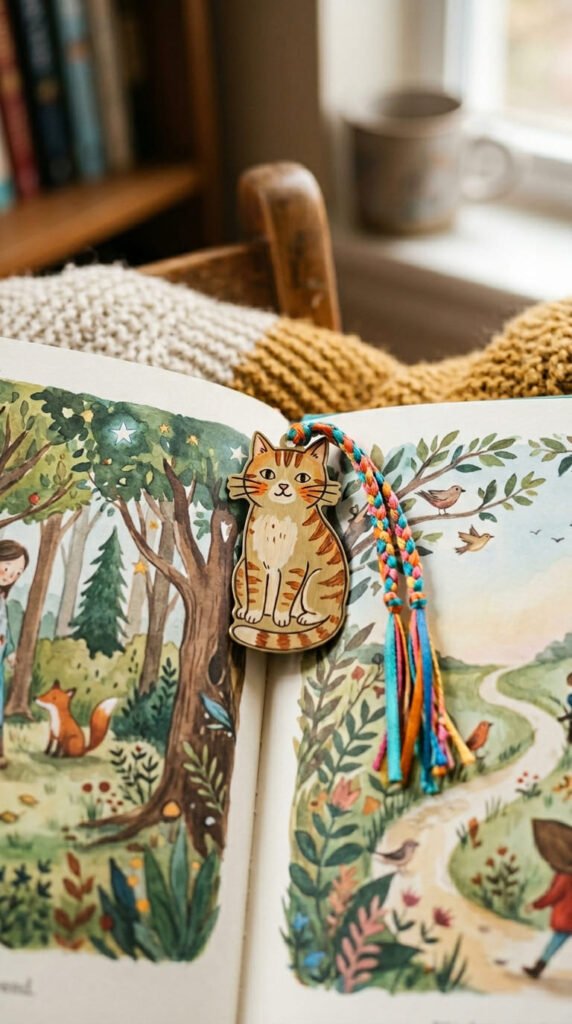
Bookmarks make reading feel special, and these are tough enough for a backpack. Have your child draw a flat shape, color it, and punch a hole at one end. After baking, tie on a ribbon or yarn tassel through the hole. The charm sits at the top of the page while the ribbon marks the spot. Cheap upgrade: use leftover ribbon or yarn scraps you already have. Keep the design simple so it lies flat against the pages. These are perfect for marking school reading books. Kids love picking a charm that matches their current favorite story. Seal the surface so the marker color doesn’t rub onto the pages over time. Because the plastic is rigid, it slides in and out without tearing anything. Make a themed set based on a book series your child loves. They also make thoughtful gifts for a young friend or a teacher. One sheet gives you plenty to share with the whole class. It is a quiet craft that gently encourages more reading time.
5. Zipper Pulls and Charms
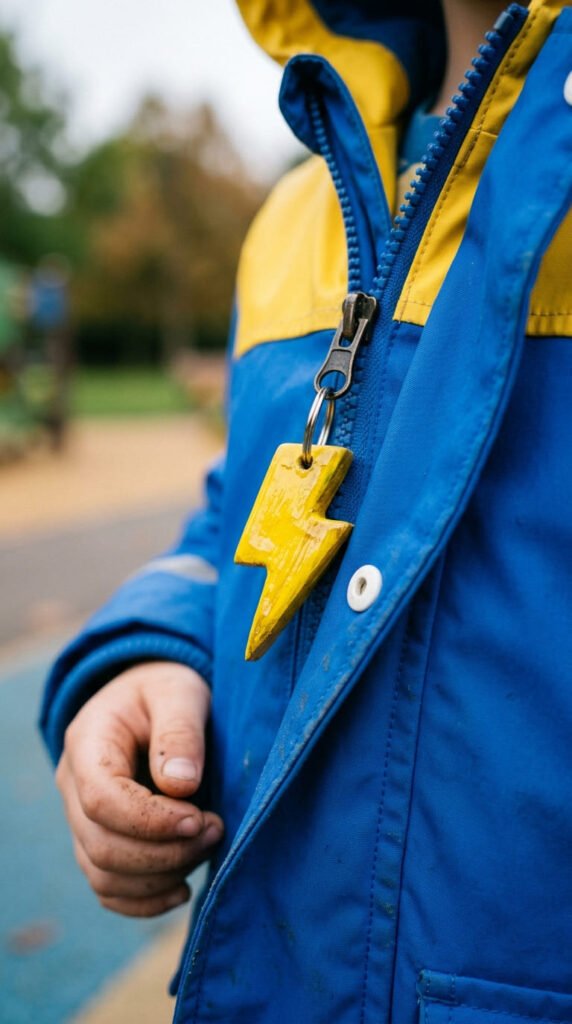
A zipper pull makes a jacket or pencil case feel like a child’s very own. Let your child draw a small shape, color it, punch a hole, and bake. Attach it to the zipper with a split ring or a short loop of cord. Money-saver: the split rings from old keyrings work perfectly, so the hardware costs nothing. Pick something the child loves, like a favorite animal or a star. These help kids open tricky zippers more easily, too, since there is something bigger to grab. Keep the charm compact so it doesn’t catch on things. Seal it well, because this piece rubs against fabric and gets handled constantly. Kids enjoy making matching ones for their coat, backpack, and lunch bag. Because they are so quick, they are a great use for leftover scraps of plastic. Make a few and let kids swap them around. A whole batch costs less than a single charm from a shop, and the child made every one.
6. Handprint Keepsakes
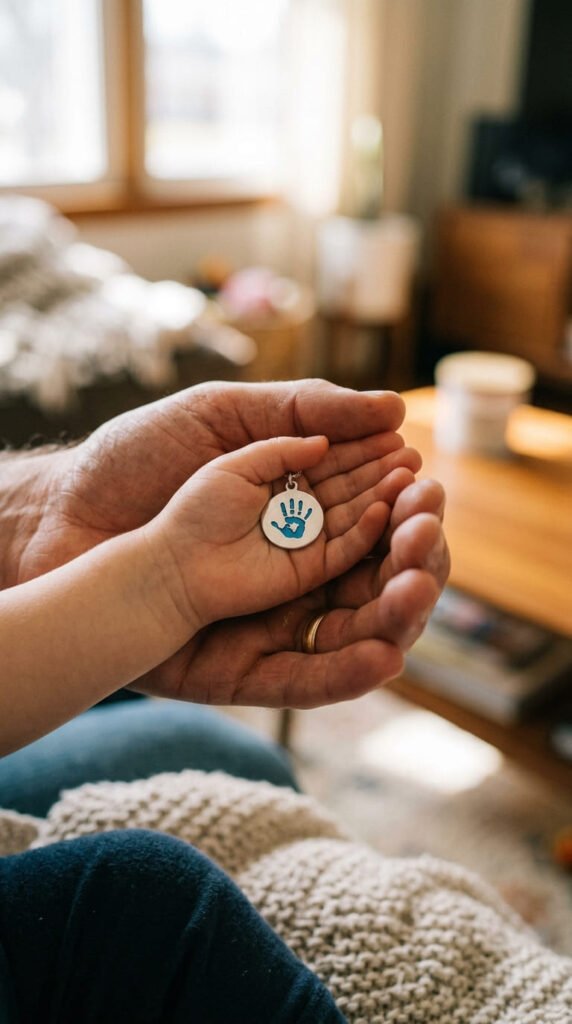
This one is for the parents as much as the kids. Trace your child’s hand or foot onto the plastic with a fine marker. Add the date and their age inside the outline. After baking, the print shrinks into a precious miniature you can hold. Punch a hole first if you want to hang it. Sweet and cheap: turn it into an ornament, a necklace, or a keychain for a grandparent. The thick finished piece feels solid and permanent, not flimsy. Because it shrinks so much, even a chubby toddler hand becomes a tidy little charm. Color the print or leave it as a clean outline. Make one each year to watch how much the hand grows over time. Seal it so the date and lines never fade. These cost almost nothing yet carry huge sentimental weight. New parents treasure them, and they make a heartfelt gift from a child to a relative. Keep the original tracing simple, since the plastic curls a lot before flattening in the oven.
7. Pet Drawing Charms

Kids adore their pets, so let them turn the family dog or cat into a charm. Have your child sketch the pet, focusing on a few fun features like floppy ears or stripes. Color it, punch a hole, and bake. The shrinking sharpens the lines, so a wobbly drawing tightens up nicely. Tip: trace from a printed photo placed under the plastic to help younger kids get the shape right. Keep the background simple so the pet stands out. These make sweet gifts for pet-loving grandparents or friends. Turn it into a keychain, a magnet, or an ornament. Seal it so the drawing stays bright for years. Because the finished piece is thick and solid, it feels like a real keepsake. Kids feel proud seeing their artwork become something they can carry. Make one of each family pet. Practice on scrap plastic first if your child wants to. A pet charm costs pennies in materials but means a lot to the little artist who made it.
8. Rainbow Charms
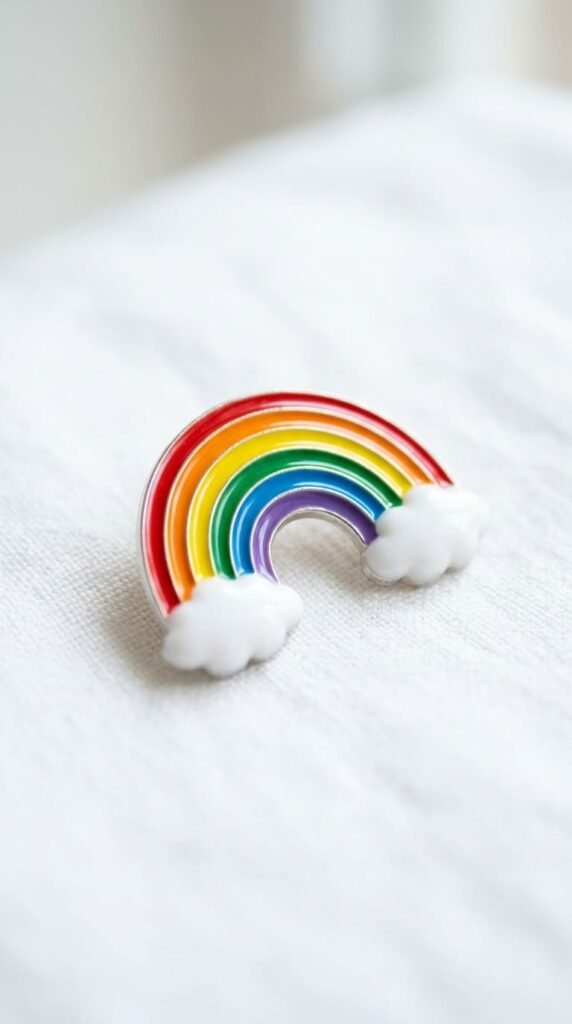
Rainbows are cheerful, simple, and a kids’ favorite. Have your child draw an arch and color it in bright bands. Keep the colors light, since they deepen as the plastic shrinks. Punch a hole at the top, bake at 325°F, and flatten while warm. Money-saver: a basic set of colored markers is all you need. Keep the color bands clear so they don’t smear together. Add a tiny cloud at each end for extra charm. Seal the front with a glossy coat to make the colors shine. Turn it into a keychain, magnet, or necklace. These are happy, easy crowd-pleasers for all ages. Because the design is so forgiving, it is a great first project for younger kids. Translucent plastic makes the colors glow when light hits them. Make a matched set so siblings each have one. A bright rainbow charm costs only a few cents and brings instant cheer, all from one quick oven session that the whole family can watch together.
9. Halloween Ghosts and Pumpkins
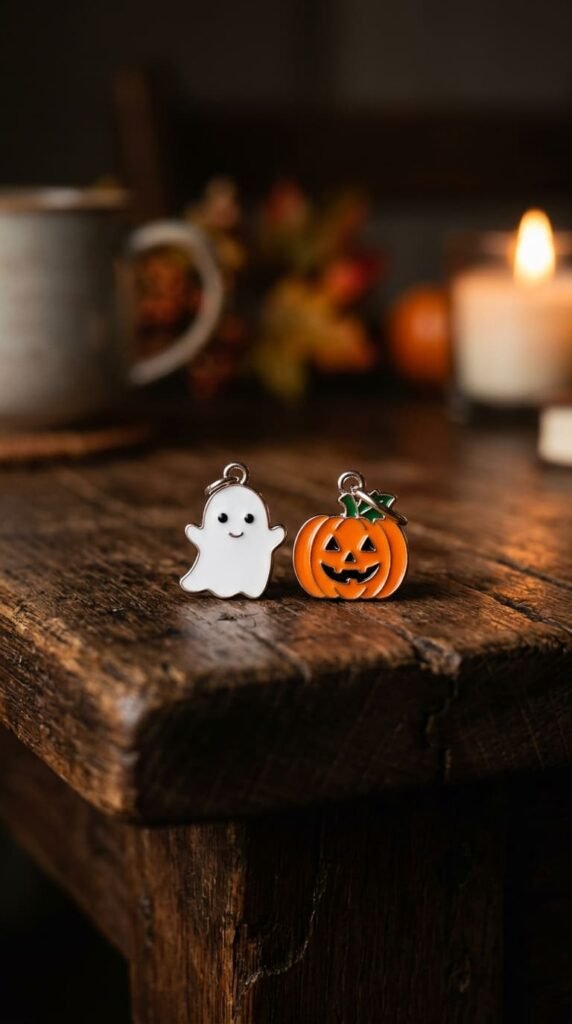
Halloween is perfect for shrink plastic crafts. Let kids draw ghosts, pumpkins, bats, or friendly monsters. Color them in orange, black, white, and purple. These bold shapes hold up beautifully after shrinking. Punch a hole, bake, flatten, and turn them into keychains or zipper pulls. Money-saver: make a whole seasonal set from one sheet instead of buying decorations you only use for a few weeks. Keep ghosts white by leaving the plastic uncolored and just adding tiny black eyes. Use glow-in-the-dark or glittery sealant for extra spooky fun. Mismatched pairs are great here, like a ghost on one bag charm and a bat on another. Seal them well so the color survives a busy night of trick-or-treating. Kids love handing these out to friends at parties. Translucent plastic gives ghosts an eerie, faintly see-through look. Make matching ones for siblings. A full Halloween set costs almost nothing, and you can store them and bring them out every October for years to come.
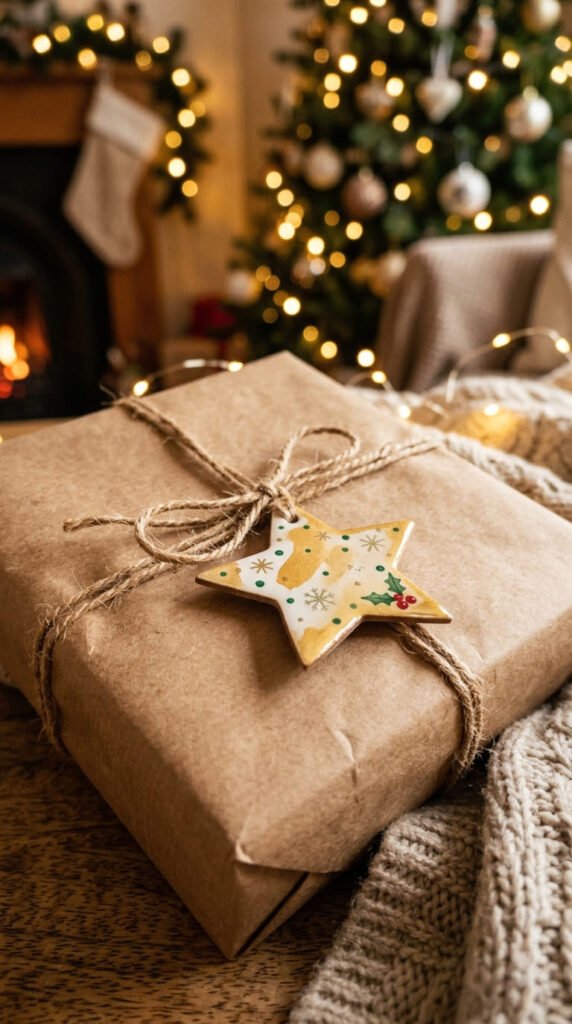
10. Christmas Tree Ornaments
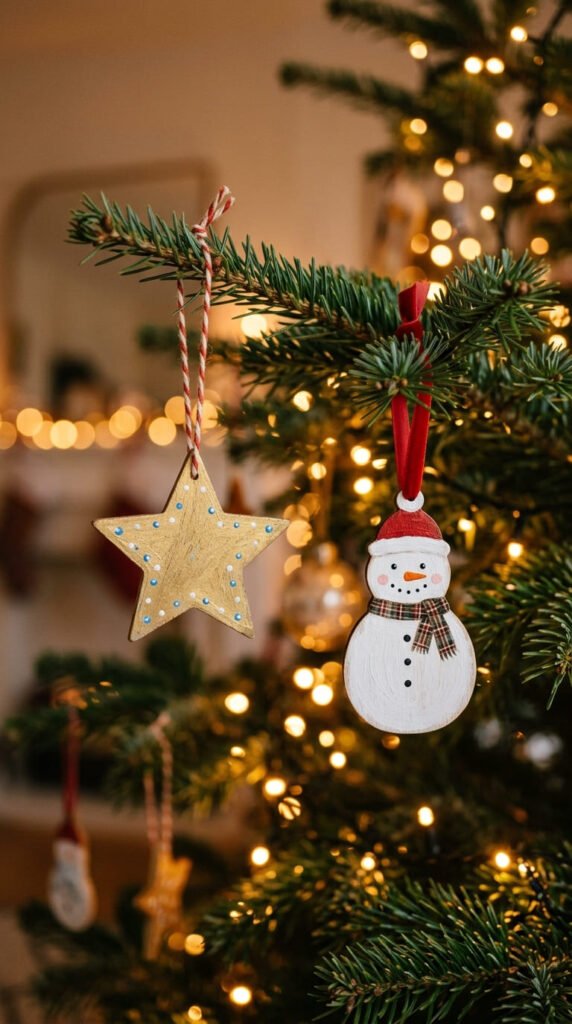
Handmade ornaments give a tree real personality, and kids love adding their own. Have them draw festive shapes like stars, snowmen, or candy canes. Color them, punch a hole near the top, and bake. Thread a ribbon or twine loop through the hole after cooling. Save money: use ribbon scraps from old gift wrapping instead of buying new. Write the year on the back with a fine marker. Years later, these become a little timeline of your family’s holidays. A child’s wobbly snowman frozen in time is the kind of thing families treasure most. Add a touch of glitter glue before sealing for sparkle. Make extras to tie onto wrapped presents instead of bows. Each gift then arrives with a tiny keepsake attached. Kids enjoy seeing their work on the tree each year. A single sheet makes a whole branch’s worth of ornaments. They cost far less than even the cheapest store ornaments, and the homemade ones carry memories that bought ones never could.
11. Easy Beginner Earrings
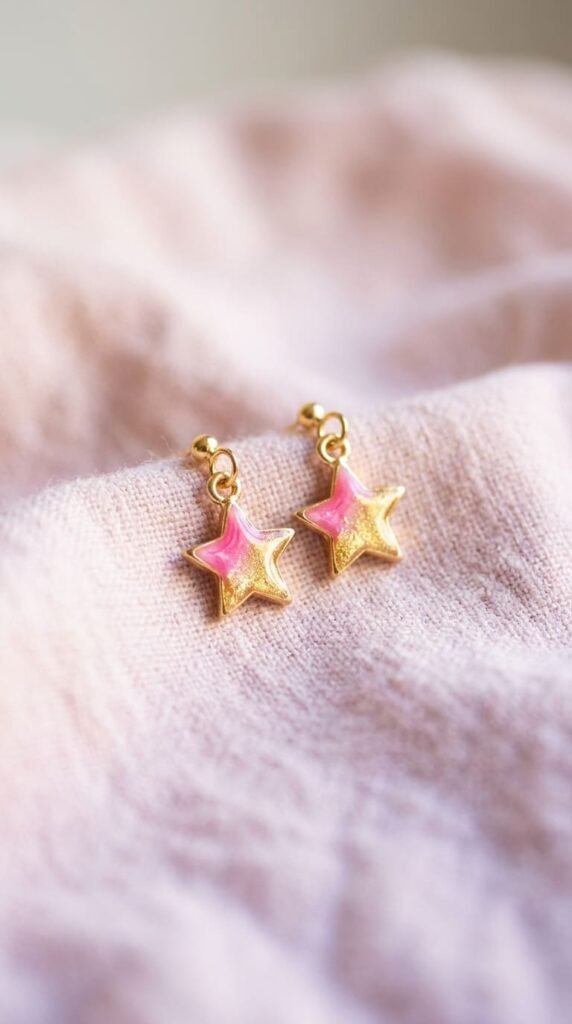
Older kids love making jewelry they can actually wear. Have them draw two small matching shapes about three times the final size. Simple ones like hearts, stars, or fruit work best. Color them and punch a hole at the top of each. After baking, they come out thick and light. Add a jump ring and an earring hook with your help and a pair of pliers. Money-saver: a pack of 50 hooks costs about the same as one store pair, so the cost per pair is tiny. Because the plastic is light, even big designs stay comfy. Seal the front so the color stays put against skin and hair. These make great gifts for friends or a fun party activity for a group of older kids. Keep designs bold, since fine lines blur as the plastic shrinks. Make mismatched pairs for a playful look. A child gets a real thrill wearing jewelry they designed and made themselves, and it costs only a few cents per pair.
12. Pencil Toppers
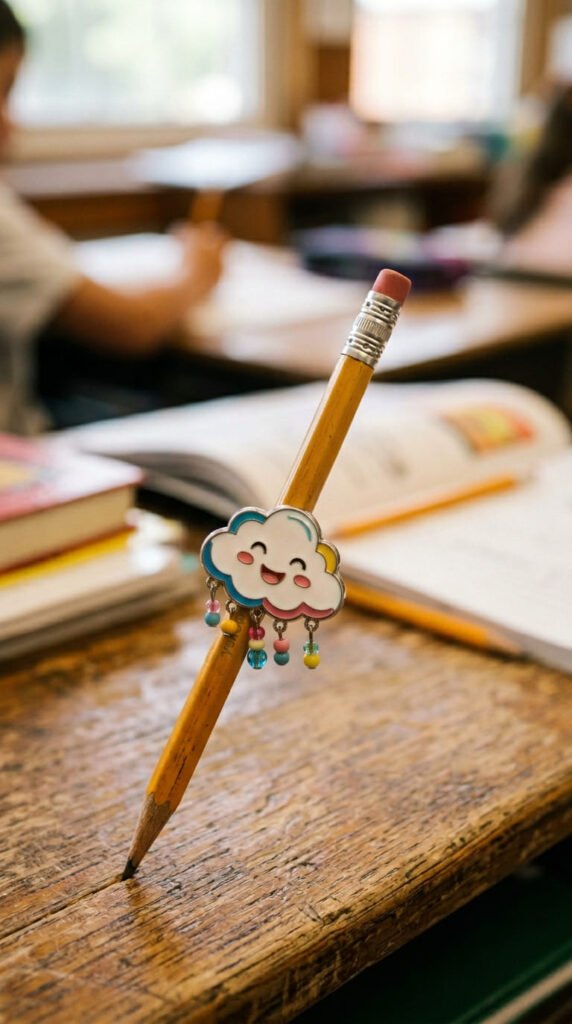
Brighten up homework time with custom pencil toppers. Have your child draw a fun shape, color it, and punch a hole near the bottom big enough for a pencil. Bake and flatten as usual. After cooling, slide it onto a pencil, or glue it to the top for a fixed topper. Budget tip: use pencils you already have, so the only cost is a scrap of plastic. Keep the shape small and light so it doesn’t make the pencil tip-heavy. Animals, stars, and little faces all work well. Seal the front so it survives a busy backpack. These make homework feel a little more fun and personal. Kids enjoy making a set for the whole school year. They also make cute, cheap party favors for a classmate’s birthday. Because they use only scraps, they are a great way to finish off a leftover sheet. Make a few spares, since pencils have a way of wandering off at school. A handful costs next to nothing.
13. Bag Charms
Bag charms let kids personalize a plain backpack in minutes. Have them draw a bolder shape, since bigger charms show up well against a large bag. Color it, punch a hole, and bake it thick. Attach it with a clasp or a sturdy ring so it swings from the strap. Reuse tip: salvage the clasp from a broken bracelet or old keyring. Layer two marker colors for a fun, eye-catching look. Seal it well, because a bag charm takes plenty of knocks. Kids enjoy grouping two or three charms on one clasp for a fuller look. Match the colors to a favorite bag. These also clip onto gym bags, lunch bags, and pencil cases. Because the plastic is light, even a chunky charm won’t weigh the strap down. A handmade one stands out far more than a store-bought version. Make a few and let kids rotate them. They are quick, cheap, and a satisfying way for a child to make their gear feel uniquely theirs.
14. Custom Board Game Pieces
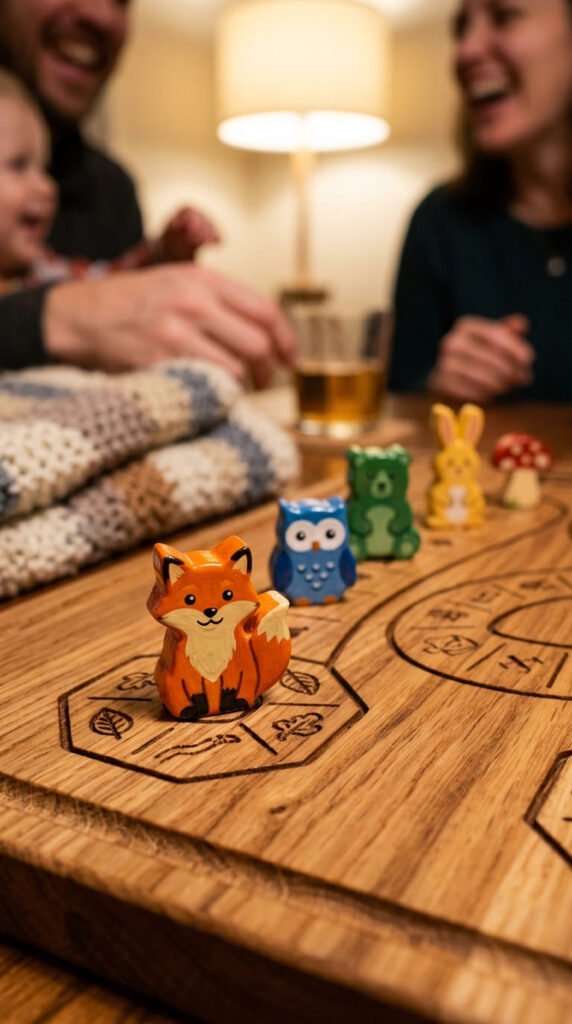
Lost a game piece? Let the kids make better ones. Have each child draw their own little token, color it, and bake. The thick finished pieces stand up well to handling. Save money: instead of buying a whole new game, replace one missing pawn for pennies. Kids love designing their own character to play as. Glue a small disc to the bottom if you want the piece to stand upright. Seal them so the color survives many game nights. Keep the designs clear and distinct so players tell them apart easily. These also work as counters or scoring chips for homemade games. Because shrink plastic is durable, a kid-made set can outlast the board it came with. Store them in a small bag with the game. A custom set makes an old game feel new again. It is a cheap, creative fix, and kids get extra excited to play with pieces they designed themselves. Make a full set on a rainy afternoon.
15. Window Suncatchers
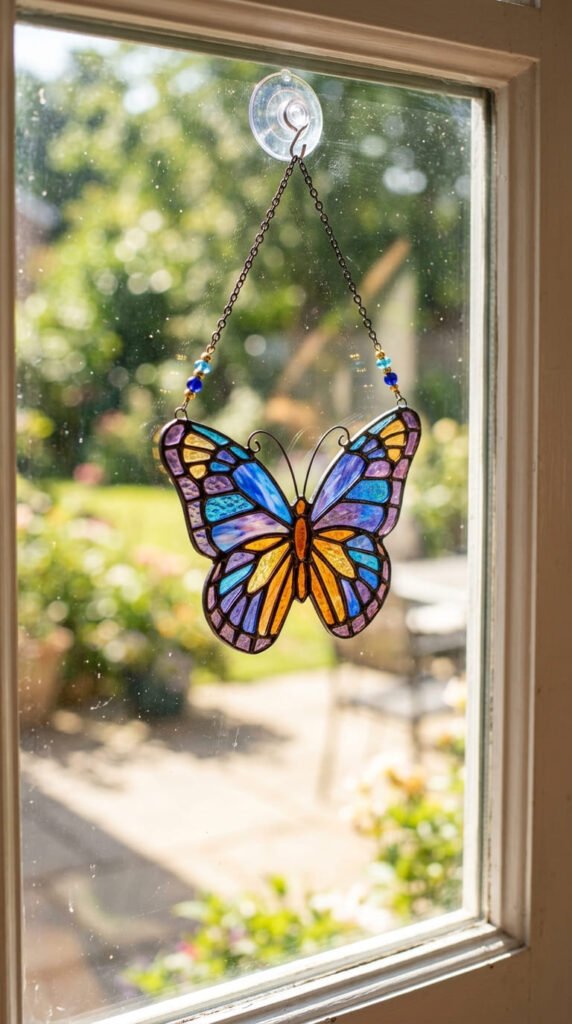
Translucent plastic makes glowing suncatchers that brighten a child’s room. Have your child draw a shape with bold outlines, then color the sections like a stained-glass window. Punch a hole at the top, bake, and watch the colors deepen and glow. Hang it in a sunny window with thread or a suction hook. Cheap charm: thread several on one string for a hanging mobile. Use bright jewel tones, since light shining through makes them richer. Keep clear areas between colors for that leaded-glass effect. Seal the surface to protect against sun fade. Because the plastic is light, a row of them hangs easily from a thin cord. Make seasonal shapes, like snowflakes in winter or flowers in spring. Kids find the color-mixing part especially fun. The way light moves through them shifts throughout the day, which kids love watching. They cost almost nothing yet bring real warmth to a window. Hang a cluster at different lengths for a layered display in a child’s bedroom.
16. Superhero and Comic Charms
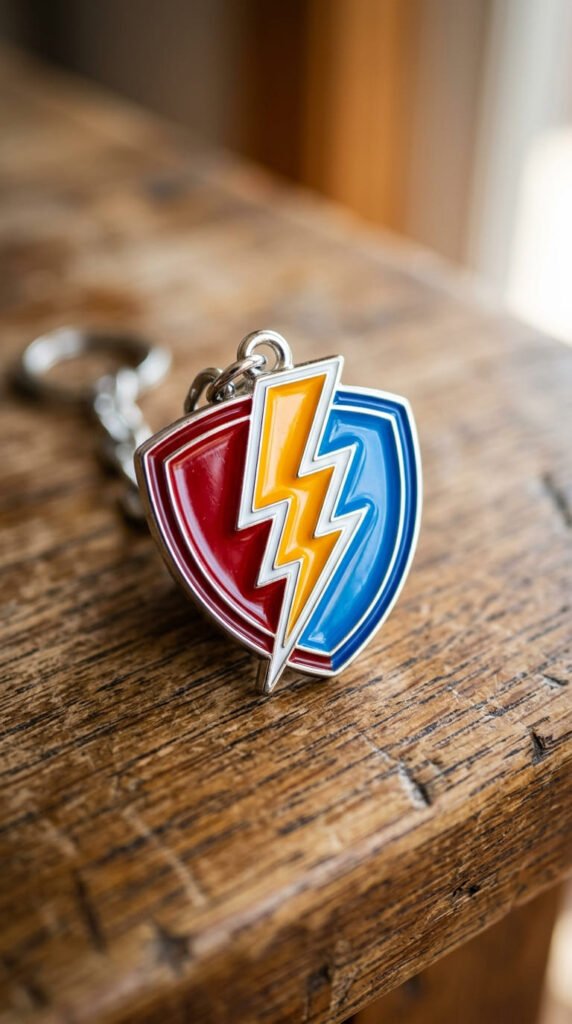
Let kids design their own superhero symbols and comic-style charms. Have them invent a bold shield, star, or emblem rather than copying a brand. Color it in strong, punchy tones, then add a thick black outline so it pops. Punch a hole, bake, and turn it into a keychain or bag charm. Budget tip: these use only the markers you have, no special supplies. Keep the shapes bold and graphic, since fine detail gets lost as the plastic shrinks. Kids love inventing their own hero logo and giving it a name. Seal the front so the bright colors stay vivid. Make a set so a whole group of friends each have a matching team emblem. Because the look is all about confident shapes, it is forgiving and fun. These are great for a superhero-themed birthday party as a make-and-take activity. A child gets a real kick out of wearing a symbol they designed. The whole batch costs only a few dollars and sparks plenty of imaginative play.
17. Animal Charm Collection
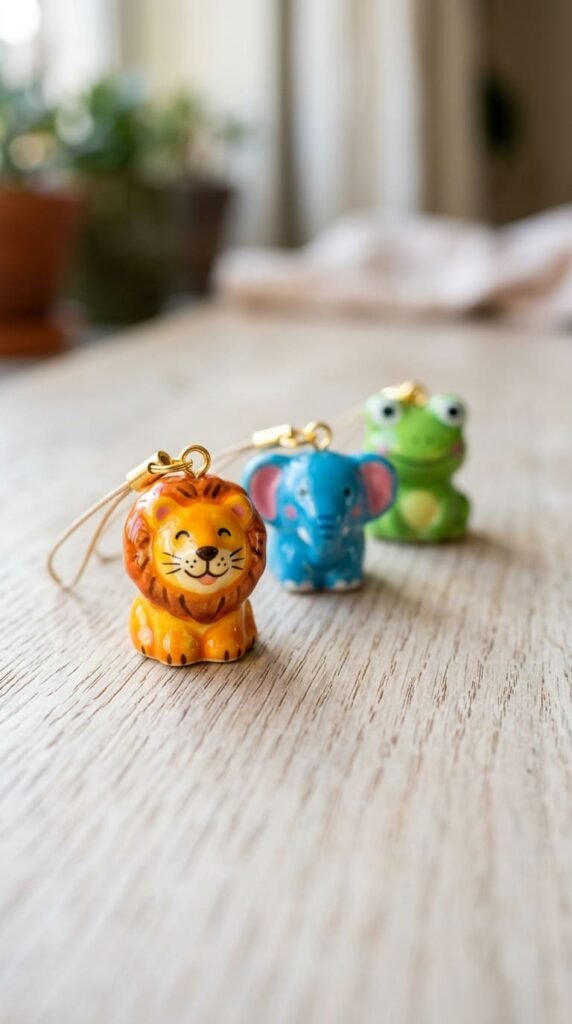
Kids who love animals can build a whole tiny zoo. Have them draw a series of animals, color them, punch holes, and bake. Keep each one small and simple. Money-saver: one sheet makes a big collection, so a child can make a dozen animals for the price of a single store toy. Turn them into keychains, magnets, or charms for a bracelet. Kids enjoy learning to draw new animals as they go. Add a thick black outline to make each shape pop. Seal them so the colors last. Make a matching set for siblings, or let each child pick a favorite animal. These also work as little counting or sorting toys for younger kids. Because they are small and quick, kids can make many in one sitting. Group them by habitat, like jungle, farm, or ocean, for a fun learning twist. A child feels proud showing off a whole collection they made themselves, and the cost stays tiny even for a big batch.
18. Initial and Monogram Charms
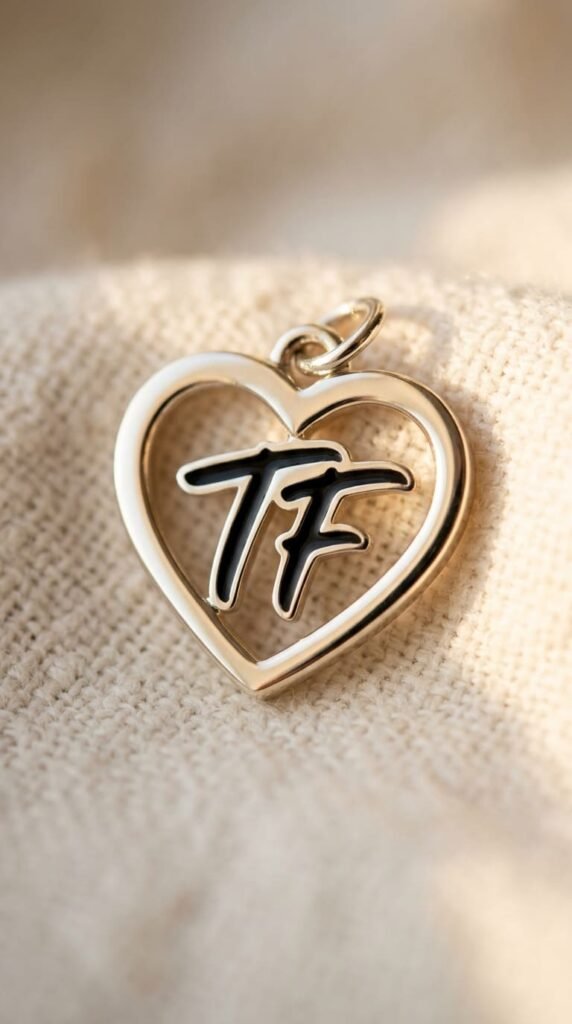
A single initial makes a sweet, personal charm. Have your child draw their first letter big and bold, about three times the final size. Use a thick, chunky style so it stays readable after shrinking. Color it in or frame it inside a heart or star. Punch a hole, bake, and turn it into a keychain or zipper pull. Money-saver: one sheet makes initials for the whole family or a group of friends. Keep the letter chunky, since thin lines can break or blur. Seal the front so it stays sharp and bright. These are popular, personal gifts that feel custom-made. Make a matching set for siblings or best friends. Trace the letter from a printed font if your child finds freehand tricky. Kids enjoy claiming their own letter and decorating it however they like. A monogram charm looks like a boutique buy yet costs almost nothing to make at home. It is a simple project that helps younger kids practice their letters, too.
19. Necklace Pendants
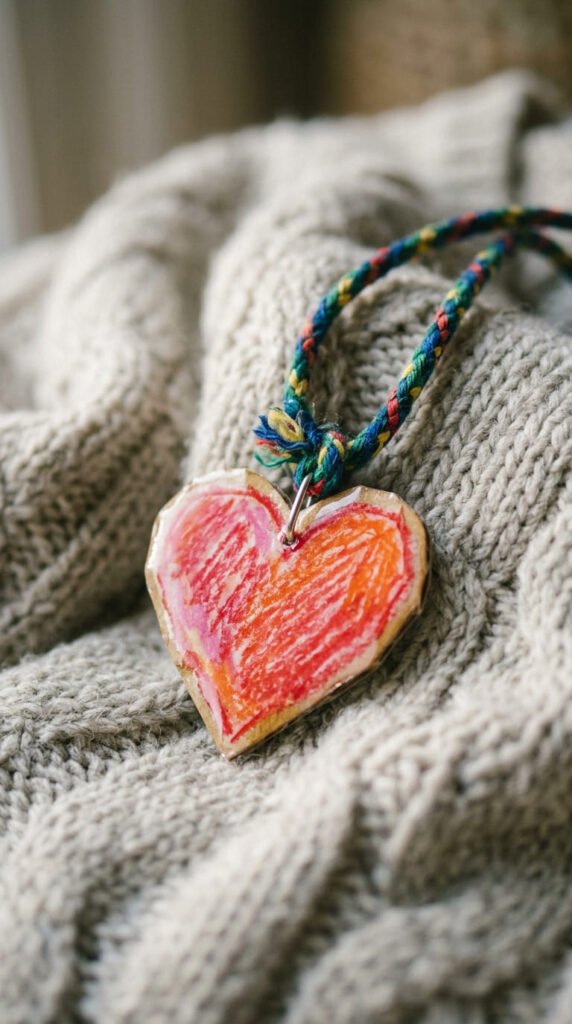
A pendant turns a child’s drawing into wearable art. Have them sketch a single bold shape, color it, and punch a hole near the top. After baking, the piece comes out thick and glossy. Add a jump ring and thread it onto a cord. Save cash: a roll of waxed cord costs little and makes many necklaces. Keep the design bold and clear, since fine lines blur as the plastic shrinks. Color the back too if you want it finished from both sides. Translucent plastic gives a soft glow in the light. Seal the front so the color stays bright against clothing. These feel personal because no two are alike. Kids love making matching ones for friends, like two halves of a heart. They also make a heartfelt gift for a parent or grandparent. Because each one costs pennies, kids can experiment freely. A child wearing a necklace they designed and made themselves feels a real sense of pride. It is a quick, satisfying craft for an afternoon.
20. Bracelet Charms
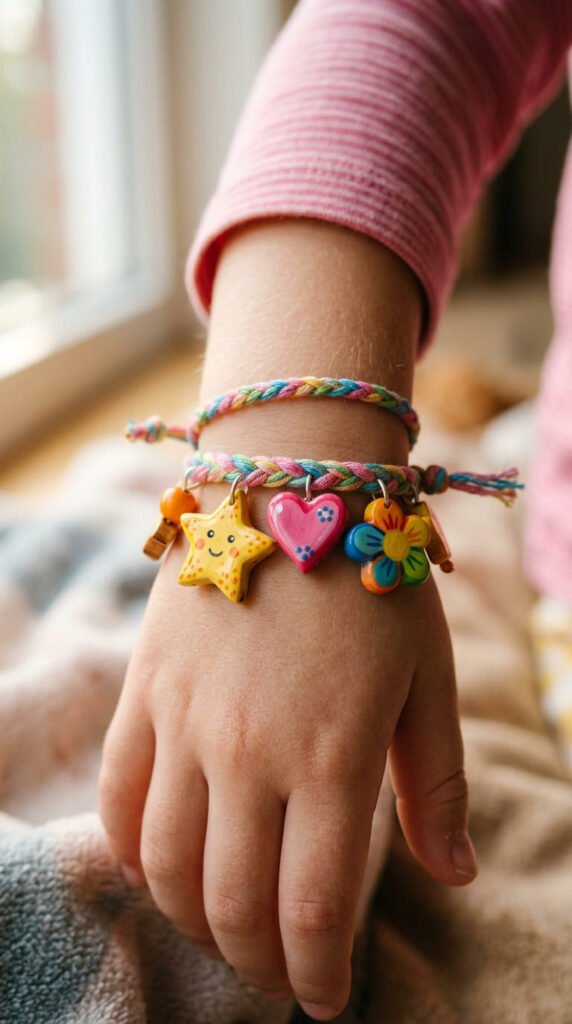
Kids love building their own charm bracelets. Have them draw a handful of tiny charms, color them, punch a small hole in each, and bake. After cooling, attach each one to a cord or chain bracelet with a jump ring. Thrifty move: salvage the chain from a broken bracelet instead of buying new. Pick a theme like stars, hearts, and flowers for a coordinated look. Space the charms evenly so the bracelet sits balanced. Keep each charm small with smooth, rounded edges so nothing snags. Seal them so the color survives daily wear. Kids can add new charms over time to mark events, turning the bracelet into a little story. Because the pieces are light, you can load up the bracelet without it feeling heavy. Make a themed one as a gift for a friend. A full custom bracelet costs a fraction of a store version, and every charm on it was made by the child who wears it.
21. Garden Plant Markers
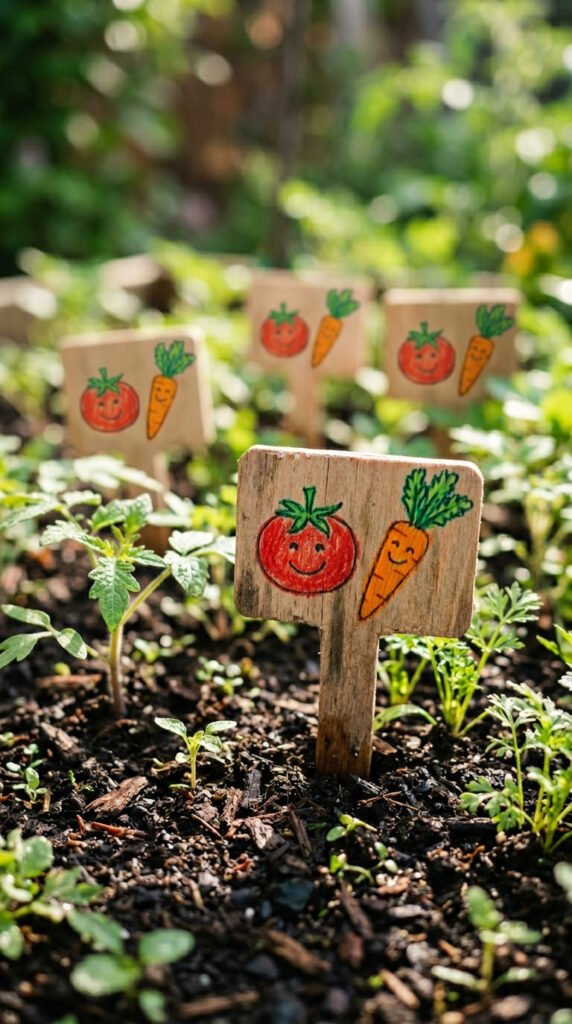
Got a little gardener at home? Make weatherproof plant markers together. Have your child draw a picture of the plant, color it, and bake it thick. Glue the finished charm onto a wooden skewer or sturdy stake. Frugal swap: use bamboo skewers from the kitchen instead of buying garden stakes. Because the sealed plastic handles rain and sun, these last far better than paper labels. Have kids draw the vegetable itself rather than writing the name, so they can spot the tomatoes from the carrots. Give the front a generous clear coat before staking it outside. These brighten up a windowsill herb pot or a backyard patch. Kids feel proud watching their markers stand guard over plants they are growing. They also make a sweet gift for a gardening grandparent. One sheet can label a whole little garden bed. Replace the wooden stake if it rots, while the charm keeps going for seasons. It is a craft that connects kids to the fun of growing their own food.
22. Gift Tags
Skip the flimsy paper tag and let kids make one the recipient keeps. Have your child draw a small shape, color it, punch a hole, and bake. Thread it onto a gift with twine or ribbon. The tag then doubles as a tiny gift in itself, like a charm or ornament. Money angle: one sheet makes tags for every present you give. Kids enjoy personalizing each one for the person receiving it, like a soccer ball for a sporty cousin. Keep the design clean so it reads at a glance. Seal it so it survives a busy gift pile. People often save these long after the wrapping is gone. They turn an ordinary parcel into something thoughtful made by a child. Make a batch ahead of the holidays so wrapping goes faster. Because they cost almost nothing, kids can be generous with them. A handmade tag quietly shows real effort and makes the giver feel proud of their work.
23. Mini Play Food and Dollhouse Charms
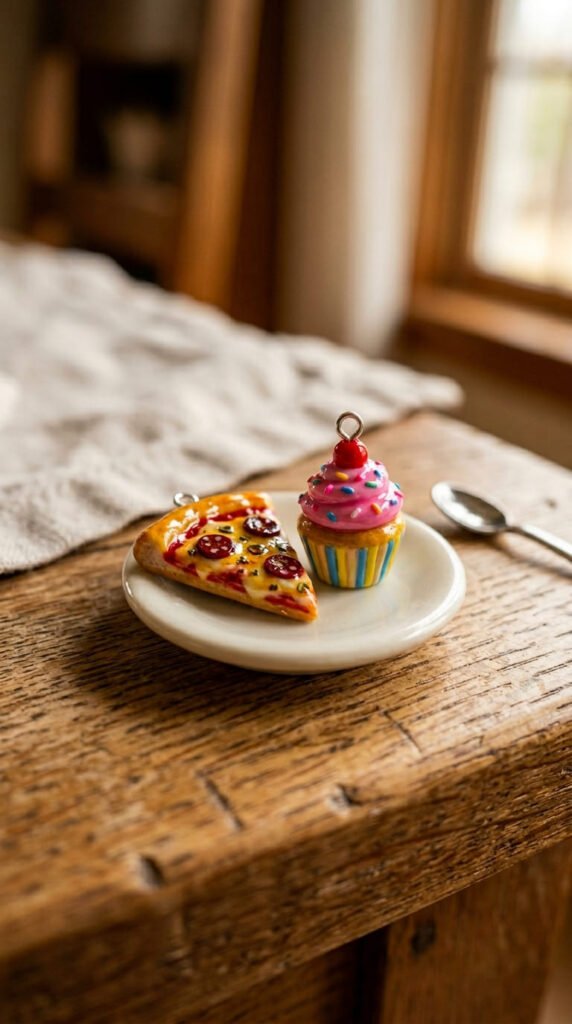
Kids who love pretend play adore tiny props. Have them draw miniature food, like a pizza slice, a cupcake, or a banana. Color it, bake, and watch it shrink into a perfect doll-sized piece. Budget tip: these use only scraps, so a leftover sheet goes a long way. Keep the shapes small and simple. Skip the hole if the piece is just for play, or add one to hang it. Seal the front so it survives plenty of handling. Kids can make a whole pretend meal, or tiny accessories for a dollhouse. Because the plastic shrinks so much, even a rough drawing becomes a cute, tidy miniature. Make a set of matching plates and food for extra fun. These spark hours of imaginative play, and kids feel proud making toys for themselves. They cost next to nothing and use up odd scraps that would otherwise go to waste. It is a craft and a homemade toy rolled into one quick project.
24. Self-Portrait and Family Charms
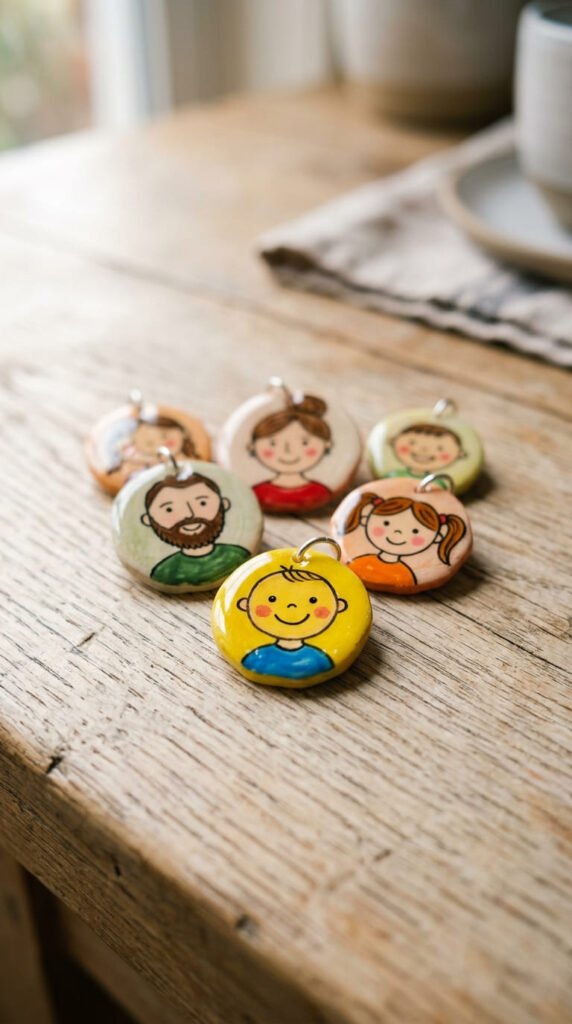
Let kids draw themselves and their family as little charms. Have them sketch simple smiling faces, focusing on hair color and a few fun details. Color them, punch holes, and bake. Turn the set into keychains, magnets, or a little family bracelet. Money-saver: one sheet makes the whole family for pennies. Keep the faces simple and friendly, which suits younger artists well. Add a thick outline so each face pops. Seal them so the colors last. Kids love making a charm for each family member, including pets. These make sweet gifts for grandparents, who treasure seeing the family through a child’s eyes. Make a matching set so each person has their own. Because the drawings are simple, even toddlers can join in with help. A child feels proud capturing their family in a craft they made themselves. Group them on a single keyring for a cute family cluster. It is a heartwarming, low-cost project that doubles as a keepsake everyone will smile at.
Conclusion
Shrinky Dinks give kids that rare mix of creativity, surprise, and a finished toy they can actually use. One cheap sheet of plastic stretches into keychains, magnets, ornaments, jewelry, and play food for about $5 a project. The steps stay the same every time. Draw it big, color it bright, punch the hole before baking, then bake at 325°F for 2 to 3 minutes and press it flat while warm. An adult handles the oven, cracks a window for the brief plastic smell, and the kids do the fun parts. Once they learn the rhythm, kids will dream up ideas of their own, which keeps them busy far longer than a single craft. Start with simple keychains or a rainbow charm, then work up to suncatchers, jewelry, and whole animal collections. Most of the hardware, like rings and magnets, costs mere cents in bulk, and you can reuse pieces from broken keyrings to spend even less. Grab a sheet of shrink plastic and a handful of markers this weekend, pick a few ideas from the list, and let the kids watch the oven magic happen.