Remember those tiny plastic charms that started big, then shrank into thick little keepsakes in the oven? You can make them at home for almost nothing. No fancy kit required. Just a piece of #6 plastic, some markers, and a regular oven. Watching a drawing curl up and flatten into a glossy charm never gets old, and kids and adults get equally hooked.
Let’s walk through the whole thing, step by step.
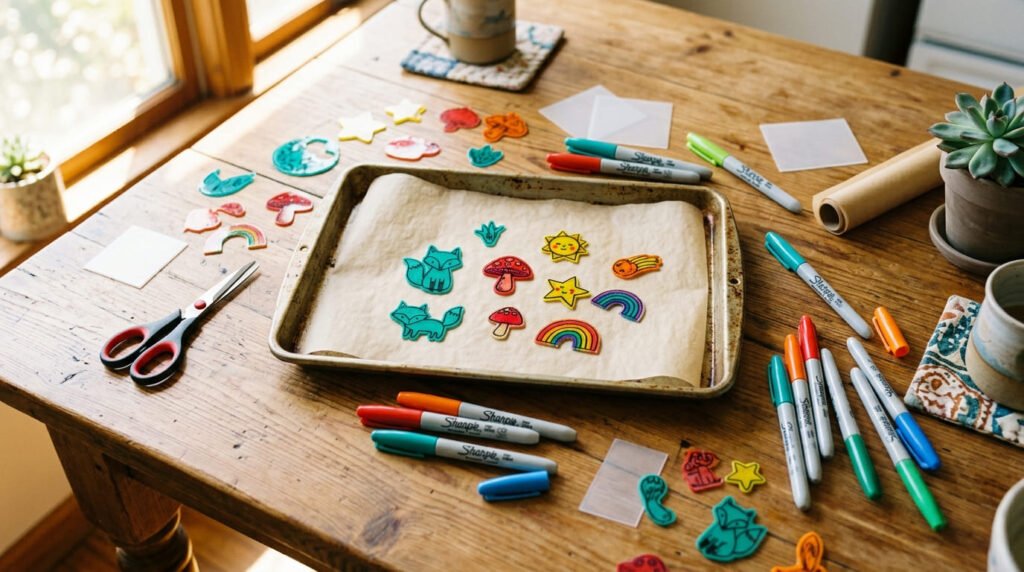
What You Need
The supply list is short and cheap. Most of it is already in your house.
- #6 plastic — this is the only kind that works. Look for a “6” inside the little recycling triangle. Clear deli containers, takeout lids, and salad bar boxes are perfect free sources.
- Permanent markers — Sharpies are the standard. Colored pencils work too if you rough up the surface first.
- Scissors — for cutting out your shapes.
- A hole punch — only if you want to hang your piece.
- Parchment paper — keeps charms from sticking to the tray.
- An oven or toaster oven — both work great.
That’s it. If you save plastic from your kitchen, your whole project costs basically $0, versus $10–20 for a store kit.
Step 1: Prep Your Plastic
Cut a flat piece from your #6 container. Trim off curved edges so you have a smooth, flat panel to draw on.
Want richer color? Lightly rub one side with fine sandpaper for a minute or two. This gives the plastic a frosted surface that grabs marker ink. It’s optional, but it makes colors pop.
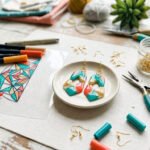
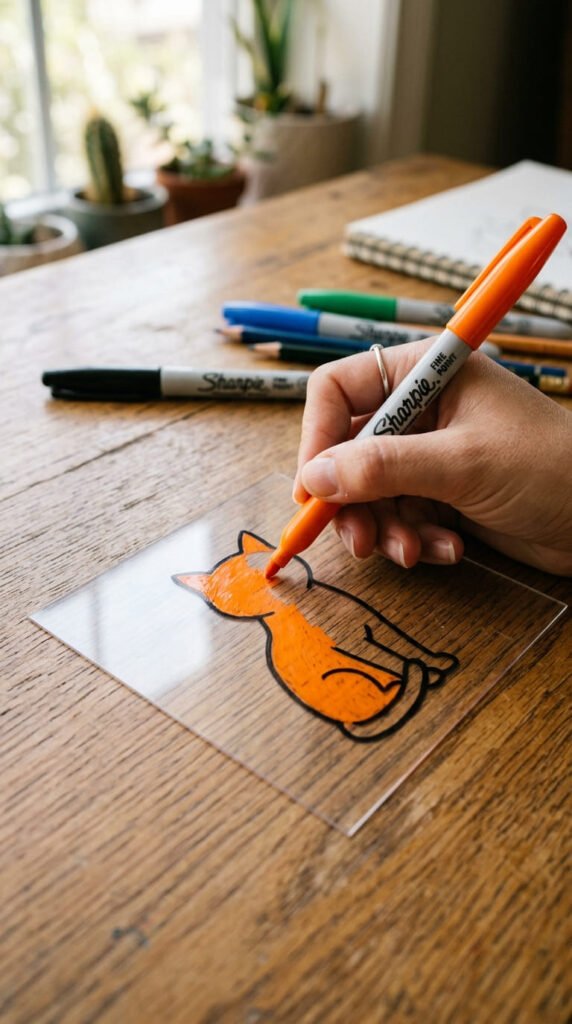
Step 2: Draw and Color
Now the fun part. Draw whatever you like — animals, initials, flowers, tiny book covers. Keep these tips in mind:
- Go big. Your design shrinks to about one-third its size, so draw it roughly three times larger than you want the final piece.
- Use pale colors. Color intensifies 2–3 times when it shrinks. That soft yellow becomes bright gold. Dark shades can get muddy.
- Trace from a printed picture under the plastic if drawing freehand feels tricky.
Step 3: Cut It Out (and Punch First)
Cut around your design with scissors. Round off sharp corners so the finished charm feels smooth.
Here’s the rule people always forget: punch your hole before baking. Once the plastic shrinks, you can’t punch it. The hole shrinks too, so make it bigger than you think — about a quarter inch wide.
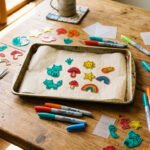
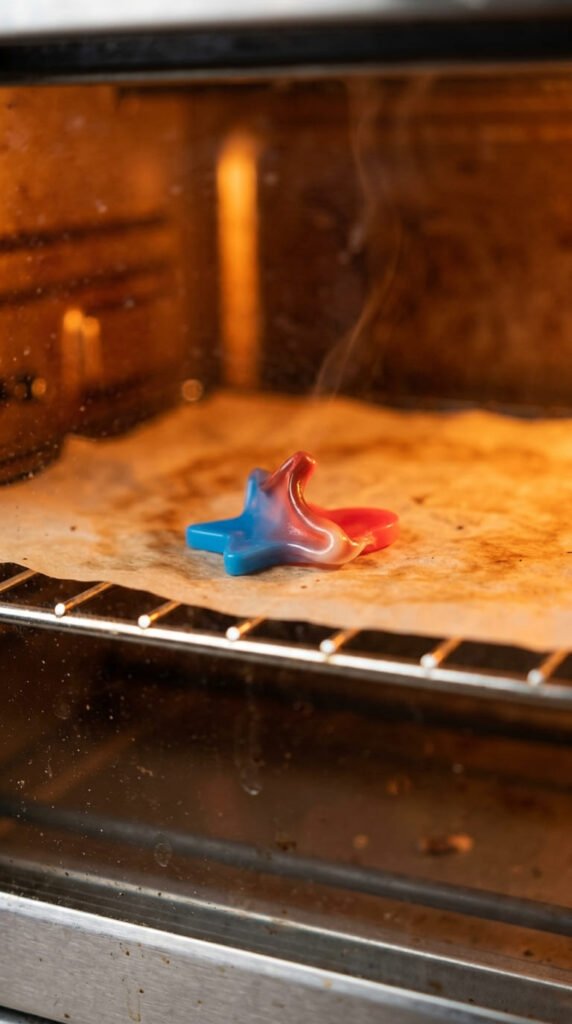
Step 4: Bake and Watch the Magic
Preheat your oven to 325°F. A toaster oven works well too, with the bonus that you can watch closely through the door.
- Lay your piece color side up on a parchment-lined tray.
- Bake for 2 to 3 minutes.
- Crack a window. There’s a light plastic smell that fades within minutes.
Don’t panic at what happens next. Your piece will curl up wildly in the first 60 to 90 seconds. That’s completely normal. Then it relaxes and flattens out on its own. Once it lies flat and stops moving, it’s done.
Step 5: Flatten and Seal
If a piece comes out slightly bent, press it flat while it’s still hot. Lay parchment over it and press down with a book, a tile, or a flat spatula for 15 to 30 seconds.
Once cool, your charm is thick, hard, and glossy. To keep the color from rubbing off, brush or spray on a sealant. A clear acrylic spray works best. Nail polish does the job too, though it can yellow over time.
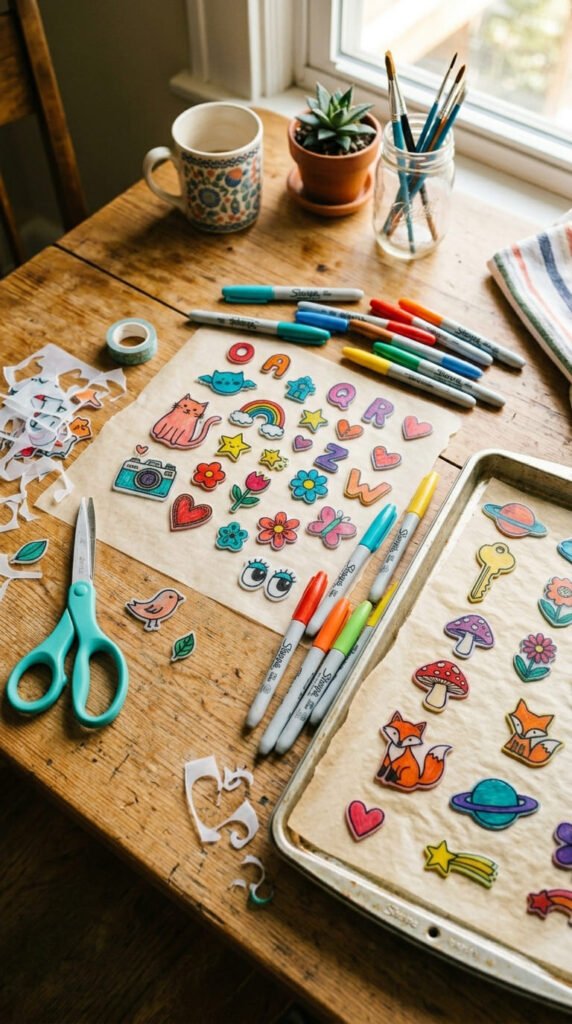
Fun Things to Make
Stuck for ideas? These are the crowd favorites:
- Keychains — by far the most popular, easy and quick.
- Earrings — lightweight and look store-bought.
- Plant markers — draw the herb, glue to a skewer.
- Ornaments — handprint keepsakes are a hit at the holidays.
- Magnets — glue a small magnet to the back.
- Book cover charms — a trending design right now.
A Few Quick Safety Notes
- Kids love this craft, but an adult should handle the hot oven.
- Vent the room while baking.
- Let pieces cool fully before touching the edges.
Final Thoughts
That’s all there is to it. A scrap of recycled plastic, a few markers, and three minutes in the oven turn into charms you’d swear came from a shop. The best part? One container makes a whole batch, so you can experiment freely and turn flops into practice.
Save this guide for your next rainy-day project — and try one design this weekend!