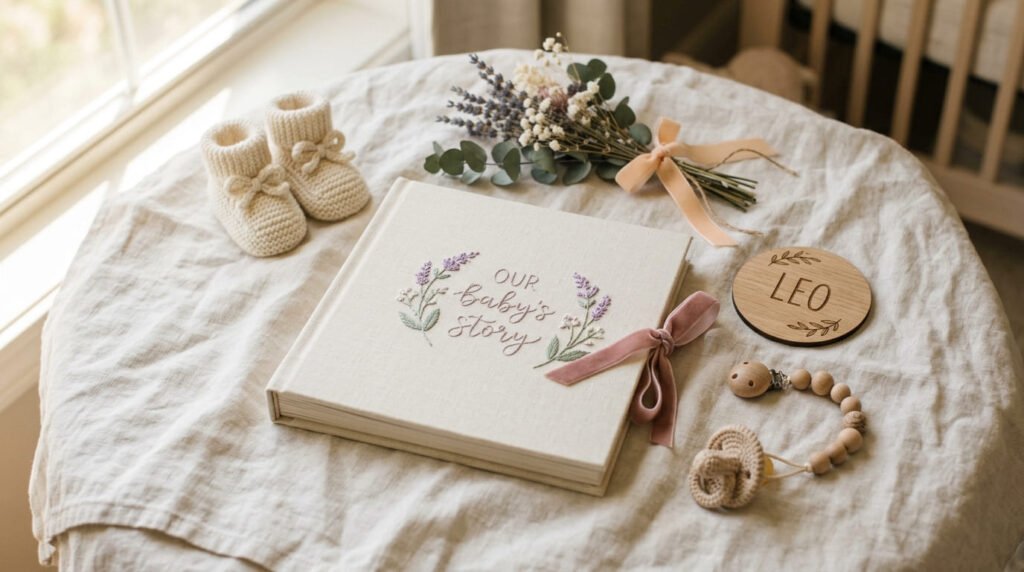
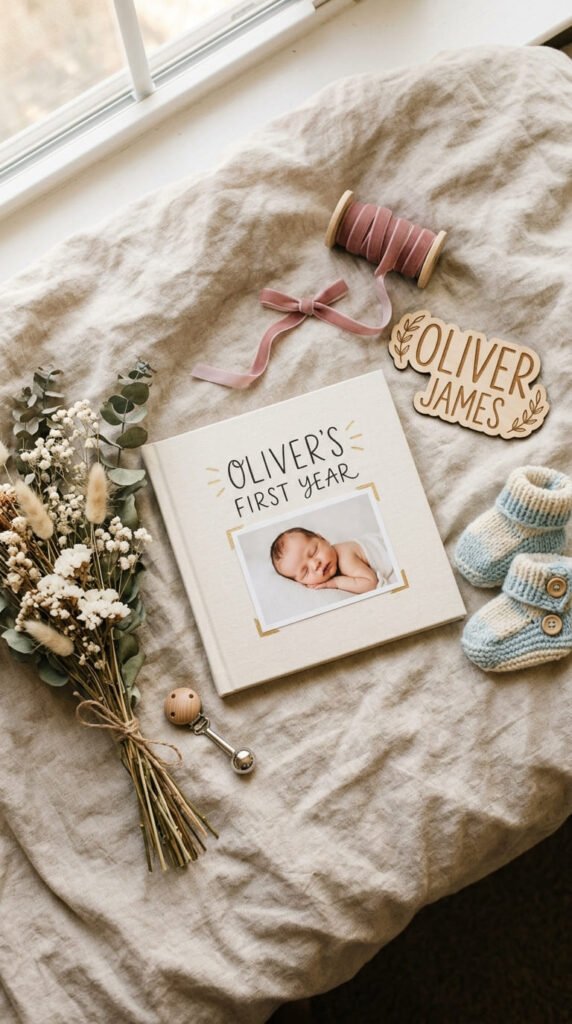
Those first tiny milestones disappear fast, and a baby scrapbook cover is the first thing anyone sees before they even open the book. A great cover sets the tone for everything inside, from the hospital bracelet tucked on page one to the first birthday photo on the last. Whether you’re working with a hot glue gun and leftover fabric scraps or a laptop and a Canva account, there’s a cover style here that fits your budget and your baby’s personality. Below are 22 cover ideas that mix classic charm with modern, low-cost techniques anyone can pull off at home.
1. Single Centered Photo With Name and Birthdate
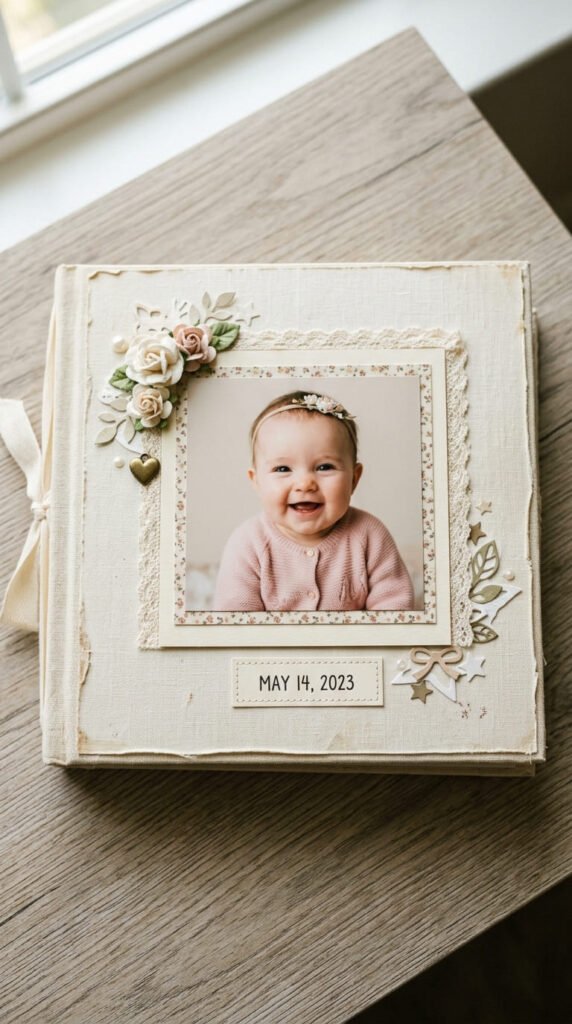
This is the easiest cover to make and it never goes out of style. Pick one photo you love. Print it large. Center it on the front panel. Leave the rest of the space open. That empty space is what makes it look clean, not cheap. Use a plain cardstock base in white, cream, or soft gray. Skip busy patterns behind the photo. Add the baby’s name and birth date in a simple font below or beside the picture. You can hand-letter it with a fine-tip marker if you’re on a tight budget. A ruler and pencil first will keep your lines straight. This style works for any gender and any theme, so it’s a safe first project if you’ve never made a scrapbook cover before. Total cost can stay under a few dollars if you already own cardstock and glue. Frame the photo with a thin strip of washi tape for extra polish without extra spending.
2. Boho Neutral Palette Cover
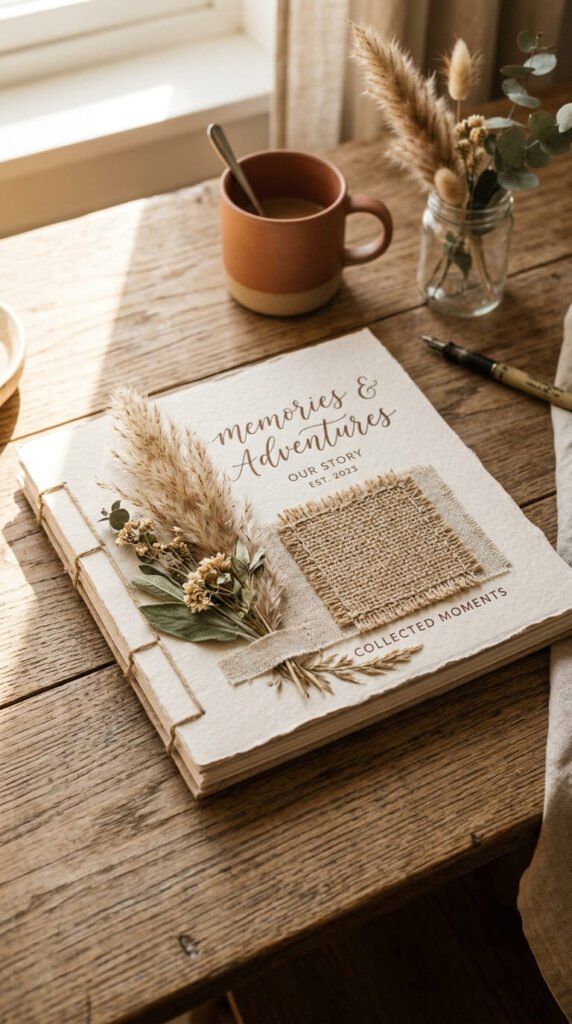
Boho neutrals have replaced bright pastels for a lot of new parents. Think terracotta, sand, sage, and warm cream instead of baby pink or baby blue. Start with a base color of muted beige or clay-colored cardstock. Layer in one accent, like a small sprig of dried pampas grass or a strip of jute twine. Keep the palette to three colors max so it doesn’t get busy. This look photographs beautifully for baby books meant to be displayed on a shelf, not hidden in a closet. Budget tip: raid a craft store’s clearance bin for earth-tone paper scraps. You don’t need much, just enough for a border or a small shape. Pair it with a simple serif font for the baby’s name to keep the modern, understated feel. This style also works well if you’re making a gender-neutral book before the baby arrives, since it skips traditional pink-and-blue color coding entirely.
3. Multi-Photo Collage Cover
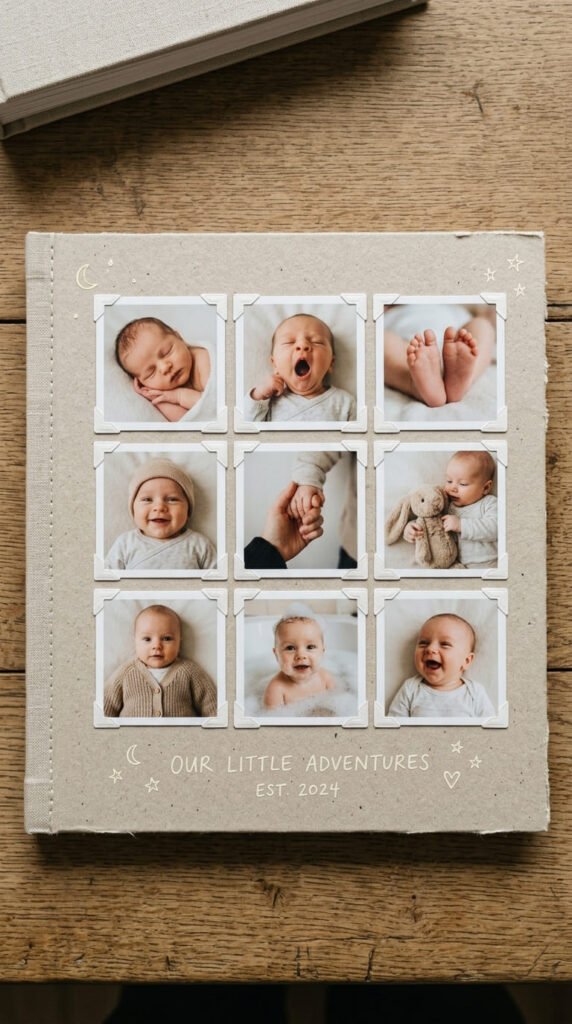
If you can’t pick just one photo, don’t. A collage cover lets you show off several favorites at once. Grab six to nine photos and print them small and uniform in size. Arrange them in a tight grid, three across and three down works well. Leave thin, even gaps between each photo so it looks intentional. This is a great option for a “first year” album where you want a sneak peek of the months ahead. Print photos at home on photo paper to save money, or use a drugstore print kiosk for a few cents each. Glue stick works fine, but double-sided tape gives cleaner edges. Add the baby’s name in small text along the bottom row. This cover style also hides small photo quality differences since the eye scans the whole grid rather than judging one image. It’s a practical pick if grandparents are contributing photos too.
4. Handlettered Name Script Cover
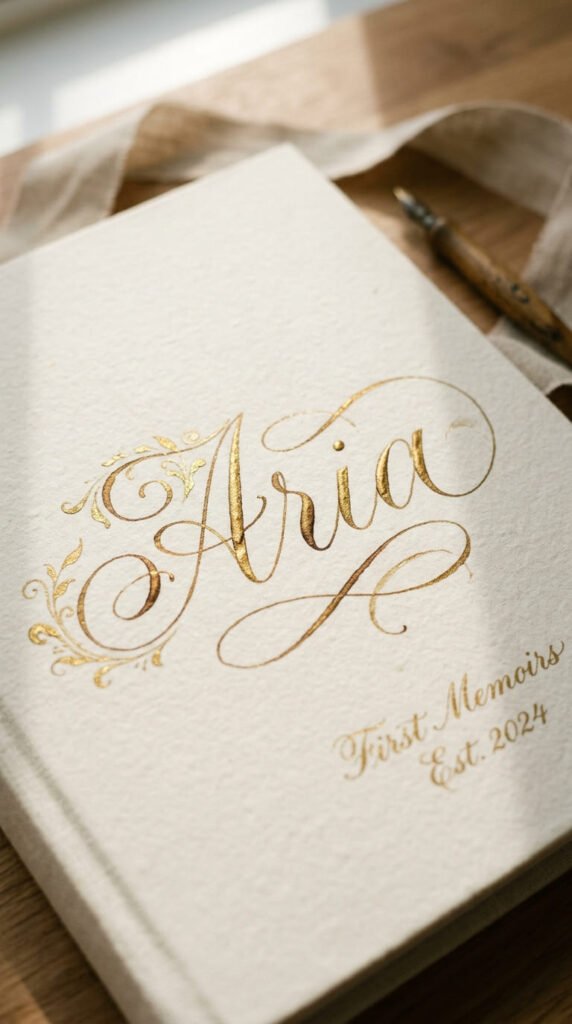
A beautifully written name can carry an entire cover on its own. You don’t need to be a professional calligrapher. Practice on scrap paper first with a brush pen or a fine-tip marker. Once you’re happy with the shape, trace it lightly in pencil on the cover, then ink over it. Keep the background plain so the lettering stays the star. A single small motif, like a tiny star or leaf, can sit beside the name without competing with it. Budget option: print a script font from your computer, cut it out, and glue it down instead of freehand writing. This works just as well and looks polished. Gold paint pens add a nice touch for under five dollars and last for many projects. This cover idea feels personal and timeless, and it photographs well for social media announcements too.
5. Interactive Pocket Cover
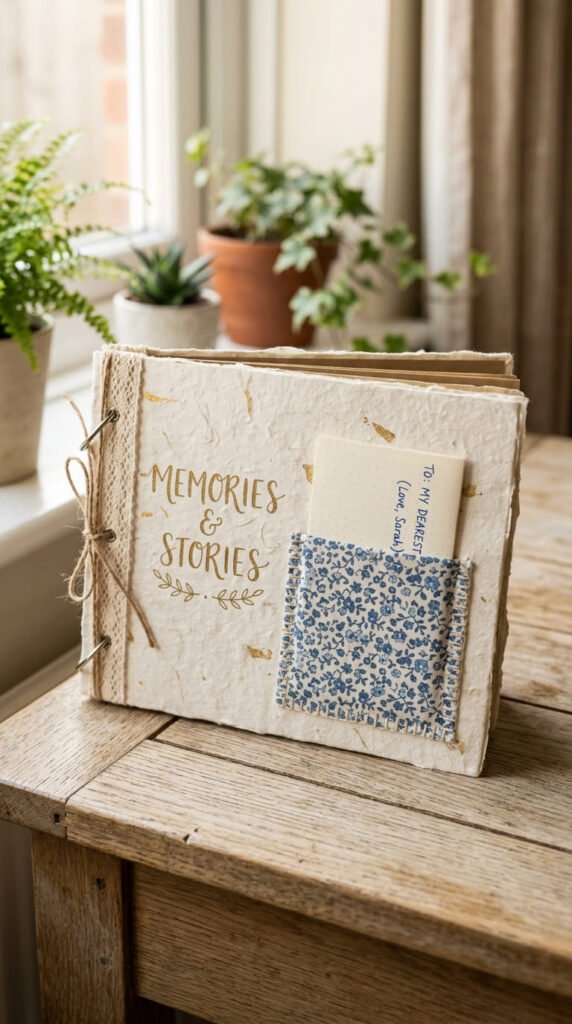
Add a little pocket to the front cover and tuck a note inside. It could be a letter to your baby, a hospital bracelet, or a tiny photo. Cut a small rectangle of fabric or cardstock, fold the bottom and sides, and glue three edges down, leaving the top open. Slip your keepsake inside. This turns the cover into more than decoration, it becomes a mini keepsake box. Use fabric scraps from an old baby onesie for something sentimental at no extra cost. A basic glue gun works fine if you’d rather skip sewing. Keep the pocket small, about the size of an index card, so it doesn’t overwhelm the cover. This idea works especially well for baby books meant as gifts, since the recipient gets a small surprise the moment they open it.
6. Wood Veneer and Paper Mixed-Media Cover
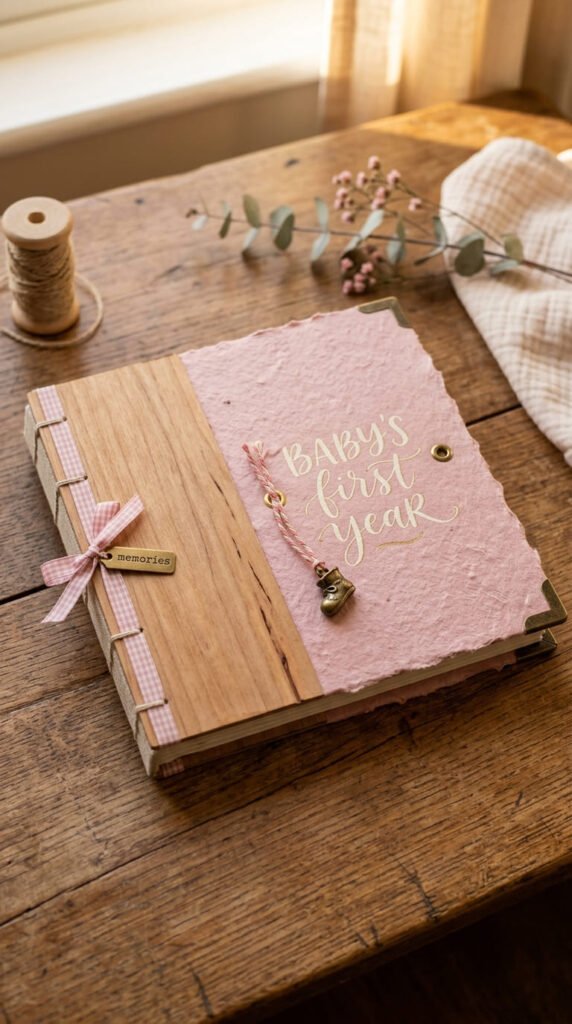
Mixing materials gives a cover real texture you can feel, not just see. Try pairing a thin wood veneer sheet with soft paper and one small metal charm. Craft stores sell precut wood veneer shapes for just a couple dollars. Glue a small piece onto one corner or as a full background layer. Layer paper on top in a contrasting texture, like a soft linen-look cardstock. One small charm, like a tiny brass moon or star, finishes the look without adding much cost. This style feels premium and works well for a keepsake meant to last decades, since wood ages nicely instead of yellowing like paper alone. Budget tip: check the wood veneer edging aisle at a hardware store for cheap scraps meant for furniture repair. It’s the same material at a fraction of the craft store price.
7. Gender-Neutral Animal Motif Cover
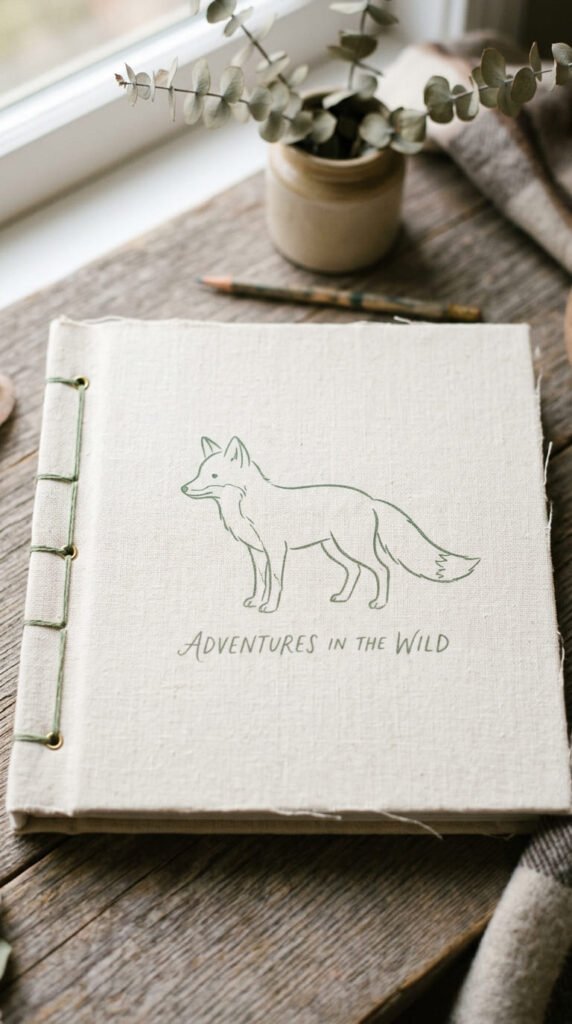
Animal motifs work for any baby and any surprise gender reveal. Pick one animal that feels meaningful, like a fox, elephant, or little bird. Keep the illustration simple, a single line drawing or silhouette works better than a busy cartoon. Print a small design from a free stock illustration site, or trace a simple shape freehand if you’re artistic. Cut it from colored cardstock and glue it centered or slightly off to one side. Stick to one or two colors so the design doesn’t get loud. This idea is popular for baby books started before birth, since it doesn’t lock you into pink or blue. Budget tip: print in black and white and color it in with colored pencils for a handmade, textured look that costs almost nothing.
8. Laminated Durable Cover
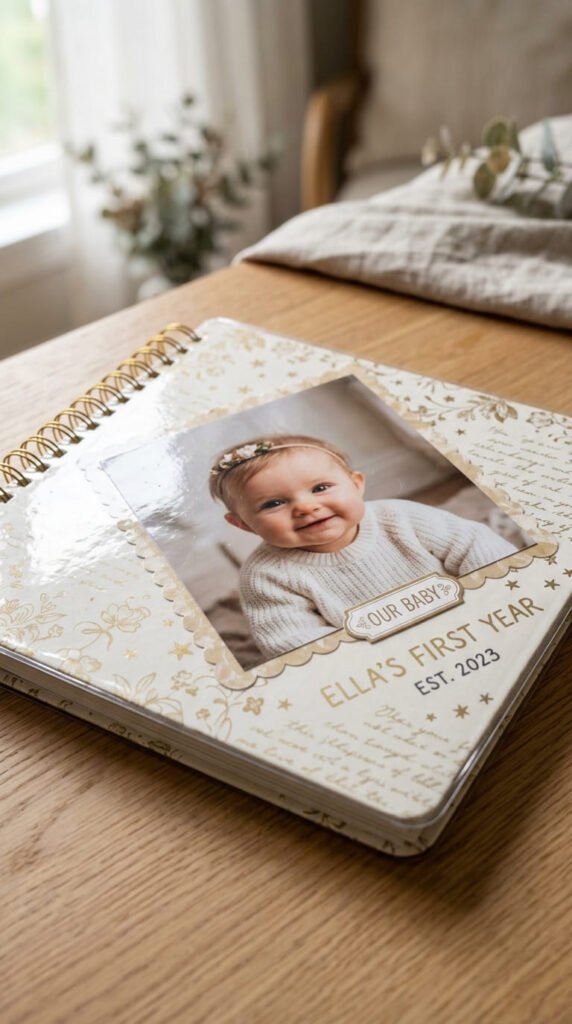
If your scrapbook is going to get handled a lot, especially by curious toddler hands later, lamination keeps it looking new. Design your cover as usual, then run it through a laminating machine or use self-adhesive laminate sheets from a craft store. This protects against spills, fingerprints, and sun fading. It also gives the cover a slight shine that looks polished. Budget tip: many office supply stores offer lamination services for a small fee per sheet if you don’t own a machine. This is a smart pick for books that will travel to grandparents’ houses or sit out on a coffee table. Just know that laminated covers are harder to add embellishments to later, so finalize your design first. Pair this technique with a simple photo-and-name layout so the glossy finish has room to shine.
9. Fabric-Wrapped Cover
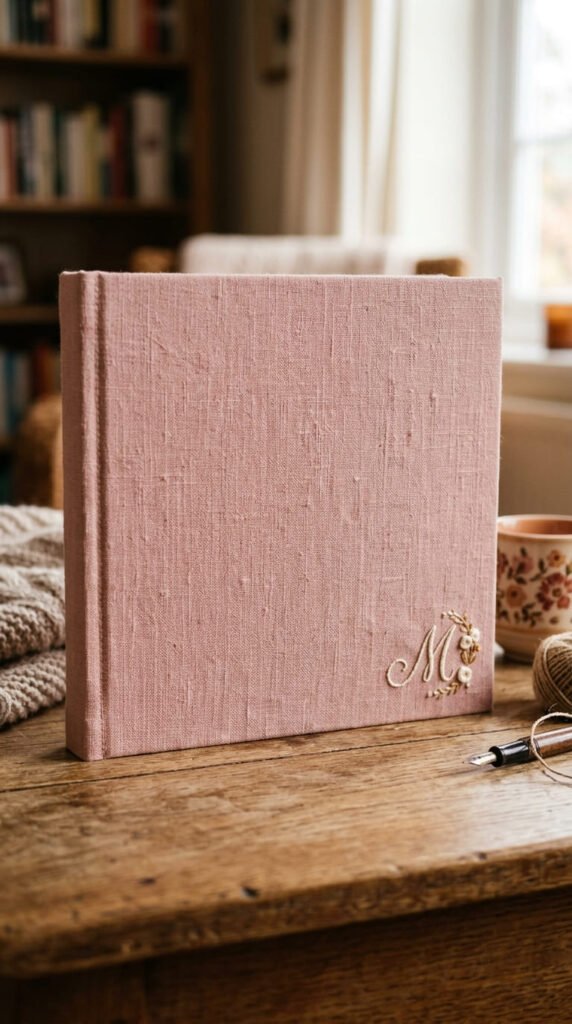
Wrapping the entire cover in fabric gives it a soft, huggable feel that plain paper can’t match. Choose a fabric that means something, like a swatch from a baby blanket or an old crib sheet. Cut it slightly larger than your cover, wrap it around the edges, and glue or tape the excess to the inside. A small embroidered initial in one corner adds a personal touch without much effort, or you can skip embroidery and glue on a fabric letter patch instead. This idea works well for baby books meant to be touched and carried, not just displayed. Budget tip: thrift stores often sell fabric remnants and old linens for very little, and you only need a small piece. Iron the fabric flat before wrapping for the cleanest finish.
10. Printable Digital Download Cover
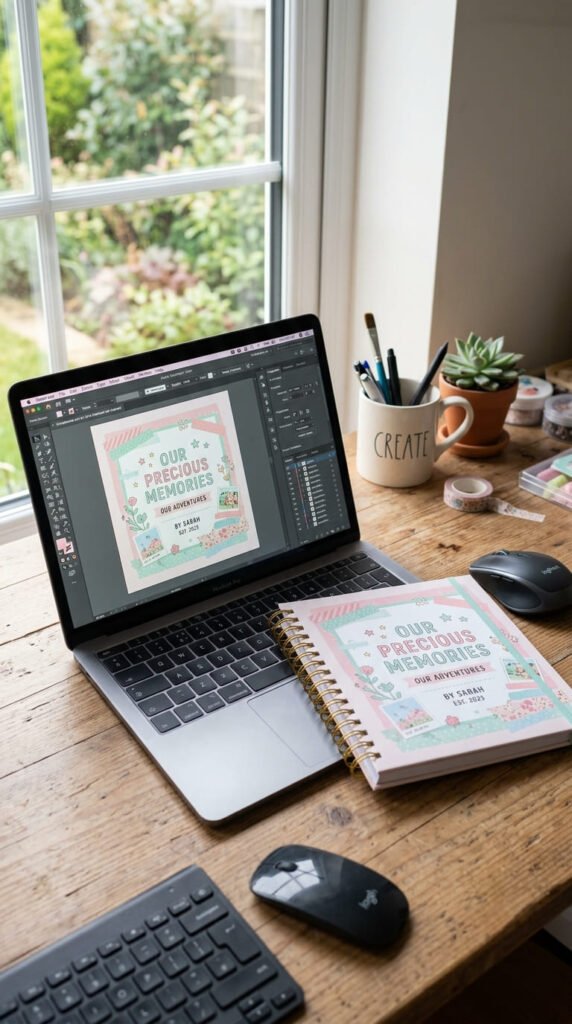
If DIY crafting isn’t your thing, a printable digital cover is the fastest option. Search for editable templates online, many are just a few dollars or even free. Open the file, swap in your baby’s name and photo, and print at home or send to a local print shop. This skips scissors and glue entirely. Choose cardstock paper for printing so the final cover feels sturdy, not flimsy like regular printer paper. Budget tip: some template sites let you preview the design before buying, so you can match colors to the rest of your scrapbook supplies first. This option works well for busy parents who want a polished look without spending hours crafting. You can still add a handmade touch afterward, like a ribbon tied around the spine.
11. Canva-Editable Template Cover
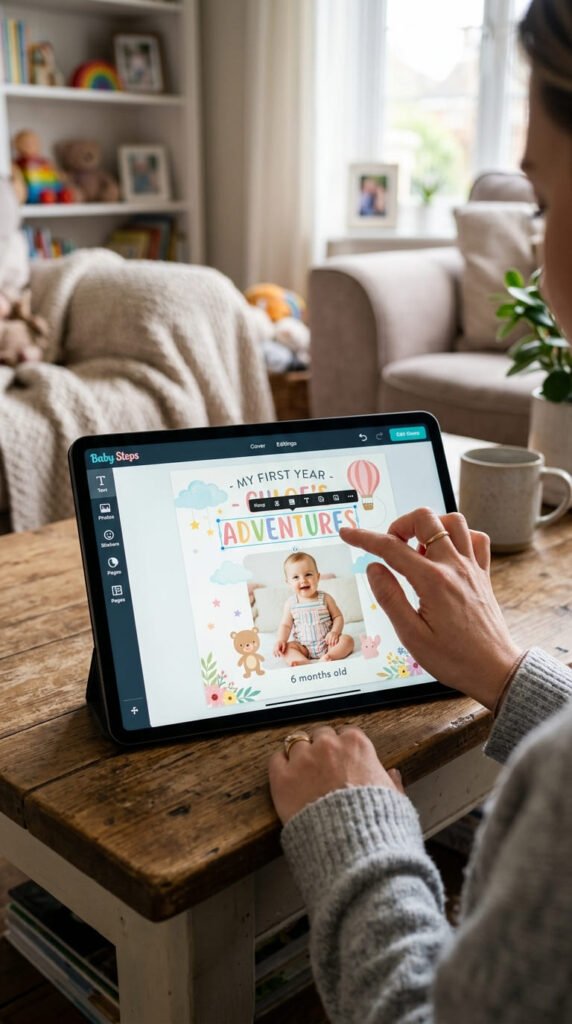
Canva has become the go-to tool for parents who want a custom look without design skills. Search “baby scrapbook cover” inside Canva’s template library. Many free options exist, plus low-cost premium ones. Swap in your own photo, change the font, adjust the colors to match your nursery or theme. Download as a high-resolution PDF or JPG and print it yourself or through an online print service. Budget tip: stick to free templates first and only upgrade to a paid design if you truly love it. Canva also lets you save your design and reuse the layout for future pages, keeping your whole scrapbook cohesive. This method is especially handy if you’re making the same cover design for multiple family members, like grandparents who each want their own copy.
12. Seasonal Holiday-Themed Cover
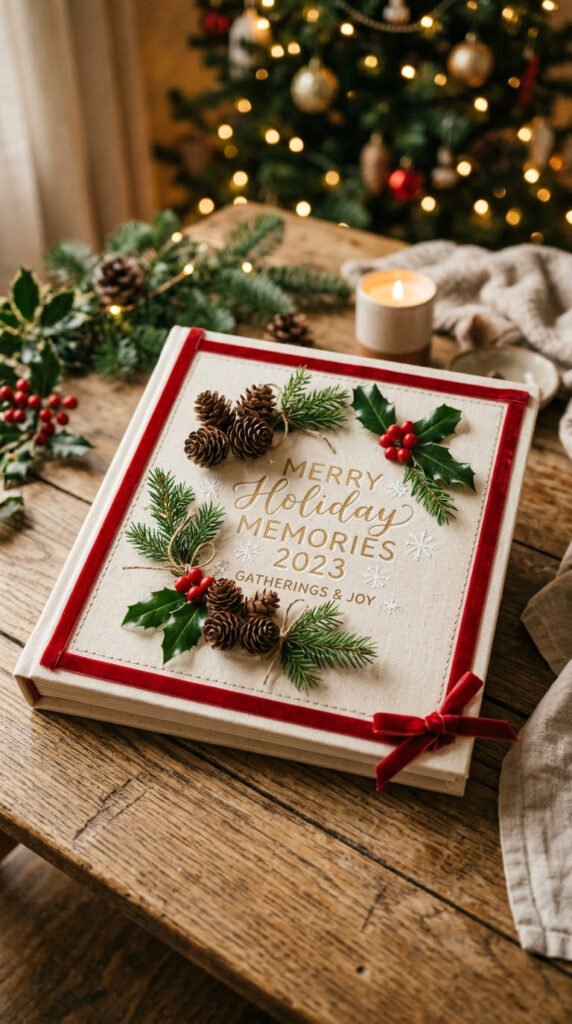
If your baby was born near a holiday, lean into it. A winter baby’s cover might feature a small pinecone or a sprig of holly. A spring baby’s cover could use pressed flowers. This gives the book a built-in theme that ties directly to their birth story. Keep embellishments small and flat so the cover doesn’t bulge or get damaged over time. Craft stores discount holiday supplies right after each season, so stock up cheap for next year’s project. Budget tip: real dried flowers or pinecones cost nothing if you collect them outside. Press flowers between heavy books for about a week before gluing them down. This idea also makes a meaningful gift if you’re building the scrapbook for a friend or relative’s holiday baby.
13. Custom Name Plaque Accent Cover
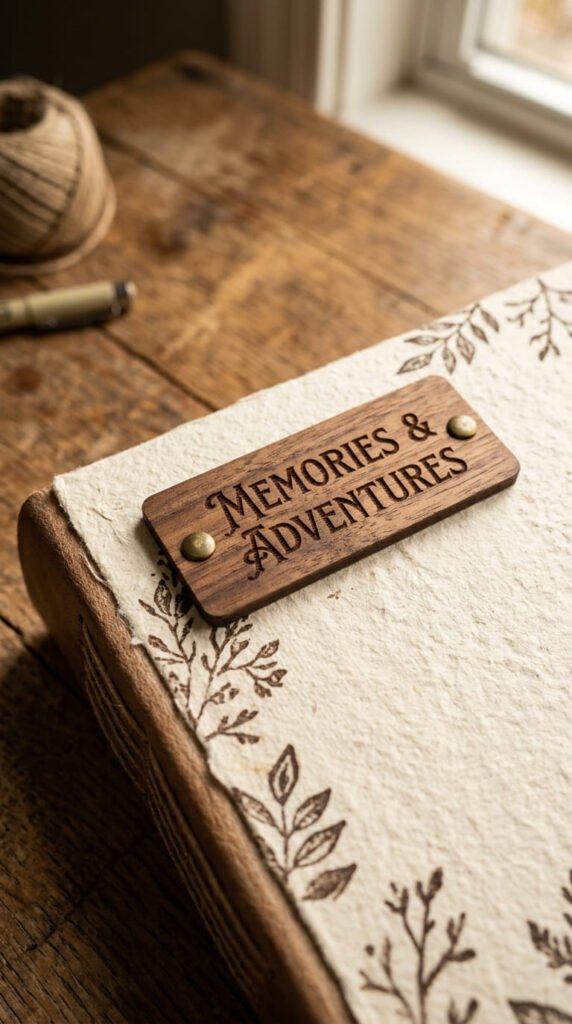
A tiny name plaque turns a simple cover into something that feels like a finished product. Order a small engraved wood or acrylic plaque online, many cost just a few dollars for a small size. Glue it onto one corner of an otherwise plain cover. This works especially well with the boho neutral palette idea above, since wood tones pair naturally with earthy colors. Budget tip: some print shops offer laser engraving on scrap wood pieces for cheap if you ask directly instead of ordering through a marketplace. Keep the rest of the cover simple so the plaque stands out as the focal point. This idea also works if you want to reuse the same plaque design across multiple keepsake items, like a nursery sign and a scrapbook cover that match.
14. Milestone Timeline Cover
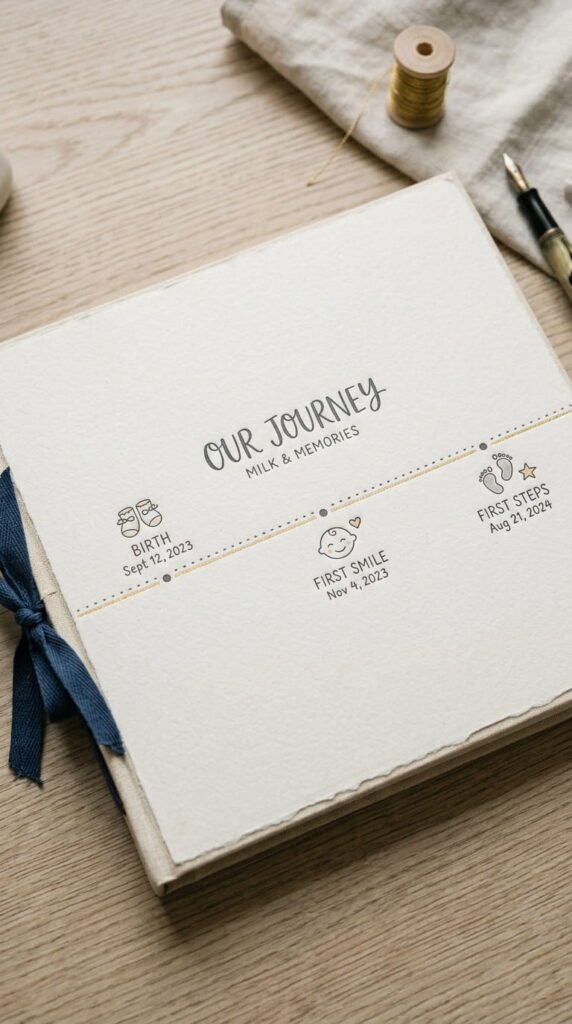
Give visitors a sneak peek of what’s inside by adding a mini timeline to the cover. Draw a simple dotted line across the bottom third of the cover. Along the line, place tiny icons or words marking milestones like “born,” “first smile,” and “first steps.” Keep the icons small and simple, hand-drawn dots or tiny stickers work fine. This gives the cover a bit of storytelling before anyone opens the book. Budget tip: a fine-tip pen and a ruler are all you need, no special supplies required. This idea works especially well for “first year” albums where the whole book follows a chronological structure, since the cover previews that structure right away. Keep the color of the timeline muted so it doesn’t distract from the photo or name above it.
15. Negative Space Modern Cover
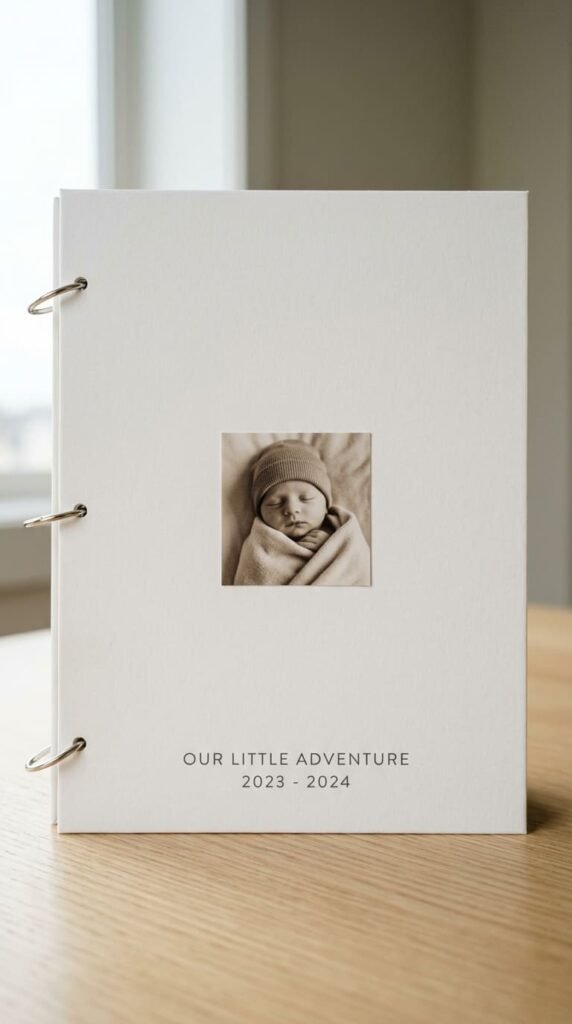
Sometimes less really is more. A modern cover uses a lot of open space with just one small photo and simple text. This style suits parents who want something that looks like it belongs in a design magazine rather than a craft fair. Use plain white or soft gray cardstock as the base. Place a small photo off-center, not dead middle, for a more editorial feel. Add the baby’s name in a clean sans-serif font along the bottom edge. Skip stickers, ribbons, and extra embellishments entirely. Budget tip: this is one of the cheapest covers to make since it uses so few materials. A single sheet of cardstock, one printed photo, and a bit of glue is all it takes. It also ages well style-wise, since minimalist design rarely looks dated.
16. Washi Tape Stitched Border Cover
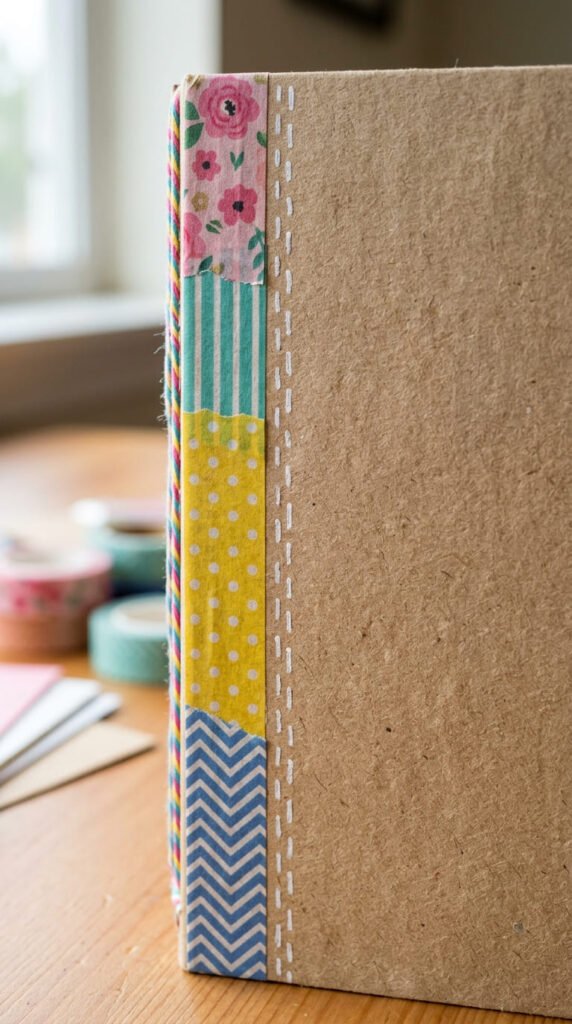
Washi tape is one of the cheapest ways to dress up a plain cover. Run a strip along each edge of the cover for an instant frame effect. For extra texture, draw small dashes along the tape edge with a white gel pen to mimic hand stitching. This “stitched border” look adds craft charm without actual sewing. Mix two or three washi tape patterns that share a color palette so it looks coordinated, not random. Budget tip: washi tape rolls are inexpensive and one roll covers several scrapbook projects, not just one cover. This idea pairs well with almost any other cover style on this list since it’s really a finishing touch rather than a standalone design. Add it last, after your photo and name are already placed, so you can adjust the border to fit.
17. Cultural Motif Cover
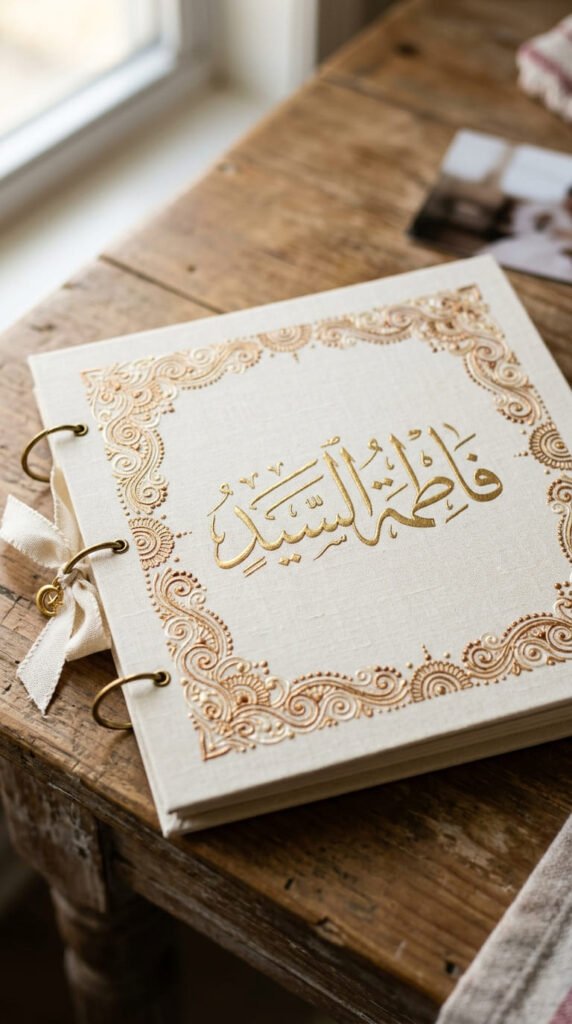
Cultural and regional design touches are often missing from mainstream scrapbook templates, so making your own lets you fill that gap. Consider a name written in a script that reflects your family’s heritage, paired with a border pattern inspired by traditional textiles or art. Research simple patterns online for inspiration, then hand-draw or trace a small border section rather than attempting something too detailed. Gold paint pens work well for cultural motifs that traditionally use metallic accents. Budget tip: many fonts supporting different scripts are free to download and print at home, so you don’t need calligraphy skills to get a clean result. This cover style makes the scrapbook feel personal in a way generic templates can’t, and it’s a meaningful way to pass down family identity to your child.
18. AR-Enabled Video Cover
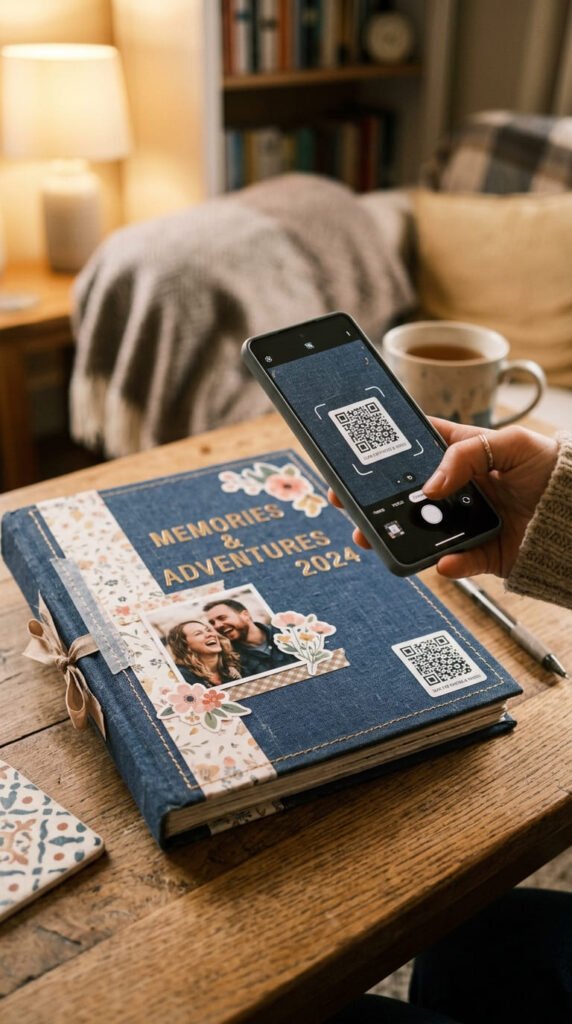
For a modern twist, add a scannable code to the cover that links to a short video, like the first cry in the delivery room or a lullaby you sing. Several free online tools generate scannable codes linked to a video link or photo album. Print the code small and glue it in a bottom corner. Label it lightly so future readers know to scan it. This turns a static cover into something with sound and movement, without changing the physical craft process much. Budget tip: most code-generating tools are free, so the only cost is printing a small sticker. Keep a backup copy of the video saved somewhere permanent, since links can expire over time. This idea works well alongside a simple photo-and-name cover so the code doesn’t compete visually with other design elements.
19. Punched Border Lace Cover
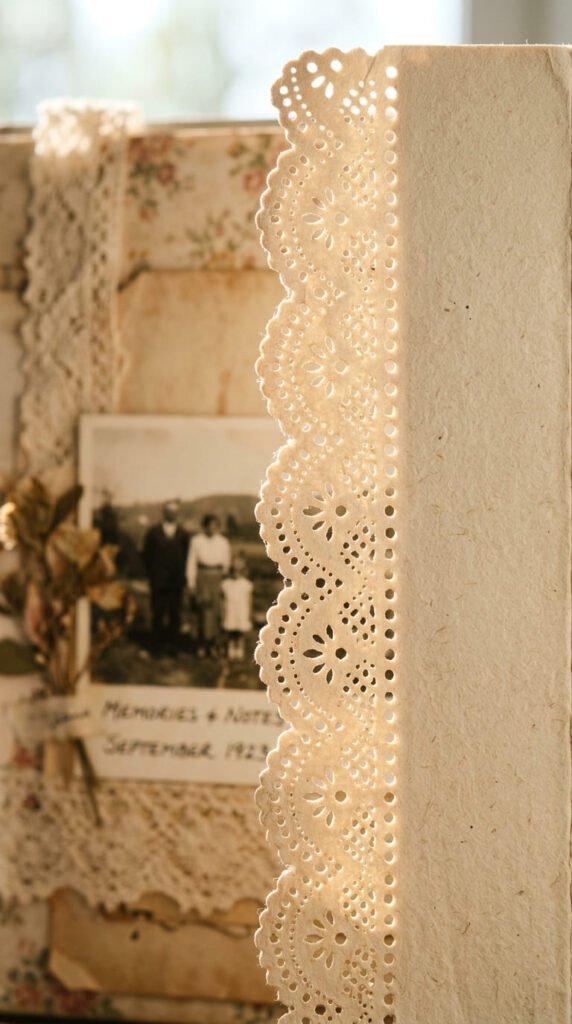
A decorative border punch can turn plain cardstock into something that looks like lace. Craft stores sell small border punches for a modest price, and one punch can be reused across an entire scrapbook, not just the cover. Run the punch along one or two edges of your cover for a delicate, feminine touch. This pairs nicely with a soft color palette and a handwritten name. Budget tip: if you don’t want to buy a punch, a simple hole punch used in a repeating pattern along the edge creates a similar effect with a tool you likely already own. Hold the cardstock up to a light after punching to check that the spacing looks even before gluing it onto the final cover. This technique adds texture without adding bulk or weight to the cover.
20. Chalkboard-Style Cover
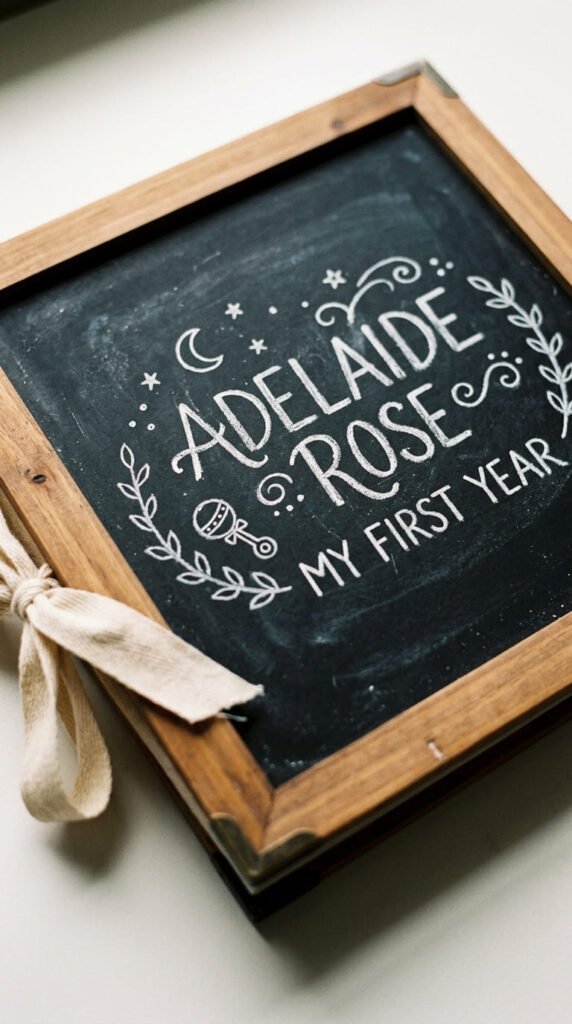
A chalkboard-style cover feels playful and works well for a gender-neutral or rustic-themed book. Use dark cardstock, charcoal gray or deep navy work best, as your base. Write the baby’s name and birth details in a white or cream paint pen to mimic chalk lettering. If you’re not confident freehand, lightly sketch the letters in pencil first. This style photographs beautifully under natural light and stands out next to lighter, pastel-toned baby books on a shelf. Budget tip: a single white paint pen costs just a few dollars and works for this entire project plus future ones. Keep the design simple, just the name and maybe one small doodle like a star or moon, so it doesn’t look cluttered against the dark background.
21. Layered Vellum Overlay Cover
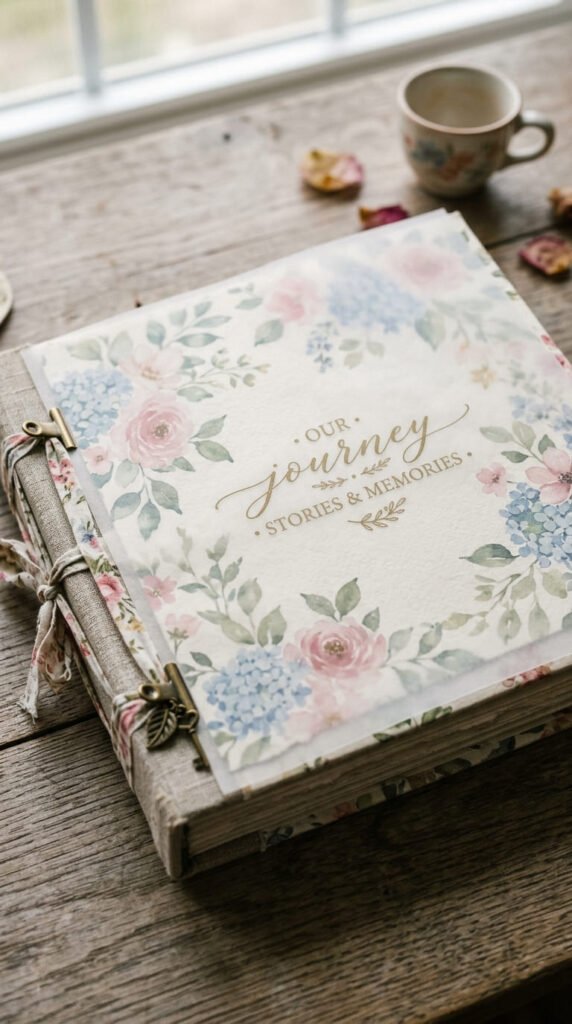
Vellum paper adds a soft, dreamy layer to a cover without hiding what’s underneath. Choose a base layer, like a light floral pattern or a solid pastel color, then place a sheet of vellum over the top. Vellum is slightly see-through, so the pattern beneath shows through in a muted, frosted way. Print or write the baby’s name directly on the vellum layer for a soft, floating text effect. Secure the vellum with small brads or a thin strip of tape at the corners rather than full glue coverage, since vellum can wrinkle. Budget tip: a single sheet of vellum can be cut into several smaller pieces if your book has multiple layered elements. This technique gives real depth to a cover and photographs beautifully in natural light thanks to the soft translucency.
22. Keepsake Cover With Hospital Bracelet
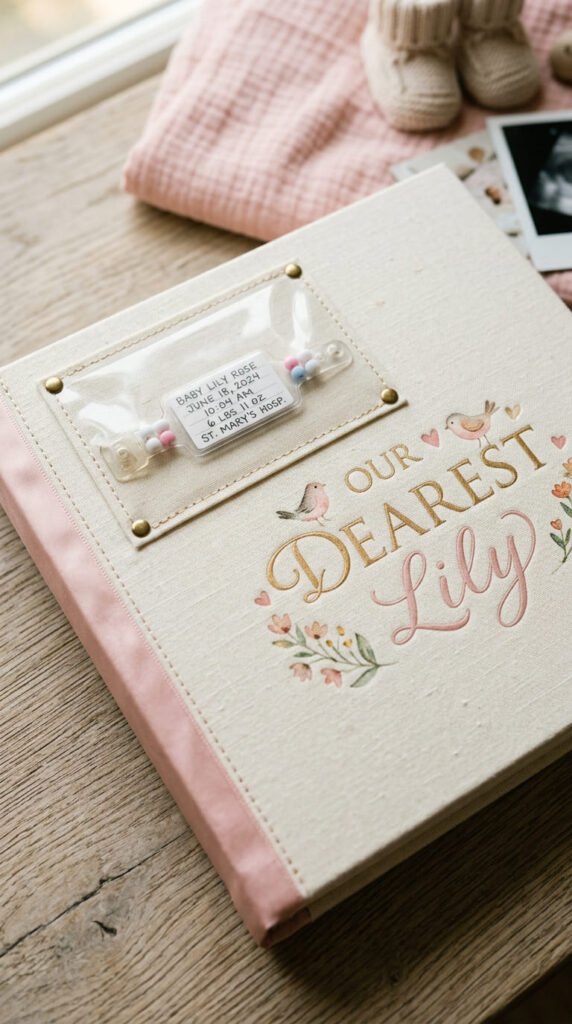
Some of the most meaningful covers use an actual item from the hospital, not just a printed design. Mount the baby’s hospital ID bracelet under a small clear plastic pocket or laminate sleeve in one corner of the cover. This keeps it protected while still visible. Surround it with soft, plain cardstock so the bracelet stays the focal point. Budget tip: small clear photo pockets sold for trading cards work well for this and cost very little for a whole pack, enough for several keepsake projects. Add the baby’s name and birth weight in small text nearby for context. This cover style turns a hospital keepsake that might otherwise get lost in a drawer into a permanent, protected part of the scrapbook’s very first page.
Conclusion
A baby scrapbook cover doesn’t need a big budget or advanced craft skills to feel special. Whether you choose a single centered photo, a boho neutral palette, a Canva template, or a hospital bracelet tucked under a small pocket, the goal is the same: catch the first glimpse of a story that will be flipped through for decades. Pick one idea from this list, gather a few affordable supplies, and start with something simple. You can always layer in more texture, color, or personal touches as you go. The cover is just the beginning, but it’s worth making it count.