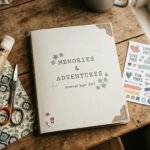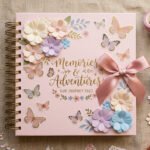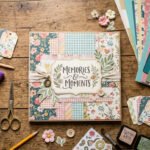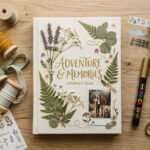
Paper is the cheapest, most forgiving material a crafter can reach for, and it’s also the one that makes the biggest visual difference on a scrapbook cover. A single sheet of patterned scrapbook paper, some cardstock, and a bit of glue can turn a plain blank cover into something worth showing off, all without spending much money or buying specialty tools. Whether you’re making a baby book, a wedding album, or a simple family memory keeper, these 20 paper-based cover ideas cover a range of styles, from rustic kraft paper to layered floral patterns, and every single one can be made with basic supplies from your craft drawer.
1. Classic Decorative Paper Wrap
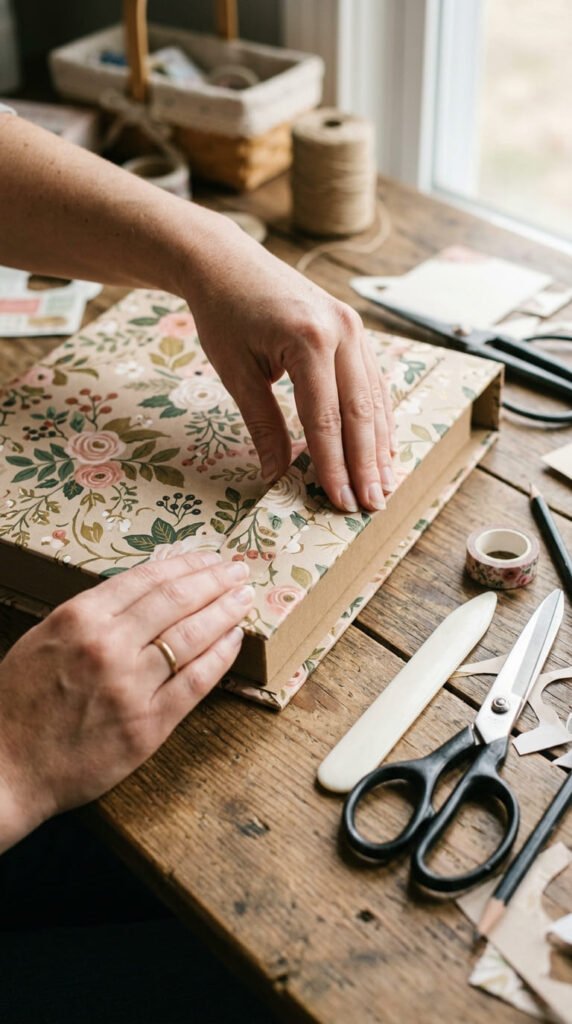
This is the foundation every paper cover idea builds on. Pick one sheet of decorative paper that fits the album’s mood, floral for a baby book, geometric for a travel album. Cut it slightly larger than your cover, wrap the edges around the sides, and glue them flat on the inside panel. Smooth out any bubbles with the back of a spoon or a bone folder. Budget tip: scrapbook paper packs at craft stores often include a dozen or more coordinating sheets for a low price, giving you paper for the cover plus every page inside. Once this base layer is done, everything else, ribbon, stickers, lettering, becomes a small accent layered on top instead of a whole new project. This single step turns a plain cardboard cover into something that already looks finished before you add a single embellishment.
2. Layered Cardstock Frame
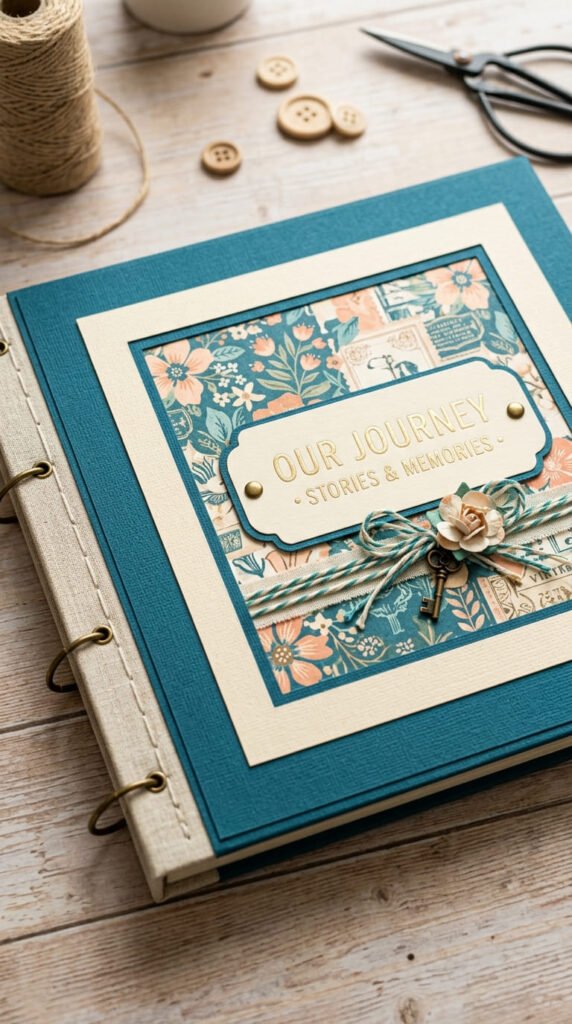
Two sheets of cardstock in different colors create depth without any complicated technique. Glue a larger sheet of cardstock down first as the base layer, then center and glue a slightly smaller sheet on top in a contrasting color. This leaves a thin, even border of the first color showing all the way around, like a picture frame. Budget tip: cardstock sold in variety packs gives you enough sheets for several projects, and the contrast color often costs the same as a single solid pack. Choose colors that complement each other rather than clash, like cream and sage or navy and blush. This idea works well as a base for a photo or title placed on the top layer, since the framed border draws the eye straight to the center. It’s one of the fastest paper techniques to master since it only involves straight cuts and gluing.
3. Kraft Paper Neutral Base
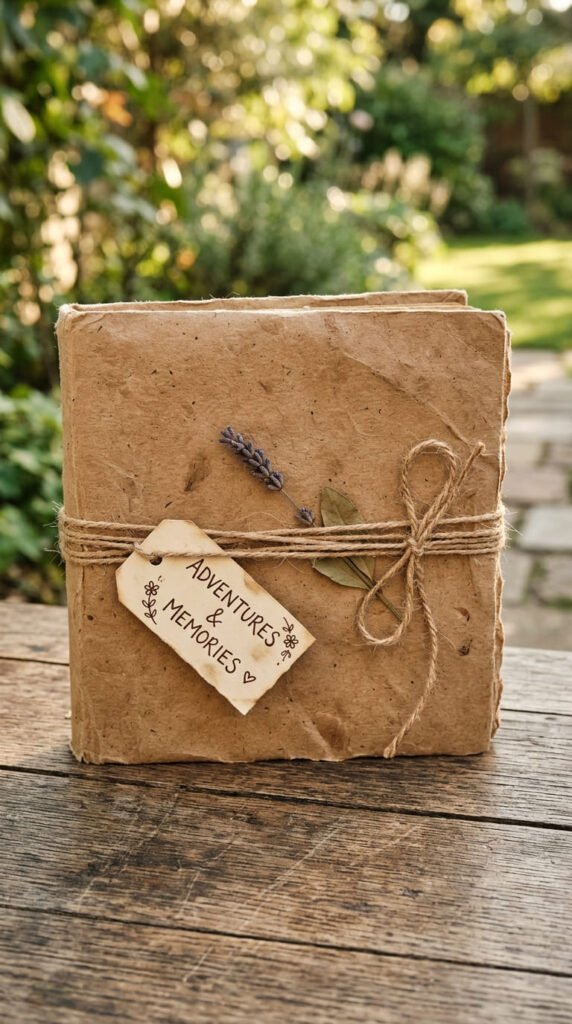
Kraft paper gives a cover a clean, modern, neutral look that pairs with almost any theme. Wrap the cover in plain kraft paper the same way you would decorative paper, smoothing the edges flat and gluing them down on the inside. Tie a length of natural twine around the spine for a small textural accent. Budget tip: kraft paper is one of the cheapest paper options available, and rolls of it are often already sitting around if you save packaging material from online orders. This look works especially well for rustic, farmhouse, or travel-themed albums, since the earthy tone feels less fussy than bright, printed patterns. Pair it with simple handwritten or stamped lettering rather than elaborate stickers, since kraft paper’s understated look calls for equally understated decoration. It also photographs beautifully in natural light thanks to its warm, textured surface.
4. Printed Photo Paper Backdrop
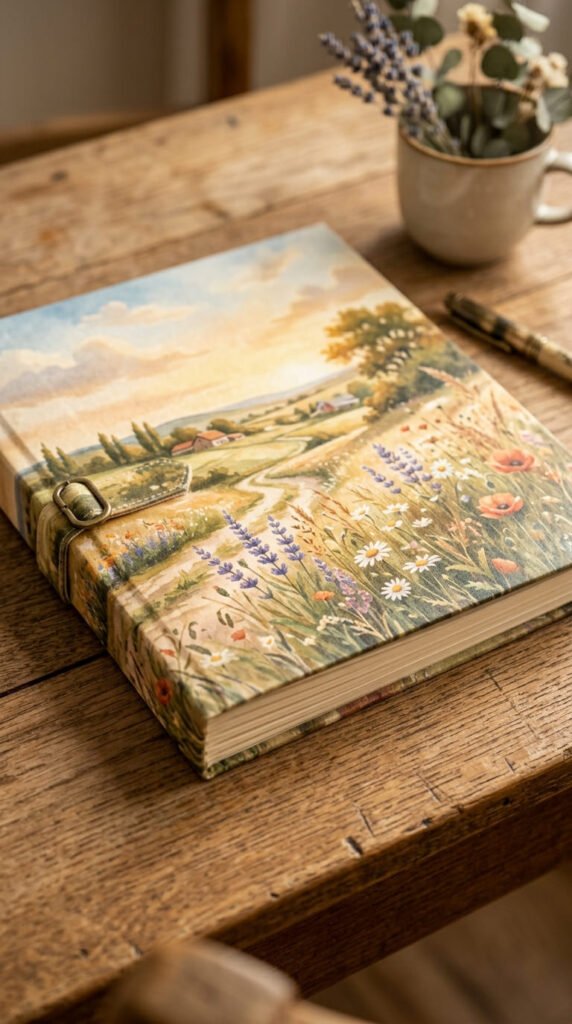
Instead of a small photo glued onto a cover, print a full-size image directly onto photo paper and use it as the entire background. A soft floral field, a favorite landscape, or a close-up texture shot all work well as a full backdrop. Trim the printed sheet to fit your cover exactly and glue it down flat. Budget tip: photo paper isn’t much more expensive than regular cardstock, and many home printers handle it just fine, so this technique doesn’t require a print shop. Keep the printed image simple and not too busy, since you’ll likely add a title or small decoration on top afterward. This idea gives a cover a professional, seamless look, almost like a printed book jacket, and it’s a smart choice when you want the cover’s color palette to flow directly into the photos used throughout the album.
5. Ribbon and Paper Border Combo
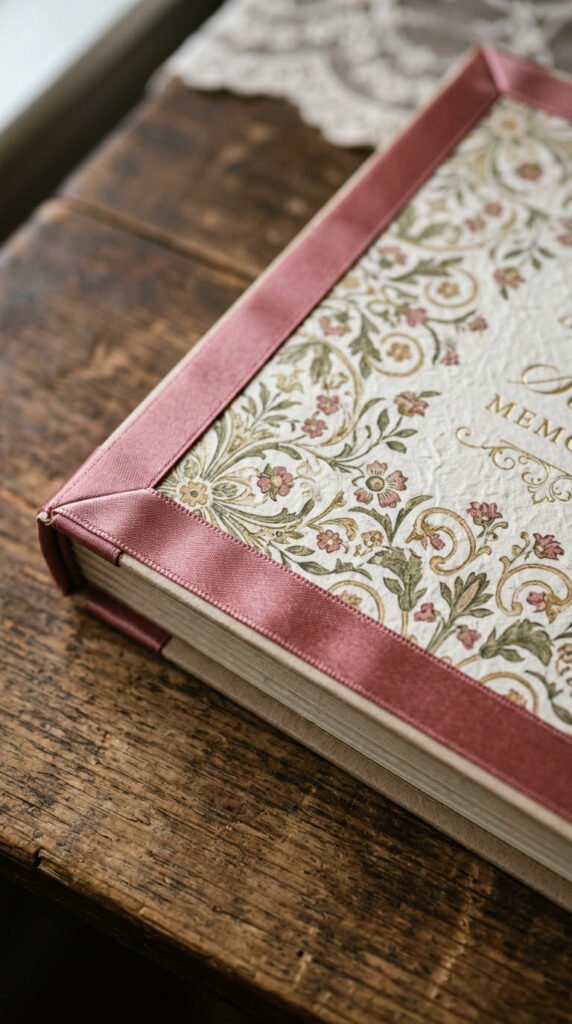
Pairing paper with a ribbon border is one of the most repeated techniques in beginner tutorials, and for good reason: it’s fast and looks polished every time. After wrapping your cover in decorative paper, measure ribbon along each edge, cut to size, and glue flat with a thin line of craft glue. Budget tip: a single spool of ribbon costs just a couple dollars and covers several scrapbook projects, not just one cover. Choose a ribbon color that pulls from the paper’s pattern rather than introducing a brand-new color, so the whole design feels coordinated. Cut ribbon ends at a slight diagonal before gluing to prevent fraying and give the corners a cleaner finish. This combo works for almost any occasion, from baby books to wedding albums, since ribbon color and width can shift the whole mood from playful to formal.
6. Floral Pattern Paper Cluster
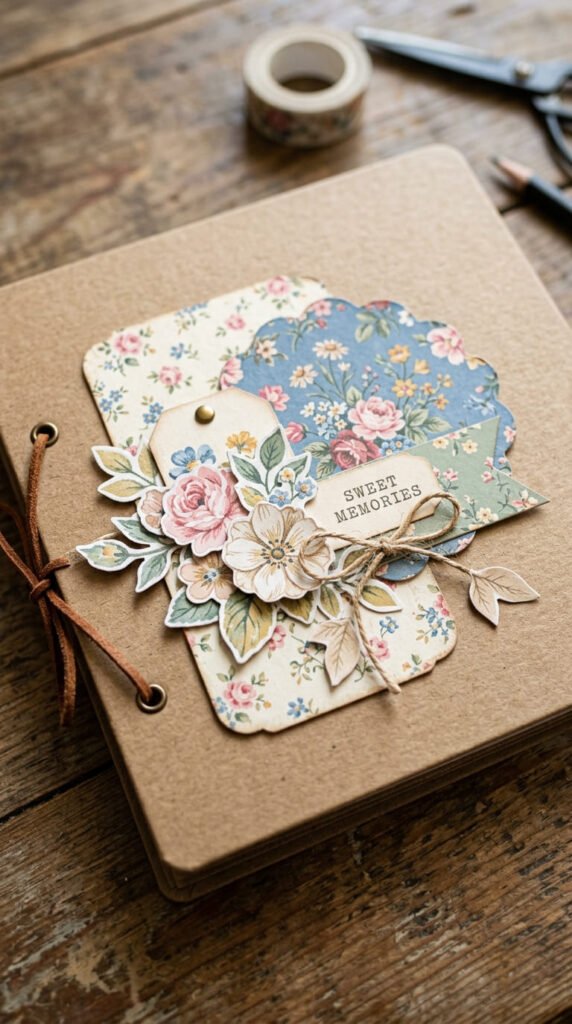
If you love a floral paper pattern but don’t want to cover the whole cover in it, cut small flower shapes directly from the patterned sheet instead. Use scissors or a small flower-shaped craft punch to cut out three to five flowers, then cluster them together in one corner of a plain background. Budget tip: a single sheet of floral scrapbook paper can produce dozens of small cutout flowers, stretching one purchase across many projects. Curl the edges of each paper flower slightly with a toothpick for a bit of dimension instead of leaving them completely flat. This technique lets you use a bold, busy pattern in a controlled way, rather than committing the whole cover to one loud print. It pairs especially well with a plain cream or white base, letting the floral cluster stand out as a clear, intentional focal point.
7. Geometric Pattern Paper Cover
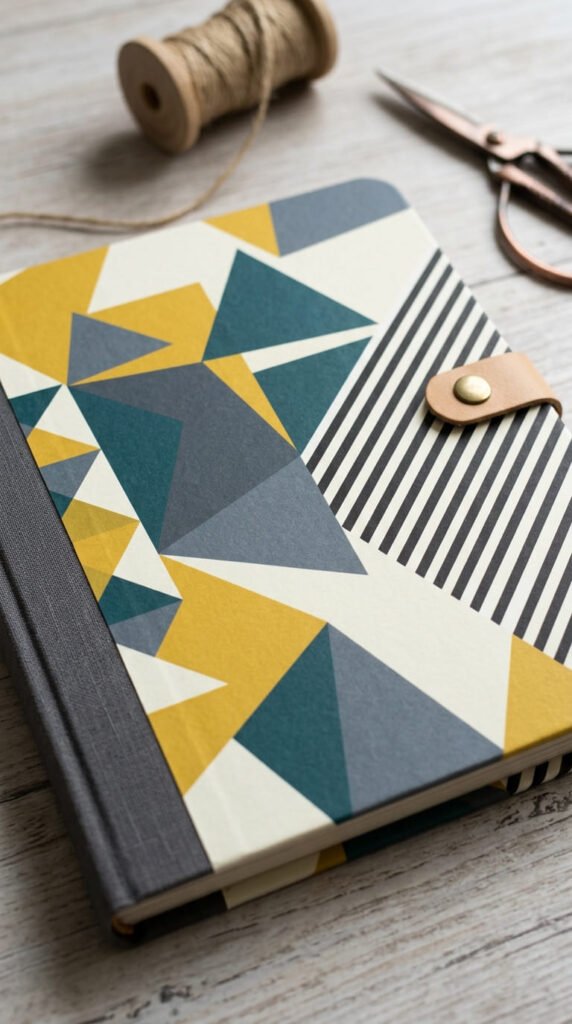
Geometric patterns give a cover a modern, graphic feel that suits travel albums, teen scrapbooks, or anything with a bold, contemporary style. Wrap the cover in a geometric print, keeping the rest of the decoration minimal so the pattern itself does the visual work. Skip busy embellishments like flowers or lace, which tend to clash with sharp geometric lines. Budget tip: geometric paper is widely available in craft store clearance bins since it goes in and out of trend seasonally, so timing a purchase during a sale can cut costs significantly. Add a title using a bold sans-serif font, either printed or cut from solid cardstock, to match the clean lines of the pattern. This style pairs well with black-and-white photography inside the album, since the graphic cover sets a confident, modern tone before the first page.
8. Checkered and Plaid Paper Base
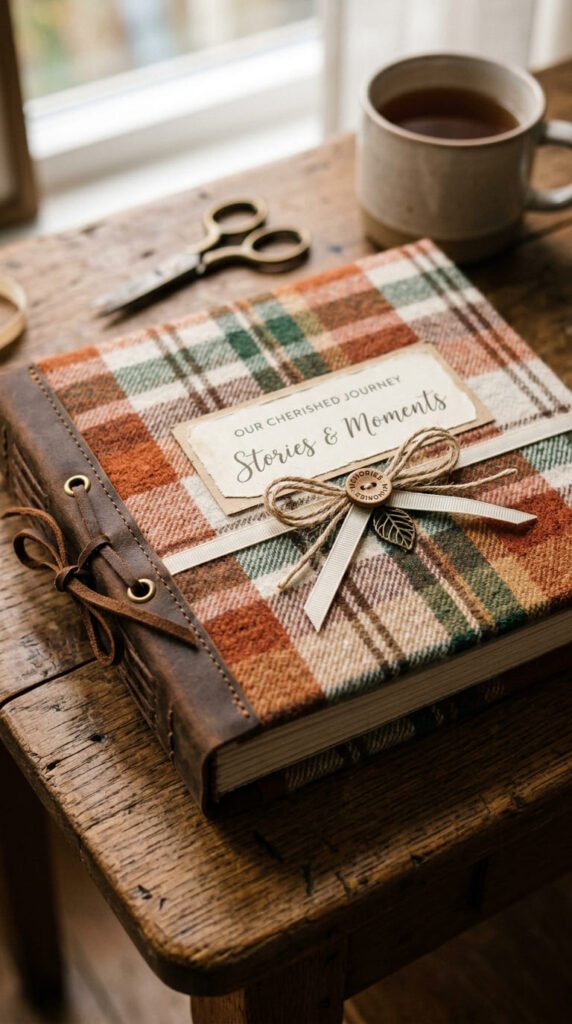
Plaid and checkered papers bring a cozy, classic feel that works well for family albums, autumn-themed books, or rustic celebrations. Wrap the cover in a checkered or plaid sheet the same way you would any other decorative paper. Add one small accent, like a ribbon bow or a single paper leaf, rather than layering on too many extras. Budget tip: plaid paper often shows up in seasonal craft packs around fall and winter, and buying during that window usually costs less than shopping for it out of season. Keep the color palette limited to two or three shades within the plaid itself so the cover doesn’t feel overwhelming. This pattern style pairs naturally with handwritten titles rather than printed fonts, since the homemade, cozy feel of plaid calls for an equally personal touch on the lettering.
9. Polka Dot Paper Accent Strip
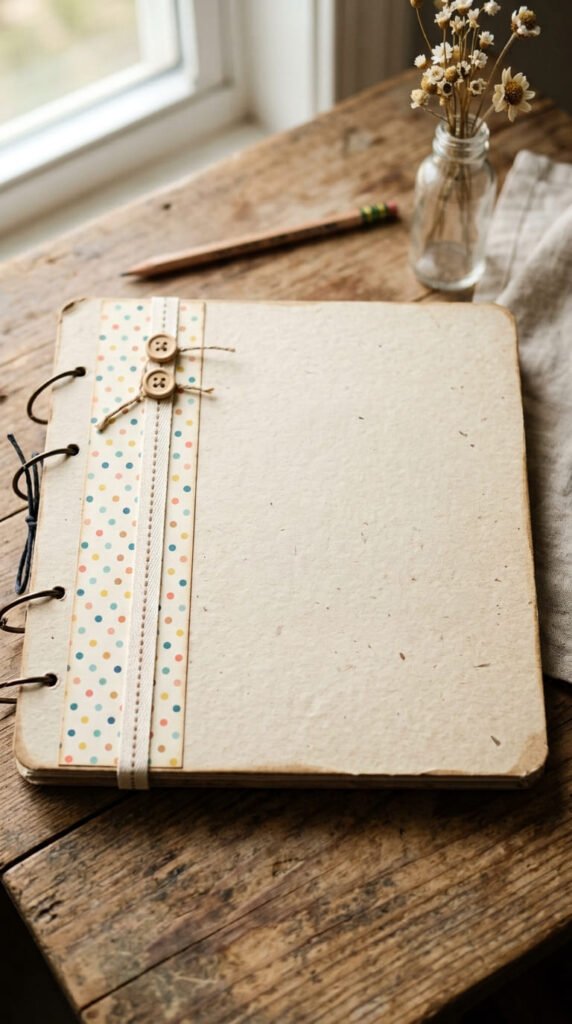
Sometimes a small strip of pattern says more than a full sheet. Cut a narrow strip of polka dot paper, about one to two inches wide, and glue it along one edge of an otherwise plain cover. This gives a playful pop of pattern without overwhelming the whole design. Budget tip: a single sheet of polka dot paper can be cut into several strips, enough for the cover plus a few interior page accents. This idea works especially well for baby books or birthday albums, where a bit of playfulness suits the occasion. Pair the strip with a simple centered photo or title on the plain section of the cover, letting the polka dot strip act as a colorful border rather than the main design. It’s one of the fastest paper techniques on this list, taking only a few minutes once your paper and glue are ready.
10. Baby-Themed Paper Motif Cover
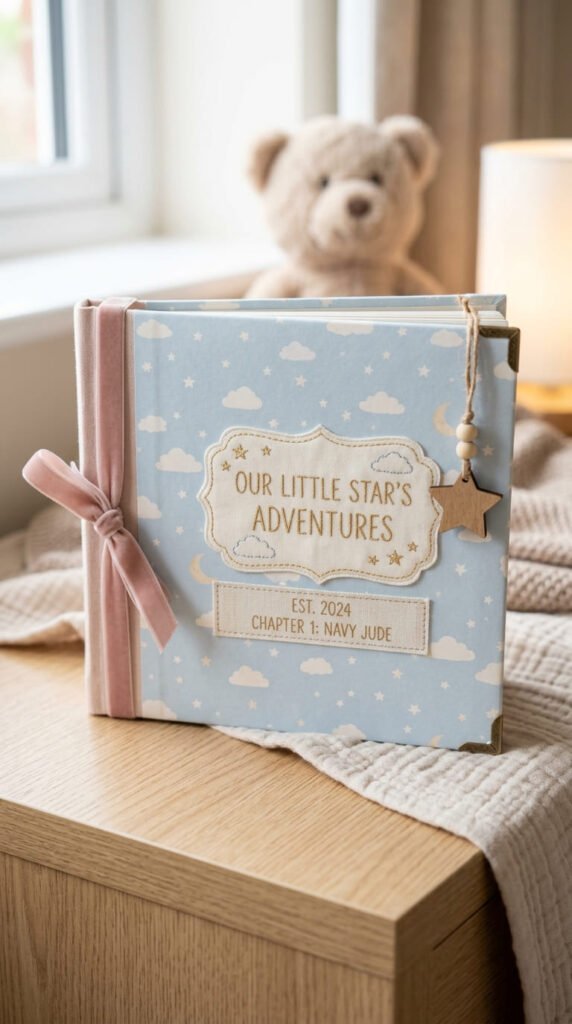
Baby-themed patterned paper, think small stars, clouds, or tiny animals, gives a nursery album an instantly appropriate look without needing extra decoration. Wrap the cover in the printed paper and let the pattern carry most of the visual interest on its own. Budget tip: baby-themed paper packs are widely available and inexpensive, and one pack usually includes enough coordinating sheets for the whole album, not just the cover. Add the baby’s name in a simple font along the bottom, either handwritten or printed and cut out, to keep the personalization simple. Skip busy embellishments like heavy ribbon or clusters of stickers, since the pattern itself already does a lot of the visual work. This idea suits parents who want a finished-looking cover with minimal effort and minimal cost, since the paper alone handles most of the design.
11. Wedding Print Elegant Paper Cover
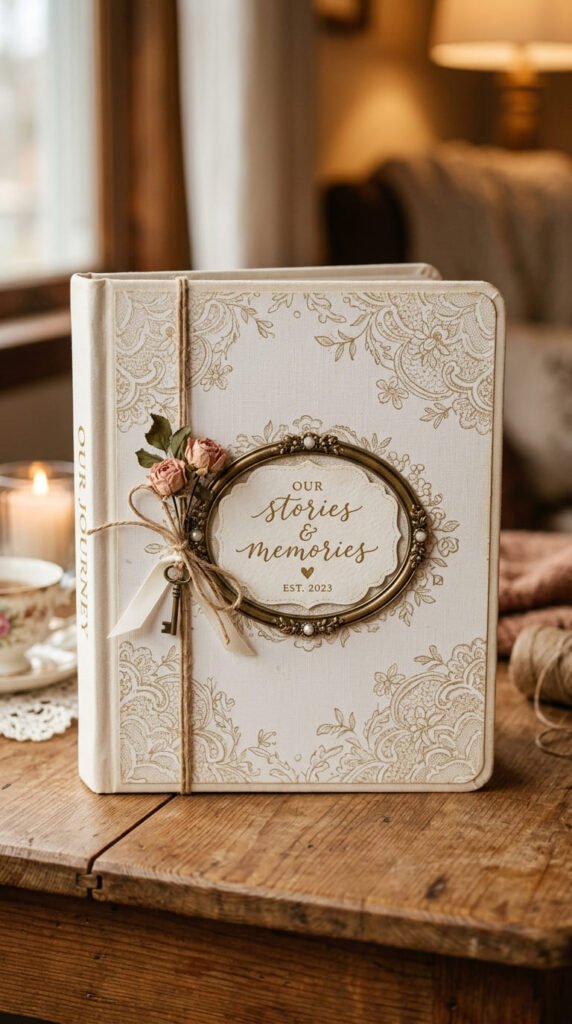
For a wedding album, look for scrapbook paper printed with a subtle lace, damask, or floral-etching pattern in soft ivory or blush tones. Wrap the cover as usual, then add the couple’s names in a clean serif font along the bottom third. Budget tip: elegant printed paper is often sold in wedding-specific craft packs, which cost about the same as any other themed paper but save you the trouble of matching separate sheets yourself. Keep embellishments minimal, maybe a single ribbon border, so the printed pattern reads as sophisticated rather than busy. This idea gives a formal, polished look without requiring lace fabric, foil, or any specialty materials, since the print itself carries the elegant tone. It’s a smart entry point for anyone intimidated by more elaborate wedding cover techniques but still wanting a refined result.
12. Alphabet Sticker Title Cover
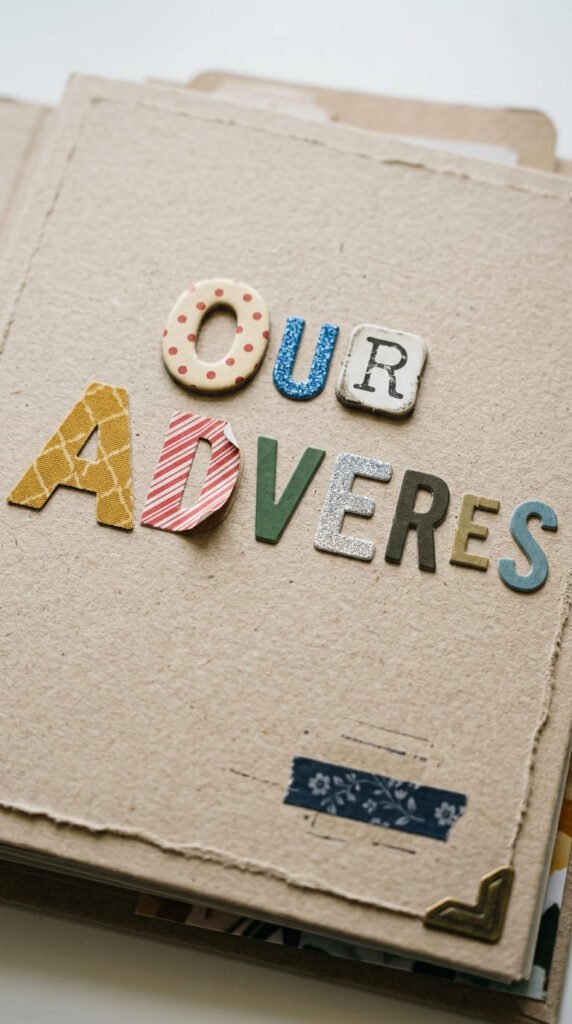
Alphabet stickers make personalization simple, even for crafters who don’t trust their handwriting. After wrapping your cover in a plain or lightly patterned paper, spell out a name, date, or short word using individual letter stickers along the bottom or center. Budget tip: alphabet sticker sheets are inexpensive and one sheet usually has enough letters for several titles across different projects. Keep spacing even between each letter by lightly marking a pencil guideline first, then erasing it once the stickers are placed. This technique works well for any occasion, since you can spell out anything from a baby’s name to “Our Wedding Day” to a family surname. It’s one of the fastest ways to add a personal, readable title to a cover without any lettering skill, and it pairs cleanly with almost every other paper idea on this list.
13. Paper Punch Border Detail
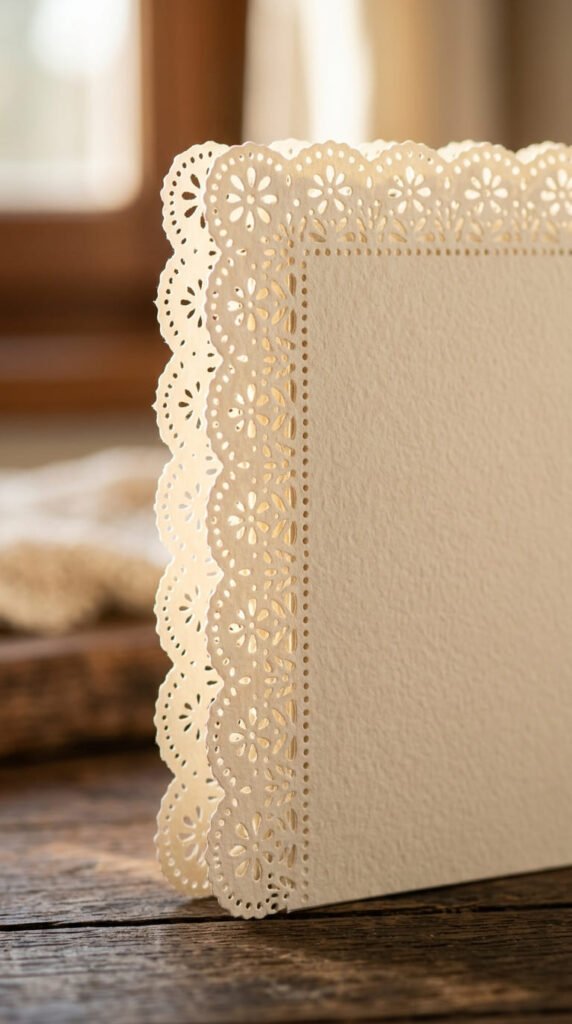
A decorative border punch turns plain cardstock into something that looks like lace trim, all from paper alone. Craft stores sell small border punches at a modest price, and one punch reuses across an entire album, not just the cover. Run the punch along one or two edges of your cover for a delicate, detailed look. Budget tip: if you don’t want to buy a specialty punch, a simple hole punch used in a repeating pattern along the edge creates a similar look with a tool most crafters already own. Hold the cardstock up to a light after punching to check the spacing looks even before gluing it onto the final cover. This technique works especially well over a plain or lightly patterned background, since the delicate cutout pattern needs a bit of visual space to stand out clearly.
14. Vellum Overlay on Patterned Paper
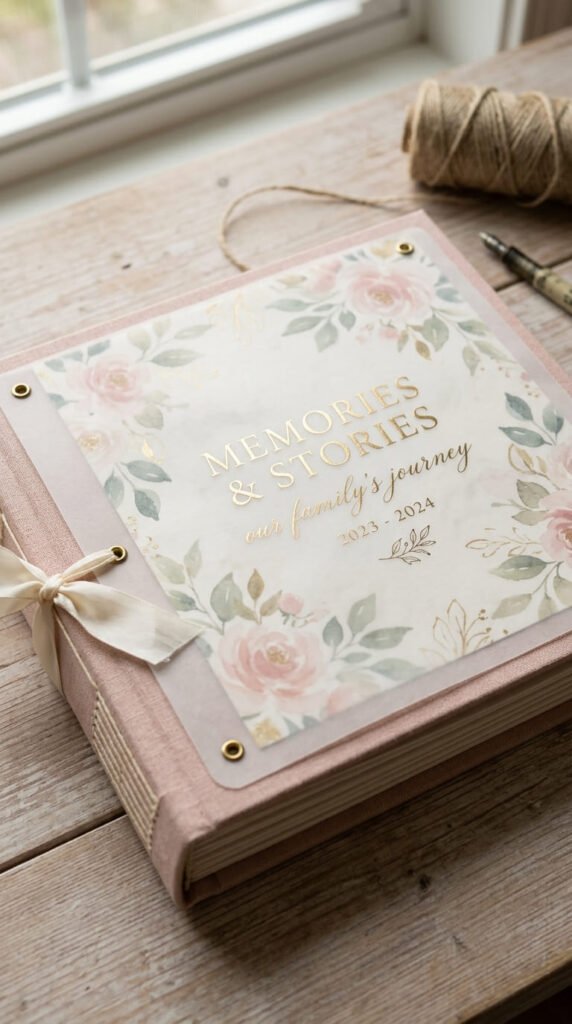
Vellum paper softens a bold pattern underneath without hiding it completely. Wrap the cover in a colorful or busy patterned paper first, then layer a sheet of vellum over the top. Because vellum is semi-transparent, the pattern beneath shows through in a muted, gentle way. Budget tip: a single sheet of vellum can be cut into several smaller pieces for multiple layered elements throughout the album, not just the cover, so one purchase stretches far. Secure the vellum with small decorative brads at the corners rather than full glue coverage, since too much adhesive can cause wrinkling. This technique is a smart fix if you already own patterned paper that feels too bold on its own, letting you soften and reuse it rather than buying a whole new sheet in a quieter print.
15. Two-Tone Paper Color Block
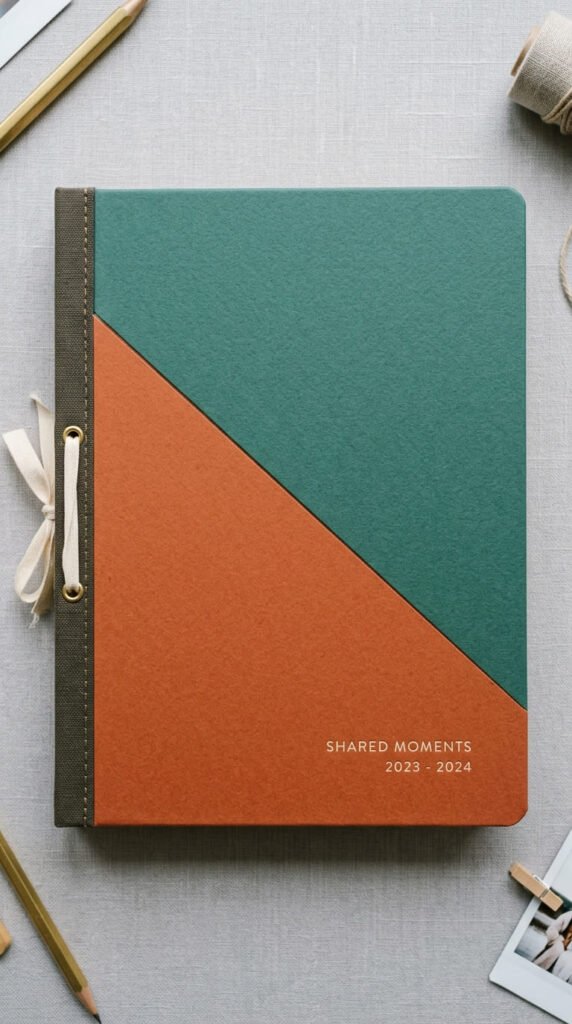
Color blocking with two solid paper sheets gives a cover a bold, modern look without needing any pattern at all. Cut two sheets of solid cardstock in complementary colors, then trim each to meet along a straight or diagonal line across the cover. Glue both pieces down so the seam sits clean and even. Budget tip: solid cardstock is often cheaper than patterned paper, and this technique only needs two sheets, making it one of the most affordable options on this list. Choose colors with enough contrast to read clearly, like navy and cream or terracotta and sage, rather than two shades too close in tone. Add a small title where the two colors meet for a clean, design-forward focal point. This idea suits crafters who want a graphic, contemporary look without hunting for a specific printed pattern.
16. Torn Paper Edge Texture
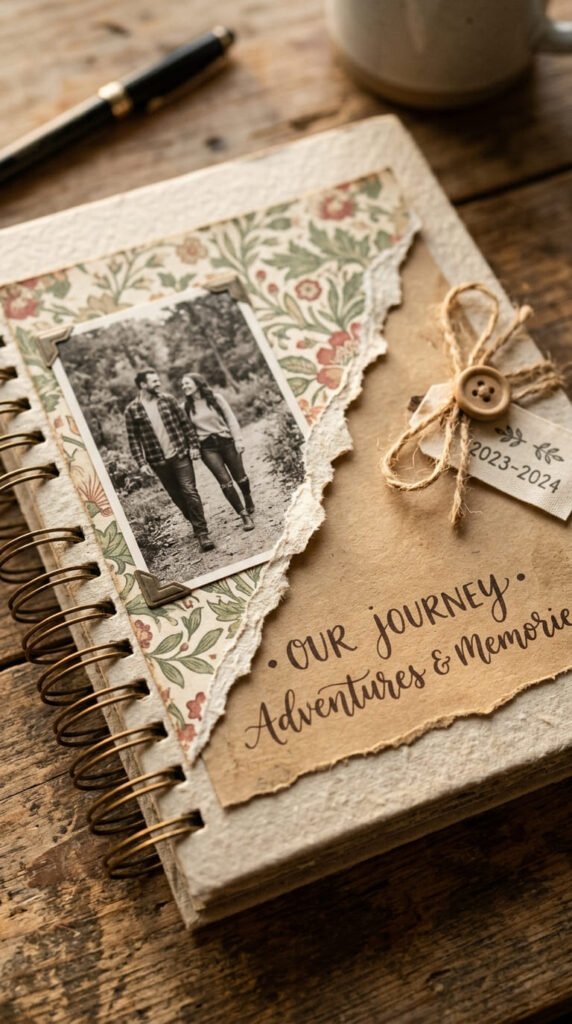
Tearing paper instead of cutting it gives a cover a soft, handmade texture that scissors can’t replicate. Tear a piece of decorative or cardstock paper along one edge by hand, pulling slowly for a rough, fibrous line, then glue it onto a plain background so the torn edge sits toward the center or along one side. Budget tip: this technique uses scrap paper you’d otherwise throw away, so it costs nothing beyond paper you already own. It works especially well layered over a solid color base, since the torn edge creates visible texture and shadow. This idea suits rustic, vintage, or farmhouse-style albums, where a slightly imperfect, handmade look fits the overall mood better than crisp, clean lines. Pair it with kraft paper or muted colors for the most authentic, worn-in feel.
17. Envelope Pocket Paper Cover
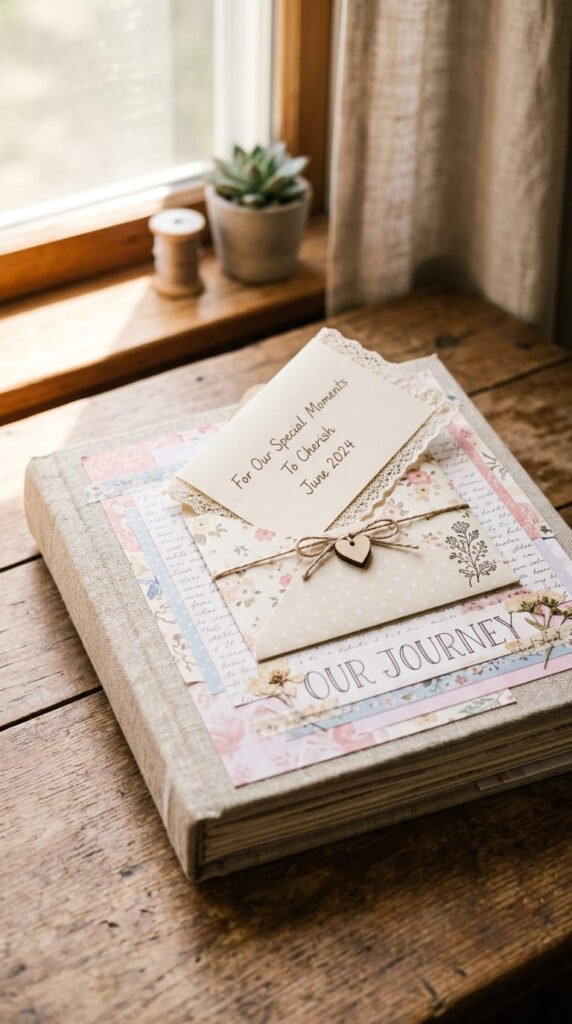
Turn a flat paper cover into something interactive by adding a small envelope pocket. Cut a small envelope shape from decorative paper, fold and glue three sides, leaving the top open, then glue the whole shape onto the front cover. Slip a small folded note or photo inside. Budget tip: this uses just one small scrap of paper and a bit of glue, so it costs almost nothing beyond what you already have. Keep the envelope sized to fit a small card so it doesn’t bulge or look sloppy against the rest of the cover. This idea adds a bit of sentiment and surprise, giving whoever opens the album a small keepsake to find before reaching the first page. It pairs well with almost any paper base on this list, since the pocket itself is a small, self-contained addition.
18. Paper Doily Lace Accent
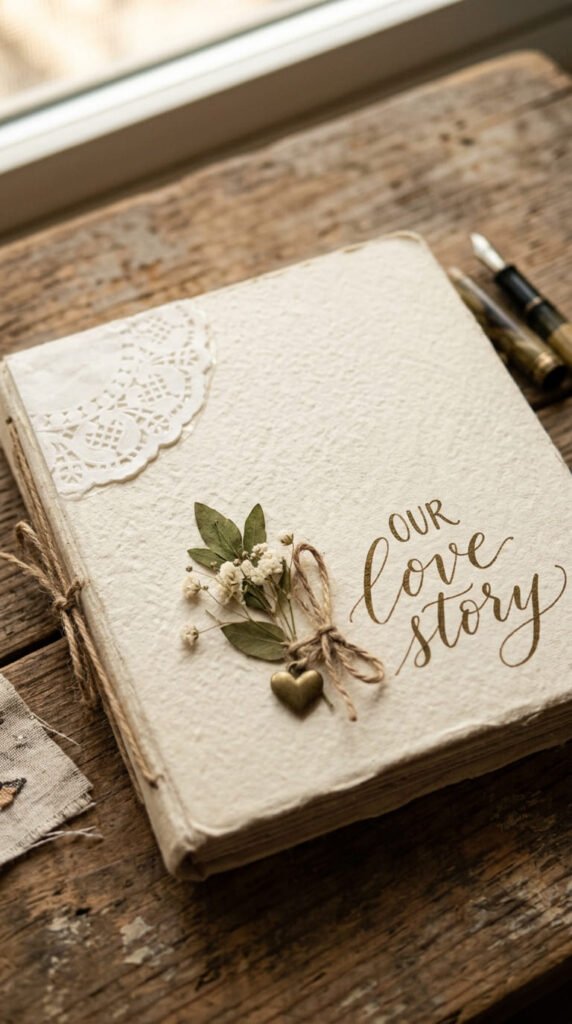
A paper doily gives a cover an instant lace-like texture without any cutting or punching required. Glue a small paper doily, the kind sold in craft and party supply aisles, onto one corner or centered under a title. Trim the doily down with scissors if the full circle feels too large for your cover. Budget tip: paper doilies come in packs of dozens for a very low price, making this one of the cheapest decorative techniques available. This idea pairs especially well with wedding or vintage-themed albums, since the delicate cutout pattern reads as romantic and old-fashioned. Layer it over a solid pastel or cream background so the white lace pattern stands out clearly. It’s a quick fix for crafters who want a detailed, lace-like look without owning a border punch or any specialty cutting tools.
19. Layered Paper Title Banner
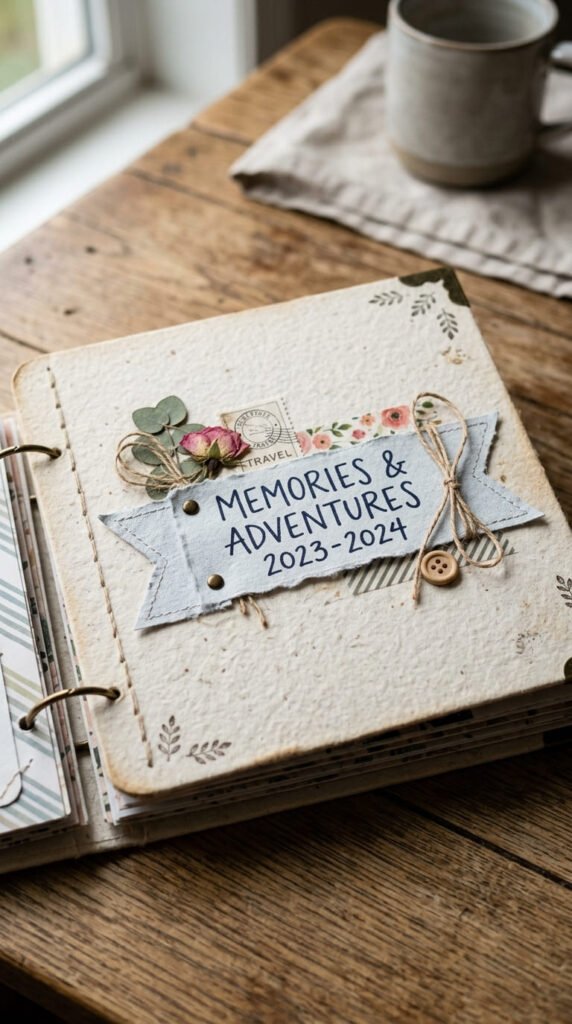
A small paper banner gives a title its own dedicated space, making it easier to read and more visually intentional. Cut a simple banner or flag shape from contrasting cardstock, with a small triangle notch at each end, and glue it across the center or lower third of the cover. Write or print a short title directly onto the banner shape. Budget tip: this uses just a small scrap of contrasting paper, so it costs next to nothing if you already have cardstock on hand. Keep the banner text short, a name, a date, or one word like “Memories,” so it fits comfortably within the shape. This idea works well over a busier patterned background, since the solid banner shape gives the eye a clear place to land and read the title clearly.
20. Layered Paper Photo Corner Frame
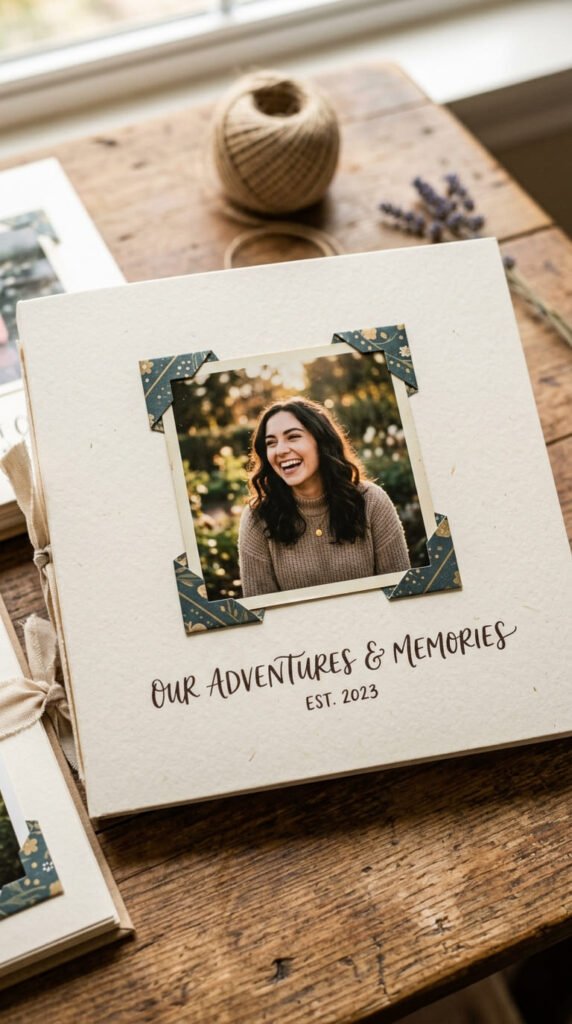
Paper photo corners give a cover a classic, scrapbook-album look while keeping the photo removable and easy to swap later. Cut four small triangle shapes from patterned or metallic paper, fold each into a pocket shape, and glue them at the corners of where your photo will sit. Slide the photo into the four corners instead of gluing it flat. Budget tip: a single sheet of patterned paper produces plenty of corner triangles for this project and future ones, so the cost stays low. This technique adds a bit of decorative detail around the photo edges without covering any part of the image itself. It’s a nice pick for crafters who might want to update the cover photo down the road, since the corners hold the picture in place without permanent glue.
Conclusion
Paper is proof that a beautiful scrapbook cover doesn’t need a big budget or a stack of specialty tools. A single sheet of decorative paper, a bit of ribbon, and some cardstock can carry an entire design from plain to polished in under an hour. Pick one or two ideas from this list that match your album’s occasion and style, gather the paper you already have on hand, and start wrapping, layering, or cutting. The cover sets the tone for everything inside, and with paper alone, that first impression can look as thoughtful as the memories it’s about to hold.