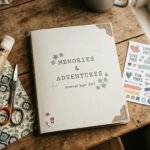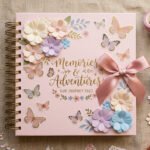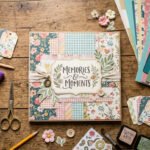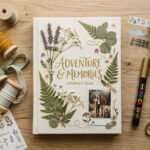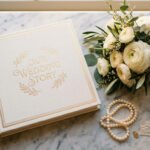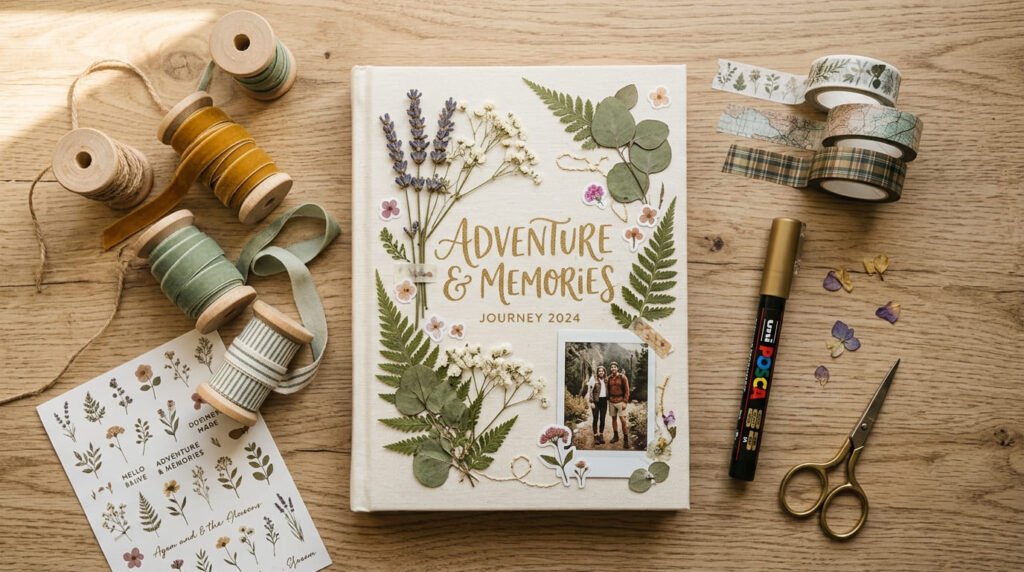
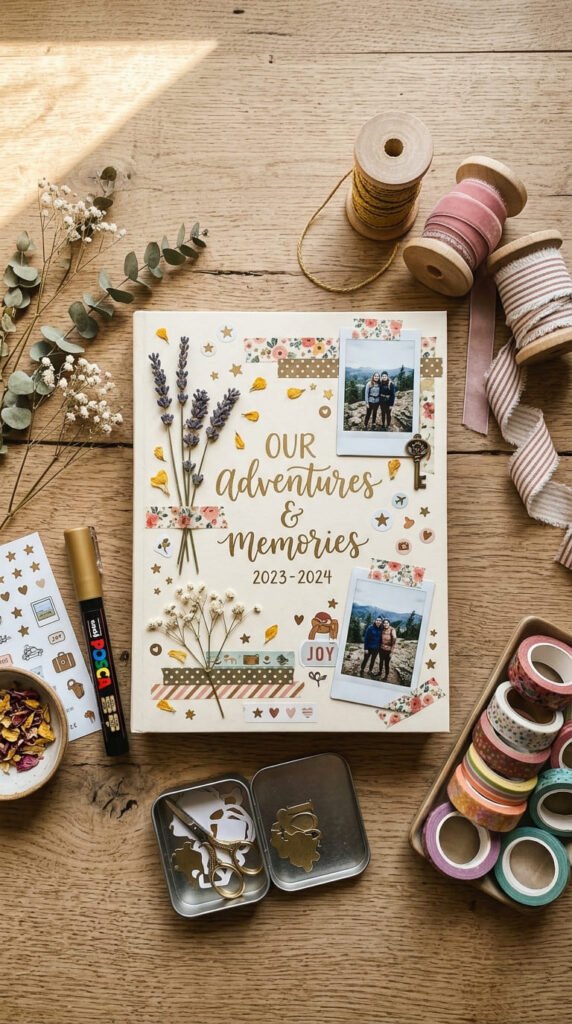
Staring at a blank scrapbook cover can feel more intimidating than the actual scrapbooking. The good news is that a stand-out cover rarely takes fancy tools or hours of free time. Most of the best-looking covers start with one simple base, like decorative paper or a plain photo, and build up with small, affordable touches like ribbon, stickers, or a bit of hand lettering. Whether you’re a first-timer looking for a quick win or someone chasing a premium, gift-ready look, these 23 ideas cover every skill level and budget, with practical steps you can start today.
1. Decorative Paper Wrap Base
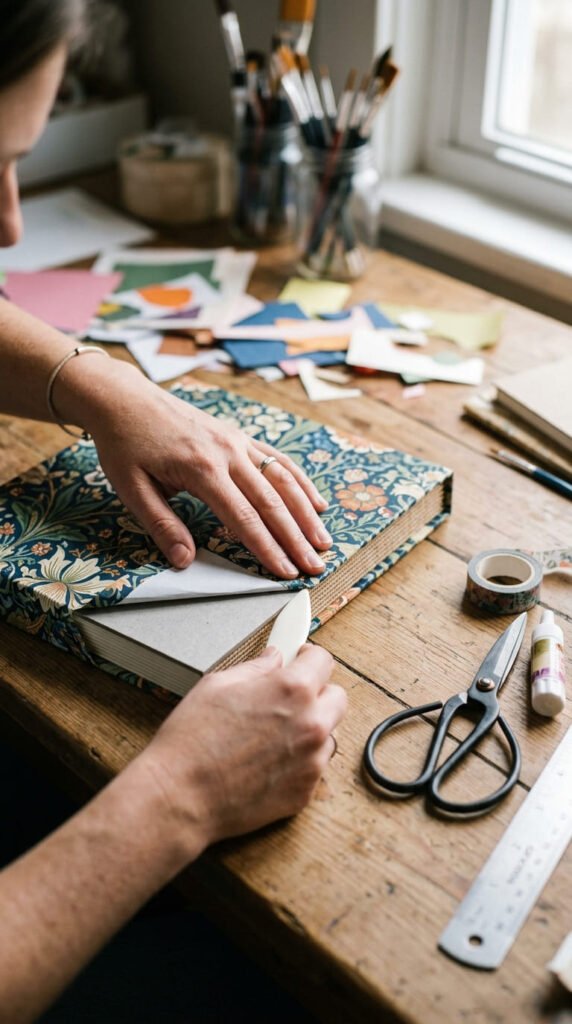
This is the starting point for almost every great cover, so it’s worth mastering first. Pick one sheet of decorative paper you love, floral, geometric, or a solid color with texture. Cut it slightly larger than your cover, wrap the edges around, and glue them flat on the inside panel. A bone folder or the back of a spoon smooths out any bubbles or creases. Budget tip: scrapbook paper packs at craft stores often include a dozen or more coordinating sheets for a low price, giving you enough for the cover plus interior pages. Choose a pattern that fits the album’s theme, softer florals for baby books, bold geometrics for travel albums. Once this base is done, everything else on this list, stickers, ribbon, lettering, becomes an accent layered on top rather than a starting point. This single step instantly makes a plain cover look finished.
2. Ribbon Border Frame
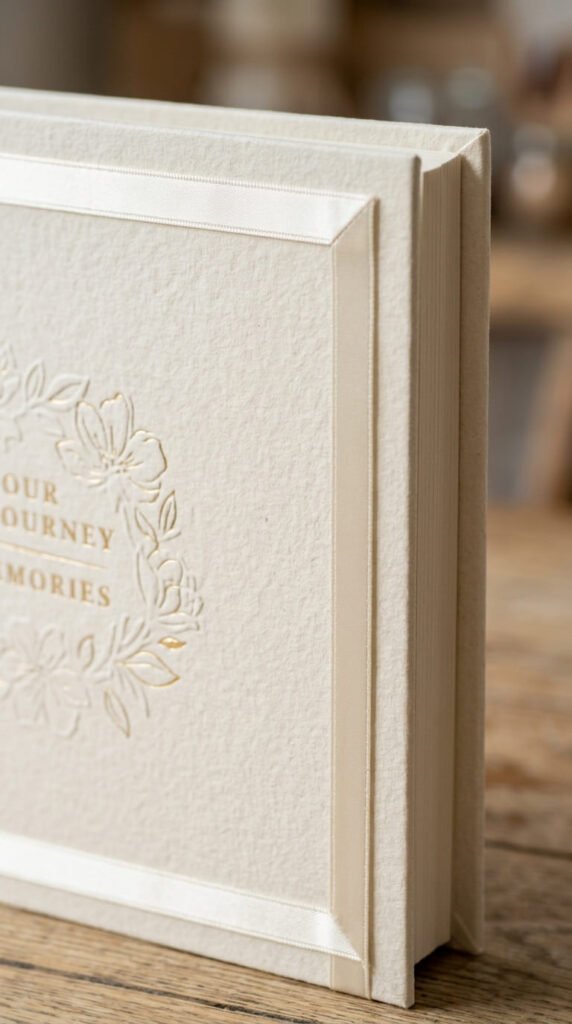
A ribbon border is one of the fastest ways to frame a cover and make it look intentional. Measure ribbon along each edge, cut to size, and glue flat with a thin line of craft glue or double-sided tape. Choose a ribbon width around a quarter inch so it reads as a subtle frame, not a bulky trim. Budget tip: a single spool of ribbon, often just a couple dollars, covers several scrapbook projects, not just one cover. Match the ribbon color to one small accent elsewhere on the cover, like a flower or title, so the whole design feels coordinated. This idea works well layered directly over the decorative paper wrap from the first idea, adding a clean edge without much extra effort. Keep corners neat by cutting ribbon ends at a slight diagonal before gluing, which prevents fraying and looks more polished.
3. Sticker and Topper Cluster
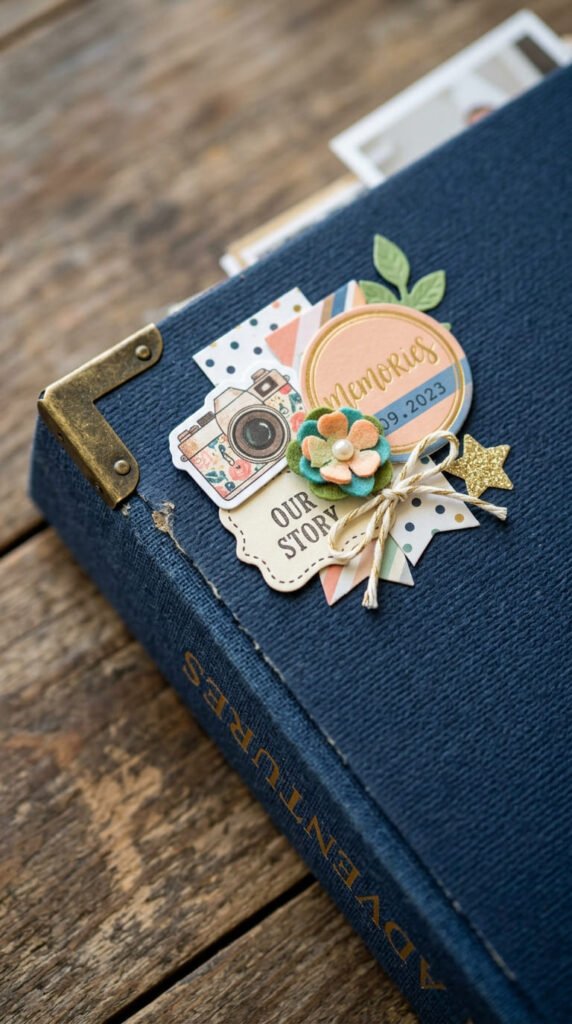
Stickers and toppers are the fastest, cheapest way to decorate a cover, and they don’t require any drawing skill. Pick a small theme, like flowers, stars, or simple shapes, and cluster three to five stickers together in one corner instead of scattering them across the whole cover. Clustering makes even a handful of cheap stickers look like a designed arrangement. Budget tip: sticker sheets and topper packs are inexpensive and one pack usually decorates several projects, not just a single cover. Leave the rest of the cover mostly plain so the cluster becomes a clear focal point rather than blending into busy decoration. This idea is a smart pick for a first scrapbook project, since it’s nearly impossible to get wrong and takes only a few minutes. Pair it with a simple handwritten title for a finished, put-together look.
4. Hand-Drawn Paint Pen Motif
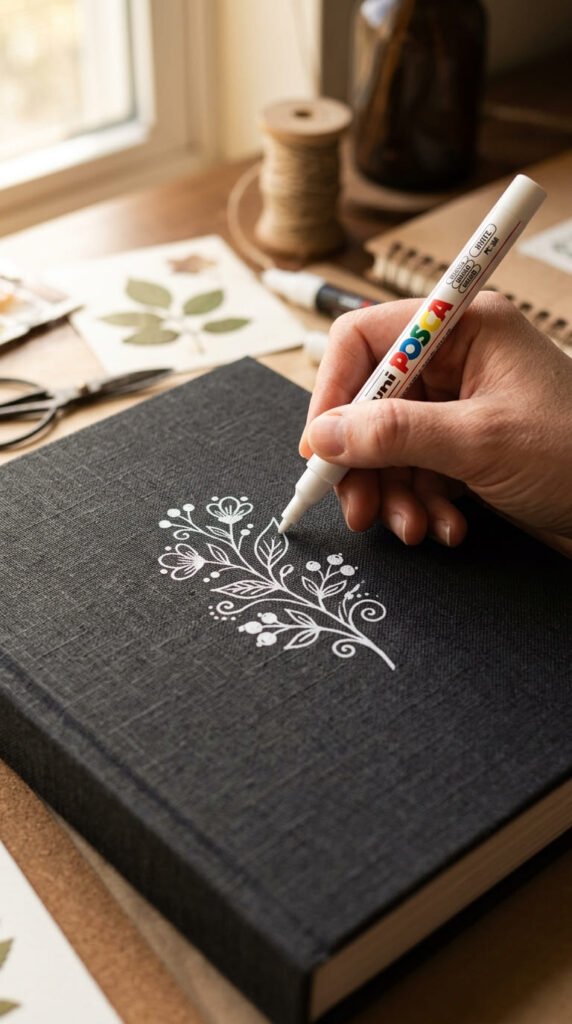
You don’t need to be an artist to add a hand-drawn touch. A paint pen, the kind with a fine tip, works on both light and dark cardstock and glides smoothly for clean lines. Start with something simple, a small flower, a heart outline, or a few dots and dashes along one edge. Practice on scrap paper first until your hand feels steady. Budget tip: a single paint pen costs just a few dollars and lasts through many projects, not just one cover. Keep your motif small and repeat it two or three times rather than attempting one large, detailed drawing, since small repeated shapes are more forgiving of imperfect lines. This idea gives a cover a personal, handmade feel that store-bought stickers can’t match, and it pairs nicely with a plain paper background so the drawing stands out clearly.
5. Monogram Title Cover
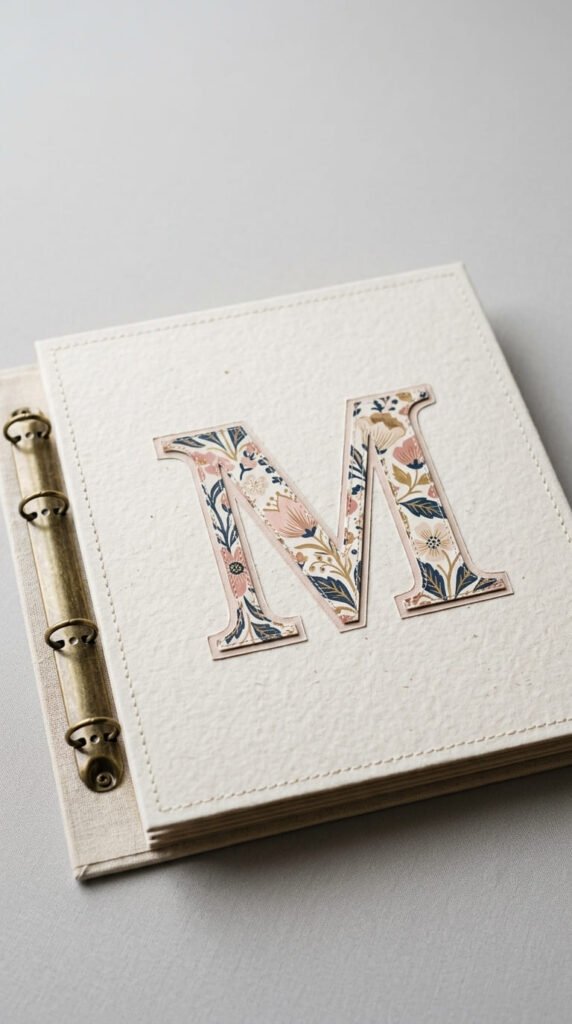
A big, bold monogram gives a cover instant personality without much design work. Cut a single letter, the first initial of a name or family, from patterned or metallic paper using scissors or a craft cutting machine. Center it on a plain background so it becomes the clear focal point. Budget tip: if you don’t own a cutting machine, print a large letter outline from your computer, trace it onto patterned paper, and cut by hand with sharp scissors. This method costs nothing beyond paper you likely already have. Keep the rest of the cover simple, maybe just a small date or name beneath the letter, so the monogram doesn’t compete with other decoration. This idea works for any occasion, a baby book, a wedding album, or a family memory book, since it’s really about the letter itself carrying the design.
6. Floral Cluster Corner Accent
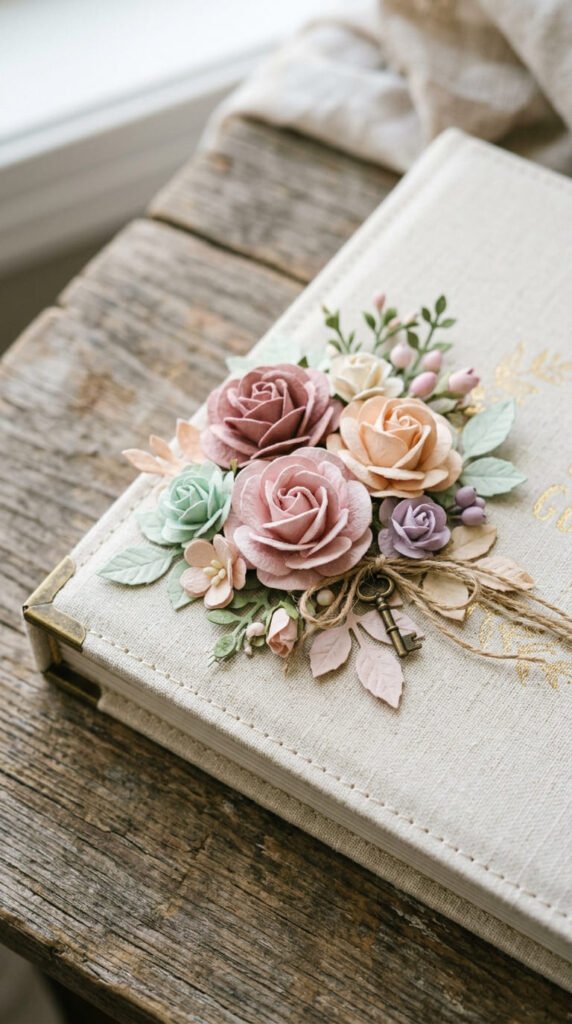
Flowers, whether paper, fabric, or dried, add texture and softness to any cover. Group three to five small flowers together in one corner rather than spreading them evenly across the cover, which tends to look busier and less intentional. Paper flowers can be punched or cut by hand from scrap cardstock, then curled slightly with a toothpick for dimension. Budget tip: a bag of premade paper flowers from a craft store costs very little and provides enough for several projects. Add one or two small leaves in a contrasting green to round out the cluster. This idea pairs naturally with a ribbon border or ribbon bow nearby, since flowers and ribbon share the same soft, decorative feel. It’s a reliable choice for baby books, anniversary albums, or any project with a romantic or gentle mood.
7. Gold Foil Accent Lines
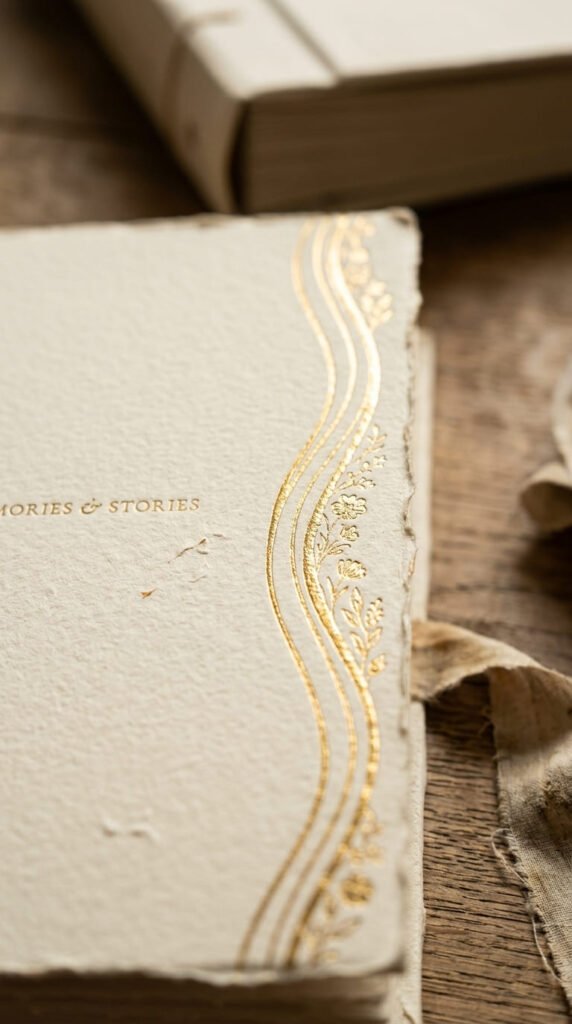
A little metallic shine makes a plain cover feel more premium instantly. Foil pens, the kind with a metallic gel tip, draw thin lines directly onto cardstock without needing a heat tool or special machine. Run a thin gold line along one or two edges of the cover, or use it to outline a title or small shape. Budget tip: a single foil pen costs just a few dollars and covers dozens of small accent projects, far more than just one cover. Keep the gold detail minimal, a border line or small underline beneath a title works better than covering large areas, since foil pens are meant for fine detail rather than solid fill. This idea pairs especially well with dark or jewel-toned cardstock, where the metallic shine shows up with the most contrast and visual impact.
8. Pearl and Jewel Embellishments
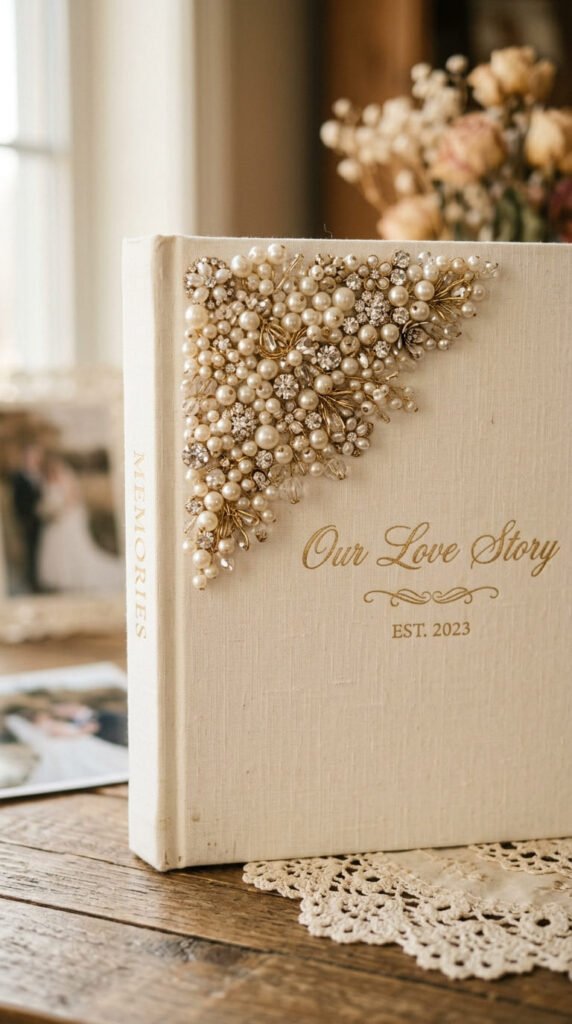
Tiny pearls and rhinestones add sparkle and a sense of occasion to a cover, especially for weddings, anniversaries, or milestone birthdays. Glue small self-adhesive pearls or jewels in a cluster near a title or in one corner, rather than scattering them across the whole surface. A little goes a long way with this kind of embellishment. Budget tip: packs of small adhesive pearls or rhinestones are inexpensive and one pack decorates many projects, not just a single cover. Stick to one color family, like all clear or all cream-toned pearls, so the sparkle looks cohesive rather than mismatched. This idea works well layered over a ribbon border or beside a monogram title, adding a finishing touch of shine without requiring any drawing or cutting skill. Keep the cluster small enough that it doesn’t catch on other items when the album is stored.
9. Chipboard Layered Base
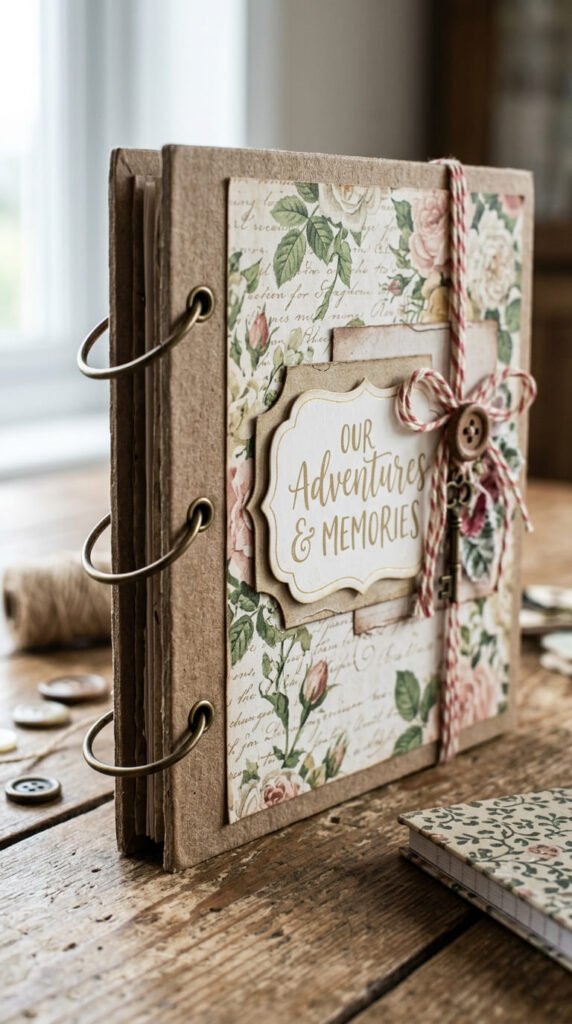
If your cover needs to hold up to years of handling, chipboard gives it real structure underneath the decoration. Cut a piece of chipboard to size, or buy a precut chipboard album base from a craft store, then wrap it in decorative paper the same way you would a plain cover. The extra thickness makes the cover feel sturdy and protects the pages inside from bending. Budget tip: chipboard sheets are inexpensive and one large sheet can be cut down for multiple album covers over time. This base pairs with almost every other idea on this list, since it’s really the foundation rather than a decoration technique on its own. Choose this option for gift albums or any project meant to be handled often, like a family album that gets passed around at holidays, since it holds shape far better than plain cardstock alone.
10. Framed Photo Focal Point
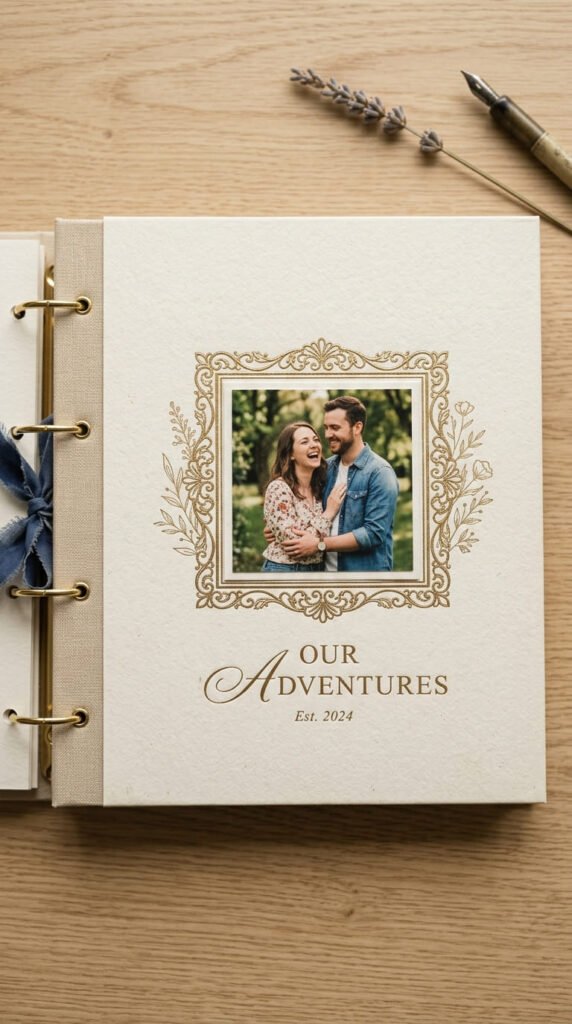
A simple frame around a photo instantly makes a cover look more polished. Cut a thin border from contrasting cardstock, slightly larger than your photo, and glue the photo centered on top of it. This creates a clean mat effect similar to a picture frame. Budget tip: a scrap of leftover cardstock from another project works fine for the frame, so this idea can cost nothing extra if you already have paper on hand. Keep the frame border thin and even, about a quarter inch on all sides, for the most polished look. This technique gives even a simple, single photo cover a sense of intention and care. Pair it with a small title beneath the framed photo, either handwritten or printed, to complete the design without adding any other embellishment.
11. Interactive Pull-Tab Cover
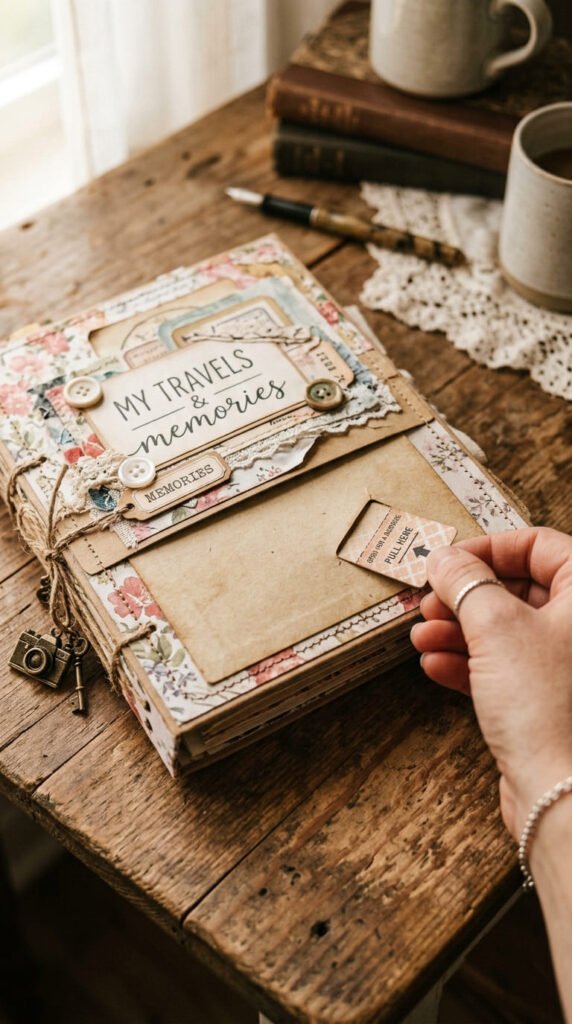
Add a bit of movement to a cover with a simple pull-tab. Cut a small strip of cardstock, write a short message or date on it, and slide it into a thin paper pocket glued to the front cover so only the tab edge shows. Pulling the tab reveals the hidden message. Budget tip: this uses just scrap cardstock and a bit of glue, so it costs almost nothing beyond materials you likely already own. Keep the pocket slightly larger than the tab so it slides smoothly without tearing. This idea works well as a small surprise element on an otherwise simple cover, giving whoever opens the album something playful to discover before they even reach the first page. It’s a nice fit for gift albums, where a little hidden detail adds a personal touch.
12. Layered Transparent Cutout
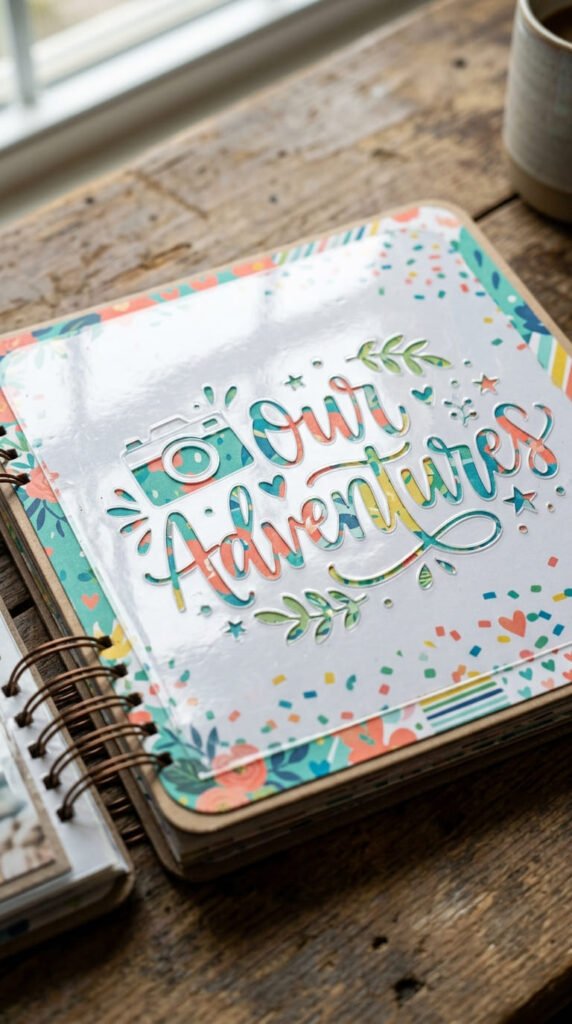
Transparent stickers or acetate cutouts add depth without covering up what’s underneath. Layer a clear cutout shape, like a heart, star, or simple frame, over a colorful paper background so the pattern shows through the transparent layer. This creates a subtle layered effect that catches light differently depending on the angle. Budget tip: transparent sticker sheets are inexpensive and often sold in packs with several shapes, enough for multiple projects. Keep the design simple, one or two transparent shapes rather than a cluttered mix, so the layering effect stays visible and clean. This idea pairs especially well with a bold or bright paper base, since the transparency needs some color or pattern beneath it to show its full effect. It’s a good pick for modern-themed albums that want texture without heavy embellishment.
13. Minimalist Negative Space Cover
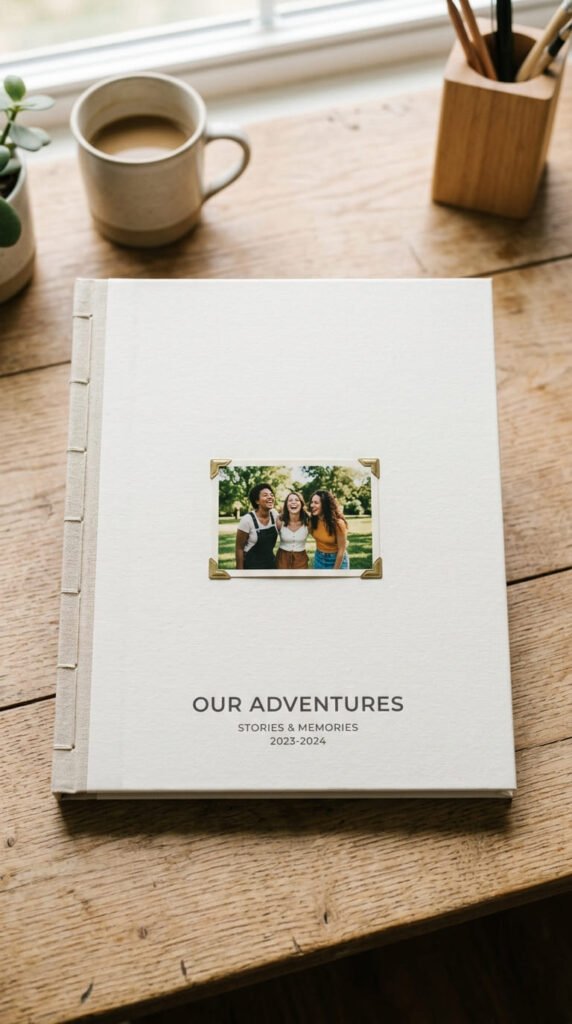
Sometimes the most eye-catching cover is the one with the least on it. Use a plain white or soft cream base. Add one small photo off-center and a short title in a clean font along the bottom edge. Leave the rest of the space empty on purpose. Budget tip: this is one of the cheapest covers to make, needing only cardstock, one photo, and basic glue, no extra embellishments required. This style suits modern, design-forward crafters who want a cover that looks intentional rather than busy. It also photographs well for sharing online, since the clean layout reads clearly even at a small size. Pair this idea with a subtle texture, like a slightly embossed or linen-finish cardstock, to add interest without breaking the minimal look. It works for any occasion since the design itself stays neutral.
14. Seasonal Holiday Cover
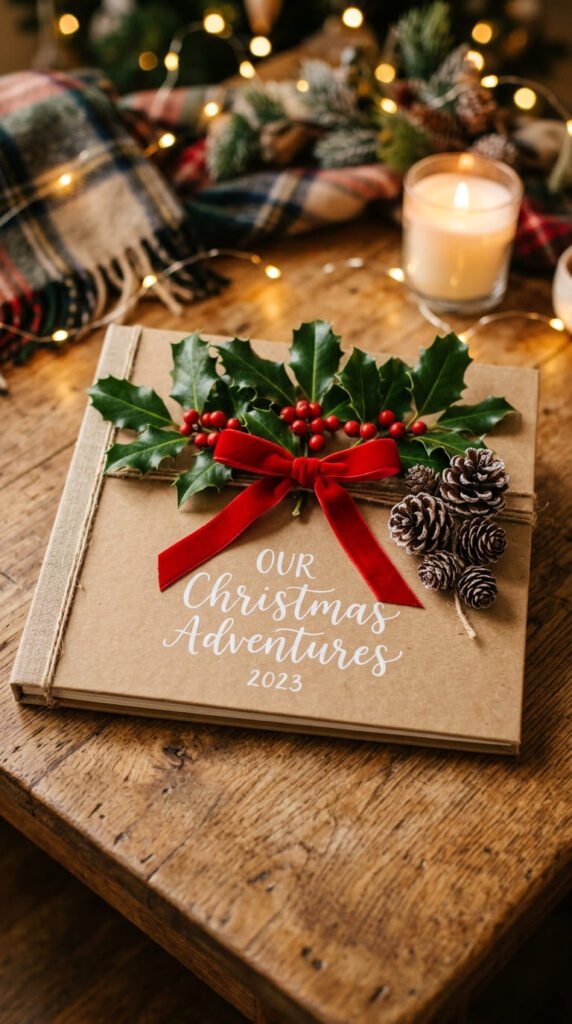
Match the cover to the season or holiday the album is meant to capture. A winter or Christmas-themed album might use small pinecones, holly, or a red ribbon bow. A Valentine’s Day album could lean into soft pinks and small paper hearts. Keep embellishments flat and lightweight so the cover doesn’t bulge or get damaged in storage. Budget tip: many holiday craft supplies go on deep discount right after the season ends, so stocking up early for next year saves real money. Real pinecones or dried greenery collected outside cost nothing at all. This idea works especially well for yearly memory albums, where the cover itself signals right away which season or holiday the pages inside are documenting, making it easy to spot on a shelf full of similar books.
15. Washi Tape Stitched Border
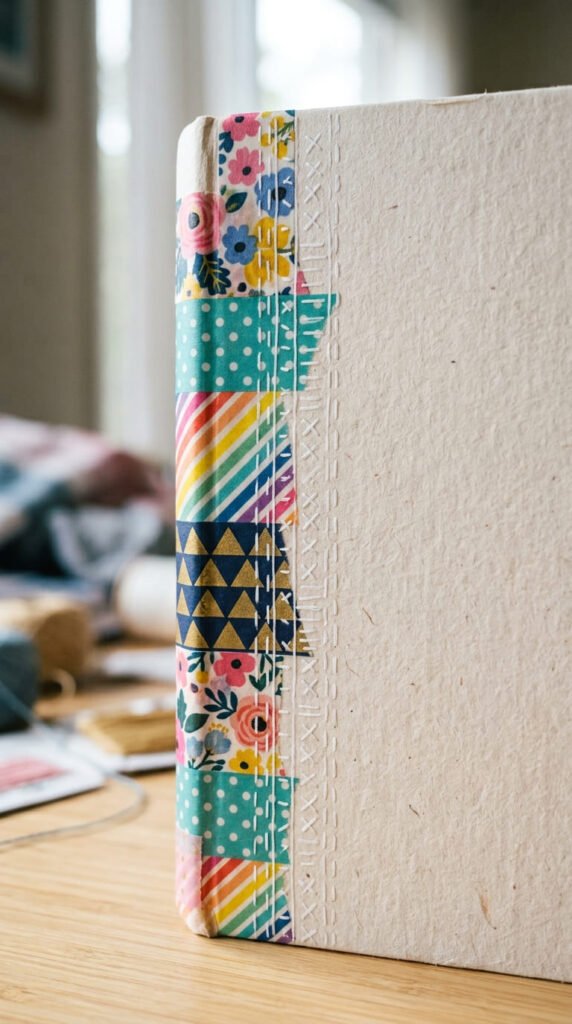
Washi tape is one of the cheapest ways to add color and pattern to a cover edge. Run a strip of washi tape along one or two borders for an instant framed look. For extra texture, draw small dashes along the tape edge with a white gel pen to mimic hand stitching. Budget tip: washi tape rolls are inexpensive and one roll covers several scrapbook projects, not just a single cover. Mix two or three tape patterns that share a color palette so the border looks coordinated rather than random. This idea works as a finishing touch layered over almost any other cover style on this list, since it’s really about framing the edges rather than being a standalone design. Add it last, after your photo, title, or embellishments are already placed, so you can adjust the border to fit.
16. Punched Lace Border
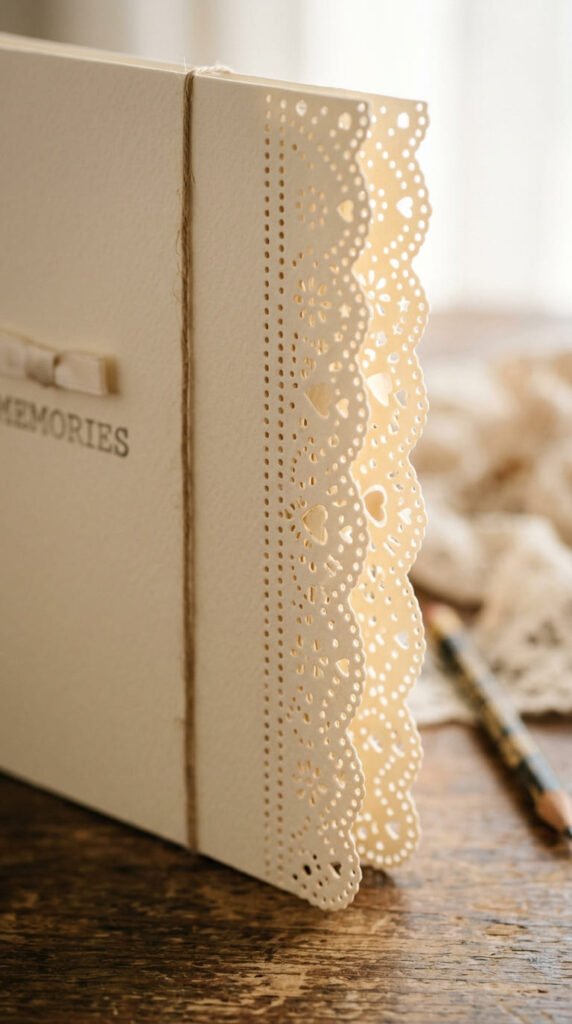
A decorative border punch turns plain cardstock into something that looks like lace trim. Craft stores sell small border punches at a modest price, and one punch reuses across an entire album, not just the cover. Run the punch along one or two edges for a delicate, detailed look. Budget tip: if you don’t want to buy a specialty punch, a simple hole punch used in a repeating pattern along the edge creates a similar effect with a tool most crafters already own. Hold the cardstock up to a light after punching to check the spacing looks even before gluing it onto the final cover. This technique adds texture and detail without adding bulk or weight, and it pairs especially well with soft, romantic color palettes like blush, cream, or pale lavender.
17. Chalkboard-Style Cover
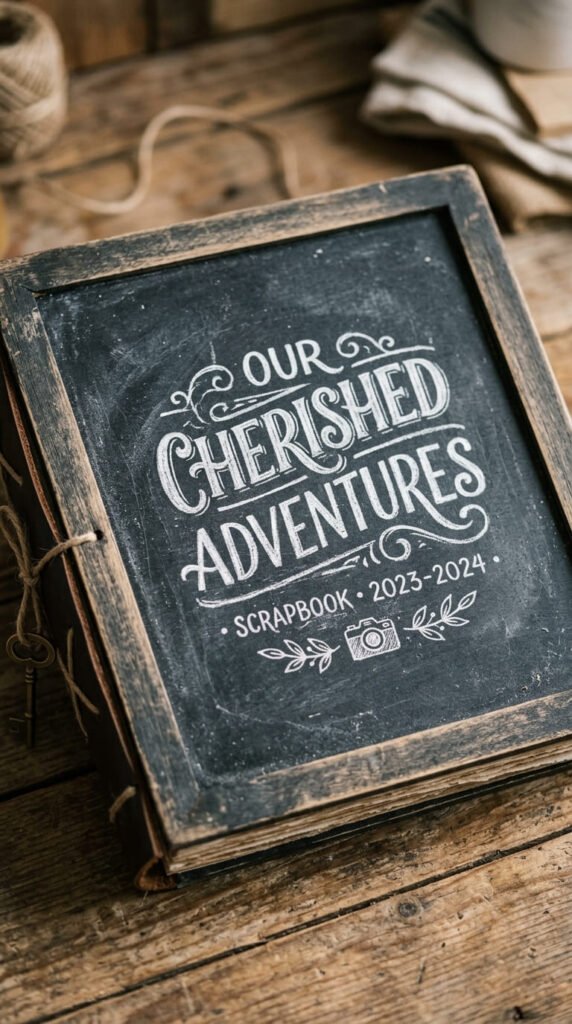
A chalkboard-style cover feels playful and works well for casual, rustic, or family-themed albums. Use dark cardstock, charcoal gray or deep navy work best, as your base. Write a title or date in a white or cream paint pen to mimic chalk lettering. If you’re not confident freehand, lightly sketch the letters in pencil first, then trace over them. Budget tip: a single white paint pen costs just a few dollars and works for this entire project plus future ones. Keep the design simple, just a short title and maybe one small doodle like a star, so it doesn’t look cluttered against the dark background. This style stands out clearly on a shelf next to lighter, pastel-toned scrapbooks, making it easy to spot the right album at a glance.
18. Vellum Overlay Softener
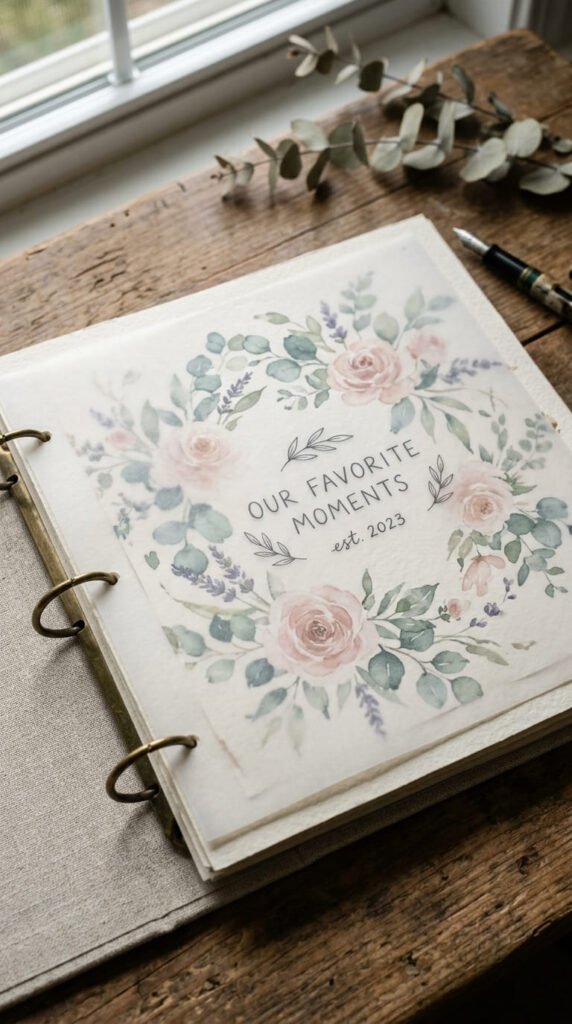
Vellum paper adds a soft, frosted layer over a bolder design underneath without hiding it completely. Choose a base layer, a floral pattern or bright color, then place a sheet of vellum over the top. Because vellum is semi-transparent, the pattern beneath shows through in a muted, gentle way. Write or print a title directly on the vellum for a soft, floating text effect. Budget tip: a single sheet of vellum can be cut into several smaller pieces for multiple layered elements throughout an album, not just the cover. Secure the vellum with small decorative brads at the corners rather than full glue coverage, since too much adhesive can cause wrinkling. This technique gives real depth to a cover and works particularly well when you want to soften a bold color or busy pattern without covering it up entirely.
19. Fabric-Wrapped Textured Cover
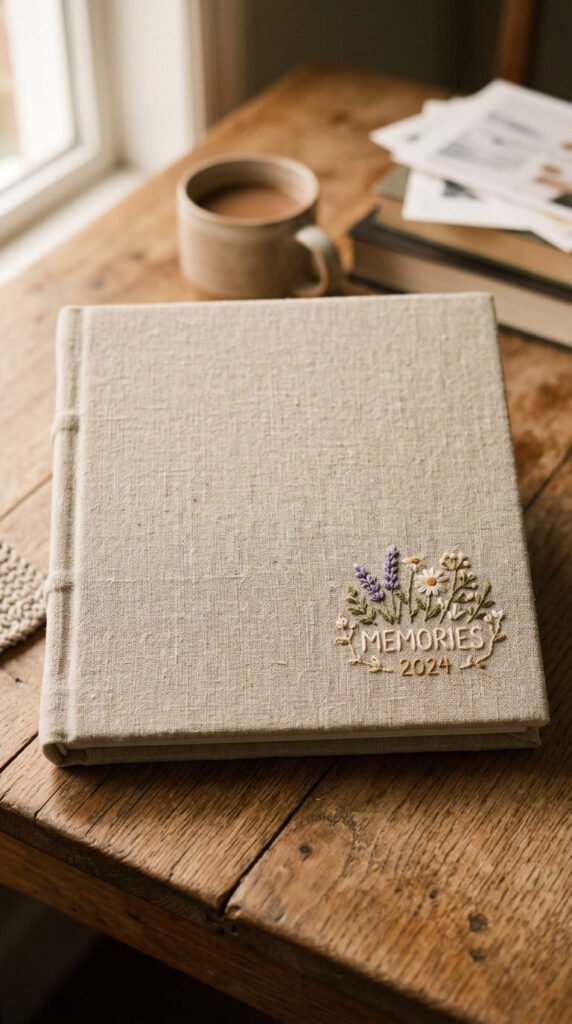
Wrapping the entire cover in fabric gives it a soft, tactile feel that plain paper can’t match. Choose a fabric that means something, an old blanket scrap, a shirt remnant, or simple craft-store linen. Cut it slightly larger than the cover, wrap the edges around, and glue the excess flat on the inside. Budget tip: thrift stores often sell fabric remnants for very little, and you only need a small piece for one cover. A small embroidered initial or fabric patch in one corner adds a personal touch without much extra effort. This idea works especially well for albums meant to be touched and carried often, like a family memory book kept on a coffee table, since fabric holds up to handling differently than paper alone and feels warm to the touch.
20. Printable Digital Template Cover
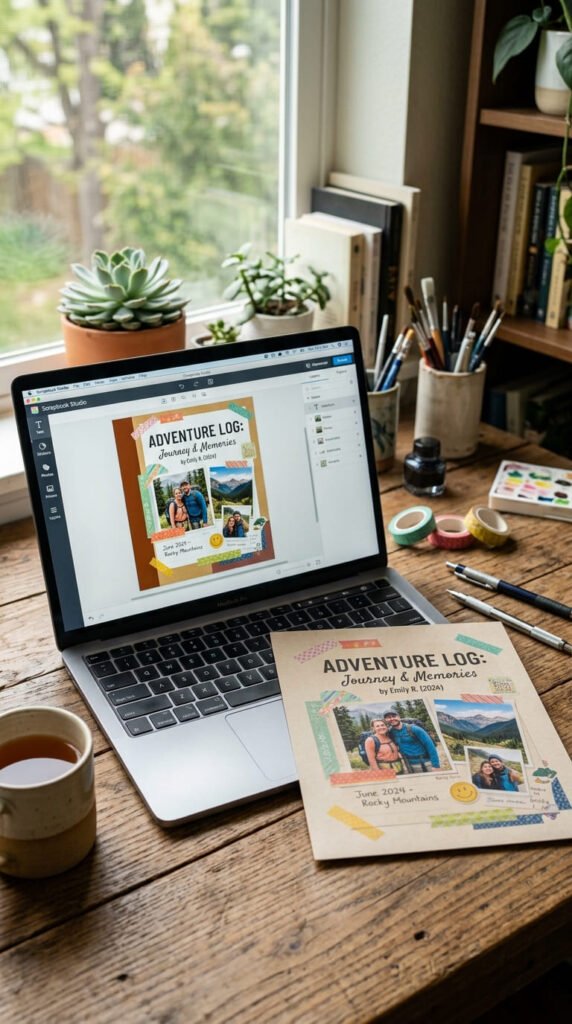
If cutting, gluing, and layering aren’t your thing, a printable digital template gets you a finished-looking cover fast. Search Canva or Adobe Express for scrapbook cover templates, many free or costing just a few dollars. Swap in your own title, photo, and colors, then download as a high-resolution file. Print at home on cardstock or send the file to a local print shop. Budget tip: try free templates first before paying for a premium design, since plenty of free options already include polished fonts and layouts. This method saves time for busy crafters who still want a personalized, well-designed cover without hours of hands-on work. You can still add a small handmade touch afterward, like a ribbon tied around the spine, to bring in a bit of texture the printed design alone can’t offer.
21. Embossed Texture Accent
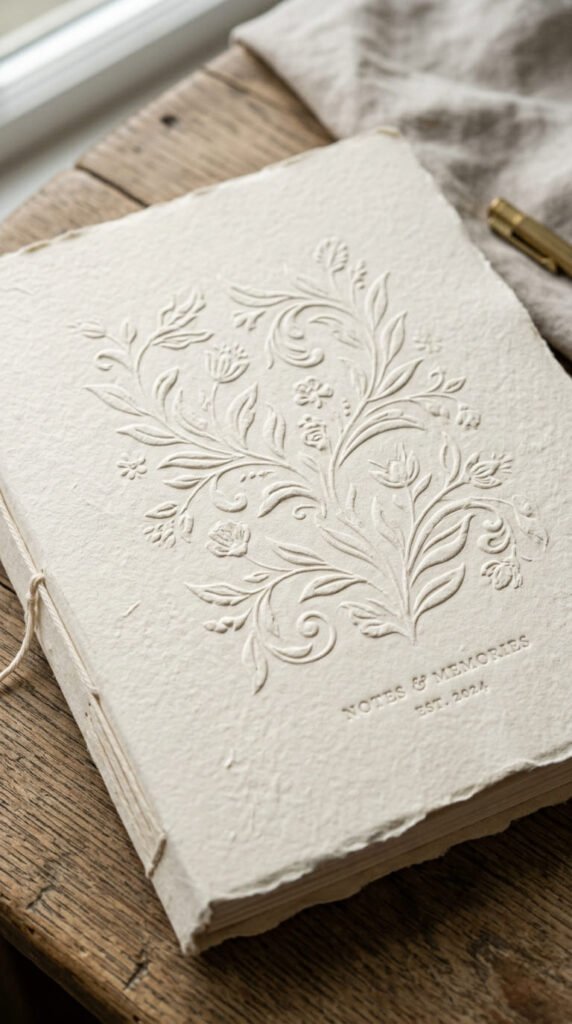
Embossing adds texture and visual interest without adding any color, which makes it a nice option for a cover that already has a strong photo or title. A basic embossing folder and a hand-crank die-cutting machine, both sold at craft stores for a modest price, press a raised pattern directly into plain cardstock. If you don’t own a machine, some craft stores rent time on shared equipment for a small fee. Budget tip: one embossing folder can be reused across dozens of future projects, making it a smart one-time purchase rather than a single-use supply. Keep the embossed pattern along one edge or corner rather than covering the whole cover, so it reads as a subtle texture rather than overwhelming the rest of the design. Pair it with a simple title, since the raised pattern already adds plenty of visual interest on its own.
22. One Base, Three Looks Transformation
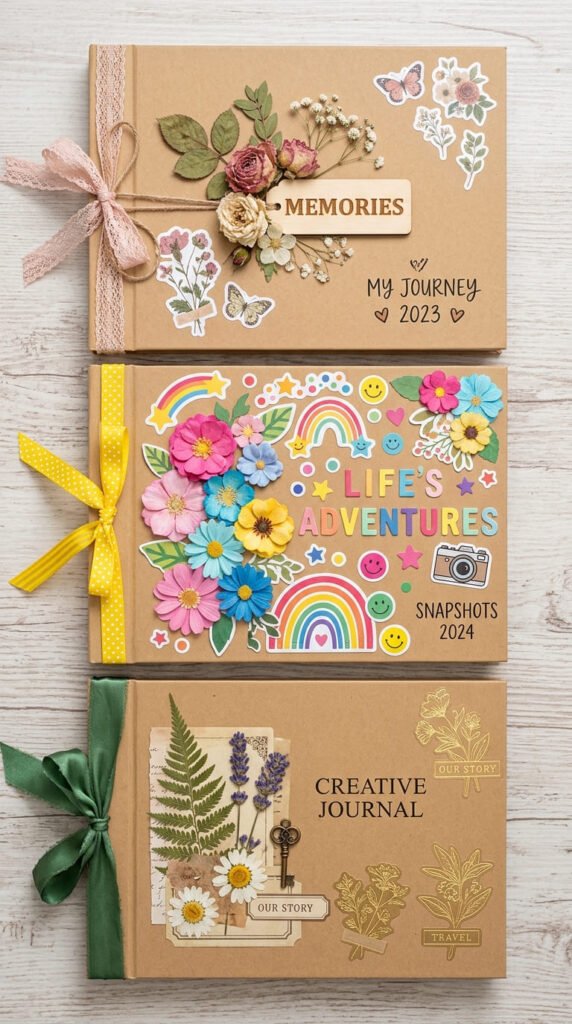
If you’re not sure which style fits your project, start with one identical base cover and try three different looks before committing. Wrap three plain covers in the same neutral paper, then decorate each differently, one with a ribbon border, one with a floral cluster, one with stickers and a monogram. Comparing them side by side makes it much easier to see what actually looks good rather than guessing from a single attempt. Budget tip: this only costs a little extra paper and embellishment scraps, since you’re testing ideas rather than committing to expensive materials right away. Once you pick a favorite, you can recreate it on your real album cover with confidence. This approach also works well if you’re making matching albums for multiple family members, since you’ll already know exactly which combination looks best before starting the final versions.
Conclusion
A scrapbook cover doesn’t need a big budget or advanced craft skills to look like something worth keeping. Start with one simple base, decorative paper, a plain photo, or a wrapped fabric panel, then build up with small, affordable touches like ribbon, stickers, paint pen lettering, or a cluster of pressed flowers. Pick one or two ideas from this list that match your style and the occasion, gather a few cheap supplies, and get started. The cover is just the first step, but a little care here makes the whole album feel finished before anyone even turns the page.