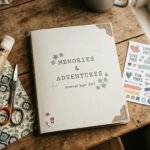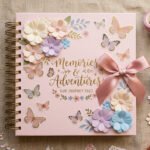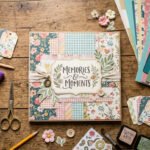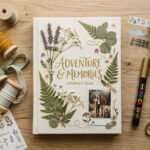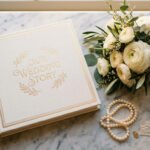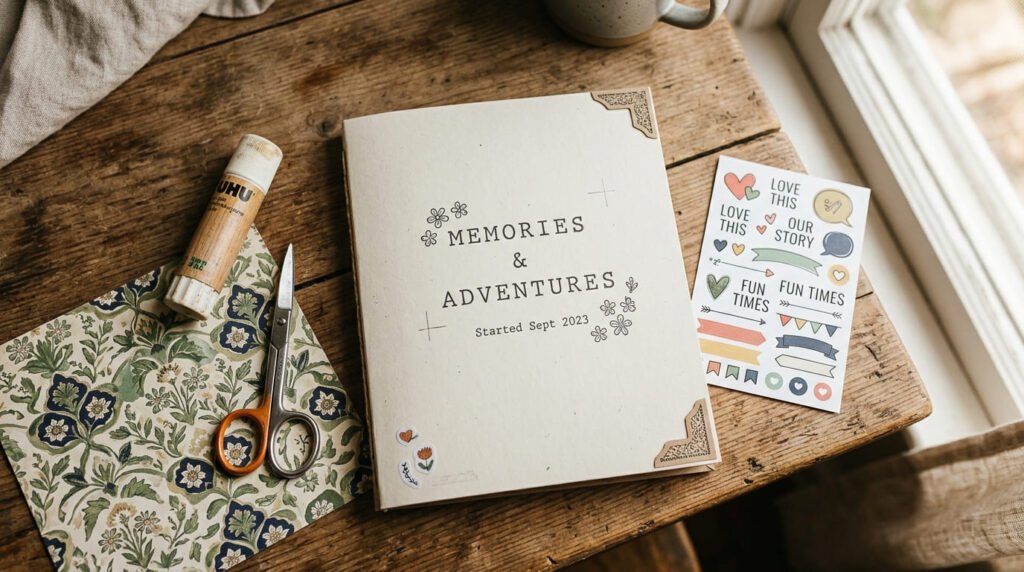
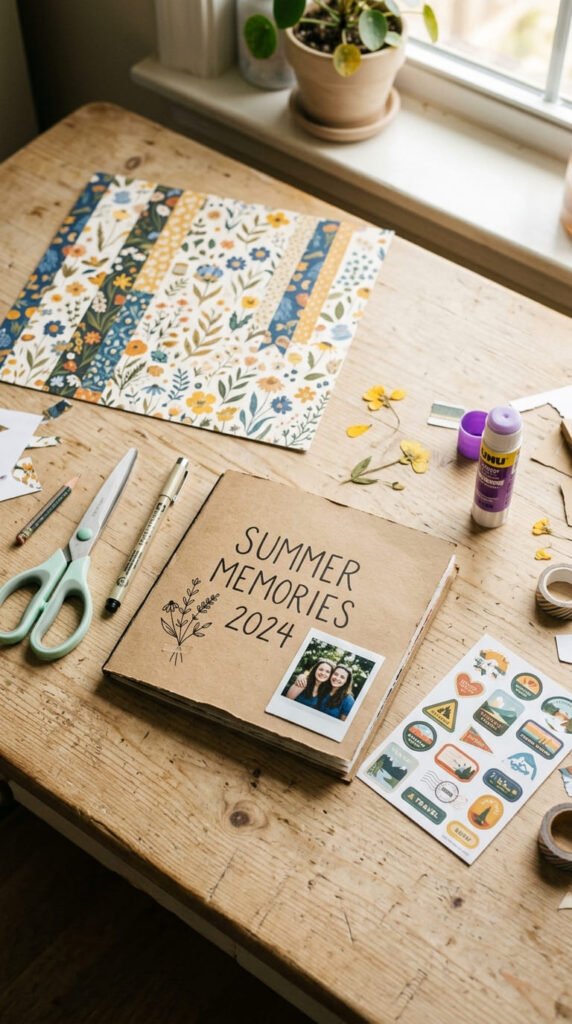
Starting your first scrapbook cover can feel more intimidating than it needs to be, especially when Pinterest boards are full of elaborate, layered designs. The truth is, some of the best-looking covers use just a handful of basic supplies: one sheet of paper, a bit of glue, maybe a ribbon or a sticker sheet. No cutting machines, no advanced techniques, no artistic training required. These 21 beginner-friendly cover ideas walk through everything from a five-minute paper wrap to simple personalization tricks, so you can finish a cover you’re proud of without any stress, and without spending much money doing it.
1. The Basic Paper Wrap Starter
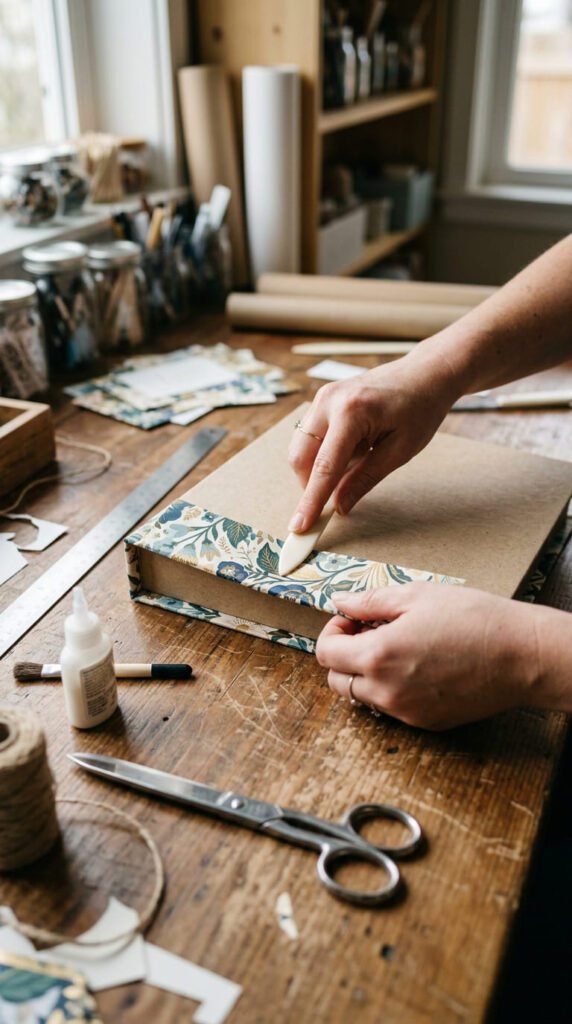
This is the first technique every beginner should learn, since it’s the foundation for almost every other idea on this list. Pick one sheet of decorative paper you like. Cut it slightly larger than your cover. Wrap the edges around the sides and glue them flat on the inside panel. Smooth out any bubbles with the back of a spoon. Budget tip: scrapbook paper packs at craft stores often include a dozen coordinating sheets for a low price, giving you enough for the cover plus interior pages too. This single step takes less than ten minutes and instantly makes a plain cardboard cover look finished. Once it’s done, you can stop here for a clean, simple look, or add one small extra, like a sticker or ribbon, from the ideas below. There’s no wrong way to do this step, which makes it the safest place to start.
2. Single Sticker Corner Accent
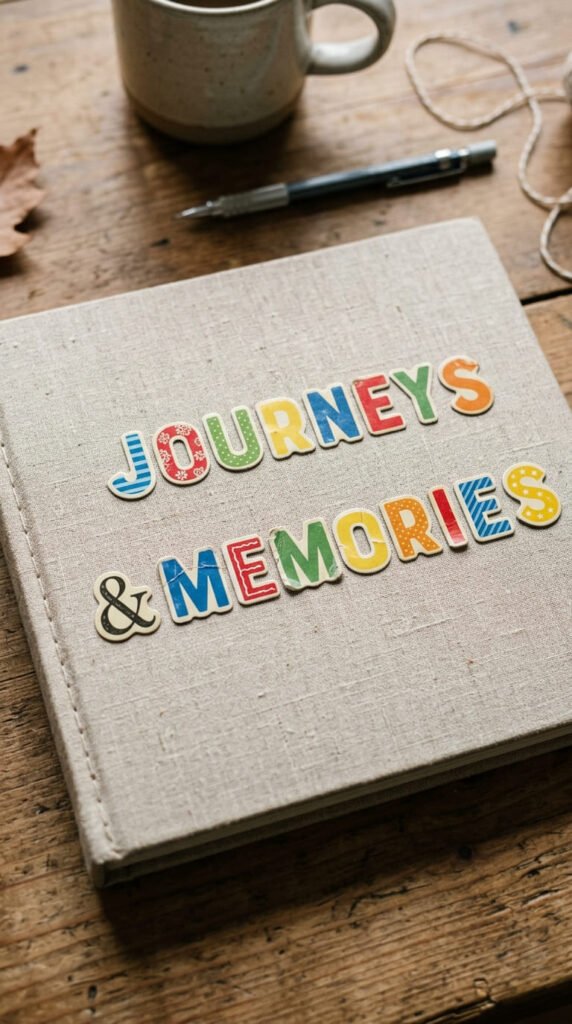
If cutting and gluing paper feels like enough for your first project, stop after adding just one sticker. Choose a single sticker that fits your album’s theme, a flower, a star, or a small icon, and place it in one corner of your wrapped cover. Budget tip: sticker sheets are inexpensive and one sheet decorates several future covers, not just this one. Resist the urge to add more stickers right away. One well-placed sticker often looks more polished than five scattered ones, since it reads as an intentional choice rather than filler decoration. This is a great confidence-building first project because it’s genuinely hard to get wrong. Once you’re comfortable with one sticker, you can build up to a small cluster of two or three on your next cover. Keep the sticker placement slightly off-center rather than dead in the middle for a more natural look.
3. Alphabet Sticker Title
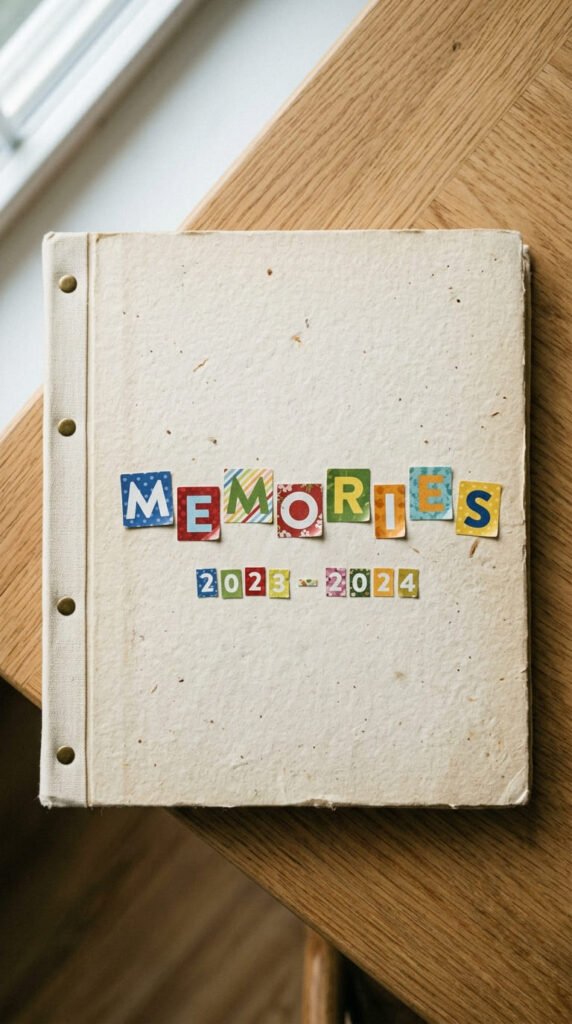
Spelling out a name or short title with alphabet stickers is one of the easiest ways to personalize a cover, and it requires zero handwriting confidence. After wrapping your cover in plain or patterned paper, spell out a word like a name, a date, or a simple phrase using individual letter stickers along the bottom edge. Budget tip: alphabet sticker sheets are inexpensive and usually include enough letters for several titles across future projects. Lightly pencil a straight guideline first so your letters stay level, then erase it once everything is in place. Keep the title short, three to ten letters, so spacing stays manageable for a first attempt. This idea works for any occasion and pairs with almost every other technique on this list, since it’s really a finishing touch layered onto whatever base cover you’ve already made.
4. Simple Ribbon Edge Trim
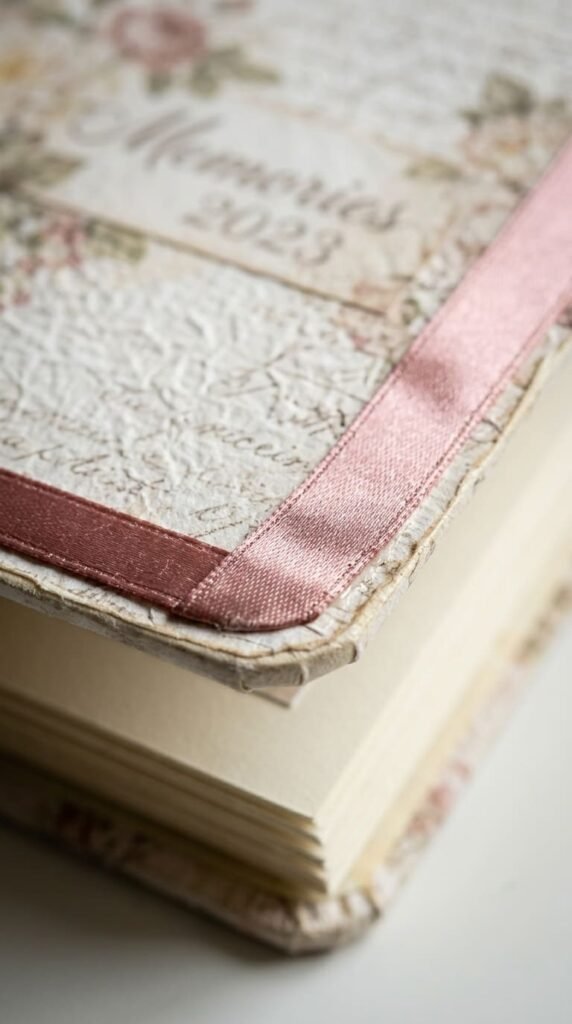
A ribbon trim along one or two edges instantly frames a cover and makes it look more finished. Measure a length of ribbon along one edge, cut to size, and glue it flat with a thin line of craft glue or double-sided tape. Budget tip: a single spool of ribbon costs just a couple dollars and covers several projects, not just one cover. Start with just one edge if the idea of ribbon feels new, rather than trying to frame all four sides on your first attempt. Cut the ribbon ends at a slight angle to prevent fraying and give a cleaner finish. This technique pairs directly with the basic paper wrap from the first idea, giving you a simple two-step cover that already looks like it took more effort than it actually did.
5. Transparent Sticker Layering
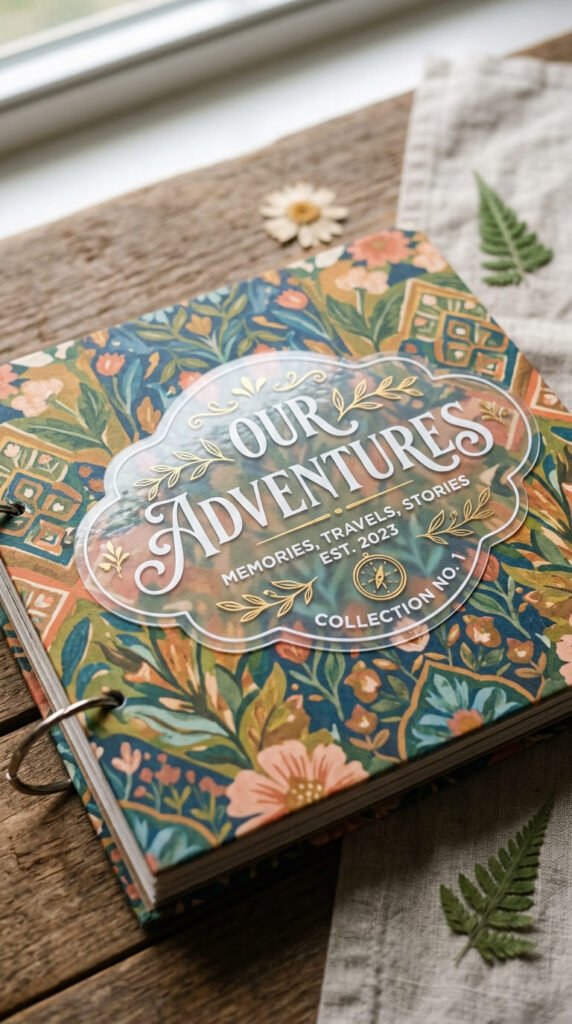
Transparent stickers are a beginner-friendly way to add detail without covering up the paper pattern underneath. Place a clear sticker, like a small heart, star, or simple shape, directly onto your patterned paper background. Because the sticker’s background is clear, the pattern shows through around the shape itself, creating a subtle layered look. Budget tip: transparent sticker sheets are inexpensive and often include several shapes per sheet, so one purchase covers multiple projects. Use just one or two transparent stickers rather than a cluttered mix, keeping the composition clean and easy to control. This technique is nearly foolproof since there’s no cutting or precise placement required, just peel and press. It’s a good next step once you’ve tried the basic paper wrap and single sticker accent, adding a bit more visual interest without much added difficulty.
6. Hand-Drawn Simple Dot Border
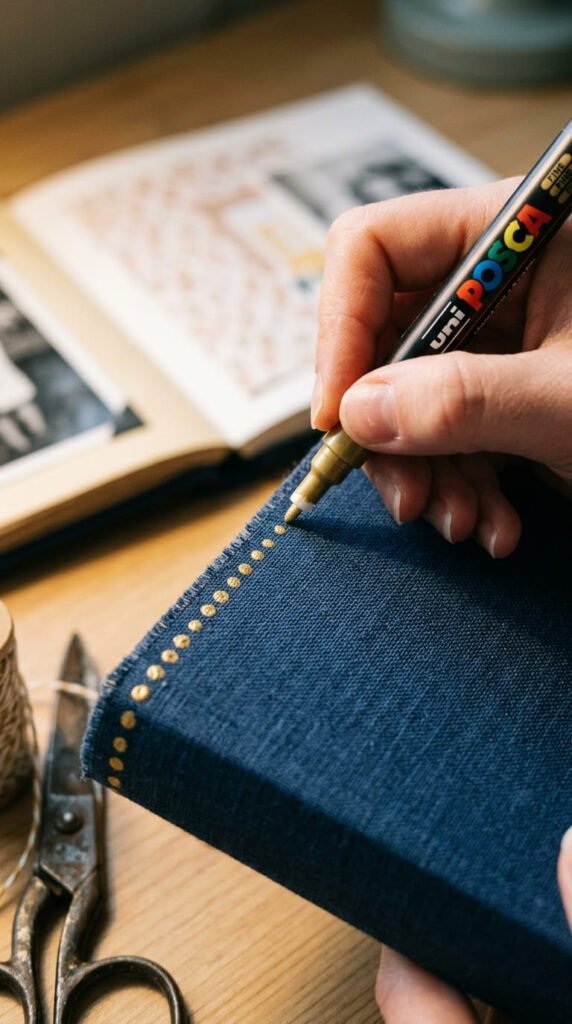
If drawing feels intimidating, start with something as simple as a row of dots. A fine-tip paint pen glides smoothly along cardstock, and a row of small evenly spaced dots along one edge adds a hand-drawn touch without requiring any real drawing skill. Budget tip: a single paint pen costs just a few dollars and lasts through dozens of future projects, not just this one. Practice the dot spacing on scrap paper first until your hand feels steady and consistent. This is the easiest possible introduction to hand-drawn decoration, and once you feel confident with dots, you can graduate to simple dashes or small hearts on your next cover. Keep the dots small and close together for a delicate border effect, or slightly larger and spaced apart for a bolder, more playful look.
7. Centered Photo Focal Point
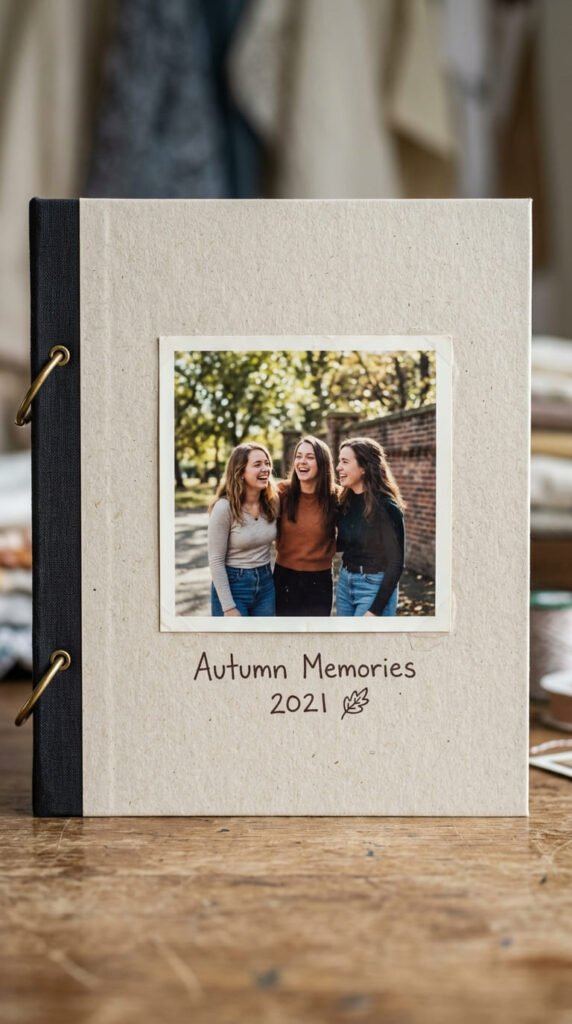
A single centered photo is one of the simplest formulas for a polished-looking cover, since it avoids the guesswork of arranging multiple elements. Print one favorite photo, trim it neatly, and glue it centered on your wrapped cover, leaving even space on all sides. Budget tip: home printers or drugstore photo kiosks can print a single photo for just a few cents, making this one of the cheapest cover ideas available. Add a small title beneath the photo using alphabet stickers or simple handwriting once the glue has dried. This centered formula removes the stress of deciding where things should go, since the photo naturally becomes the clear focal point. It’s a reliable, low-risk choice for a first cover and works for any occasion, from a baby book to a family memory album.
8. Flower Cluster Corner
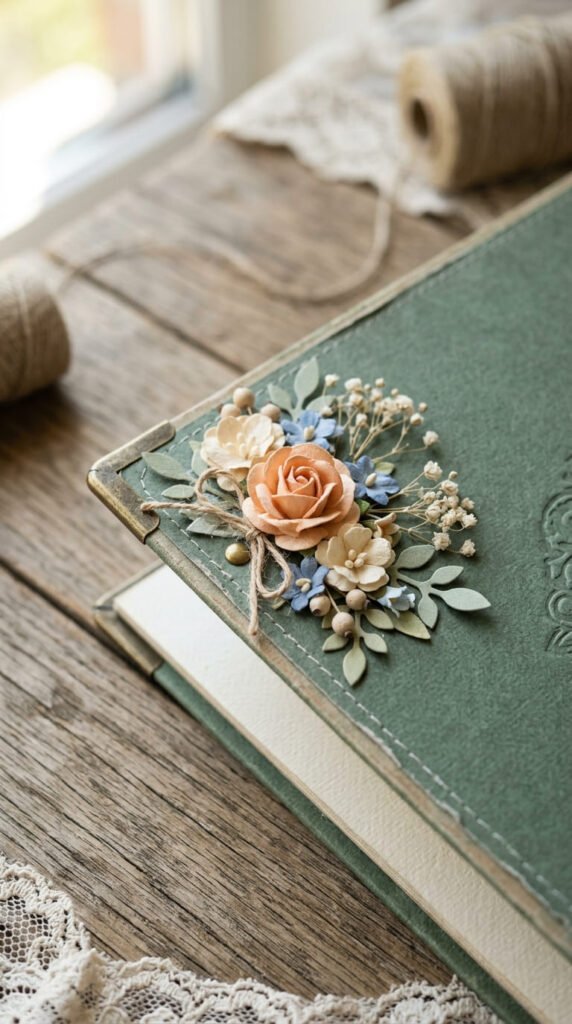
Flowers are one of the most forgiving decorative elements for a first project, since imperfect placement still tends to look intentional. Group three small paper flowers, either premade or cut from patterned paper scraps, together in one corner of your cover rather than spreading them out evenly. Budget tip: a bag of premade paper flowers from a craft store costs very little and provides enough for several future projects. Curl the petal edges slightly with a toothpick for a bit of dimension if you want, though this step is entirely optional for a first attempt. This idea pairs naturally with the ribbon edge trim from earlier, since both lean into a soft, decorative feel. Keep the flower cluster small and off to one side so it doesn’t overwhelm a beginner-level composition.
9. Washi Tape Quick Border
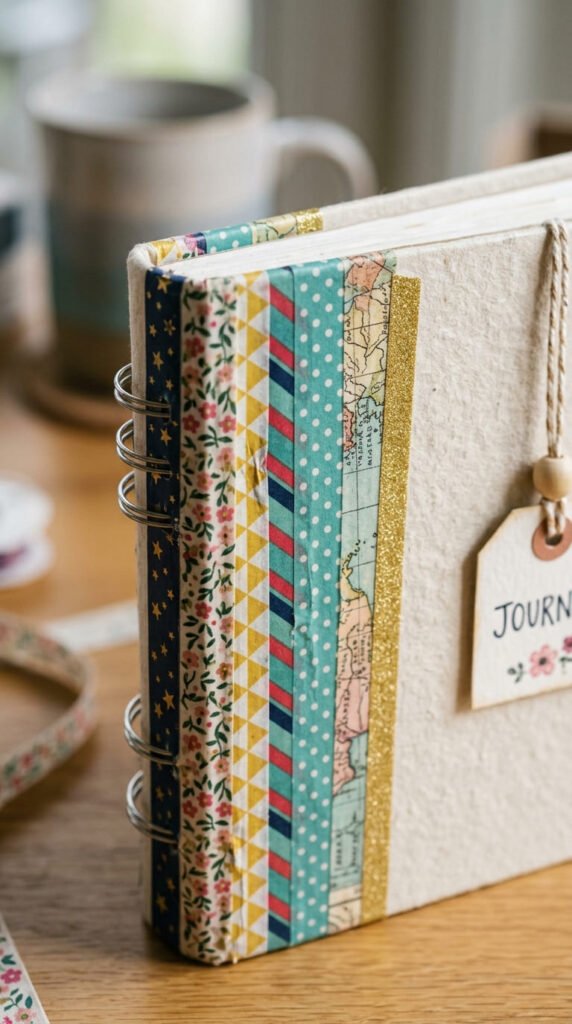
Washi tape might be the single easiest decoration technique on this entire list. Simply peel a strip of washi tape and press it along one edge of your cover for an instant colorful border. Budget tip: washi tape rolls are inexpensive and one roll covers many projects, not just a single cover. Choose one or two coordinating patterns rather than five different tapes at once, which keeps a beginner project from feeling overwhelming or mismatched. There’s no cutting, gluing, or measuring required beyond a simple straight tear, making this a genuinely stress-free five-minute addition. It works beautifully layered on top of the basic paper wrap, giving your cover a clean, framed edge with almost no effort. Once you’re comfortable with a single strip, try layering two tape patterns side by side for a slightly more advanced look.
10. Simple Two-Color Layering
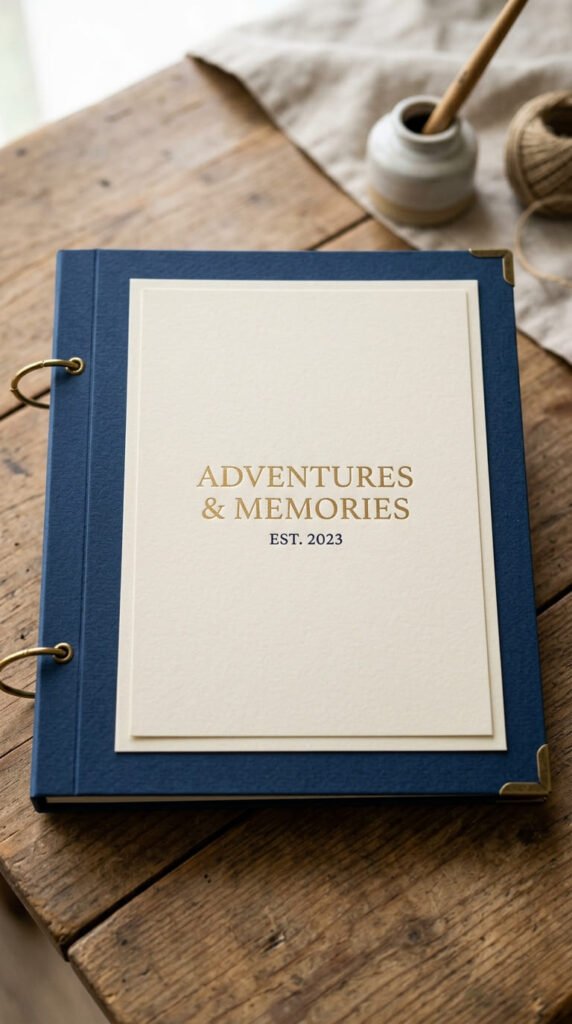
Layering two colors of cardstock is an easy way to add depth without any pattern-matching decisions. Glue a larger sheet of cardstock down first as the base, then center and glue a slightly smaller sheet on top in a contrasting color, leaving an even border showing all the way around. Budget tip: cardstock sold in variety packs gives you enough sheets for several projects, and the second color often costs the same as buying just one solid pack. Choose two colors that complement each other, like cream and sage or blush and gray, rather than colors that clash. This technique only involves straight cuts and gluing, making it approachable for a first or second project. It creates a clean, framed look that works well as a base for a title or small photo placed on the top layer.
11. Gold Foil Accent Line
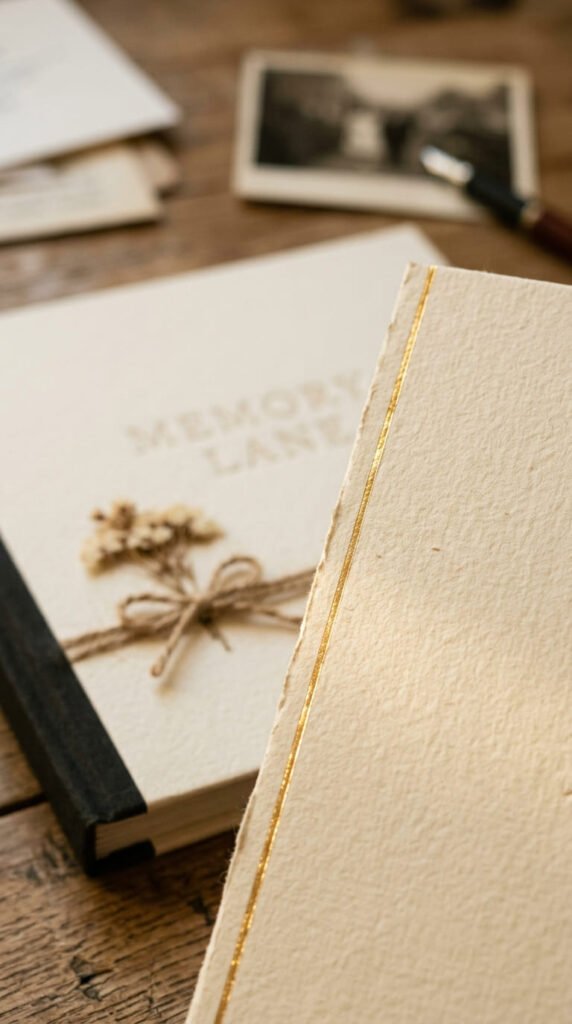
A little metallic shine makes a beginner cover feel more polished almost instantly. A gold foil pen, the kind with a metallic gel tip, draws a thin line directly onto cardstock without needing a heat tool or specialty machine. Run one thin line along a single edge of your cover, or underline a handwritten title. Budget tip: a single foil pen costs just a few dollars and covers dozens of small accent projects, not just this one. Keep the line simple and minimal, since foil pens are meant for fine detail rather than solid coverage. This idea gives even the simplest paper-wrap cover a bit of shine and works especially well on dark or jewel-toned cardstock, where the metallic contrast shows up clearly. It’s a small step up in polish that still takes only a minute or two to complete.
12. Themed Paper Pattern Match
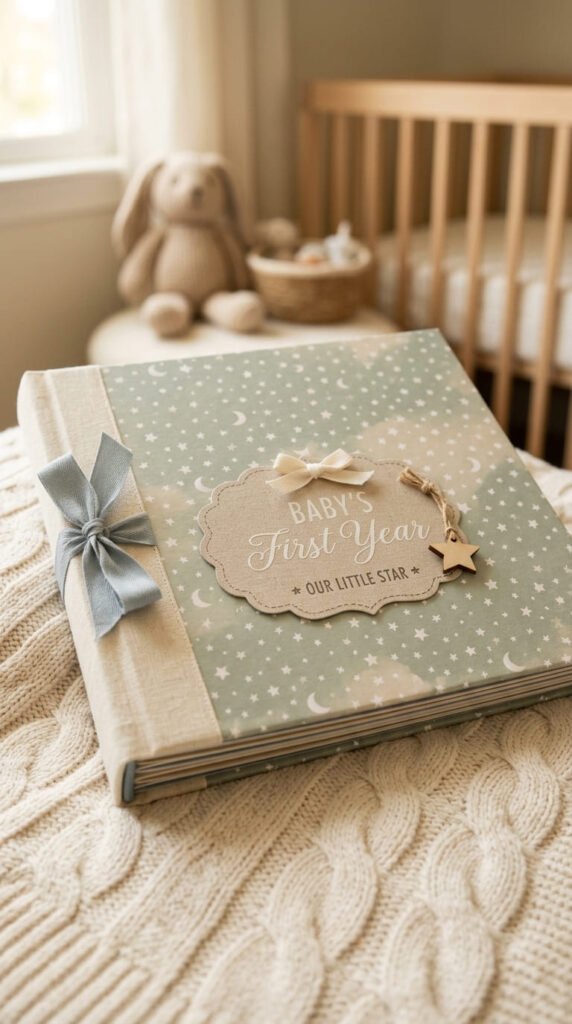
Choosing paper that matches your album’s occasion does a lot of the design work for you before you add a single embellishment. A baby book might use paper printed with small stars or clouds. A travel album might use a map or geometric print. Wrap your cover in the themed paper the same way as the basic wrap technique, letting the pattern carry most of the visual interest. Budget tip: themed paper packs are widely available and inexpensive, and one pack usually includes enough coordinating sheets for the whole album, not just the cover. This approach removes a lot of decision fatigue for beginners, since matching the paper to the occasion instantly makes the cover feel appropriate and intentional, without needing to plan out a more complex layout or embellishment scheme.
13. No-Draw Stamped Title
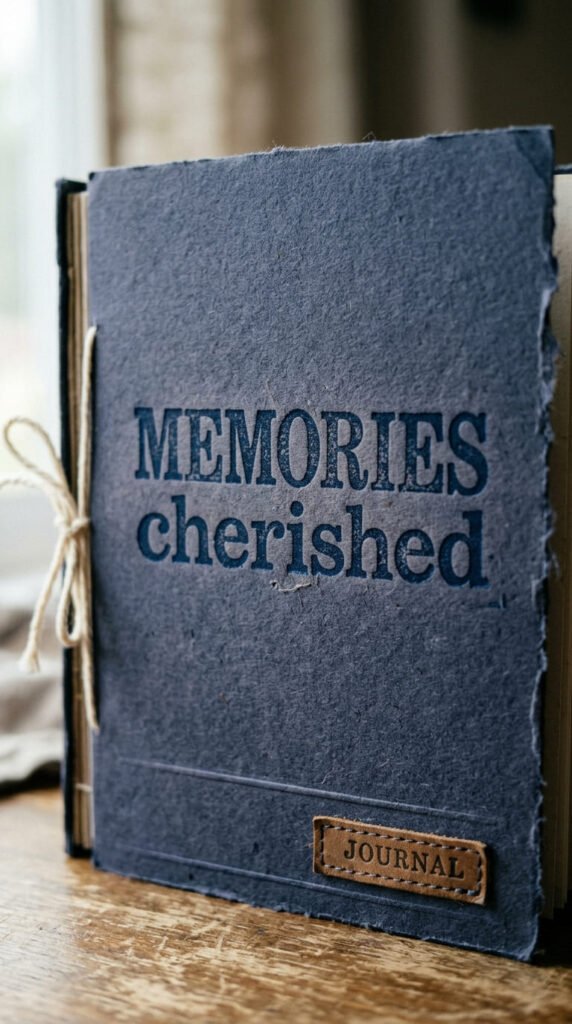
If handwriting or drawing feels stressful, a simple rubber stamp solves the problem completely. Press a word stamp, like “Memories,” “Family,” or a name stamp, onto an ink pad and stamp it directly onto your cover. Budget tip: basic word stamps and a single ink pad cost only a few dollars and can be reused across dozens of future projects. Practice the pressure and placement on scrap paper first, since stamps sometimes need firm, even pressure to transfer cleanly. This is a genuinely no-draw, no-handwriting option that still results in a clear, readable title. It pairs easily with the basic paper wrap or the two-color layering technique, giving your cover a finished focal point without requiring any freehand lettering skill at all.
14. Ribbon Bow Finishing Touch
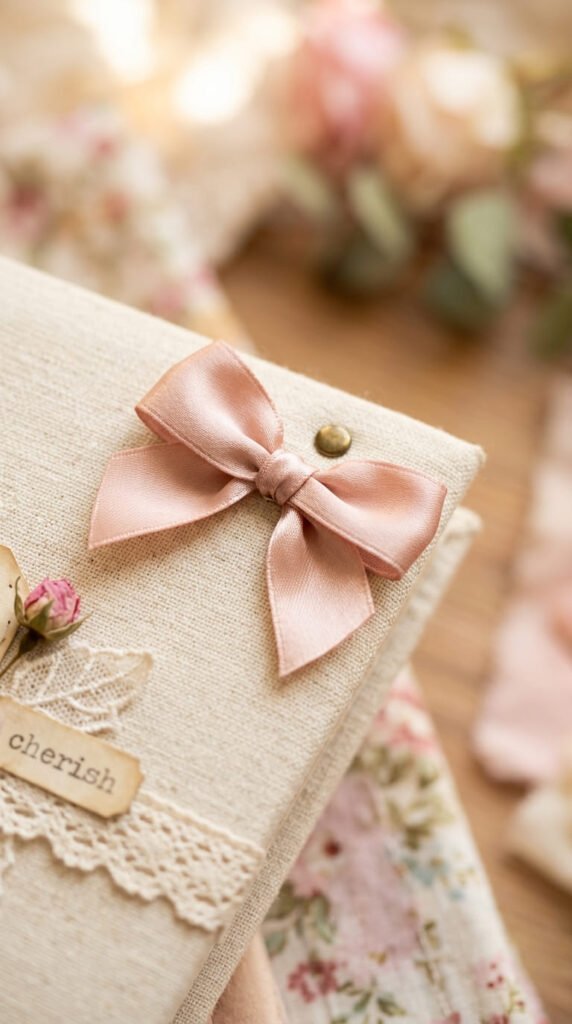
A single ribbon bow is a quick way to add a soft, finished detail to an otherwise simple cover. Cut a length of ribbon, tie it into a basic bow, and glue it flat onto one corner. Budget tip: a spool of ribbon costs just a couple dollars and makes many bows across future projects, not just one. Trim the ribbon tails at a slight angle to prevent fraying. This is one of the fastest embellishment techniques on this list, taking only a minute or two once your ribbon is cut. It pairs naturally with the basic paper wrap and photo focal point ideas from earlier, adding a small three-dimensional detail that makes the whole cover feel a bit more special without requiring any advanced technique.
15. Punched Shape Border
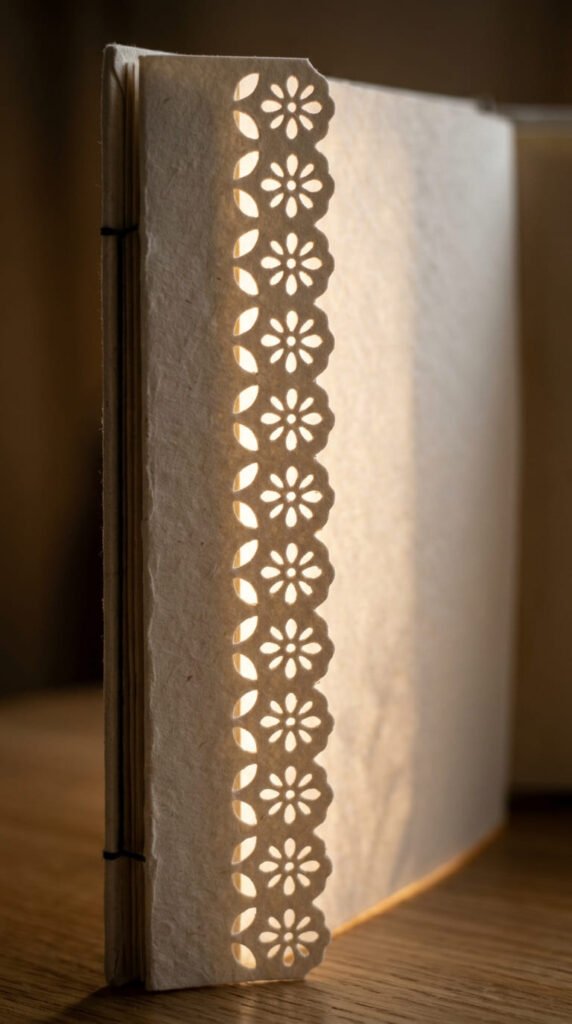
A basic craft punch turns plain paper into a decorative border with almost no effort. Punch a repeating shape, a small circle, heart, or star, along one edge of a strip of cardstock, then glue the strip onto your cover as a border. Budget tip: a simple craft punch costs a modest amount and reuses across an entire album, not just the cover. If you don’t own a specialty punch, even a regular hole punch used in a straight, evenly spaced line creates a similar decorative effect. This technique only requires a punching motion and a bit of glue, making it approachable even for a first project. It pairs well with the two-color layering idea, since the punched strip can sit right along the border where the two colors meet.
16. Simple Frame Cutout
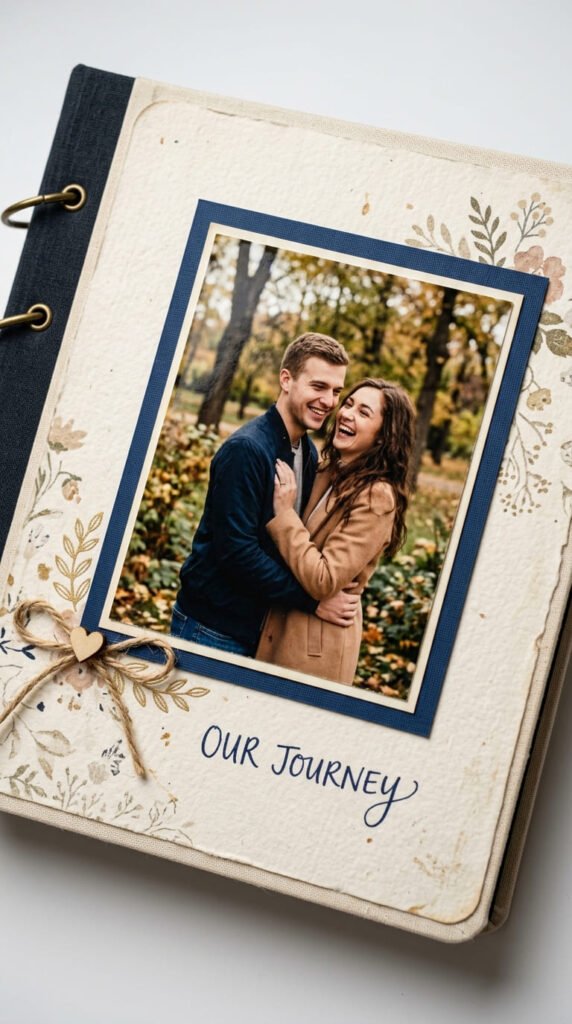
Framing a photo with a simple border of contrasting cardstock instantly makes it look more polished, and it only requires straight cuts. Cut a thin border from cardstock, slightly larger than your photo, and glue the photo centered on top of it before attaching the whole piece to your cover. Budget tip: a scrap of leftover cardstock from another project works fine for the frame, so this idea can cost nothing extra if you already have paper on hand. Keep the frame border thin and even, about a quarter inch on all sides, for the cleanest beginner-friendly result. This technique gives even a single, simple photo cover a sense of intention and care, and it pairs directly with the centered photo focal point idea from earlier in this list.
17. Chipboard Sturdy Base Upgrade
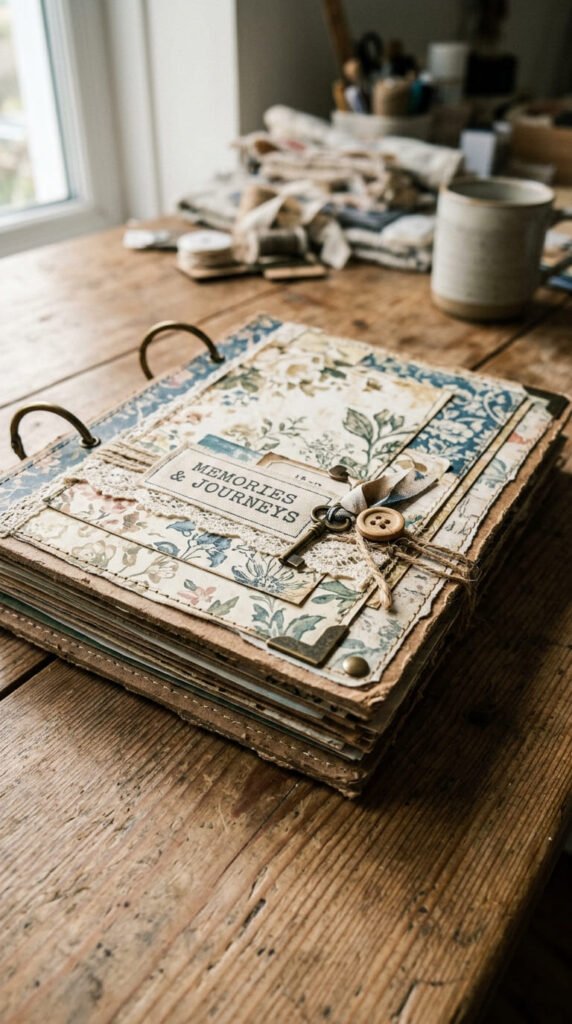
If your first cover felt a little flimsy, chipboard solves that problem for your next project. Cut a piece of chipboard to size, or buy a precut chipboard album base from a craft store, then wrap it in decorative paper the same way as the basic wrap technique. Budget tip: chipboard sheets are inexpensive and one large sheet can be cut down for multiple album covers over time. This upgrade is entirely optional for a first project, but it’s a natural next step once you’ve gotten comfortable with basic paper wrapping and want a cover that holds up to more handling. Every other idea on this list, ribbon, stickers, titles, layers directly on top of a chipboard base exactly the same way it would on plain cardstock, so nothing else about your process needs to change.
18. Ten-Minute Starter Cover
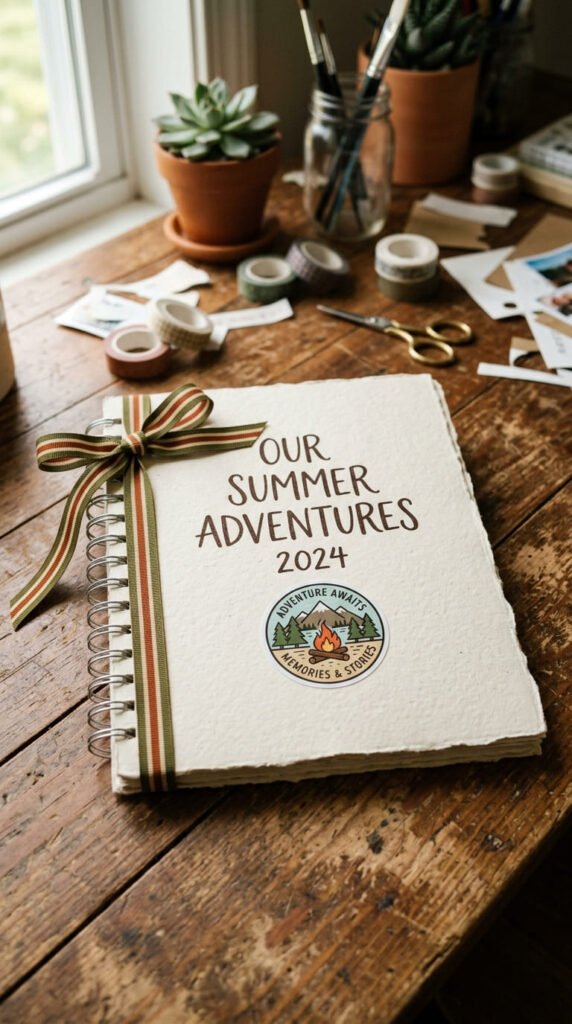
If you want proof that a nice cover doesn’t need to take long, try this combination: wrap your cover in one sheet of paper, add a single sticker in one corner, and trim one edge with ribbon. That’s it. Budget tip: this uses only three basic supplies you likely already have or can buy for just a few dollars total, making it one of the fastest and cheapest ideas on this list. Set a timer if it helps, most beginners finish this exact combination in well under ten minutes once the glue is ready. This is a great option when you’re short on time but still want a cover that looks intentional rather than rushed. Once finished, you’ll have a clear template you can repeat quickly for future albums or gift projects.
19. Personalized Date Label
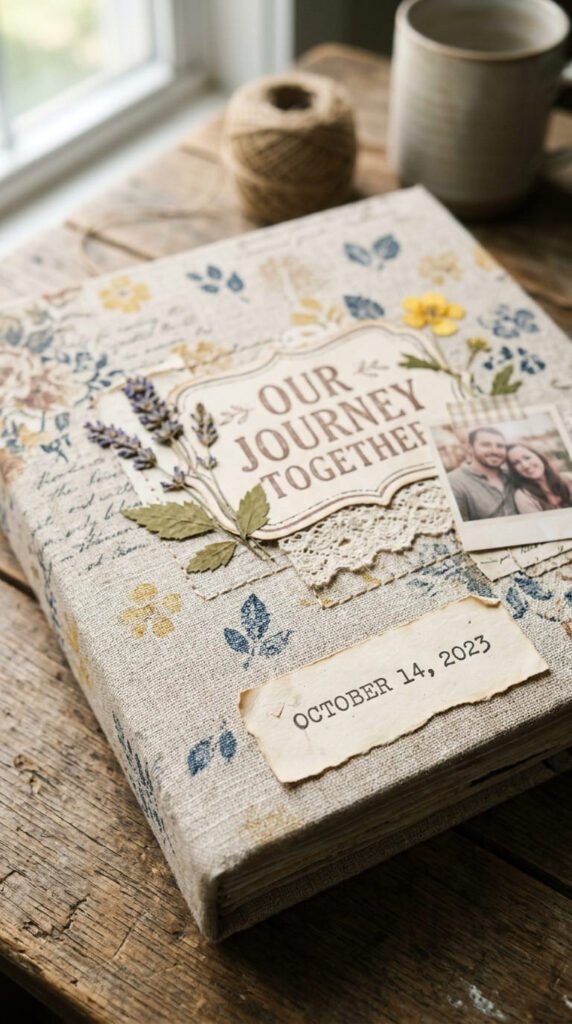
Adding a date gives any cover a small but meaningful personal touch, and it’s one of the simplest additions on this list. Print a date in a simple font from your computer, cut it out into a small rectangle, and glue it near the bottom corner of your cover. Budget tip: this uses only regular paper and a printer you likely already have access to, so it costs essentially nothing. If you don’t have access to a printer, write the date by hand in plain block letters, which still looks clean and intentional. This small label pairs with literally every other idea on this list, since it’s a finishing detail rather than a full design. It’s especially useful for yearly albums, where a quick glance at the cover tells you exactly which year or event the pages inside cover.
20. Printable Canva Starter Template
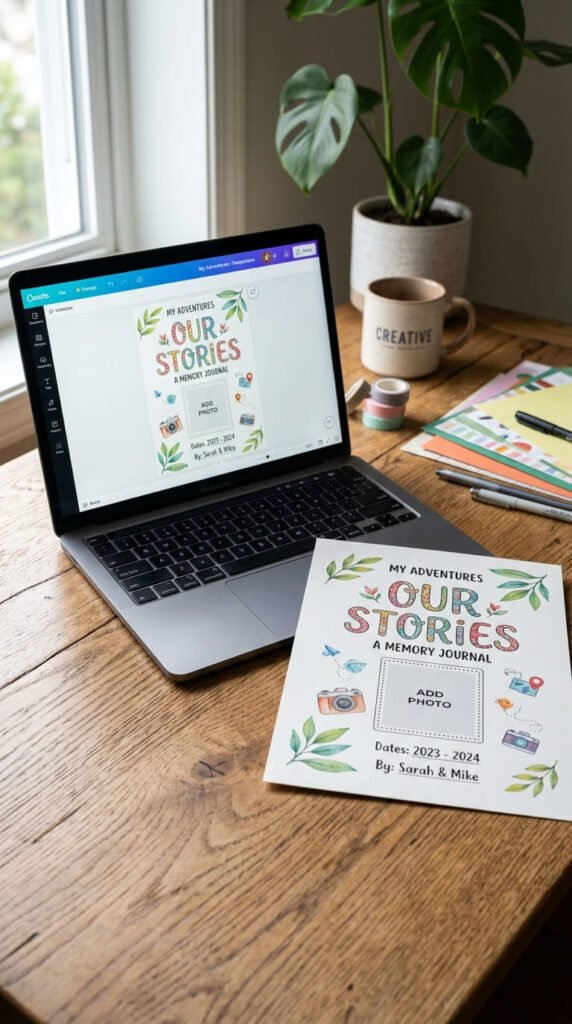
If hands-on crafting still feels intimidating, a printable digital template skips the cutting and gluing altogether for your very first attempt. Search Canva or Adobe Express for beginner scrapbook cover templates, many free or costing just a few dollars. Swap in a photo, title, and color palette, then download and print at home or through a local shop. Budget tip: try free templates first before paying for a premium design, since plenty of free options already include clean, ready-to-use layouts. Print on cardstock rather than regular paper for a sturdier final result. This approach lets you see what a finished, polished cover looks like before committing to hands-on techniques, and you can always add one small physical touch afterward, like a ribbon or sticker, once you feel ready to try gluing something by hand.
21. Plain to Polished Upgrade Pass
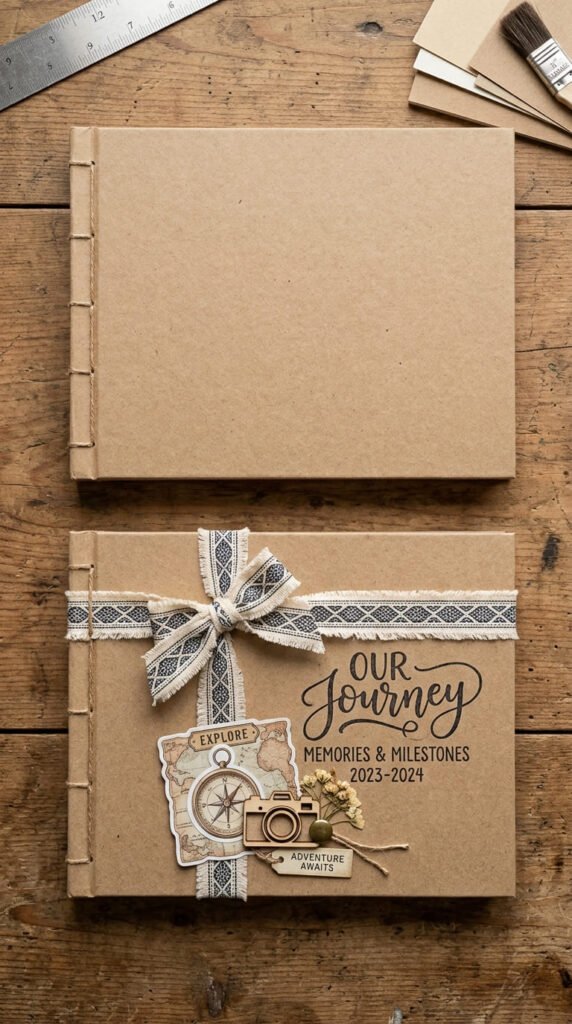
Once you’ve made a basic paper-wrap cover, try this simple exercise: go back and add just one upgrade at a time. Add a ribbon border. Step back and look. Add one sticker. Step back again. Add a title. This slow, one-step-at-a-time approach helps you see exactly how each small addition changes the overall look, without ever feeling overwhelmed by too many decisions at once. Budget tip: since you’re just adding to a cover you’ve already made, this exercise costs only the price of whatever small embellishment you add each round. This method is especially useful for building confidence, since you can stop at any point once the cover looks finished to you, rather than feeling pressured to use every technique from this list on a single project.
Conclusion
A great first scrapbook cover doesn’t require expensive tools, advanced techniques, or hours of free time. Start with one sheet of paper and a bit of glue, then add just one or two small touches, a ribbon, a sticker, a simple title, until it feels finished to you. Pick two or three ideas from this list that sound approachable, gather a few cheap supplies, and give yourself permission to keep it simple. The most important part of your first cover isn’t perfection, it’s finishing something you’re proud to open again and again.