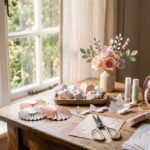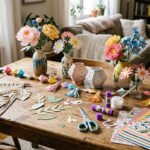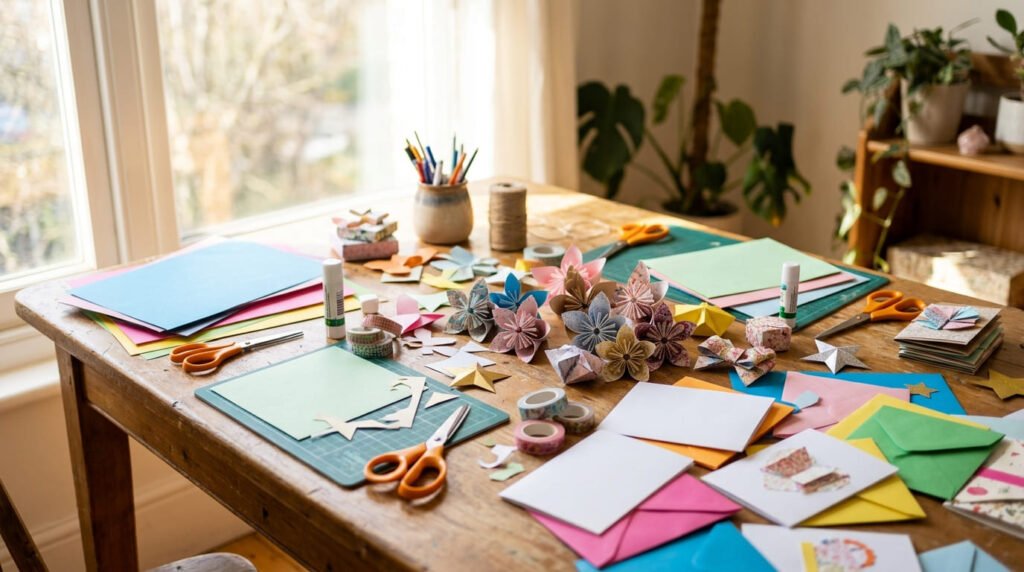
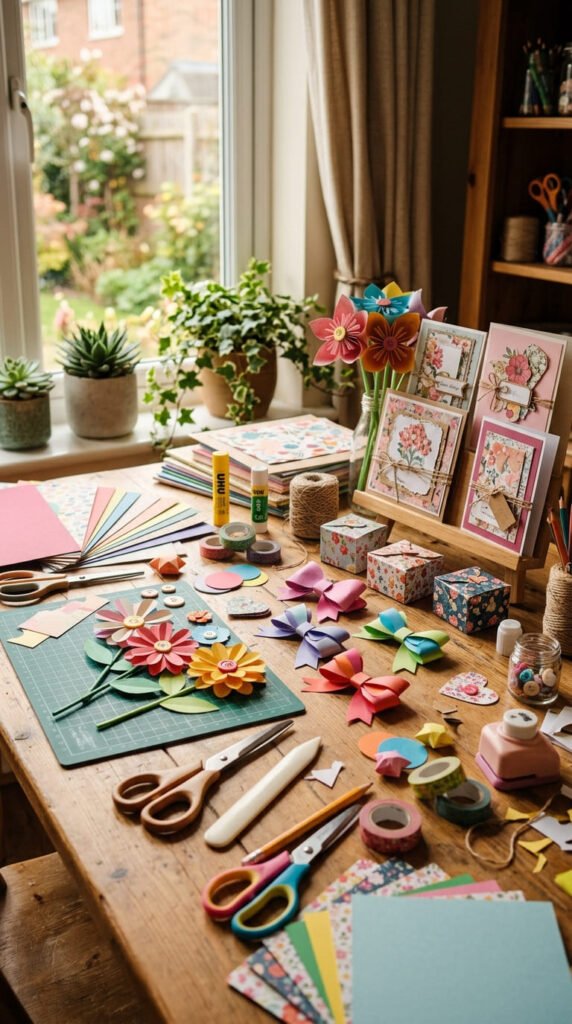
DIY paper crafts are perfect when you want quick handmade ideas without buying a long list of supplies. A few sheets of paper, scissors, glue, tape, markers, and saved scraps can turn into gifts, decor, cards, organizers, and relaxing weekend projects. Search interest around DIY paper crafts often favors easy projects, quick wins, beginner-friendly steps, paper flowers, butterflies, origami, stars, boxes, cards, and handmade decorations.
1. Rolled Paper Flowers
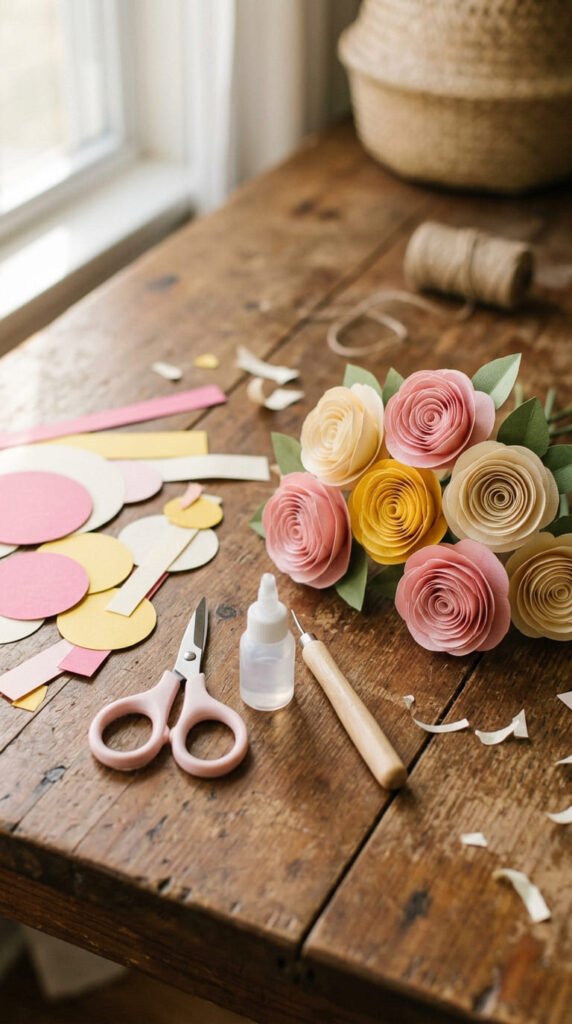
Rolled paper flowers are one of the easiest DIY paper crafts when you want something pretty in a short time. Cut a circle from colored paper, then cut that circle into a spiral. Start rolling from the outer edge toward the center. Let the roll loosen a little, then glue the bottom.
Use cardstock for flowers that hold shape. Use printer paper for a softer look. Old wrapping paper also works well if the pattern is cute.
Make a few flowers in matching colors and glue them onto cards, gift boxes, wreaths, or frames. You can also place them inside a small jar for desk decor.
For a budget-friendly tip, color plain paper with crayons before cutting. Soft shading gives the petals more depth. One sheet can make several small flowers, so this is a low-cost craft with a pretty result.
Keep extra paper flowers in a small box. They are useful whenever a gift or card feels too plain.
2. One-Sheet Paper Bookmarks
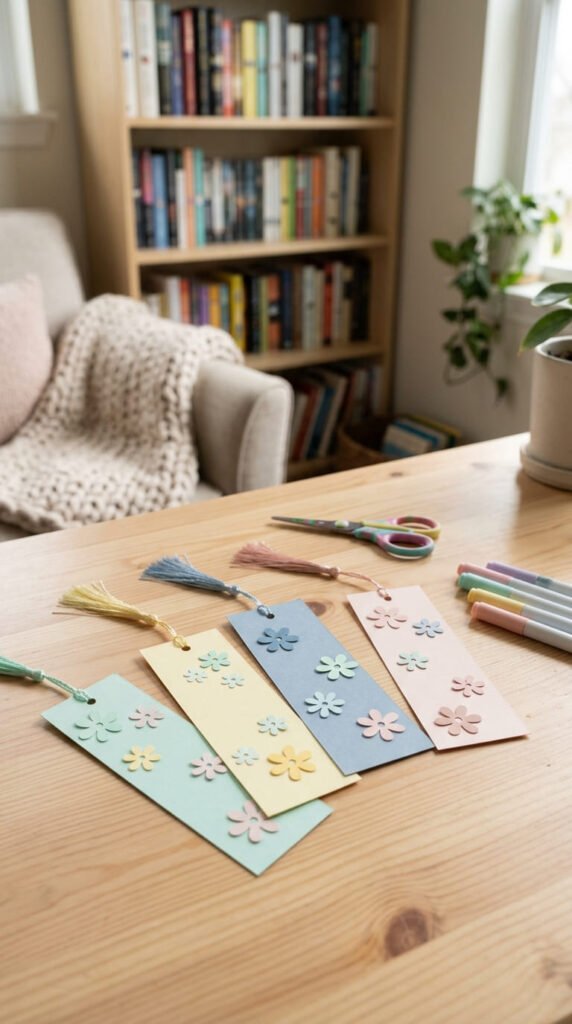
One-sheet paper bookmarks are quick, useful, and beginner-friendly. Cut a long rectangle from cardstock, construction paper, or thick printer paper. Round the corners if you want a soft finish.
Decorate the bookmark with paper scraps, markers, stickers, tiny stars, flowers, or simple borders. Punch a hole at the top and tie on ribbon, yarn, thread, or a thin paper strip.
This project is great for readers, students, teachers, and kids. It also makes a sweet handmade gift when you create a set in matching colors.
For a budget-friendly version, use cereal box cardboard as the base. Cover the printed side with colored paper. This makes the bookmark stronger and keeps costs low.
Try making four bookmarks in one sitting. One can be floral, one can be simple, one can have stars, and one can use torn paper scraps.
A paper bookmark gives you a fast win. It is small enough to finish quickly, but useful enough to keep using every day.
3. Colorful Paper Pinwheels
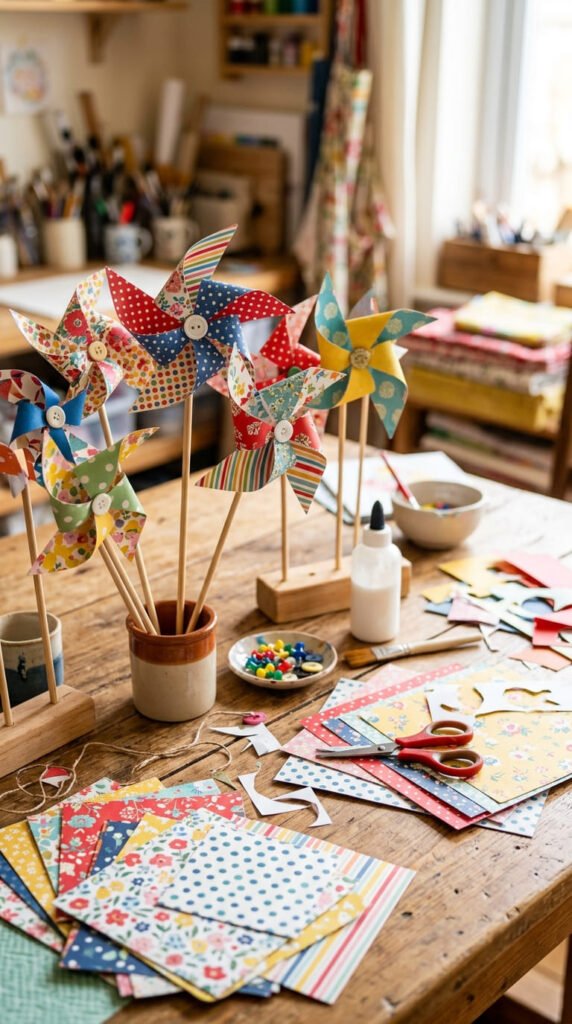
Colorful paper pinwheels are fun DIY crafts for parties, playrooms, garden tables, and kids’ craft time. Start with a square sheet of paper. Cut from each corner toward the center, but stop before reaching the middle.
Fold every other corner into the center and glue it down. Add a paper circle on top to cover the join. Attach the pinwheel to a straw, skewer, or paper stick.
If you want a spinning pinwheel, use a brad fastener. For younger kids, make a non-spinning version with glue only. It still looks cute as decor.
Use double-sided paper for the best color effect. If you only have plain paper, decorate both sides with markers before cutting.
For a low-cost idea, use leftover gift wrap glued onto printer paper. It gives the pinwheel color and support.
Place several pinwheels in a jar for a party table. You can also tape them to gift bags or use them as photo props. They are fast, playful, and easy to repeat.
4. Mini Paper Treat Boxes
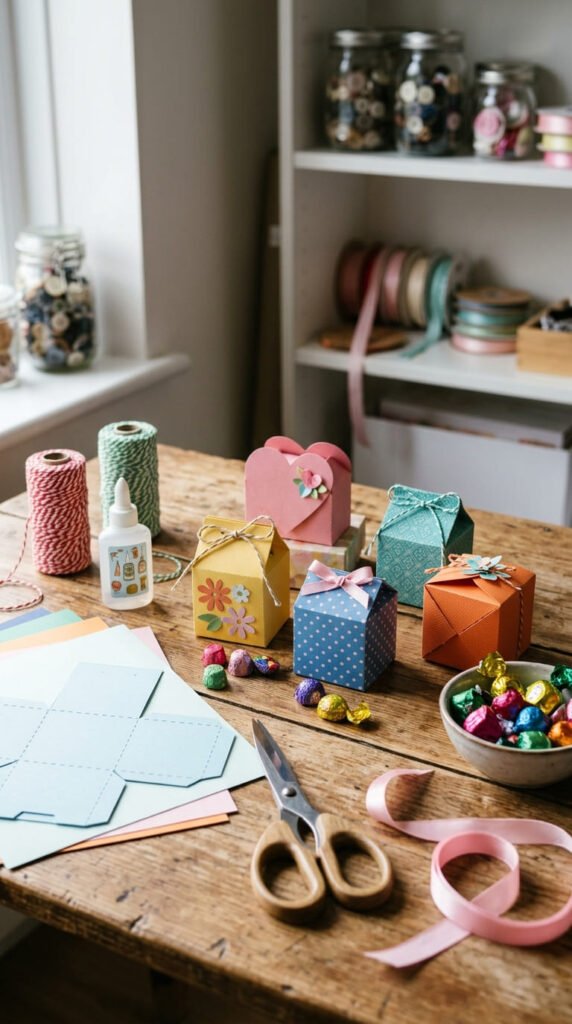
Mini paper treat boxes are perfect for small gifts, wrapped candy, stickers, jewelry, party favors, or desk surprises. Use cardstock because it holds shape better than thin paper. Draw a simple box template with a square base, four sides, and small glue tabs.
Cut the template, fold all lines, and glue the tabs inside. Let the box dry before filling it. Add a paper bow, flower, sticker, or ribbon on top for decoration.
This craft is helpful because the finished piece has a purpose. You can make several boxes ahead of time and save them for birthdays, holidays, or thank-you gifts.
For a budget-friendly version, use cereal box cardboard. Cover it with colored paper or wrapping paper before folding. The box will feel sturdy and look handmade.
Try making a set of three boxes in matching colors. Fill them with wrapped candy and place them in a basket. They look thoughtful without costing much.
Paper treat boxes turn simple supplies into cute handmade packaging in one short craft session.
5. Paper Butterfly Clips
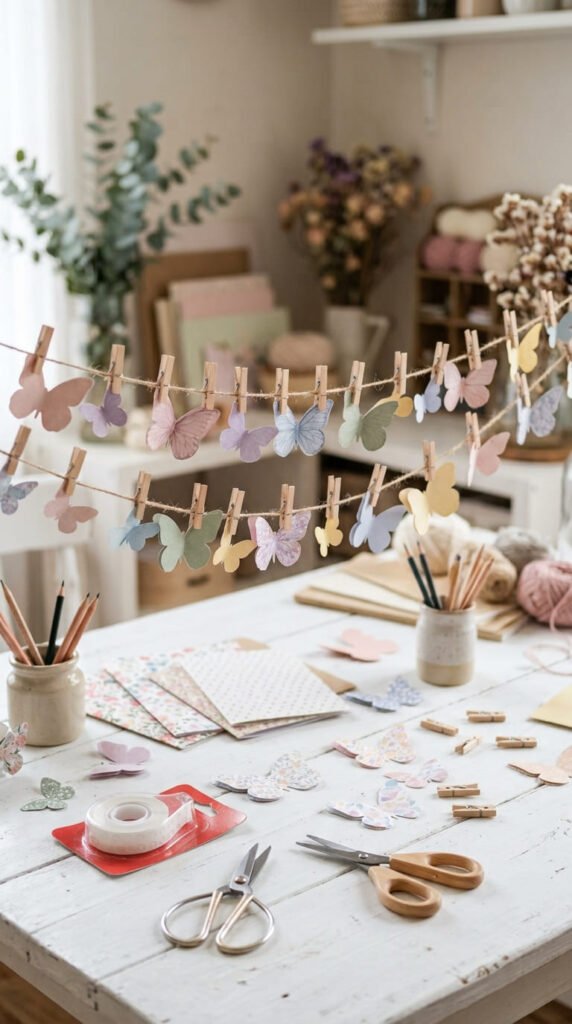
Paper butterfly clips are simple decorations for notebooks, gift bags, curtains, photo strings, and desk boards. Fold a piece of paper in half. Draw half of a butterfly shape along the fold and cut it out. Open it to reveal the full butterfly.
Fold the wings upward slightly so the butterfly has shape. Decorate the wings with tiny paper dots, marker lines, or smaller layered butterflies.
Glue each butterfly onto a mini clothespin, paperclip, or folded cardstock clip. Once dry, clip them onto gift wrap, journals, string lights, or a memo board.
For a budget-friendly version, use old magazine pages or wrapping paper scraps. Patterned paper makes the butterflies look detailed with almost no extra work.
Make a set in one color palette for a clean look. Blush, cream, and gold feel soft. Blue and white feel calm. Bright colors feel playful.
These clips are small, fast, and easy to store. Keep them in a jar and pull one out whenever you want to decorate something quickly.
6. Tiny Origami Lucky Stars
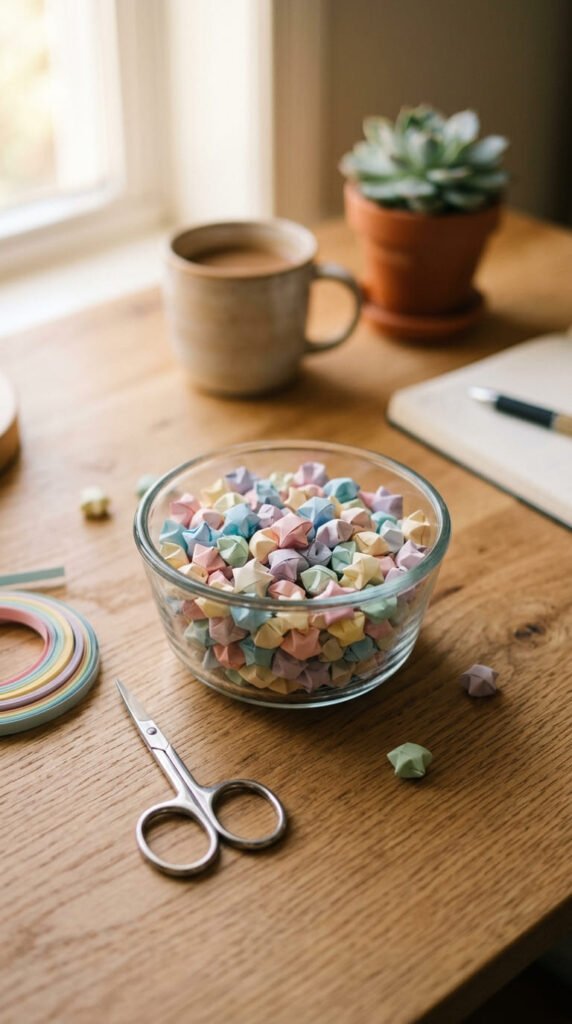
Tiny origami lucky stars are quick folded paper crafts that look adorable in jars, cards, gift boxes, and desk trays. Cut long narrow strips from paper. Tie one end into a small knot, flatten it into a pentagon, and wrap the strip around the shape.
Tuck the end under the last fold. Pinch each side gently to puff the star. The first few may feel uneven, but they get easier fast.
Use colored paper strips, magazine edges, wrapping paper, or old notebook paper. Thin paper works best because it folds cleanly.
For a budget-friendly idea, cut strips from paper scraps instead of buying star paper. Sort scraps by color and make stars whenever you have a few minutes.
Fill a small jar with stars for shelf decor. Add a handful inside a gift box for a cute surprise. You can also glue them onto cards or garlands.
This craft is relaxing, portable, and low-mess. It is perfect for quick handmade ideas during a quiet evening.
7. Rolled Paper Bead Bracelets
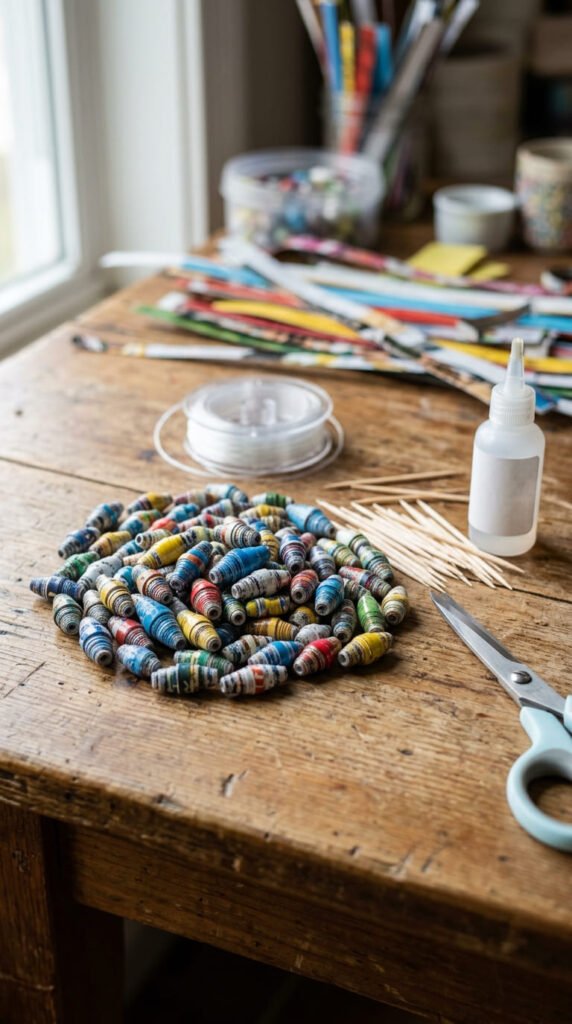
Rolled paper bead bracelets are a smart way to turn scrap paper into handmade accessories. Cut long triangle strips from magazine pages, colored paper, or old wrapping paper. Place a toothpick at the wide end and roll the strip tightly toward the point.
Add a small dot of glue at the tip and press it down. Slide the bead off the toothpick once dry. Make several beads in different colors and sizes.
String the beads onto elastic cord, yarn, or thread. Add a knot and trim the ends. Kids can make chunky bracelets, while adults can make thinner beads for a softer look.
For a budget-friendly tip, use old catalogs or junk mail. Printed pages create surprise patterns, so each bead looks different.
Brush beads with clear glue if you want them a little firmer. Let them dry before stringing.
Paper bead bracelets are affordable, fun, and useful. They also make cute handmade gifts for friends, siblings, classmates, or craft party guests.
8. Paper Chain Room Garland
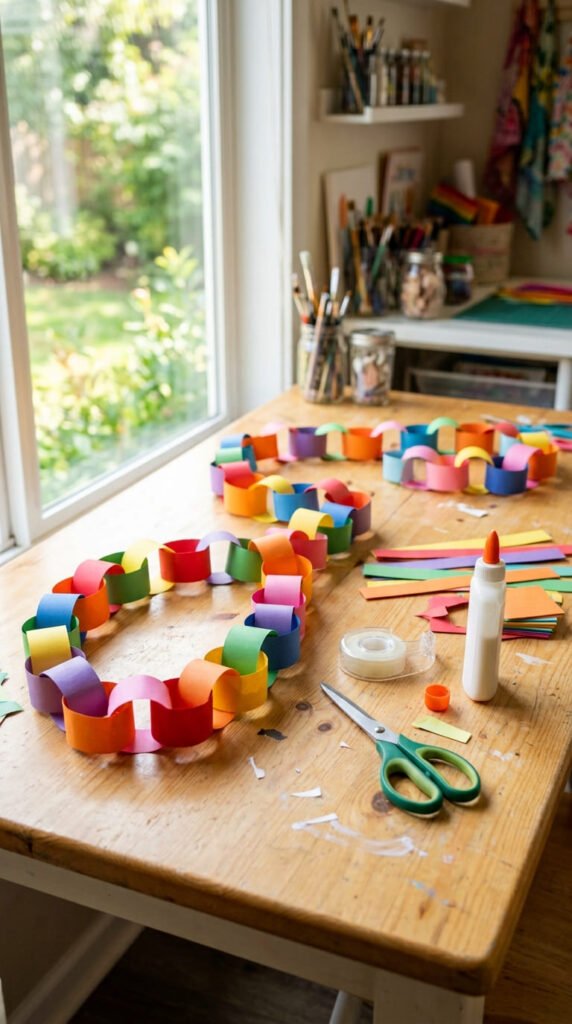
A paper chain room garland is one of the fastest DIY paper crafts for decorating a space. Cut paper into strips. Make one strip into a loop and tape or glue the ends. Thread the next strip through the first loop and close it.
Keep adding loops until the chain is long enough. Use one color for a clean look or several colors for a bright party style.
This craft works for bedrooms, shelves, windows, classroom boards, doorways, and birthday tables. It is also great for kids because the steps repeat easily.
For a budget-friendly version, use magazine pages, old wrapping paper, or plain paper colored with markers. Save leftover strips from other crafts and turn them into a garland later.
A realistic DIY idea is to make a chain in cream, tan, and green for a desk wall. It looks calm and handmade without taking much time.
Paper chains are light, easy to hang, and simple to remake. They are also easy to recycle after use.
9. Tissue Paper Pom-Poms
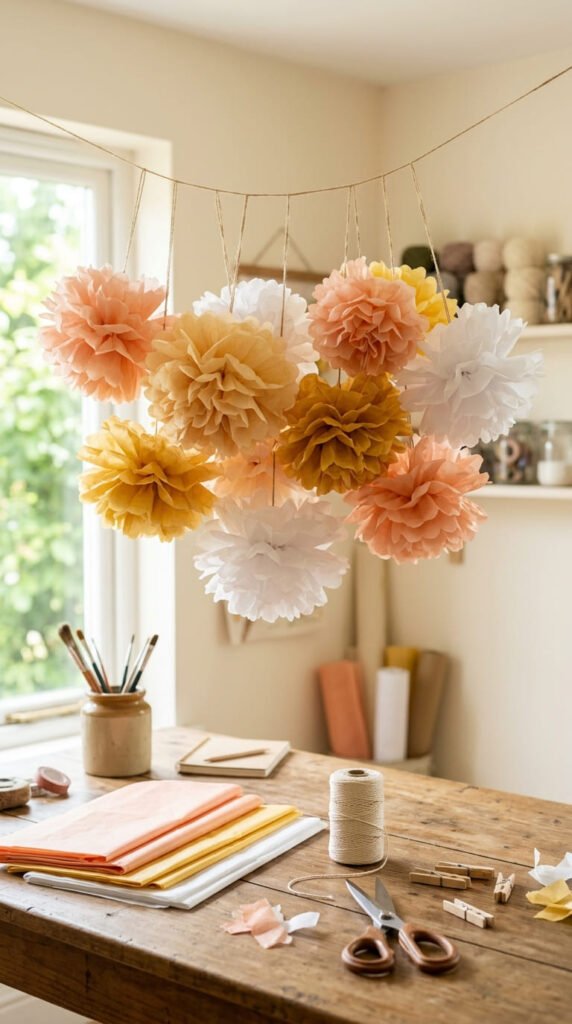
Tissue paper pom-poms are quick handmade decorations for parties, bedrooms, craft rooms, and photo corners. Stack several sheets of tissue paper. Fold the stack back and forth like an accordion. Tie the center with string.
Trim both ends into rounded or pointed shapes. Gently pull each layer toward the center until the pom-pom becomes full. Move slowly so the tissue does not tear.
Use soft colors for room decor or bright colors for party styling. Hang pom-poms in a cluster at different heights for a fuller look.
For a budget-friendly option, save tissue paper from gift bags. Wrinkles do not matter much because the finished shape hides them.
A simple DIY example is three pom-poms above a dessert table. Use white, peach, and yellow for a sunny look. Add paper garlands nearby if you want more color.
These pom-poms are light, affordable, and easy to make in batches. They fill empty corners without heavy decor or expensive supplies.
10. Handmade Paper Greeting Cards
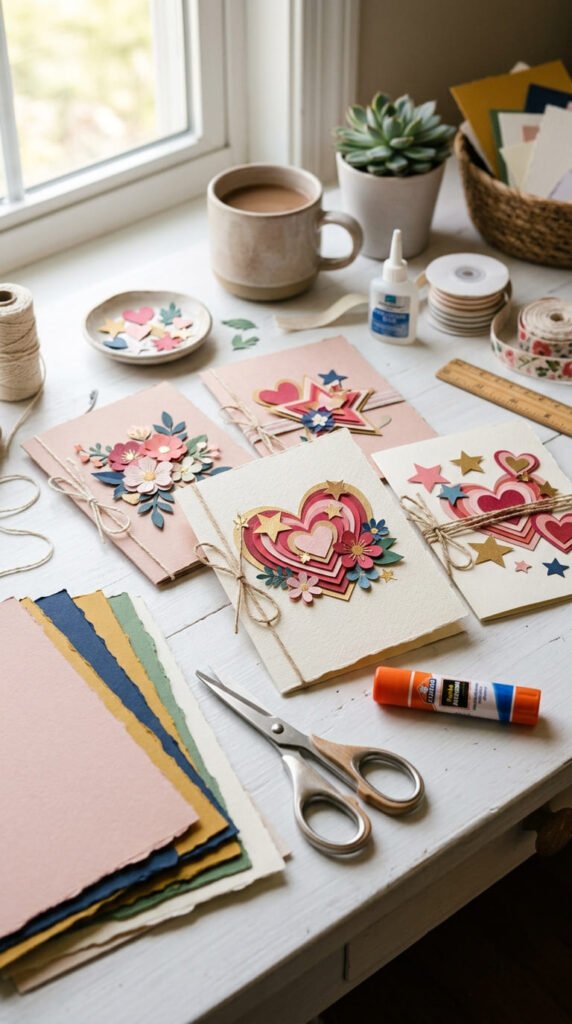
Handmade paper greeting cards are quick, personal, and useful for birthdays, thank-you notes, holidays, or small kind messages. Fold cardstock in half to make a card base. If you only have printer paper, glue two sheets together for a stronger card.
Decorate the front with paper shapes like hearts, flowers, stars, balloons, leaves, or simple strips. Keep the design to two or three colors so the card looks neat.
Use paper scraps for the details. Old wrapping paper, gift bags, magazines, and leftover cardstock all work well. Add marker borders or tiny dots if the card feels too plain.
For a budget-friendly idea, make a batch of blank cards in one sitting. Store them in a small box with envelopes. When an event comes up, you can add a short message inside.
A paper card feels more personal than a store-bought one. It also helps use small scraps that might otherwise be thrown away.
11. Safe Paper Lantern Decor
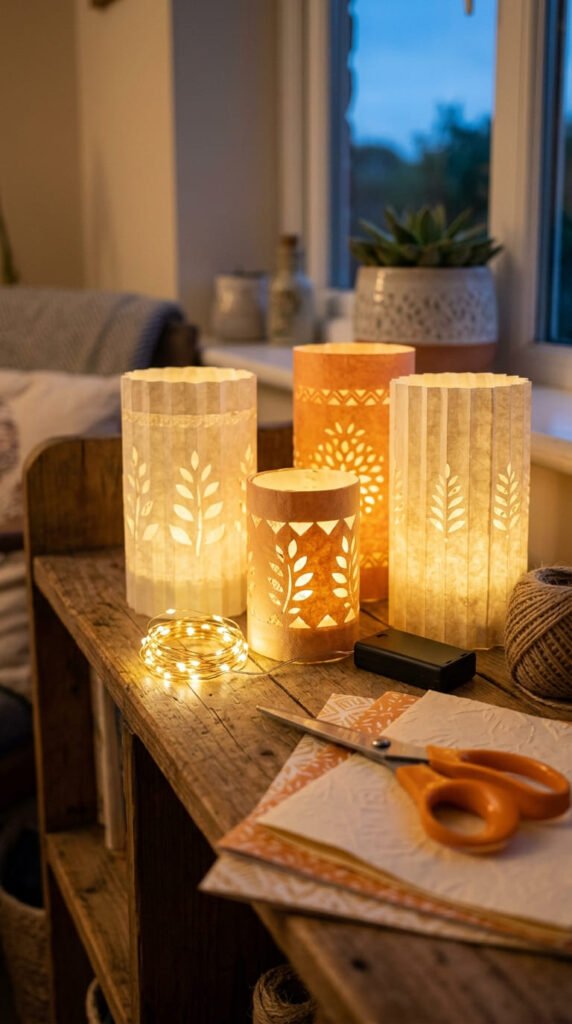
Safe paper lantern decor gives shelves and party tables a warm handmade look. Fold a sheet of paper in half lengthwise. Cut short lines from the folded edge toward the open edge, leaving space at the top. Open the paper, roll it into a tube, and tape the side.
Add a paper handle if you want to hang it. For shelf decor, leave the lantern standing upright. Use battery lights only, or keep the lantern as decoration without light. Do not use real candles with paper.
Choose cream, gold, orange, white, or pastel paper based on your room or event. Patterned paper can make the lantern look more detailed.
For a low-cost version, use plain printer paper and decorate it with marker dots or small cutout shapes before rolling.
Make three lanterns in different sizes and place them on a shelf with a plant or books. The set looks warm, handmade, and easy to change for seasons or parties.
12. Folded Paper Envelopes
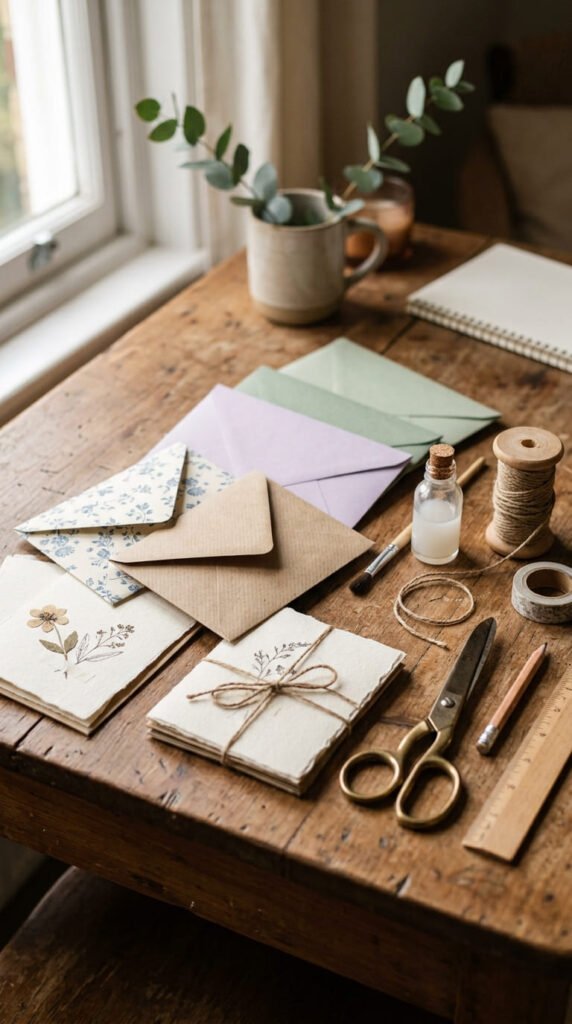
Folded paper envelopes are practical, pretty, and quick to make. Start with a square sheet of paper. Place it like a diamond. Fold the left and right corners toward the center. Fold the bottom corner upward and glue the side edges.
Fold the top corner down to create the flap. Add a tiny paper heart, star, or circle if you want a cute closure.
Use patterned paper for gift notes. Use kraft paper for a rustic look. Use magazine pages for a recycled style. Thin paper folds easily, while cardstock makes a stronger envelope.
For a budget-friendly option, reuse old calendars, wrapping paper, or paper bags. If the paper is thin, glue it onto printer paper before folding.
Make envelopes in several sizes. Small ones work for stickers, lunchbox notes, and gift tags. Larger ones work for handmade cards.
This craft saves money on stationery and adds a personal touch to messages. Keep a few ready in a drawer for quick gifts and notes.
13. Paper Bow Gift Toppers
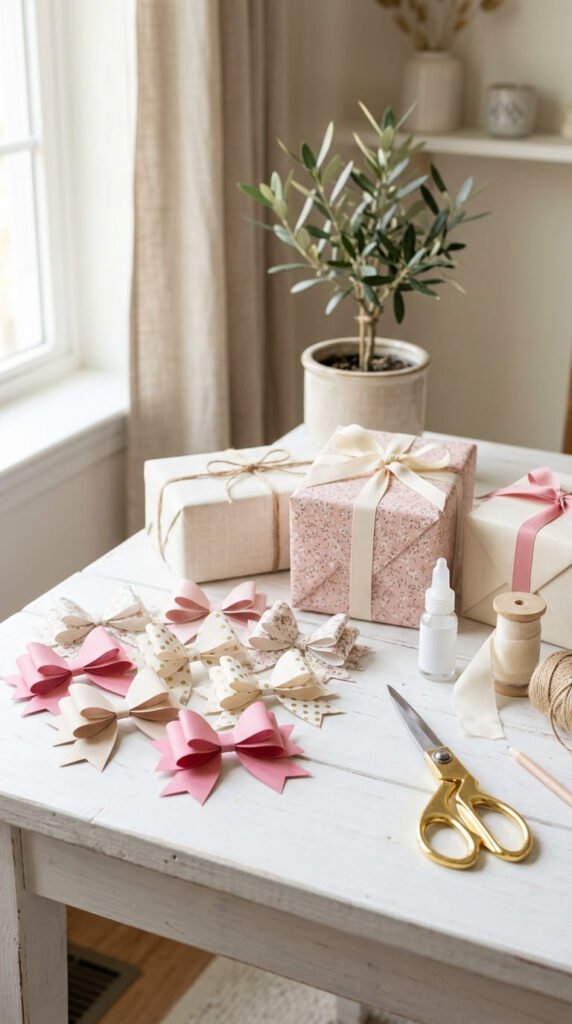
Paper bow gift toppers turn plain wrapping into something special. Cut several strips from paper. Loop the longer strips and glue the ends to form bow loops. Use a short strip around the center to hold the shape.
Cardstock creates a firm bow. Gift wrap creates a softer bow. Magazine pages can create bold patterns. Choose paper based on the style of your gift.
Glue the bow onto a wrapped box, envelope, treat bag, or handmade card. Add a paper flower or tag for more detail.
For a budget-friendly tip, save leftover wrapping paper after birthdays or holidays. Cut clean sections into strips and make bows for future gifts.
A simple DIY example is a brown kraft package with a blush paper bow. Add twine or a tiny paper leaf. It looks handmade and thoughtful without buying ribbon.
Make a batch of bows in different sizes and keep them flat in a folder. They are useful for quick handmade packaging.
14. Simple Paper Cutout Wall Art
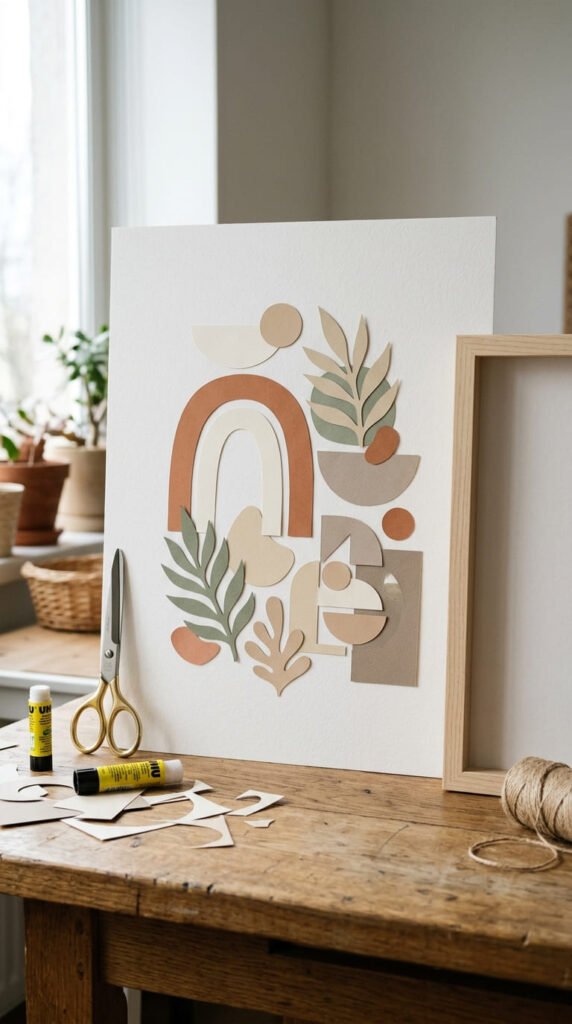
Simple paper cutout wall art is a quick way to decorate a blank wall without buying prints. Start with a piece of cardstock as the background. Cut shapes from other paper, such as leaves, arches, circles, waves, flowers, or stars.
Arrange the shapes before gluing. Move them around until the layout feels balanced. Keep the colors simple for a clean look.
Place the finished art inside an old frame. No frame available? Glue the background to cardboard and add a paper border. You can also tape it directly to a wall with washi tape.
For a budget-friendly version, use old folders, packaging paper, or magazine pages. Cut around clean color sections and reuse them as art shapes.
A realistic DIY idea is a cream background with tan arches and black paper leaves. It looks modern but takes only a few cuts.
This craft is great for dorms, bedrooms, craft rooms, and small apartments. It makes quick decor from paper you already have.
15. Paper Cup Pencil Holder
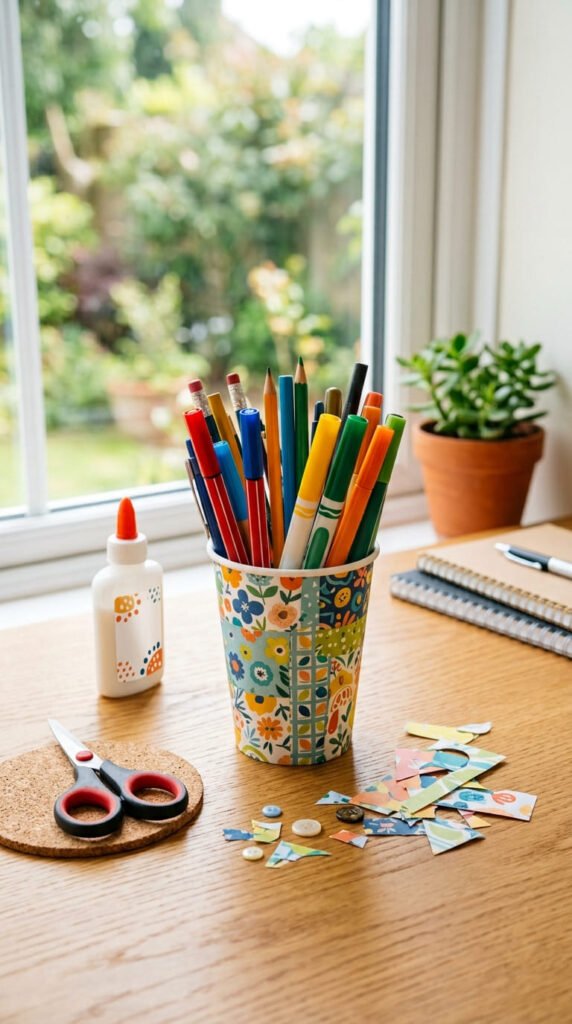
A paper cup pencil holder is a quick handmade organizer for desks, homework corners, and craft tables. Start with a clean paper cup, cardboard tube, or small box. Cover the outside with colored paper or patterned scraps.
Glue the paper in place and trim the edges neatly. Add strips, circles, stars, or tiny flowers for decoration. Let the glue dry before adding pencils, markers, brushes, or scissors.
This craft is useful because it helps clean up clutter. It also works well for kids, students, and adults who want a small desk refresh.
For a budget-friendly version, use a toilet paper roll or food box instead of buying a cup. Cover it with paper from an old gift bag for a cute finish.
Make two or three holders in matching colors. Use one for pencils, one for markers, and one for glue sticks.
This project is fast, affordable, and practical. It turns basic paper and recycled packaging into something you can use every day.
16. Accordion Paper Wreath
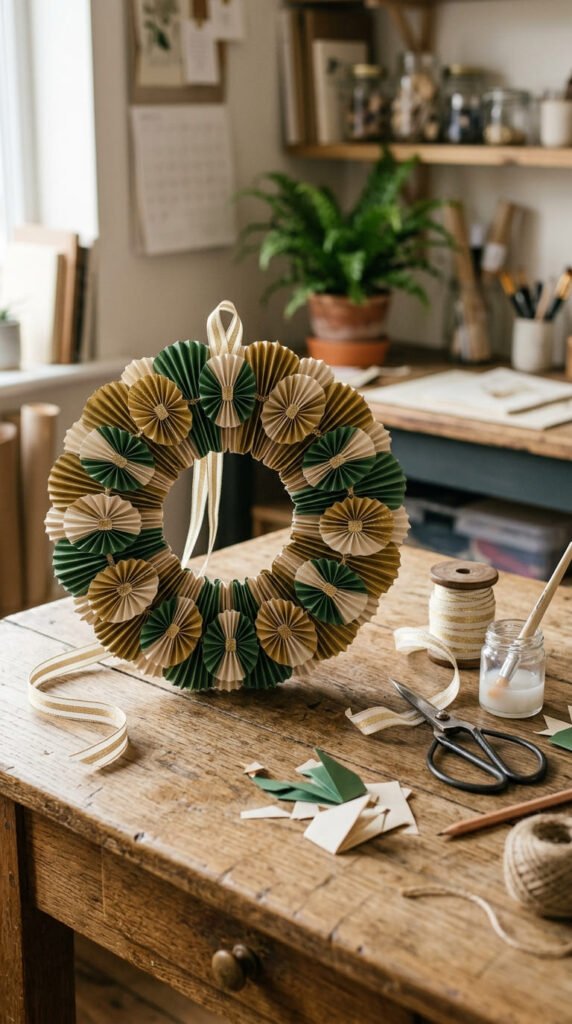
An accordion paper wreath is a pretty decoration for doors, shelves, mantels, or party walls. Cut several rectangles from paper. Fold each one back and forth like an accordion. Fold each pleated piece in half and glue the inner edges together.
Make enough folded fans to form a circle. Glue the fan pieces together around a cardboard ring or directly edge to edge. Add a ribbon loop at the top for hanging.
Use green and cream paper for spring, orange and brown for fall, or gold and white for holidays. Patterned paper also looks beautiful.
For a budget-friendly base, cut a ring from a delivery box. Cover it with paper before adding the folded pieces.
A realistic DIY idea is a small wreath for a bedroom door. Use soft green paper and add a few paper flowers on one side.
This craft looks detailed but uses repeated folding. Once you learn one fan piece, the rest are easy. It is a great quick decor project with a handmade finish.
17. Folded Paper Heart Notes
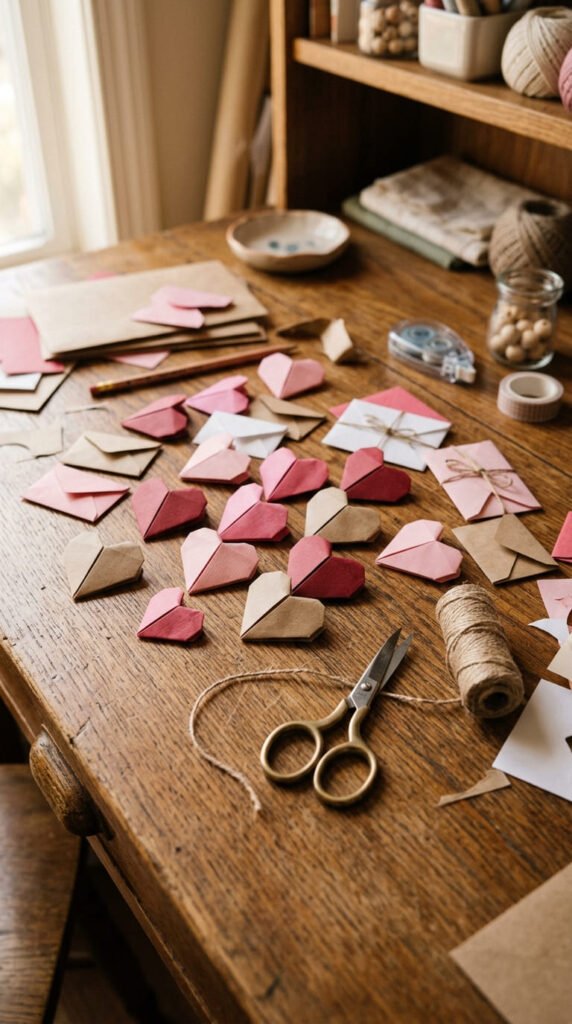
Folded paper heart notes are cute for lunchboxes, gifts, journals, scrapbooks, and small surprises. Start with a square sheet of paper. Fold it in half, open it, then fold the sides toward the center. Shape the top corners into a heart and press the folds flat.
Use colored paper for decoration or plain paper if you want space to write inside. Patterned paper works well for gift toppers, while printer paper is better for notes.
This craft is fast once you learn the fold. Make several hearts and keep them in a small envelope for later.
For a budget-friendly version, cut squares from old notebook pages, wrapping paper, or magazine sheets. Small scraps can become tiny hearts.
A realistic DIY idea is to tuck a paper heart note into a gift bag. Add a short message inside, then close it with a sticker.
These heart notes feel personal and take only minutes to make. They are small handmade details that can brighten someone’s day.
18. Paper Plant Leaf Stems
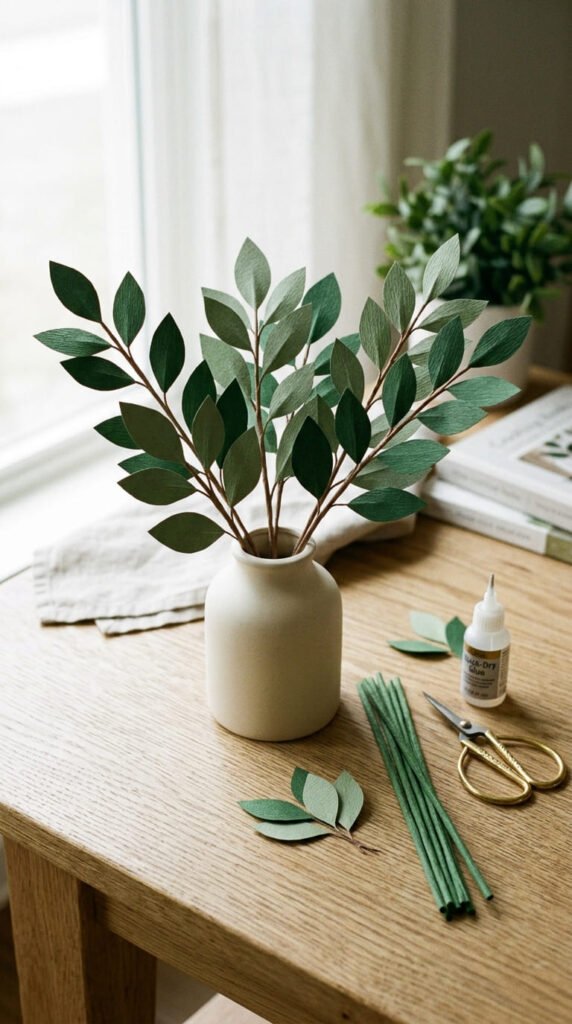
Paper plant leaf stems are easy decor for shelves, desks, and small vases. Cut leaf shapes from green paper. Fold each leaf down the center so it has a little shape. Roll thin strips of green paper into stems and glue the leaves along them.
You can make simple oval leaves, long tropical leaves, or small vine leaves. Use two shades of green for a fuller look.
Place the stems in a jar, mug, or small vase. Add stones or folded paper inside the container to help the stems stand.
For a budget-friendly version, paint printer paper green or reuse green packaging paper. You can also use grocery bag paper for a dried-leaf style.
A realistic DIY idea is to make five stems for a desk corner. They add a plant-like touch without watering or sunlight.
This craft is great for people who like home decor but want something light and low-cost. Paper leaves are easy to replace, remake, and match with any color palette.
19. Paper Rosette Photo Backdrop
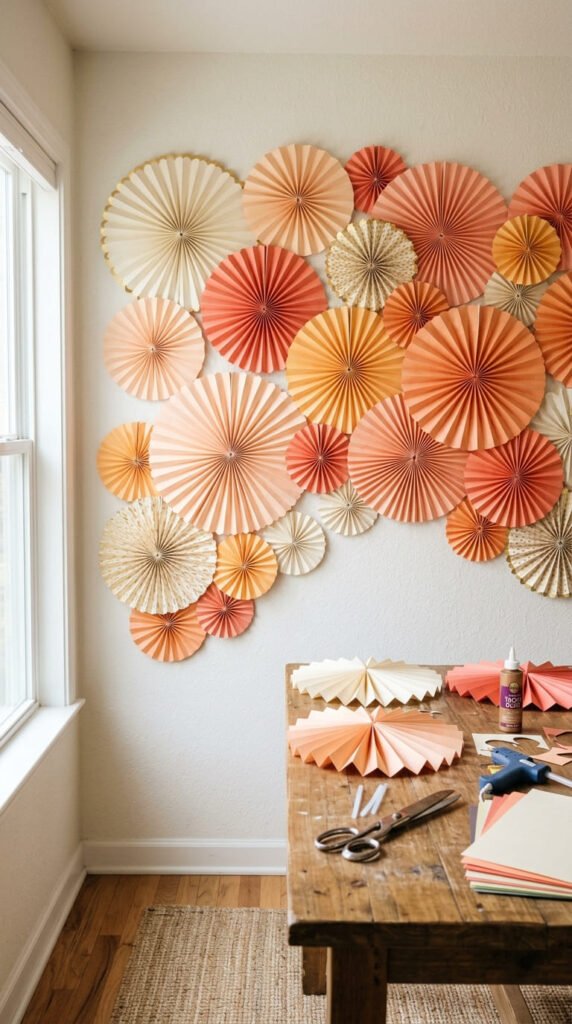
A paper rosette photo backdrop is a quick way to style a party wall, craft corner, or room display. Make accordion-fold fans from rectangular sheets of paper. Glue several fans together to form round rosettes.
Create rosettes in different sizes. Large ones fill space quickly, while small ones cover gaps. Add paper circles in the centers for a clean finish.
Use matching colors for a polished look. Cream, peach, coral, and gold work well for birthdays. Blue and white feel calm. Rainbow colors feel playful.
For a budget-friendly version, use wrapping paper or old party bags. Glue thin paper onto printer paper if you want more support.
Attach the rosettes to the wall with removable dots or painter’s tape. Arrange them in a loose cluster around a chair, dessert table, or mirror.
This project looks fancy in photos but uses simple folding. It is a strong choice when you want handmade decor fast without buying a full party backdrop.
20. Paper Snack Cones
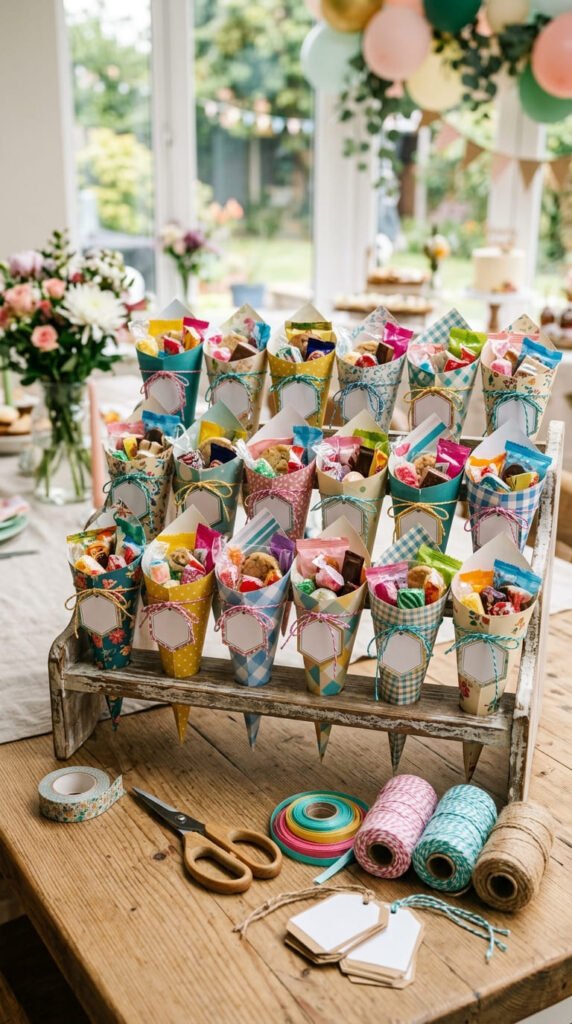
Paper snack cones are quick handmade containers for wrapped candy, popcorn, chips, stickers, or small favors. Cut a square of paper and roll it into a cone. Tape or glue the side closed. Trim the top if you want a neat edge.
Use cardstock for stronger cones. Use patterned paper for a party look. If snacks will touch the paper, add a food-safe liner or use wrapped treats.
Punch two holes near the top and tie ribbon through them for a handle. You can also place cones in cups or a basket on a party table.
For a budget-friendly version, use leftover gift wrap glued onto plain paper. This gives the cone color and support.
A realistic DIY idea is to make twelve cones for movie night. Fill them with popcorn or wrapped candy and place them in a tray.
Paper snack cones are fast, useful, and easy to personalize. They make simple food feel fun without buying fancy packaging.
21. Scrap Paper Gift Tags

Scrap paper gift tags are perfect for using tiny leftovers from other crafts. Cut tag shapes from cardstock, cereal box cardboard, or thick paper. Punch a hole near the top and add string, yarn, twine, or ribbon.
Decorate each tag with small paper scraps. Try layered strips, tiny flowers, stars, circles, hearts, or torn paper pieces. Keep each tag simple so it still looks clean.
This craft is quick and low-cost because the materials are leftovers. Old greeting cards, wrapping paper, magazines, and paper bags all work well.
For a realistic DIY example, make a set of kraft tags with cream paper flowers and green leaves. Use them on birthday gifts, party favors, or handmade treat boxes.
Store finished tags in a small envelope or jar. The next time you wrap a gift, you will already have a handmade detail ready.
Scrap paper tags are small, useful, and relaxing to make. They help reduce paper waste and add personality to simple packaging.
22. Mini Paper Photo Frame
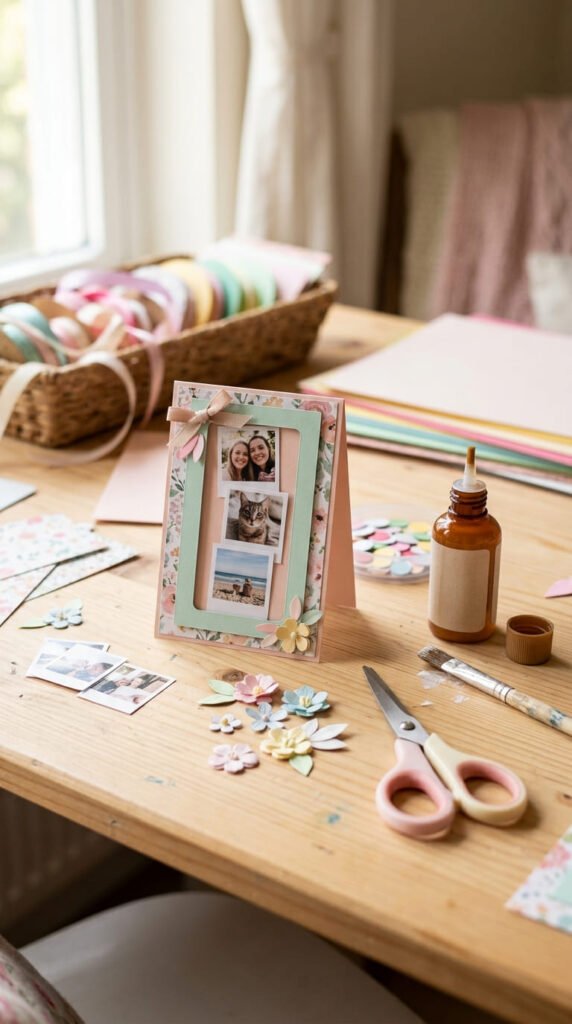
A mini paper photo frame is a sweet DIY project for desks, lockers, journals, shelves, or gift boxes. Cut a rectangle from cardstock. Cut a smaller rectangle from the center to make the photo opening. Glue the photo behind the frame.
Decorate the frame with tiny paper flowers, stars, hearts, leaves, bows, or torn paper strips. Keep the details small so the photo stays visible.
To make a standing frame, glue a folded cardstock triangle to the back. For a journal or scrapbook, glue the frame flat onto a page. For wall decor, tape several paper frames in a grid.
For a budget-friendly version, use cereal box cardboard as the base and cover it with colored paper. Old gift bags and scrapbook scraps work well for decoration.
A simple DIY idea is a cream frame with two pink paper flowers at the corner. Add a small photo and place it near your books or makeup tray.
This craft is quick, personal, and easy to repeat for gifts or memory boards.
Conclusion
DIY paper crafts are a simple way to make quick handmade ideas for gifts, room decor, parties, cards, desk supplies, and relaxing craft time. These projects use easy materials like paper, glue, tape, scissors, markers, scraps, and recycled packaging. Start with one small idea, such as a bookmark, paper flower, gift tag, or envelope. Once you see how fast paper can turn into something useful, it becomes easy to keep creating more.