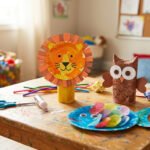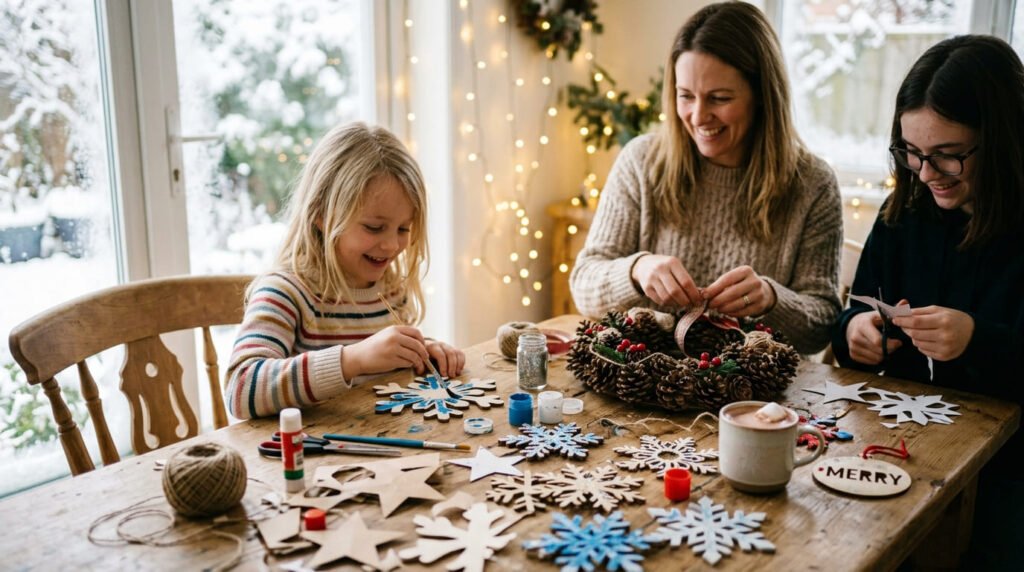
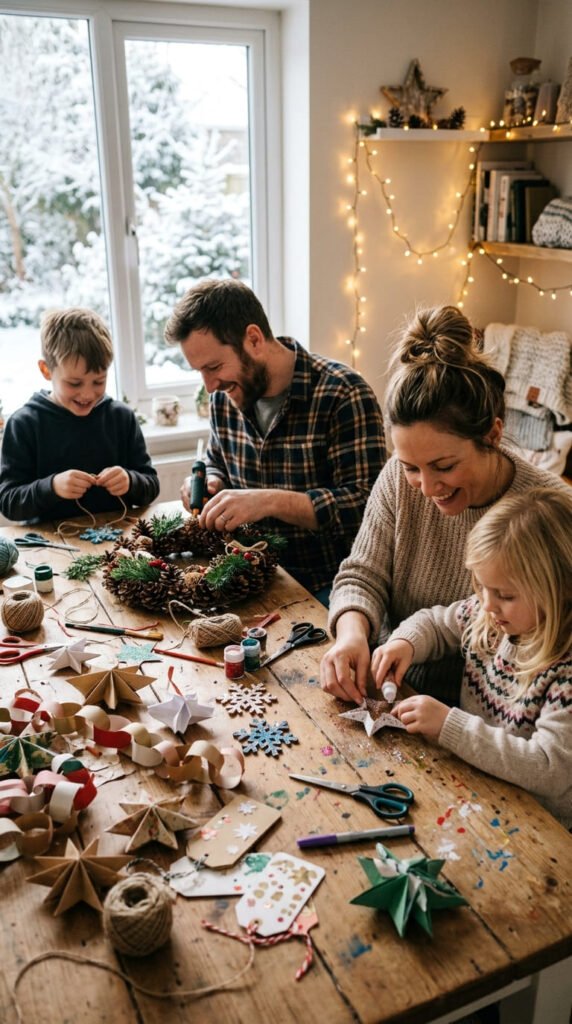
The holidays bring built-in excuses for craft time — a tree that needs ornaments, a table that needs decor, and a list of people who’d love a handmade gift. Holiday crafts for kids turn cardboard tubes, paper plates, pinecones, and a few paint bottles into ornaments, wreaths, gifts, and keepsakes that carry real sentimental weight. Most of these projects use supplies already sitting in a junk drawer or recycling bin, so there’s no scramble to the craft store during the busiest weeks of the year. Below you’ll find a mix of Christmas classics, winter-wide projects, and a few options that reach beyond Christmas, organized so you can pick fast based on what you’re making and who it’s for. Each craft comes with a budget tip and a realistic time estimate, so a quiet afternoon or a full-blown holiday party both have something ready to go. These 23 holiday crafts for kids turn ordinary materials into festive family fun.
1. Salt Dough Ornaments

Mix flour, salt, and water into a simple dough, then let your kid roll it out and cut shapes with cookie cutters. Poke a small hole near the top of each shape with a straw before baking, so a ribbon can thread through later. Budget tip: this dough costs less than a dollar to make and uses only pantry staples. Once baked and cooled, let your kid paint each ornament and add a bit of glitter if they want extra sparkle. Thread ribbon through the hole for hanging. This is a strong pick for a kid-made gift, since grandparents love a handmade tree ornament far more than a store-bought one. Make a batch of ten or more in one session, since the dough recipe scales up easily. Store extras in a shoebox from year to year, adding your kid’s age and the year on the back with a marker for a growing keepsake collection.
2. Paper Plate Wreath
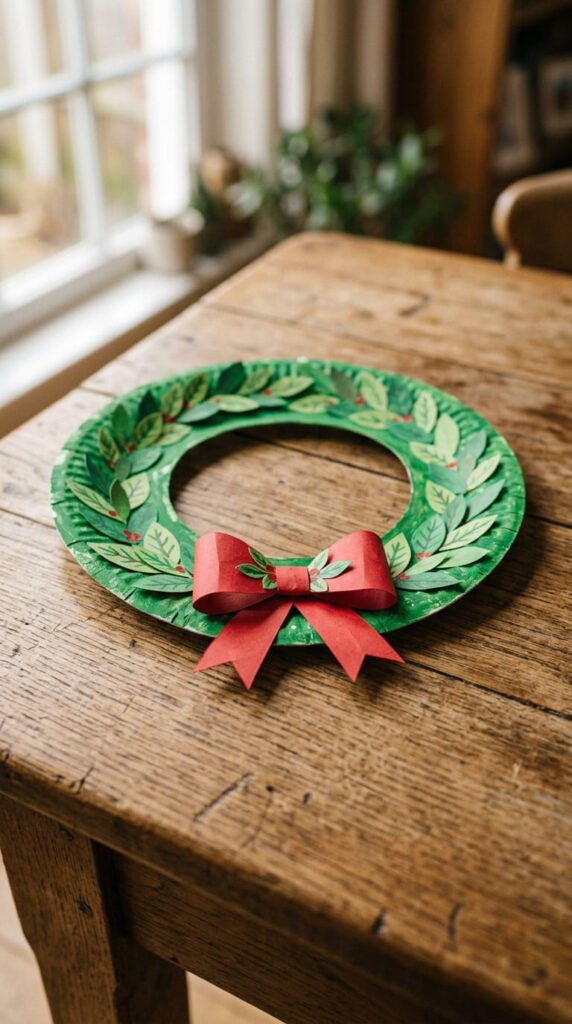
Cut the center out of a paper plate to leave a ring shape, then paint it green. Let your kid glue on small paper leaf or holly shapes around the ring, then add a red paper bow at the bottom. Budget tip: one paper plate makes one wreath for close to zero cost, since paint and paper scraps are likely already on hand. This craft mixes painting and gluing, giving a well-rounded hand-skill session. If your kid enjoys texture, dab on cotton ball snow or small pom pom berries between the leaves. This is a good pick for a front door or bedroom door decoration, since the ring shape holds up well when hung with a loop of ribbon through a small hole punched at the top. This craft takes about twenty minutes total, including dry time between the base coat and the added details.
3. Handprint Reindeer Card
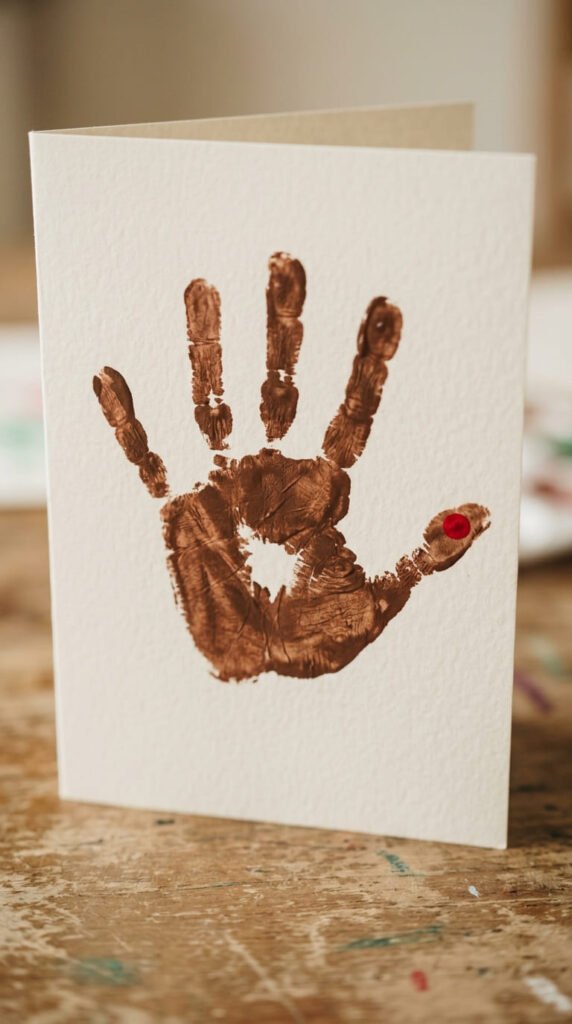
Paint your kid’s palm brown and press it onto cardstock with fingers spread wide to form antlers. Once dry, add two small eyes and a red pom pom or dot for the nose on the thumb. Budget tip: a single small paint bottle covers dozens of these cards, keeping the cost close to nothing. Fold the cardstock in half first to turn the finished print into a greeting card for family or teachers. This is a fast, low-mess project, usually done in under ten minutes plus dry time. Let your kid pick their own reindeer name and write it inside with help, adding a personal touch to the kid-made gift. This craft works well for a whole classroom or holiday card exchange, since a batch of ten or more can be made in a single sitting with just one small paint bottle.
4. Cardboard Tube Snowman
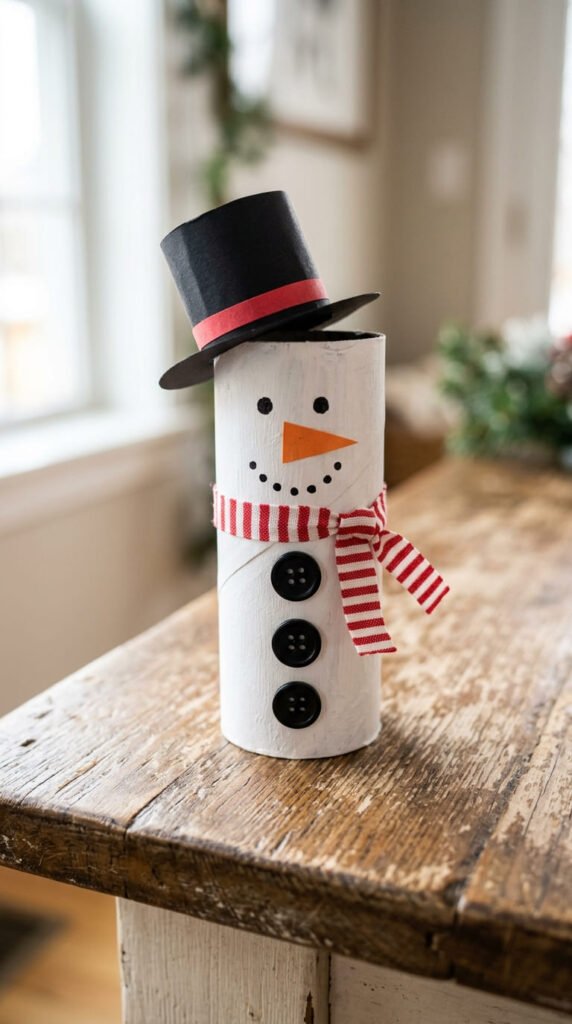
Paint a toilet paper roll white, then let your kid glue on a small paper hat, scarf, and three black paper button dots down the front. Add a small orange paper triangle for a carrot nose. Budget tip: this uses a tube, paint, and paper scraps you already have, so it costs almost nothing. This craft is a fast build, usually under ten minutes, making it a good pick for a short activity window during a busy holiday week. Talk about winter weather while your kid decorates, connecting the craft to the season outside. If your kid enjoys this one, build a whole snowman family in different sizes using both toilet paper and paper towel tubes. Line up the finished snowmen along a windowsill or mantle for a simple, low-cost holiday display that holds up well through the whole season.
5. Paper Snowflakes
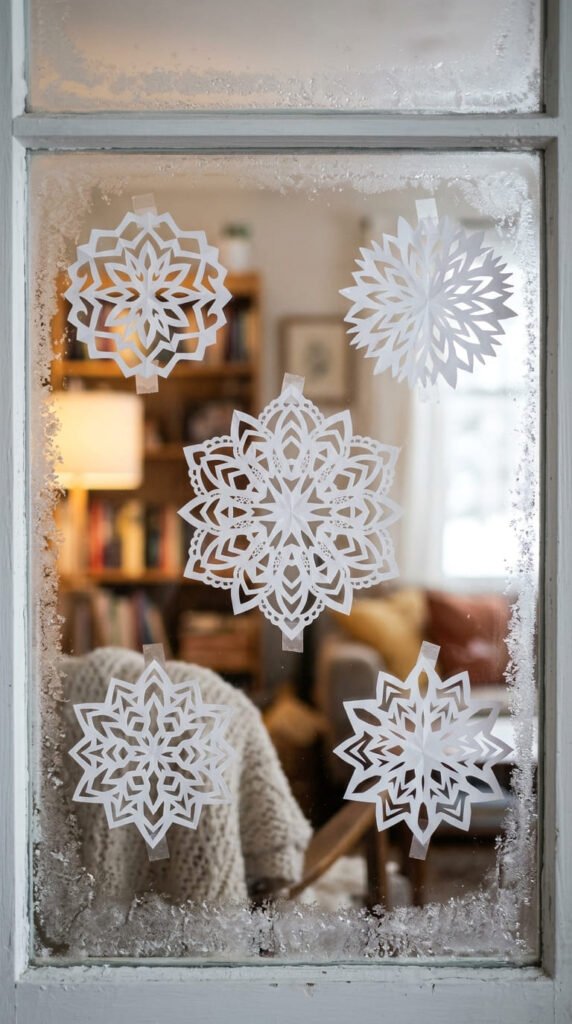
Fold a square piece of paper in half, then in half again, and once more into a triangle. Let your kid cut small notches and shapes along the folded edges, then unfold to reveal a symmetrical snowflake. Budget tip: plain white printer paper works fine, so this craft costs nothing beyond paper you already own. This is strong fine motor practice, since cutting through several folded layers takes real hand control. If scissors are still tricky, pre-fold the paper and let your kid focus only on the cutting step. Tape the finished snowflakes to a window so light shines through the cutout pattern. Make a dozen in different sizes for a garland effect strung along a wall or staircase. This craft is nearly free and endlessly repeatable, since a single ream of paper can produce snowflakes for the entire winter season.
6. Pinecone Bird Feeder
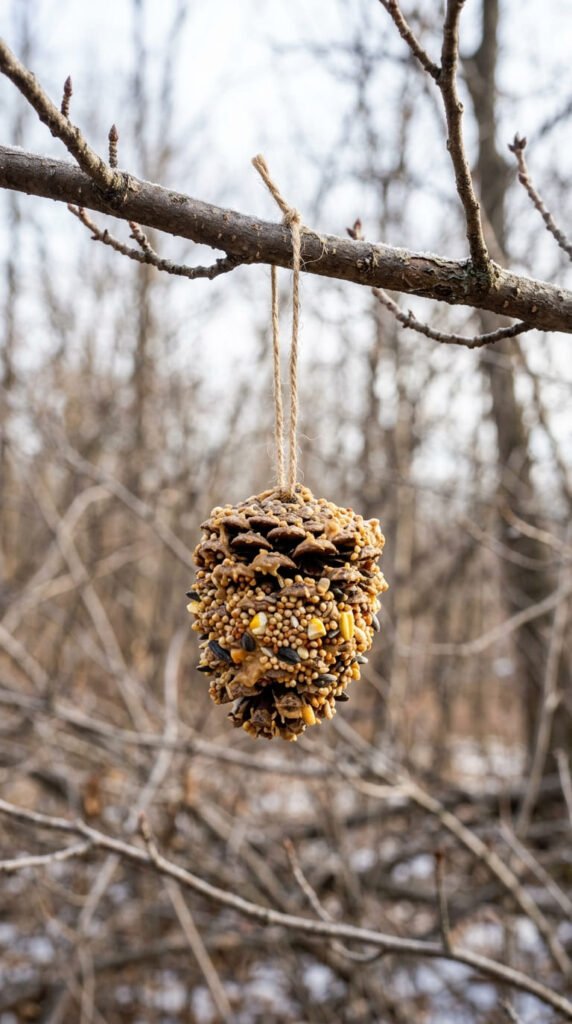
Tie a length of string around the top of a pinecone, then let your kid spread peanut butter into the gaps between the scales using a butter knife or craft stick. Roll the sticky pinecone in a tray of birdseed until it’s coated. Budget tip: pinecones are free if you collect them on a walk, and a small jar of peanut butter and a bag of seed cover many feeders. Hang the finished feeder from a tree branch outside and check back over the following days to see which birds stop by. This project bridges holiday crafting with a bit of outdoor nature learning, since your kid gets to watch real wildlife interact with something they made. This is a good pick for a winter break activity, since the feeder keeps paying off with visits from birds for weeks after the craft itself is finished.
7. Paper Chain Countdown
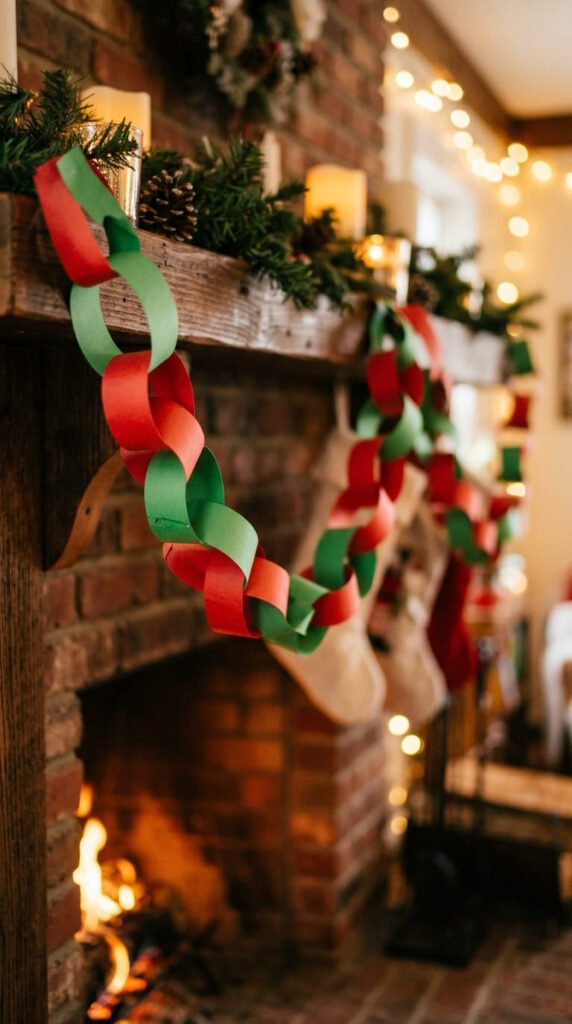
Cut strips of red and green construction paper, then loop and glue each one through the last to build a chain. Make one link for each day left until the holiday, so your kid can tear off a link every morning as a countdown. Budget tip: a single pack of construction paper makes a chain long enough for a full month, so this craft costs just a few dollars at most. This is a great daily routine craft, since the tearing-off ritual becomes part of the family’s morning routine leading up to the big day. Let your kid pick the color pattern, alternating or random, for a personal touch. This project also doubles as counting practice, since your kid can count down the remaining links each morning. Hang the finished chain somewhere visible, like a mantle or doorway, so it’s easy to check and update daily.
8. Popsicle Stick Ornaments

Glue five popsicle sticks together in a star shape, overlapping the ends slightly so they hold together once dry. Let your kid paint the star gold, silver, or any color they like, then glue a small loop of ribbon to the top for hanging. Budget tip: a bag of popsicle sticks costs very little and makes a dozen or more stars from one pack. This craft mixes building and painting, giving two different hand-skill workouts in one sitting. If your kid wants extra sparkle, add a light coat of glitter glue over the dry paint. This is a strong pick for a kid-made gift, since a handmade star ornament feels personal without taking much time to build. Make a full set for the family tree, letting each family member pick their own color for a mixed, colorful display once they’re all hung together.
9. Paper Bag Menorah
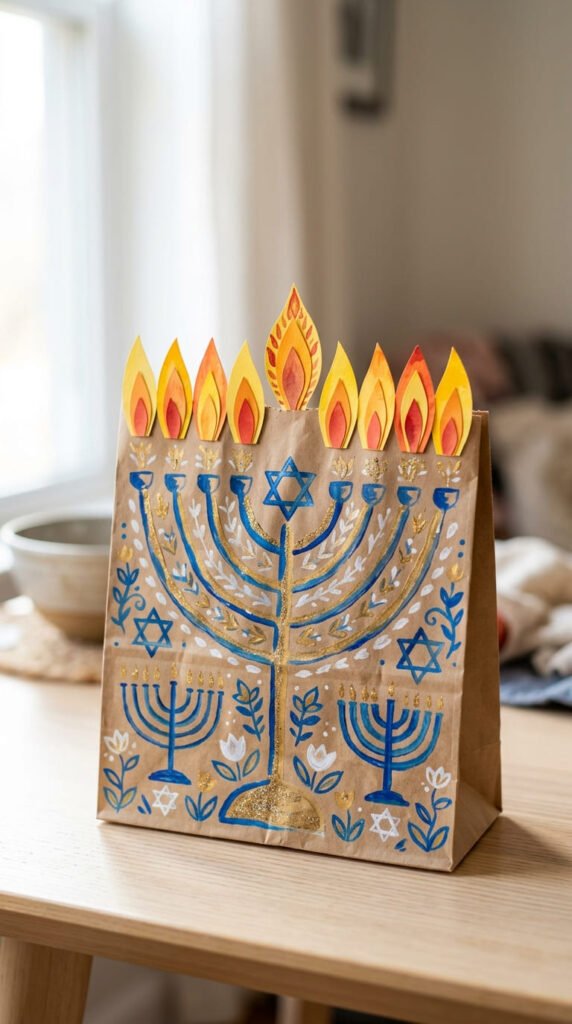
Fold a paper bag flat, then let your kid paint or color it gold or brown to resemble a menorah base. Cut nine small flame shapes from yellow and orange paper and glue them along the top edge, spacing them evenly. Budget tip: this craft costs nothing beyond paper and paint already on hand. Talk about Hanukkah and what each night of lighting the menorah represents while your kid works, adding meaning to the craft itself. This is a good pick for a classroom or home activity that reaches beyond Christmas-only content, giving a more inclusive holiday project for mixed classrooms or multi-holiday families. Let your kid count the flames as they glue them on for a light counting lesson. Hang the finished menorah craft on a wall or door as a simple, kid-made holiday decoration for the full eight nights.
10. Cereal Box Gift Boxes
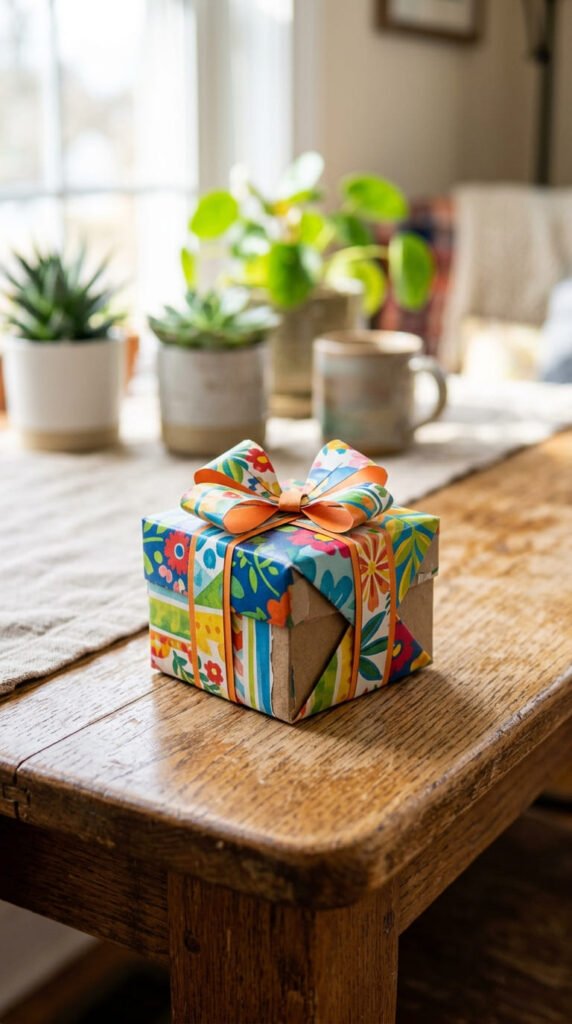
Cut the front and back panels off an empty cereal box, then fold and tape the edges into a simple box shape. Let your kid wrap the box in leftover wrapping paper or decorate it directly with markers and stickers. Budget tip: this uses a box you already have plus scrap wrapping paper, so the cost is close to zero. This is a practical, functional craft, since the finished box can actually hold a small gift or treat for a sibling or friend. Add a paper bow on top using a folded strip of construction paper for a finishing touch. This project mixes cutting, folding, and decorating, giving a well-rounded hand-skill session. This is a good pick for a gift-wrap and packaging craft, turning trash into something genuinely useful during the busiest gift-giving weeks of the year.
11. Painted Rock Ornaments
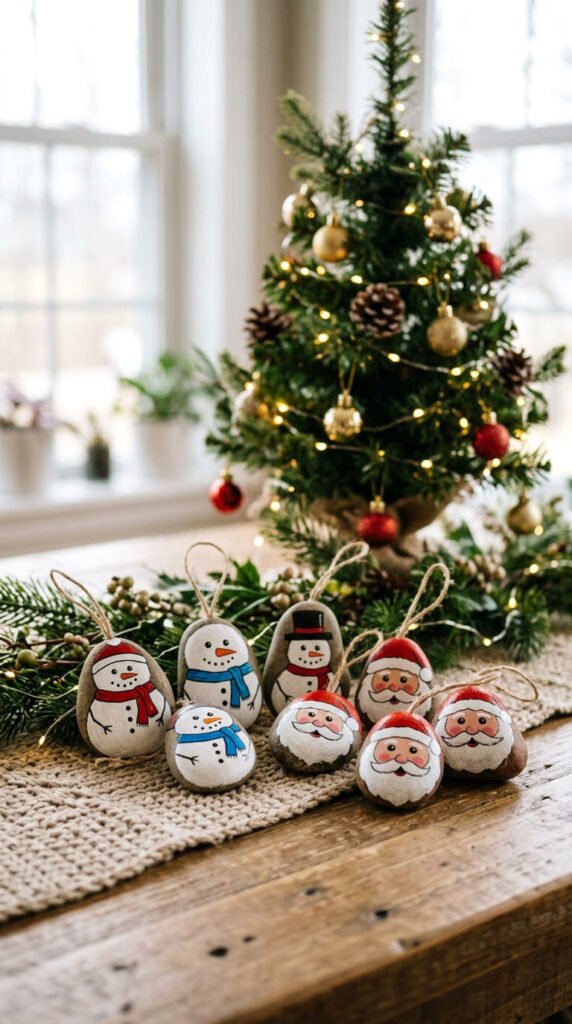
Collect a handful of smooth rocks from the yard or a park, then let your kid paint each one as a snowman, Santa, or simple holiday design. Once dry, glue a small loop of string to the back for hanging. Budget tip: this craft is free since rocks are collected rather than bought, and paint is the only real cost. This project pairs an outdoor collecting walk with a quiet painting session, giving two different types of activity in one afternoon. Let your kid paint a whole set in different designs for a mixed collection on the tree. This is a sturdy, durable ornament that holds up well over many years, unlike more fragile paper crafts. Store finished rocks in a labeled box each January so the same set can come back out again next winter, growing the collection year after year.
12. Yarn Wrapped Wreath
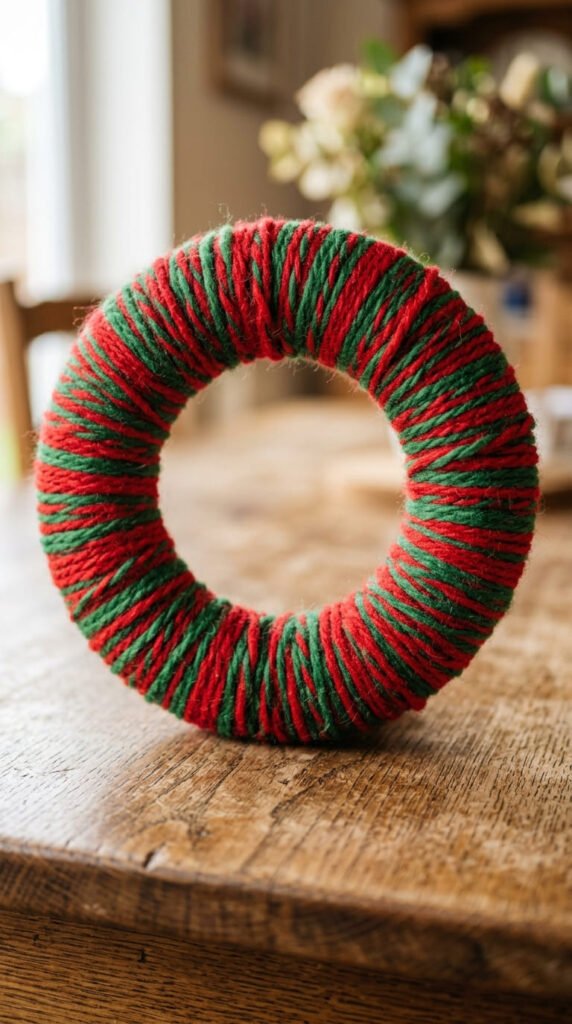
Cut a ring shape from a flattened cereal box, then let your kid wrap yarn around it repeatedly until the cardboard is fully covered. Tie off the end and add a small bow at the bottom. Budget tip: a single ball of yarn wraps several wreaths, so this craft costs very little per project. Wrapping yarn around and around is repetitive fine motor work, and it builds real hand coordination even though it feels like simple play. Let your kid mix red, green, and white yarn for a candy-cane-style pattern, or stick to one color for a simpler look. This wreath is sturdy and holds up well for years, unlike paper versions that can tear or fade. Hang it on a bedroom door or mirror for a soft, textured holiday touch that’s a nice change from typical shiny decorations.
13. Handprint Christmas Tree
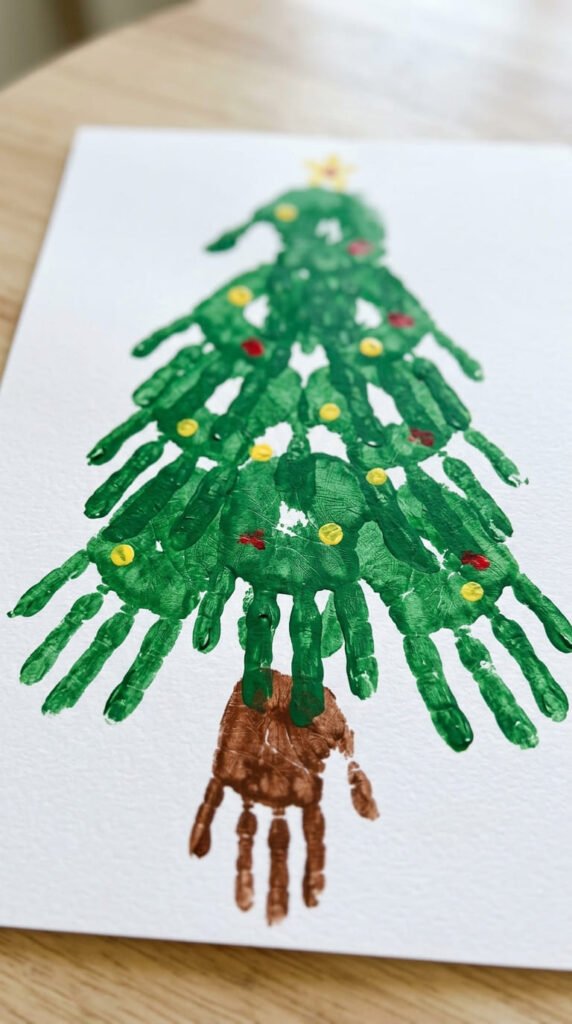
Paint your kid’s palm green and press several handprints in a stacked, layered pattern to build a triangle tree shape, with each layer slightly wider than the one above it. Once dry, add a small brown handprint or painted rectangle at the base for a trunk. Budget tip: a single small bottle of green paint covers this whole project, keeping the cost near zero. Add small dot stickers or fingerprint dots in different colors across the tree for ornaments once the green paint dries. This keepsake craft takes some patience since it uses several handprints layered together, but the payoff is a striking piece worth framing. This is a strong pick for a kid-made gift for grandparents, since a handprint tree feels personal in a way a store-bought card never will. Add the year in the corner to track how the print size changes over time.
14. Toilet Paper Roll Reindeer
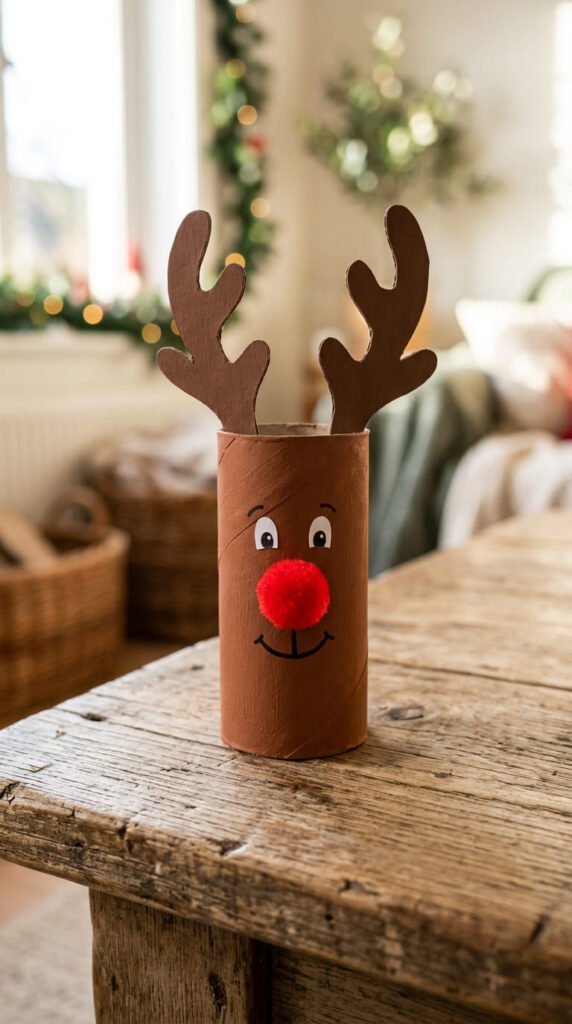
Paint a toilet paper roll brown, then glue on two small paper antlers cut into branching shapes. Add two googly eyes and a small red pom pom nose at the front. Budget tip: this uses just a tube, paint, and paper scraps, so the cost is close to nothing. This is a fast build, usually under ten minutes, making it a good pick for a quick activity between other holiday tasks. Talk about reindeer and their antlers while your kid decorates, adding a light animal-facts angle to the craft. If your kid enjoys this one, make a whole set of reindeer in different sizes to pull a small cardboard sleigh for pretend play. Line up finished reindeer along a windowsill or shelf for a simple, low-cost holiday display that holds up well through the full season.
15. Fake Snow Sensory Bin
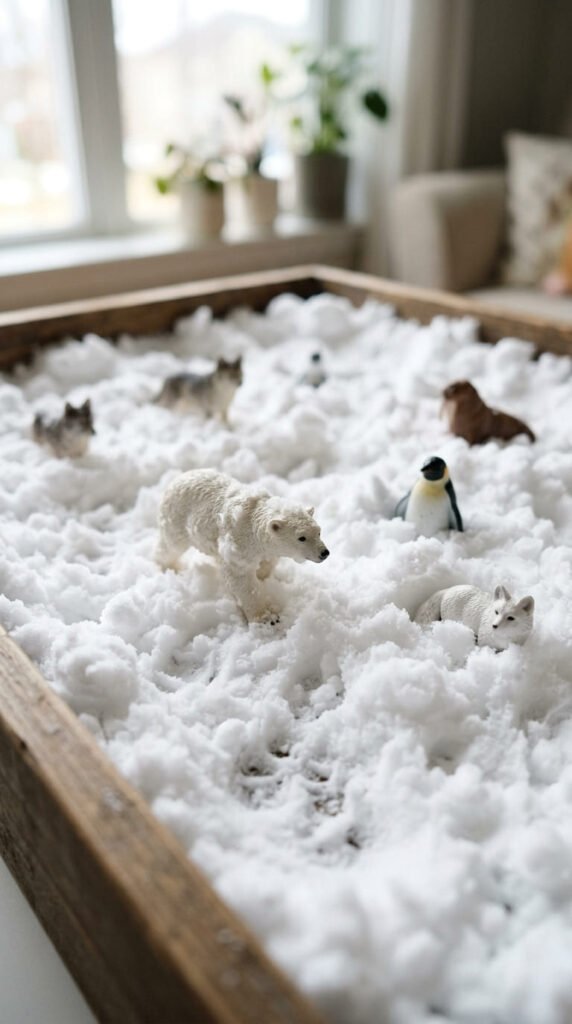
Mix baking soda with a bit of shaving cream or hair conditioner until it forms a fluffy, snow-like texture. Pour it into a shallow bin or tray and let your kid dig, scoop, and build with it using small cups and spoons. Budget tip: baking soda and shaving cream cost only a few dollars and make a large batch that lasts several play sessions if stored in an airtight container. This is pure sensory play, since the value is in the texture and exploration rather than a finished product. Add small toy animals or figures to bury and dig up for extra play value. This activity works well on a table with an easy-to-wipe surface, since the mixture doesn’t stain like paint. This is a good pick for a cold day when going outside for real snow isn’t an option, bringing a bit of winter play indoors.
16. Paper Plate Santa Face
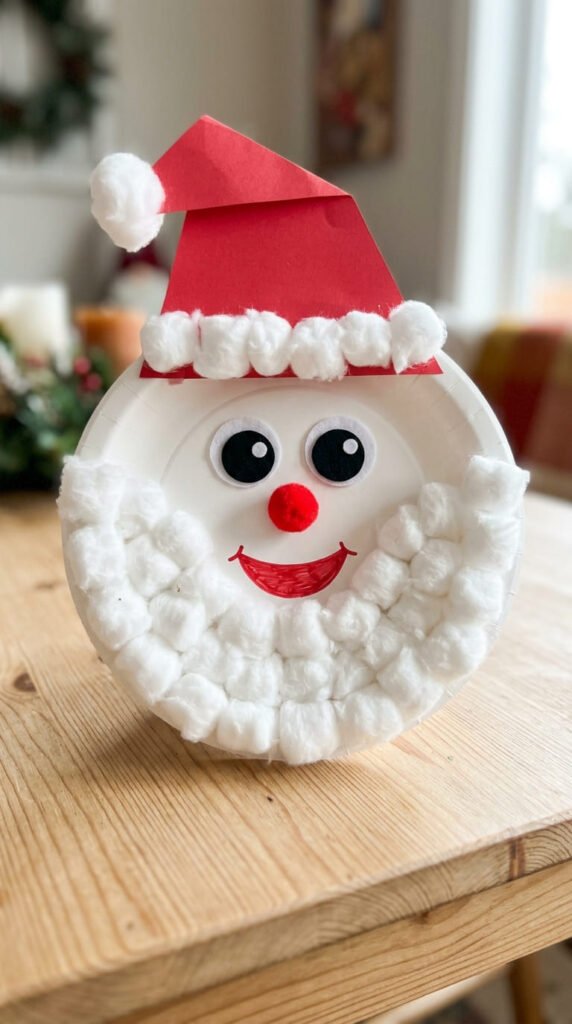
Paint the top third of a paper plate red for Santa’s hat, leaving the rest tan or peach for the face. Glue cotton balls across the bottom half for a fluffy beard, and add two small eyes and a red pom pom nose. Budget tip: a bag of cotton balls is inexpensive and lasts through several holiday crafts beyond just this one. Gluing individual cotton balls is a good pinch-and-place exercise for small hands, similar to working with pom poms. Add a small white cotton ball to the tip of the red hat for a finishing touch. This is a fast, high-impact craft that looks festive with fairly simple steps, making it a good confidence-building project for younger kids. Hang the finished Santa face on a door or wall for an easy holiday decoration that comes together in under fifteen minutes.
17. Twig Star Ornaments
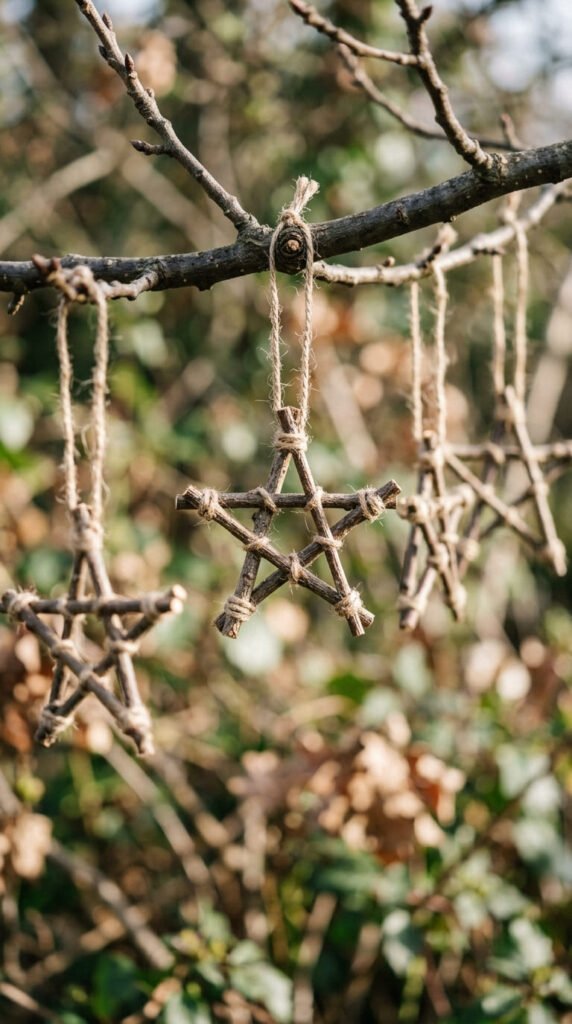
Collect five small twigs of similar length on a walk, then let your kid arrange them into a star shape and tie the crossing points together with twine. Budget tip: twigs are free from the yard or a nearby park, and a small roll of twine covers many stars. This is a more nature-based, rustic-style ornament that looks different from typical shiny holiday decor. Tying the twine around each crossing point takes some hand coordination, so younger kids may need help holding the twigs steady while you tie. Once assembled, hang the star with a small loop of extra twine. This craft pairs well with a winter nature walk beforehand, turning the whole afternoon into an outdoor-then-indoor activity. These stars look nice mixed in with other ornaments on the tree for a natural, earthy contrast against brighter decorations.
18. Peace Wreath
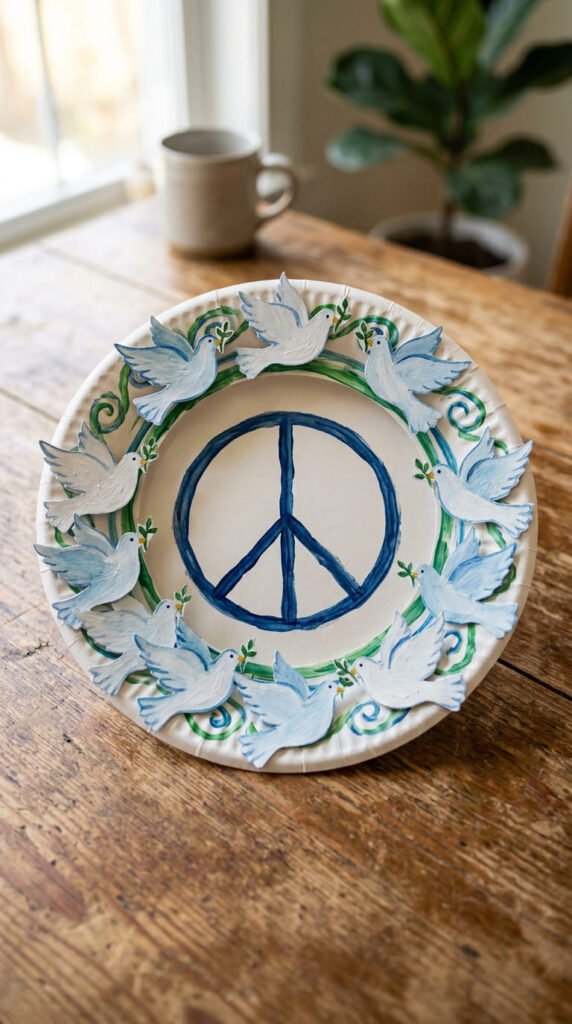
Cut the center from a paper plate to make a ring, then let your kid paint it white or light blue. Glue on small paper dove shapes or handprint doves around the ring, spacing them evenly. Budget tip: this craft costs almost nothing beyond paint and paper scraps already at home. Talk about the idea of peace and kindness during the holidays while your kid builds this one, giving the craft a bit of extra meaning beyond decoration. This is a good pick for a classroom setting or a home that wants a holiday craft beyond Christmas-only themes, since the message of peace fits many different traditions and beliefs. Hang the finished wreath on a door or wall as a gentle, meaningful decoration. This project works well paired with a short conversation about kindness, turning craft time into a small values lesson.
19. Cardboard Gingerbread House
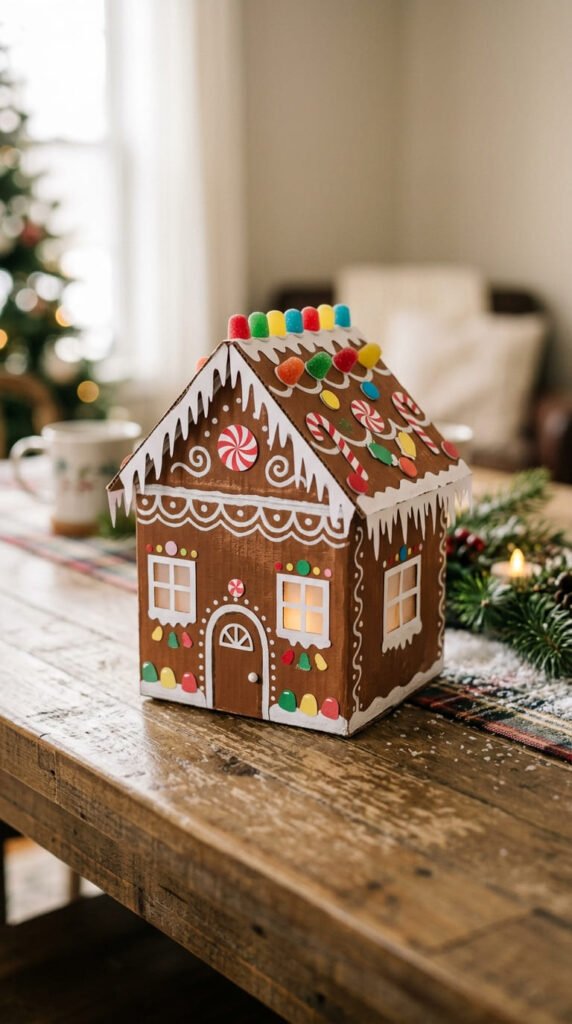
Paint a small cardboard box brown, then let your kid glue on paper candy shapes, buttons, or dried pasta pieces to look like icing and decorations. Add a triangle-shaped paper roof cut from cardstock. Budget tip: this uses a spare box, paint, and pantry odds and ends, so the cost is close to nothing. This is a good alternative to real gingerbread building, since it skips the sticky icing and doesn’t attract ants indoors. Talk about real gingerbread houses while your kid decorates, connecting the craft to a familiar holiday tradition. This project mixes painting and gluing with small decorative details, giving a longer, more involved craft session than most others on this list. Display the finished house on a mantle or table as a centerpiece that lasts the whole season without spoiling like a real gingerbread build would.
20. Handprint Snow Globe Card
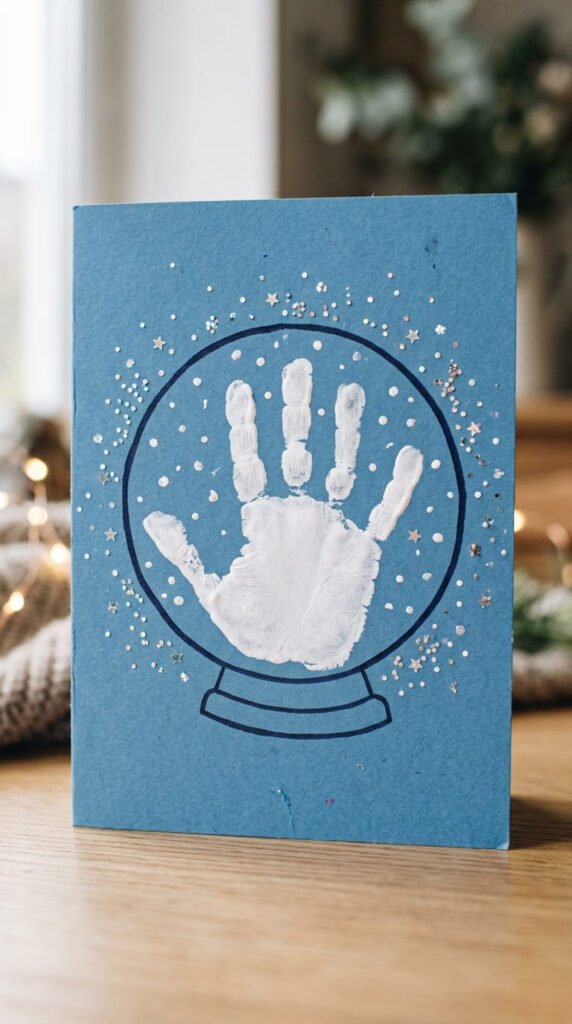
Draw a large circle on blue cardstock to represent a snow globe. Paint your kid’s palm white and press it inside the circle so the fingers look like little trees or a winter scene. Once dry, dab a few dots of white paint or glitter glue around the print to look like falling snow. Budget tip: this uses one small bottle of white paint and cardstock you likely already have. This is a fast keepsake craft, easy to turn into a holiday card by folding the cardstock in half first. Let your kid add a small drawn base under the circle to complete the snow globe look. This is a strong pick for a kid-made gift for family members who live far away, since a handmade card carries more sentimental weight than a store-bought one during the holidays.
21. Bottle Cap Ornaments
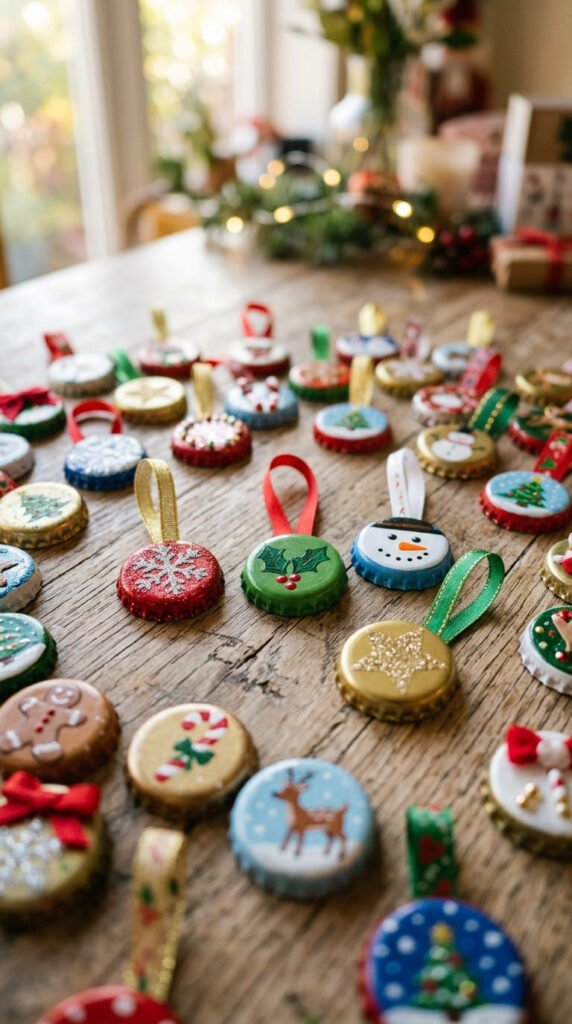
Save a handful of bottle caps instead of tossing them, then let your kid paint each one a bright holiday color. Glue a small loop of ribbon or string to the back of each cap for hanging. Budget tip: this craft is free since it reuses caps you’d otherwise recycle, and paint is the only real cost. Add a tiny dot pattern or a small painted snowflake design once the base coat dries for extra detail. These mini ornaments work well tucked between larger ones on the tree, filling in gaps with small pops of color. This is a good project for using up a small batch of caps that don’t match any other craft, since size and shape variation actually adds character to the finished set. Make a dozen or more for a mini garland by threading them onto string once fully dry.
22. Felt Stocking Craft
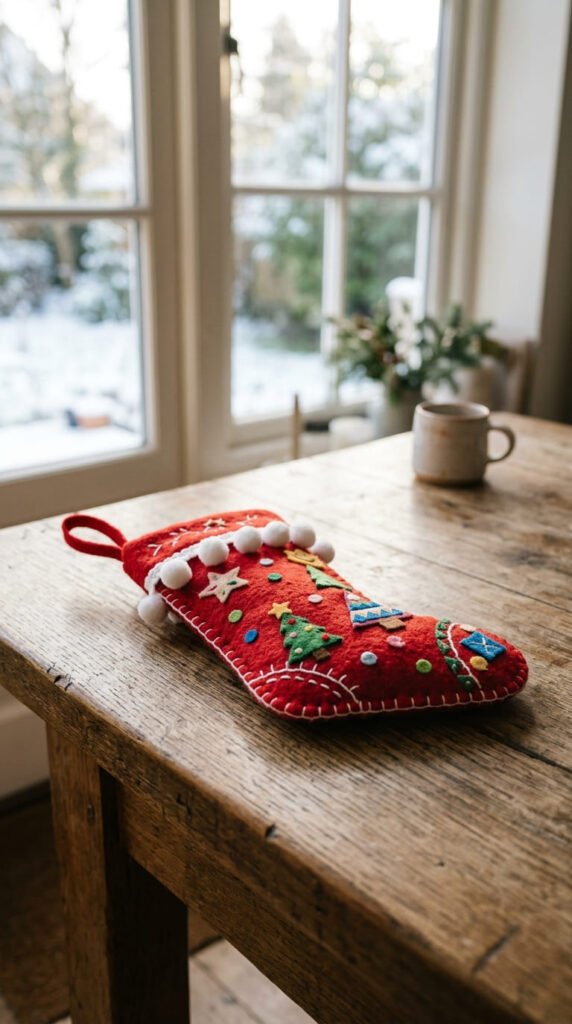
Cut two matching stocking shapes from red or green felt, then let your kid glue the edges together, leaving the top open. Add a strip of white pom pom trim or cotton balls along the top edge for a classic cuffed look. Budget tip: a small sheet of felt costs just a couple of dollars and makes several stockings from one piece. Fabric glue works better than regular craft glue for felt, so it’s worth grabbing a small bottle if you plan to repeat this craft. This is a good pick for a kid-made gift, since a small stocking can hold a few treats or a note for a sibling or grandparent. Add a name written in puffy paint or a fabric marker once the glue has fully dried. Hang the finished stocking from a doorknob or small hook as a personalized holiday touch.
23. Paper Ornament Garland
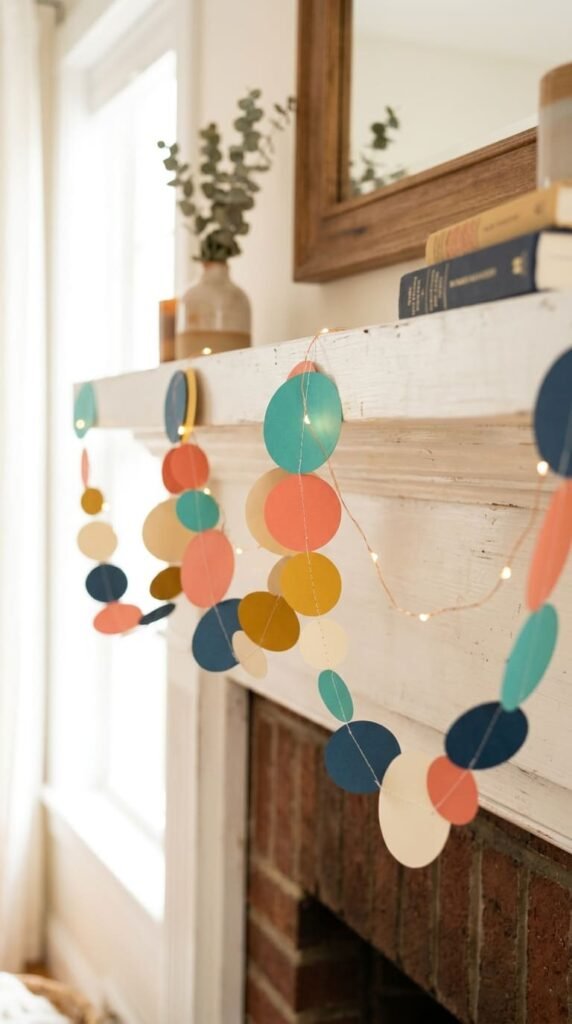
Cut a stack of paper circles in different holiday colors, then let your kid decorate each one with markers, stickers, or small painted patterns. Punch a hole near the edge of each circle and thread them all onto a length of string or yarn. Budget tip: this uses scrap paper and a bit of string, so the whole garland costs next to nothing. Decorating a big batch of circles is a good repetitive activity that holds attention longer than a single small craft, since your kid can keep adding new designs. Space the circles evenly as you thread them so the finished garland hangs with a consistent rhythm. This is a great process-art holiday craft, since there’s no single right way to decorate each circle. Drape the finished garland along a mantle, staircase, or window for a colorful, kid-made decoration that adds a personal touch to the whole room.
Conclusion
Twenty-three crafts, and every single one turns ordinary supplies into something that decorates a tree, wraps a gift, or brightens a family member’s day. That’s the real gift of holiday crafting — a paper plate, a handful of yarn, or a few pinecones from the yard can carry as much sentimental weight as anything store-bought, especially once a kid’s hands are the ones that made it. Pick a few from the Christmas section for the tree, add a nature-based project like the pinecone feeder for some outdoor time, and toss in the peace wreath or paper bag menorah if your family celebrates beyond Christmas. Keep a small bin of ribbon, yarn, and paper scraps ready so any of these projects can come together on short notice during a busy week. Start with whatever’s already sitting in your craft drawer, and let this season’s ornaments and gifts be the ones your kid made with their own two hands.