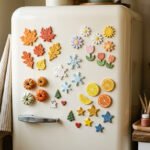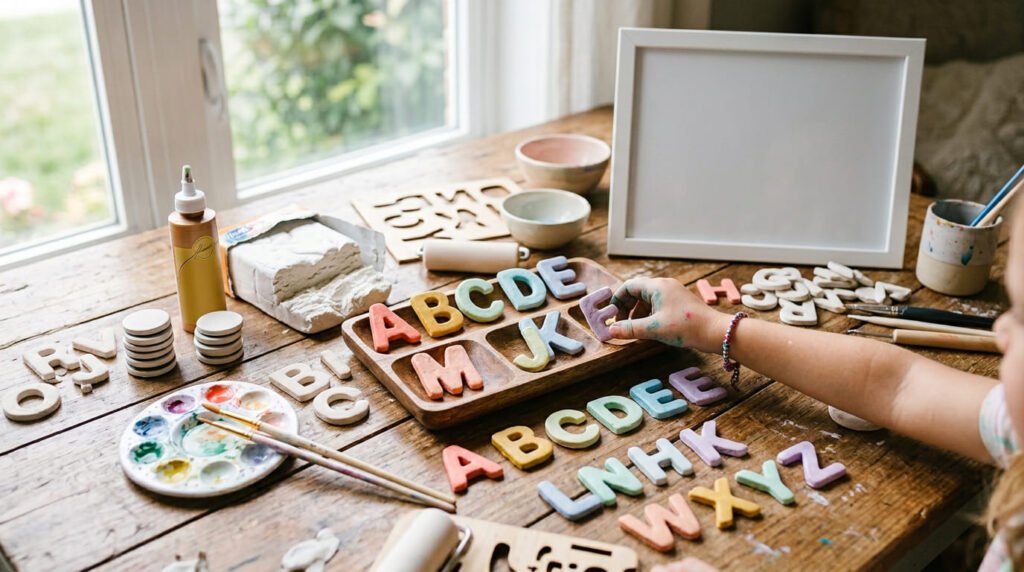
Clay letter magnets are the kind of craft that feels playful, personal, and useful all at once. Kids can use them to spell names, learn the alphabet, or decorate the fridge. Adults can turn them into custom handmade gifts, nursery decor, teacher presents, party favors, or family message-board sets.
The best part is that you do not need fancy tools. A little clay, paint, magnets, glue, and patience can turn simple letters into colorful keepsakes.

Choose Your Clay: Air-Dry or Polymer
You can make clay letter magnets with either air-dry clay or polymer clay. Both work well, but they feel different during the project.
Air-dry clay is great for kids because it does not require an oven. Shape the letters, let them dry, paint them, and glue magnets on the back. It is simple and beginner-friendly.
Polymer clay is better if you want brighter colors and stronger finished pieces. It must be baked according to the package directions, so adults should handle that step.
A quick guide:
- Use air-dry clay for kids’ crafts and no-bake projects.
- Use polymer clay for durable gift sets.
- Use white clay if you plan to paint everything.
- Use colored clay if you want faster results.
- Keep letters thick enough so they do not snap.
For young kids, start with chunky block letters. They are easier to hold, shape, and decorate.
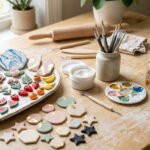
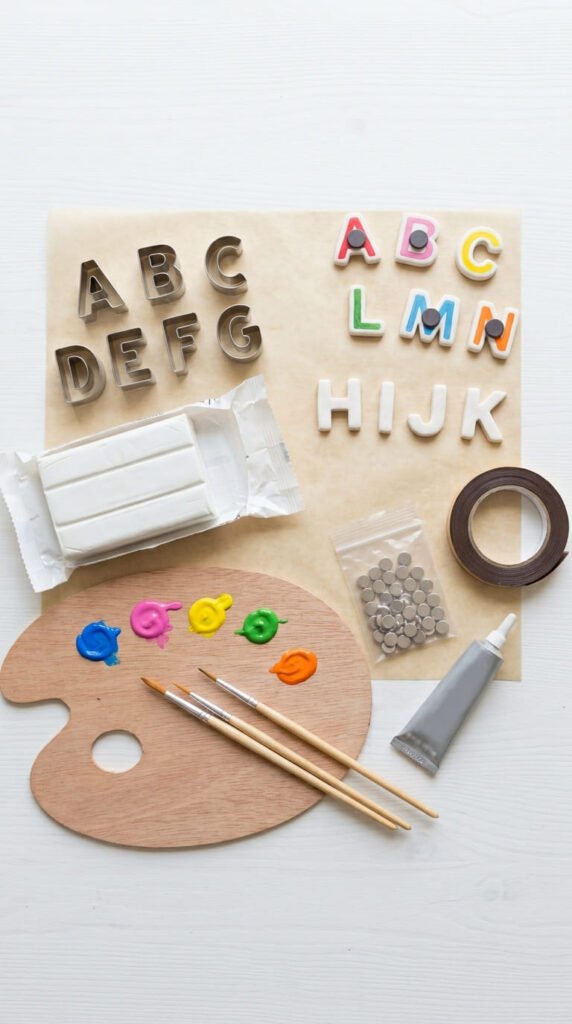
Gather Simple Supplies
You only need a few basic materials to make clay alphabet magnets at home.
Here is a simple supply list:
- Air-dry clay or polymer clay
- Small magnets or magnet tape
- Strong craft glue
- Acrylic paint
- Paintbrushes
- Rolling pin or smooth bottle
- Letter cutters, stamps, or paper templates
- Toothpick or skewer
- Clear varnish or Mod Podge
- Parchment paper
If you do not have alphabet cutters, make paper letter templates. Print or draw large letters, cut them out, place them on rolled clay, and trace around them with a craft knife.
For kids, you can also roll clay ropes and shape them into letters by hand. This method is less perfect, but it feels fun and creative.
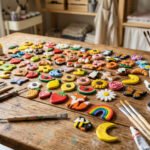
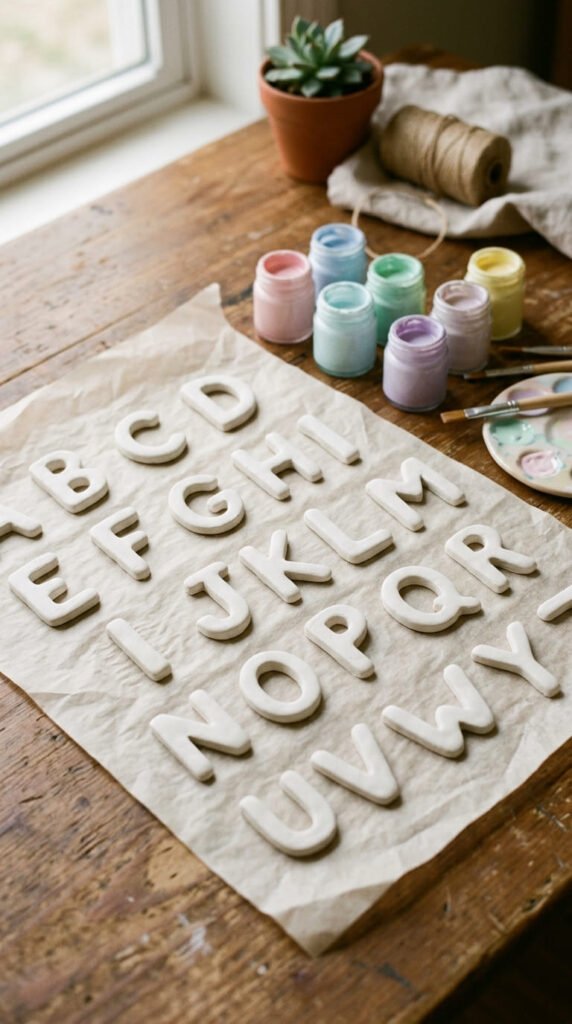
Shape the Letters
Start by rolling your clay to an even thickness. Aim for about the thickness of a cookie. If the letters are too thin, they may crack. If they are too thick, they may become heavy and slide on the fridge.
There are three easy ways to make the letters:
- Cut-out letters: Use alphabet cookie cutters or templates.
- Rope letters: Roll thin clay ropes and bend them into letter shapes.
- Stamped letters: Cut simple shapes like circles or squares, then press letter stamps into them.
Cut-out letters look clean. Rope letters look playful. Stamped letters are great for names, initials, and gift tags.
If you are making a full alphabet set for kids, make extra vowels. Letters like A, E, I, O, and U get used often. You may also want extra common letters like S, T, M, R, and N.
Smooth rough edges with your finger. For air-dry clay, a tiny bit of water can help.
Dry or Bake the Clay
Once your letters are shaped, let them harden fully.
For air-dry clay, place the letters on parchment paper and let them dry for 24 to 48 hours. Flip them gently halfway through so both sides dry evenly.
For polymer clay, bake according to the instructions on the clay package. Place the letters on parchment paper or a baking-safe tray. Let them cool fully before painting or gluing.
Do not rush this step. If the clay is still soft inside, paint and glue may not hold well. Fully dry letters are easier to sand, decorate, seal, and turn into magnets.
Paint and Decorate
Now comes the fun part. Paint turns plain clay letters into cute personalized magnets.
For kids, use bright rainbow colors. For gifts, try softer palettes like:
- Blush, cream, and gold
- Sage, ivory, and tan
- Pastel blue, lavender, and white
- Terracotta, beige, and brown
- Yellow, mint, and coral
Paint in thin layers. Thick paint can hide letter details and take longer to dry.
You can decorate letters with:
- Tiny dots
- Stripes
- Florals
- Stars
- Hearts
- Checker patterns
- Gold edges
- Glitter paint
For personalized gifts, spell out a name. You can make nursery magnets with a baby’s name, a teacher gift with initials, or a family fridge set with each person’s first letter.
Let the paint dry fully before sealing.
Add Magnets to the Back
The back of each letter should be flat. If it feels bumpy, sand it gently with fine sandpaper.
Add a small amount of strong glue to the magnet. Press it onto the back of the letter. Hold it for a few seconds, then place the letter face down while it dries.
Magnet tape is another easy option. Cut a small strip and stick it to the back. Round magnets are usually stronger, but magnet tape works well for lightweight letters.

Let the glue dry overnight if you can. This helps the magnets stay attached during daily use.
Seal for a Finished Look
A clear sealer protects the paint and makes the letters easier to clean. Use matte sealer for a soft clay look. Use satin sealer for a gentle handmade shine. Use gloss if you want bold, shiny colors.
Brush on a thin coat and let it dry. Add a second coat if the magnets will be handled often by kids.
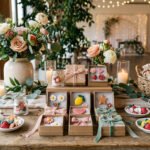
For gift sets, place the letters in a small box, cotton pouch, or paper sleeve. A name set looks extra cute when arranged in order before wrapping.
Fun Ways to Use Clay Letter Magnets
Clay letter magnets can be more than fridge decor. They are useful for play, learning, and gifting.
Try these ideas:
- Make a full alphabet set for toddlers.
- Spell a child’s name for bedroom decor.
- Create initials for party favors.
- Make teacher-name magnets for classroom boards.
- Create holiday words for seasonal fridge decor.
- Make family initials for a magnetic message board.
Kids can practice spelling simple words, matching colors, and arranging letters. Adults can use them for custom gifts that feel thoughtful without costing much.
Final Takeaway
Clay letter magnets are easy, affordable, and full of personality. Start with chunky letters, choose air-dry clay for a no-bake project or polymer clay for a stronger finish, then paint and seal them in colors that match your style. Make a full alphabet for kids, a name set for a nursery, or personalized initials for handmade gifts.
Save this clay magnet idea for your next weekend craft project!