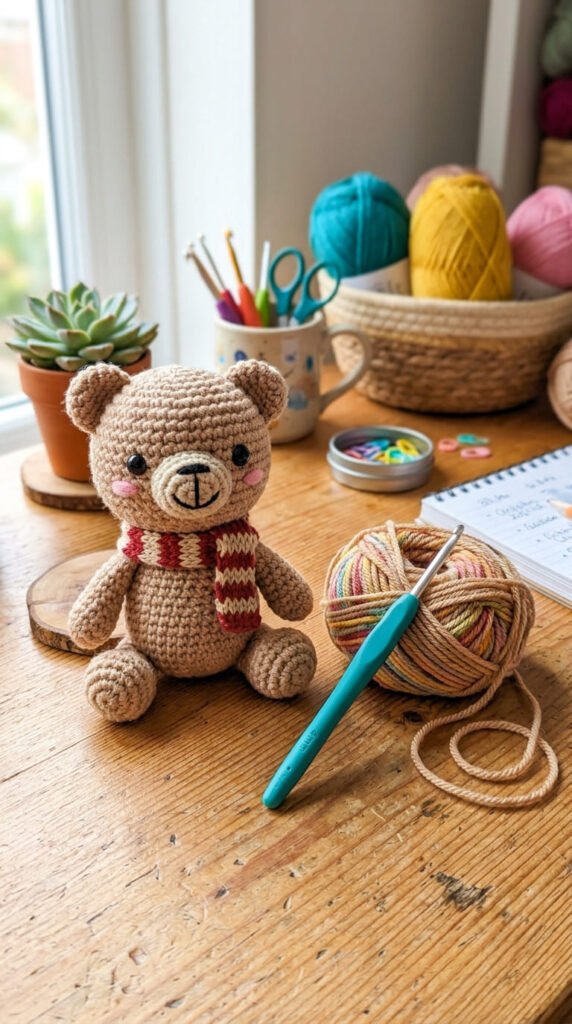
Amigurumi looks magical at first glance. Tiny crochet animals, smiling food plushies, mini dolls, and pocket-sized creatures all feel like something from a cute handmade shop. But the best part? You do not have to be an expert crocheter to start.
If you can learn a few basic stitches, count your rounds, and stay patient with small details, you can make your first crochet plushie. This beginner guide will walk you through the tools, stitches, yarn choices, and simple tips that make amigurumi much easier.
What Is Amigurumi?
Amigurumi is the art of crocheting small stuffed toys. Most designs are worked in continuous rounds, which means you crochet in a spiral instead of turning your work back and forth.
Common amigurumi projects include:
- Crochet animals
- Mini dolls
- Food plushies
- Keychains
- Fantasy creatures
- Pocket-sized comfort toys
Most beginner amigurumi patterns use single crochet, increases, decreases, stuffing, and a little sewing. Once you learn these basics, you can make many different designs by changing colors, shapes, ears, arms, and faces.
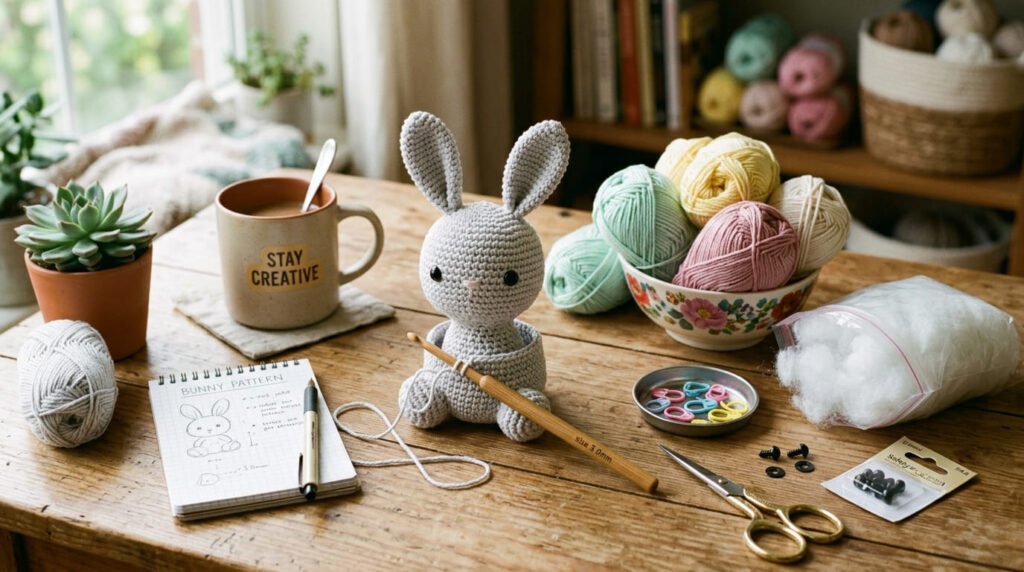
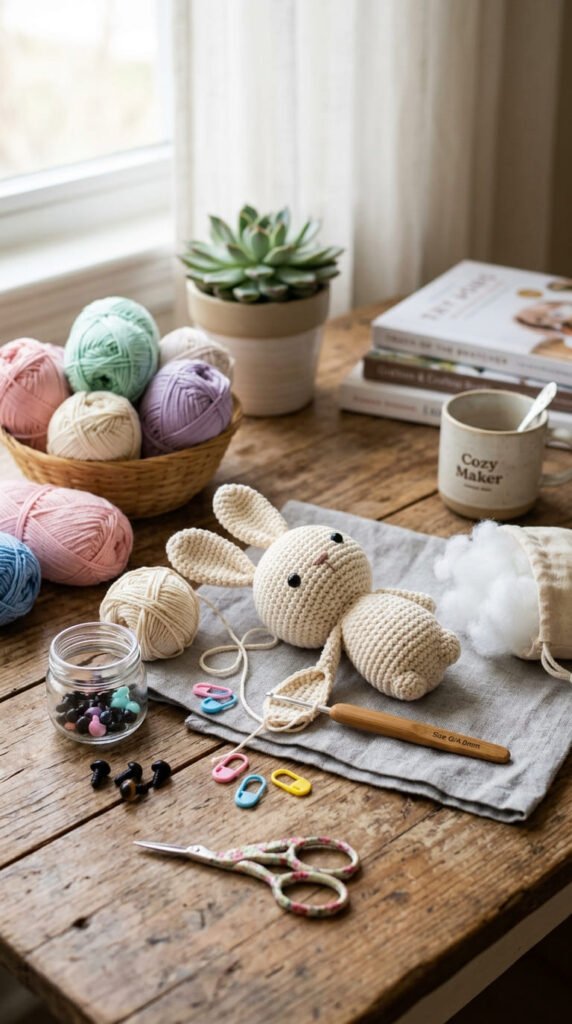
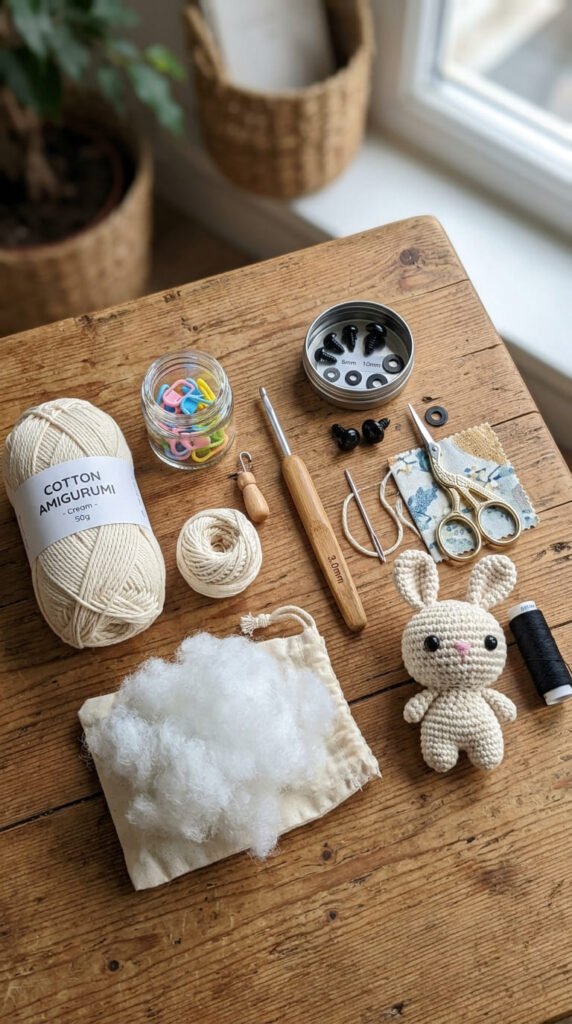
Supplies You Need to Start
You do not need a huge craft collection to start amigurumi. A small beginner kit is enough.
Basic supplies include:
- Light-colored yarn
- Crochet hook
- Stitch markers
- Safety eyes
- Fiberfill stuffing
- Yarn needle
- Scissors
- Pins for placing parts
For your first project, choose light yarn because it is easier to see each stitch. Avoid very dark, fuzzy, or fluffy yarn at the beginning. Those yarns can hide your stitches and make counting harder.
Cotton and acrylic yarn are both good choices. Tubular yarn can also be beginner-friendly because it does not split easily.
Learn the Magic Ring First
The magic ring, also called the magic circle, is one of the most useful amigurumi techniques. It creates a tight starting center, which helps prevent a hole at the top of your toy’s head or body.
Many beginner patterns begin like this:
- Make a magic ring
- Crochet 6 single crochet stitches into the ring
- Pull the yarn tail tight
- Continue working in rounds
The first few tries may feel awkward. That is normal. Practice the magic ring with scrap yarn before starting a real project.
A helpful beginner tip is to leave a longer yarn tail. This gives you more control when tightening the ring.
Use Single Crochet for a Firm Shape
Single crochet is the main stitch used in amigurumi. It creates a tight fabric, which helps keep stuffing from showing through.
When making plushies, your stitches should be firm but not painful to work. If your fabric has large gaps, try using a smaller hook. Many amigurumi makers use a hook smaller than the yarn label suggests.
For example, if your yarn recommends a 5mm hook, you might use a 3.5mm or 4mm hook for amigurumi. This helps create a cleaner, tighter shape.
Keep your hands relaxed. Tight stitches are helpful, but gripping too hard can make the project uncomfortable.
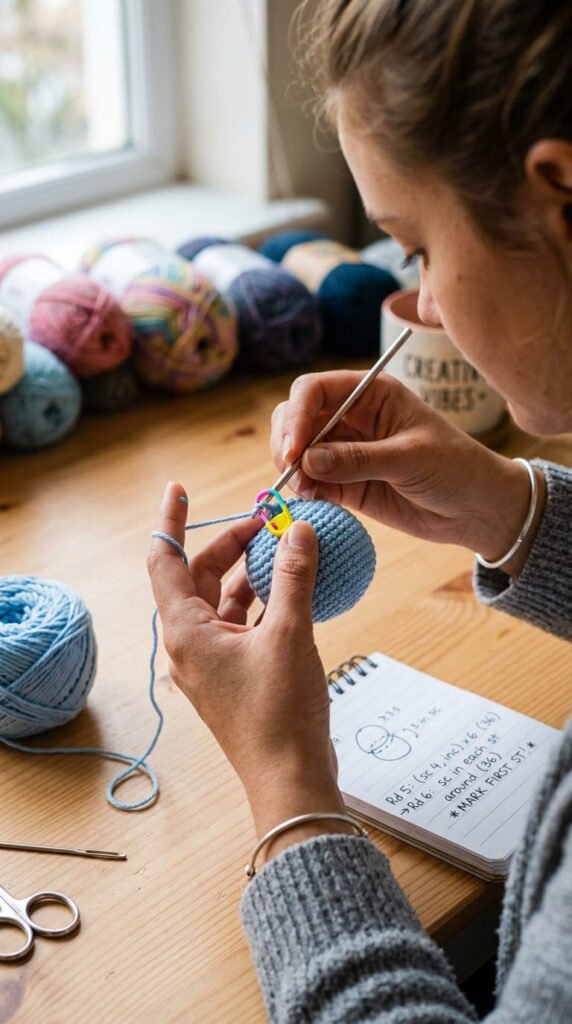
Count Every Round
Counting is one of the biggest secrets to neat amigurumi. Since most projects are worked in a spiral, it is easy to lose track of where a round begins.
Use a locking stitch marker in the first stitch of each round. Move it up as you work.
You can also write your round numbers on paper or use a row counter app. This small habit saves time and prevents frustration.
Check your stitch count often, especially after increase and decrease rounds. Catching a mistake early is much easier than fixing it ten rounds later.
Understand Increases and Decreases
Amigurumi shapes are made by increasing and decreasing stitches.
An increase means you crochet two stitches into the same stitch. This makes your piece wider.
A decrease means you combine stitches to make your piece smaller. Many amigurumi patterns use an invisible decrease because it creates fewer gaps than a regular decrease.
You will use these steps to shape heads, bodies, arms, legs, ears, and tails.
A simple ball shape usually follows this pattern:
- Increase rounds to make it wider
- Work even rounds to build height
- Decrease rounds to close the shape
Once you can make a ball, you can make many beginner toys.
Stuff Your Amigurumi the Right Way
Stuffing can change the entire look of your toy. Too little stuffing makes the plushie floppy. Too much stuffing stretches the stitches and can make gaps show.
Add stuffing slowly in small pieces. Push it into the shape with your fingers, the back of a hook, or a stuffing tool.
For round shapes, add more stuffing near the center, then gently smooth the outside. The goal is a firm plushie that still feels soft.
Before closing the final round, check the shape from all sides. Add a little more stuffing if the head or body looks flat.
Add Eyes, Face, and Details
Safety eyes are popular for amigurumi because they give a clean, cute look. Common beginner sizes are 6mm and 8mm, depending on the project size.
Place the eyes before closing the head. Use pins first so you can adjust the position. Once the washers are attached, safety eyes are hard to remove.
For very young children, embroidered eyes are often a safer choice. You can use black embroidery thread or yarn to stitch simple eyes and a tiny smile.
Small details bring your plushie to life. Try:
- Blush with fabric-safe pastel
- Tiny stitched mouth
- Mini bow
- Colorful scarf
- Keychain ring
Start With an Easy Pattern
Your first amigurumi project should be simple. Do not start with a large doll that has many sewn parts.
Good beginner projects include:
- Small ball
- Mini whale
- Tiny octopus
- Simple bunny
- Crochet frog
- No-sew plushie
- Basic bear head keychain
No-sew or low-sew patterns are great for beginners because they reduce the finishing work. They also help you focus on shaping and stitch counting.
Pick one pattern and finish it before starting another. Completing a small project builds confidence fast.
Common Beginner Mistakes
Every beginner makes mistakes. That is part of learning.
Watch out for these common issues:
- Using dark yarn too soon
- Forgetting the stitch marker
- Overstuffing the toy
- Skipping stitch counts
- Using a hook that is too large
- Sewing parts on without pinning first
- Pulling yarn too tightly
If something looks wrong, it is okay to undo a few rounds and try again. Crocheters call this “frogging.” It may feel annoying, but it helps your final toy look much better.
Final Takeaway
Learning how to crochet amigurumi is all about starting small, using the right tools, and practicing the basics. Begin with light yarn, a simple hook, stitch markers, and an easy pattern. Learn the magic ring, single crochet, increases, decreases, and gentle stuffing.
Your first plushie may not be perfect, but it will teach you so much. Keep practicing, save your favorite patterns, and enjoy making tiny handmade characters one stitch at a time.