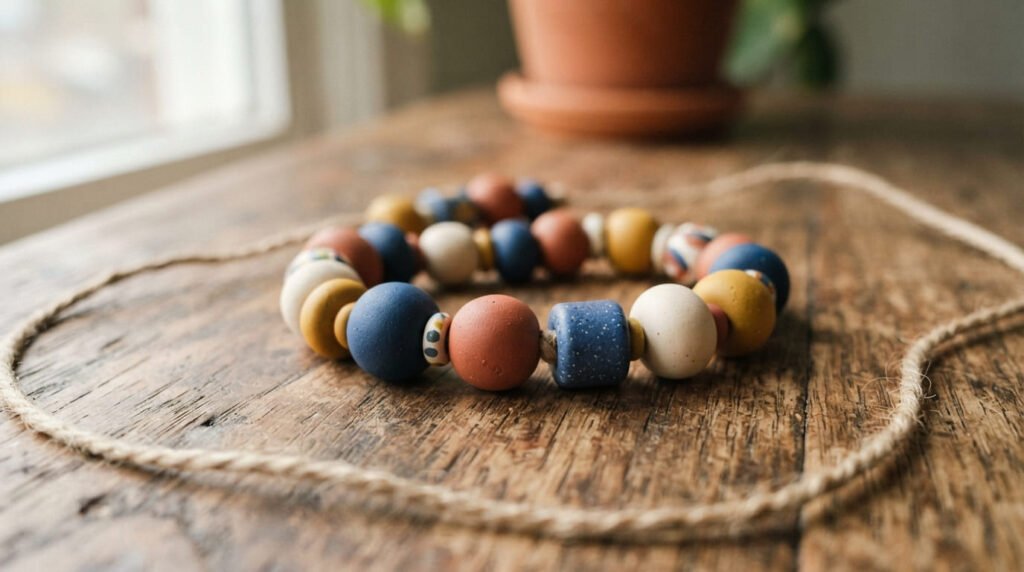
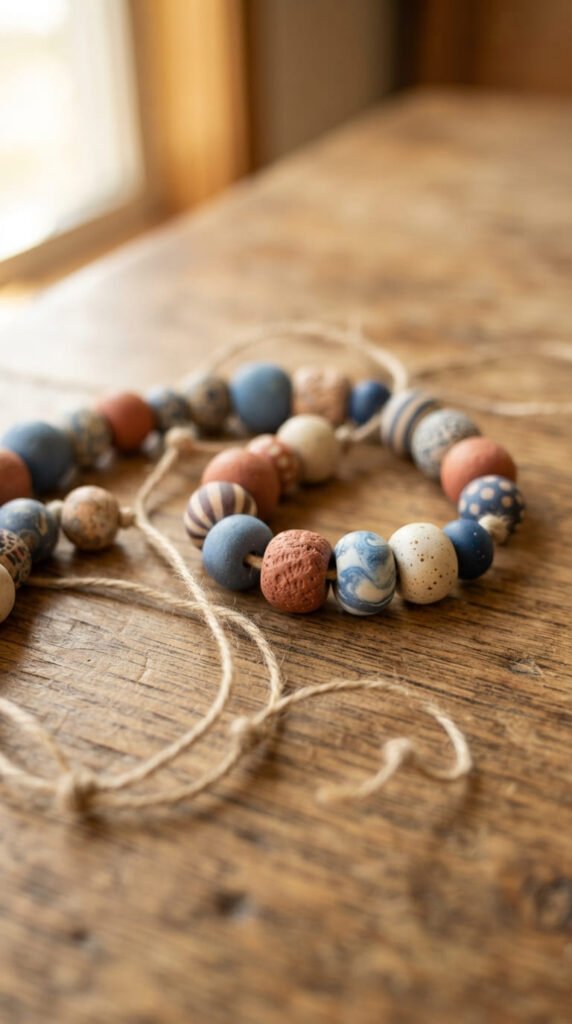
If you’ve ever picked up a pair of clay earrings and wondered how someone made those tiny, perfect beads, you’re about to find out. Polymer clay beads are one of the easiest crafts to start and one of the hardest to stop making once you get going. All you need is a few basic tools, some clay, and about an hour of your afternoon. Here’s exactly how to make your own, from raw clay to finished jewelry piece.
What You’ll Need
Before you start, gather these basics:
- Polymer clay (Sculpey Premo is a beginner favorite)
- A pasta machine or acrylic roller for conditioning
- A tissue blade or craft knife
- A bead roller (optional but helpful for even sizes)
- A needle or skewer for making holes
- A baking sheet and oven thermometer
- Sandpaper and a soft cloth for finishing
Budget tip: you don’t need fancy tools to start. A hand-crank pasta machine and a basic craft knife will get you through your first batch just fine.
Step 1: Condition Your Clay
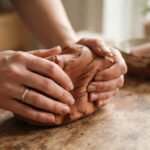
Fresh from the package, clay is stiff and crumbly. You have to warm it up before it’s workable.
- Knead it in your hands for a minute or two
- Run it through a pasta machine several times, folding it in half each pass
- Keep going until it feels soft and bends without cracking
This step matters more than people think. Skip it, and your beads may crack later in the oven.
Step 2: Pick Your Color and Technique
This is where the fun starts. A few beginner-friendly options:
- Solid color rounds – simple and clean, great for practicing your roll
- Marbled beads – twist two colors together loosely, then roll
- Mica shift beads – mix in a little mica powder for a shimmery, light-catching finish
- Textured canes – press a stamp or fabric into the clay before slicing
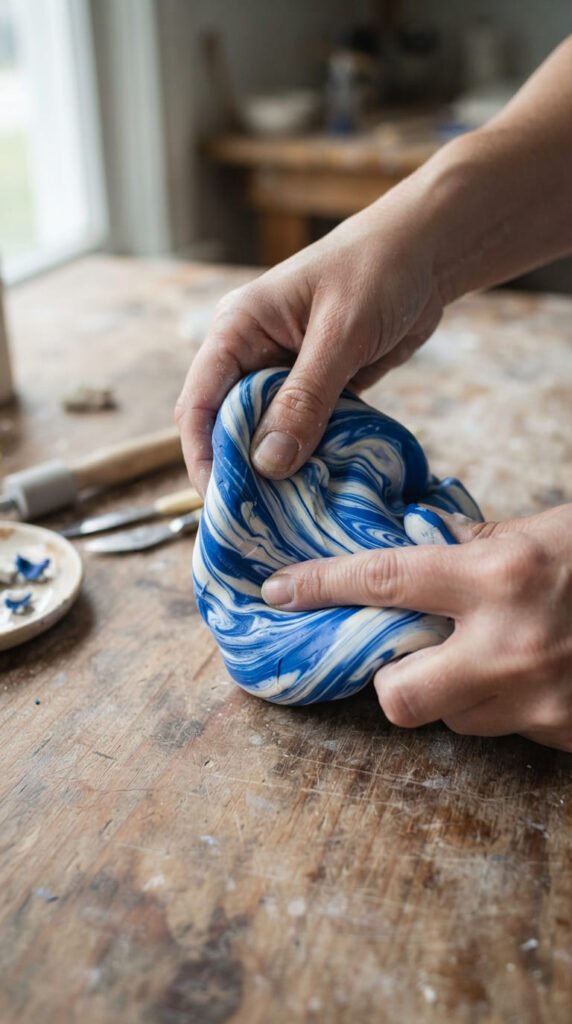
Don’t overmix your colors if you want visible swirls. Stop just before the colors fully blend for the prettiest marbled effect.
Step 3: Roll Your Beads
Now shape your clay into beads.
- Pinch off small, even pieces of clay
- Roll each piece between your palms into a smooth ball
- Use a bead roller if you want perfectly uniform sizes every time
- Aim for consistency — beads of similar size look far more polished strung together
If your beads come out lopsided at first, that’s normal. Rolling even spheres takes a little practice, and you’ll get faster with every batch.
Step 4: Add the Holes
This step trips up a lot of beginners, so take it slow.
- Use a thin needle or skewer to poke straight through the center of each bead
- Turn the bead as you push through to keep the hole even
- Wiggle the needle slightly to widen the hole enough for your stringing material
Pro tip: making holes before baking is much easier than drilling afterward, and it avoids the cracking that often happens when people try to drill hardened clay.
Step 5: Bake with Care
Baking is where beads either turn out perfect or snap in half, so don’t rush it.
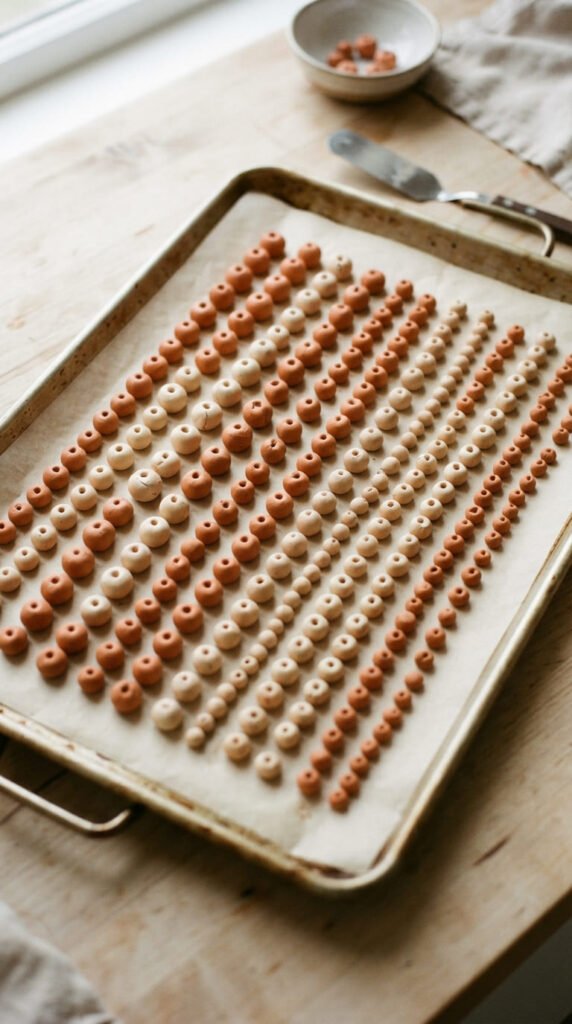
- Place beads on a baking sheet lined with parchment paper
- Check your clay package for the exact temperature, usually around 130°C (265°F)
- Use an oven thermometer — most home ovens run hotter or cooler than the dial says
- Bake for the full time listed on the package, usually 30 to 60 minutes depending on bead size
Let the beads cool completely on the tray before touching them. They’re fragile straight out of the oven and firm up as they cool.
Step 6: Sand and Finish
Once your beads have cooled, it’s time to clean them up.
- Lightly sand any rough edges or fingerprints with fine sandpaper
- Buff with a soft cloth for a subtle natural shine
- Add a coat of sealant if you want extra gloss or protection, especially for beads that will get sun exposure
A little sanding goes a long way. It’s the step that separates handmade-looking beads from professional-looking ones.
Step 7: String and Wear
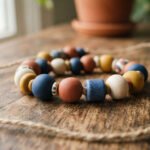
Now for the reward. String your beads onto elastic cord, wire, or thread to make a bracelet, necklace, or earring set.
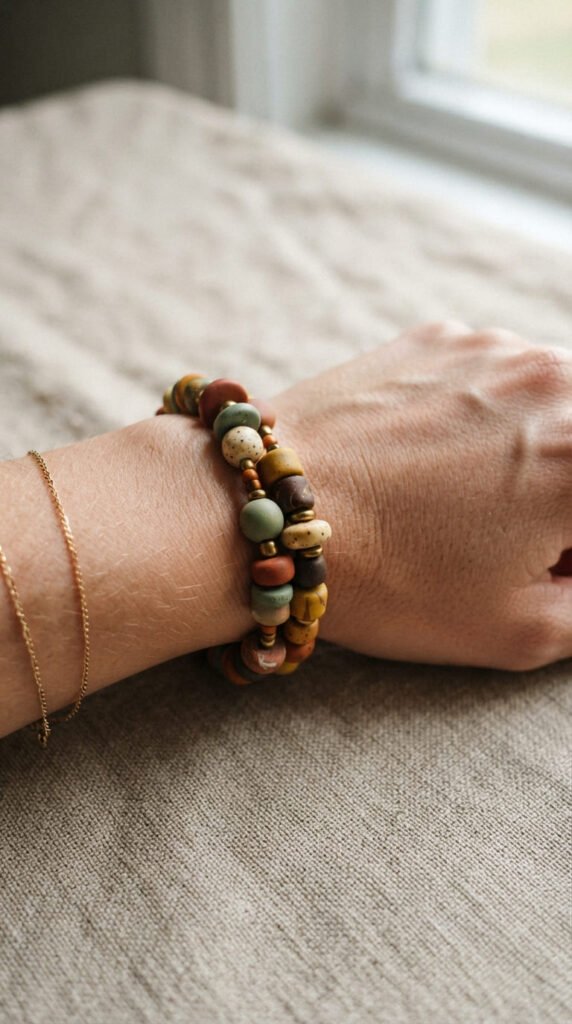
Mix bead sizes and colors for visual interest, or keep it simple with one shade for a clean, everyday look. Either way, you made every single bead yourself.
Final Thoughts
Polymer clay beads are forgiving, affordable, and genuinely satisfying to make. Start small with one color and one shape, then experiment as you get more comfortable. Before long, you’ll have a little collection of handmade jewelry that costs almost nothing to produce.
Save this guide for later, and give it a try this weekend. Your first batch of beads is only a few steps away.