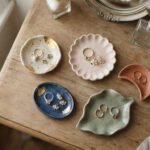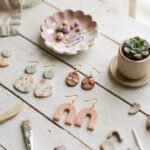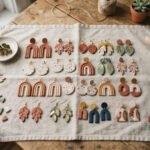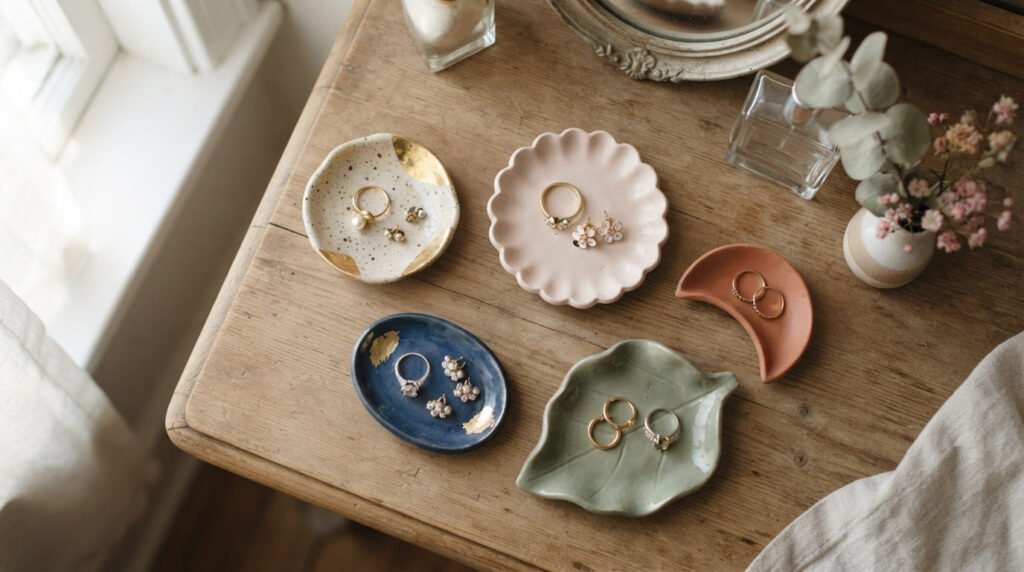
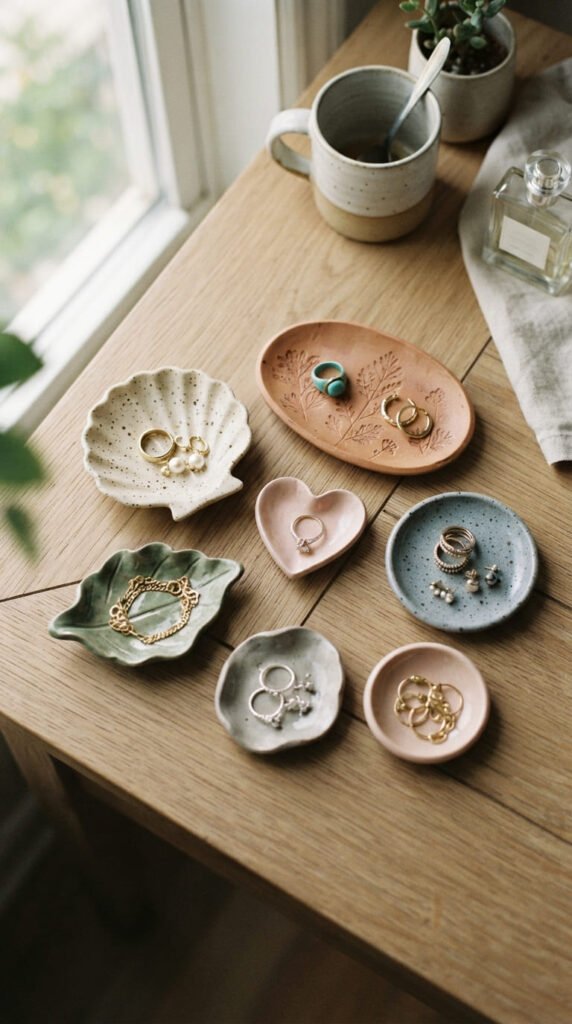
A clay trinket dish is one of the simplest ways to make a vanity feel put together. It catches your rings before bed, holds loose earrings during the day, and looks pretty enough to leave sitting out on its own. Whether you’re shopping for one or want to make your own with air-dry or polymer clay, this list rounds up 22 aesthetic dish ideas that fit almost any style, from marbled and gold-rimmed classics to playful shells and leaves. Each idea comes with practical tips so you can recreate the look on a small budget.
1. Classic Marbled Ring Dish
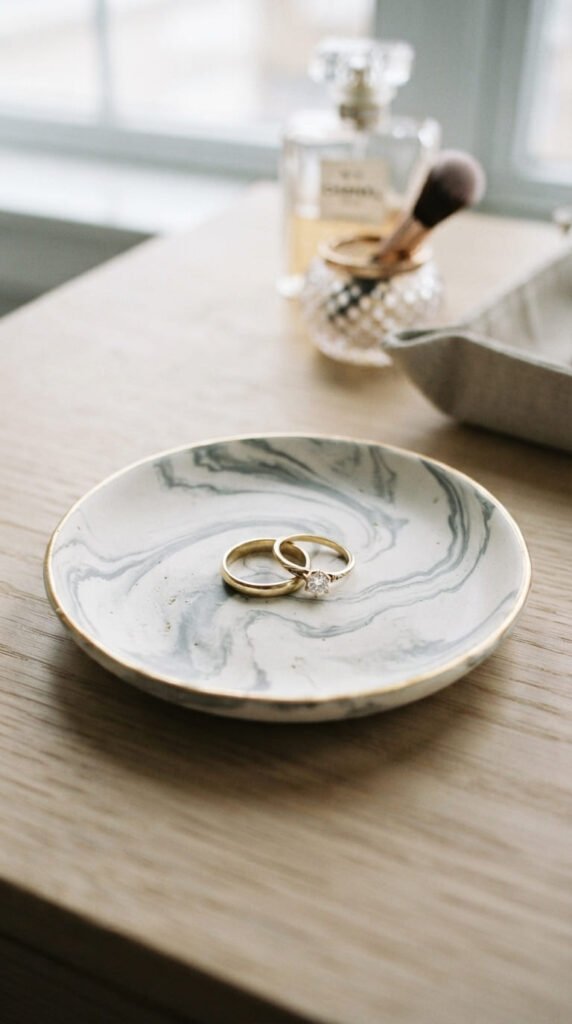
This is the design most people picture when they think of a trinket dish. Twist two clay colors together loosely, then press the swirled clay into a small bowl-shaped mold lined with plastic wrap. Budget tip: white and gray clay costs very little, and one block makes several dishes. Let it dry or bake according to your clay type, then paint a thin gold line around the rim with a fine brush. Seal with a glossy varnish for a polished finish. This design works well because the marbling hides small imperfections, making it forgiving for beginners. Keep the dish shallow, around an inch deep, so rings sit visibly instead of getting lost. A marbled dish like this looks like something from a department store shelf but costs only a few dollars to make. Display it on a folded cloth or small tray for extra vanity styling.
2. Scalloped Edge Beauty
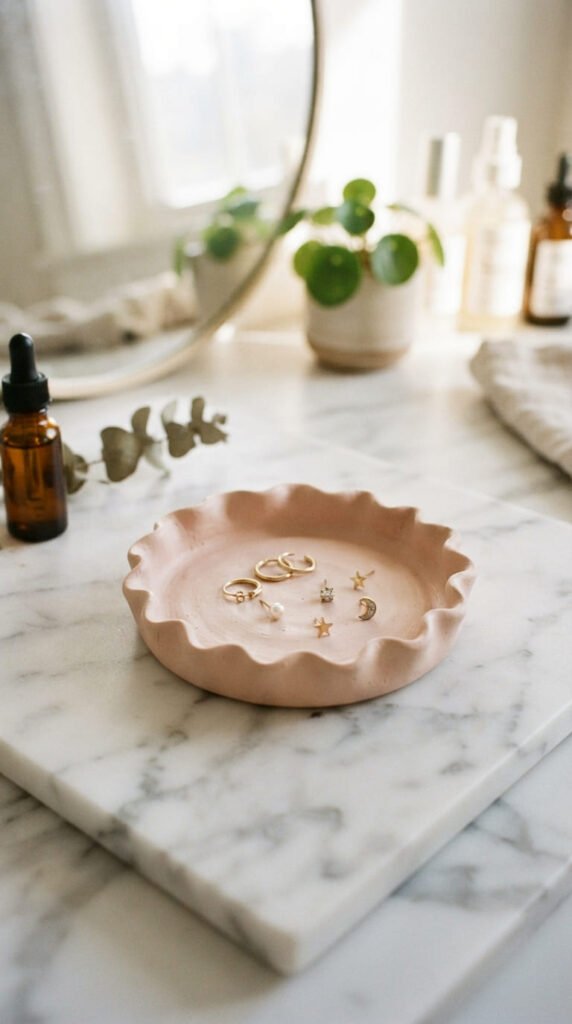
Scalloped edges turn a plain circle into something special. Roll clay flat, then use a fluted pastry cutter or a small cup pressed repeatedly around the edge to create the wave pattern. Budget tip: a fluted cookie cutter from your kitchen works just as well as a specialty clay tool. Gently curve the clay over a small bowl while it firms up so the dish holds a shallow shape. Let it dry or bake fully, then sand any rough points along the scalloped edge. Paint in a soft blush or cream tone for a feminine look. Seal with a matte varnish for a soft finish. This dish looks fancier than the effort it actually takes, making it a great gift option. Pair it with a small stack of rings or a few pairs of studs on a vanity tray for a coordinated display.
3. Botanical Leaf Imprint Dish
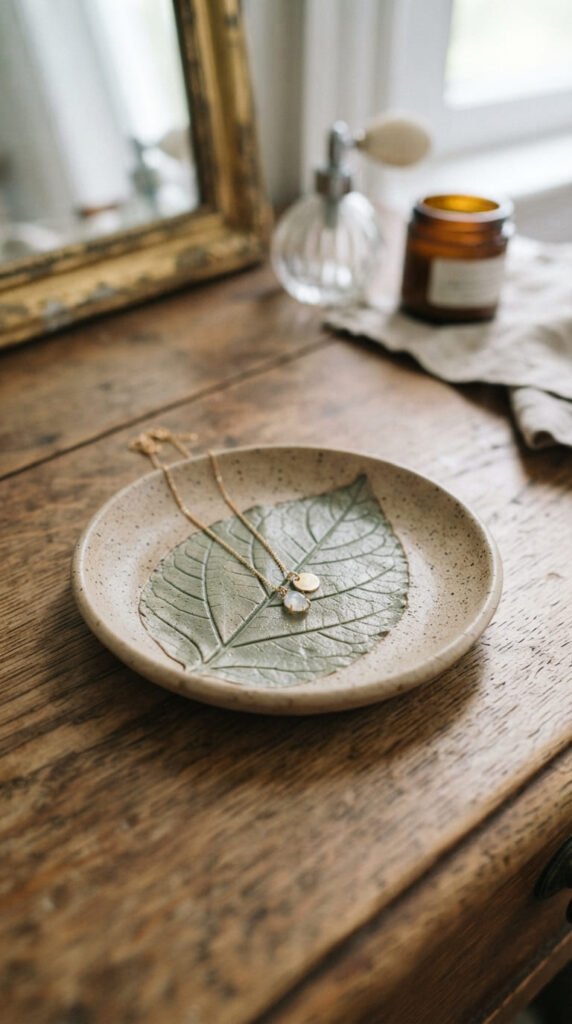
Leaf imprints add texture without any carving skill required. Press a real leaf firmly into rolled clay to transfer its vein pattern, then cut around the leaf shape or trim into a circle. Budget tip: leaves from your yard work perfectly, so this design costs nothing beyond the clay itself. Curve the clay gently over a bowl while it sets so it holds a shallow dish shape. Let it dry fully, then sand lightly to smooth the back and edges. Paint in a soft sage or muted green to highlight the natural texture, or leave it unpainted for a raw, organic look. Seal with a matte varnish. Because every leaf has a different vein pattern, no two dishes turn out alike. This design fits well with a boho or nature-inspired vanity setup, and it works especially well for holding necklaces or delicate chains that need a safe landing spot.
4. Shell-Shaped Coastal Dish
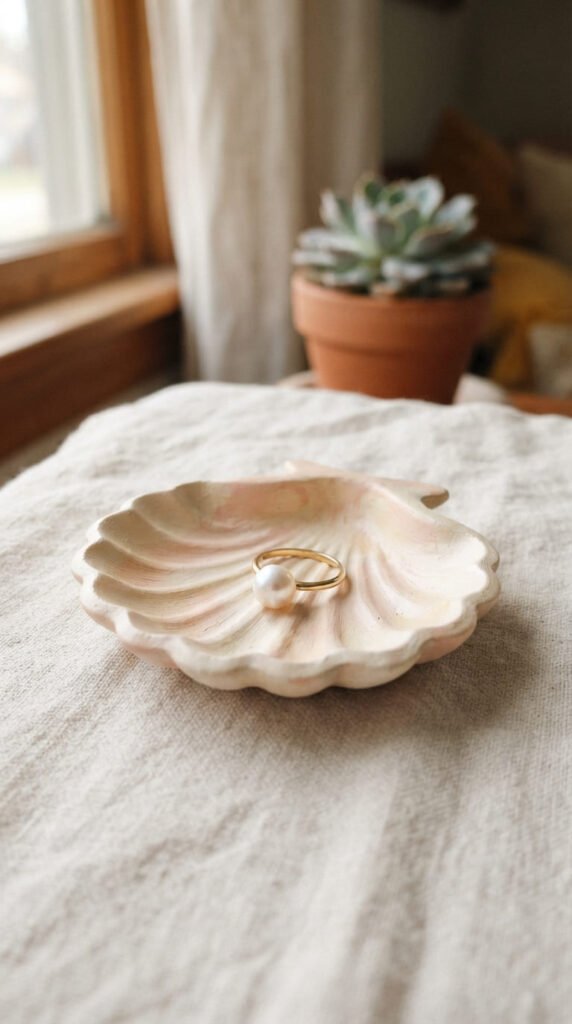
Shell shapes bring a coastal feel to any vanity. Shape a rounded base, then use a clay tool or the edge of a spoon to press ridged lines radiating out from the center, mimicking a scallop shell. Budget tip: this design uses a small amount of clay, so it’s an affordable way to try sculpting. Let the piece dry or bake fully before sanding the ridges smooth. Paint in soft cream, blush, or pale blue for a beachy palette. A light wash of white over the ridges adds subtle dimension. Seal with a glossy varnish to mimic a polished shell surface. This dish pairs well with sea glass, pearl jewelry, or other coastal-themed decor. Because the shape is sculptural, it works as a small accent piece even when empty. Keep the walls slightly raised at the edges so rings and small items stay in place.
5. Heart-Shaped Sweetheart Dish
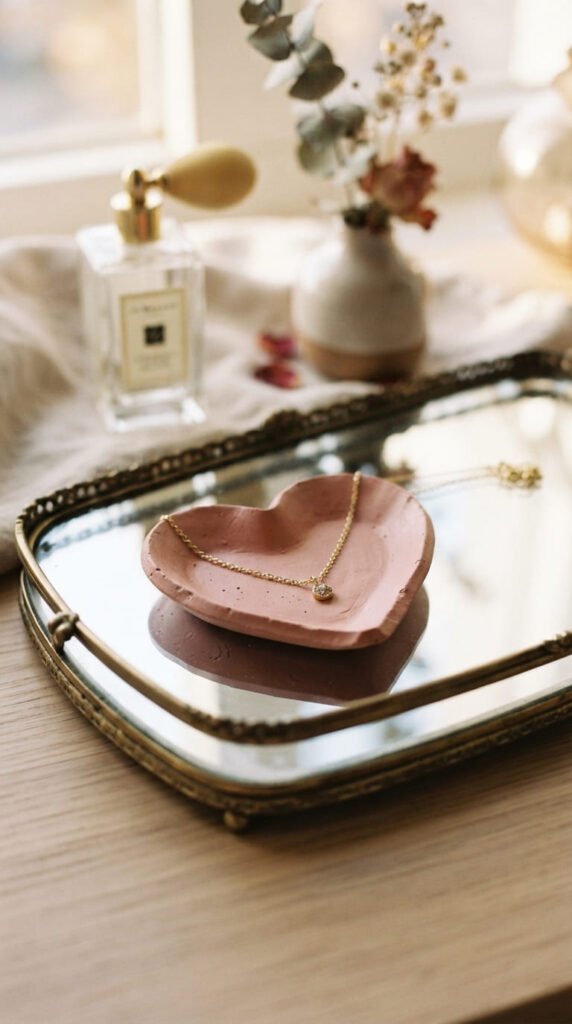
A heart-shaped dish adds a playful, sentimental touch. Roll clay flat and cut a simple heart shape using a cutter or a heart-shaped stencil traced with a craft knife. Budget tip: a heart cookie cutter from your kitchen drawer works perfectly, no need to buy a clay-specific tool. Gently curve the edges upward while the clay is still soft so it holds small items without them sliding off. Let it dry or bake fully, then sand any rough spots. Paint in dusty rose, red, or a soft blush tone depending on the mood you want. Seal with a matte or glossy varnish. This design makes a sweet gift for Valentine’s Day, anniversaries, or a bridesmaid proposal box. Because the shape is simple, you can batch-produce several in one sitting for gifting or selling. Display it near a vanity mirror where the shape catches the eye.
6. Minimalist Round Dish
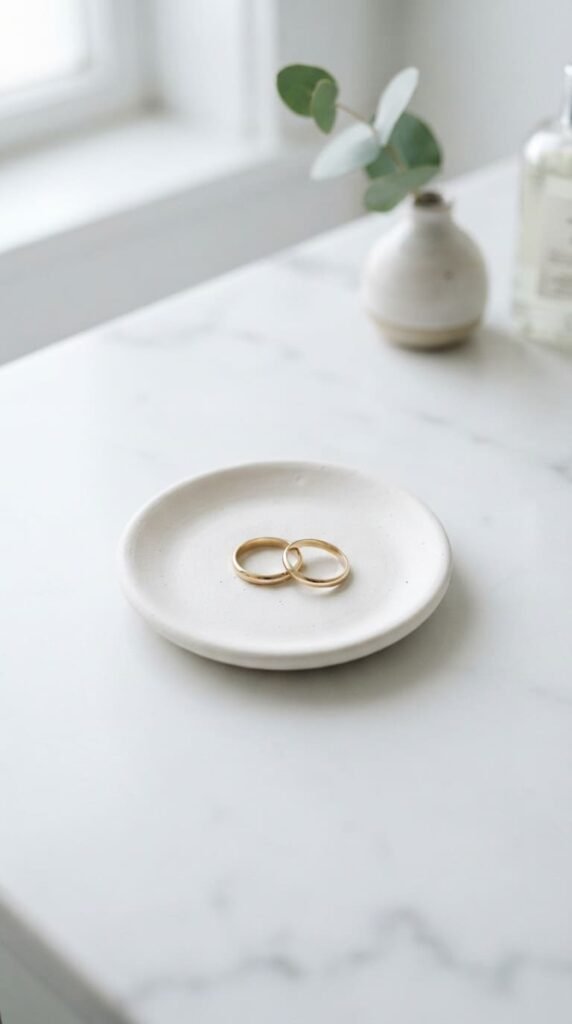
Sometimes simple is best. A minimalist round dish skips patterns and textures entirely, letting the clean shape speak for itself. Roll clay flat and cut a circle using a bowl or lid as a guide, then gently curve the edges up. Budget tip: this is one of the cheapest designs on this list since it uses only one color and no extra materials. Let it dry or bake fully, then sand until completely smooth. Paint in white, cream, or a soft gray, or leave the natural clay color if you like a raw look. Seal with a matte varnish for a soft, understated finish. This dish fits any decor style since it doesn’t compete with other colors or patterns on your vanity. It’s also a great starter project if you’re new to clay, since there’s little room for visible mistakes. Keep a few on hand as an easy, always-appropriate gift.
7. Speckled Terrazzo Dish
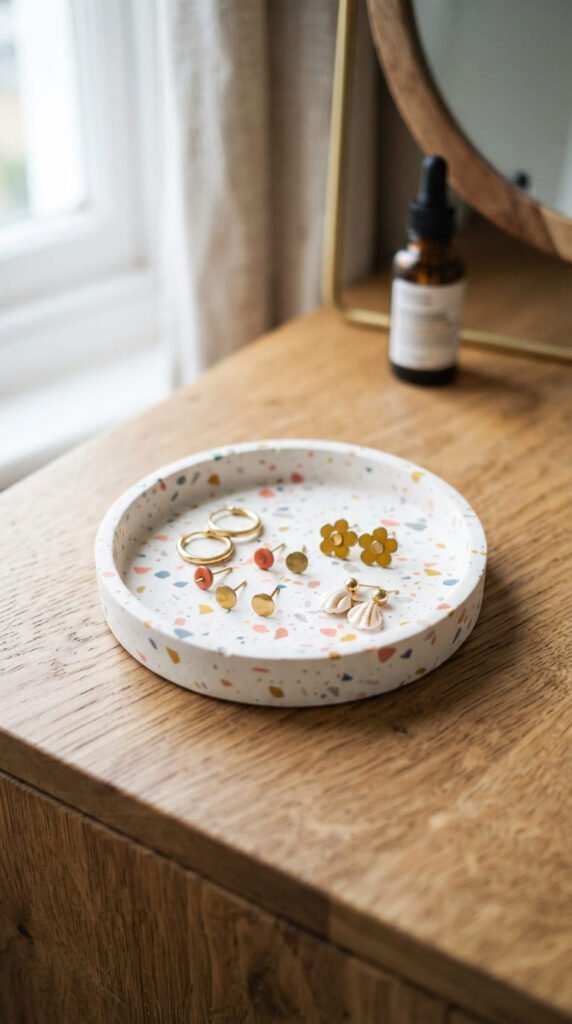
Terrazzo is one of the most forgiving techniques for adding visual interest. Chop small scraps of clay into tiny pieces, then press them into a white or neutral base and roll flat. Budget tip: this is a great way to use up leftover clay scraps from other projects, so it costs almost nothing extra. Cut into a circle or oval shape and curve the edges gently. Let it dry or bake fully, then sand the surface to reveal the speckled pattern clearly. Seal with a glossy varnish to make the flecks pop under vanity lighting. Coral, mustard, and white together give a warm, retro feel, while black and white feels more modern. This dish hides small imperfections naturally, making it a good project for beginners still building confidence. Because it uses scrap clay, you can make several at once without buying extra materials.
8. Gold-Rimmed Oval Dish
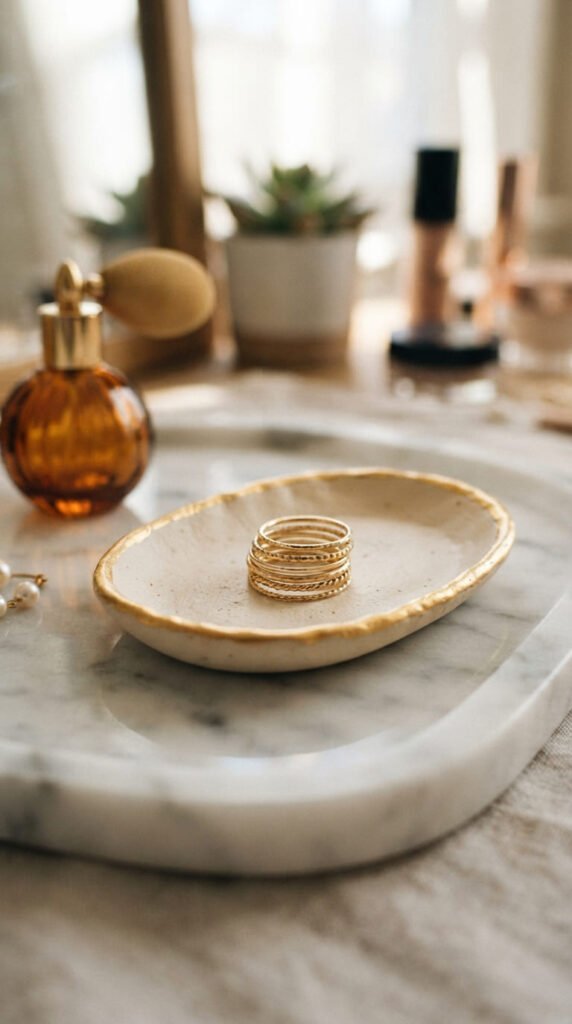
An oval shape gives you a little more room than a round dish, which makes it useful for holding multiple pieces at once. Roll clay flat and cut an oval using a template or a small serving spoon as a guide. Budget tip: paint the gold rim freehand with a fine detail brush rather than buying stencils or stamps. Curve the edges up gently before the clay fully sets. Let it dry or bake completely, then sand smooth. Paint the base cream or white, then add a thin gold line just inside the rim once the base coat is dry. Seal with a glossy varnish for shine. This dish works especially well for a small collection of rings or a few pairs of earrings laid side by side. The oval shape also photographs nicely for anyone selling handmade dishes online, since it looks different from the standard round shape.
9. Polka Dot Playful Dish
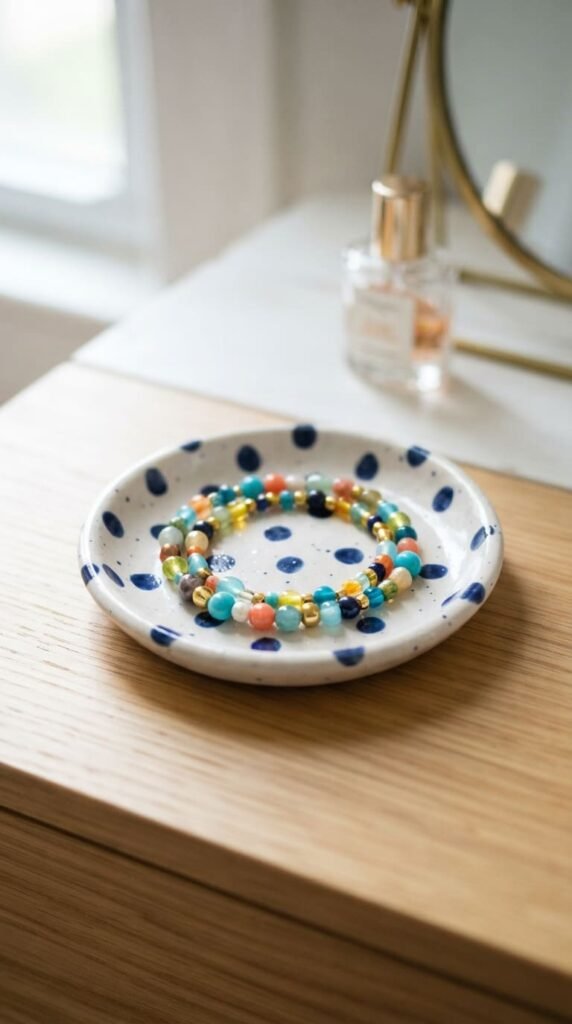
Polka dots add a cheerful, retro touch to a simple dish shape. Start with a plain round or oval base, then once it’s dry and sanded, paint a solid background color. Budget tip: use the end of a pencil eraser dipped in paint to create even, consistent dots instead of buying a specialty tool. Let the base coat dry fully before adding dots so colors don’t smear together. Space dots evenly or scatter them randomly for a more playful look. Seal with a matte or glossy varnish once the paint is fully dry. Navy on white, or a soft pastel on cream, both work well depending on your vanity’s color scheme. This design is easy enough for kids to help with, making it a fun weekend project. A polka dot dish adds a bit of personality among more neutral pieces on a shelf or vanity tray.
10. Watercolor Wash Dish
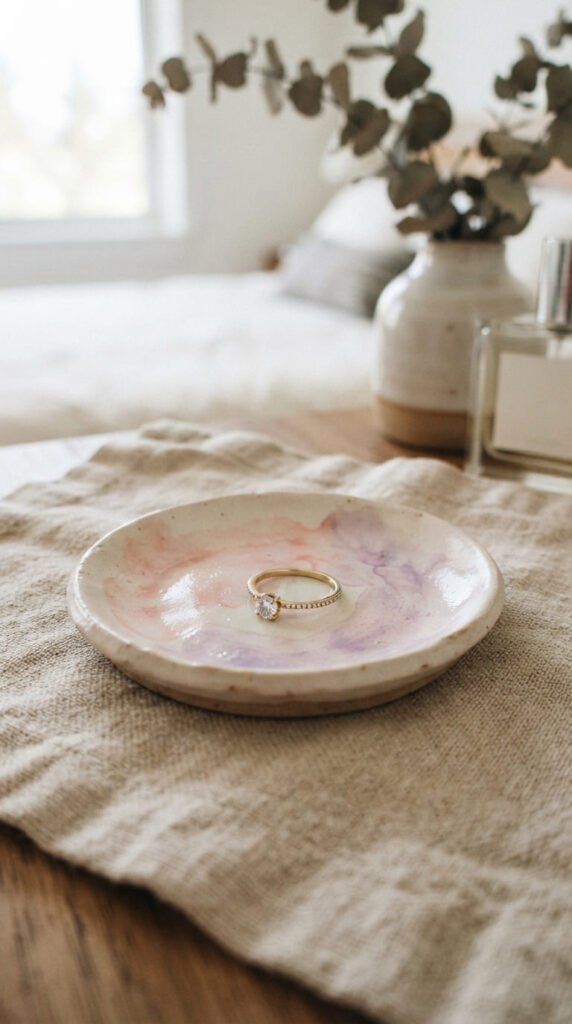
A watercolor wash gives a dish an artistic, hand-painted feel without needing painting skills. Start with a plain white or cream base dish, fully dry and sanded smooth. Budget tip: thin your acrylic paint with a little water before applying, which stretches your paint further and creates that soft, blended watercolor look. Apply one color at a time with a damp brush, letting each blend slightly at the edges before adding the next. Blush, lavender, and soft blue work well together for a dreamy effect. Let the paint dry completely between colors to avoid muddying the tones. Seal with a matte varnish to keep the soft, powdery look intact. This design pairs beautifully with a glass vanity tray or mirrored surface, since the soft colors catch the light gently. It’s a good project once you’re comfortable with basic shaping and want to practice a new painting technique.
11. Boho Textured Dish
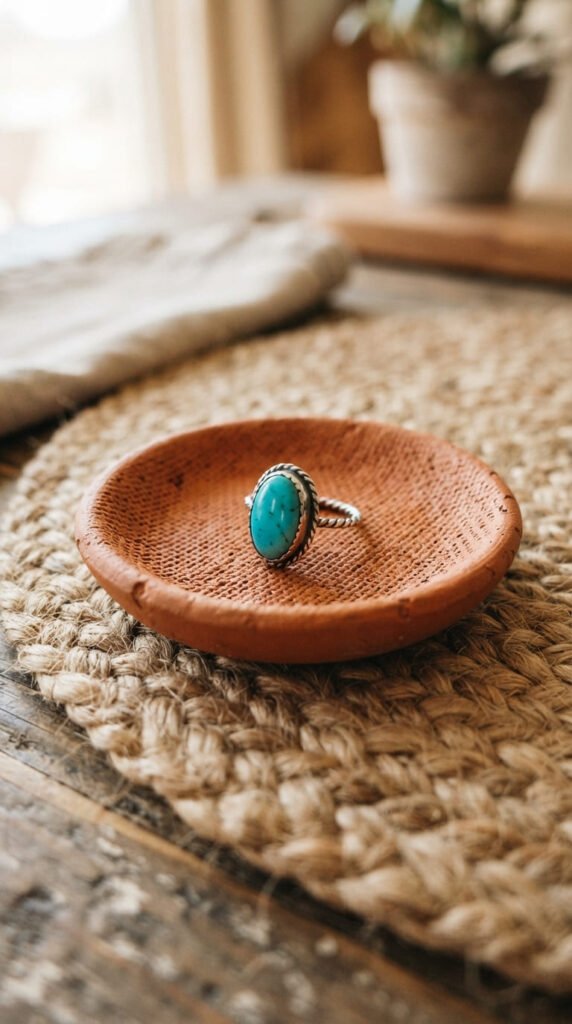
Boho style leans into texture and warm, earthy tones. Press a piece of burlap, lace, or woven fabric into rolled clay before cutting your shape, then peel it away to reveal the imprinted pattern. Budget tip: an old piece of burlap ribbon or scrap fabric works fine, no need to buy anything new. Curve the edges up gently while the clay is still workable. Let it dry or bake fully, then sand the back and rim smooth while leaving the textured top intact. Paint in terracotta, rust, or warm clay tones, or leave the natural color for an earthy, unfinished look. Seal with a matte varnish to keep the texture visible and tactile. This dish pairs well with turquoise jewelry, woven baskets, and other boho decor pieces. Because the texture comes from real fabric, every dish turns out slightly different, adding to its handmade character.
12. Fluted Edge Elegance
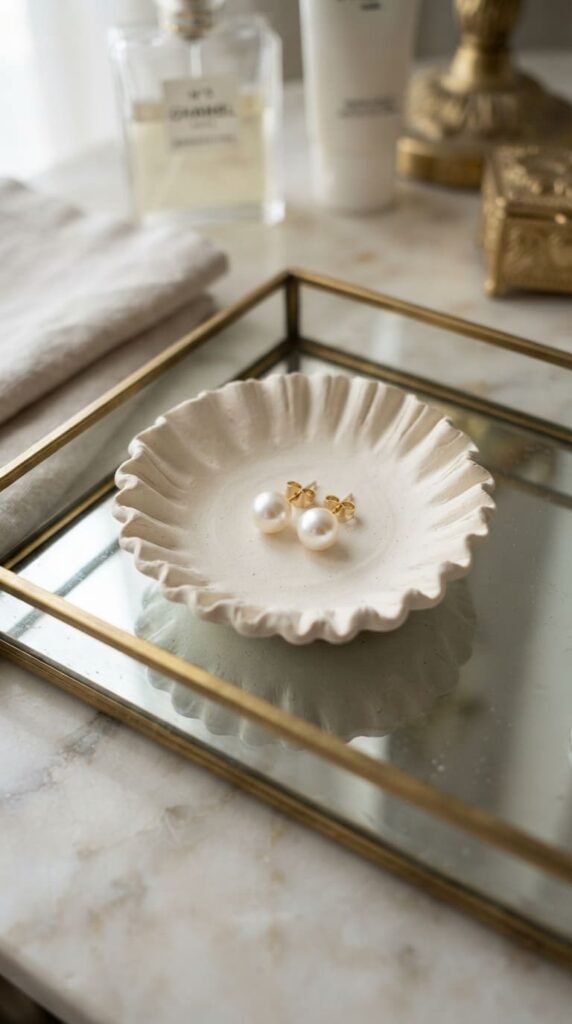
A fluted edge gives a dish a formal, almost porcelain-like look. Roll clay flat and cut a circle, then use a small tool or the back of a spoon to press gentle ridges evenly around the rim before it dries. Budget tip: practice the fluting technique on a scrap piece first, since getting even spacing takes a little trial and error. Let the dish dry or bake fully, then sand carefully around the ridges without flattening them. Paint in ivory or soft white for an elegant, timeless look. Seal with a glossy varnish to enhance the porcelain-like shine. This dish looks more expensive than it costs to make, since the fluted detail does most of the visual work. It pairs beautifully with pearl or gold jewelry and fits a classic, elegant vanity setup better than bolder colors or patterns.
13. Two-Tone Dipped Dish
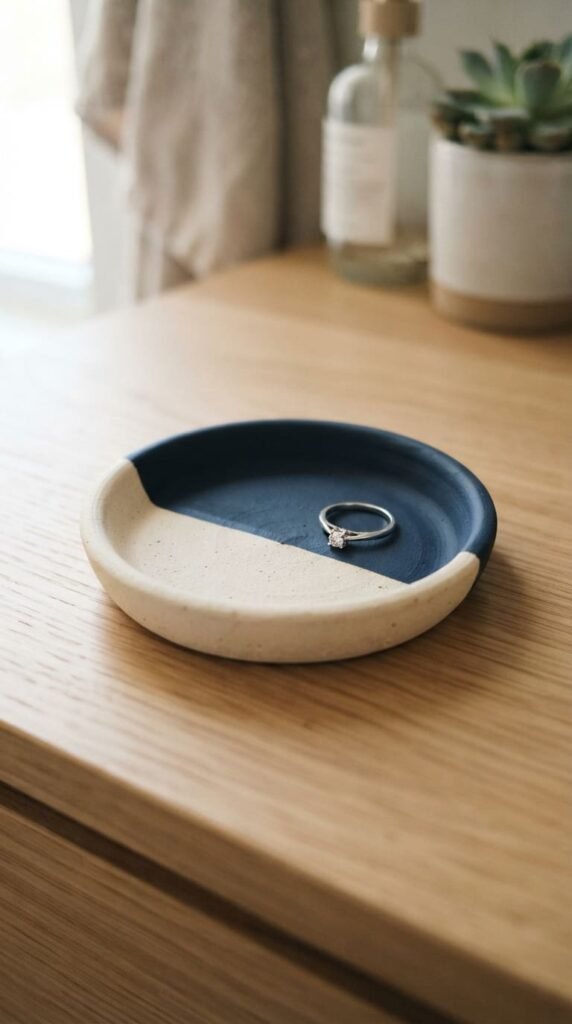
The dipped-paint look is a simple way to add modern contrast without complex techniques. Start with a plain round or oval dish, fully dry and sanded. Budget tip: use painter’s tape to create a clean, straight line where the two colors meet, so you don’t need a steady freehand line. Paint the bottom half one color, let it dry completely, then paint the top half a contrasting shade. Navy and cream, or black and white, both give a clean, graphic look. Remove the tape carefully once the second color is dry to avoid peeling paint. Seal the whole piece with a matte varnish for a cohesive finish. This design works well for a more modern or masculine vanity setup, since the sharp color block feels less delicate than florals or pastels. It’s also a quick project once your base dish is ready and sanded.
14. Tiny Treasure Trio Set
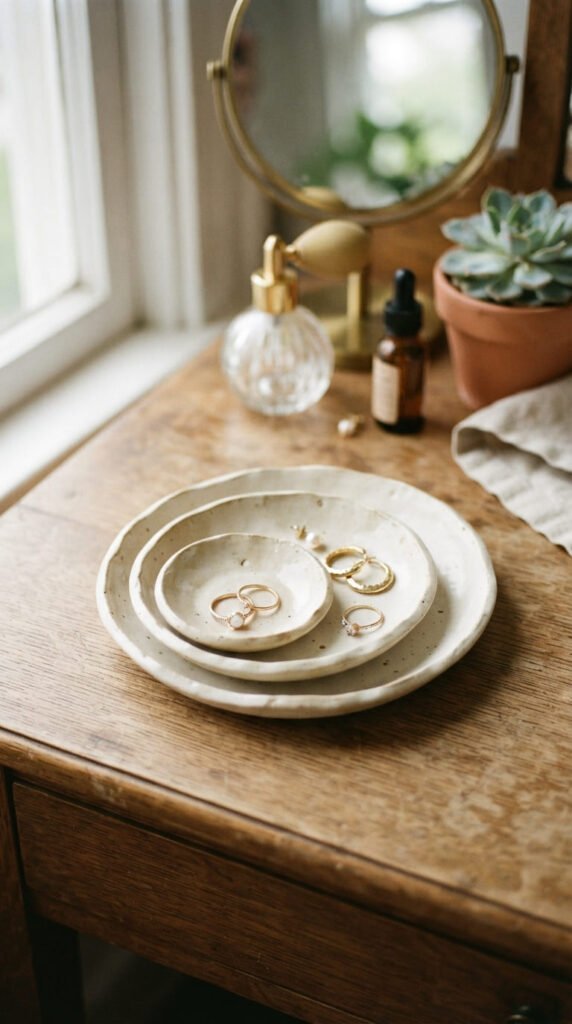
A set of three dishes in different sizes gives you more storage options and a coordinated look. Shape three round or oval dishes in small, medium, and large sizes, keeping the walls even in thickness across all three. Budget tip: making a set at once saves time on mixing paint colors and setting up your workspace only once. Let each dry or bake fully before sanding. Paint all three in the same color family, like varying shades of cream or blush, for a cohesive set. Seal each with the same finish, matte or glossy, so they look intentional together. Use the smallest for rings, the medium for earrings, and the largest for loose coins or hair ties. This set makes a more substantial gift than a single dish, and grouping them together on a vanity tray creates an organized, styled look rather than a scattered one.
15. Hand-Painted Initial Dish
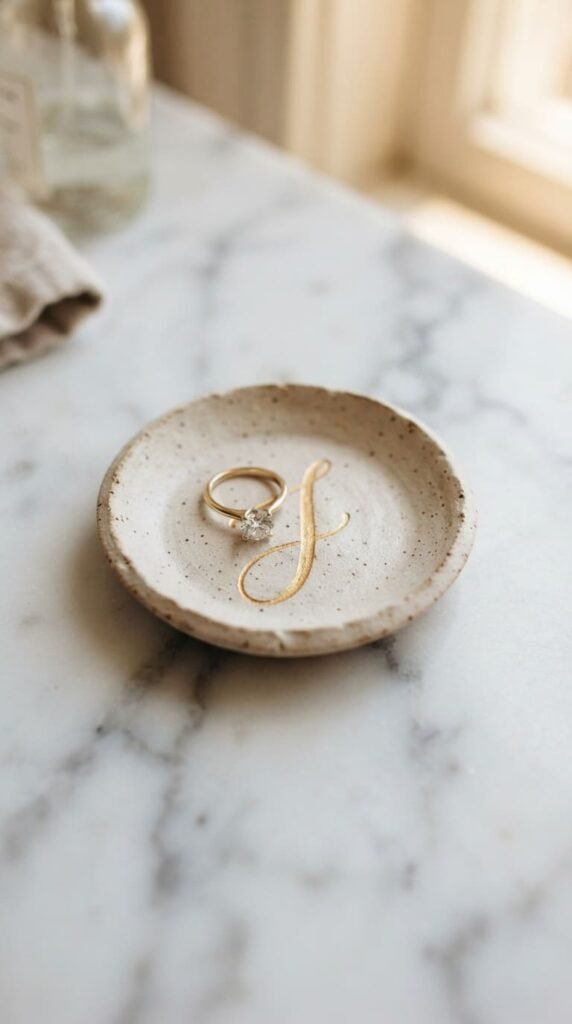
A personalized dish makes a thoughtful gift and a nice addition to your own vanity. Start with a plain round or oval base, fully dry and sanded smooth. Budget tip: practice painting the letter on scrap paper first to get the size and spacing right before committing to the clay. Paint the background a soft neutral color and let it dry fully. Add a single initial in gold or a contrasting color using a fine detail brush, keeping the letter centered and simple. Seal with a glossy varnish to protect the painted detail. This design works well for bridesmaid gifts, birthday presents, or a small treat for yourself. Because each one is personalized, it feels more special than a generic dish, even though it costs about the same to make. Keep a few blank bases on hand so you can paint initials to order for gifts.
16. Fiesta Bright Dish
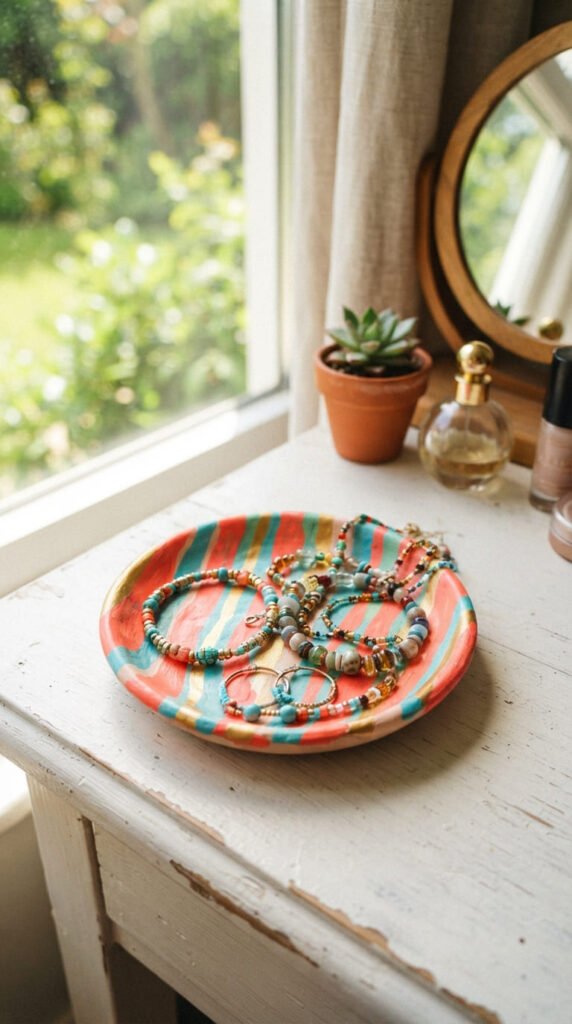
For a vanity that leans bold and colorful, a fiesta-inspired dish adds energy. Start with a plain round dish, fully dry and sanded. Budget tip: use painter’s tape to create clean stripes instead of trying to freehand straight lines. Paint alternating stripes in coral, turquoise, and mustard, letting each color dry before adding the next to avoid smudging. Remove the tape carefully once everything is dry. Seal with a glossy varnish to make the colors pop. This dish works well for anyone who prefers a maximalist, colorful bedroom or vanity setup over a neutral palette. It also makes a striking gift for a friend with a bold sense of style. Pair it with colorful beaded jewelry or layered bracelets for a cohesive, playful display. Because the stripes are graphic and bold, this dish tends to stand out even from across the room.
17. Doily-Inspired Lace Dish
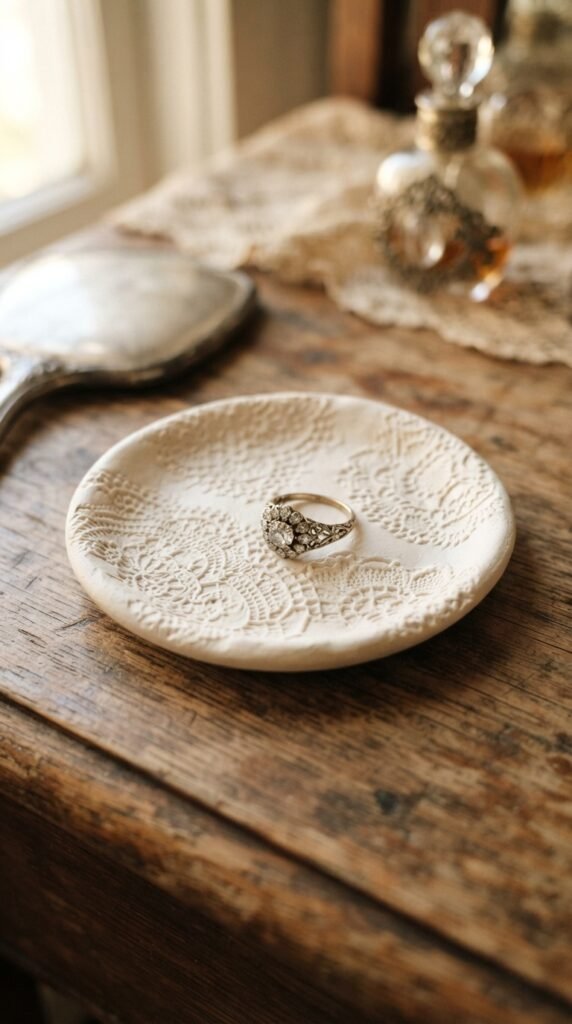
Lace texture gives a dish a vintage, romantic feel. Press a real paper doily or lace fabric firmly into rolled clay, then carefully peel it away to reveal the imprinted pattern. Budget tip: paper doilies from the baking aisle work just as well as fabric lace and cost very little. Cut around the edge to follow the doily’s scalloped shape, or trim into a simple circle. Let it dry or bake fully, then sand the back smooth while keeping the lace pattern crisp on top. Paint in soft white or ivory to keep the vintage feel intact. Seal with a matte varnish to preserve the delicate texture without too much shine. This dish pairs beautifully with antique-style vanities, vintage jewelry, or a grandmillennial decor theme. Because the lace pattern is so detailed, this dish tends to draw attention even without added color or paint.
18. Modern Geometric Dish
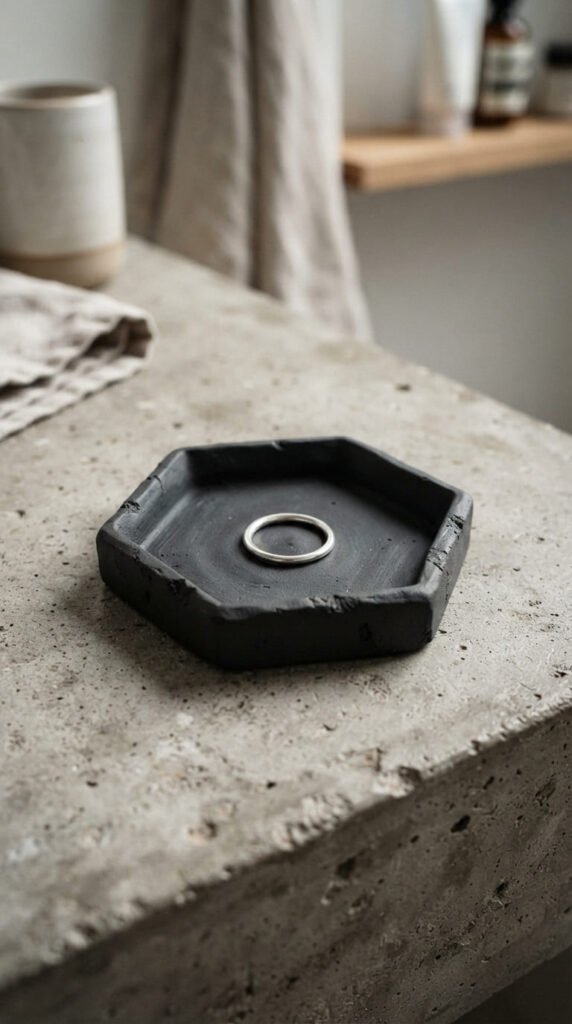
Geometric shapes suit a modern, minimalist vanity better than rounded, soft forms. Roll clay flat and cut a hexagon, triangle, or other angular shape using a ruler and craft knife for clean, straight edges. Budget tip: this shape uses clay efficiently since angular pieces nest together well on a rolled slab, leaving little waste. Keep the edges sharp rather than curving them, and let the dish dry or bake flat rather than raised. Sand the edges carefully once dry to keep lines crisp. Paint in charcoal, black, or a deep navy for a bold, architectural look. Seal with a matte varnish to keep the modern, understated finish. This dish suits a masculine or minimalist vanity setup better than floral or pastel designs. Because the shape is structured rather than sculptural, it also stacks and stores easily when not holding jewelry.
19. Pressed Flower Dish
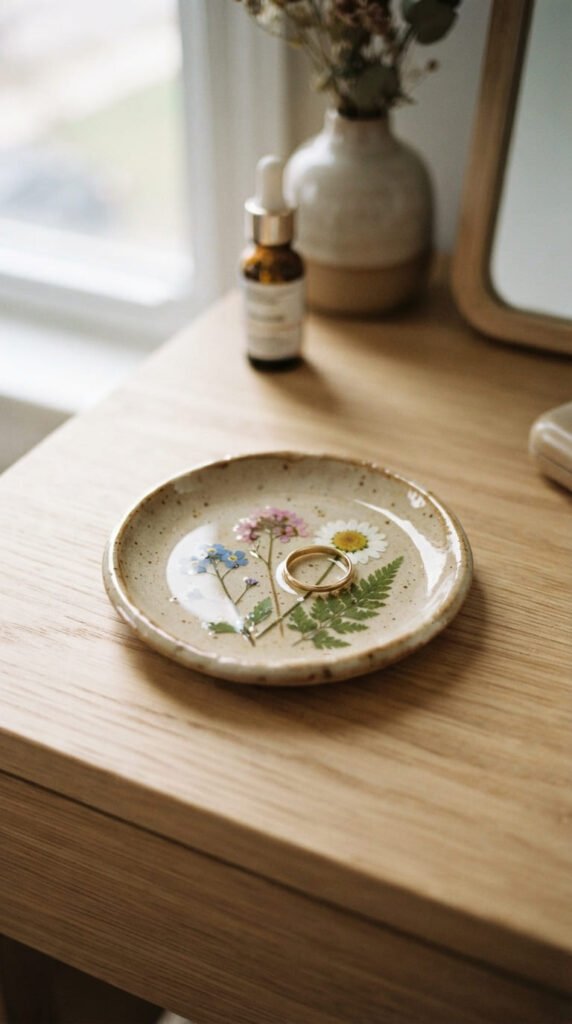
Embedding a real pressed flower into your dish creates a one-of-a-kind keepsake piece. Press a small dried flower gently into soft, rolled clay so it sits flush with the surface. Budget tip: press flowers from your own garden between heavy books for a week or two beforehand, which costs nothing beyond time. Let the clay dry or bake fully with the flower still in place. Once dry, seal generously with a glossy resin or varnish over the flower to protect it and lock it in place. Multiple thin coats work better than one thick one. This dish makes a meaningful gift, especially using a flower from a special occasion like a wedding or a birthday bouquet. Because the flower is real, no two dishes will ever look exactly the same, which adds to its sentimental value on a vanity or as a keepsake gift.
20. Checkerboard Pattern Dish
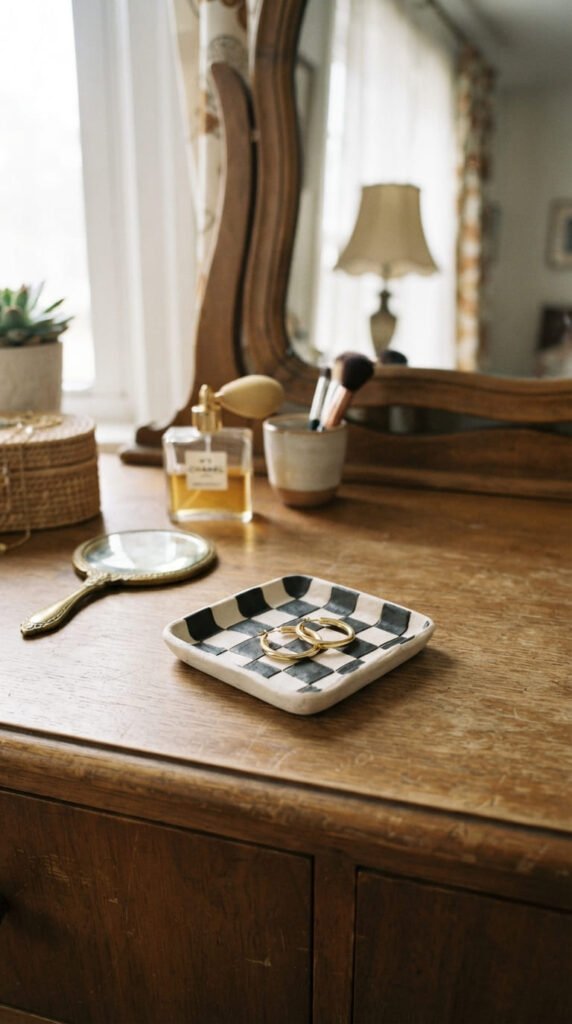
Checkerboard patterns bring a retro, playful energy to a vanity display. Roll out two colors of clay thin and cut small squares from each, then arrange them in an alternating pattern on a flat base before gently pressing them together. Budget tip: use leftover clay from other projects for the squares, since this technique only needs small amounts of each color. Let the dish dry or bake flat, then sand the surface smooth so the seams between squares blend slightly. Curve the edges up gently if you want raised sides, or keep it flat as a small tray. Seal with a glossy varnish to give the pattern a crisp, clean look. Black and white feels bold and graphic, while cream and terracotta feels softer. This design pairs well with a retro or Y2K-inspired vanity setup and works as a fun conversation piece even when it’s empty.
21. Sculpted Bunny Dish
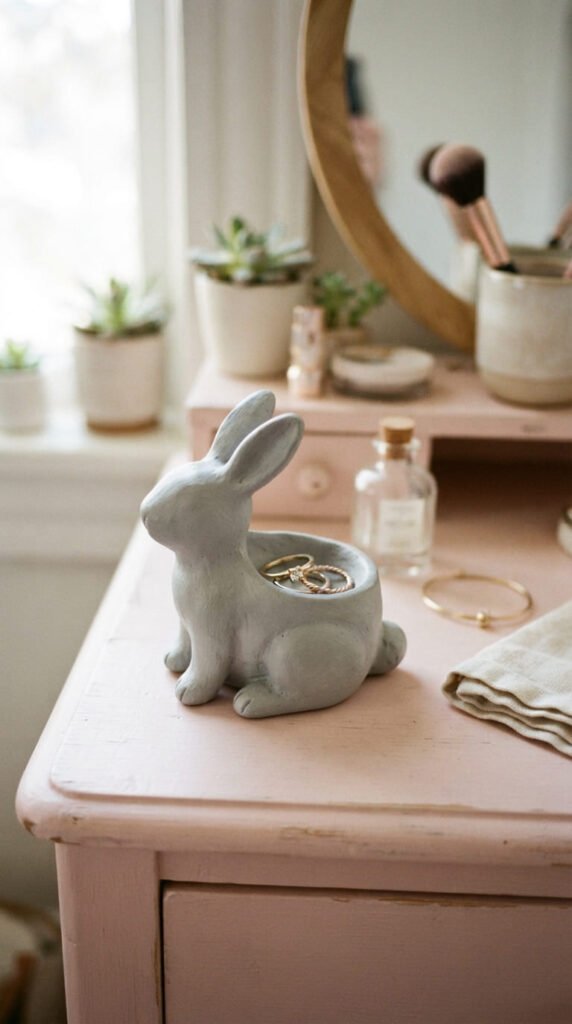
A sculptural animal shape adds whimsy to a vanity display. Shape a small bunny form with a hollowed-out back or a small dish built into its shape to hold rings. Budget tip: keep the sculpture small and simple, focusing on basic shapes like an oval body and rounded ears rather than fine detail. Let it dry slowly since sculpted pieces are thicker than flat dishes and need more time. Sand any rough seams once fully dry. Paint in soft gray, white, or pastel tones for a gentle, nursery-friendly look. Seal with a matte varnish to protect the paint. This design works especially well as a spring or Easter-themed piece, or as a permanent whimsical addition to a vanity. Because the shape takes more time to sculpt than a flat dish, it makes a good project once you’ve practiced basic hand-building on simpler designs from earlier in this list.
22. Custom Palette Vanity Set
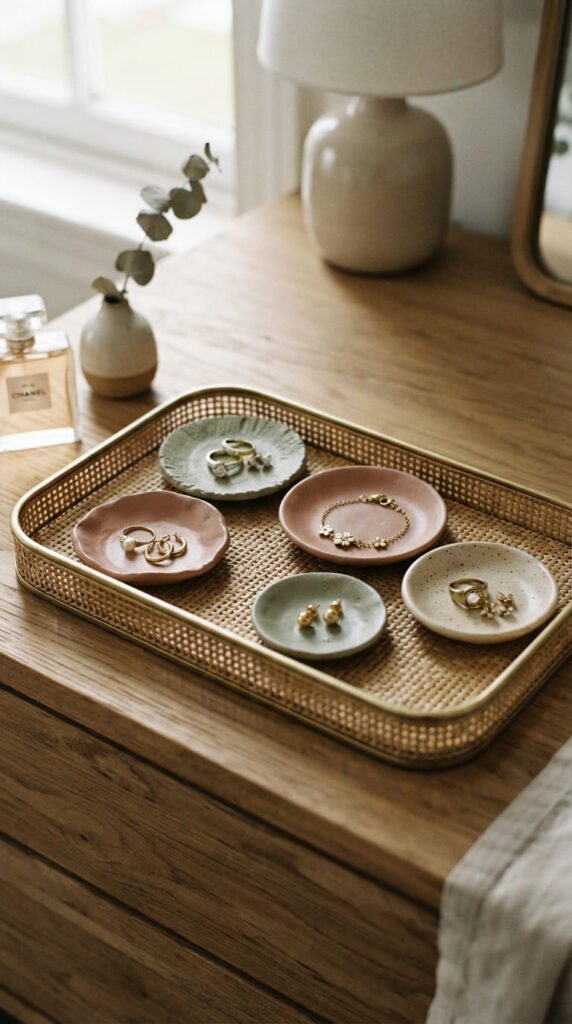
Once you’ve tried a few designs from this list, put together a matching set using one custom color palette across different shapes. Pick two or three colors that work well together, like dusty rose, sage, and cream, then repeat them across a round dish, an oval dish, and a small heart or leaf shape. Budget tip: buying clay in a coordinated palette upfront keeps your costs predictable and avoids leftover odd colors going to waste. Arrange the finished set together on a small tray for a styled, cohesive vanity display rather than mismatched single pieces. This approach makes your vanity feel curated instead of thrown together, and it’s a great project to build over a few weekends rather than all at once. A coordinated set also makes an especially thoughtful gift, since it feels more complete than a single dish on its own.
Conclusion
A handful of clay trinket dishes can turn a plain vanity into something that feels styled and personal, without spending much money at all. Start with one simple shape, like a round or oval dish, then build up to marbling, texture, and paint as you get more comfortable. Keep your clay thickness even, give pieces enough time to dry or cure fully, and always seal before regular use. Pick your favorite idea from this list, gather a little clay, and start your first dish this week.