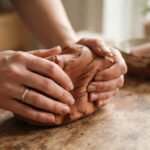
Air dry clay is one of the simplest crafts to pick up because it needs no oven, no kiln, and almost no special equipment. Just clay, a few basic tools, and a little patience while it dries. Whether you want to make a small trinket dish for your keys or a painted planter for your windowsill, this list walks through 21 beginner-friendly projects you can start this weekend. Each idea comes with practical tips so you can avoid common mistakes like cracking and uneven drying, and get straight to making something you’ll actually use or gift.
1. Simple Trinket Dish
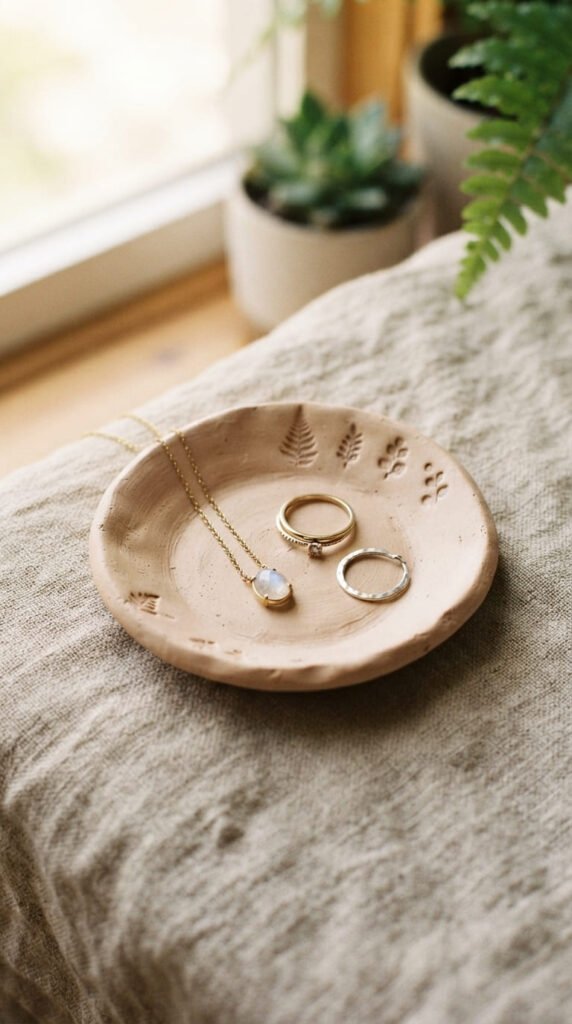
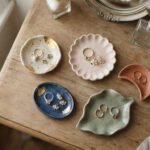
A trinket dish is the easiest place to start. Press a ball of clay into a small bowl lined with plastic wrap to get a rounded shape, or flatten it and pinch up the edges by hand. Budget tip: one block of clay makes several dishes, so this is a cheap way to practice. Keep the clay under an inch thick so it dries evenly without cracking. Smooth the edges with a wet finger as you go. Let it dry for 24 to 48 hours depending on thickness. Once dry, sand any rough spots before painting. Acrylic paint in a single soft color keeps it simple, or add a gold rim with a fine brush for a little shine. Seal with a matte varnish to protect the paint from daily wear. These dishes make great gifts and sell well in small batches since they take little time and material to produce.
2. Lightweight Clay Studs
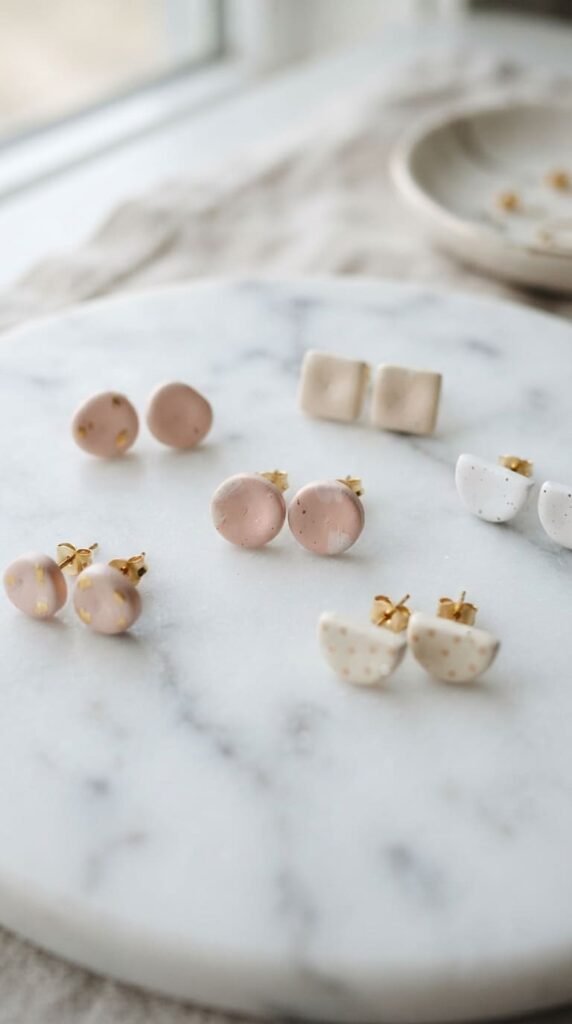
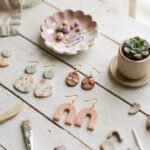
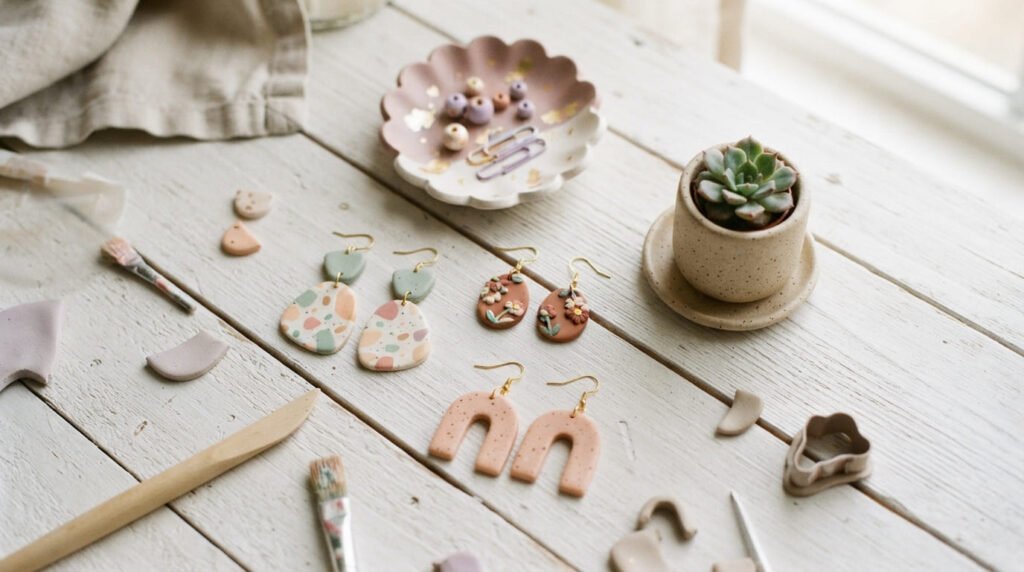
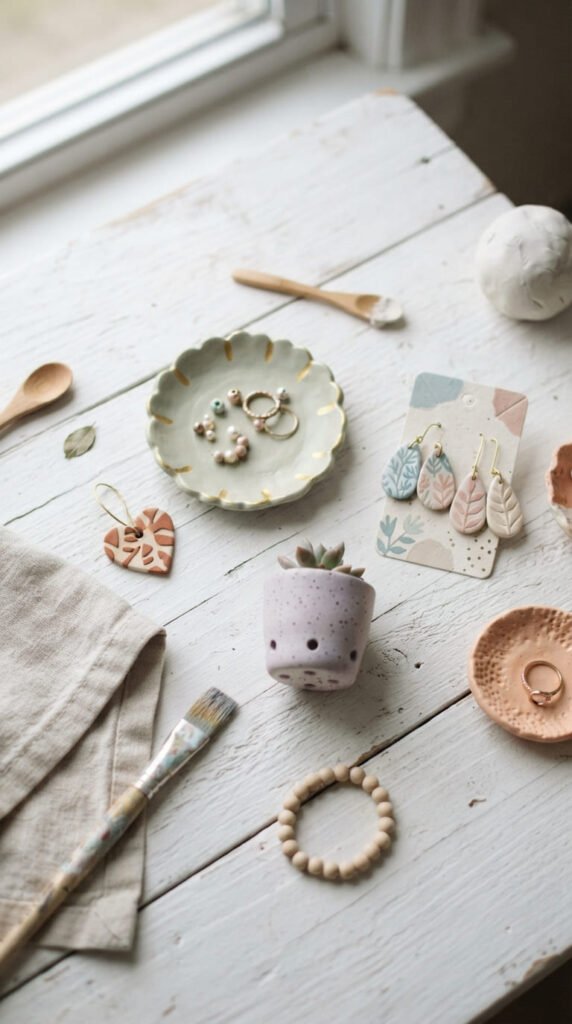
Earrings are a natural next project once you’ve tried a dish. Roll clay thin, around 2 to 3mm, and cut small shapes with a cutter or craft knife. Budget tip: a dollar-store cutter set works just as well as specialty tools. Poke a small hole near the top with a toothpick before drying if you plan to hang them from hooks, or glue on posts after drying for studs. Let pieces dry flat for a full day to avoid warping. Sand lightly, then paint with acrylics in two or three coats for even coverage. Seal with Mod Podge or clay varnish to protect the color. Keep shapes simple at first, like circles or arches, before trying anything detailed. Because the clay is so lightweight, these earrings are comfortable for all-day wear. A batch of ten pairs costs very little in materials, making this one of the more affordable projects on this list.
3. Painted Coaster Set
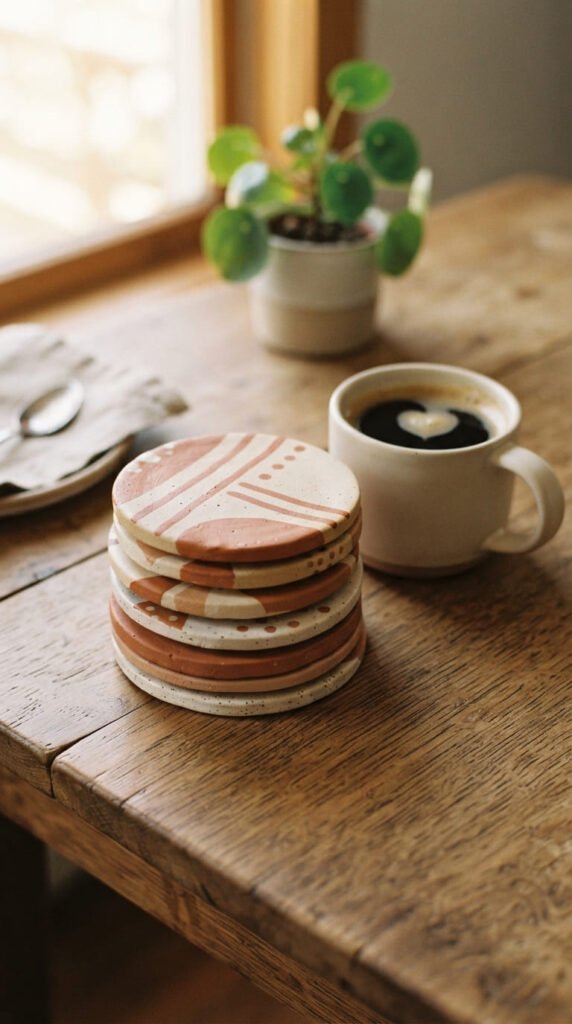
Coasters are practical, giftable, and simple to make in a batch. Roll out clay to an even thickness, about 5 to 6mm for durability, and cut circles using a bowl or cutter as a guide. Budget tip: making four or six at once uses your clay efficiently and gives you a full set. Smooth the edges with a damp finger before drying. Let them dry flat for two to three days since thicker pieces take longer. Flip occasionally so both sides dry evenly. Once fully dry, sand the surface smooth before painting a simple pattern or solid color. Seal well with varnish, since coasters need some water resistance for everyday use. Add small cork pads to the bottom for grip and protection to your furniture. A finished set of four makes an easy handmade gift, and the materials cost only a few dollars total.
4. Mini Succulent Planter
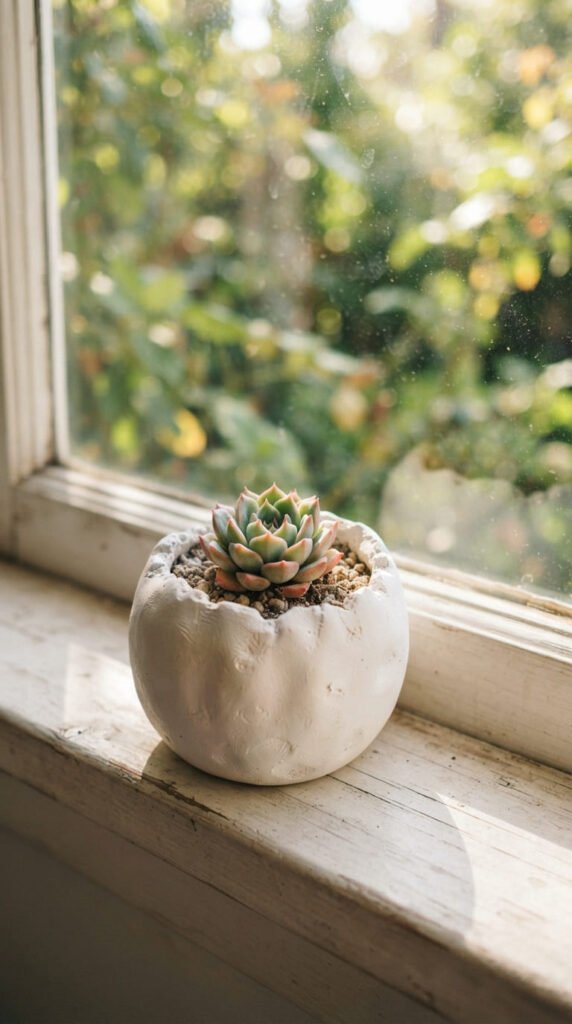
A mini planter is a fun step up once you’re comfortable with basic shaping. Pinch a ball of clay into a bowl shape, keeping the walls even in thickness so it dries without cracking. Budget tip: use scrap clay from other projects for the base, since small planters don’t need much material. Poke a drainage hole in the bottom before drying. Let it dry slowly over three to four days, turning occasionally. Sand the outside smooth once fully dry. Because air dry clay isn’t naturally waterproof, seal the inside with a few coats of varnish before adding soil or a small potted plant. Keep the plant in its plastic nursery pot inside the clay planter to avoid direct water contact with the clay. These planters look great in a row on a windowsill and make a simple, affordable gift for plant lovers.
5. Ghost Earrings for Fall
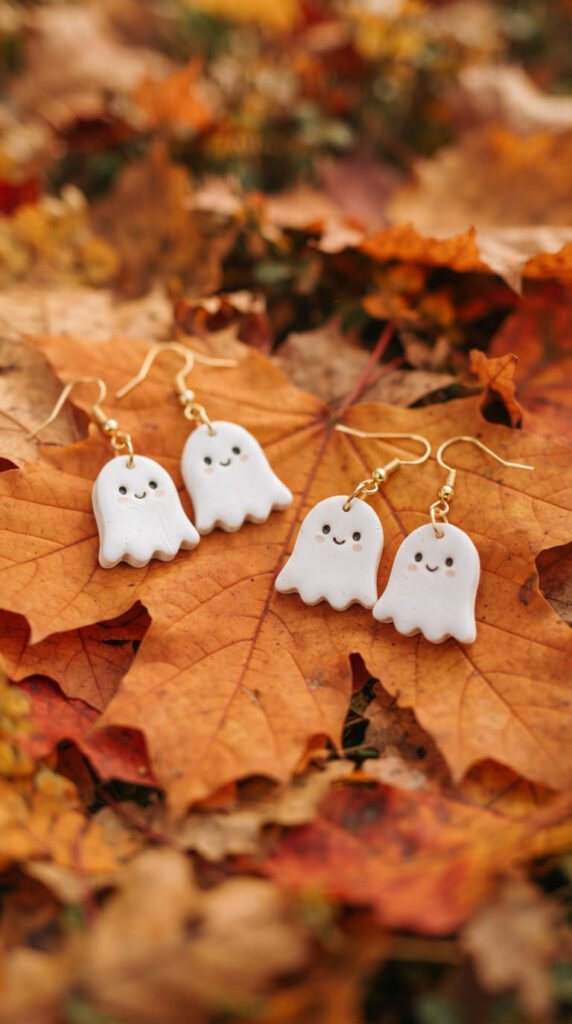
Seasonal projects are a fun way to practice while making something timely. Ghost earrings are a beginner favorite around fall. Roll clay thin and cut a simple rounded teardrop shape freehand with a craft knife. Budget tip: this design uses very little clay, so one small block makes many pairs. Smooth the edges before drying flat for about a day. Once dry, paint the base white and add a tiny painted face with a fine liner brush once the base coat is dry. Seal with a matte varnish to keep the paint from chipping. These earrings work well as a small seasonal collection alongside pumpkin or leaf shapes. Because the design is so simple, it’s a good project for kids to help with too. Package a few pairs together for a quick, low-cost gift idea during the fall months.
6. Textured Wall Hanging
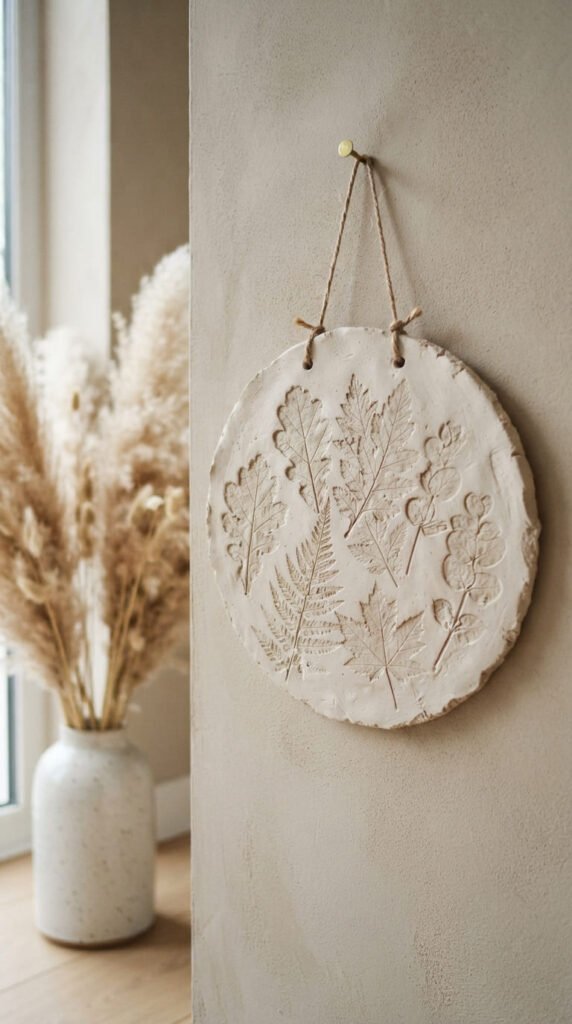
Wall hangings turn a flat slab of clay into a decor piece. Roll clay to an even thickness and cut a circle or organic shape as your base. Budget tip: press a real leaf, lace, or fabric into the surface before it dries for texture, so you don’t need carving tools. Poke a small hole near the top for hanging before the clay dries completely. Let it dry flat for two to three days, flipping occasionally to prevent warping. Once dry, sand the back smooth and leave the textured front as is, or add a light wash of paint to highlight the pattern. Seal with a matte varnish for a soft, natural finish. Thread twine or ribbon through the hole to hang. This project works well as a statement piece above a desk or shelf, and the texture makes every piece slightly different.
7. Stamped Jewelry Tray
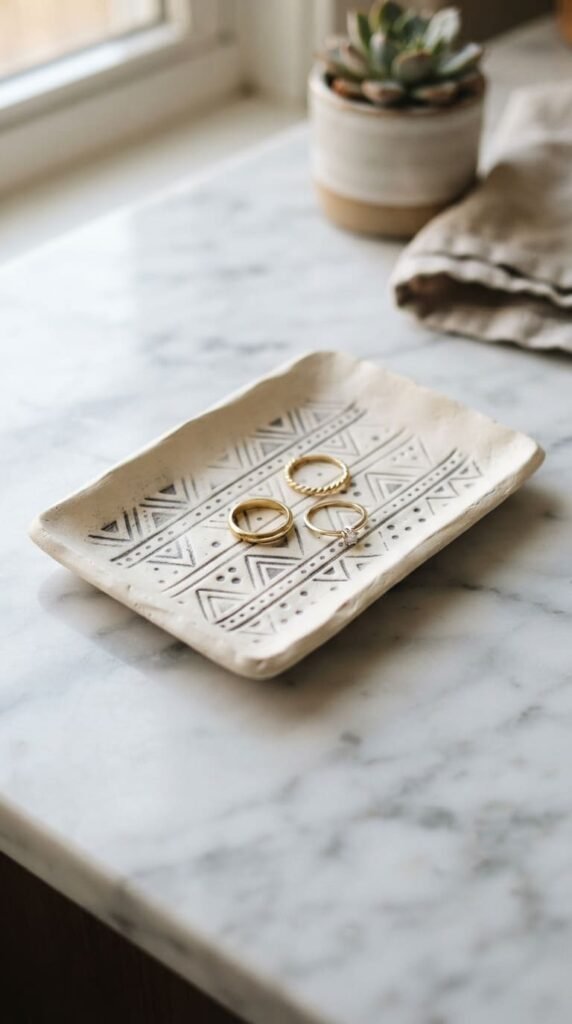
A jewelry tray is a slightly larger version of the trinket dish idea, with more room to decorate. Roll clay flat and cut a rectangle or oval shape, then gently press up the edges by hand for a shallow lip. Budget tip: use a rubber stamp or the end of a pencil to press a simple pattern into the surface before it dries. Let the tray dry flat for two to three days since the flat base needs even drying to avoid warping. Sand any rough edges once dry. Paint the raised pattern a different shade than the base for contrast, or keep it a single natural color for a minimal look. Seal with varnish to protect the finish. These trays are a popular bedside or vanity item and make an easy, affordable gift when paired with a small trinket dish from earlier in this list.
8. Botanical Leaf Bowl
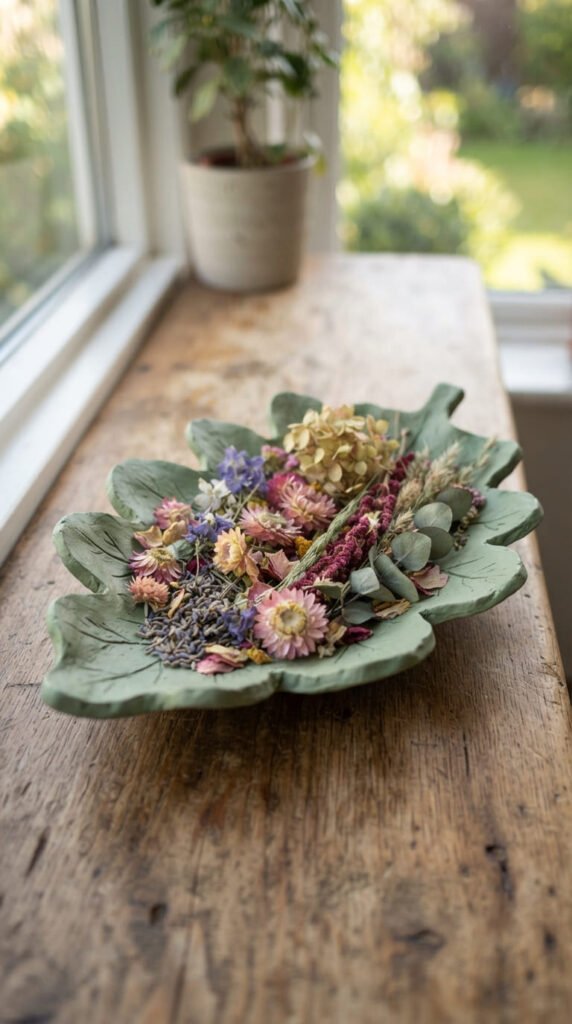
Leaf-shaped bowls are simple to make and look far more detailed than the effort required. Press a real leaf into rolled clay to transfer its vein pattern, then cut around the leaf shape with a craft knife. Budget tip: use leaves from your yard instead of buying a mold or stamp. Gently curve the clay over a small bowl to give it a shallow, dish-like shape while it firms up. Let it dry in that curved position for two to three days. Once dry, sand lightly and paint in a soft green or natural tone to highlight the leaf texture. Seal with a matte varnish for protection. These bowls work well for holding rings, dried flowers, or small trinkets. Because every leaf has a different vein pattern, no two bowls turn out exactly alike, which adds a nice handmade touch to gifts or shop items.
9. Painted Napkin Rings
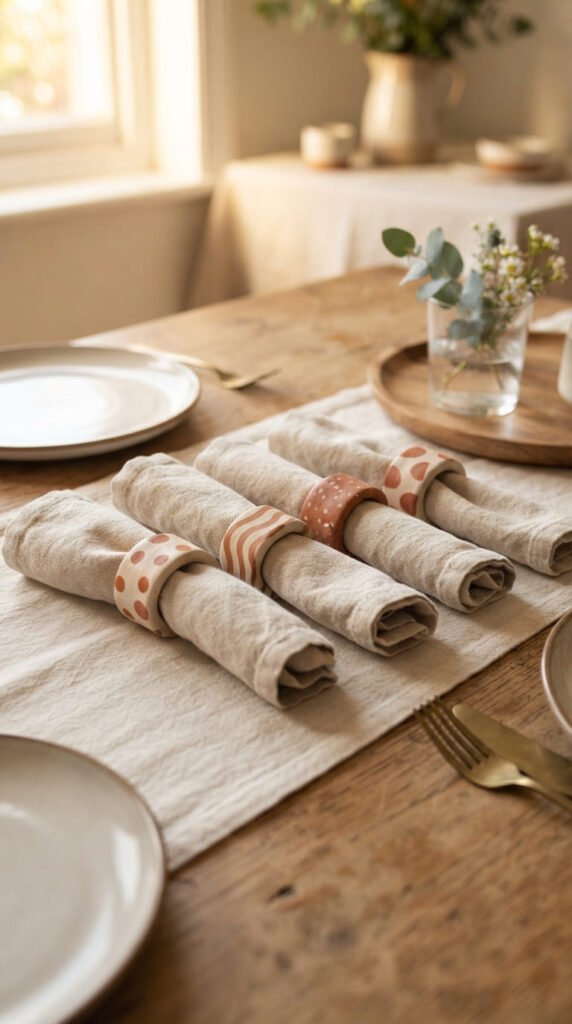
Napkin rings are a quick, low-material project perfect for practicing consistent shapes. Roll a thin coil of clay and wrap it around a cardboard tube or small jar to form a ring, smoothing the seam closed. Budget tip: a paper towel roll works fine as a mold, so there’s no need to buy anything extra. Let the ring dry on the mold for a few hours until it holds its shape, then slide it off to finish drying fully over one to two days. Sand any rough seams once dry. Paint each ring a coordinating color or add a thin painted stripe for detail. Seal with varnish for durability during regular use. A set of four or six makes a simple table setting upgrade and a thoughtful housewarming gift. Since each ring uses very little clay, a full set costs only a few dollars in materials.
10. Modern Bud Vase
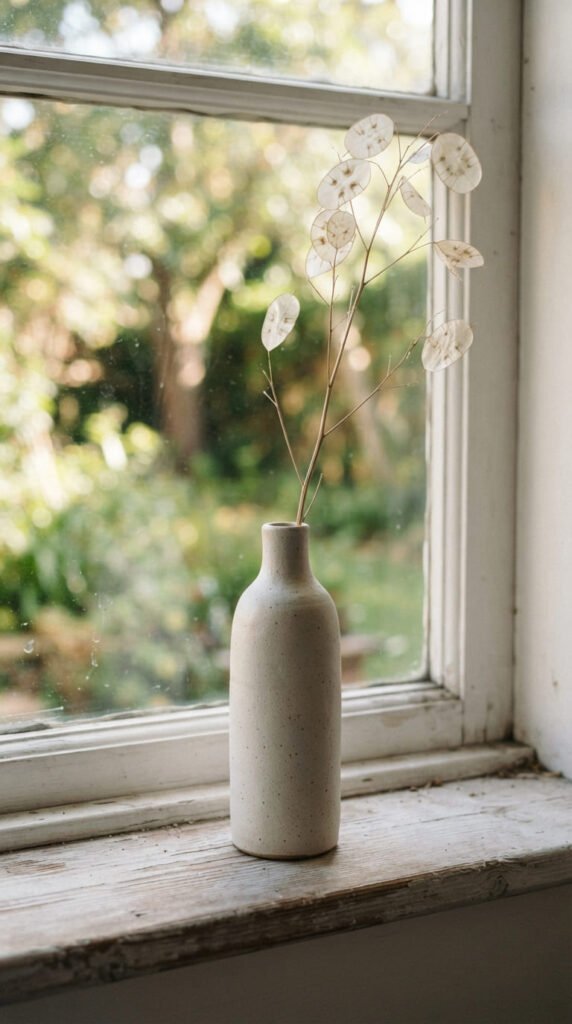
A bud vase is a slightly more advanced shaping project that still stays beginner-friendly. Wrap rolled clay around a glass or plastic cylinder, like a small jar, to form the vase walls, then smooth the seams by hand. Budget tip: reuse a small glass jar as your form and as the actual water-holding insert once finished, since air dry clay isn’t waterproof on its own. Let the clay dry on the form for a day before carefully removing it, then continue drying fully for two to three more days. Sand the surface smooth once dry. Paint in a single matte tone for a modern look. Keep the glass jar inside to hold water and a single stem, rather than filling the clay itself with water. This project makes a simple, modern decor piece that costs very little to produce once you have the basic technique down.
11. Alphabet Charm Necklace
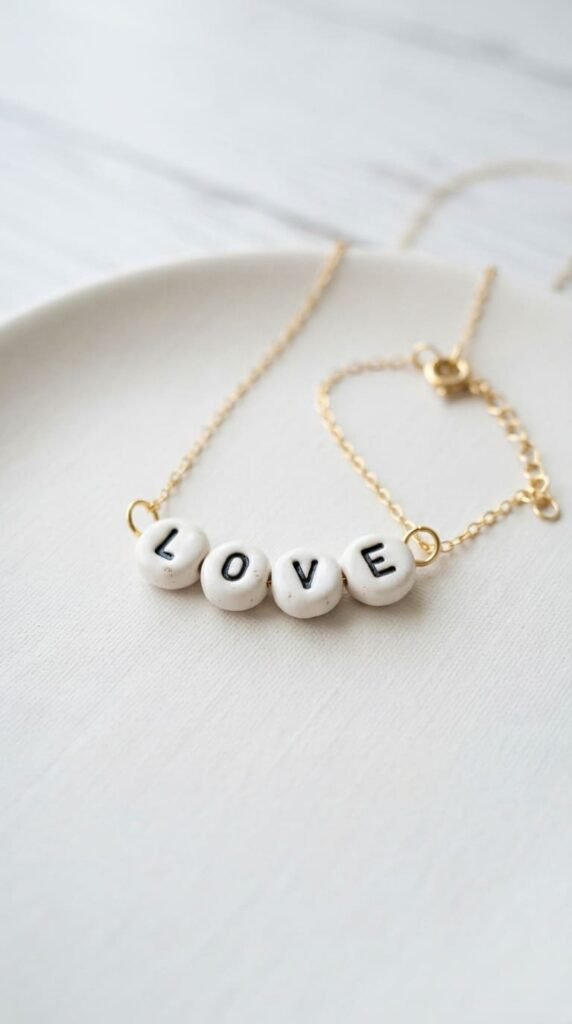
Letter charms are a fun, personal project that make great gifts. Roll clay flat and cut small squares, then press letter stamps or a toothpick to carve simple letters into each one. Budget tip: alphabet stamp sets are inexpensive and reusable for many future projects. Poke a small hole at the top of each charm before drying so you can string it later. Let pieces dry flat for about a day since they’re small and thin. Sand lightly, then paint the letters a contrasting color from the base for readability. Seal with a matte varnish to protect the paint. String a few letters onto a delicate chain to spell a name or short word. This project works well for personalized gifts like initials or a child’s name. Because each charm is small, one block of clay can make dozens, making this one of the most affordable personalized gifts you can create.
12. Sculpted Mini Animals
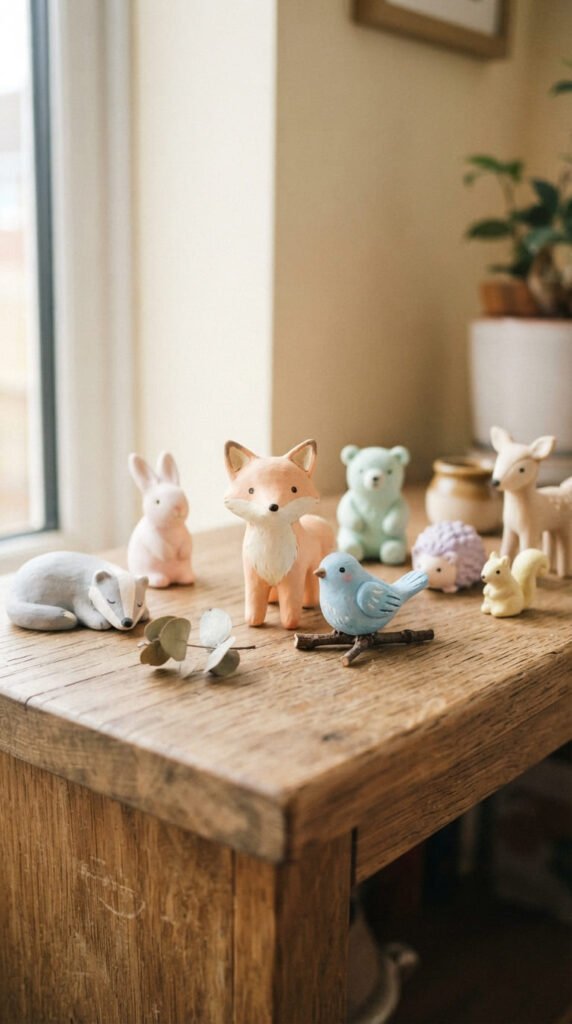
Mini animal figures are a great project for practicing basic sculpting. Start with simple shapes, like a rounded body and small ears for a fox, or an oval body and beak for a bird. Budget tip: keep figures small, under two inches, so they use little clay and dry faster. Smooth seams with a wet finger as you build up shapes. Let pieces dry slowly over two to three days, since thicker sculpted areas take longer than flat pieces. Sand any rough spots once fully dry. Paint with acrylics in soft, playful colors, and add tiny painted details like eyes with a fine brush. Seal with a matte varnish to protect the paint from fading. These figures make great shelf decor or gifts for kids. Because the shapes are simple, this is a good project for practicing sculpting basics before moving into more detailed miniature work.
13. Textured Soap Dish
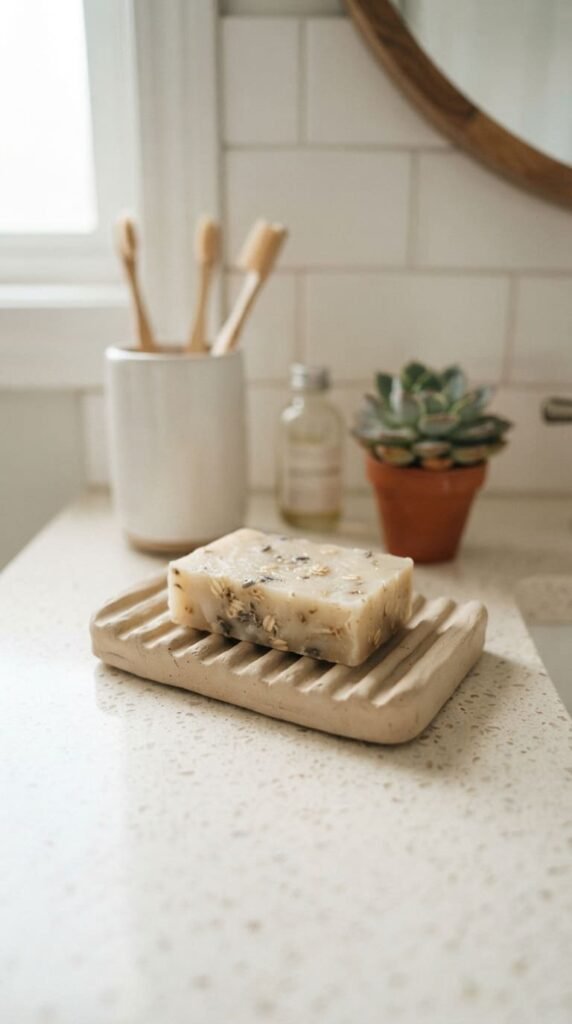
A soap dish is a practical bathroom project that’s simple to shape. Roll clay flat and cut an oval or rectangle base, then add small ridges across the surface using a fork or clay tool so water can drain away from the soap. Budget tip: a regular kitchen fork works great for texture, no special tool required. Let the dish dry flat for two to three days, flipping occasionally for even drying. Sand any rough edges once dry. Because this piece will be exposed to water regularly, seal it generously with a waterproof clay varnish, applying multiple coats and letting each dry fully. Paint a light color before sealing if you want more than a natural clay look. This project is a good test of your sealing skills since bathroom items need extra protection. A finished soap dish makes a simple, useful gift for a new home or bathroom refresh.
14. Painted Ring Cone
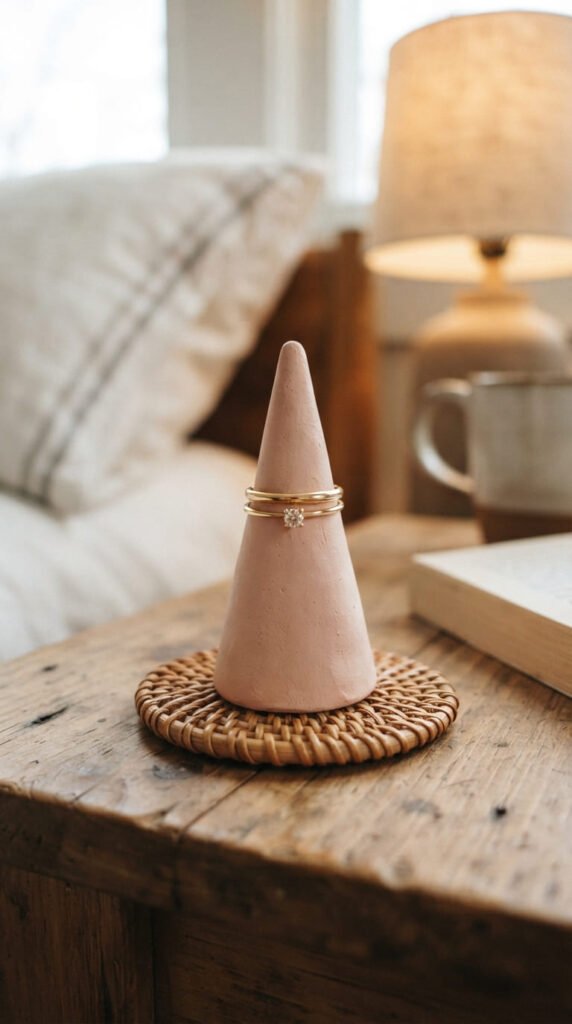
A ring cone is a simple vertical shape that’s satisfying to make and use. Roll a cone shape by hand, tapering it from a wide base to a narrower top, and smooth the surface as you go. Budget tip: this project uses a small amount of clay, so it’s an affordable way to practice hand-building shapes without a mold. Let it dry standing upright on its base for two to three days so it holds its shape. Sand the surface smooth once dry. Paint in a soft solid color, or add a thin gold line near the top for a little detail. Seal with a matte varnish. This piece sits nicely on a bedside table or vanity and holds a couple of rings safely overnight. Because the shape is simple, this is a good project to practice keeping walls even in thickness, which helps prevent cracking in future builds.
15. Faux Marble Bowl
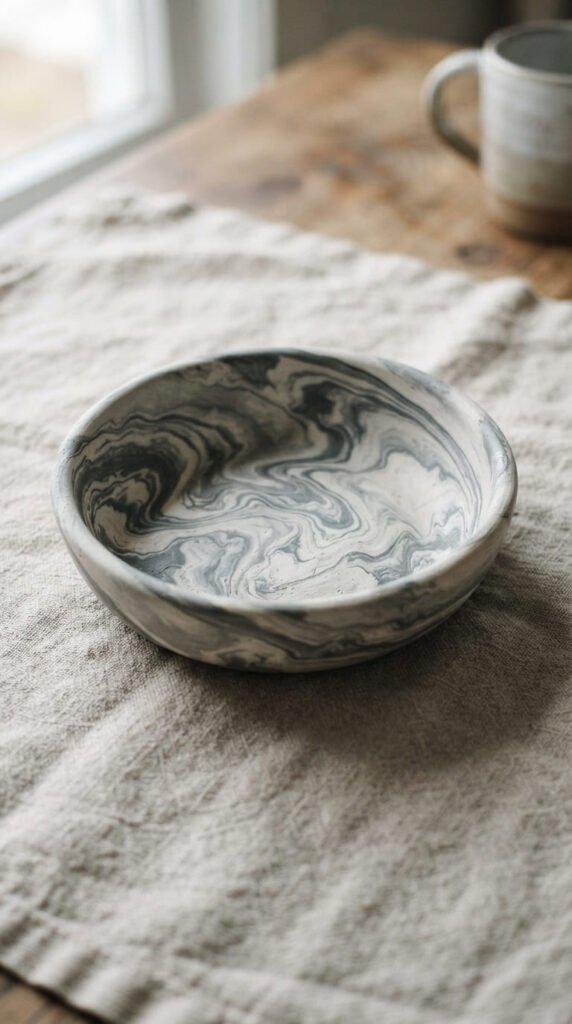
Faux marble is an easy way to get a high-end look from basic materials. Twist together white and gray clay loosely, without fully blending, then press the swirled clay into a bowl-shaped mold lined with plastic wrap. Budget tip: this technique uses a small amount of pigment or colored clay mixed into your white base, so it stretches your materials further. Let the bowl dry in the mold until it holds its shape, then remove and continue drying for two to three more days. Sand lightly once fully dry to smooth the surface without erasing the marbled pattern. Seal with a glossy varnish to enhance the stone-like shine. This bowl works well as a catchall for keys or jewelry. Because no two marbling patterns turn out the same, each bowl feels like a one-of-a-kind piece, which is a nice selling point if you’re making these for a shop.
16. Clay Photo Holder
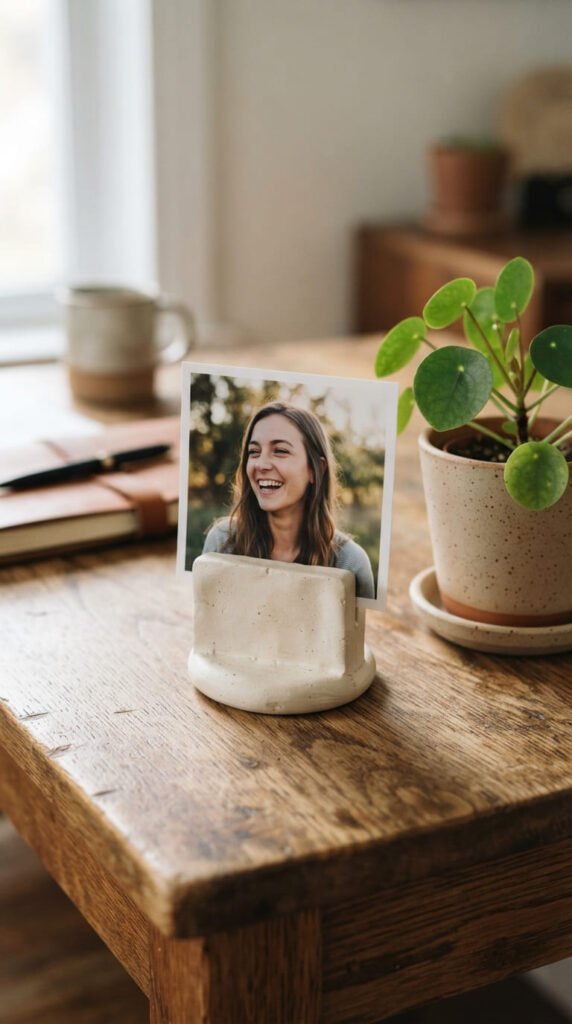
A photo holder is a simple functional project with a lot of gifting potential. Shape a small flat base with a narrow slit cut near the top using a craft knife, wide enough to hold a photo or small card. Budget tip: this project uses very little clay, making it one of the cheapest items on this list. Let it dry flat for one to two days. Sand any rough edges once dry. Paint in a solid neutral tone, or add a small painted detail like a heart or initial near the base. Seal with a matte varnish. These make great desk accessories for holding a favorite photo, postcard, or reminder note. Because they’re small and quick to make, you can produce a batch of ten or more in one sitting, making this a good option for craft fair inventory or teacher gifts at the end of the school year.
17. Painted Keychain Charms
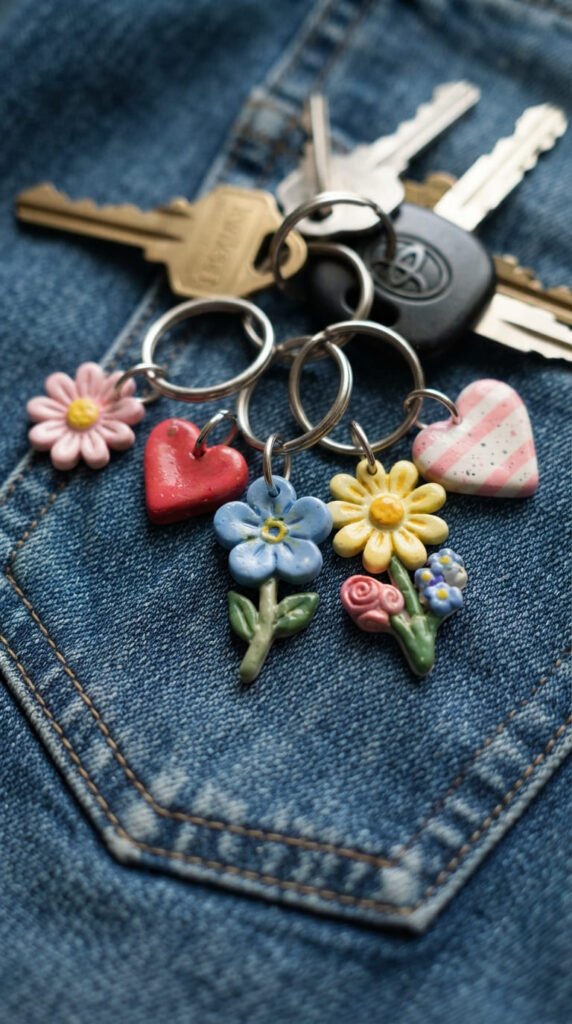
Keychain charms are small, quick, and popular gift items. Roll clay thin and cut simple shapes like flowers, hearts, or stars using cutters. Budget tip: cutter sets are inexpensive and reusable across many future projects like earrings and charms. Poke a hole near the top before drying so you can attach a keyring later. Let pieces dry flat for about a day since they’re thin and small. Sand lightly, then paint with bright, playful colors for a fun look. Seal with varnish so the paint holds up to daily handling in a bag or pocket. Attach a metal keyring or lobster clasp once the piece is fully dry and sealed. These charms are quick to batch-produce, so you can make a dozen in an afternoon. They also work well as party favors or small stocking stuffers since the materials cost very little per piece.
18. Decorative Cactus Planter
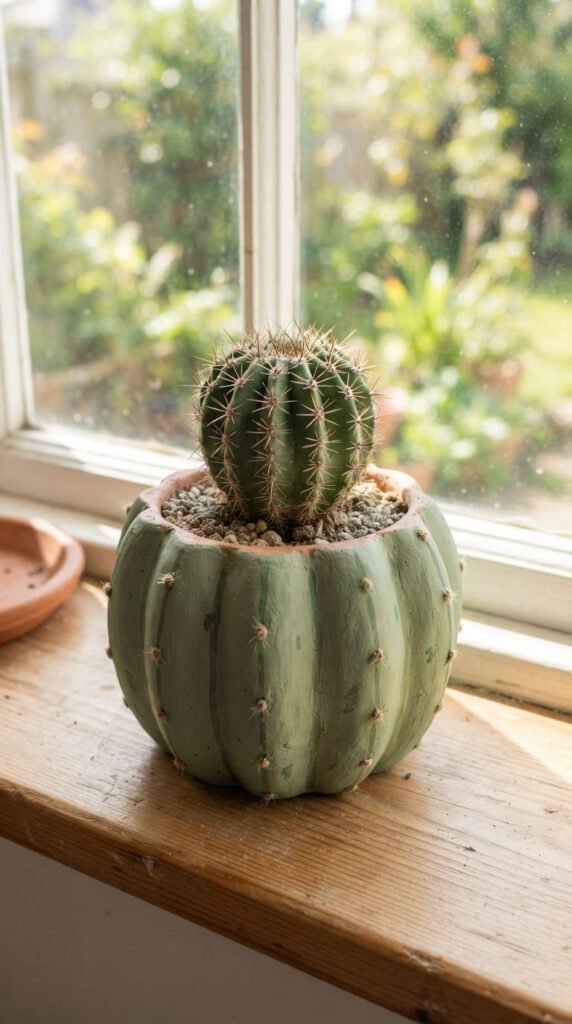
A playful planter shape adds personality to a simple project. Shape a rounded pot form, then use a clay tool to press vertical lines into the surface for a cactus-like texture. Budget tip: keep the pot small, around three inches tall, so it dries faster and uses less clay. Poke a drainage hole in the base before drying. Let it dry slowly over three to four days, turning occasionally for even drying. Sand smooth once dry. Paint in a matte green tone to match the cactus theme, or leave it natural for a more neutral look. Seal the inside well with waterproof varnish before adding a potted plant in its original plastic liner. This playful planter works well on a sunny windowsill and makes a fun gift for anyone who loves plants but struggles to keep them alive, since the pot itself lasts regardless of plant care.
19. Layered Ring Dish Set
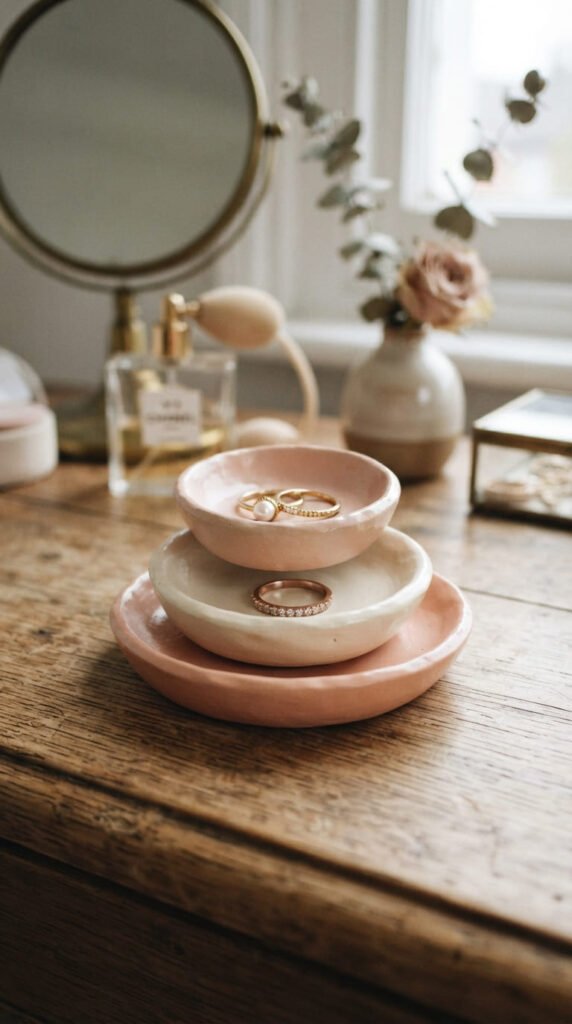
A layered set builds on the basic trinket dish idea by making three sizes that nest or stack together. Roll and shape three dishes of different diameters, keeping the walls even in thickness across all three. Budget tip: making a set at once saves time on mixing paint colors and setting up your workspace only once. Let each dish dry flat for one to two days depending on size. Sand all three once fully dry. Paint in coordinating shades, like cream, blush, and dusty rose, for a cohesive look. Seal each piece with a matte varnish. Stack or nest the dishes for storage, or display them together on a vanity or shelf. This set makes a more substantial gift than a single dish and gives buyers a reason to purchase a bundle rather than one item, which can help increase your average order value if you’re selling.
20. Hand-Painted Ornaments
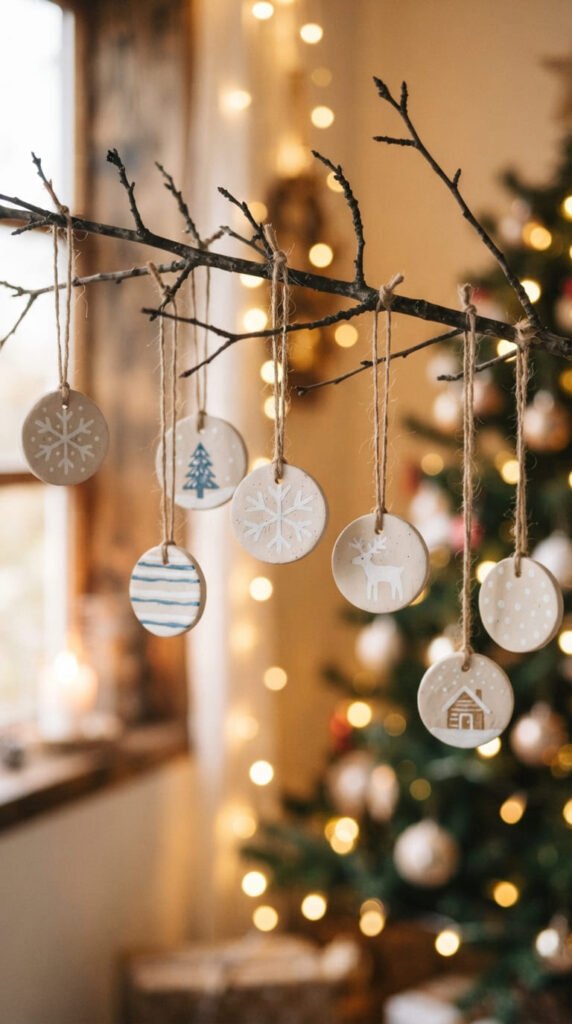
Ornaments are a simple seasonal project that work for any holiday. Roll clay flat and cut circles, stars, or other simple shapes with cutters. Budget tip: one block of clay makes a dozen or more ornaments, making this a cost-effective seasonal batch project. Poke a small hole near the top before drying for hanging. Let pieces dry flat for about a day since they’re thin. Sand lightly, then paint with a simple pattern like dots, stripes, or a small design using a fine brush. Seal with a matte or glossy varnish depending on the look you want. Thread twine or ribbon through the hole once fully dry and sealed. These ornaments make an easy handmade gift topper or tree decoration. Because they’re quick to produce in a batch, this is a good project to make ahead of the holiday season for gifting or selling at a craft market.
21. Personalized Name Plaque
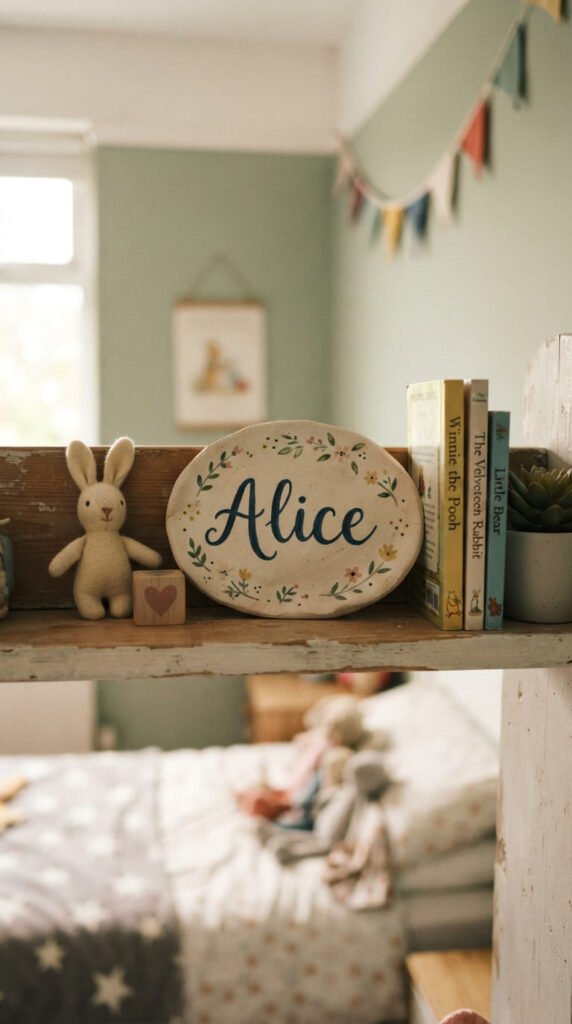
A name plaque is a slightly bigger project that makes a memorable keepsake gift. Roll clay flat and cut a rectangle or oval base, then let it dry mostly flat for two to three days to prevent warping. Budget tip: paint the name freehand with a fine brush rather than buying letter stamps, which keeps this project nearly free beyond the clay itself. Sand the surface smooth before painting. Write the name in a simple script or block letters using acrylic paint, then add a small decorative border or dot pattern around the edge. Seal with a matte varnish to protect the paint long term. Attach a small ribbon or stand on the back for display. These plaques work well for nursery decor, teacher gifts, or personalized birthday presents. Because each one is customized, they tend to feel more special than a generic decor item, even though the materials cost very little.
Conclusion
Air dry clay makes it easy to go from a plain block of material to a finished, useful piece without needing an oven or expensive equipment. Start with a small project like a trinket dish or a pair of studs, get comfortable with drying times and sanding, then work your way toward planters, wall hangings, and personalized keepsakes. Keep your clay walls even, give pieces enough time to dry fully, and always seal before regular use. Pick one idea from this list, grab a block of clay, and start your first project today.