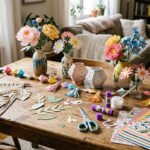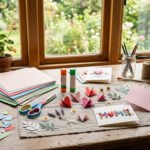

Simple paper crafts for beginners are perfect when you want a calm creative activity without a messy setup or costly tools. Most projects start with paper, scissors, glue, tape, markers, and a little patience. Search intent around paper crafts for beginners often focuses on low-cost supplies, step-by-step projects, paper flowers, cards, garlands, origami, and kid-safe ideas. These weekend crafts are great for adults, kids, students, parents, classrooms, gift wrapping, party decor, and small home decorations.
1. One-Sheet Paper Bookmark
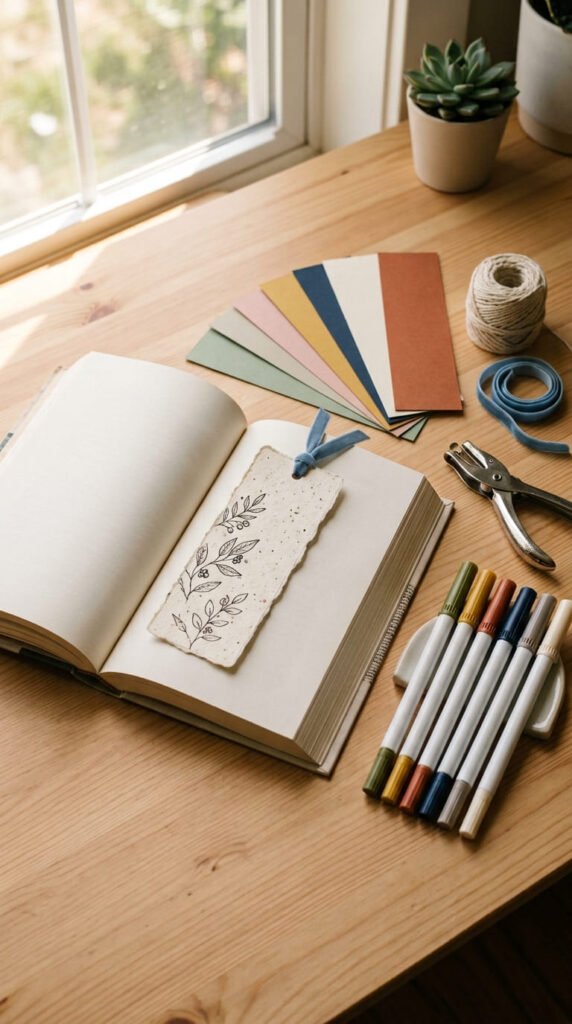
A one-sheet paper bookmark is one of the easiest paper crafts for beginners because it is small, useful, and quick to finish. Start with cardstock, construction paper, or any thick paper you already have. Cut a long rectangle, then trim the corners if you want a softer shape.
Decorate the bookmark with markers, paper scraps, stickers, or tiny cutout hearts. Keep the design simple so it does not feel hard. A few lines, dots, or small flowers can look clean and cute.
Punch a hole at the top and tie on ribbon, yarn, or thread. No ribbon at home? Cut a thin paper strip and twist it gently for a handmade tassel.
This project is great for kids, students, and anyone who reads. It also makes a sweet low-cost gift. Make a set of five in matching colors and place them in a small envelope. You can finish this craft in minutes, and it gives plain paper a real purpose.
2. Folded Paper Hearts
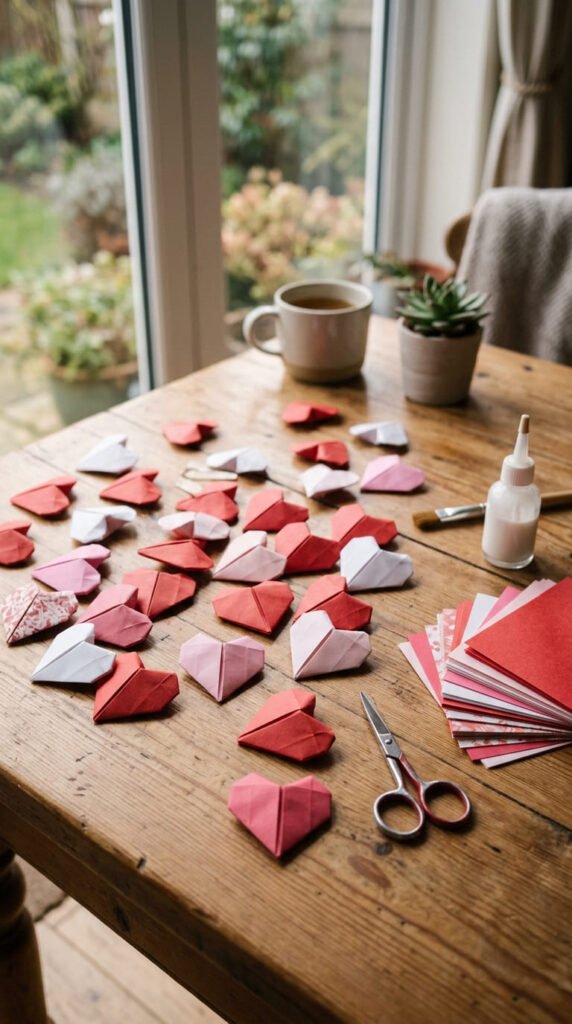
Folded paper hearts are simple, sweet, and great for cards, gift bags, wall art, or lunchbox notes. Use square paper if you have it. If not, cut a square from printer paper, wrapping paper, or magazine pages.
Fold the square in half, open it, then fold the sides toward the center. Shape the top corners into a heart and press the folds down firmly. The first one may feel slow, but the next few become much easier.
Use red and pink paper for Valentine crafts. Use kraft paper for a natural style. Use patterned paper for birthday gifts and scrapbook pages. You can glue the hearts onto cards or string them together to make a tiny garland.
This craft is budget-friendly because even small scraps work. Keep a bowl of folded hearts near your craft supplies. They are useful whenever a gift, card, or notebook cover feels too plain. It is a quiet paper craft that brings quick results without stress.
3. Easy Paper Chain Garland
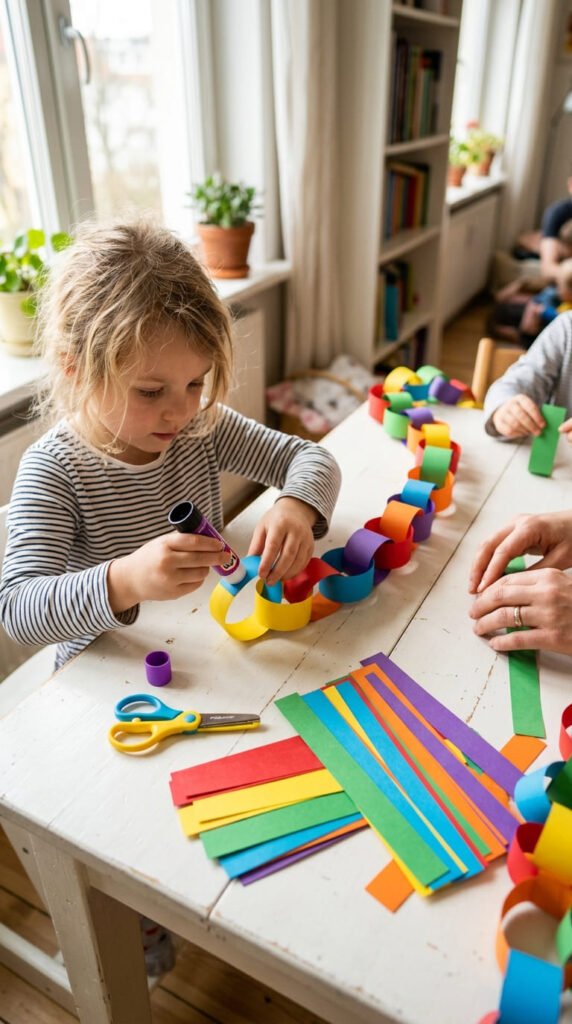
A paper chain garland is a classic beginner craft because the steps are very easy. Cut paper into strips. Make one strip into a loop and glue or tape the ends. Thread the next strip through the first loop, close it, and repeat.
Use two colors for a party theme or many colors for a rainbow look. Construction paper works well, but old magazines and wrapping paper also make pretty chains. You can even use plain white paper and color it before cutting.
This craft is great for kids because it teaches patterns, counting, and hand control. Adults can use the same idea for birthday backdrops, shelf decor, classroom boards, or holiday corners.
A smart budget tip is to save paper offcuts from other projects. Cut them into strips and keep them in a small box. When you have enough, make a garland. Hang the finished chain across a doorway, window, desk, or party table. It is simple, cheerful, and easy to clean up.
4. Simple Paper Flowers
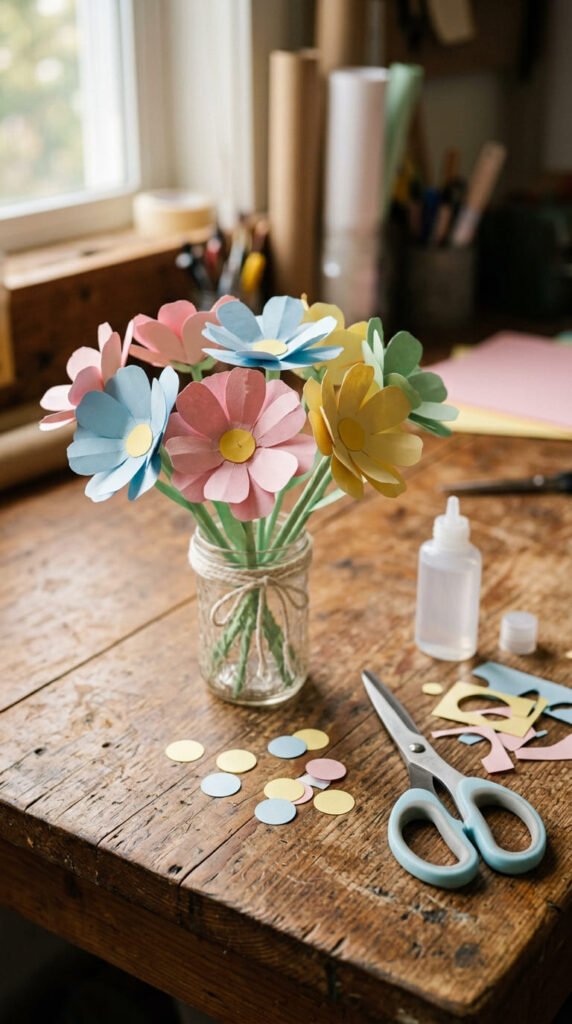
Simple paper flowers are perfect for beginners because they look pretty without difficult folding. Cut several circles from colored paper. Fold each circle in half, then in half again. Trim the top into a rounded petal shape and open it.
Layer two or three flower shapes together and glue the centers. Add a small paper circle in the middle. If you want a stem, roll green paper into a thin tube and glue it to the back.
Use these flowers on greeting cards, gift bags, wall decor, or party tables. You can make them in bright colors for kids’ crafts or soft colors for a calm room display.
This craft is low-cost because every flower uses only small paper pieces. Scraps work well. Tissue paper gives a soft look, while cardstock makes stronger flowers.
Try making ten flowers during a weekend craft session. Store them in a small box. Later, use them whenever you want to decorate a notebook, frame, card, or plain gift wrap.
5. Paper Plate Rainbow
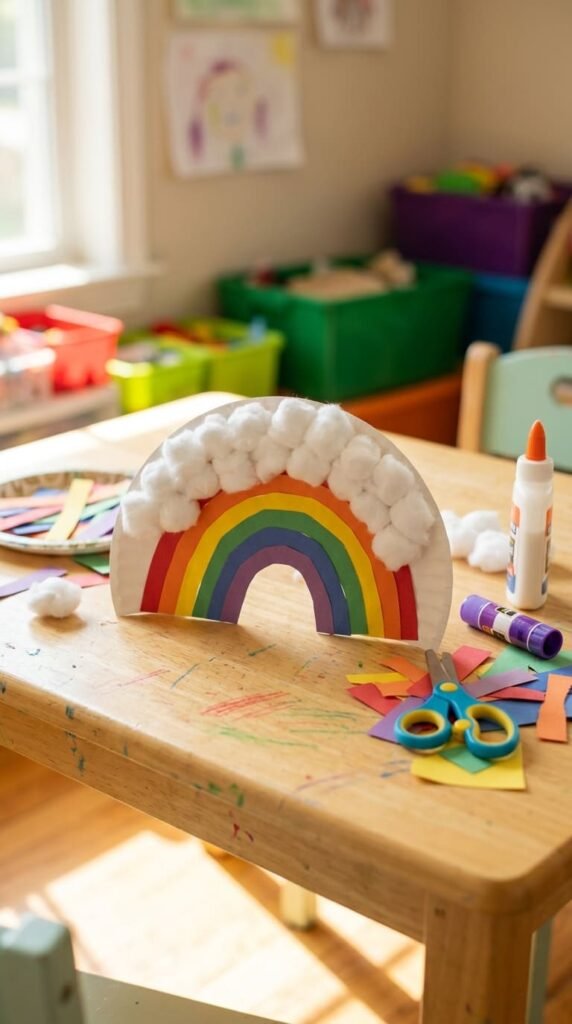
A paper plate rainbow is a fun craft for beginners and young kids. Cut a paper plate in half to make the base. Then cut strips of colored paper for the rainbow. Red, orange, yellow, green, blue, and purple work well, but you can use any colors you have.
Glue the strips along the curved edge of the plate. Add cotton balls or white paper clouds at both ends. If you want to hang it, tape a loop of string to the back.
This craft is great for rainy weekends, classroom projects, spring decor, or playroom walls. It does not require exact cutting, so kids can help without feeling frustrated.
A budget tip is to use leftover party plates or cereal box cardboard instead of a paper plate. Cover the base with white paper if you want a clean look.
Make a few rainbows in different sizes and place them on a wall or fridge. They add color to a room and give beginners a quick win with very little setup.
6. Beginner Origami Boat

A beginner origami boat is a great first folding project because it uses plain paper and easy creases. Start with a rectangular sheet. Fold it in half from top to bottom. Fold the top corners toward the center to make a triangle shape.
Fold the bottom edges upward on both sides. Open the shape from the middle and press it into a square. Fold the bottom points upward, open it again, and pull the sides gently to form a boat.
Use printer paper for practice. Once you understand the folds, try colored paper or old map pages. Kids can float the boats in a shallow bowl of water, but thicker paper may hold shape better.
This craft is helpful for beginners because it teaches folding without any glue. If the first boat looks uneven, that is fine. Press each crease with your finger and try again.
Make several boats in different colors. Use them for party table decor, classroom lessons, or a cute rainy-day activity at home.
7. Mini Paper Gift Tags
Mini paper gift tags are simple, practical, and great for using leftover paper. Cut small rectangles, circles, hearts, or tag shapes from cardstock. Punch a hole near the top and tie on twine, ribbon, yarn, or thin paper strips.
Decorate the tags with tiny paper flowers, stars, dots, stickers, or marker borders. Keep the design clean so the tag looks neat. You can make birthday tags, holiday tags, thank-you tags, or blank tags for later.
This project is very beginner-friendly because there is no strict pattern. Each tag can look different. If one shape comes out uneven, trim it smaller and keep going.
For a budget DIY example, cut tags from old greeting cards, cereal boxes, or gift bags. Cover the printed side with plain paper if needed. The cardboard gives the tag strength.
Make a bundle of tags on the weekend and store them in a jar or envelope. The next time you wrap a gift, you will already have a handmade detail ready.
8. Paper Butterfly Decor
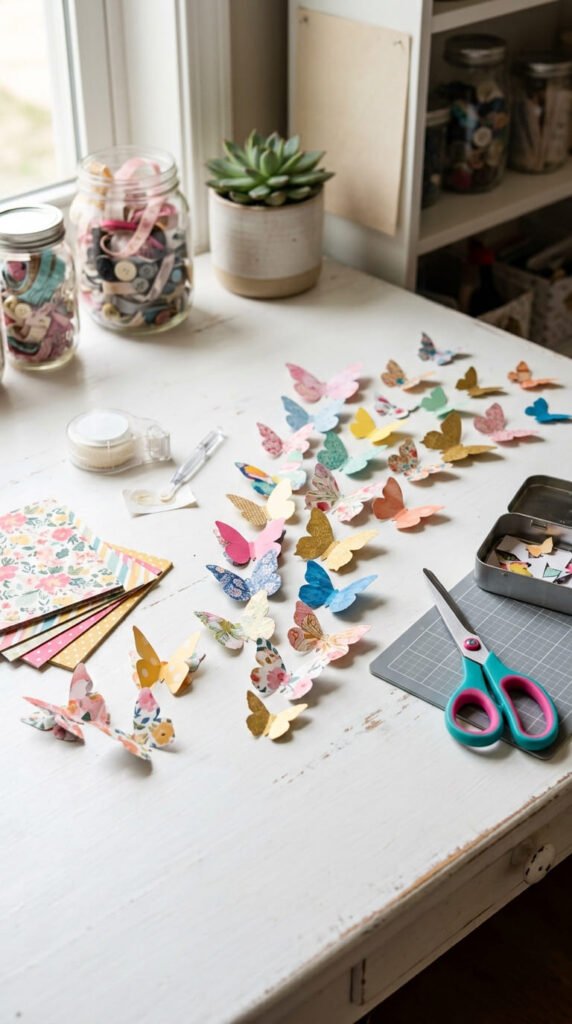
Paper butterfly decor is easy to make and looks lovely on walls, cards, mirrors, or party backdrops. Fold a paper square or rectangle in half. Draw half of a butterfly along the fold. Cut it out, then open the paper to see the full shape.
Fold the wings slightly upward so the butterfly has a soft 3D look. Make large and small butterflies for a natural flying pattern. Use tape, glue dots, or poster putty to place them on a wall.
This craft works well with construction paper, scrapbook paper, magazine pages, or old wrapping paper. Patterned paper makes the butterflies look detailed without extra drawing.
A budget-friendly idea is to make a butterfly trail above a desk or bed. Start with bigger butterflies near the bottom and smaller ones going upward. This makes the display feel light and playful.
Beginners can finish this craft quickly because the cutting is basic. It is also easy to redo. Change the colors for birthdays, spring decor, or bedroom makeovers.
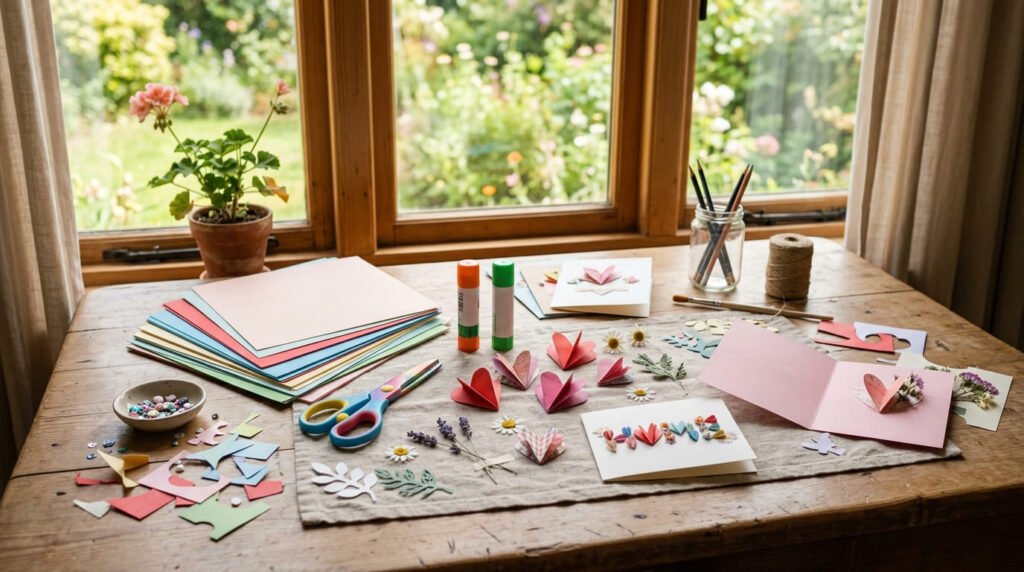
9. Handmade Paper Card
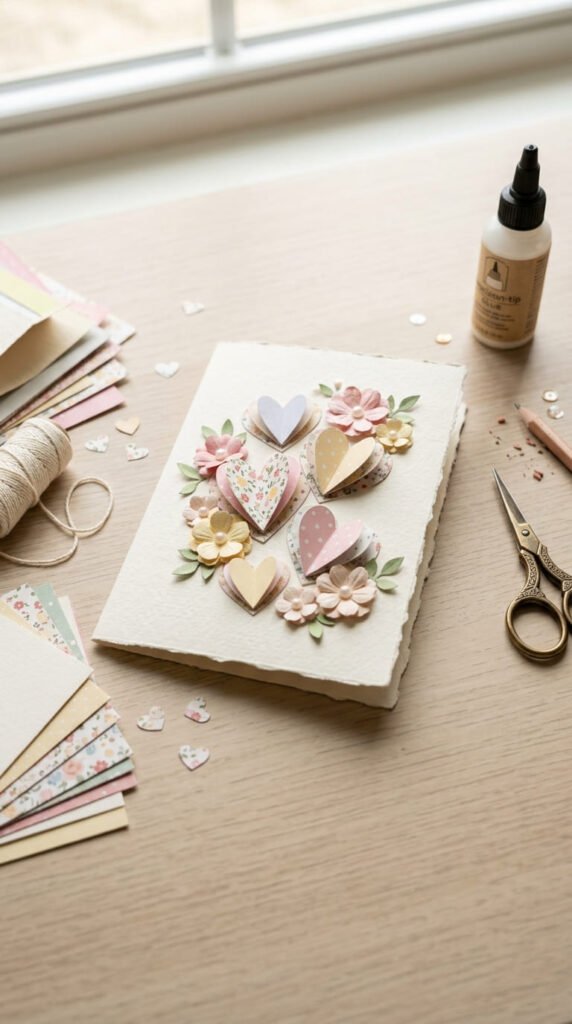
A handmade paper card is a useful beginner craft for birthdays, thank-you notes, holidays, or small kind messages. Fold a piece of cardstock in half. This becomes your card base. If you do not have cardstock, fold printer paper and glue another sheet inside for strength.
Decorate the front with cut paper shapes. Try hearts, flowers, stars, circles, balloons, or a simple layered border. Use only two or three colors so the design stays clean.
You can make the card as plain or playful as you like. Kids can glue large shapes. Adults can make neat layers with paper scraps. Add marker details if you want, but the paper pieces can carry the design on their own.
A budget tip is to reuse gift wrap or old cards. Cut out pretty patterns and glue them onto a new card base.
Make several blank cards during one weekend. Keep them in a small box. When a birthday or thank-you moment arrives, you will have a handmade card ready.
10. Paper Fan Rosettes
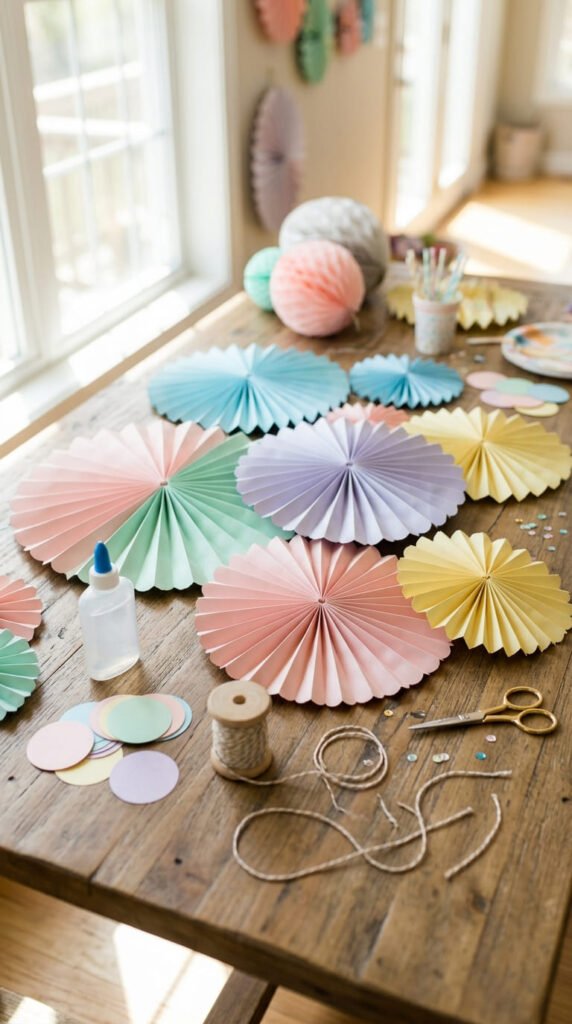
Paper fan rosettes look like party decor, but they are easy for beginners. Take a rectangular sheet of paper and fold it back and forth like an accordion. Press the folds firmly. Fold the pleated strip in half and glue the inner edges together.
Make two or three folded fans and glue them side by side to form a full circle. Add a small paper circle in the center to cover the join. Let the rosette dry flat before hanging it.
Use colored copy paper for small rosettes and cardstock for larger ones. Wrapping paper also works well if it is not too thin. Make rosettes in different sizes for a wall display, party table, or bedroom corner.
A budget-friendly DIY example is to use leftover paper from old party supplies. Cut matching strips, fold them, and make rosettes for another event.
This craft teaches folding and gluing without hard steps. Once you make one, it becomes easy to repeat and build a whole set.
11. Torn Paper Collage

A torn paper collage is perfect when you want a craft with no pressure for perfect lines. Gather colored paper, magazine pages, tissue paper, or wrapping paper scraps. Tear the paper into small pieces by hand. No scissors are required.
Choose a simple design, such as a flower, tree, rainbow, house, fish, or abstract pattern. Spread glue on a small area and press paper pieces onto it. Overlap the pieces slightly to create texture.
This craft is great for kids and adults because it feels relaxed. Kids enjoy tearing paper. Adults can plan colors and shapes for a more polished page.
A low-cost example is a sunset collage. Use orange, yellow, pink, and purple scraps for the sky. Add black or brown paper for hills at the bottom. The result looks artistic, even though the steps stay simple.
Save small scraps from other projects in a bag. When the bag fills up, use them for collage day. This craft turns leftovers into art and keeps paper waste low.
12. Paper Cup Pencil Holder

A paper cup pencil holder is a practical craft for a desk, homework area, or craft shelf. Start with a clean paper cup, cardboard tube, or rolled cardstock cylinder. Cover the outside with colored paper and glue it in place.
Decorate the holder with paper strips, circles, stars, or tiny flowers. Add a cardboard circle or square at the bottom if the base feels weak. Let it dry before adding pencils, markers, or brushes.
This craft is beginner-friendly because it uses a ready-made shape. You do not have to build the full structure from scratch. It also gives you something useful at the end.
For a budget version, use a toilet paper roll or small food box. Cover it with scrap paper so it looks new. Make two or three holders in matching colors for a neat desk set.
This is a great weekend project for students. It also works well for parents who want a quick craft that helps clean up supplies. Simple paper can make a messy desk feel more organized.
13. Simple Paper Lantern
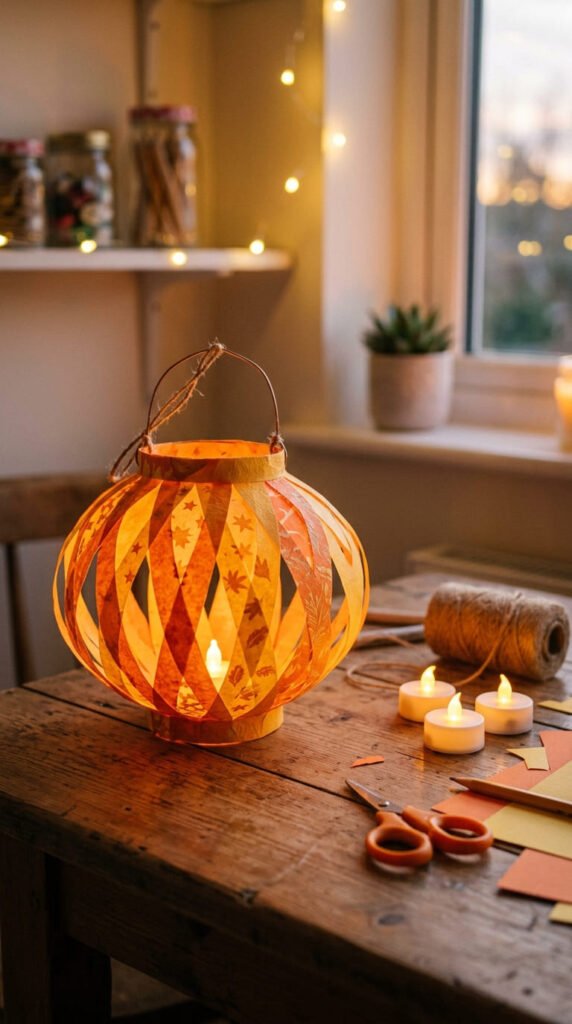
A simple paper lantern is an easy craft for room decor, party tables, or seasonal displays. Fold a sheet of paper in half lengthwise. Cut short lines from the folded edge toward the open edge, leaving space at the top. Open the paper, roll it into a tube, and glue or tape the sides.
Add a paper handle if you want to hang it. Use bright paper for parties or soft colors for cozy decor. Do not use real candles with paper. Battery lights are safer, or you can keep the lantern as decoration only.
This project is great for beginners because the pattern is easy to repeat. The cuts do not have to be perfect. The lantern still looks nice when it opens.
A low-cost tip is to use printer paper colored with crayons or markers. You can also glue gift wrap onto plain paper for a patterned lantern.
Make a set of three in matching colors and place them on a shelf. They create a handmade look with simple supplies.
14. Paper Bag Puppet

A paper bag puppet is a fun craft for kids, classrooms, and family weekends. Use a lunch bag as the puppet body. The folded bottom becomes the face. The open part becomes the hand pocket.
Cut paper shapes for eyes, ears, hair, nose, clothes, wings, or paws. Glue them to the bag and add marker details. Kids can make animals, monsters, people, story characters, or silly creatures.
This craft is budget-friendly because lunch bags are cheap and paper scraps work well for details. No fancy supplies are required. Yarn, buttons, or fabric scraps can be added, but paper alone is enough.
A realistic DIY example is a paper bag cat. Add triangle ears, a small nose, paper whiskers, and a tail. Then let kids create a short puppet show.
This craft is more than decoration. It turns into playtime after the glue dries. Beginners get to cut, glue, design, and tell stories, all from one simple paper bag.
15. Paper Star Cutouts
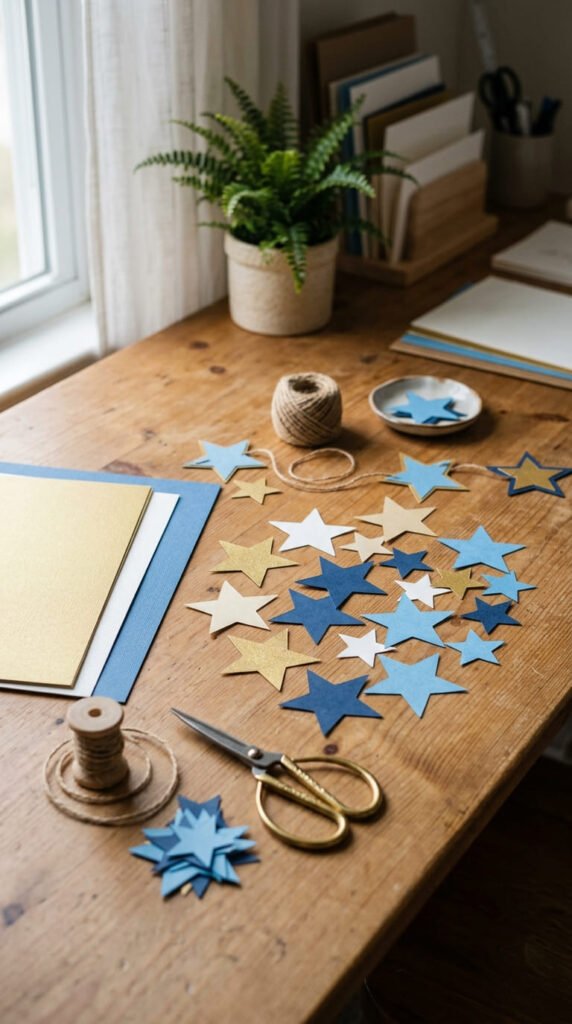
Paper star cutouts are easy and useful for many crafts. Fold a piece of paper in half, draw half a star near the fold, and cut along the line. Open it to reveal a full star. You can also use a cookie cutter or cardboard shape as a guide.
Make stars in different sizes and colors. Use them for cards, gift tags, garlands, wall art, party decor, or classroom boards. Metallic paper looks fancy, but plain colored paper works well too.
This craft helps beginners practice cutting without a long project. If the star is uneven, trim the points or make it smaller. Handmade stars do not have to match perfectly.
A budget tip is to use scrap cardstock from packaging. Cover it with colored paper or paint before cutting. The thicker base makes the stars strong enough for hanging.
Try making a small star garland by taping stars to string. Hang it over a desk, mirror, window, or party table. It is a fast paper craft with many uses.
16. Easy Paper Envelope
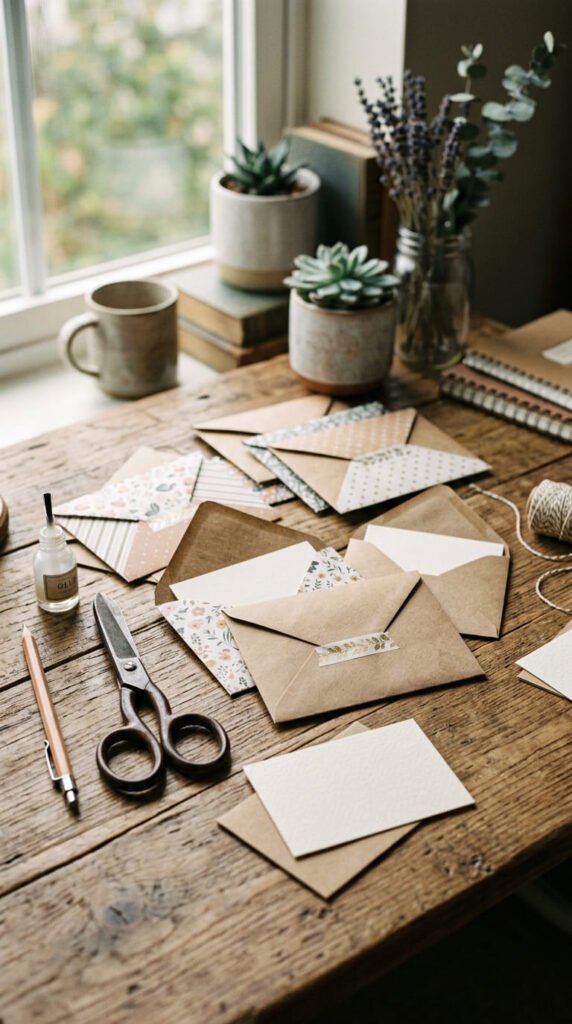
An easy paper envelope is a useful craft for notes, cards, stickers, gift cards, or tiny keepsakes. Start with a square sheet of paper. Place it like a diamond. Fold the left and right corners toward the center. Fold the bottom corner upward and glue the sides.
Fold the top corner down to make the flap. You can leave it plain or add a small paper heart, sticker, or ribbon closure. Patterned paper makes beautiful envelopes, but plain paper works too.
This craft is beginner-friendly because the folds are simple and the result is useful. Make one envelope first, then adjust the size for different cards.
A budget DIY idea is to reuse magazine pages, old calendars, or wrapping paper. These papers already have color and pattern. If the paper is thin, glue it onto printer paper first.
Make several envelopes in one sitting. Store them with handmade cards or use them for small gift notes. It is a calm craft that saves money on stationery.
17. Paper Crown Craft
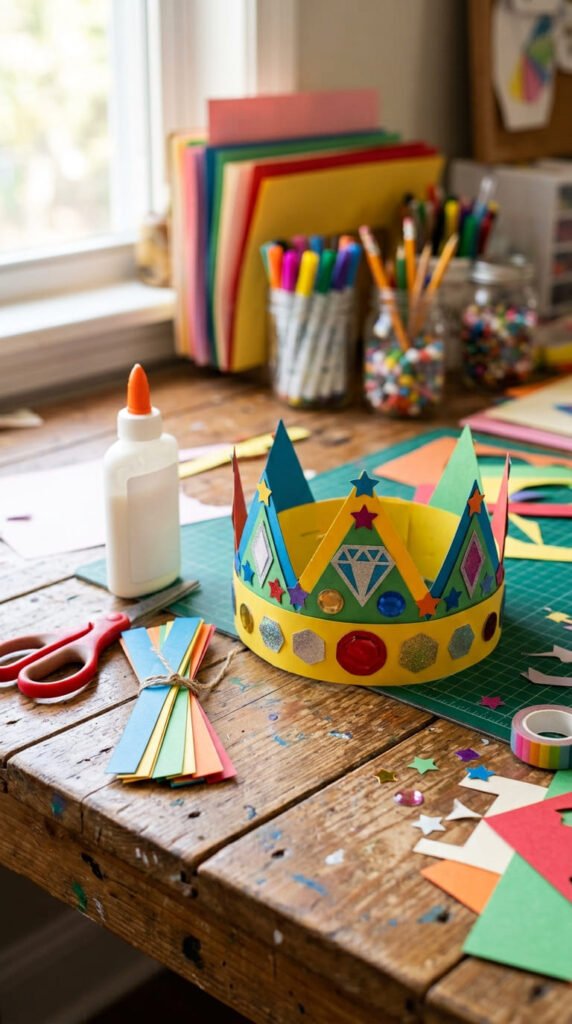
A paper crown craft is easy, playful, and great for birthdays, pretend play, classrooms, or family craft time. Cut a long strip of cardstock or construction paper to fit around the head. Cut triangles along the top edge to make crown points.
Decorate the crown with paper jewels, stars, hearts, circles, or flowers. Glue the shapes across the front. Add marker lines or dots if you want extra detail. Tape the ends together after checking the size.
For a stronger crown, use cereal box cardboard covered with colored paper. This saves money and keeps the crown from bending too fast. Kids can choose their own colors and shapes, which makes each crown feel personal.
This project is great for beginners because it uses basic cutting and gluing. It also becomes a wearable craft, which adds excitement.
Make several crowns for a party table or dress-up box. You can also make themed crowns, such as rainbow, princess, king, dinosaur, flower, or star designs.
18. Rolled Paper Beads
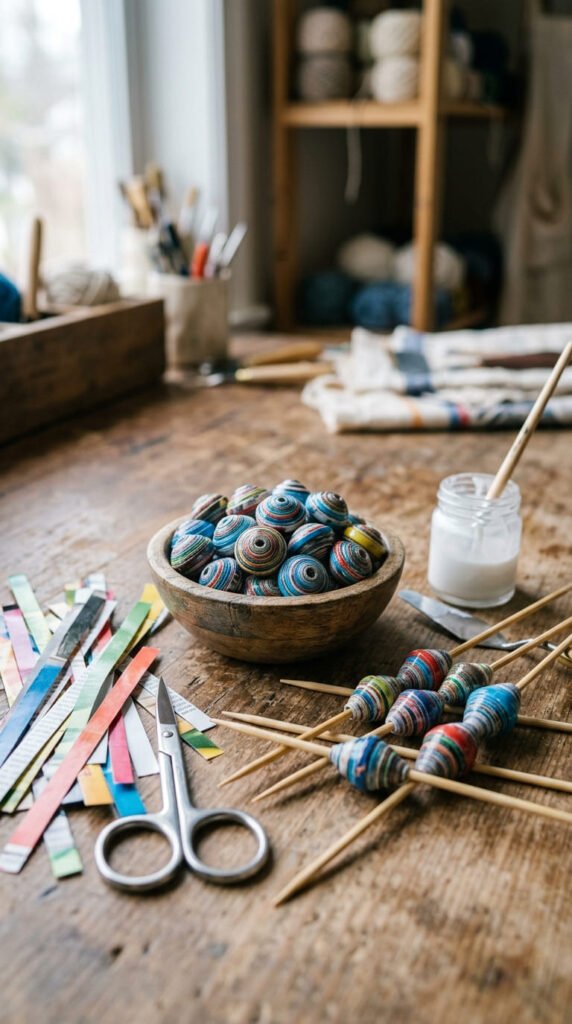
Rolled paper beads are a relaxing craft that turns paper strips into jewelry or decor. Cut long triangle strips from magazine pages, colored paper, or wrapping paper. Place a toothpick or skewer at the wide end. Roll the paper tightly toward the point.
Add a small dot of glue at the tip and press it down. Slide the bead off the skewer after it dries. Make many beads in different colors and sizes.
String the beads onto yarn, elastic, or thread. You can make bracelets, necklaces, keychains, bag charms, or garlands. Kids can make chunky beads, while adults can make thinner beads with neat rolling.
This craft is budget-friendly because recycled paper works beautifully. Magazine pages create surprising color patterns, so every bead looks different.
A helpful tip is to roll slowly and keep the strip centered. Do not worry if the first beads look uneven. They still work in a bracelet or garland. This craft is low-stress and great for quiet weekend making.
19. Paper Snowflakes
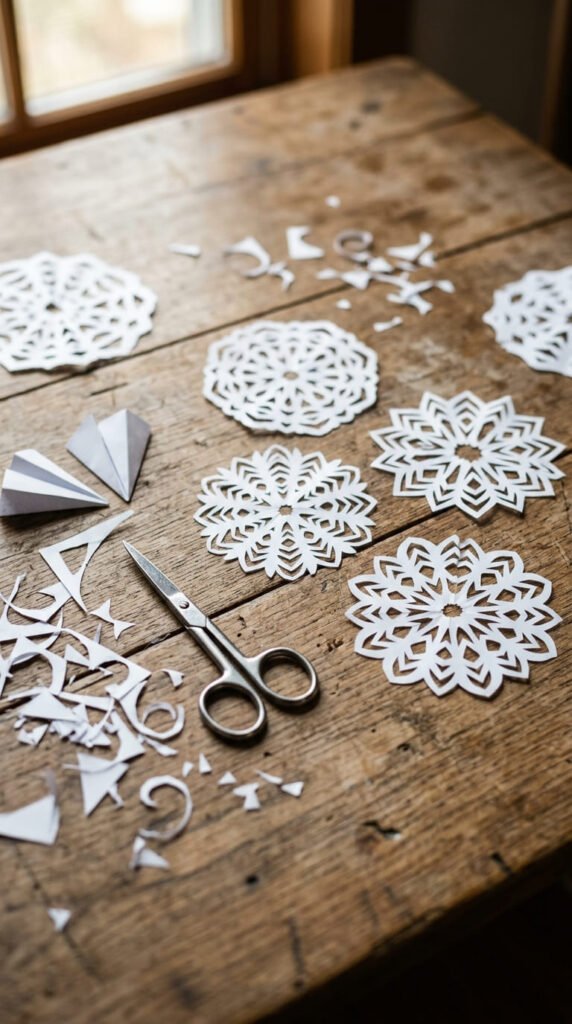
Paper snowflakes are simple, low-cost, and fun for beginners. Start with a square sheet of paper. Fold it into a triangle, then fold it again. Cut small shapes along the edges. Open it slowly to see the snowflake pattern.
Thin printer paper is easier to cut than thick cardstock. White paper gives a classic winter look. Blue, silver, or pastel paper can make the snowflakes feel softer and more decorative.
This craft is great because every snowflake turns out different. There is no perfect design to copy. Beginners can cut basic triangles and circles, while older kids and adults can try smaller shapes.
Use the finished snowflakes on windows, cards, gift wrap, classroom boards, or party backdrops. You can also string them into a garland.
A budget tip is to cut one printer sheet into four squares. That gives you four small snowflakes from one page. Keep a small trash bowl nearby for paper clippings. Cleanup stays easy, and the craft feels calm from start to finish.
20. Paper Treat Cone
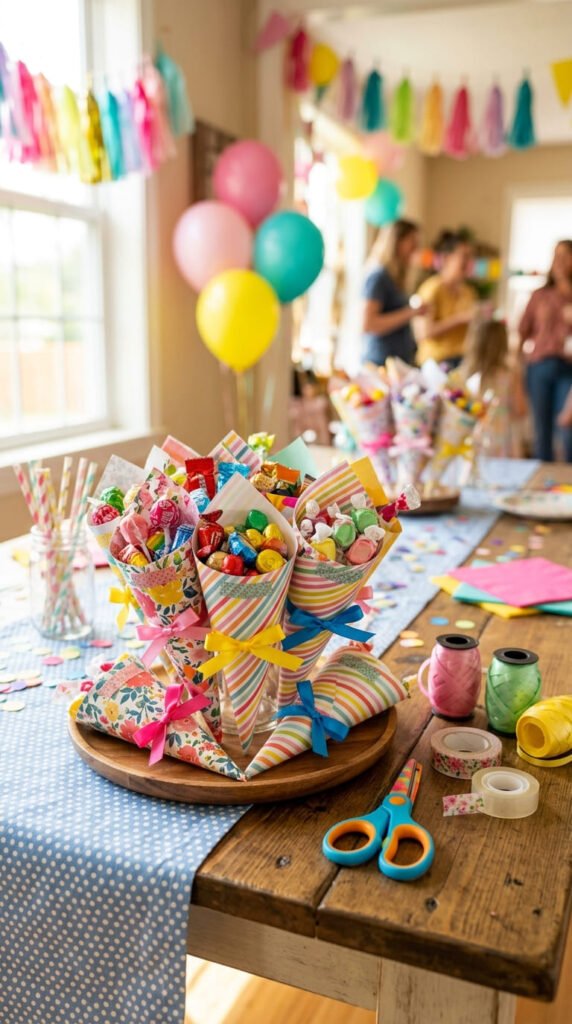
A paper treat cone is a simple party craft for wrapped candy, popcorn, stickers, small toys, or favor mixes. Cut a square from paper. Roll it into a cone shape and tape or glue the side closed. Trim the top if you want a cleaner edge.
Use cardstock for stronger cones. Patterned paper works well for birthdays or holidays. If food will touch the paper, add a food-safe liner or use wrapped treats.
Punch two small holes near the top and tie ribbon through them if you want a handle. You can also place cones in cups or a basket for a party table.
This craft is beginner-friendly because it uses one main shape. It is also easy to make many at once.
A budget idea is to use leftover gift wrap glued onto plain paper. This gives the cone color and strength. Make a set in matching colors for a movie night, birthday table, school event, or weekend snack bar.
21. Paper Wall Banner
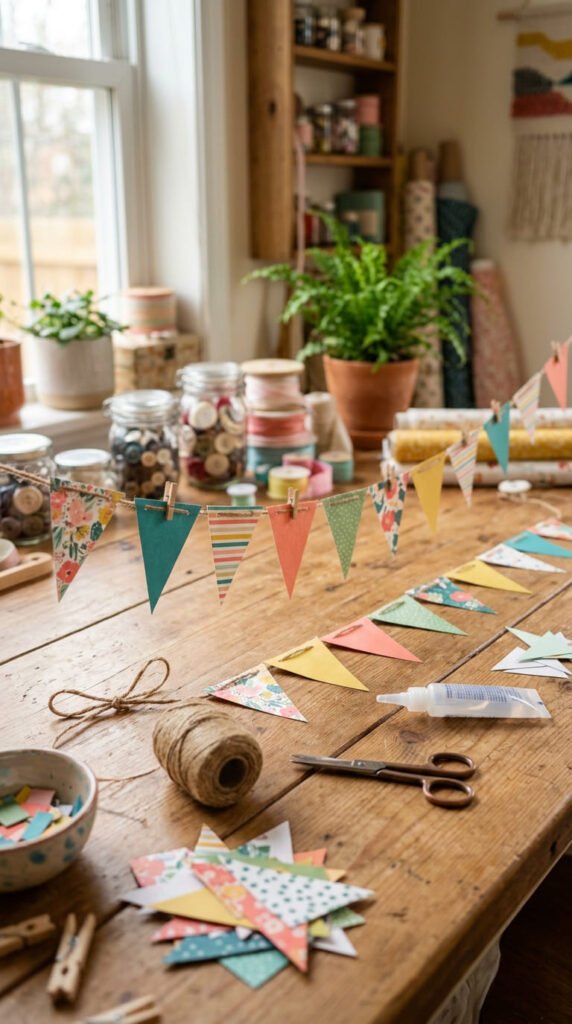
A paper wall banner is an easy way to decorate a room, party table, shelf, or study corner. Cut triangles, circles, hearts, or rectangles from colored paper. Punch holes at the top of each shape and thread them onto yarn, string, or twine.
You can keep the banner plain or layer smaller shapes on top. Try stars on circles, hearts on triangles, or flowers on rectangles. Use two or three colors for a clean look.
This craft is great for beginners because it repeats one simple step. Cut, punch, thread, and hang. It also works for many occasions, including birthdays, holidays, classroom boards, and bedroom decor.
A budget-friendly DIY example is a banner made from old scrapbook paper or gift bags. Cut around the best patterns and reuse them as flags.
Hang the finished banner with tape or small hooks. If you want to store it, wrap it around cardboard so it does not tangle. It is light, cheap, and easy to remake in new colors.
22. Paper Scrap Mosaic
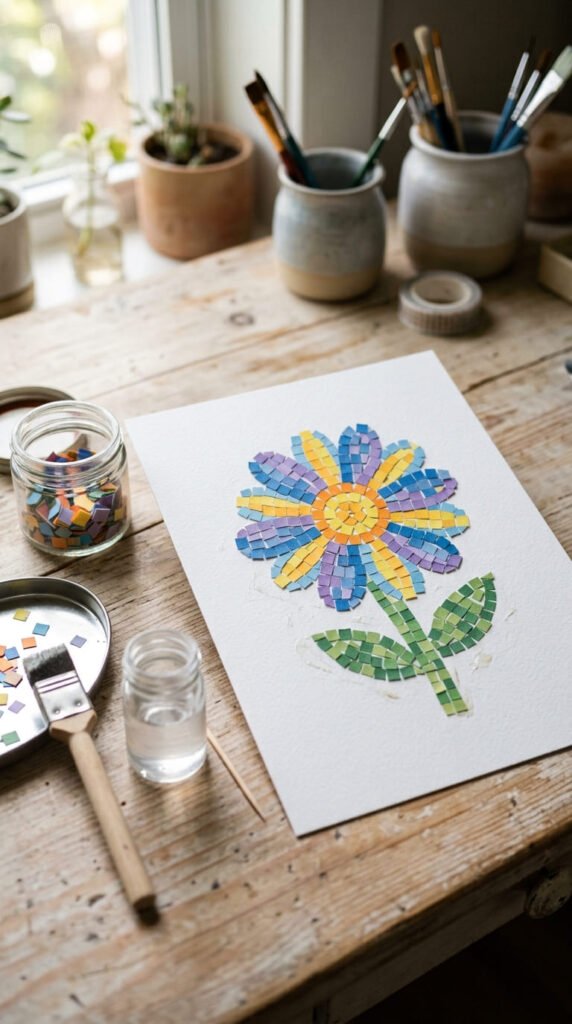
A paper scrap mosaic is a smart way to use tiny leftover pieces from other crafts. Cut or tear paper into small squares, triangles, or random shapes. Draw a simple outline on cardstock, such as a heart, flower, sun, fish, or house.
Fill the outline with paper pieces one section at a time. Add glue to a small area, then press the pieces down. Leave a little space between pieces if you want a tile-like look.
This craft is great for beginners because it does not rely on perfect cutting. It also feels calm and slow, which makes it good for stress-free weekend crafting.
Use magazine pages, wrapping paper, construction paper, or old envelopes. Sort scraps by color first if you want the design to look organized.
A simple DIY example is a paper mosaic heart. Use red, pink, and white scraps inside the shape, then frame it or glue it onto a card. This craft turns paper leftovers into art and helps keep your craft table tidy.
Conclusion
Simple paper crafts for beginners are a relaxing way to make cards, decor, gifts, toys, and useful desk items with supplies you likely already have. Start with one small project, such as a bookmark, paper heart, envelope, or garland. Keep your materials simple, save your scraps, and choose crafts that feel fun rather than perfect. A few sheets of paper can turn an ordinary weekend into a calm creative session.