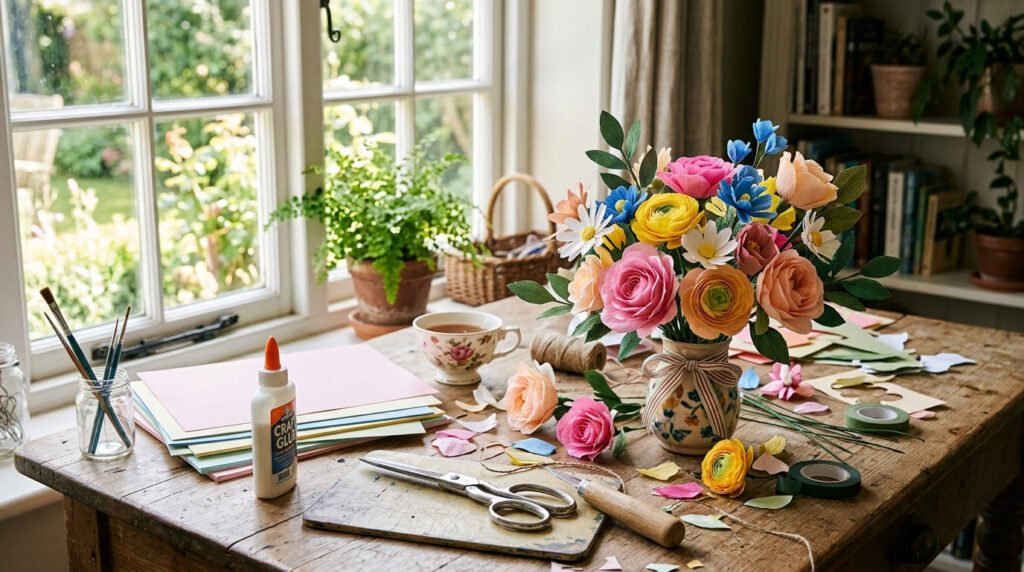
Paper flowers are one of those crafts that look fancy, but they are actually simple once you know the basic steps. You do not need expensive supplies, special machines, or perfect cutting skills. With a few sheets of paper, scissors, and glue, you can make pretty flowers for room decor, party tables, gift wrapping, cards, or even a handmade bouquet.
The best part? Paper flowers never wilt. You can make them in soft pastels, bold bright colors, vintage book pages, or pretty seasonal shades. Whether you are a beginner or just want a relaxing weekend craft, this easy paper flower tutorial will help you create blooms that look cute, full, and Pinterest-worthy.
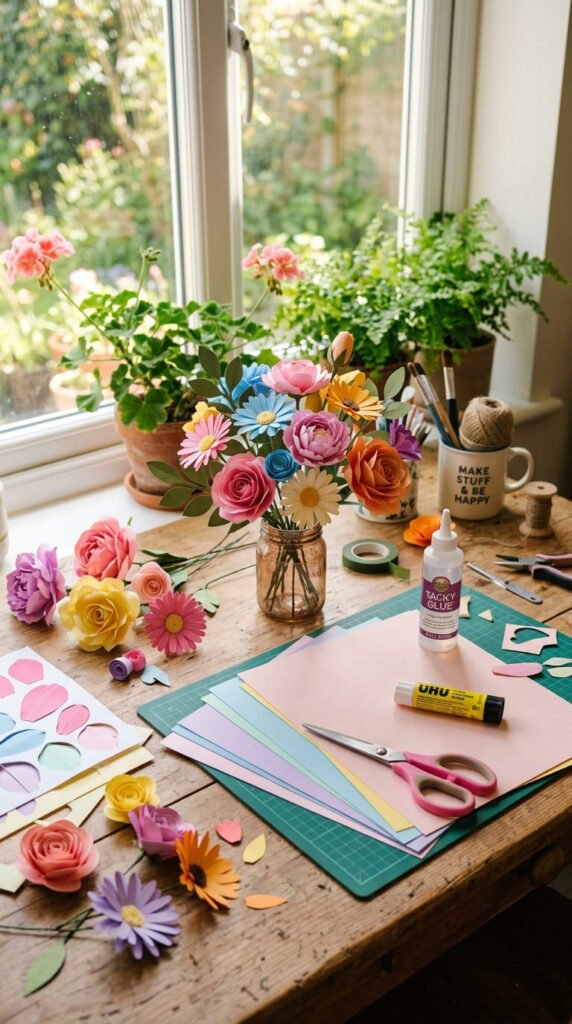
Supplies You Need for Easy Paper Flowers
Before you start, gather everything in one place. This makes the craft feel easier and less messy.
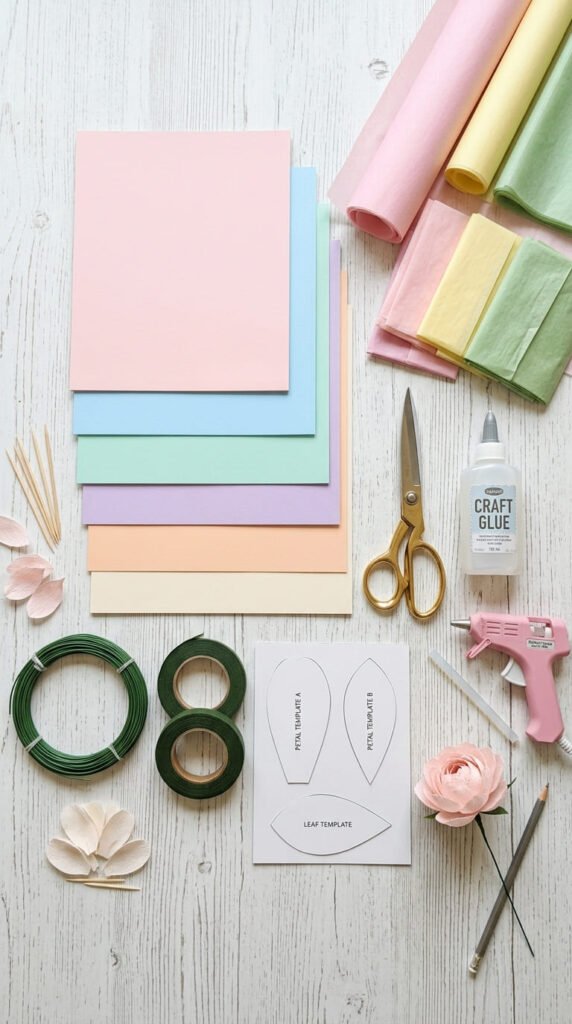
You will need:
- Colored craft paper, cardstock, tissue paper, or crepe paper
- Scissors
- Glue stick or hot glue gun
- Pencil
- Ruler
- Floral wire, wooden skewers, or paper straws for stems
- Green paper or floral tape for leaves
- A round object or template for tracing petals
For beginners, cardstock is easiest because it holds shape well. Tissue paper gives a soft, fluffy look. Crepe paper looks more realistic because it stretches and curls nicely.
Step 1: Choose Your Flower Style
Start with a simple flower shape. You do not need to make a realistic rose on your first try. A basic layered flower looks beautiful and is much easier.
Good beginner flower styles include:
- Simple five-petal flowers
- Layered daisies
- Rolled paper roses
- Tissue paper pom-pom flowers
- Crepe paper peonies
For a pretty and easy look, try a layered flower. You only need to cut several petal shapes in different sizes, stack them together, and glue them in the center.
Choose colors that match your project. Soft pink, cream, peach, and sage green look lovely for wedding-style decor. Bright yellow, orange, and blue feel fun for birthdays. White and gold can look elegant for gift toppers.
Step 2: Cut Petal Shapes
Draw a simple petal shape on your paper. It can look like a teardrop, oval, heart, or rounded leaf. Do not worry if each petal is not exactly the same. Real flowers are not perfect either.
Cut about:
- 6 large petals
- 5 medium petals
- 4 small petals
If you want a fuller flower, cut more petals. If you want a simple flat flower for cards or scrapbooks, use fewer petals.
A helpful trick is to fold the paper and cut several petals at once. This saves time and keeps the shapes similar.
Step 3: Shape the Petals
This step makes paper flowers look much prettier. Flat petals can look plain, but shaped petals look soft and natural.
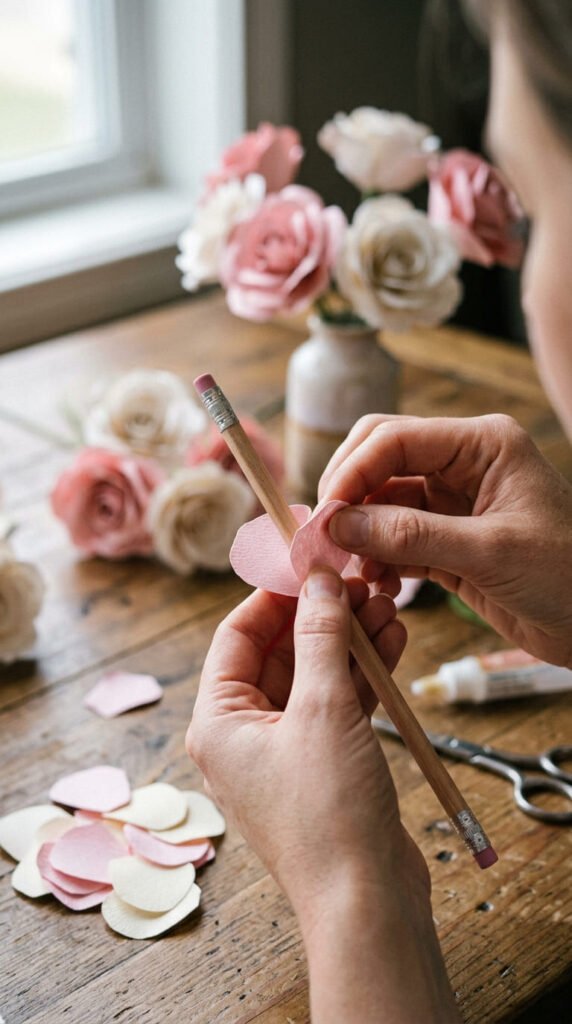
Use a pencil, skewer, or your fingers to gently curl the top edge of each petal. You can curl some petals outward and some inward. This gives the flower more movement.
For cardstock, press the petal lightly with your thumb to create a small curve. For crepe paper, gently stretch the center of the petal to make it cup like a real flower.
Step 4: Build the Flower Layer by Layer
Now it is time to assemble your flower.
Start with the largest petals. Glue them in a circle, slightly overlapping each one. Then add the medium petals on top. Place them between the gaps of the first layer so the flower looks full.
Add the smallest petals in the center. Keep turning the flower as you glue so it stays balanced.
For the center, you can use:
- A small rolled strip of paper
- A paper circle
- Tiny fringed paper pieces
- A button or bead
- A small pom-pom
If you want a realistic center, cut a thin strip of yellow paper and make tiny fringe cuts along one side. Roll it tightly, glue it, and place it in the middle.
Step 5: Add a Stem and Leaves
If you want your paper flowers to stand in a vase or bouquet, add stems.
Glue floral wire, a wooden skewer, or a paper straw to the back of the flower. Cover it with green floral tape or wrap it with green paper.
To make leaves, cut simple leaf shapes from green paper. Fold each leaf down the center to create a vein. Glue one or two leaves onto the stem.
This small detail makes the flower look finished and more realistic.
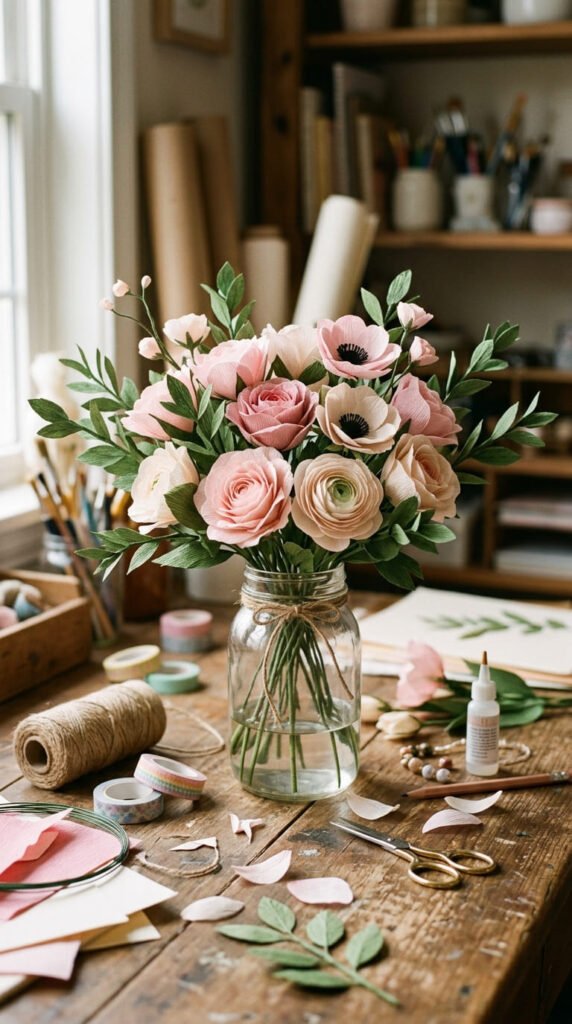
Tips to Make Paper Flowers Look Pretty
Small details can make a big difference. Try these simple tips:
- Use two shades of the same color for depth.
- Curl the petals in different directions.
- Layer small petals tightly in the center.
- Add leaves in different sizes.
- Use matte paper for a softer handmade look.
- Mix flower sizes in one bouquet.
- Add gold paper, book pages, or patterned paper for a unique style.
You can also lightly shade the petal edges with chalk, pencil, or ink for a soft realistic effect. Just keep it gentle so the flower still looks clean and pretty.
Easy Ways to Use Your Paper Flowers
Once you learn the basic method, you can use paper flowers in many creative ways.
Try them for:
- Birthday party backdrops
- Baby shower table decor
- Wedding centerpieces
- Handmade cards
- Gift wrapping
- Wall art
- Scrapbook pages
- Spring home decor
- DIY photo props
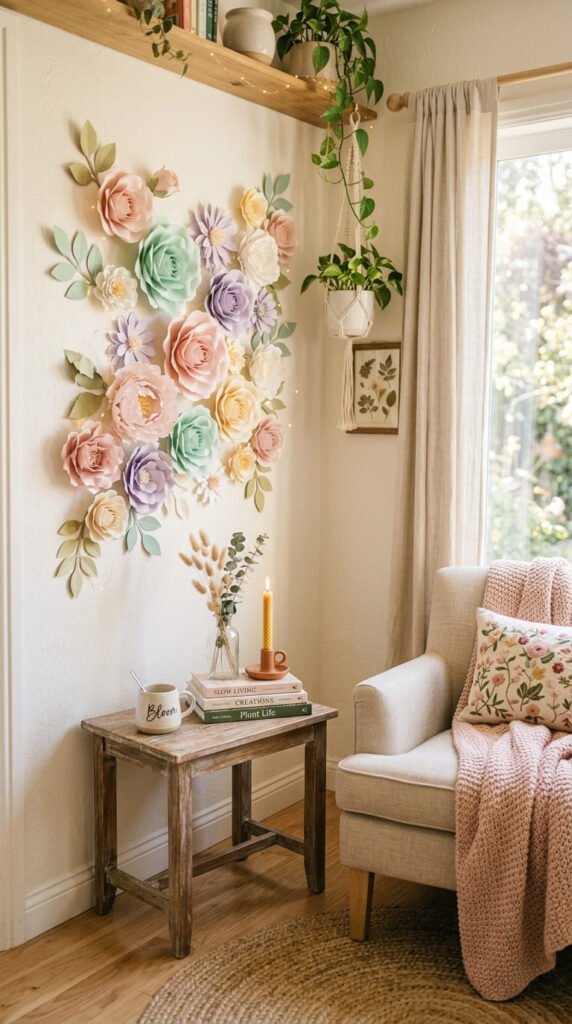
For Pinterest-style decor, make flowers in different sizes and arrange them on a wall in a flowing shape. Add leaves between the flowers to fill empty spaces.
Final Takeaway
Making paper flowers is easy, affordable, and surprisingly relaxing. You only need simple supplies, a few petal shapes, and a little patience. Once you learn how to cut, curl, layer, and glue the petals, you can create flowers for almost any occasion.
Start with one simple bloom today. Then make a few more, mix your colors, and turn them into a bouquet, wall display, or handmade gift topper.
Save this paper flower tutorial for later so you can come back to it whenever you need a pretty DIY craft idea!