Paper butterflies are the kind of DIY craft that instantly makes a plain wall feel sweet, soft, and full of life. They are easy to make, budget-friendly, and perfect for bedrooms, nurseries, classroom boards, party backdrops, or a cozy craft corner. You can make them from cardstock, scrapbook paper, magazine pages, or even leftover craft scraps.
The best part is that you do not need to be a professional crafter. A few simple folds, a pretty wing shape, and a little tape can turn basic paper into a fluttery wall display that looks Pinterest-ready.
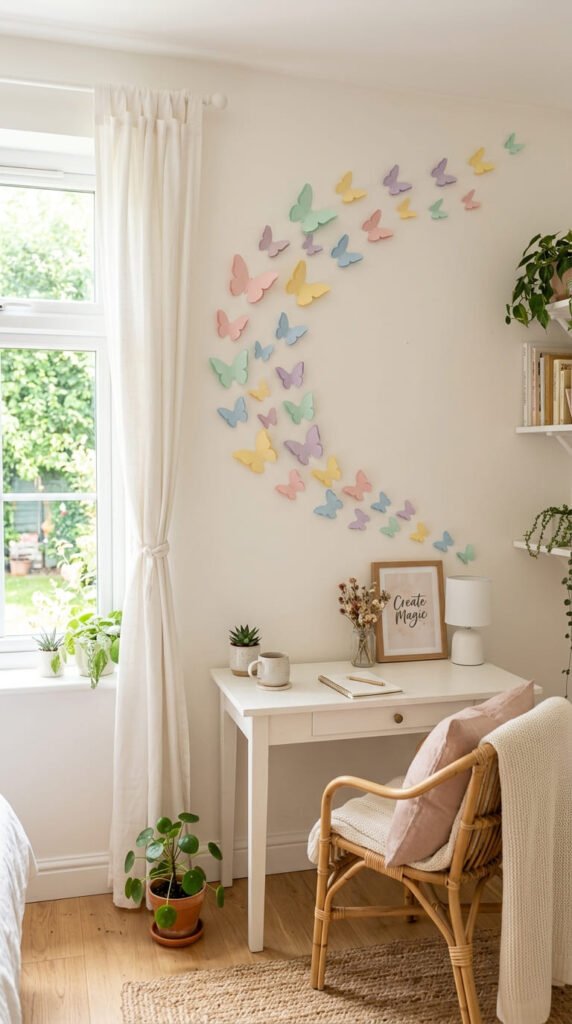
Supplies You Need
Start with simple supplies. You probably already have most of these at home.
You will need:
- Colored paper, cardstock, or scrapbook paper
- Scissors
- Pencil
- Ruler
- Glue stick, double-sided tape, or removable wall tape
- Butterfly template or hand-drawn butterfly shape
- Optional: thin wire, ribbon, glitter paper, or patterned paper
Cardstock works best for wall decor because it holds its shape nicely. Regular paper is easier to fold, but it may not stay lifted on the wall for long. Scrapbook paper is perfect if you want cute patterns like florals, polka dots, gingham, or soft watercolor designs.
Step 1: Pick Your Butterfly Style
Before cutting, decide what kind of butterfly look you want. This helps your wall decor feel more planned and pretty.
You can try:
- Simple flat butterflies for a clean wall pattern
- 3D folded butterflies for a lifted, fluttery effect
- Layered butterflies with two paper colors
- Mini butterflies for filling small spaces
- Large statement butterflies for a bold wall display
For cute wall decor, 3D butterflies are the best choice. They look like they are gently flying off the wall, and they make your display feel more magical.
Step 2: Draw or Print a Butterfly Template
If you are confident, draw a butterfly by hand. Fold a piece of paper in half, draw one side of the butterfly, and cut it while folded. When you open it, both wings will match.
For beginners, a template makes things easier. Choose a simple butterfly shape with rounded wings. Avoid tiny details at first because they can be hard to cut.
A good butterfly template should have:
- Two large upper wings
- Two smaller lower wings
- A slim body in the center
- Smooth edges for easy cutting
Make three sizes if you want a natural-looking wall display: small, medium, and large.
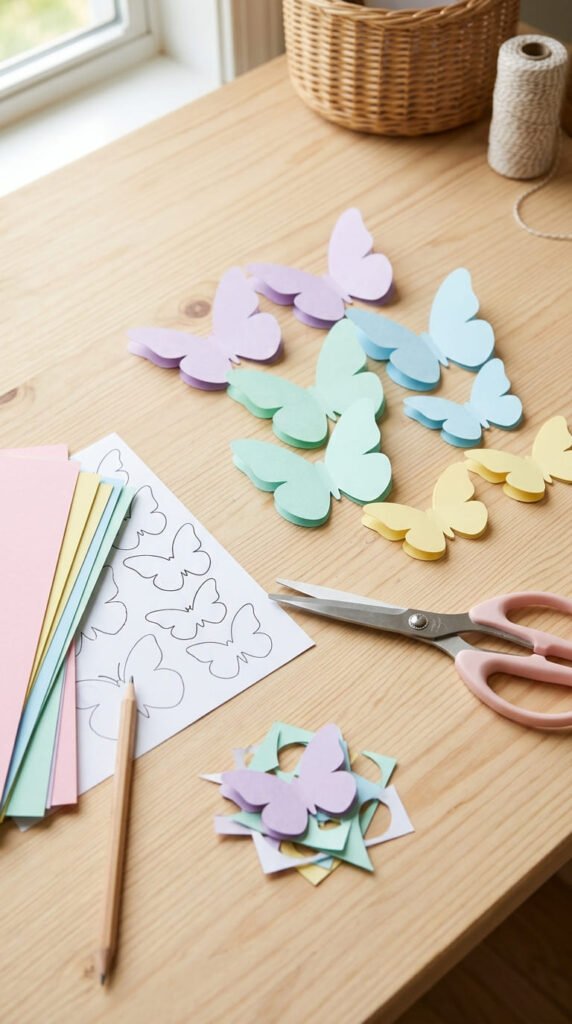
Step 3: Cut Out the Butterflies
Trace your butterfly template onto the back of your chosen paper. Then cut carefully around the shape.
Do not worry if every butterfly is not perfect. Small differences actually make the wall decor look more handmade and charming.
Helpful cutting tips:
- Use sharp scissors for clean edges.
- Fold the paper first for even wings.
- Cut slowly around curves.
- Stack two thin papers together if you want to cut faster.
- Use different sizes for a more natural flying effect.
Try making at least 15 to 25 butterflies for a small wall corner. For a bigger wall, you may need 40 or more.
Step 4: Fold the Wings for a 3D Effect
This is the step that makes your paper butterflies look extra cute.
Gently fold each butterfly along the center body line. Press the fold lightly so the wings lift upward. You do not want a harsh crease across the wings, just enough shape to make them pop off the wall.
For more dimension, slightly curve the wing tips with your fingers. You can also wrap the wing edges around a pencil for a soft rounded look.
If you are using thick cardstock, bend slowly so the paper does not crack. If you are using thin paper, be gentle because it can crease too sharply.
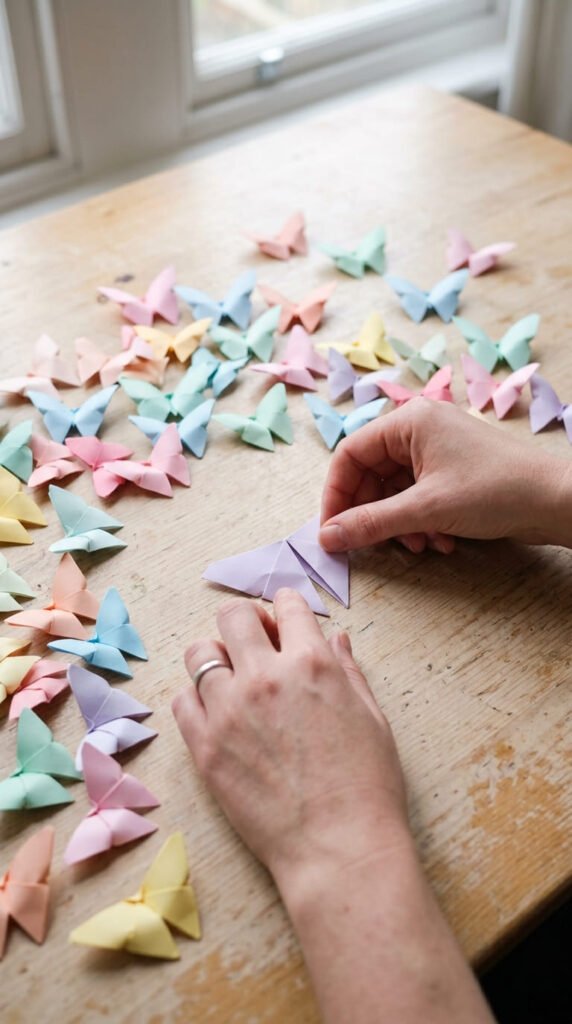
Step 5: Add Extra Details
Plain butterflies look beautiful, but small details can make them feel more special.
Try these easy ideas:
- Use patterned paper for a playful look.
- Layer a smaller butterfly on top of a larger one.
- Add a tiny paper body in a darker shade.
- Use pearl stickers or small beads in the center.
- Mix matte paper with shimmer paper.
- Use recycled magazine pages for a colorful eco-friendly style.
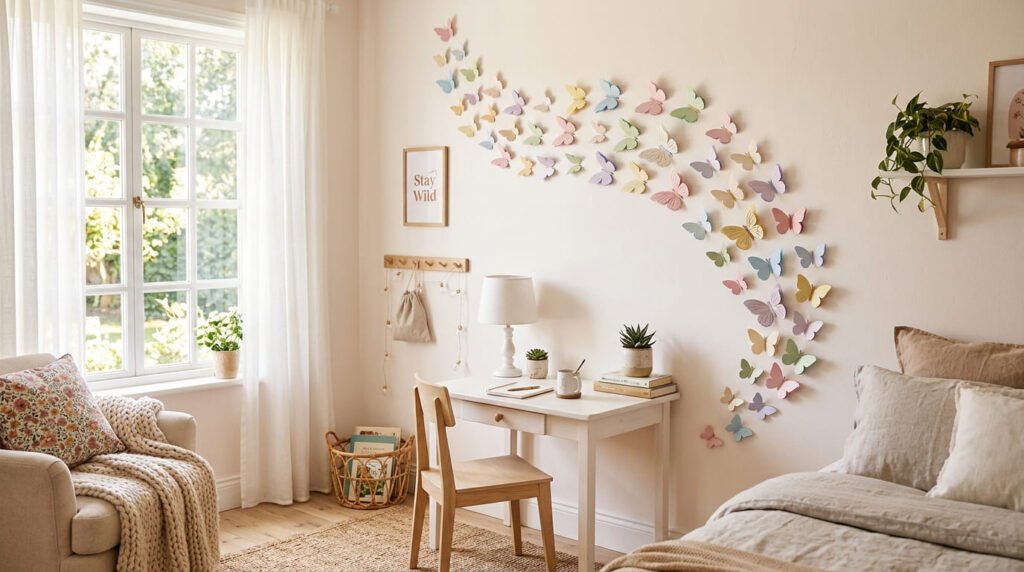
For a soft nursery or bedroom look, use shades like blush pink, cream, lavender, sage green, and light blue. For party decor, use brighter colors like hot pink, yellow, purple, and orange.
Step 6: Arrange the Butterflies on the Wall
Before sticking anything, lay your butterflies on the floor and test your design. This helps you see the shape before placing them on the wall.
Pretty arrangement ideas include:
- A flying trail from one corner upward
- A heart-shaped butterfly cluster
- A circle around a mirror
- A soft wave above a bed
- A scattered pattern near shelves
- A big-to-small flying effect
Place larger butterflies near the bottom or center. Then use smaller butterflies near the edges to make the design feel like it is floating away.
Use removable wall tape if you are decorating a rented space. Put tape only on the center body of the butterfly, not the wings. This keeps the wings lifted and gives the 3D effect.
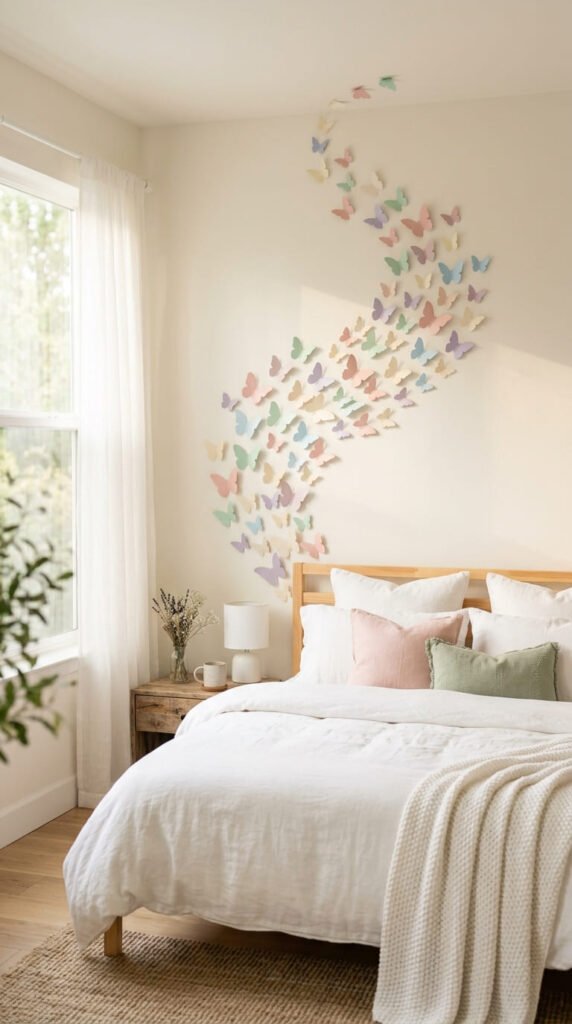
Tips for a Pinterest-Pretty Finish
A little styling makes your butterfly wall decor look polished instead of random.
Keep these tips in mind:
- Stick to 2 to 4 colors for a cleaner look.
- Mix different sizes for movement.
- Leave some space between butterflies.
- Angle each butterfly slightly differently.
- Use odd numbers for a natural display.
- Add flowers, vines, or fairy lights nearby for extra charm.
You can also match the butterflies to a theme. Use gold and white for elegant decor, rainbow colors for a kids’ room, or soft neutrals for a calm aesthetic wall.
Final Takeaway
Making paper butterflies for cute wall decor is simple, affordable, and so fun to customize. With paper, scissors, and a little creativity, you can create a sweet 3D display that makes any room feel brighter.
Start with a few butterflies, test your wall layout, and keep adding until it feels just right. Save this paper butterfly craft for later, and try it the next time you want an easy DIY decor idea that looks beautiful without costing much.