Paint turns a plain afternoon into something kids remember. A few cups of color, a stack of paper, and a little floor protection open the door to dozens of easy projects that work for toddlers and grade-schoolers alike. This list gathers 23 painting crafts for kids that use tools you already own, from spin art to fork painting to salt-covered canvases. Each idea comes with a simple setup and a quick cleanup note, so art time stays fun instead of stressful. Grab some old shirts as smocks, lay down newspaper, and let the colors fly.
1. Spin Art with a Salad Spinner
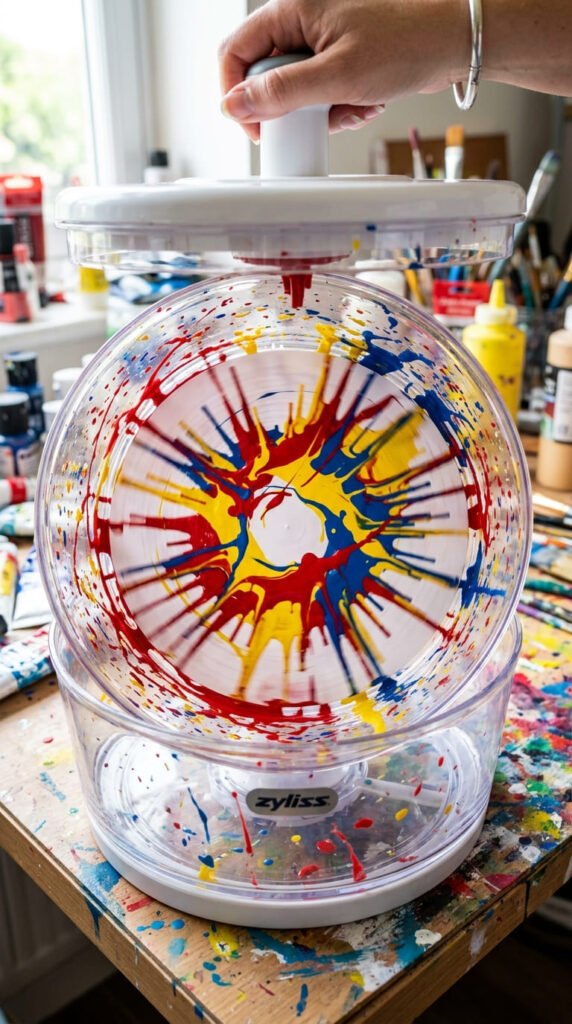
A salad spinner turns into an art machine with a piece of paper cut to fit the bottom. Drip a few spoonfuls of paint onto the paper, close the lid, and spin. The paint flings outward into swirling patterns that look different every time. This project works well for kids who like fast, visible results, since each spin takes under a minute. No salad spinner on hand? A round cake pan spun by hand on a lazy Susan works almost as well. Use only two or three colors at a time so the mix doesn’t turn muddy brown. Kids enjoy picking their own color combinations and comparing results between spins. Lay down newspaper first, since paint can splatter past the spinner’s edge. This craft costs almost nothing beyond paint, since paper and a kitchen tool cover the rest. Let the finished piece dry flat for an hour before hanging it up or trimming it into a shape.
2. Paint Pouring on Canvas
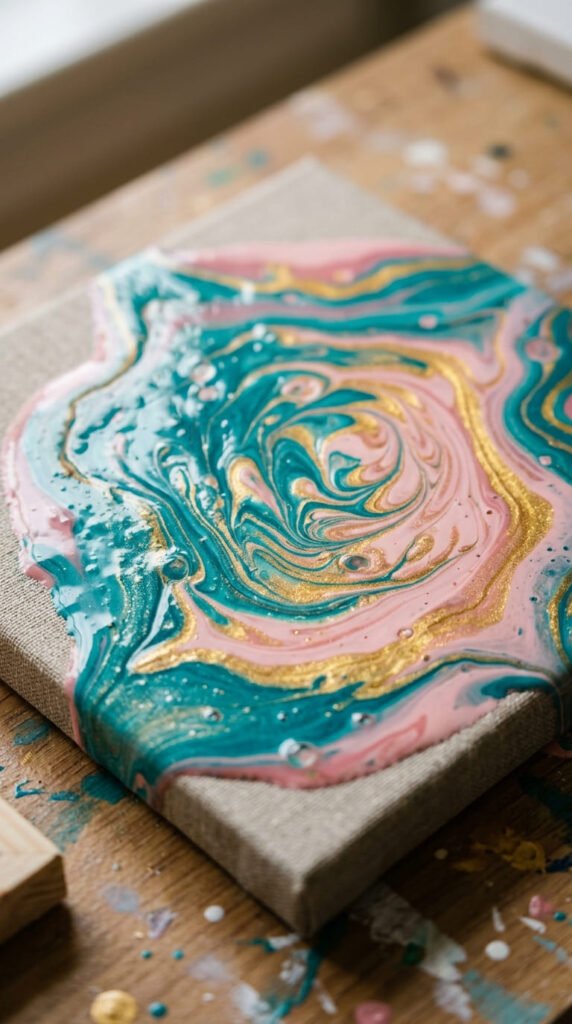
Mix a few cups of thin paint, one color per cup, and pour them one at a time onto a small canvas or thick paper. Tilt the surface gently so the colors run together and blend at the edges. This technique produces a marbled, professional-looking result with very little skill required, which makes it a good confidence booster for kids who feel discouraged by drawing. Keep the paint runny by adding a small amount of water, since thick paint won’t flow well. Work over a tray or baking sheet to catch drips and protect the table. Older kids can experiment with pour order, since darker colors poured last tend to dominate the mix. Younger kids may need help holding the cups steady. Let the canvas dry flat for at least a day, since poured paint stays wet longer than brushed layers. This project turns leftover craft paint into a display-worthy piece.
3. Bubble Painting
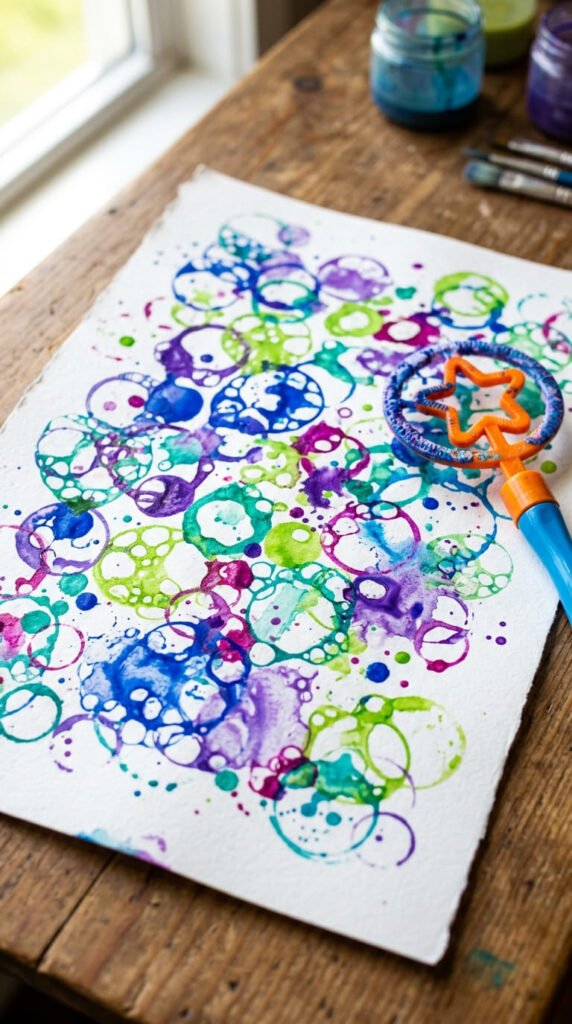
Mix dish soap, water, and a few drops of paint in a shallow cup, one cup per color. Blow through a straw into the cup until bubbles rise above the rim, then gently press a piece of paper on top to capture the bubble prints. This method makes circular, overlapping patterns that look nothing like regular brush painting. Kids enjoy the blowing part almost as much as the painting itself, since it feels more like a game than a craft. Watch younger kids closely so they blow out rather than suck in through the straw. Use a few different colors across separate cups for a rainbow effect on one page. This project works well outdoors, since bubble mixture can spill or foam over the cup edges. Let the paper dry flat, and expect a slightly soapy smell that fades within a day. Cleanup is quick, since soap and water wash away most spills easily.
4. Blow Painting with Straws
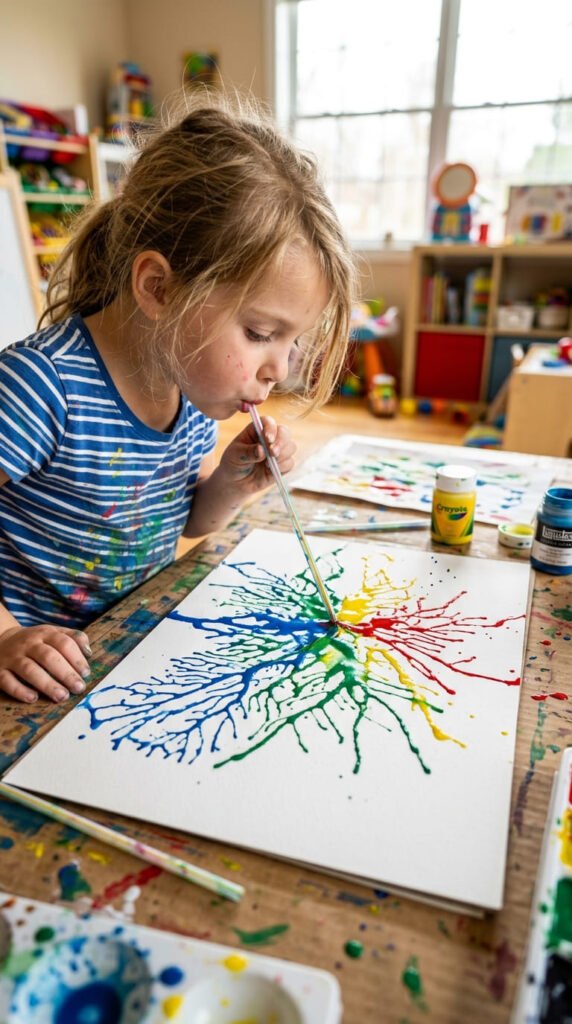
Drop a small puddle of thin paint onto paper, then hand kids a straw to blow the paint outward into branching, tree-like patterns. This craft works best with very watery paint, since thick paint won’t move no matter how hard kids blow. Use washable paint for easier cleanup, and protect the table with a plastic cloth first. Kids can layer multiple colors on one page, blowing each puddle in a different direction to build a busy, colorful design. This project doubles as a lesson in air and movement, since kids see directly how their breath pushes the paint. Keep straws long enough that faces stay a safe distance from the wet paint. If a puddle stalls, add a drop of water to get it moving again. Let finished pages dry flat for about 30 minutes. This craft costs very little, since it only needs paint, water, paper, and a straw from the kitchen drawer.
5. Classic Finger Painting
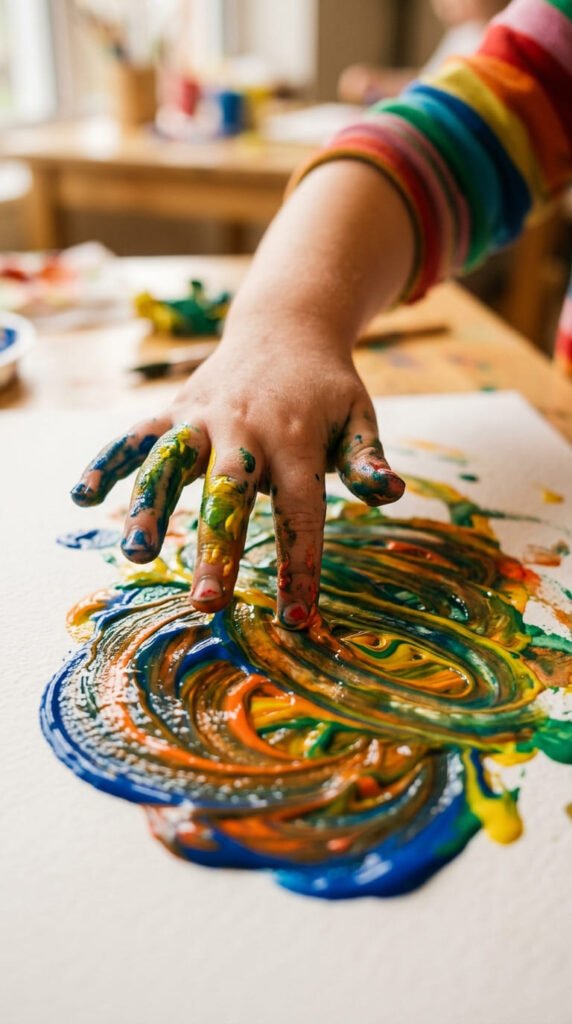
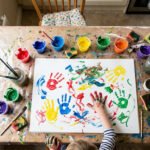
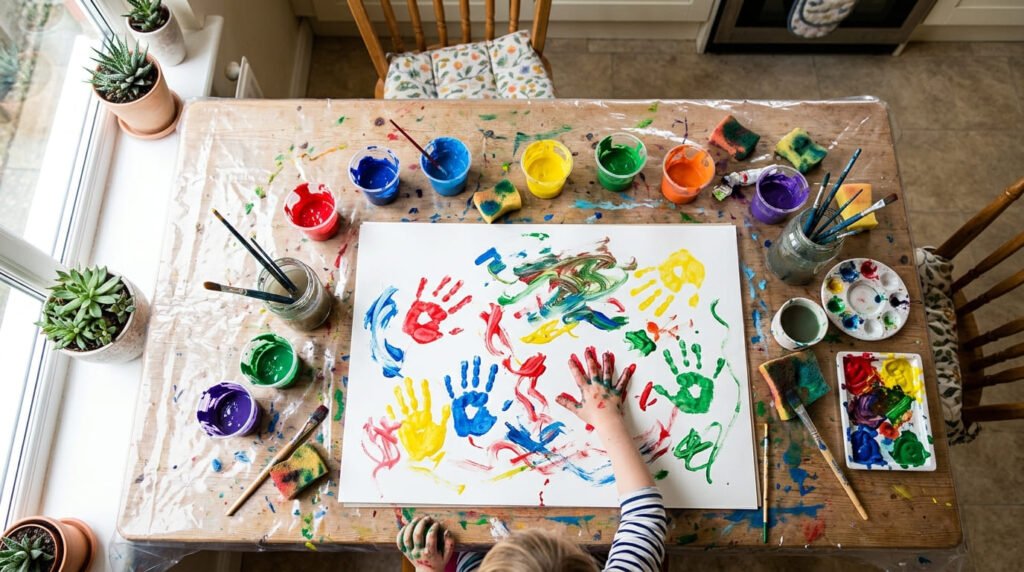
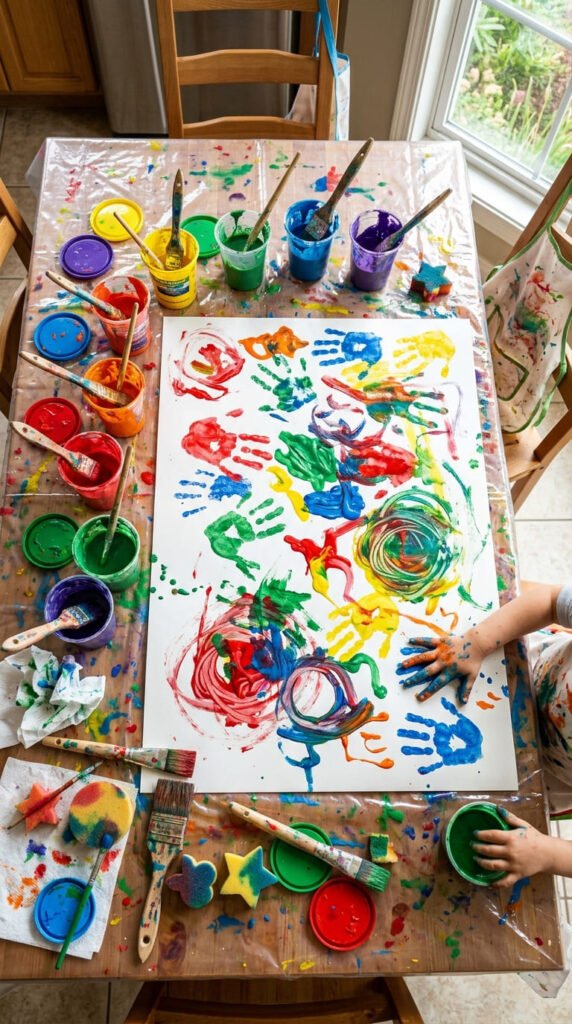
Sometimes the simplest option works best. Squeeze a few dollops of paint directly onto paper and let kids use their fingers as the only tool. This method builds sensory awareness, since kids feel the paint’s texture as they spread it around. Use a large sheet of paper or a taped-down section of butcher paper for younger kids who tend to paint outside the lines. Keep a bowl of warm water and a towel nearby for quick hand rinses between colors. Finger painting works well for toddlers who aren’t ready for brush control, but older kids enjoy it too, especially when mixing colors directly on the page. Try adding texture by mixing in a little sand or rice into the paint before starting. This project needs almost no setup time, just paint and paper. Let the finished piece dry flat, since finger-painted layers tend to sit thicker than brushed paint and take longer to fully dry.
6. Salt Painting for Texture
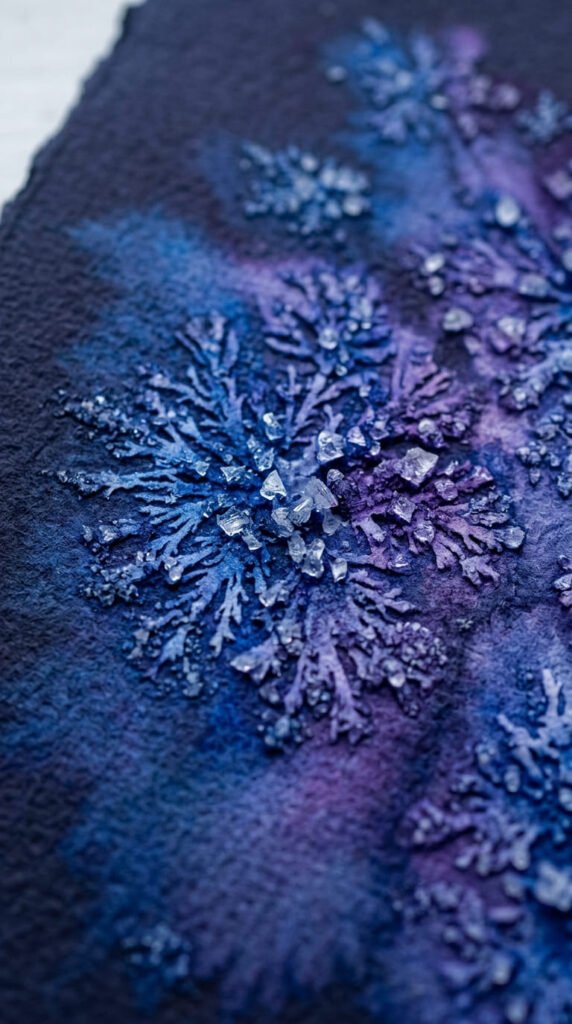
Draw a design with white glue on dark paper, then sprinkle table salt over the wet glue before shaking off the excess. Once dry, kids drop watercolor paint onto the salt lines using a paintbrush, and the color spreads and crystallizes into a textured, glowing effect. This project works well for older kids who enjoy watching a chemical-style reaction happen in real time. Use a tray underneath to catch loose salt and stray paint drops. Try star, flower, or firework shapes for the glue design, since the salt effect looks striking against a dark background. Keep the paint watery so it wicks along the salt lines instead of pooling on top. This craft takes two steps across two days, since the glue needs to dry fully before adding paint. It costs very little, since salt and glue are common pantry items. Store finished pieces flat until fully dry to avoid smudging the textured surface.
7. Balloon Printing
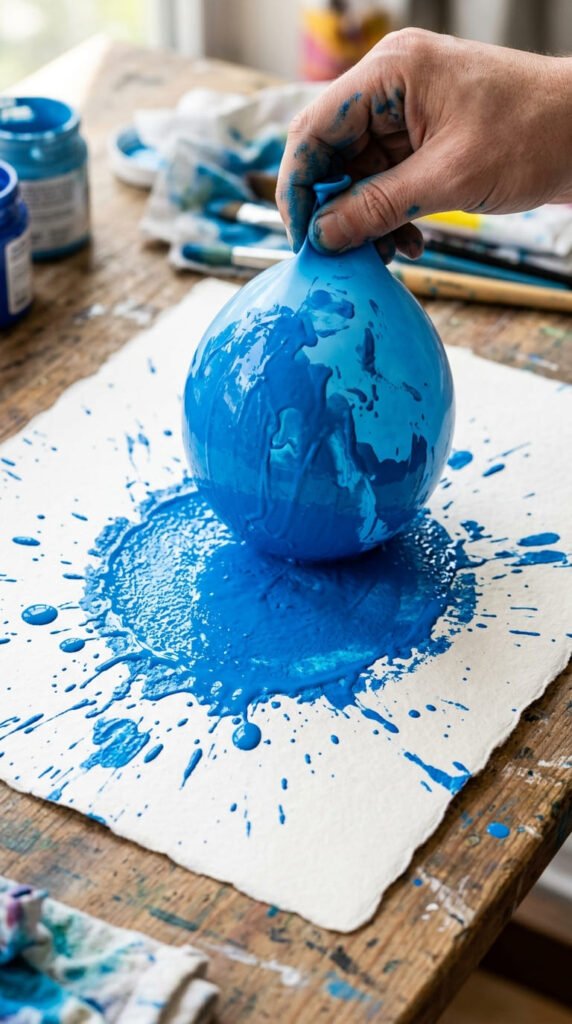
Blow up a balloon partway, dip it into a shallow tray of paint, and press it onto paper to leave a rounded print. Each press makes a different shape depending on how full the balloon is, so kids can experiment with soft, puffy circles or tighter, smaller dots. This technique works well for flower petals, bunches of grapes, or abstract polka-dot patterns. Use a different balloon for each color to avoid muddy mixing, or rinse and dry the balloon between dips. Kids enjoy the popping sound if a balloon breaks, though it’s worth keeping a few spares on hand just in case. Lay down newspaper first, since paint tends to fling off the balloon’s curved surface during pressing. This project turns a party leftover into a painting tool, so it costs nothing if you already have balloons at home. Let the printed page dry flat for about 20 minutes before moving it.
8. Toy Car Tire Track Painting
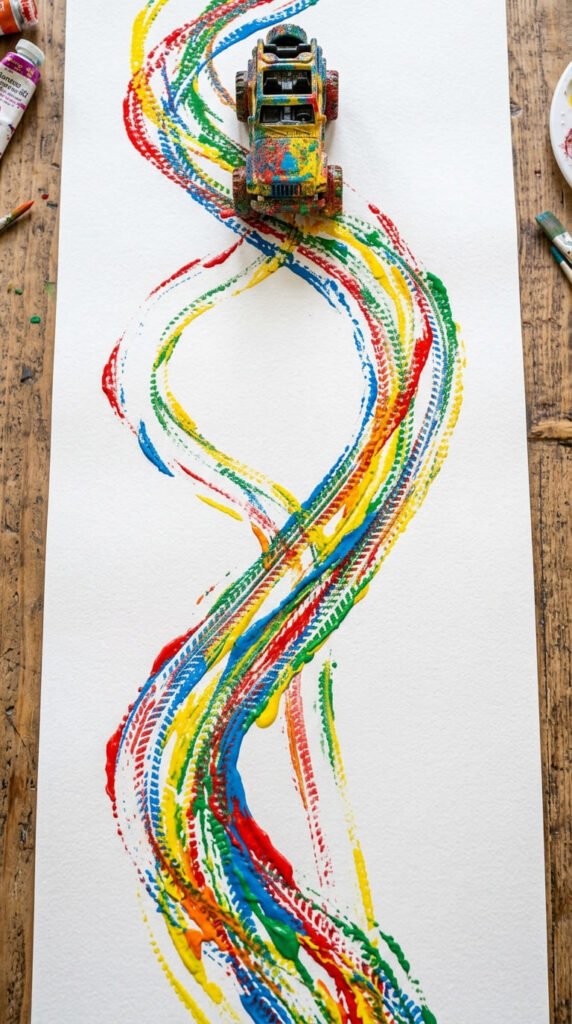
Dip toy car wheels into shallow trays of paint, then roll the cars across a long strip of paper to leave tire-track trails. Kids can race multiple cars side by side, comparing patterns from wide truck tires versus thin race car wheels. This project works well on a long roll of butcher paper taped to the floor, giving kids room to really let the cars roam. Use old or inexpensive cars for this craft, since paint tends to stick in the wheel wells afterward. Wash the cars right after with warm water and a toothbrush to keep them usable for regular play later. Try adding ramps or ramps made from books so cars roll down and paint automatically. This craft combines painting with the physical fun of a race track, which keeps active kids engaged. Let the paper dry flat, and expect a busy, overlapping pattern if several kids paint at once.
9. Fruit and Veggie Stamping
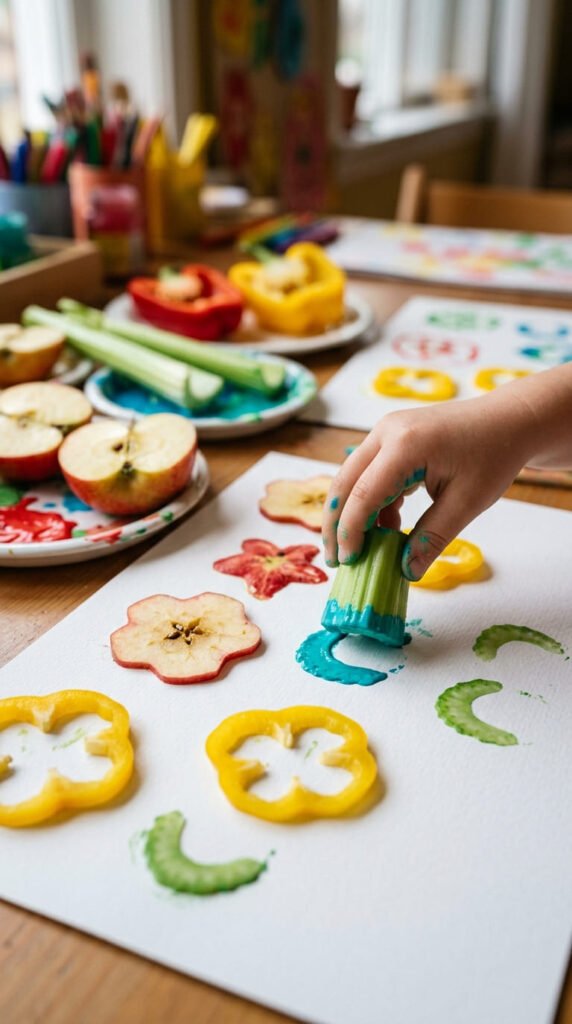
Slice apples, celery, or bell peppers in half, dip the cut side in paint, and stamp them onto paper. Each fruit or vegetable makes a different natural pattern, from the star shape inside an apple to the flower-like rings of celery. This project turns kitchen scraps into art tools, so it costs nothing beyond paint and paper. Keep a paper towel nearby to blot excess paint before stamping, since too much paint blurs the pattern. Kids enjoy guessing which fruit made which shape once the page is finished. Pair this craft with a simple nature lesson about seeds and plant structure, since the stamped patterns reveal the inside shape of each food. Use produce that’s slightly past its prime instead of tossing it, which keeps the project budget-friendly. Wash the stamping tools afterward if you plan to eat any unused portions separately. Let the page dry flat before displaying it on the fridge.
10. Sponge Painting
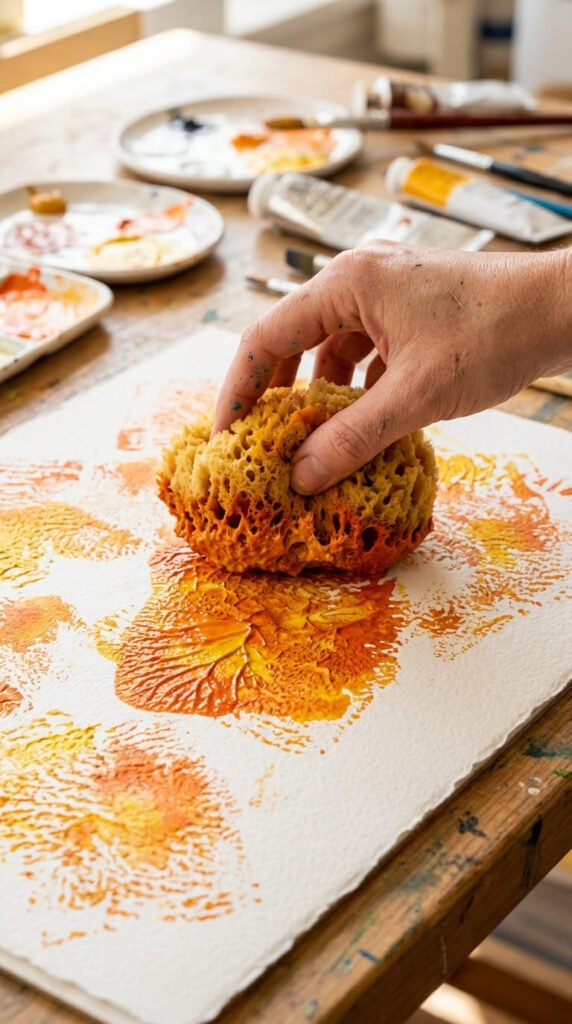
Cut a kitchen sponge into small shapes like circles, stars, or squares, then dip each piece into paint and dab it onto paper. This technique creates a soft, textured print that looks different from brush strokes, which makes it a good option for kids who want variety without learning new brush skills. Use a separate sponge for each color, or rinse and squeeze between dips to keep colors clean. Kids enjoy building up layered patterns, dabbing one color over another once the first layer feels dry to the touch. Old sponges headed for the trash work perfectly here, so this project costs nothing extra if you already have paint on hand. Try cutting sponges into leaf or flower shapes for nature-themed art, or stick to basic shapes for younger kids still building fine motor control. Let the paper dry flat for about 30 minutes. Rinse sponges thoroughly after use if you want to reuse them for cleaning later.
11. Fork Painting Animals
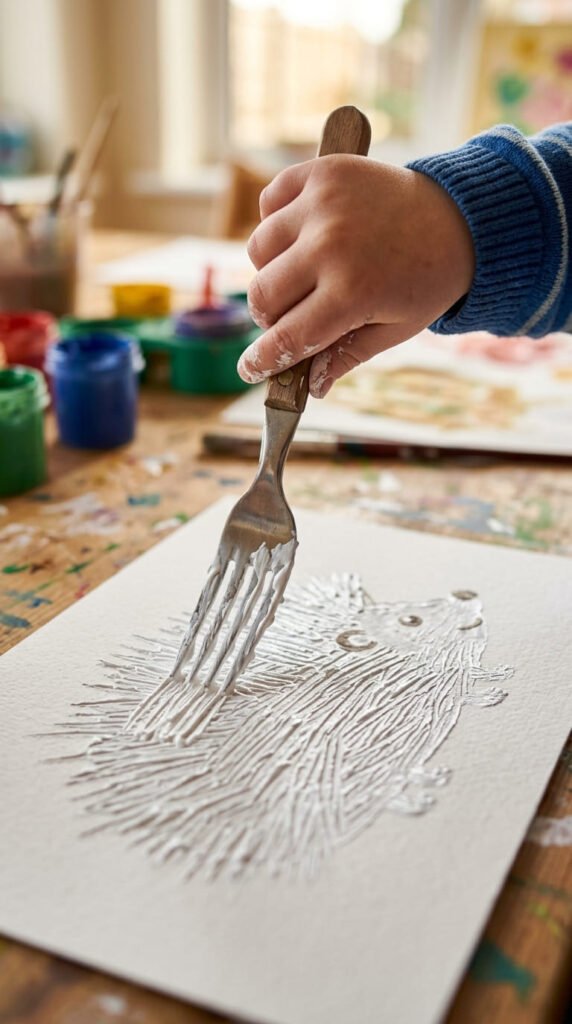
Dip the tines of a plastic fork into paint and drag it across paper to create thin, bristly lines. This technique works especially well for animals with fur or spikes, like hedgehogs, lions, or porcupines, since the fork naturally creates a textured edge. Draw a simple animal outline first, then let kids fill it in with fork strokes radiating outward from the body. Use a different fork for each color to avoid mixing on the tines. This project introduces a new painting tool without needing anything beyond what’s already in a kitchen drawer. Kids enjoy seeing how a plain fork can create a totally different effect from a brush or sponge. Keep a damp cloth nearby to wipe fork tines between color changes. This craft works well for a themed art session, pairing several animal pages together into a small backyard-critter gallery. Let each page dry flat before stacking them for display.
12. Handprint Keepsake Art
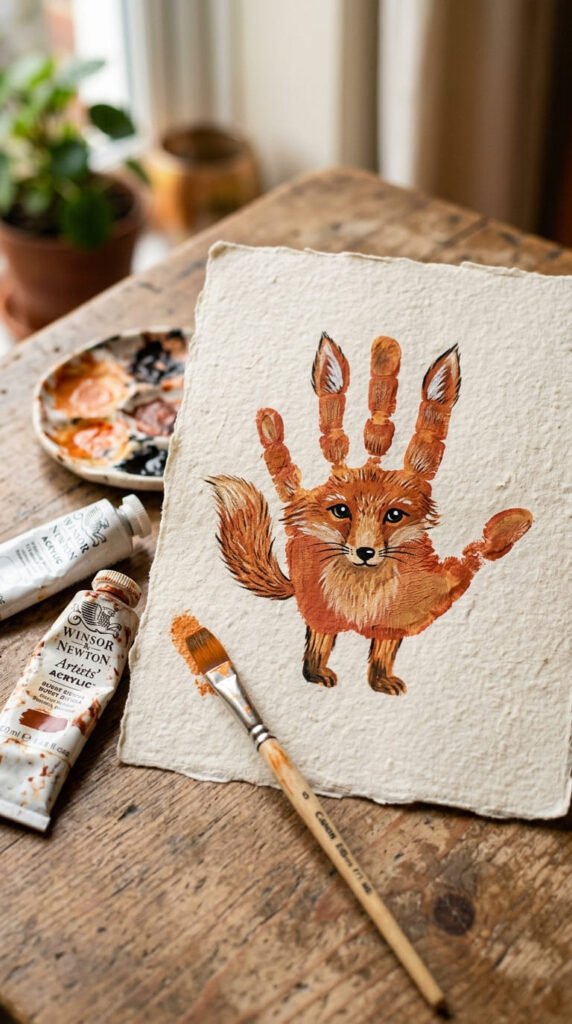
Paint a child’s palm and fingers, then press it firmly onto paper for a clean print. Once dry, add small details in marker to turn the handprint into an animal, tree, or flower. A handprint with fingers spread wide becomes a turkey or a sun, while a fist-shaped print with a curled thumb becomes an apple with a stem. This project makes a natural keepsake, since handprints change size every year and work well as a dated collection. Keep a damp cloth nearby for a quick wipe-down right after pressing, since kids often want to touch the wet paint immediately. Use washable paint for easier cleanup on hands and skin. This craft works well around birthdays or holidays, when a dated handprint adds sentimental value for grandparents or keepsake boxes. Let the print dry fully, at least an hour, before adding marker details on top so the ink doesn’t smear into the wet paint.
13. Footprint Art
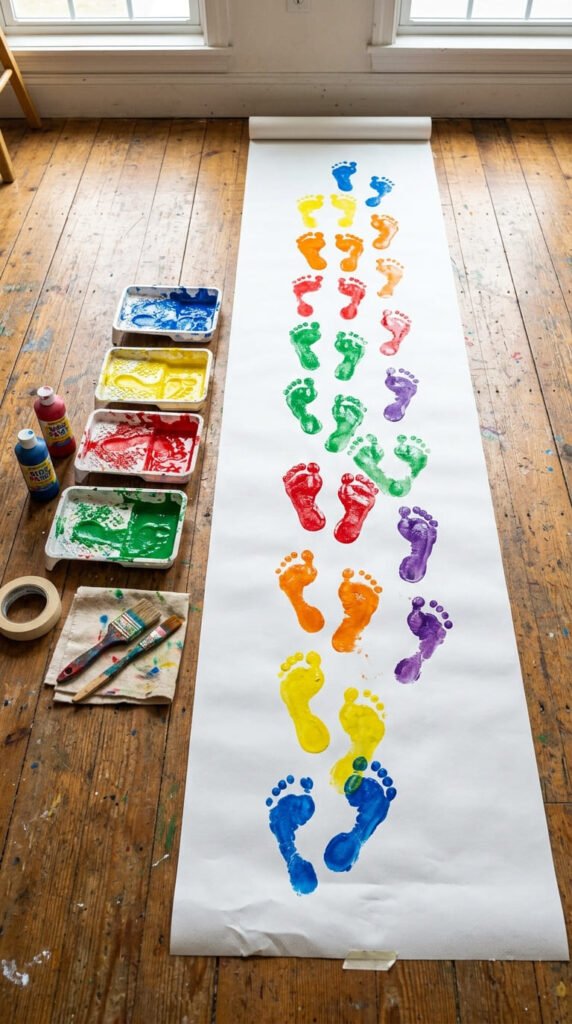
Paint the bottom of a child’s foot and press it onto paper for a footprint print, then add details to turn it into a fish, bird, or flower once dry. This craft works well as a group activity, since siblings or classmates can create a full trail of footprints across one long sheet of paper. Lay down plenty of newspaper first, since walking with painted feet tends to track color beyond the intended page. Keep a bucket of warm soapy water nearby for foot cleanup right after pressing. This project pairs naturally with the handprint idea above, giving families a full set of yearly keepsakes to compare over time. Use a single color per foot to keep prints clean, or let kids step through multiple colors for a rainbow trail effect. Let the page dry flat before adding any marker details. This craft works best outdoors or in a room with an easy-to-clean floor.
14. Painted Rocks
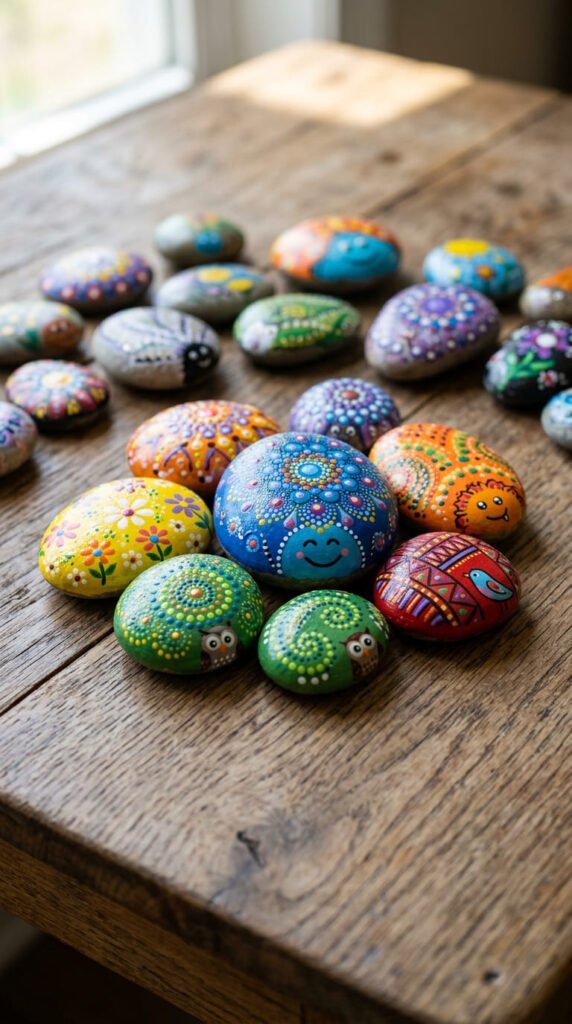
Collect smooth rocks from the yard or a nearby park, wash off any dirt, and let them dry before painting. Kids paint faces, patterns, or tiny scenes directly onto the rock’s surface using acrylic paint for the best long-lasting color. This project costs nothing beyond paint, since the rocks themselves are free. Once finished, a coat of clear glue or sealant helps protect the design from rain and handling if the rocks will live outside. Painted rocks work well as garden markers, paperweights, or hide-and-seek treasures left around a neighborhood for others to find. Keep a few reference designs on hand, like ladybugs or simple flowers, for kids who want a starting point. This craft suits a wide age range, since younger kids can dot simple patterns while older kids attempt detailed scenes. Let the rocks dry fully, usually a few hours, before stacking or moving them. Store finished rocks in a small basket for a growing collection.
15. Painted Flower Pots
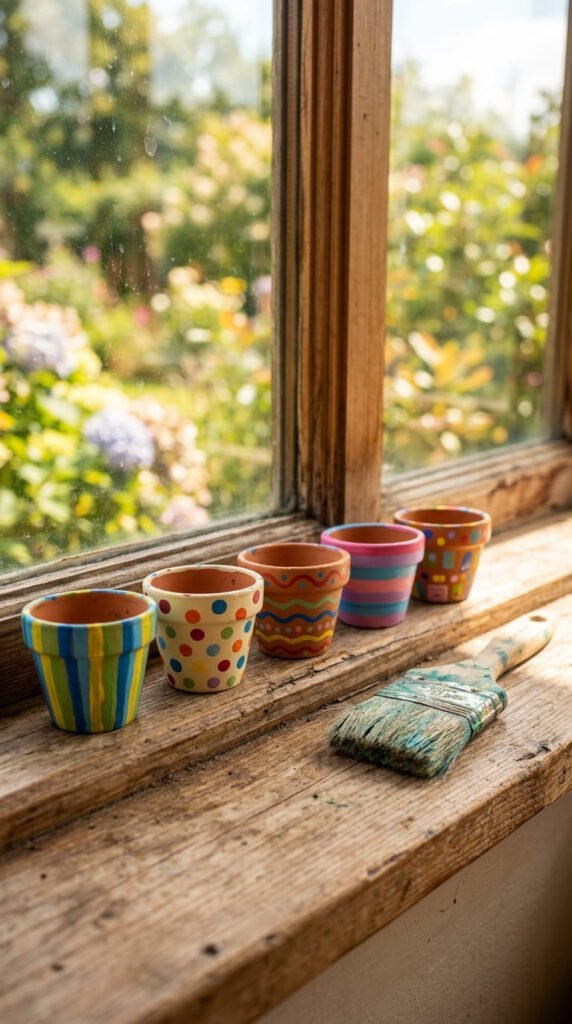
Plain terracotta pots, often just a dollar or two, turn into bright plant homes with a coat of acrylic paint. Kids paint stripes, dots, or their own name across the surface, then let it dry before adding soil and a small plant or seed. This project pairs painting with a simple gardening lesson, since kids can watch something grow in the pot they decorated. Use painter’s tape to create clean stripes for older kids who want a more polished look. Younger kids can go freehand, which usually turns out just as charming. Seal the finished pot with a clear coat if it will sit outside in the rain. This craft makes a thoughtful, low-cost gift for grandparents or teachers, especially around spring holidays. Let the paint dry fully, at least a few hours, before handling the pot to avoid smudging. Keep a damp cloth nearby for quick fixes if paint drips down the sides.
16. Marble Painting in a Box
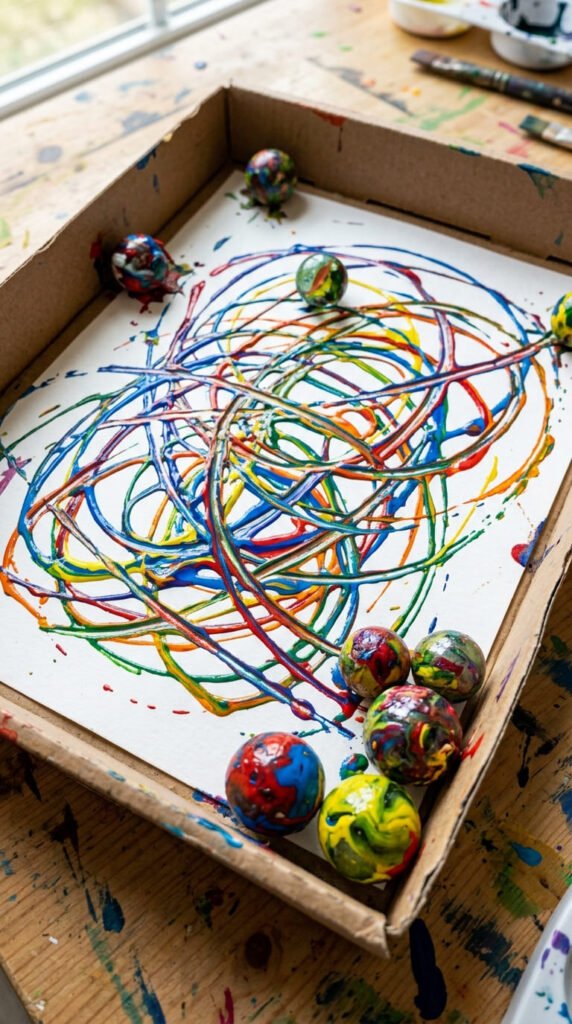
Line a shoebox lid with paper, drop a few paint-dipped marbles inside, and let kids tilt the box side to side. The marbles roll through the paint, leaving looping trails across the page. This craft turns painting into a full-body activity, since kids tilt and shake the box rather than holding a brush. Use a spoon to fish marbles out of the paint tray and drop them in without getting fingers too messy. Try two or three colors at once for an overlapping trail effect, or stick to one color for a cleaner look. This project works well for kids who struggle with fine motor control, since there’s no brush grip required. Wash the marbles in warm water right after to keep them ready for the next round of play. Let the paper dry flat inside the box lid for about 20 minutes. This craft costs very little, since marbles and a shoebox are common household items.
17. Puffy Paint at Home
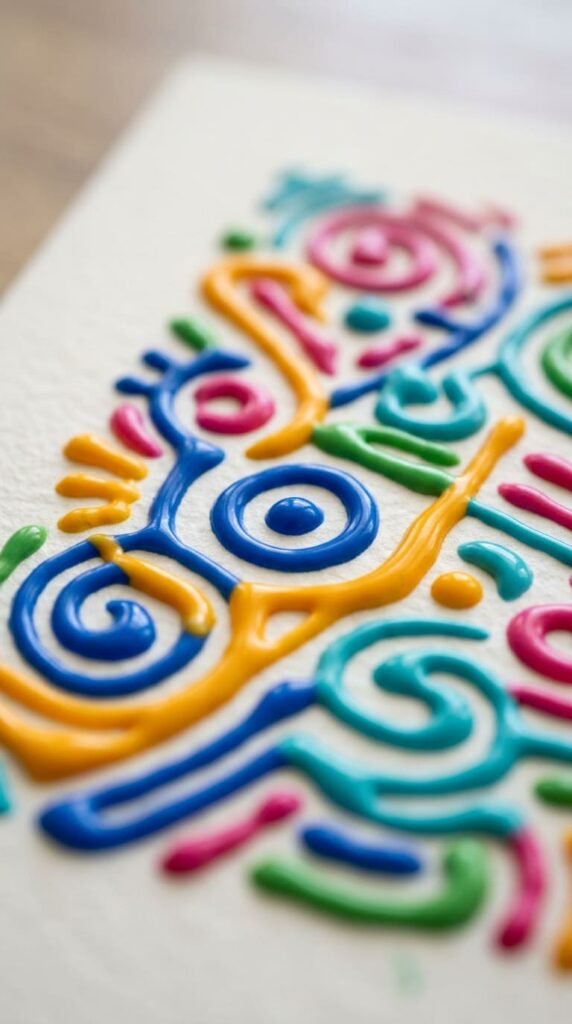
Mix equal parts flour, salt, and water, then add food coloring to make a batch of homemade puffy paint. Spoon it into squeeze bottles or a piping bag so kids can draw raised lines and shapes directly onto paper. Once the paint dries, usually overnight, it keeps a slightly bumpy, textured surface that feels different from flat paint. This project works well for kids who enjoy sensory details, since they can touch and feel the dried texture the next day. Use small bowls for mixing so each color batch stays separate before filling the bottles. This craft costs almost nothing, since flour and salt are pantry basics most households already stock. Let kids draw simple shapes like stars, hearts, or their own name for a personalized keepsake page. Store leftover puffy paint in a sealed container in the fridge for a day or two if you want to spread the project across multiple sessions.
18. Cotton Pad Painting
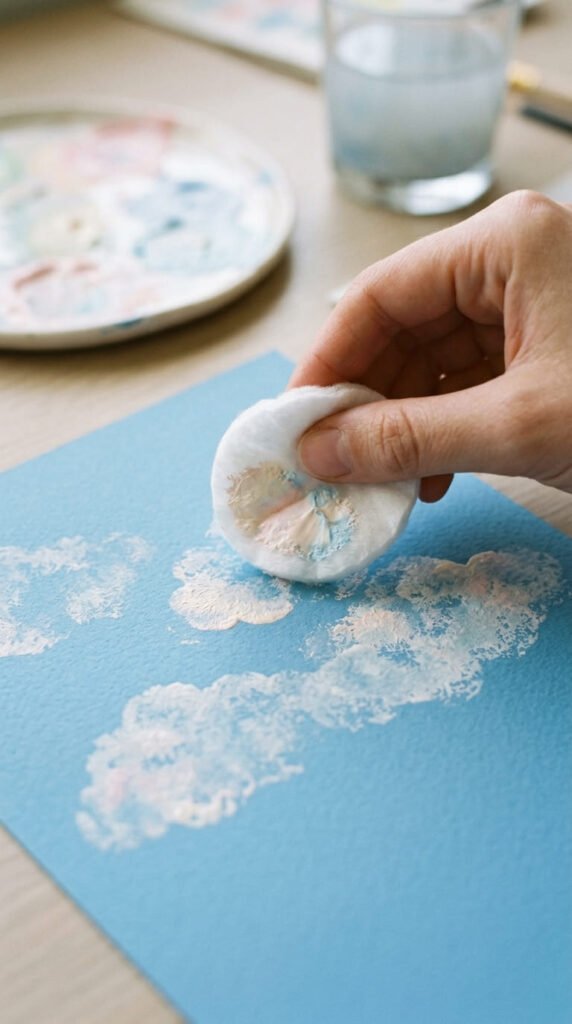
Dip a round cotton pad into white paint and dab it onto blue paper to create soft, cloud-like shapes. This technique makes a quick sky scene without needing any brush skill, since the cotton pad naturally creates a fluffy, rounded texture. Kids can layer a few dabs together for bigger clouds, or space them out for a scattered sky. Pair this with a sponge-painted sun or a fingerprint bird for a full scene on one page. Cotton pads are inexpensive and often already stocked in a bathroom cabinet, so this project needs very little extra shopping. Toss the pad after one or two uses, since paint soaks in quickly and makes reuse difficult. This craft works well for younger kids just starting to experiment with different textures beyond a basic brush. Let the page dry flat for about 20 minutes. Add marker details like birds or a sun once the paint fully dries to avoid smearing.
19. Q-tip Dot Painting
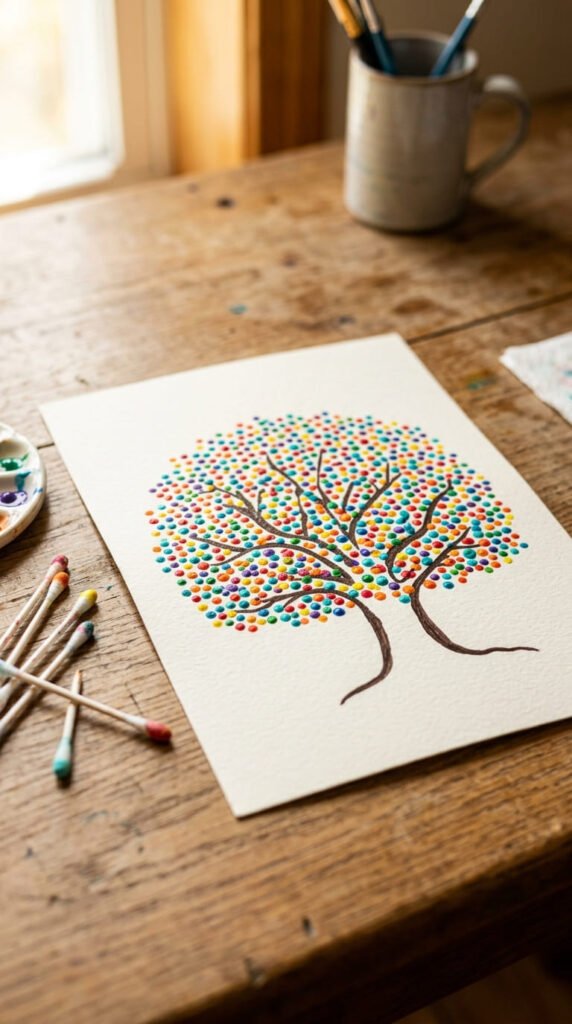
Dip a cotton swab into paint and press small dots across paper to build up a full picture one dot at a time. This method works especially well for tree branches filled with blossoms, fireworks, or a night sky scattered with stars. Draw a simple outline first, like a bare tree trunk, then let kids fill in the canopy with dozens of colorful dots. Keep a few swabs per color to avoid mixing, and set them in labeled cups so kids grab the right one each time. This project builds patience and fine motor control, since dotting takes more precision than a broad brush stroke. It also works well for kids who feel nervous about “messing up,” since one wrong dot blends easily into the pattern. Q-tips cost very little and often come in bulk packs already in a bathroom drawer. Let the finished page dry flat for about 15 minutes before displaying it.
20. Leaf and Nature Print Painting
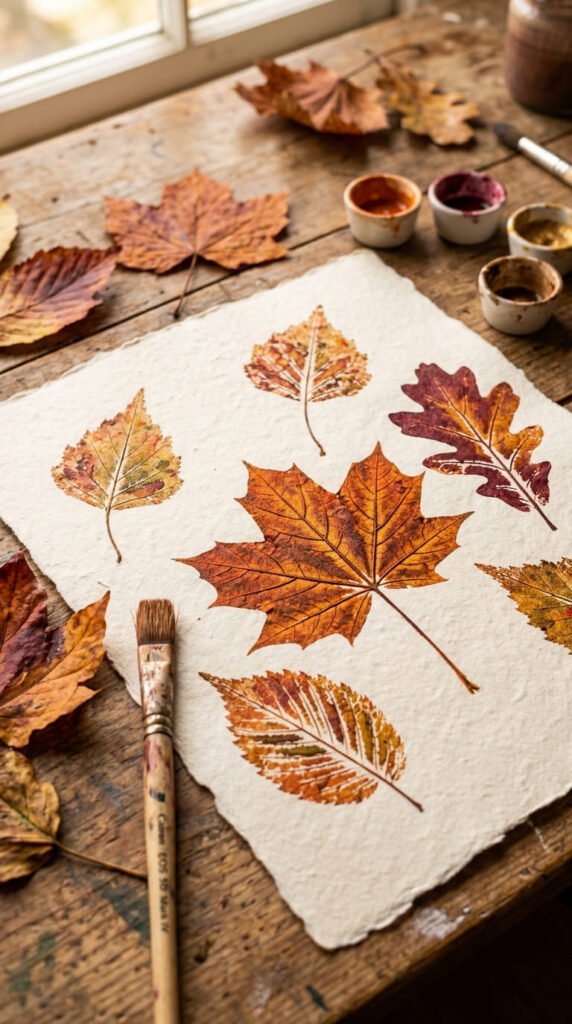
Collect a handful of leaves from the yard, paint one side, and press them firmly onto paper before peeling away. The leaf’s veins transfer onto the page, leaving a detailed natural print that no brush could easily recreate. This project pairs well with a short walk outside to gather different leaf shapes and sizes before starting. Use fall colors like orange, red, and brown for an autumn-themed page, or try greens for a spring version. Keep a paper towel handy to blot excess paint before pressing, since too much paint blurs the vein pattern. This craft connects painting to a simple nature lesson, since kids compare shapes and textures between different leaf types. It costs nothing beyond paint, since the leaves themselves are free and already outside. Let the printed page dry flat for about 20 minutes. Press leftover leaves in a book afterward for a second craft project later in the week.
21. Ice Cube Painting
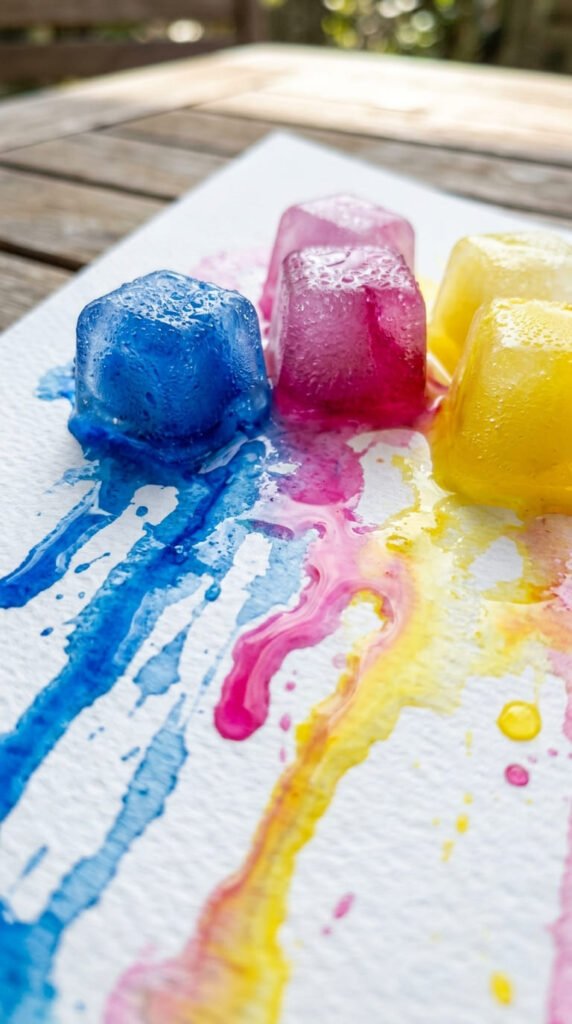
Freeze diluted paint in an ice cube tray with a popsicle stick standing in each section as a handle. Once frozen, kids hold the stick and drag the melting cube across paper, leaving watery, streaky trails behind. This project works especially well on hot days, since the melting ice keeps hands cool during play. Use a tray lined with plastic wrap first if you want to pop the cubes out easily. Watch for slippery fingers, since the melting cube gets wet quickly, and offer a towel nearby for grip. This craft combines painting with a science lesson about melting and temperature, which adds a small educational bonus. Freeze the cubes the night before so they’re ready to go when kids want to start. Let the finished page dry flat, which may take a little longer than usual painting projects since the ice adds extra moisture. This craft costs very little beyond paint and an ice tray.
22. Painted Pinecones
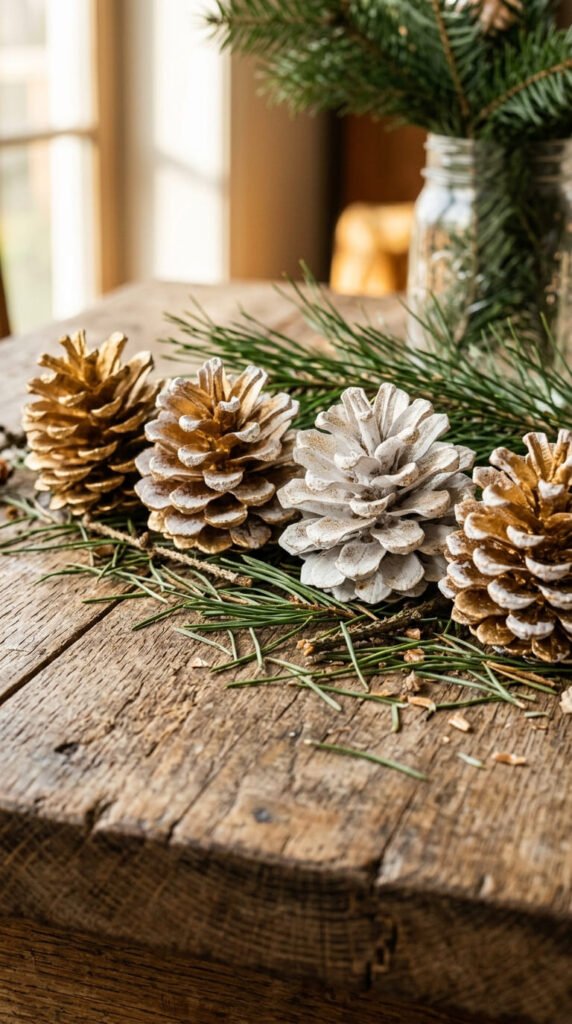
Collect pinecones on a walk, brush off any dirt, and let kids paint the individual scales with a small brush. Gold, white, or silver paint gives them a festive, seasonal look, perfect for holiday decorating without spending money on store-bought ornaments. Younger kids may find the small scales tricky to paint neatly, so a light dabbing motion works better than trying to coat every surface evenly. Tie a string around the top once dry to turn the pinecone into a hanging ornament. This project costs nothing beyond paint, since pinecones are free outside during fall and winter months. Kids enjoy grouping a few together in a bowl as a centerpiece, or scattering single painted cones along a windowsill. Let the paint dry fully, usually a couple of hours, before handling them again. This craft pairs well with hot cocoa and a cozy afternoon, making it a natural fit for colder-weather art sessions.
23. Washable Window Painting
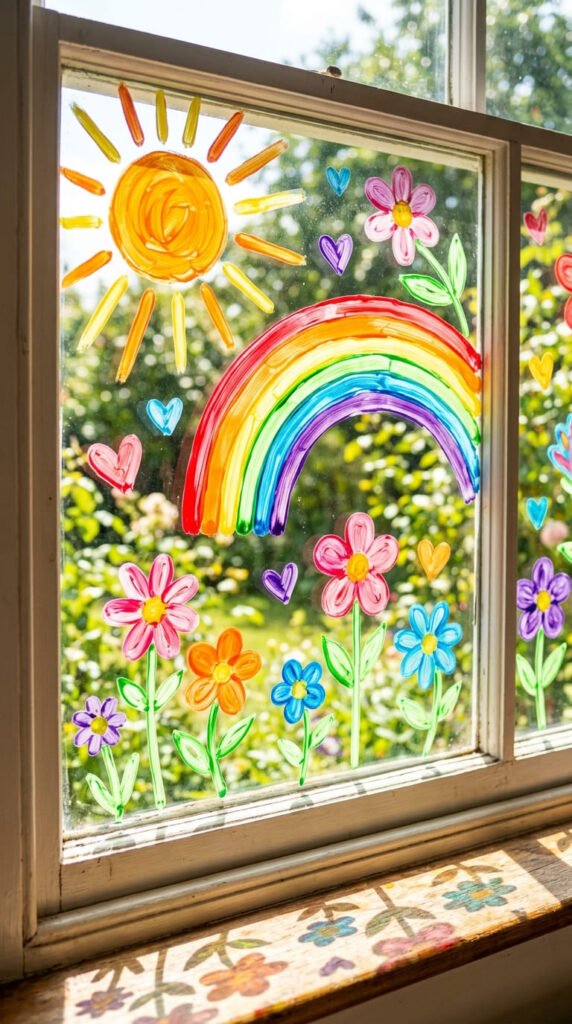
Mix washable paint with a small drop of dish soap, which helps it stick to glass without leaving a permanent stain. Kids paint suns, flowers, or rainbows directly onto a window, letting sunlight shine through the finished design. This project turns a plain window into a seasonal display that wipes away easily with a damp cloth once kids are ready for a new design. Keep a towel on the sill to catch drips while painting, since window surfaces don’t absorb paint the way paper does. This craft works well for kids who’ve outgrown paper painting and want a bigger, more visible canvas. Try theme days, like hearts for February or pumpkins for October, refreshing the design every few weeks. Since the paint washes off with warm water, this project carries very little risk to walls or furniture nearby. Let the design set for about an hour before it fully adheres to the glass surface.
Conclusion
Painting gives kids a low-cost way to build confidence, try new textures, and turn ordinary household items into art tools. From spin art to leaf prints to a painted window scene, these 23 projects prove that a few cups of paint go a long way. Pick a project based on the mess level you’re ready for that day, whether that’s a quiet Q-tip session or a full backyard tire-track race. Keep a basket of paint, brushes, and household tools on hand so the next quiet afternoon already has a plan ready to go. Art time doesn’t need a big budget, just some color, a little paper, and room for kids to make something their own.