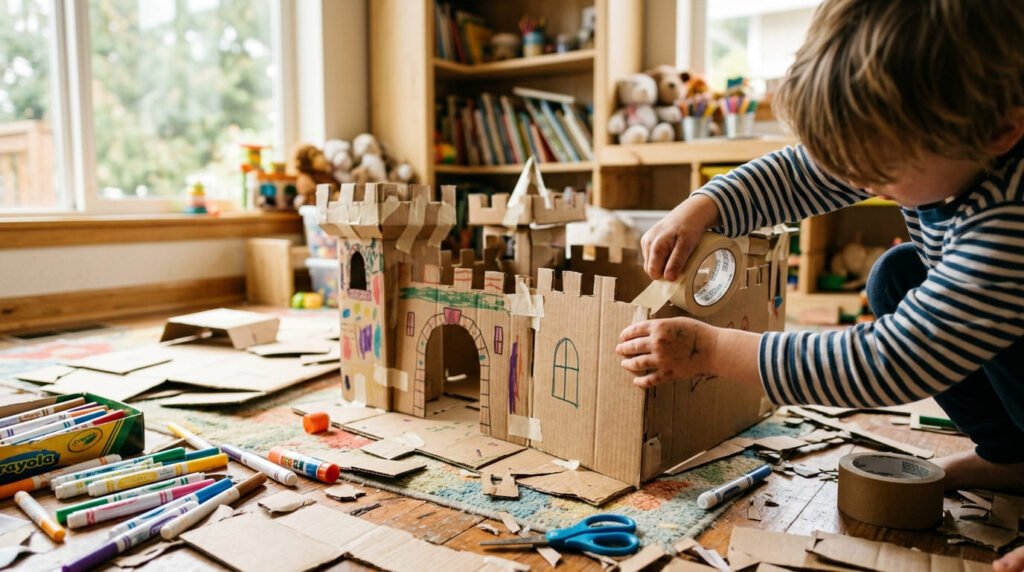
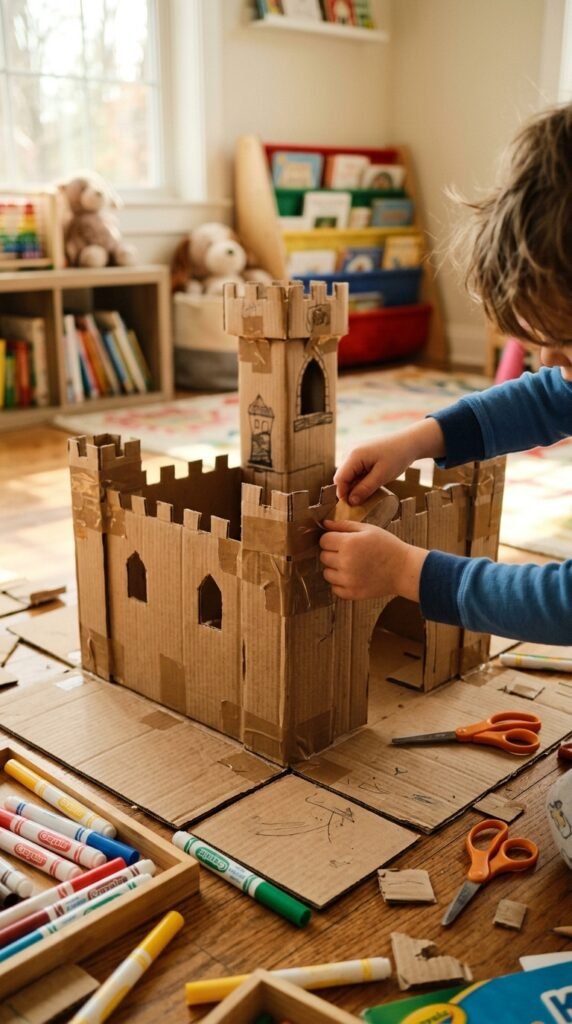
Cardboard sits in almost every recycling bin, yet it holds hours of play. A few boxes, some tape, and a handful of markers turn into castles, rockets, and puppet shows without spending much money. This list gathers 22 cardboard crafts for kids that use materials you likely already own. Each idea works for different ages, skill levels, and interests, from quiet art projects to big builds that take over the living room. Grab your recycling bin, clear a little floor space, and let the kids get messy with something that would otherwise end up in the trash.
1. Cardboard Castle with a Drawbridge
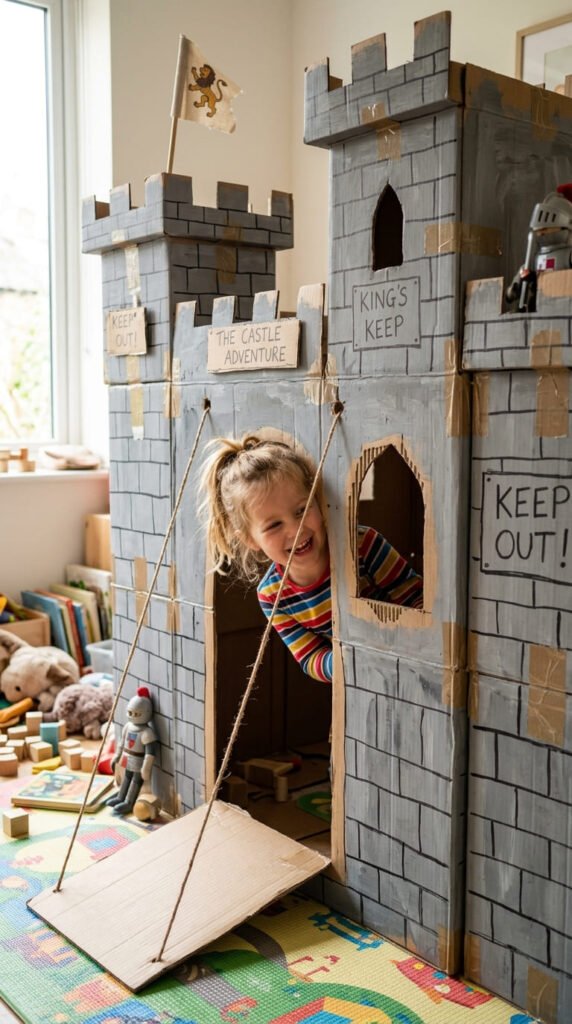
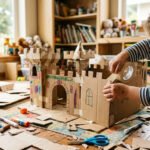
A big appliance box turns into a castle in one afternoon. Cut out a doorway, add a few window slots, and let kids draw brick patterns with a gray marker. For a working drawbridge, cut a flap at the base of the door and punch two holes at the top corners. Thread string through the holes and tie it to a stick inside so kids can raise and lower it. Add paper towel tubes as turrets on the corners for a taller look. Skip paint if you’re short on time. Markers and crayons work just as well and cost less. This project stretches across a weekend since kids can keep adding towers, flags, or a second story. It also holds up to rough pretend-play, unlike paper crafts that tear. Store it flat between play sessions by folding the walls in, and it lasts for months of use.
2. Puppet Theater Stage
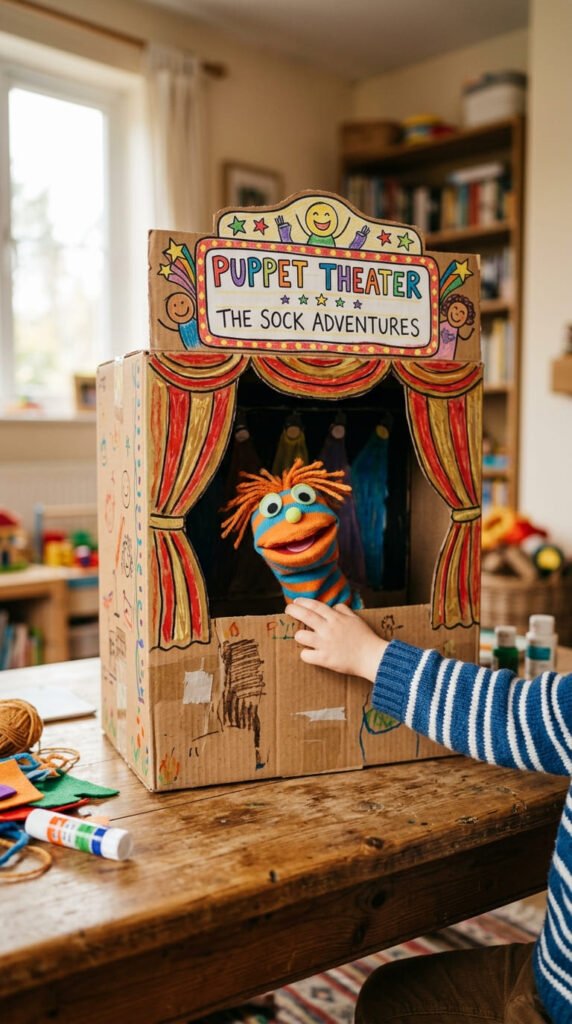
A single large box, stood on its side, makes a full puppet stage. Cut a rectangle out of the front for the stage opening. Fold fabric scraps or old bedsheet strips over the top edge for curtains. Kids can decorate the frame with paint or markers, adding their own show title across the top. Puppets don’t need to be store-bought. Paper bags, socks, or wooden spoons with drawn-on faces work fine. Set the theater on a table so kids can crouch behind it, or cut a slot near the bottom if they’d rather sit on the floor. This craft doubles as a storytelling tool. Kids write their own scripts, invite siblings to watch, and practice speaking in front of an audience. Keep a small basket of fabric scraps and buttons nearby for puppet-making sessions. The stage folds flat for storage, so it won’t take up permanent space in a playroom or closet.
3. Marble Run Maze
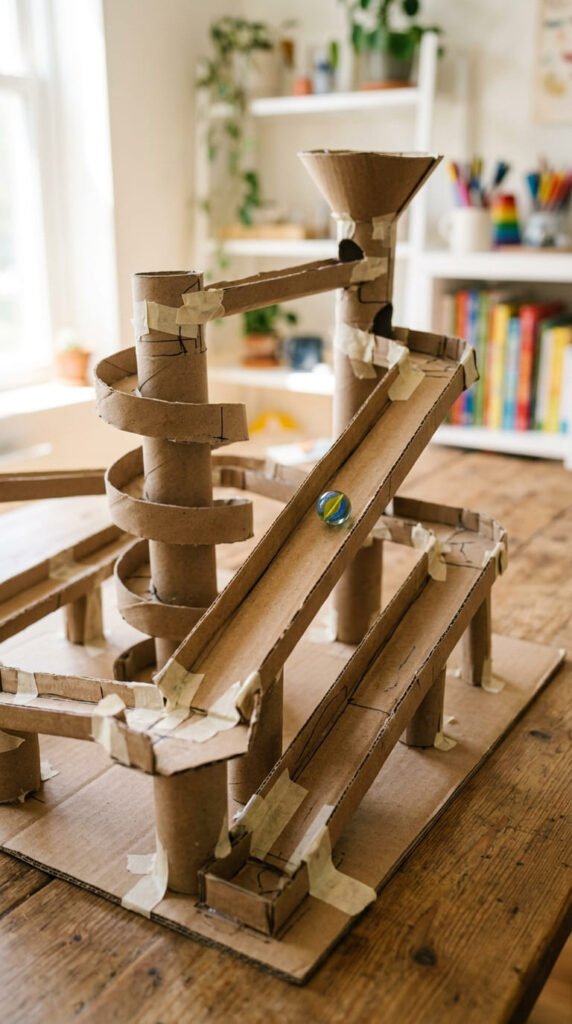
Save paper towel tubes and cereal box scraps for this one. Cut tubes in half lengthwise to make open ramps, then tape them at angles to a large flat piece of cardboard. Kids test the run with a marble, adjusting the slope until it rolls smoothly to the bottom. This project teaches basic cause-and-effect thinking without feeling like a lesson. Let kids experiment with steeper angles, loops, or funnels made from cut plastic cups. If a section doesn’t work, that’s part of the fun. They redesign it and try again. Keep spare tubes on hand so kids can rebuild the run different ways over several days. A shoebox lid works as a base if you don’t have a full sheet of cardboard. This craft costs nothing beyond tape, since every material comes from household recycling. It’s a strong pick for rainy afternoons when kids need something hands-on and adjustable.
4. Rocket Ship for Space Play
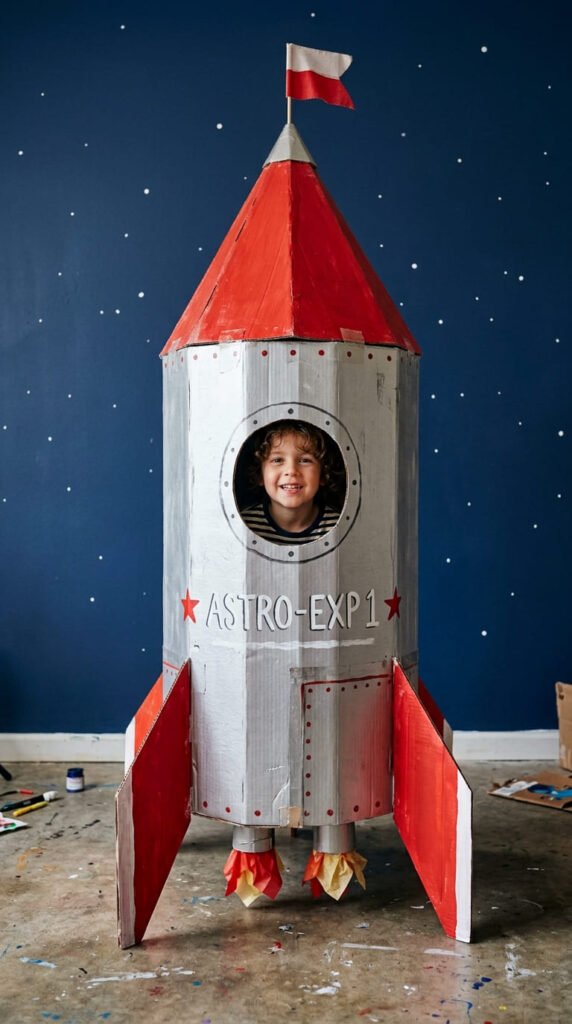
A tall box stood upright becomes a rocket with a little cutting and folding. Roll a piece of poster board into a cone for the nose and tape it to the top. Cut a round window near the top so the “pilot” can see out. Kids paint the body silver or gray, then add stripes, a flag, or a mission logo. Bottle caps or foil circles work as buttons on a control panel drawn inside. For launch sound effects, tie a string of bells near the base so it jingles during countdown. This craft pairs well with a simple space-themed story, where kids name their mission and crew. Add glow-in-the-dark stars nearby for nighttime pretend flights. Keep the rocket lightweight by using a smaller box for younger kids who need to carry or drag it around. It stores upright in a corner or flattens down when the mission is over.
5. Cardboard Race Car Track
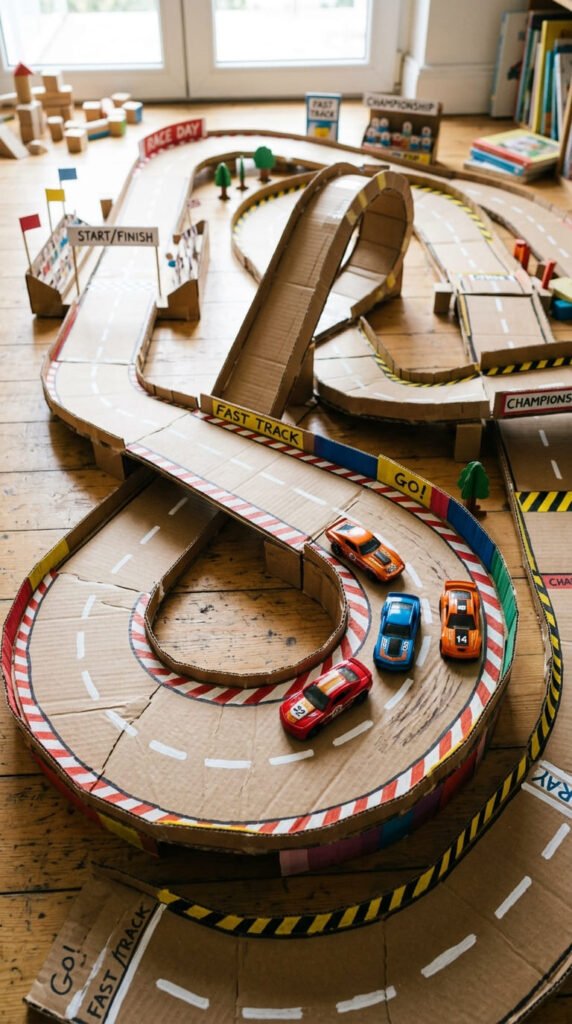
Long strips of cardboard, taped end to end, make a track that winds across the floor. Fold up the edges slightly so cars stay on course during turns. Paint or draw lane lines down the middle, and add a checkered finish line at one end. For extra challenge, tape a ramp section using a folded triangle of cardboard propped against a book. Kids race toy cars, marbles, or even ping-pong balls down the track. This project scales easily. Add more sections as kids want a longer course, or build loops that connect back to the start. It works well for group play, since multiple kids can race at once. Store the track by rolling it loosely or folding at the taped seams. This is one of the cheapest builds on this list, since it only needs cardboard, tape, and markers, with no glue gun required.
6. No-Sew Robot Costume
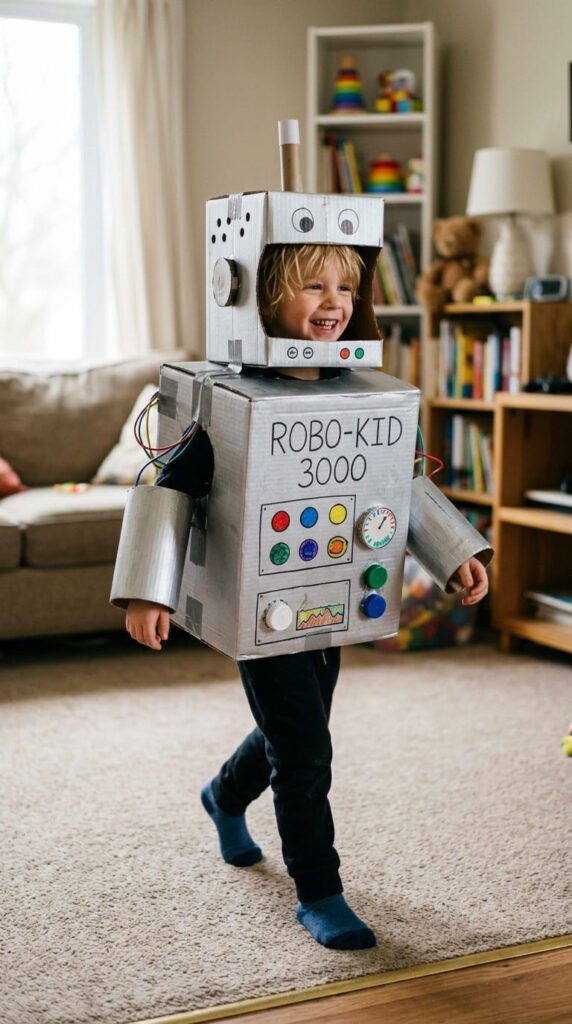
Two boxes and some paint turn a kid into a robot in under an hour. Cut arm and head holes into a medium box for the body piece. Use a smaller box for the helmet, cutting a window for the face. Paint both silver or wrap them in foil for a metallic look without buying spray paint. Add bottle caps, buttons, or foam scraps as control panel details on the chest. Toilet paper tubes taped around the wrists make robot cuffs. This costume works for dress-up play year-round, not just Halloween, since it holds up to repeated wear if reinforced with extra tape at the stress points. Kids enjoy adding their own touches, like a chest light made from a paper circle or a antenna made from a pipe cleaner. Store the pieces flat when not in use, and expect a few touch-up repairs after heavy play sessions.
7. Pirate Ship for Backyard Adventures
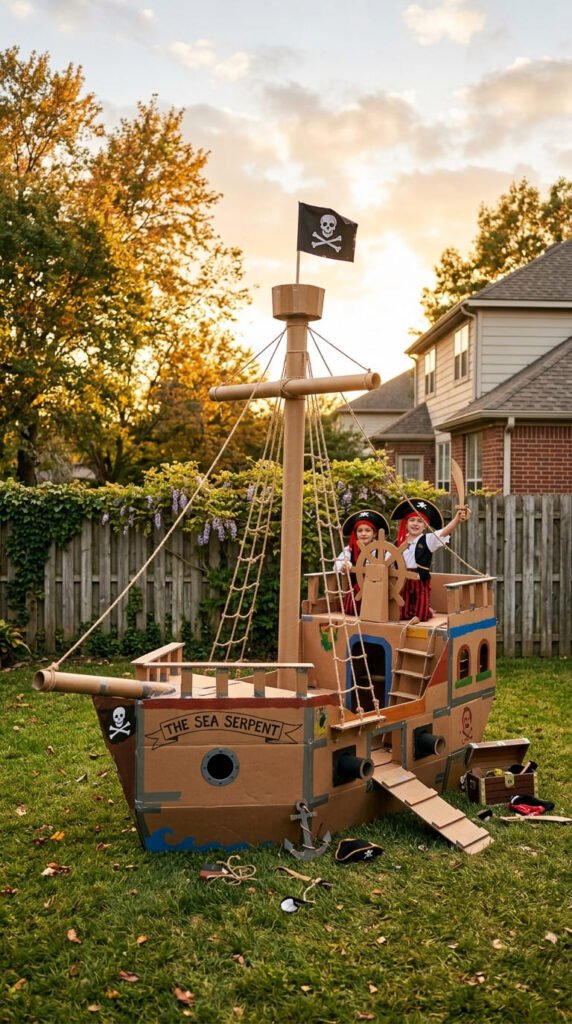
A few large boxes taped together form the hull of a pirate ship. Cut the top edges into a wavy pattern to look like ship railings. A wrapping paper tube taped upright, with a paper flag attached, works as the mast. Kids paint the hull brown or add wood-grain lines with a marker for a weathered look. Cut a small opening for a “cannon” using a paper towel tube poking through the side. This craft works best outdoors or in a large playroom, since it takes up floor space. Kids can add a plank made from a cardboard strip for walking off the ship. Treasure maps drawn on brown paper bags pair well with this build for extended pretend play. Since it’s outdoor-friendly, keep it away from rain, or bring it in between play sessions. This project works well for group play among siblings or friends.
8. Cardboard Fort with Multiple Rooms
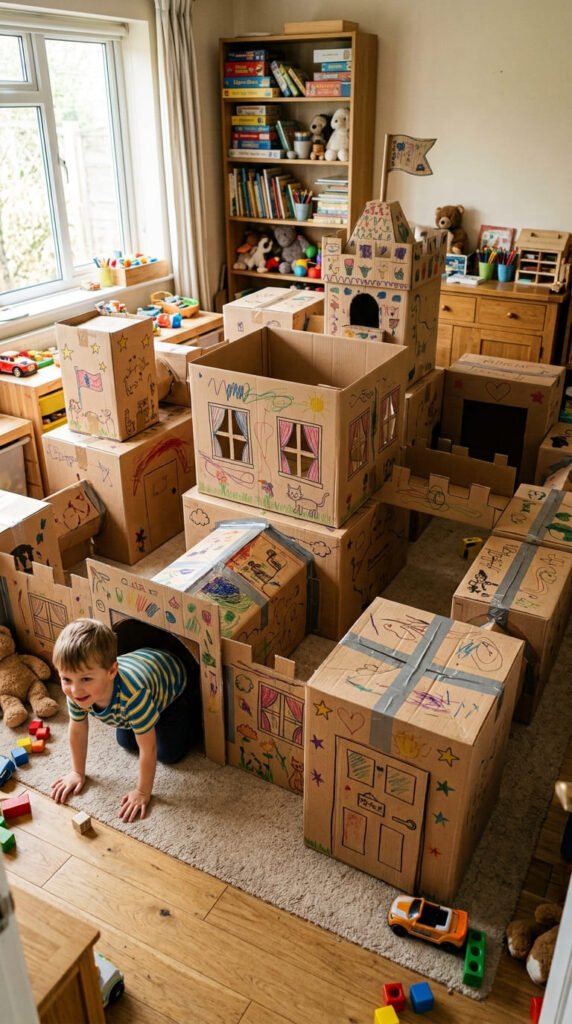
Several boxes taped together create a fort with connecting rooms. Cut doorways between boxes so kids can crawl from one section to the next. Add windows by cutting square holes and taping cellophane or tissue paper behind them for colored “glass.” This project works well over multiple days, since kids can keep adding rooms as they collect more boxes. Encourage them to plan a simple floor layout first, drawing it out on paper before building. A fort like this doesn’t need paint to look finished. Markers and stickers cover the surface just fine. Reinforce weak spots with extra tape where kids will crawl through often. This craft turns into a long-term play space rather than a one-time build, especially if kept in a corner of a playroom or garage. Break it down for recycling once it gets worn out, and start a new version with fresh boxes.
9. Backyard Cardboard Toss Game
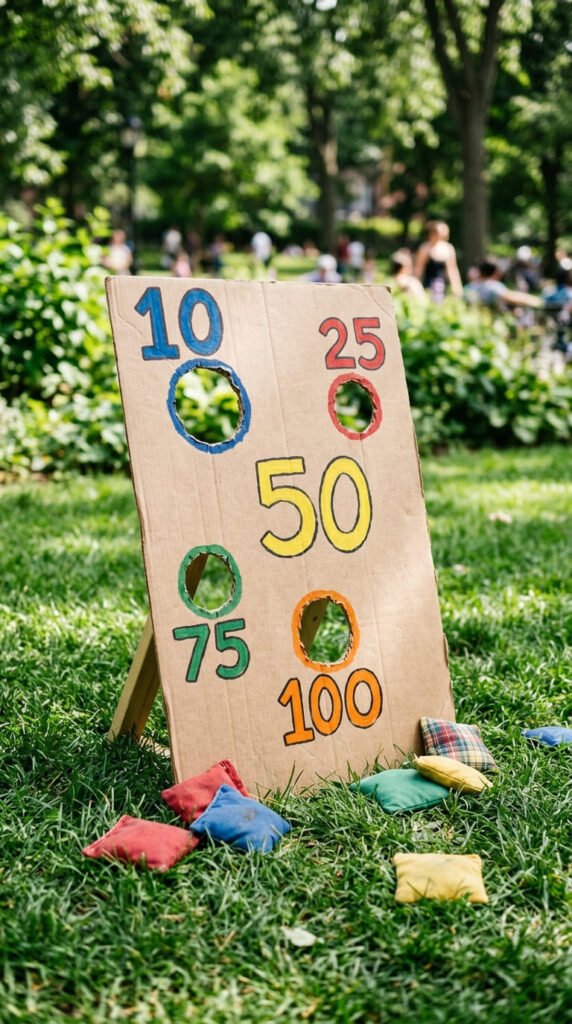
A flat piece of cardboard, cut with a few round holes, makes a toss game in minutes. Number each hole so bigger openings score less and smaller ones score more. Prop the board against a chair or lean it on an angled stand made from folded cardboard triangles. Kids toss bean bags, rolled-up socks, or soft balls through the holes to earn points. This game works for birthday parties or backyard afternoons with friends. Paint the board bright colors, or let kids decorate each hole with a themed face, like a monster mouth. No paint on hand? Markers work fine for a quicker version. Keep score on a small notepad, or just play for fun without counting. This is one of the fastest builds on this list, taking less than 30 minutes from box to finished game. Store it flat in a garage or closet between uses.
10. Decorative Cardboard Masks
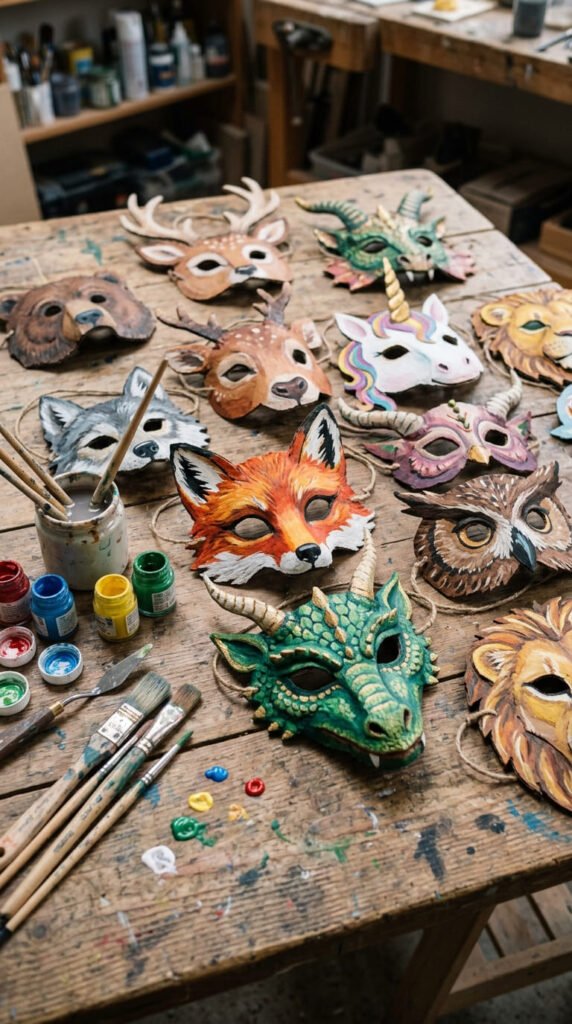
Cereal box cardboard works well for masks since it’s thin and easy to cut. Draw a basic mask shape, cut it out, and add elastic string or a taped-on stick handle. Kids paint faces, animals, or fantasy characters onto the mask front. For texture, glue on yarn for hair or feathers for a bird design. This craft suits smaller groups or solo quiet time, since it doesn’t require much space. Keep a stash of googly eyes, sequins, or fabric scraps on hand for extra detail. Masks pair well with a backyard performance or a puppet-theater-style show using the stage from earlier on this list. Since the material is thin, these masks work best for light play rather than rough use. Let the paint dry fully before kids wear them to avoid smudging. This project costs almost nothing if you already have paint and scissors at home.
11. Unicorn Horn and Wings Set
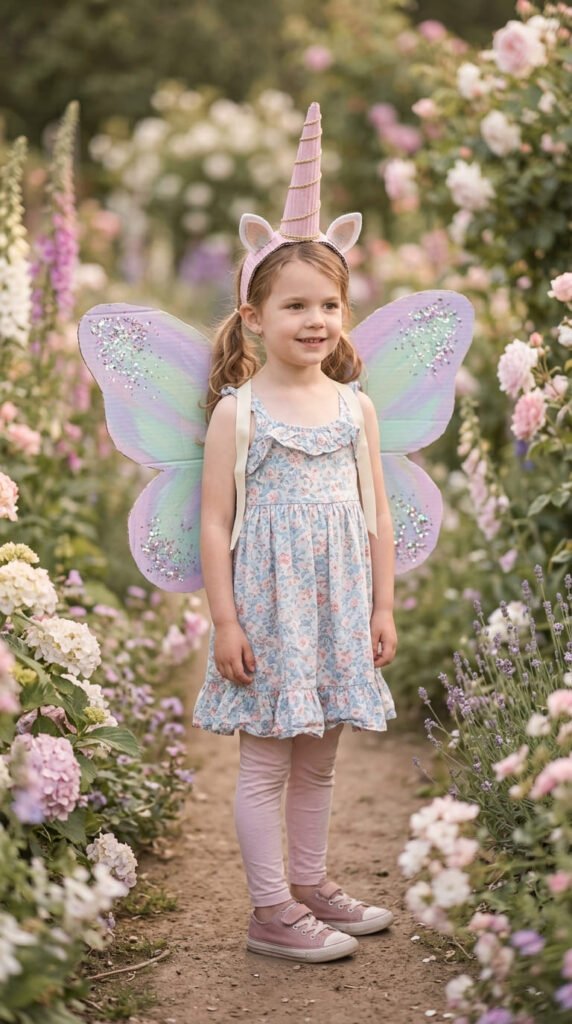
A cone cut from cardboard, painted gold or pastel, becomes a unicorn horn when taped to a fabric or cardboard headband. Cut two wing shapes from a flattened box, paint them in soft colors, and attach elastic straps so kids can wear them on their back. Add glitter or sequins along the wing edges for extra sparkle, using just a light coat of glue so it doesn’t flake off during play. This costume set works for dress-up days, dance parties, or simple pretend play around the house. Kids enjoy picking their own color scheme, whether that’s rainbow stripes or a single pastel shade. Keep the wings lightweight by using thin cardboard rather than a thick box, so they don’t sag or feel heavy on smaller shoulders. This craft pairs well with face paint for a full costume look. Store the pieces in a dress-up bin for repeat use across many play sessions.
12. Cardboard Dinosaur Costume
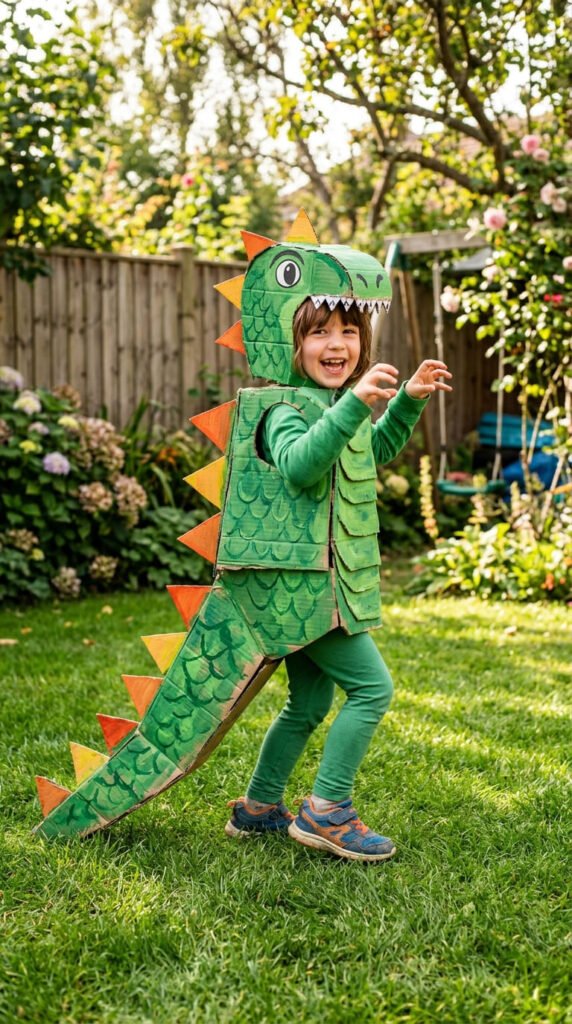
Cut a row of triangle shapes from cardboard and tape them along a strip that fits over a child’s shoulders like a spiky back piece. Paint the triangles green, or leave them plain for a more natural look. Add a simple tail made from a rolled cone of cardboard, attached at the waist with elastic. Kids can wear this over regular clothes for instant dinosaur play, roaring around the yard or acting out a prehistoric story. This costume works well alongside a cardboard cave or fort from earlier on this list, giving kids a full dinosaur-themed setup. Keep the spikes lightweight so they don’t droop during active play. If paint isn’t available, markers or crayons still cover the surface with color. This project takes under an hour and uses scrap cardboard that would otherwise go straight to the recycling bin. Store the back piece flat when it’s not part of an active game.
13. Simple Cardboard Weaving Loom
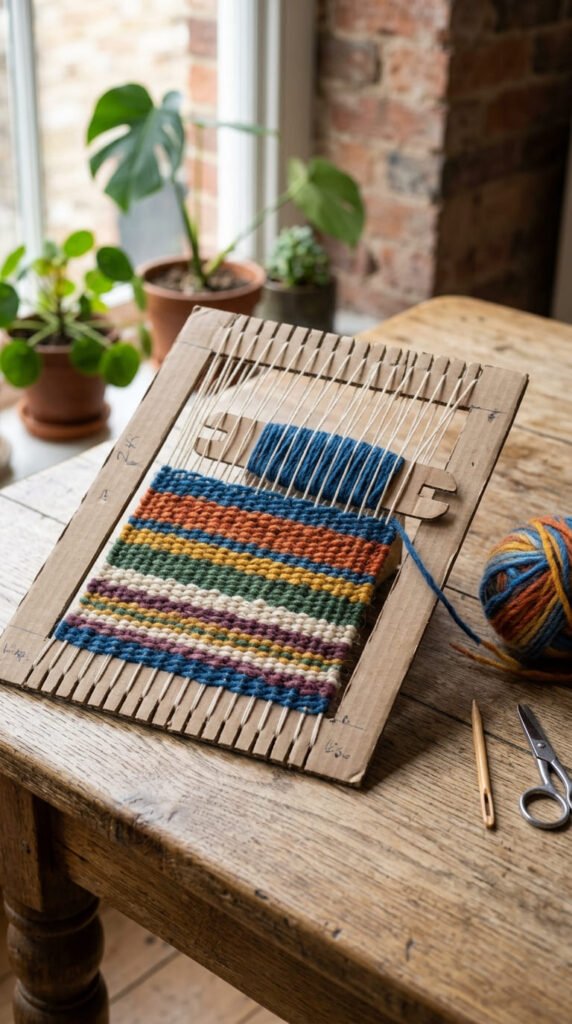
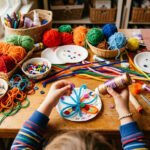
Cut small notches along two opposite edges of a rectangular cardboard piece. String yarn vertically between the notches to create the loom’s base threads. Kids weave a second piece of yarn over and under the vertical strings, building up rows of color. This craft works as a quiet, focused activity for kids who enjoy repetitive, hands-on tasks. Use leftover yarn scraps in different colors for a striped pattern, or stick to one color for a simple texture. Younger kids may need help getting started with the first few rows, but most catch on quickly. Once finished, cut the loops at the top and bottom to release the woven piece, then tie off the ends. The finished square works as a small mat, wall hanging, or coaster. This project costs nothing beyond yarn, which many households already have in a craft drawer. It also introduces basic weaving without needing a real loom.
14. Cardboard Guitar
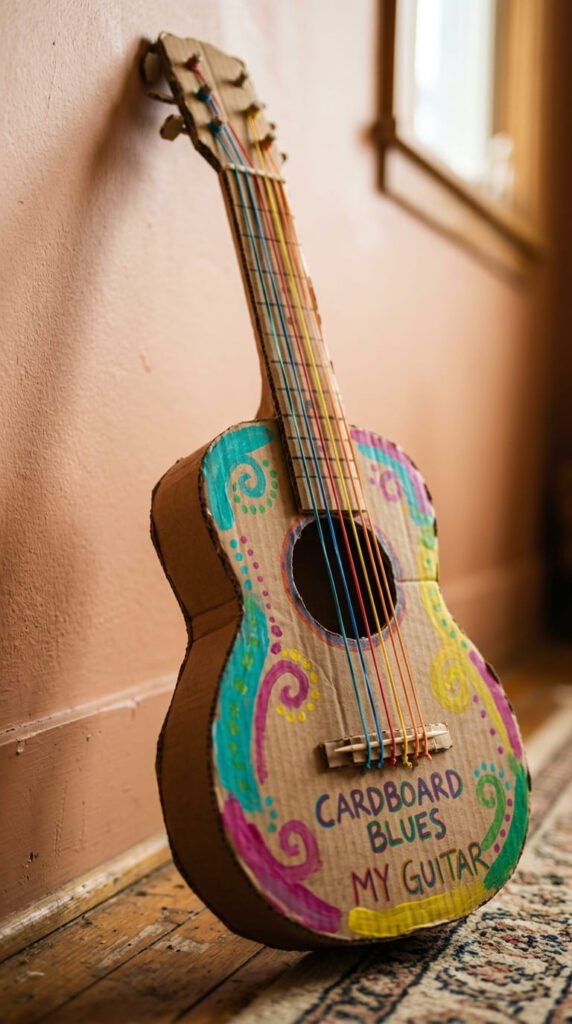
Cut a guitar body shape from a flattened box, then cut a round hole in the middle for the sound opening. Stretch a few rubber bands across the hole at different widths so they make different pitched sounds when plucked. Attach a cardboard tube or strip as the neck, taping it firmly to the body. Kids paint the guitar bright colors or add a band name across the front. This craft turns into a full pretend concert when paired with a cardboard stage or paper microphone. It’s a strong pick for musically curious kids who want to experiment with sound without a real instrument. The rubber bands won’t produce studio-quality tone, but the plucking and strumming motion mimics real guitar play closely enough for imaginative fun. Keep spare rubber bands on hand since they stretch out or snap with heavy use. This project takes about 20 minutes and uses only scrap materials.
15. Miniature Cardboard Doll House
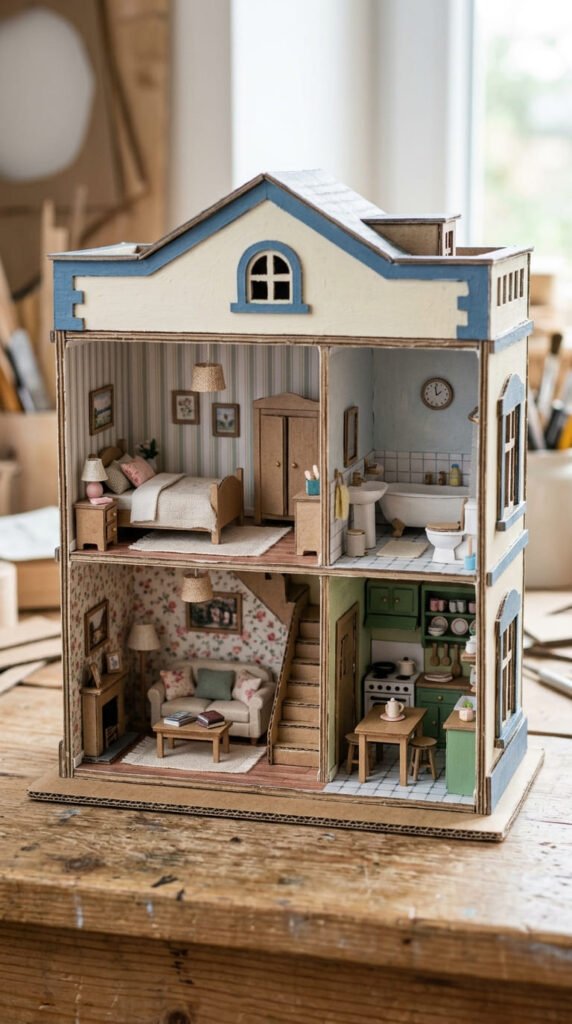
A medium box, laid on its side, becomes a doll house with a few cuts and folds. Slice cardboard dividers to create separate rooms inside, taping them in place. Kids paint the walls, draw on wallpaper patterns, or glue small fabric scraps as rugs. Furniture doesn’t need to be store-bought. Small boxes work as beds, and bottle caps flip over as tiny tables. This project suits kids who enjoy detail-oriented, slower crafts, since furnishing each room takes time and creativity. Add a front that opens like a real door, or leave one side fully open for easy play access. This doll house scales up or down depending on the box size, so it works for a range of ages. Keep small parts away from very young kids who might put pieces in their mouths. Store finished doll houses on a shelf, since they hold up well without needing to be broken down.
16. Pretend Cardboard Kitchen Set
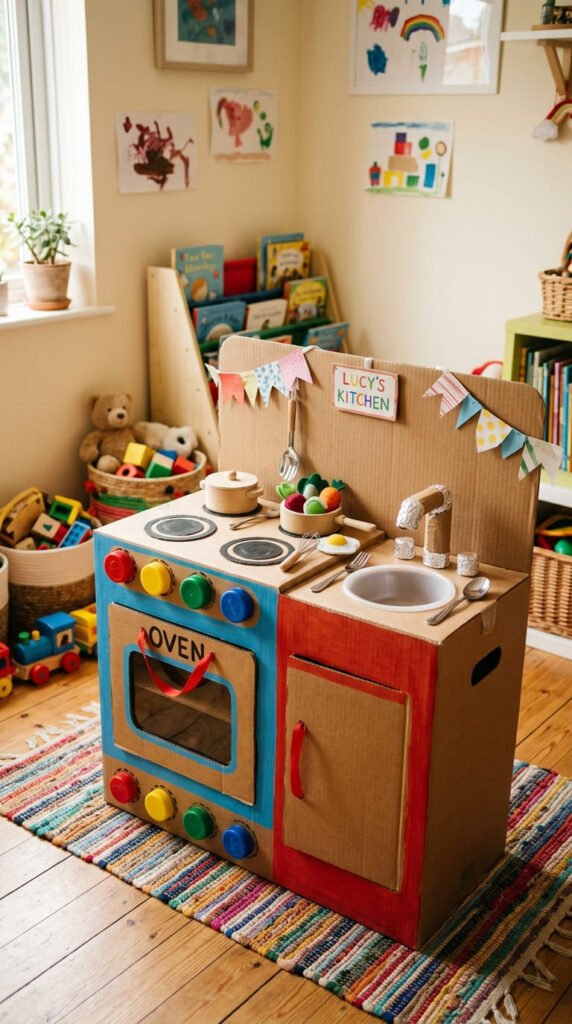
A tall box stood upright becomes a stove with a few painted details. Draw burners on top, cut a door for the oven, and glue on bottle caps as knobs. Add a small shelf above for pretend spice jars made from empty containers. Kids “cook” with plastic utensils or toy food, turning imaginary knobs and opening the oven door repeatedly during play. This craft works well next to a cardboard fridge, built from a second box with a magnetic or Velcro door closure. Paint both pieces to match, or keep it simple with marker details if paint isn’t available. A pretend kitchen supports role-play skills, since kids act out mealtime routines and cooking steps they’ve seen at home. This build takes an afternoon and holds up to daily play if reinforced with extra tape at the hinges. Store it in a playroom corner as a semi-permanent play station.
17. Fairy Wings for Imaginative Play
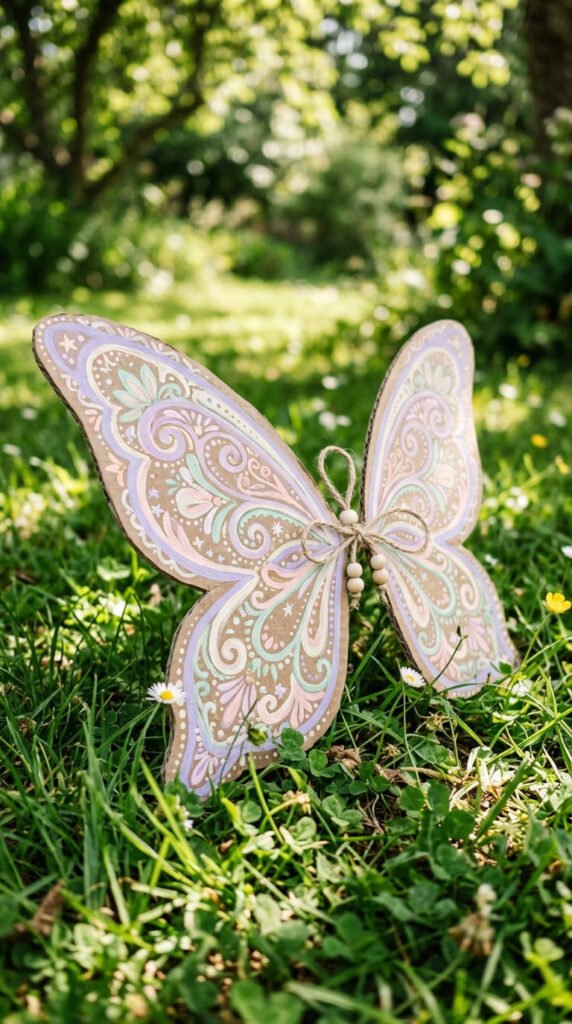
Draw a wing shape on a flattened box, cut it out, then trace a mirrored second wing for symmetry. Cut a thin section out of the middle to create a lighter, airier look, similar to real insect wings. Paint the wings in soft colors, or add tissue paper for a translucent effect around the cut-out sections. Attach elastic straps on the back so kids can wear them like a backpack. This craft pairs naturally with the unicorn horn project from earlier on this list, building out a full fantasy costume. Kids enjoy adding their own patterns, from dots to swirls to glitter lines along the edges. Keep the wings lightweight so they stay comfortable during long play sessions outside. This project works well for spring and summer months, when kids spend more time running around the yard in costume. Store the wings flat in a dress-up bin between uses.
18. Cardboard Tube Binoculars

Tape two paper towel tubes side by side, then punch a hole near the top of each and thread string through for a neck strap. Kids paint the tubes camouflage green, animal print, or bright rainbow colors depending on their pretend-play theme. This craft takes only a few minutes but adds a lot to outdoor games like backyard safaris, bird watching, or spy missions. Pair the binoculars with a simple checklist of things to spot outside, turning the craft into a short scavenger hunt. Since paper towel tubes are usually free household scraps, this project costs nothing beyond tape and paint. It also works well as a quick rainy-day project when kids want something finished fast. Keep a few spare tubes on hand for repeat versions, since these tend to get bent or torn with heavy outdoor use. This is one of the simplest builds on the entire list.
19. Toy Car Garage
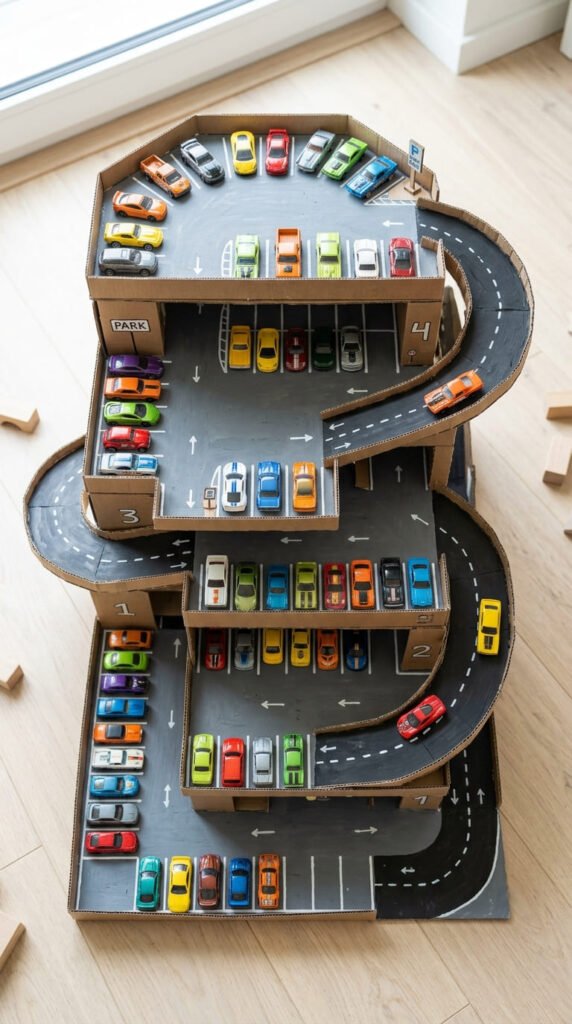
Stack a few small boxes and cut ramps between levels for cars to drive up and down. Paint road lines and parking spot numbers on each level for a realistic touch. Kids drive toy cars up the ramps, park them in numbered spots, and act out a full parking garage scene. This project works well for kids who already have a toy car collection and want a place to organize and play with them. Add a working elevator using a small box that slides up and down a cut slot, if you want to add extra detail. Keep the structure sturdy by reinforcing the base with extra cardboard layers, since it needs to support the weight of stacked levels. This craft doubles as a storage solution, since kids can keep their cars parked inside the garage between play sessions instead of scattered across the floor. It works well in a playroom corner as a semi-permanent fixture.
20. Cardboard City Building Blocks
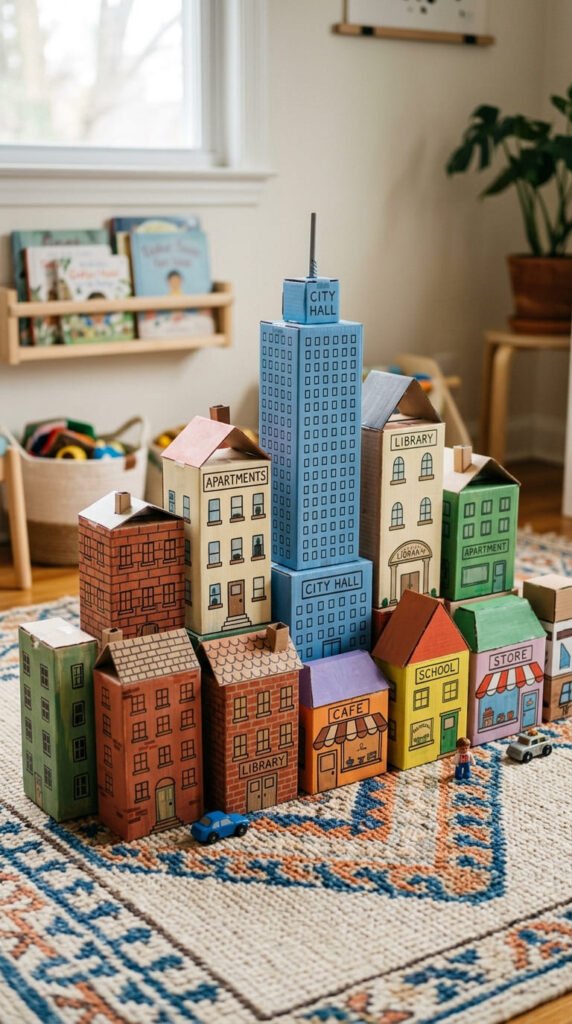
Save small boxes of different sizes, like cereal boxes, tissue boxes, and shoe boxes, then tape the openings shut so each one becomes a solid block. Paint or draw windows and doors on each box to turn them into miniature buildings. Kids arrange the blocks into a city skyline, adding roads drawn on butcher paper underneath. This project works well for kids who enjoy building and rearranging, since the blocks stack, restack, and combine in endless layouts. Keep a range of sizes on hand so kids can build both tall towers and small houses within the same city. This craft also introduces basic balance and stacking skills as kids figure out which blocks work as a stable base. Store the blocks in a large bin, ready for the next building session. Since the boxes come from household recycling, this project costs nothing beyond paint or markers already in a craft drawer.
21. Cardboard Christmas Tree Craft

Roll a large piece of cardboard into a cone shape and tape the seam closed. Paint it green, or cut small triangle flaps around the surface for a layered branch look. Kids glue on paper ornaments, cotton ball snow, or small buttons as decorations. Add a star or angel shape cut from cardboard at the top, covered in foil for a shiny finish. This project works well as a seasonal centerpiece, standing on a table or shelf during the holiday season. It’s a safer alternative to a real tree for younger kids who like decorating but shouldn’t handle glass ornaments. Let kids design their own decoration pattern, whether that’s evenly spaced or clustered near the top. This craft takes about an hour, depending on how many decorations kids want to add. Store it flattened in a holiday bin after the season ends, ready to bring back out the following year with fresh decorations.
22. Cardboard Haunted House
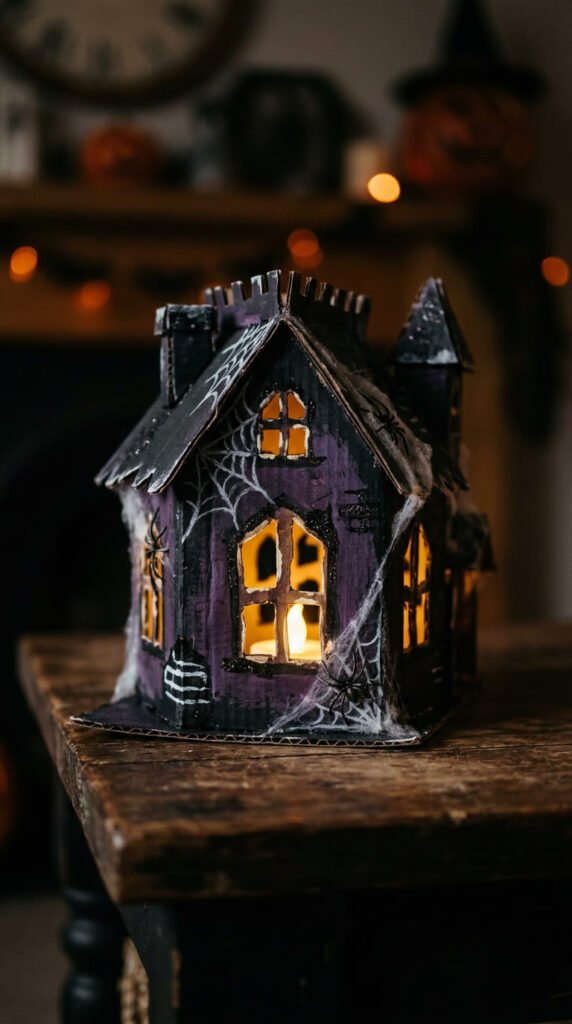
Cut windows and a door into a medium box, then paint the whole structure black or dark purple. Add cobweb details using white paint or a glue-and-string technique, dragging thin glue lines across corners before they dry. Place a small battery-powered light inside so the windows glow when the room is dark. Kids can add paper bats, ghosts, or spiders hanging from the roof edge with string. This craft works well as a Halloween decoration for a bedroom shelf or entryway table. It also pairs with a spooky story session, where kids act out who lives inside the haunted house. Keep the design simple for younger kids, focusing on a few big details rather than intricate decorations. This project takes under an hour and uses paint or markers already common in most craft supplies. Store it flat during the off-season, then bring it back out each October for reuse.
Conclusion
Cardboard turns ordinary recycling into a full afternoon of play, and these 22 projects prove that budget crafting doesn’t mean fewer options. From castles and rockets to masks and city blocks, each idea uses materials already sitting in most homes. Pick one project based on your child’s mood, whether that’s a quiet weaving session or a big backyard pirate ship. Keep a bin of tape, markers, and saved boxes on hand so the next rainy day or slow weekend already has a plan. Cardboard crafts cost little, produce almost no waste beyond what was already headed to the recycling bin, and give kids something to build, decorate, and play with long after the craft session ends.