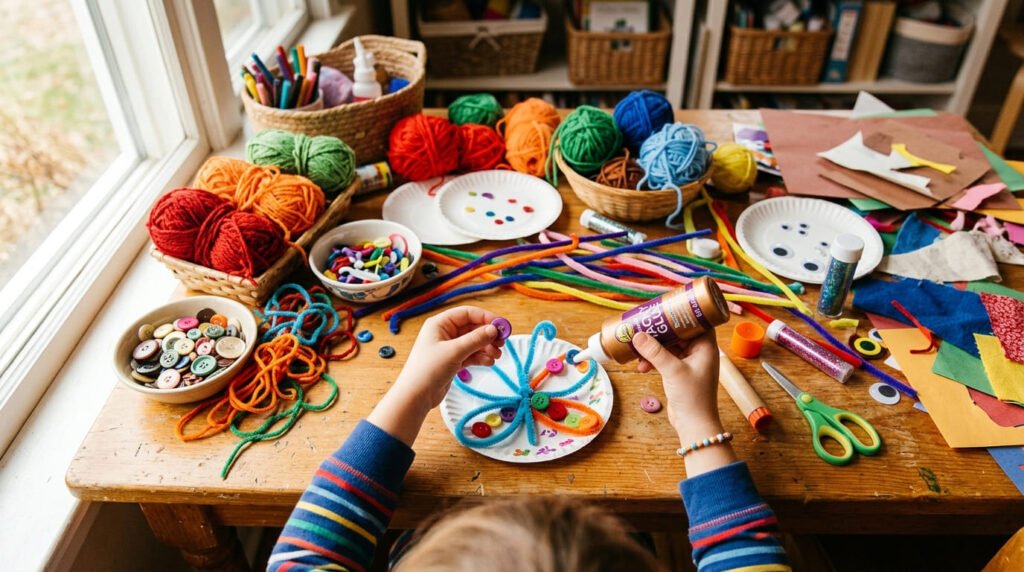
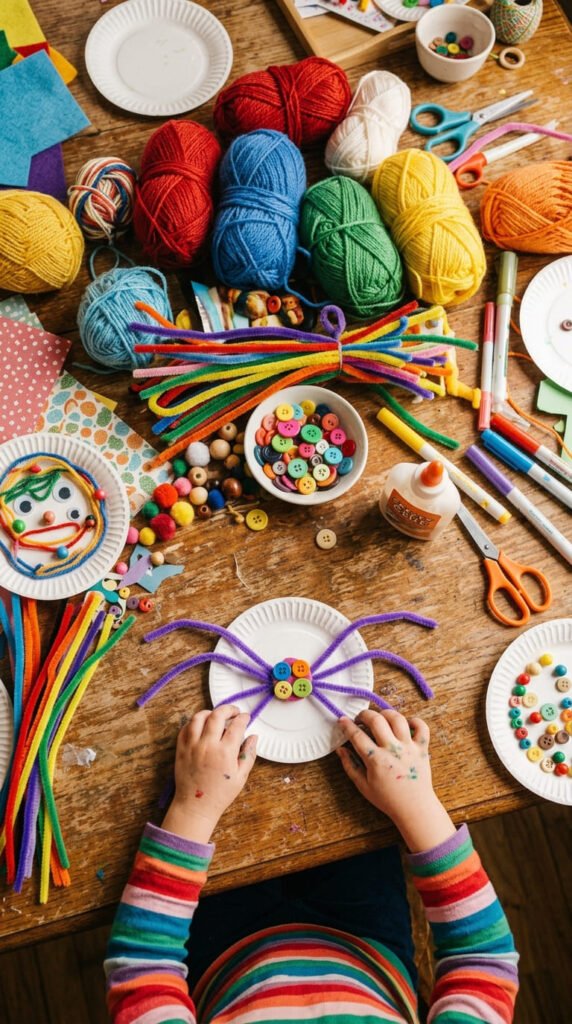
Kids don’t need a fancy kit to make something they’re proud of. A drawer of yarn, buttons, paper plates, and pipe cleaners can fill an entire afternoon with hands-on projects that cost almost nothing. This list gathers 21 DIY crafts for kids that work at home, in a classroom, or during a school break, using supplies most families already have on hand. From sensory play dough to nature collages to a simple stop-motion movie, each idea comes with a quick setup and a realistic time estimate. Clear off a table, grab a few basics from the junk drawer, and let the making begin.
1. Paper Plate Sun Catchers
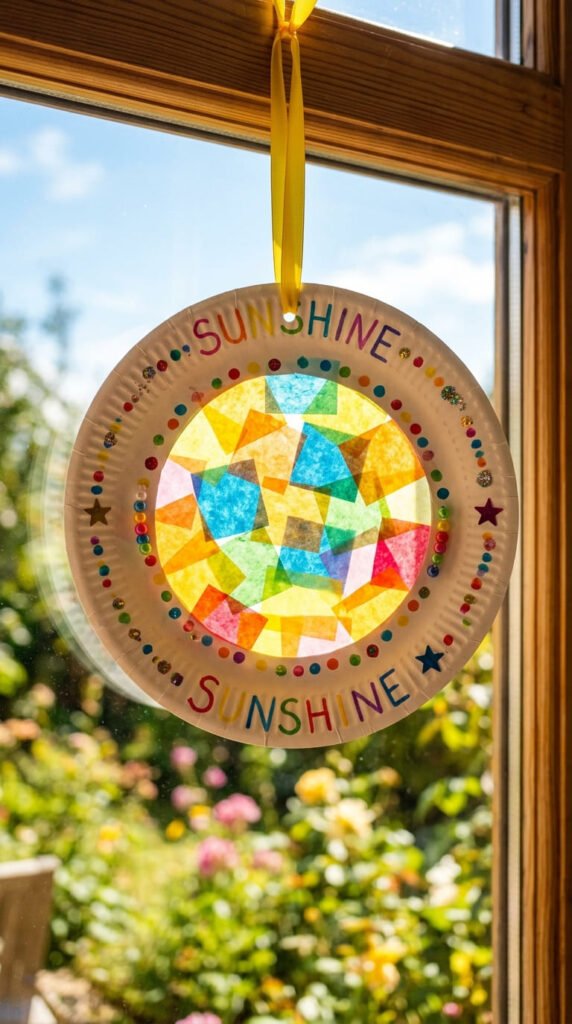
Cut the center out of a paper plate, leaving just the outer ring. Glue small squares of colorful tissue paper across the open space until it’s fully covered. Once it’s dry, tape it to a window and let sunlight shine through the layered colors. This project uses cheap, everyday supplies, since paper plates and tissue paper cost very little at any dollar store. Kids can mix and match colors freely, since there’s no wrong way to arrange the tissue squares. For younger kids, pre-cut the tissue paper into small pieces so they only need to focus on gluing. Older kids might enjoy sorting colors into a rainbow pattern or a specific theme, like ocean blues or autumn oranges. This craft takes about 20 minutes from start to finish, plus drying time. Hang a few together along one window for a full display. Store extra plates and tissue scraps in a bin for a repeat project next month.
2. Pipe Cleaner Flower Bouquet
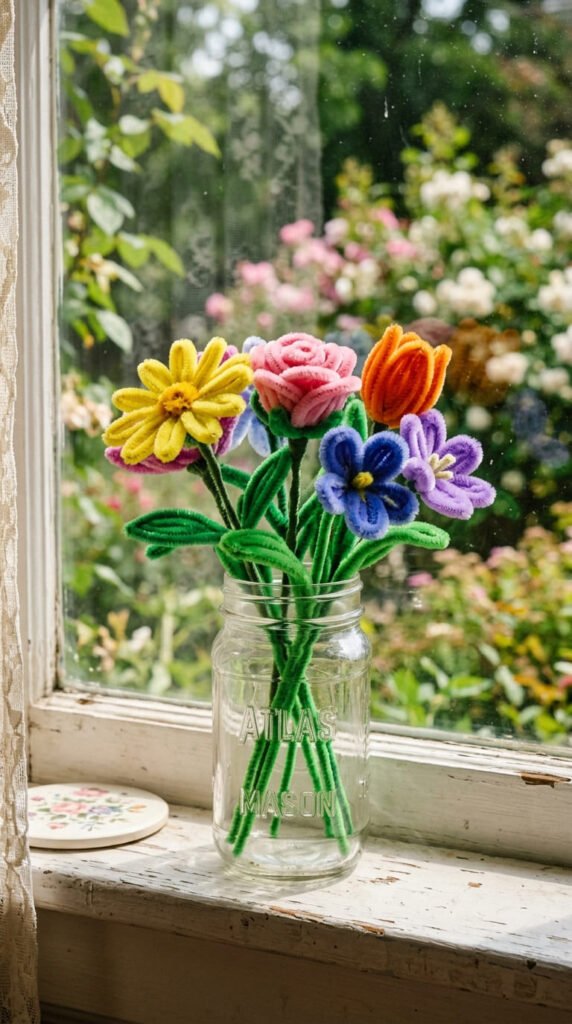
Twist a few pipe cleaners into loops around a central stem to form flower petals, then wrap a green pipe cleaner around the base for a stem. Kids can make a whole bouquet in under an hour, mixing colors for a varied garden look. This craft needs almost no supplies beyond a bag of pipe cleaners, which usually costs just a few dollars for dozens of pieces. Bend the petals into different shapes, rounded, pointed, or looped, so each flower looks a little different from the last. Group finished flowers into a repurposed jar or cup for a simple centerpiece. This project works well as a gift for a grandparent or teacher, since it holds its shape without wilting like a real bouquet. Younger kids may need help twisting the wire tightly enough to hold its shape. Keep a spare pipe cleaner bag on hand, since this craft tends to become a repeat favorite once kids get the hang of it.
3. Friendship Bracelets with Yarn
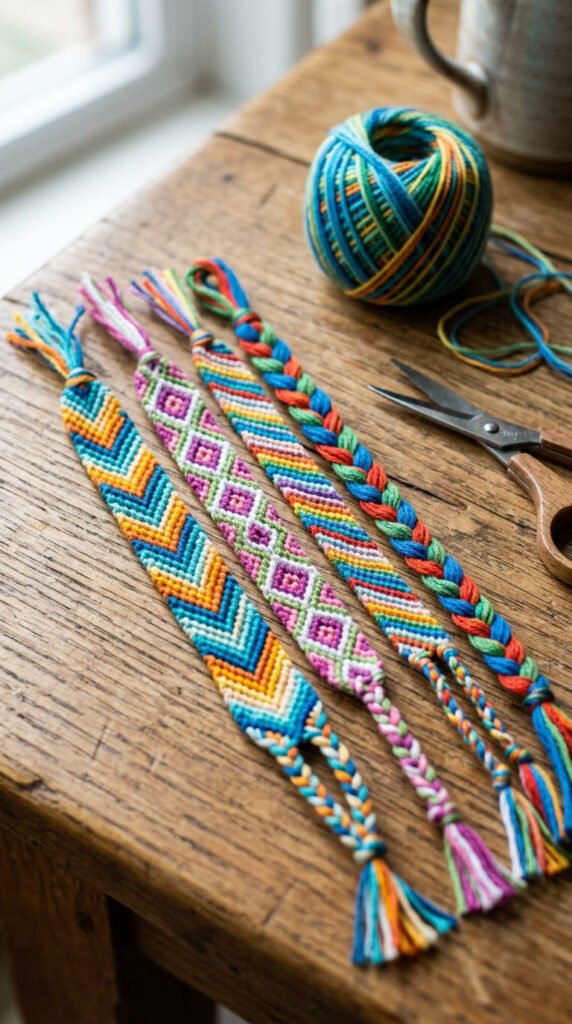
Cut a few strands of yarn in different colors, tie them together at one end, and tape that end to a table to hold it steady while braiding. Kids braid or knot the strands into a simple pattern, then tie off the other end to fit around a wrist. This craft builds fine motor skills through repetitive knotting, and it doubles as a gift kids can hand out to friends or family. Yarn costs very little, and most households already have some in a craft drawer. Start with a basic three-strand braid for younger kids, then move to more complex knot patterns for older kids who want a challenge. Mix colors based on a friend’s favorite palette for a personal touch. This project takes about 15 to 30 minutes per bracelet, depending on length and pattern complexity. Store leftover yarn scraps in a bag for future bracelets, since this craft tends to turn into an ongoing hobby.
4. DIY Slime
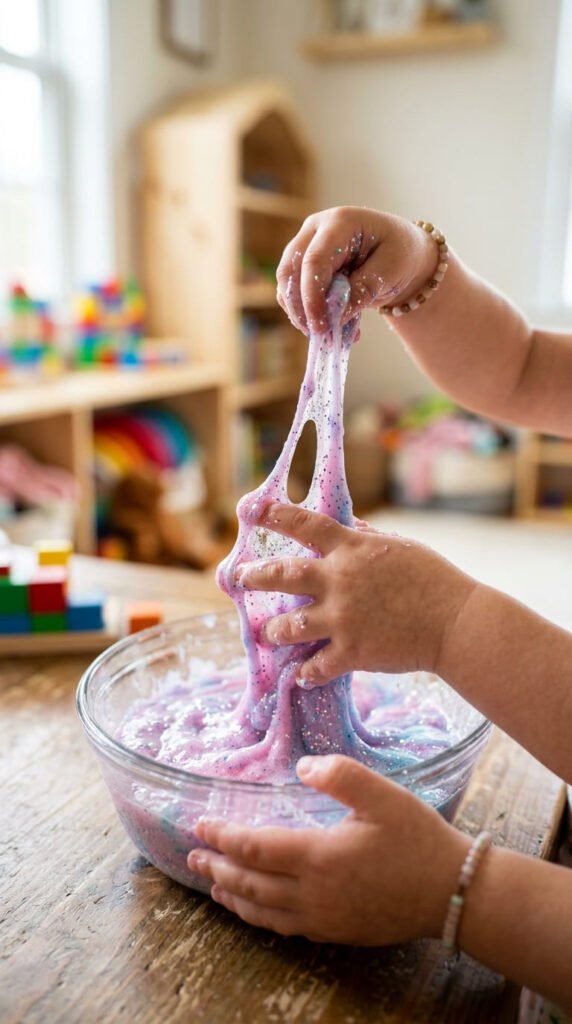
Mix white glue, a little water, and a pinch of baking soda in a bowl, then slowly stir in contact lens solution until the mixture pulls away from the sides and turns stretchy. Kids knead the slime with their hands until it’s smooth rather than sticky. This project delivers sensory play that keeps kids occupied for long stretches, since slime can be stretched, poked, and reshaped for extended periods. Add a few drops of food coloring or a pinch of glitter before mixing for a personalized batch. Keep the recipe simple for a first try, since too many additions can throw off the texture. Store finished slime in an airtight container to keep it soft for several days of reuse. This craft costs very little if you already have glue and baking soda at home, and contact solution is a low-cost addition from any pharmacy aisle. Supervise younger kids closely, since ingredients shouldn’t be eaten.
5. Homemade Play Dough
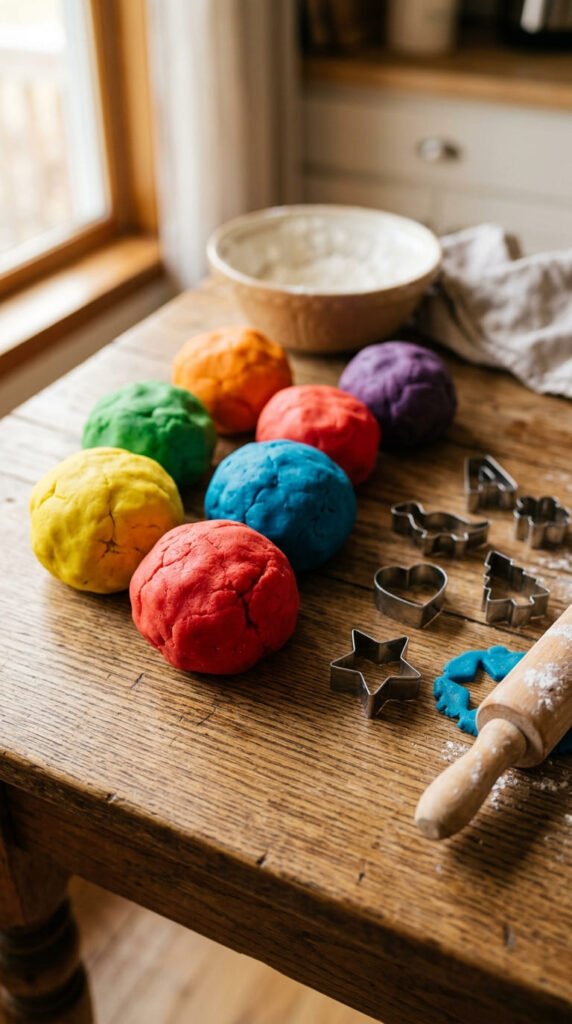
Mix flour, salt, water, a spoonful of oil, and a few drops of food coloring in a pot, then stir over low heat until it forms a soft dough. Once it’s cool enough to touch, kids knead it smooth and shape it into balls for storage. This project makes a big batch for pennies, since flour and salt are pantry staples most households already stock. Add a drop of vanilla or almond extract for a pleasant scent that makes the dough more enjoyable to handle. Kids can roll, flatten, and cut shapes using simple cookie cutters or a butter knife under supervision. Store finished dough in a sealed container or zip bag, and it stays soft for weeks if kept away from air. This craft works well as an ongoing project, since kids return to it again and again rather than making something once and setting it aside. Replace the batch once it dries out or starts crumbling.
6. Pressed Flower Bookmarks
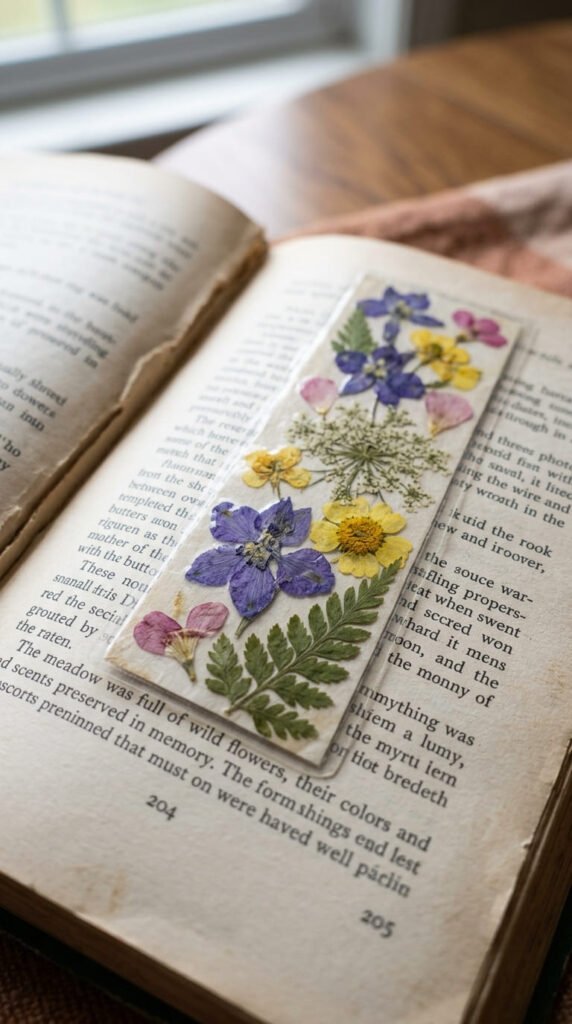
Collect a few small flowers or leaves on a walk, then press them flat between the pages of a heavy book for about a week. Once dried, arrange them on a strip of cardstock and cover both sides with clear tape or contact paper to seal them in place. This project turns a free nature walk into a lasting keepsake, since the materials cost nothing beyond basic craft supplies already on hand. Kids enjoy picking their own flowers, which makes each bookmark a little different depending on the season. Punch a hole at the top and thread a ribbon through for an extra decorative touch. This craft works well as a small gift for a teacher or grandparent who enjoys reading. The pressing step takes patience, since it spreads the project across more than one day, but the actual assembly only takes about 15 minutes. Store extra pressed flowers in a folder for future bookmarks or cards.
7. Popsicle Stick Photo Frames
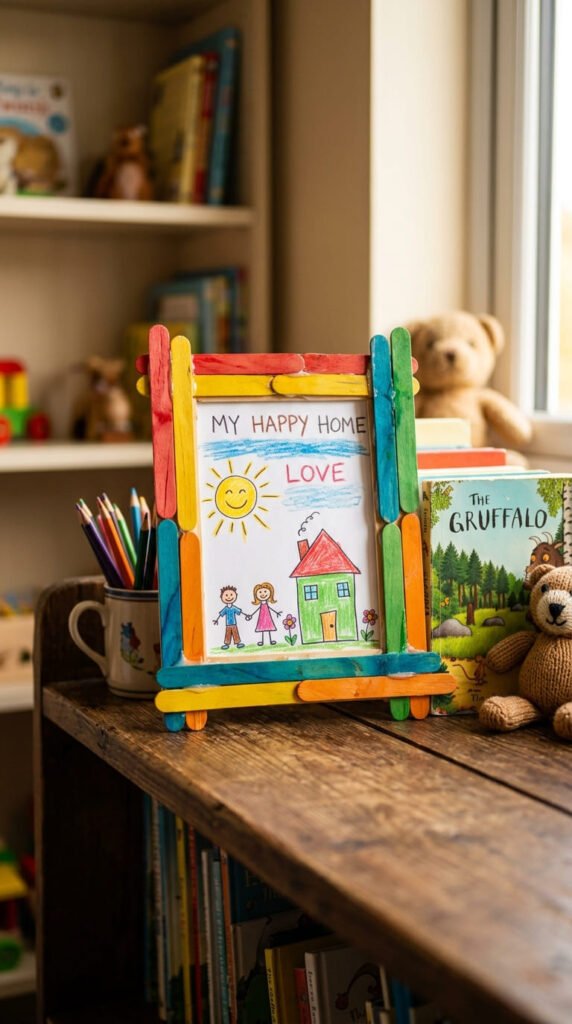
Glue four popsicle sticks into a square, overlapping the ends slightly for a sturdy frame. Once the glue dries, kids paint or decorate the frame with markers, stickers, or small buttons. Glue a photo or a small drawing to the back, and add a magnet or a stand made from a folded stick so it can display upright. This project makes a low-cost gift for holidays, birthdays, or just because, since popsicle sticks come in bulk packs for just a couple of dollars. Kids enjoy personalizing each frame with their favorite colors, and no two turn out exactly alike. This craft works well for a wide range of ages, since younger kids can decorate while older kids handle the gluing and assembly steps. Let the frame dry fully, usually about an hour, before handling it again. Store a few finished frames in a drawer for last-minute gift needs throughout the year.
8. Paper Bag Puppets
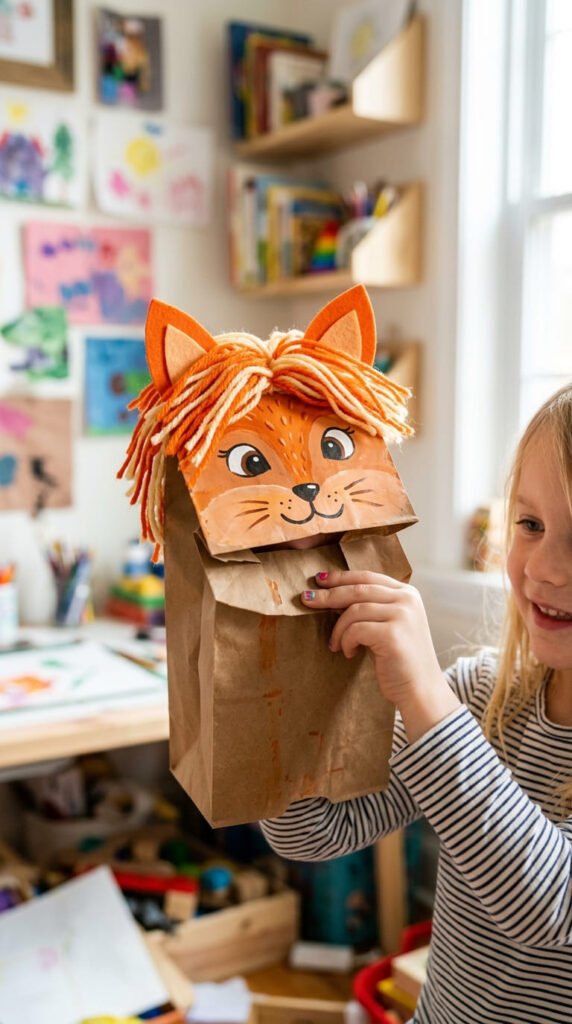
A plain paper lunch bag turns into a puppet with a few cuts and some decoration. The folded bottom flap becomes the puppet’s mouth, so kids draw or glue on eyes, a nose, and teeth right along that fold. Add yarn for hair, construction paper for ears, and buttons for extra detail. This craft costs almost nothing, since paper bags are often free from grocery trips or lunch packing supplies. Kids can act out a short puppet show once a few characters are finished, pairing well with the cardboard puppet stage idea from other craft lists. This project works for a wide age range, since the basic bag shape is easy for younger kids while older kids can add detailed costumes and props. Keep a stash of felt scraps, buttons, and yarn on hand for repeat puppet-making sessions. Let glue dry fully, about 20 minutes, before kids start playing with their new puppet.
9. Yarn-Wrapped Letter Art
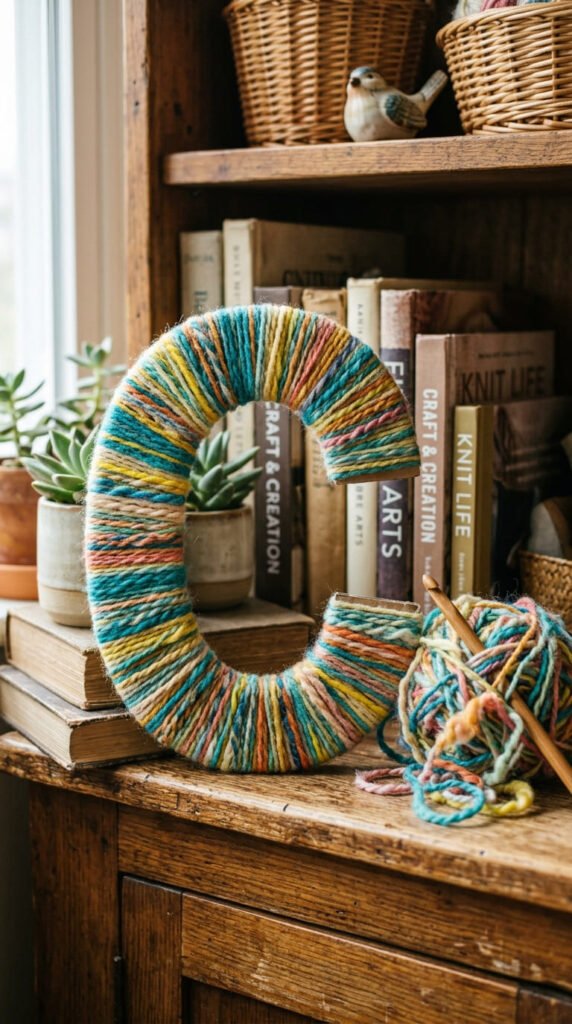
Cut a large letter shape out of cardboard, then wrap yarn around it repeatedly until the cardboard is fully covered. Secure the ends with a dab of glue or tape on the back. Kids can spell out their name, one letter at a time, using a different yarn color for each one. This project makes a personalized wall decoration that costs very little, since cardboard comes from recycling and yarn scraps often sit unused in craft bins. Wrapping takes patience, since it’s a repetitive motion, but most kids find it calming rather than tedious. Try mixing two or three yarn colors on one letter for a striped effect. This craft works well as a bedroom decoration or a nameplate for a door. Let kids choose their own color scheme to match their room or personal taste. Store extra cardboard letters for future projects, since this technique also works for simple shapes like hearts or stars.
10. Balloon Stress Balls
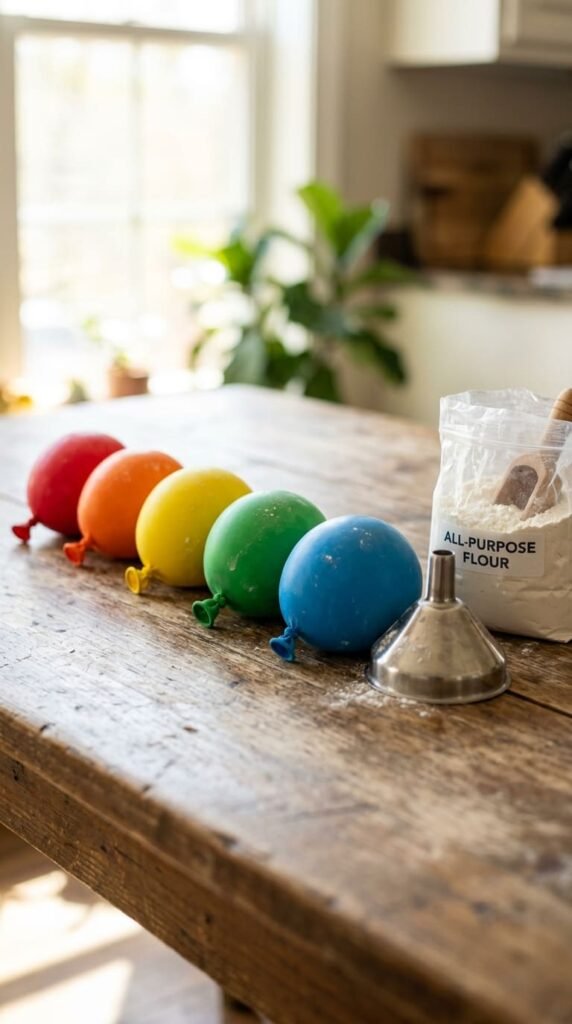
Stretch a balloon over a small funnel and slowly pour in flour until it’s about the size of a golf ball. Tie off the end, then trim the balloon’s neck for a neat finish. Kids can draw a simple face on the outside with permanent marker for a squishy character toy. This project uses cheap pantry and party supplies, since a bag of flour and a pack of balloons both cost just a few dollars. Squeezing the finished ball helps kids release energy or nervous tension, making it a useful tool beyond just a craft project. Double up the balloon layer for extra durability, since a single layer can tear with rough handling. This craft takes about 10 minutes per ball, making it a quick project for a rainy afternoon. Keep a few spare balloons on hand in case one pops during filling. Store finished stress balls in a small basket near a homework desk or reading nook.
11. Nature Stick Collage
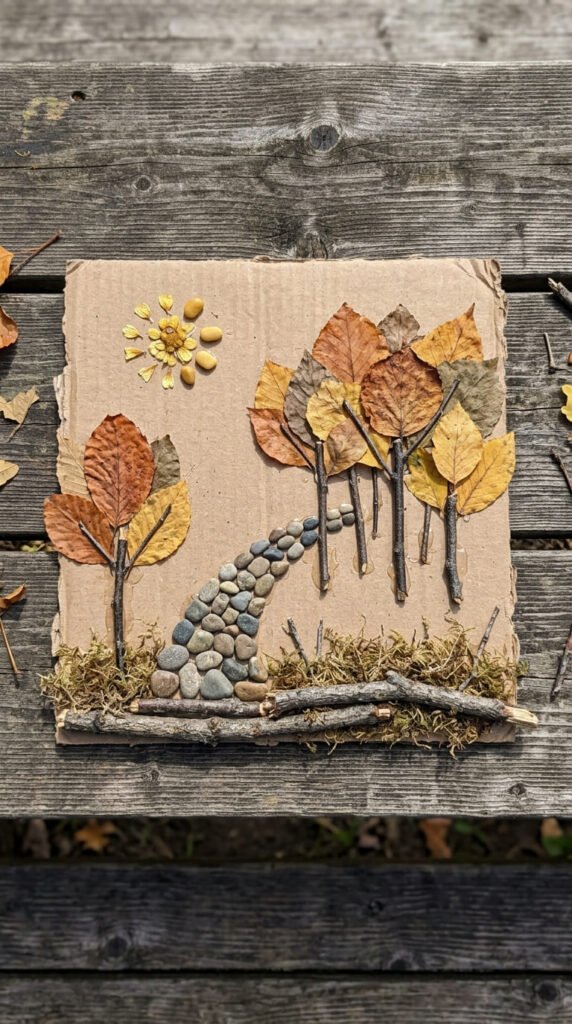
Collect sticks, small stones, and dried leaves during a walk, then glue them onto a flat piece of cardboard to form a picture. Kids might build a simple house, a stick-figure person, or an abstract pattern using only what they found outside. This project costs nothing beyond glue and cardboard, since all the main materials come free from the yard or a nearby park. It works well as a follow-up activity after an outdoor walk, giving kids a way to use what they collected instead of leaving it in a pocket to get forgotten. Sort materials by size or type before starting so kids can plan their design more easily. This craft suits a wide age range, since younger kids can glue freely while older kids plan out a more detailed scene. Let the glue dry fully, usually about an hour, before displaying the finished piece. This project pairs painting and nature into one simple, budget-friendly afternoon.
12. Button Jewelry
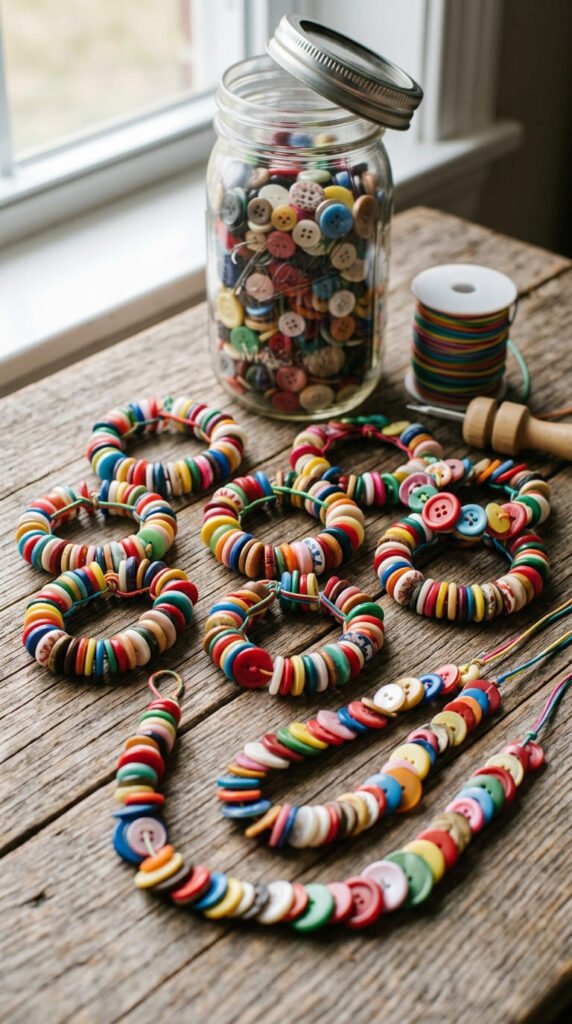
String buttons of different sizes and colors onto a piece of elastic cord, tying off the ends once the bracelet or necklace fits comfortably. Kids sort through a button jar to pick their favorite shapes and colors, which turns the selection process into part of the fun. This craft costs almost nothing if you already have a stash of spare buttons, and secondhand shops often sell button jars cheaply if you need to stock up. Mix large and small buttons for texture, or stick to one color family for a more coordinated look. This project works well for kids who enjoy sorting and patterning, since arranging buttons by size or color adds a light problem-solving element. Keep elastic cord on hand in a few thicknesses, since thinner cord suits smaller buttons while thicker cord holds up better for larger ones. This craft takes about 15 minutes per piece. Store extra buttons in a labeled jar for the next jewelry-making session.
13. DIY Wind Chimes
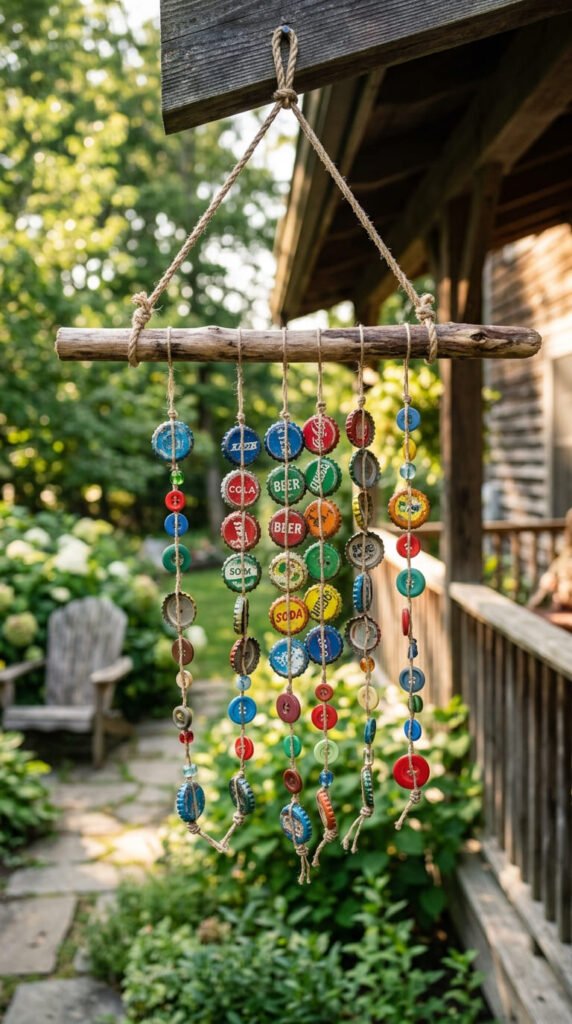
Tie a few pieces of string to a stick or a small embroidery hoop, then attach bottle caps, buttons, or small bells to the bottom of each string. Kids paint the stick and caps beforehand for extra color, letting everything dry before assembly. This project turns bottle caps and scrap string into a functional outdoor decoration that makes a light jingling sound in the breeze. Vary the string lengths so the pieces hang at different heights, which creates a more layered look and sound. This craft works well as a porch or window decoration, and it holds up reasonably well outdoors if the materials are weather-resistant. Kids enjoy testing their finished chime by giving it a gentle shake before hanging it up. This project takes about 30 minutes, plus drying time if paint is involved. Save bottle caps from regular household use throughout the month so there’s always a stash ready for the next wind chime session.
14. Paper Snowflakes
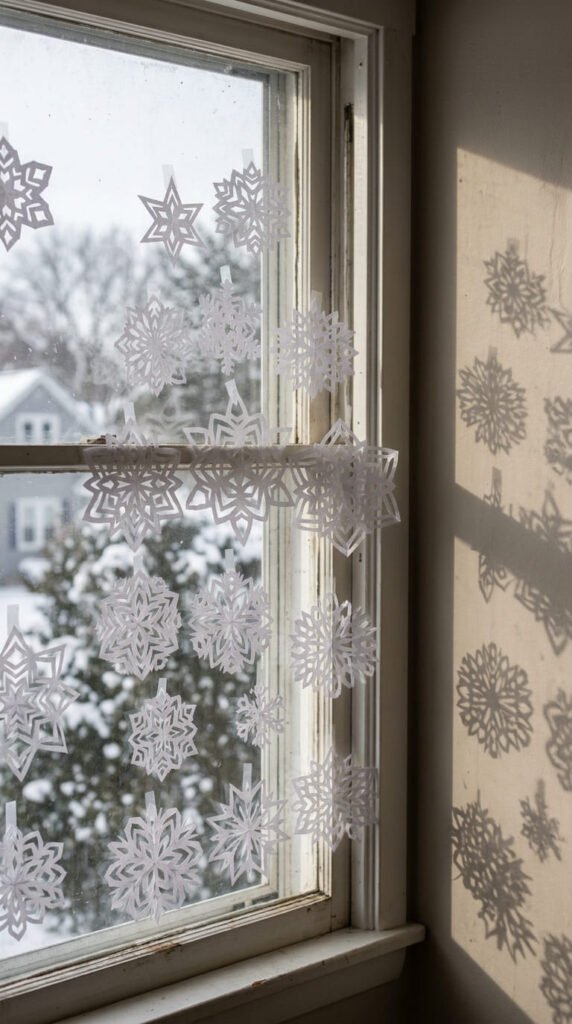
Fold a square piece of paper in half, then in half again, and once more into a triangle. Snip small notches and shapes along the folded edges, then unfold to reveal a symmetrical snowflake pattern. This craft costs nothing beyond paper and scissors, both common household items. Younger kids may need help with the folding steps, but the cutting part is simple enough for most ages to manage independently. Try different fold counts for varied patterns, since a six-fold snowflake looks different from a basic four-fold version. Tape a batch of finished snowflakes to a window for an instant winter scene, no matter the actual weather outside. This project works well as a group activity, since several kids can make snowflakes at once and compare their different patterns. Keep a stack of scrap paper on hand for repeat sessions throughout the colder months. Store extras flat in a folder to avoid crumpling between uses.
15. Egg Carton Caterpillars
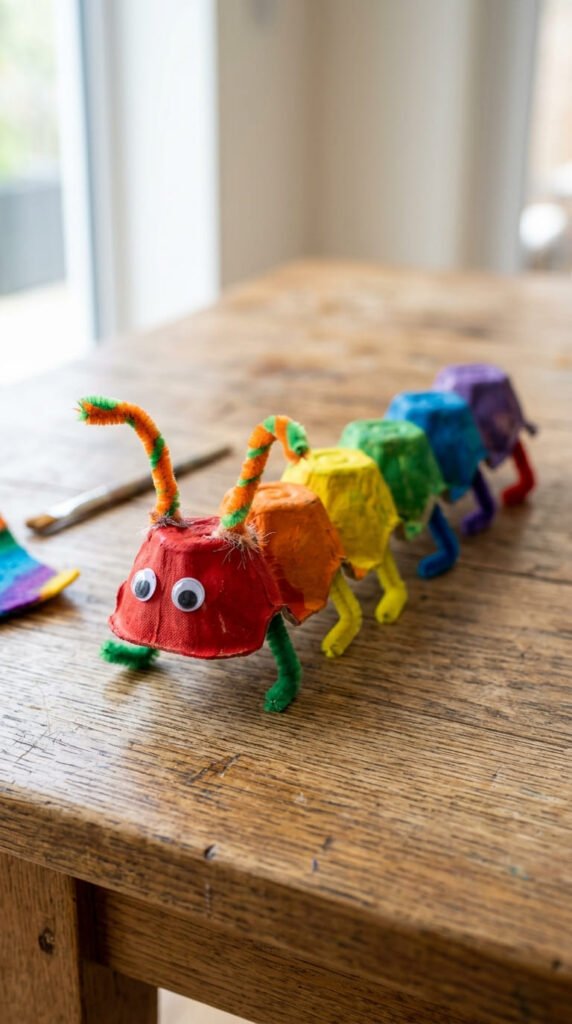
Cut a row of cups from an egg carton, then paint them bright colors to form a caterpillar’s body. Once dry, glue on googly eyes and a pair of pipe cleaner antennae at the front section. This project reuses household packaging that would otherwise head straight to the recycling bin, making it one of the cheapest crafts on this list. Kids can paint each segment a different color for a striped look, or keep it uniform for a simpler design. Bend the pipe cleaner antennae into curls or zigzags for extra personality. This craft works well for younger kids building fine motor skills through painting and gluing, since the shapes are large enough to handle easily. Let the paint dry fully, about an hour, before adding the eyes and antennae so they don’t slide out of place. This project pairs well with a short lesson on caterpillars turning into butterflies, adding a small educational bonus to craft time.
16. Stop-Motion Animation Movie
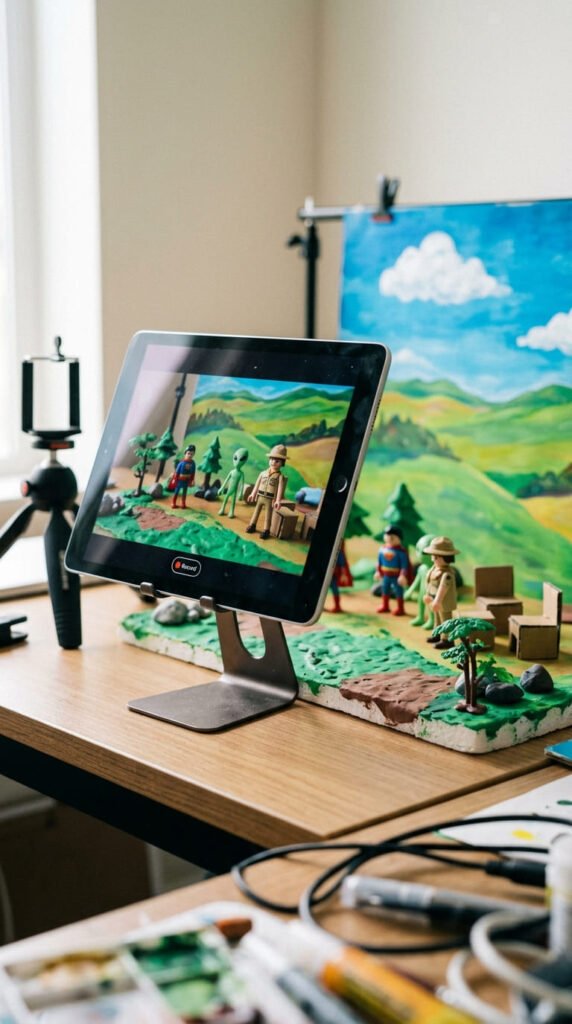
Set up a small scene using toys, clay figures, or paper cutouts, then use a tablet or phone with a free stop-motion app to take a photo. Move the figures slightly, take another photo, and repeat dozens of times until the sequence plays back as a short moving film. This project introduces basic filmmaking concepts without needing expensive equipment, since most families already own a phone or tablet capable of running a free app. Kids enjoy planning out a simple story first, like a toy walking across a table or a clay ball rolling down a ramp. Keep the camera steady using a stack of books or a small stand, since shaky footage disrupts the final animation. This craft takes patience, since a smooth 10-second clip needs dozens of individual photos, but the payoff feels rewarding once the movie plays back. This project works well for older kids who enjoy a longer, more involved creative process. Save finished clips to share with family.
17. LED Light-Up Greeting Cards
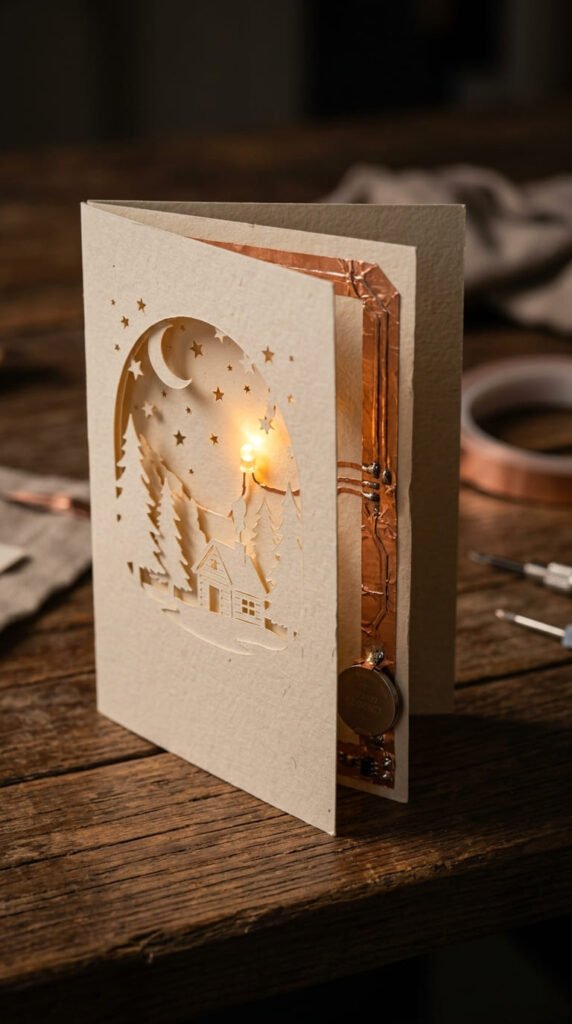
Fold a piece of cardstock in half, then run a strip of copper tape along the inside fold to create a simple circuit. Attach a small coin-cell battery and a flat LED light at the right points along the tape so the light turns on when the card closes. Kids cut a small window in the front design so the light shines through a shape like a star or a heart. This craft introduces basic circuit concepts in a hands-on way, giving kids a small taste of electronics without much risk. Copper tape and LED lights are inexpensive and available in small craft kits, or found individually at hobby stores. This project takes patience to line up the circuit correctly, so expect a few test runs before the light turns on reliably. Older kids tend to enjoy this project the most, since it involves a bit of trial and error. This card makes a fun handmade gift for a birthday or holiday.
18. Personalized Friendship Journals
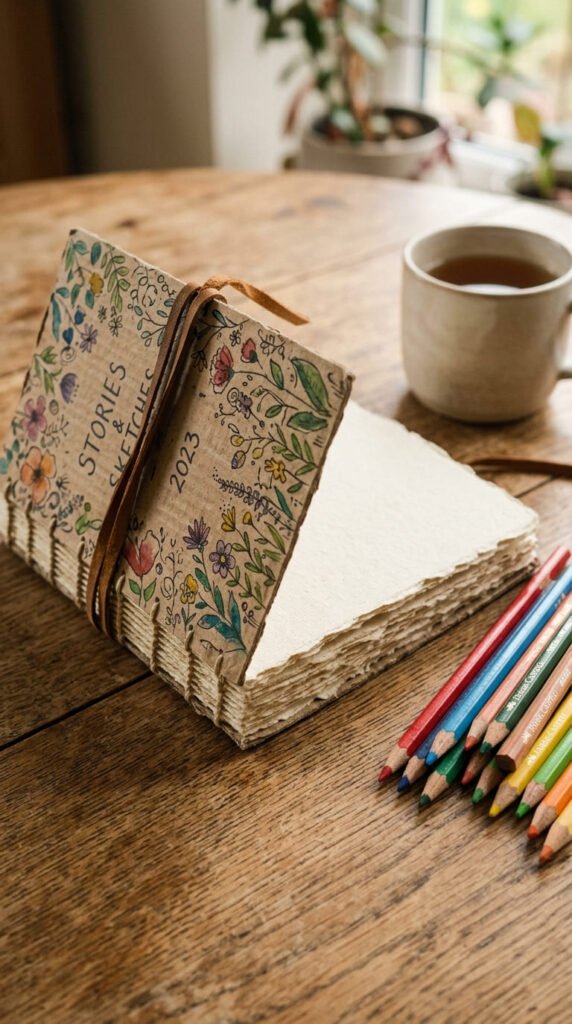
Stack a few sheets of paper together, fold them in half, and stitch or staple along the spine to create a simple booklet. Cut a piece of cardboard slightly larger than the pages for a sturdy cover, then let kids decorate it with markers, stickers, or fabric scraps. This project makes a personalized journal for writing, drawing, or trading with a friend. Kids enjoy filling the pages with questions for a friend to answer, turning the journal into a back-and-forth conversation over time. This craft costs very little, since paper and cardboard are common household items, and any leftover decorating supplies work for the cover design. Younger kids might prefer drawing prompts over writing prompts, so consider mixing both throughout the pages. This project takes about 30 minutes to assemble, plus as much time as kids want to spend decorating. Store a stash of pre-made journals for spontaneous gift-giving, since a handmade journal often means more than a store-bought one.
19. Clothespin Fairy Dolls
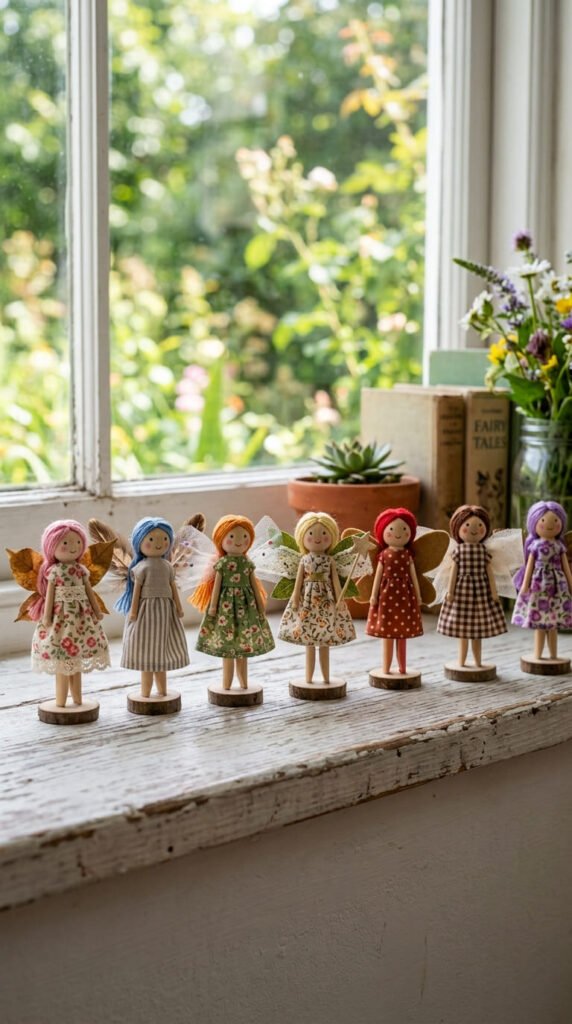
Paint a wooden clothespin’s rounded top to look like a face, then glue on a small triangle of fabric as a dress and a few strands of yarn for hair. Add tiny paper or felt wings on the back for a fairy-style finish. This craft costs very little, since basic wooden clothespins come in packs for just a couple of dollars, and fabric scraps often sit unused in a sewing bin. Kids enjoy giving each doll its own personality through hair color, dress pattern, and wing shape. These dolls work well for small-scale pretend play, standing upright thanks to the clothespin’s clip base. Line up a row of finished fairies on a windowsill or shelf for a colorful display. This project takes about 20 minutes per doll, making it easy to build a small collection over several craft sessions. Store extra clothespins and fabric scraps together in one bin so the next doll-making session is ready to go.
20. Salt Dough Ornaments
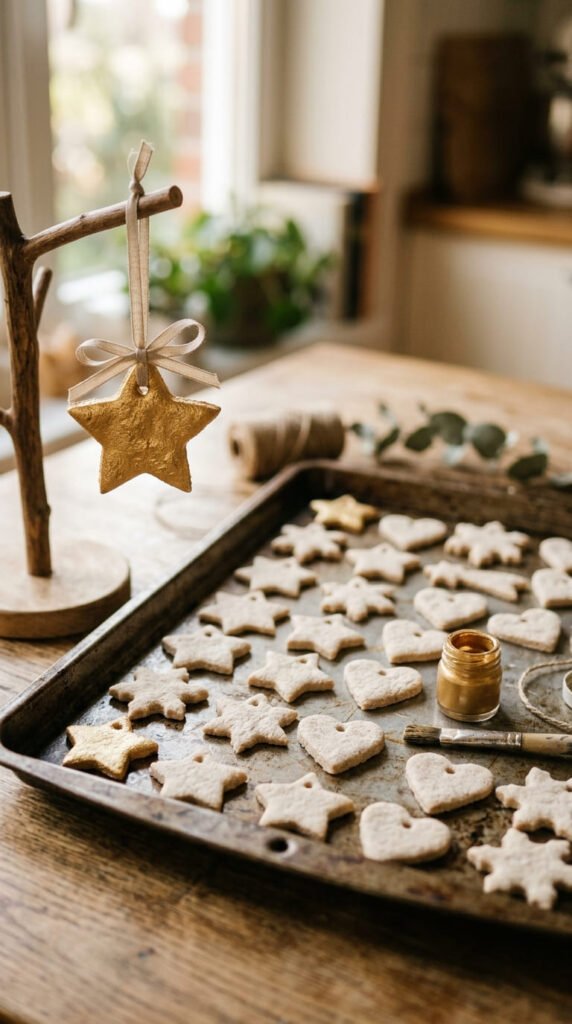
Mix flour, salt, and water into a firm dough, then roll it flat and cut out shapes using cookie cutters. Poke a small hole near the top of each shape with a straw before baking, so a ribbon can thread through once it’s finished. Bake the ornaments at a low oven temperature until hardened, then let kids paint them once fully cool. This project turns pantry basics into keepsake ornaments, costing almost nothing beyond what’s already in the kitchen. Kids enjoy pressing small objects like buttons or shells into the dough before baking for added texture. This craft works well around the holidays, but the shapes and colors can adapt for any season or occasion. Let the painted ornaments dry fully, about an hour, before threading the ribbon through. Store finished ornaments in a padded box between uses, since baked dough can crack if dropped. This project spreads across two sessions, since baking and painting happen on different days.
21. DIY Bird Feeders
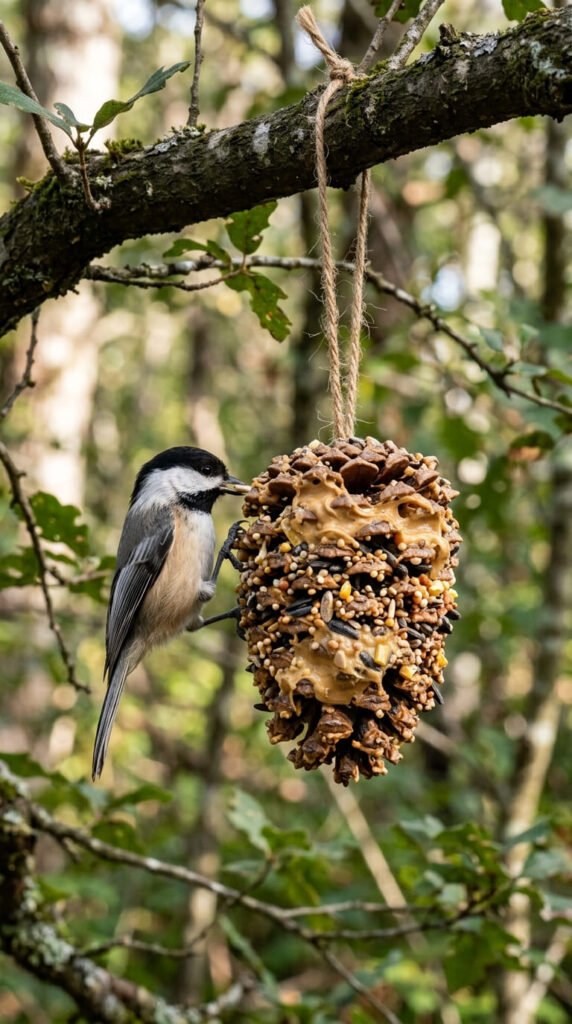
Coat a pinecone in peanut butter, then roll it in birdseed until the surface is fully covered. Tie a string around the top and hang it from a tree branch or porch railing. This project turns a free outdoor find into a functional feeder that brings birds close enough to watch from a window. Kids enjoy checking back over the following days to see which birds visit their feeder, adding a small nature-watching element to the craft. This project costs very little, since peanut butter and birdseed are common pantry and yard-supply items, and pinecones are free outside during fall months. For kids with nut allergies at home, try sunflower butter as a substitute. This craft takes about 15 minutes to assemble, though the peanut butter coating can get a little messy on small hands. Keep a damp cloth nearby for quick cleanup. This project pairs well with a simple bird-watching journal, where kids sketch or write down which species they spot.
Conclusion
DIY crafts give kids a break from screens and a chance to build something with their own two hands, all without draining a family’s budget. From slime and play dough to yarn art and salt dough ornaments, these 21 projects use supplies already sitting in most kitchen drawers, recycling bins, and craft boxes. Pick a project based on the time you have and the mess you’re ready for, whether that’s a quick paper snowflake session or a multi-day stop-motion movie. Keep a small bin stocked with glue, yarn, buttons, and paper so the next boring afternoon already has a plan waiting. Hands-on making builds confidence, keeps kids busy, and turns ordinary household items into something worth showing off.