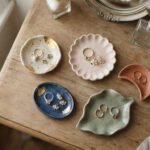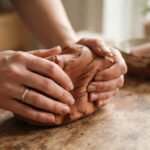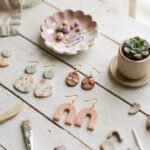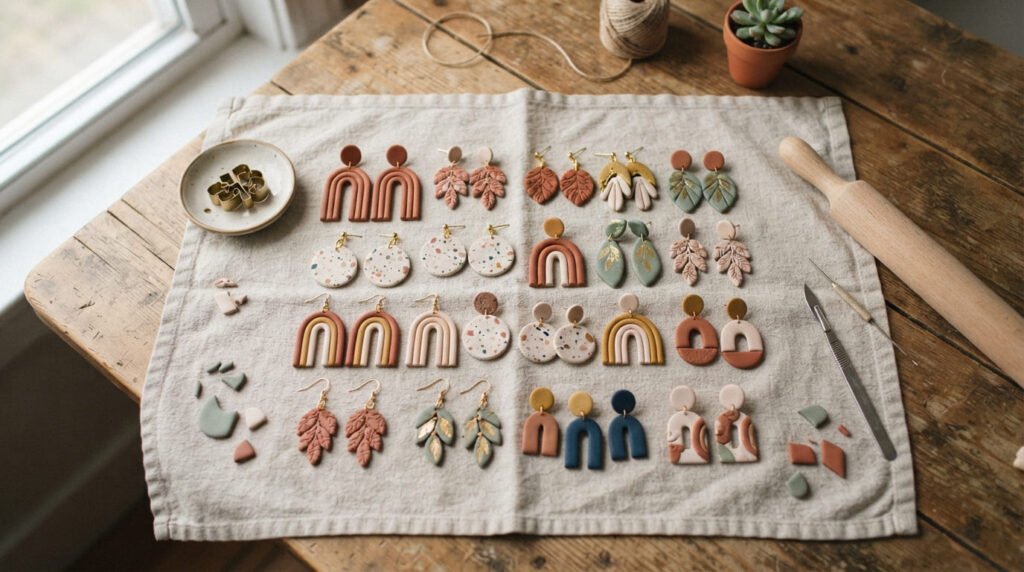
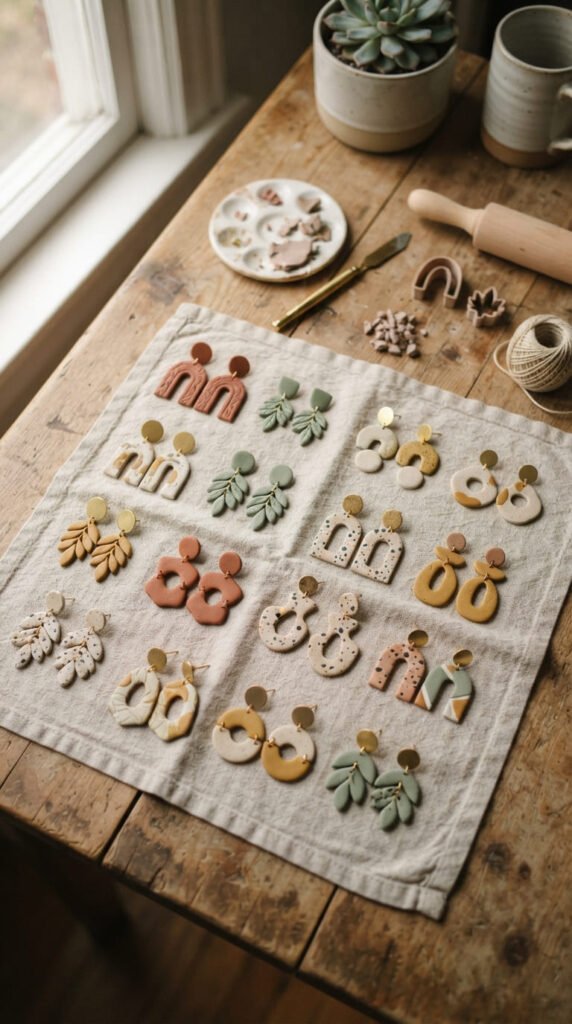
Handmade earrings made from polymer clay have become one of the easiest ways to turn a few hours at your kitchen table into a small business or a stack of gifts your friends will actually want. Whether you’re drawn to funky statement shapes, faux stone textures, or soft cottagecore florals, there’s a style here for every skill level and every budget. This list walks through 22 earring ideas you can make with basic tools, simple clay, and a little patience. Each one comes with practical tips so you can skip the guesswork and get straight to creating pieces worth wearing or selling.
1. Layered Slab Arches
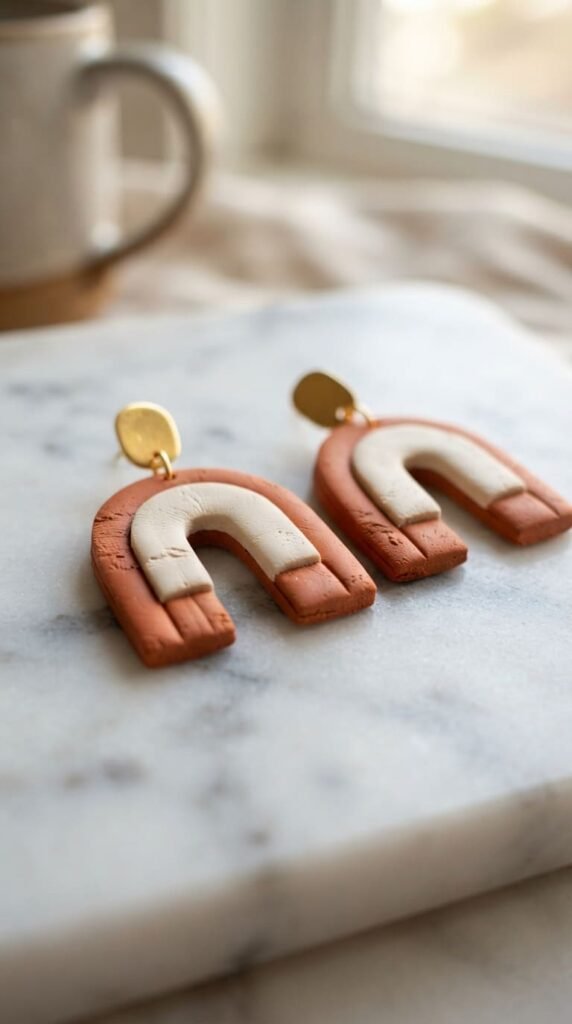
Slab earrings are a great starting point. Roll two thin sheets of clay in different colors using a pasta machine or acrylic roller. Stack them, then cut an arch shape with a clay blade or cutter. The layered edge gives a 3D look without extra work. Try a rust-and-cream combo for a warm, wearable pair. Budget tip: a $15 hand-crank pasta machine works fine for beginners. Bake at the temperature listed on your clay’s package, and always use an oven thermometer to check accuracy. Uneven heat is the top cause of cracked or warped earrings. Once cooled, sand any rough edges gently. Add hypoallergenic ear wires so sensitive-skin friends can wear them too. This style photographs well for Etsy listings because the layers catch the light. Start with a small batch of five pairs to test which color combos your audience likes best before committing to bigger production runs.
2. Blob-Shaped Statement Pairs
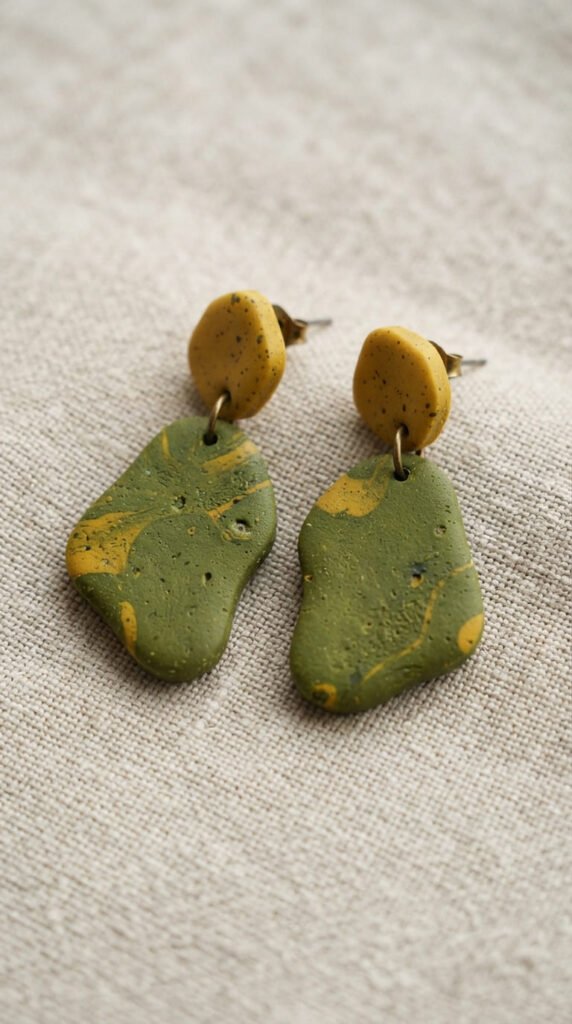
Irregular shapes are having a moment, and blobs are the easiest way to join in. Skip the ruler entirely. Cut freehand curves with a craft knife for an organic, one-of-a-kind look. No two pairs need to match perfectly, which actually makes them feel more handmade. Pick bold single colors like mustard or olive to let the shape do the talking. Budget tip: use scrap clay from other projects to test shapes before committing good clay. Keep thickness even, around 3mm, so they bake without weak spots. A dotting tool can add small texture marks for visual interest. These earrings work well as studs for a lighter, everyday feel or as dangles for more drama. Because the shapes are asymmetrical, you can cut several from one slab with almost no waste. This makes blobs one of the most affordable styles to produce at scale for craft fairs or online shops.
3. Faux Jade Stone Discs
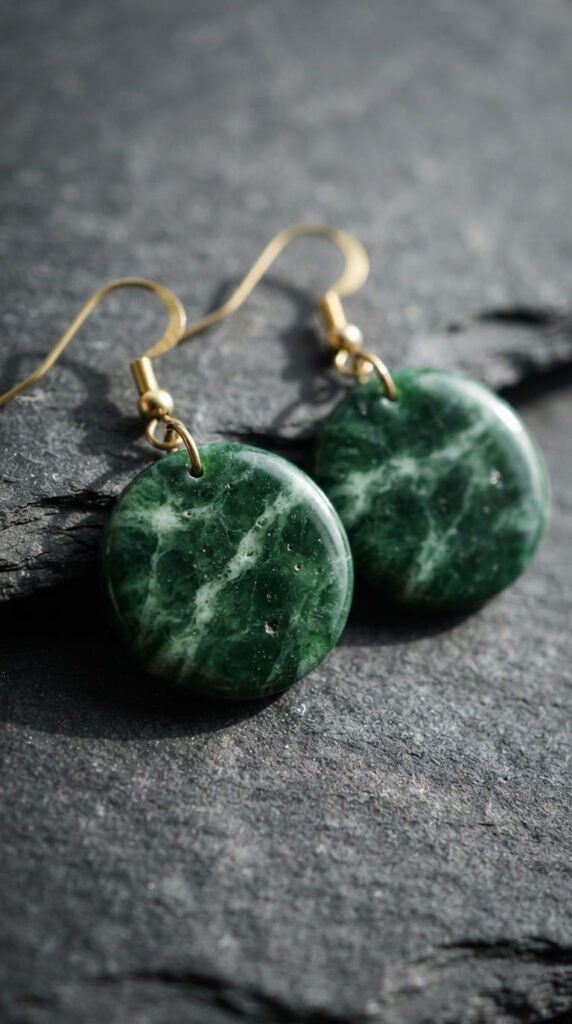
Faux jade earrings have gone viral for good reason. They look expensive but cost pennies to make. Mix translucent clay with small amounts of green and white to create marbled veining. Don’t overmix. Partial blending gives the most realistic stone effect. Roll the mixed clay, cut into discs or teardrops, and bake as usual. Budget tip: translucent clay stretches your color further, so a little goes a long way. Sand and buff after baking for a glossy, polished finish that mimics real stone. A light coat of resin can boost the shine even more if you want that wet-stone look. This style photographs beautifully for social media because the veining catches light differently in every shot. Pair with simple gold-tone findings to keep the focus on the texture. Faux jade works well as both studs and drops, so you can offer two price points from one technique.
4. Botanical Leaf Cutouts
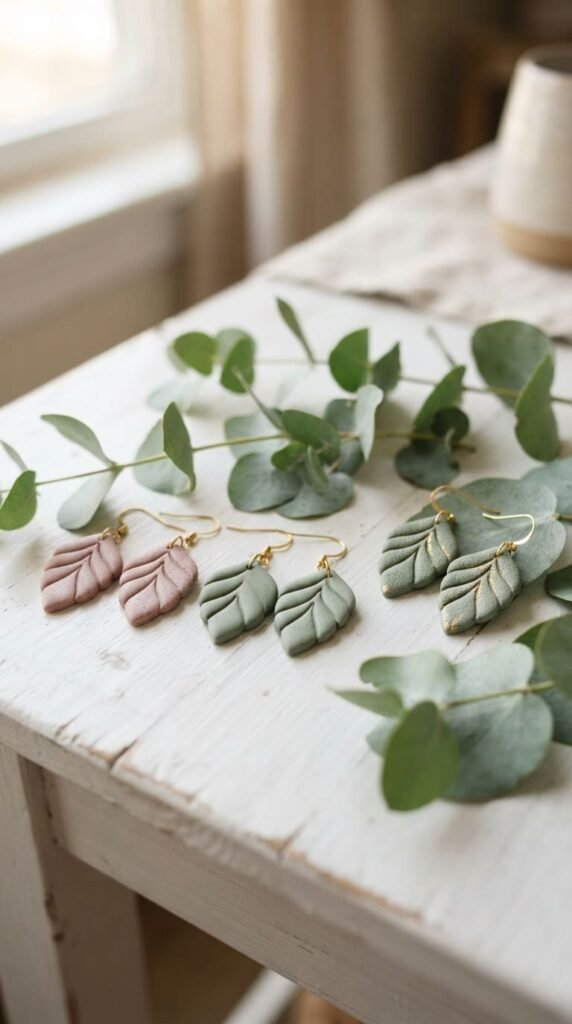
Leaf shapes never really go out of style. They’re simple to cut, easy to personalize, and appeal to a wide audience. Use a leaf-shaped cutter or trace a real leaf onto rolled clay for a more natural silhouette. Add veining with the back of a craft knife before baking. Budget tip: dollar-store cutters work just as well as specialty clay tools. Mix sage, dusty pink, or muted cream for a cottagecore feel that pairs with almost any outfit. Keep the clay thin, around 2 to 3mm, so the earrings stay lightweight and comfortable for all-day wear. This is a good project for beginners because mistakes are easy to hide within the natural, imperfect shape of a leaf. Sell these as a set with matching studs and dangles. Leaf earrings also make simple, affordable gifts since materials cost very little per pair.
5. Mini Mushroom Charms
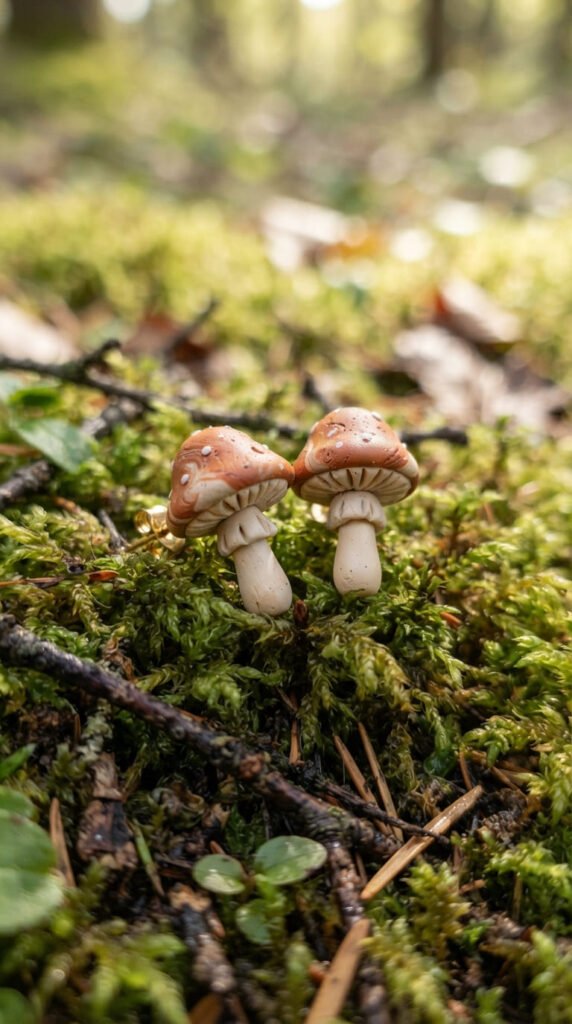
Mushroom earrings hit that whimsical cottagecore note buyers keep searching for. Shape a small dome for the cap and a short cylinder for the stem, then join them with a bit of liquid clay before baking. Add tiny dots with a toothpick for texture. Budget tip: this design uses very little clay, so it’s one of the cheapest items on this list to produce. Stick to earthy tones like cream, rust, and soft brown for a natural look. Keep pieces small and light so they sit comfortably as studs. This shape also works great for kids or teens shopping for playful gifts. Because the design is simple, you can batch-produce a dozen pairs in one sitting. Store finished pieces in labeled bags by color for quick assembly later. Mushroom charms sell well bundled as a “cottage collection” alongside leaf and flower earrings from this list.
6. Terrazzo Confetti Circles
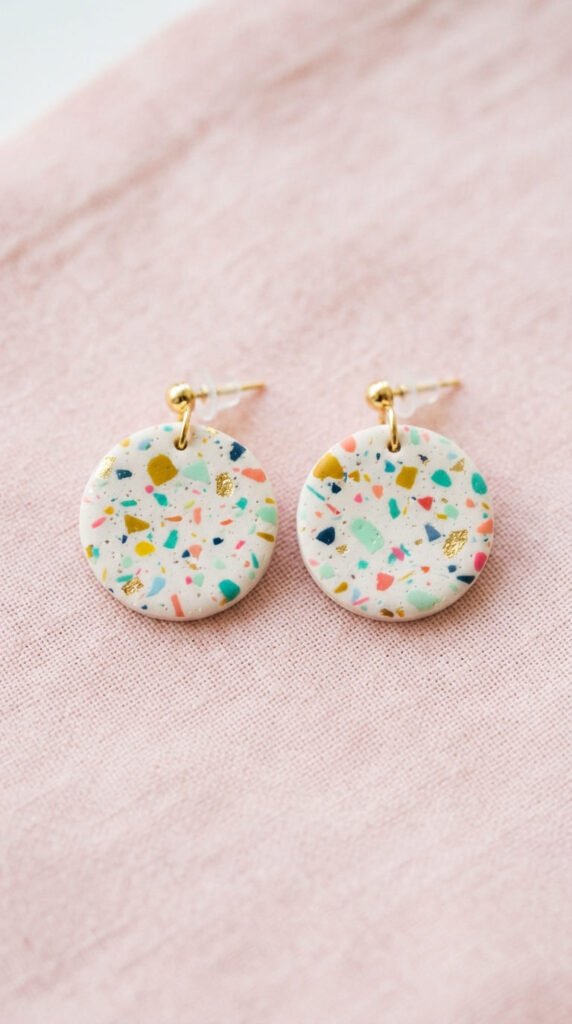
Terrazzo is one of the most forgiving techniques for beginners. Chop small scraps of cured or raw clay into tiny pieces, then press them into a base color like white or gray. Roll flat and cut into simple circles. Budget tip: this is the perfect way to use up leftover clay from other projects, so it costs almost nothing extra. The speckled look hides small imperfections, making it beginner-proof. Mix warm tones like coral and mustard for a retro feel, or stick to black-and-white for something minimal. Bake as usual, then sand the surface smooth to reveal the flecks clearly. A light glaze afterward makes the pattern pop under store or studio lighting. Terrazzo circles are quick to produce in bulk since you only need one base color and scrap pieces. This makes them a solid choice for stocking a shop shelf affordably.
7. Marbled Gemstone Teardrops
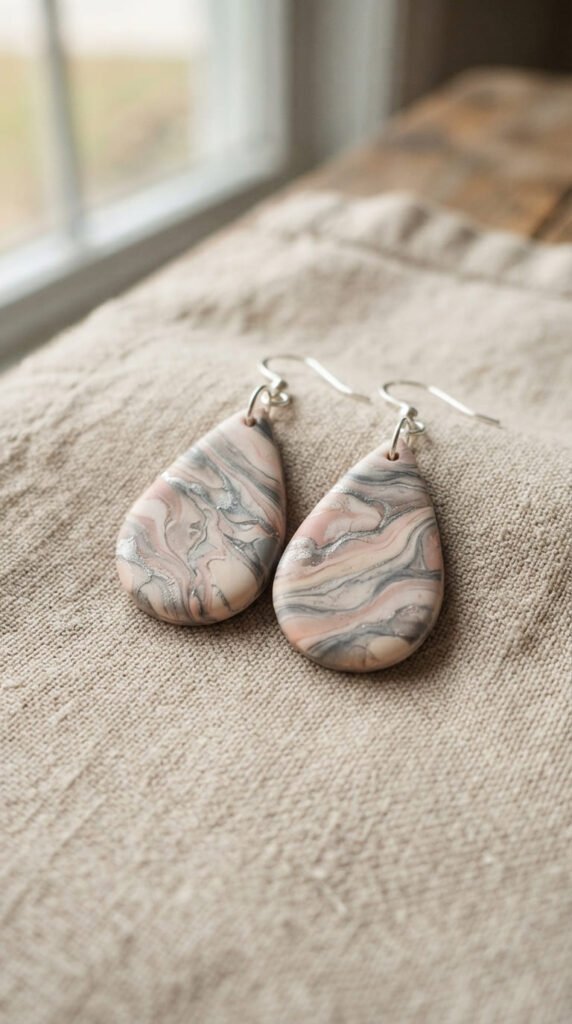
Marbling gives you a luxe, gemstone look without the gemstone price tag. Twist two or three clay colors together loosely, then fold and twist again. Stop before the colors fully blend so you keep visible swirls. Roll flat and cut into teardrop shapes with a cutter or template. Budget tip: two clay blocks can produce a dozen pairs since marbling stretches color across a large slab. Blush and gray make an elegant combo, while deep blue and white feel more dramatic. Bake, sand, and buff for a glassy finish that mimics polished stone. These earrings work well as both studs and longer dangles depending on how you position your cutter on the marbled slab. Because every swirl pattern is unique, buyers often feel like they’re getting a one-of-a-kind piece, which supports a higher price point than plain single-color designs.
8. Everyday Neutral Studs
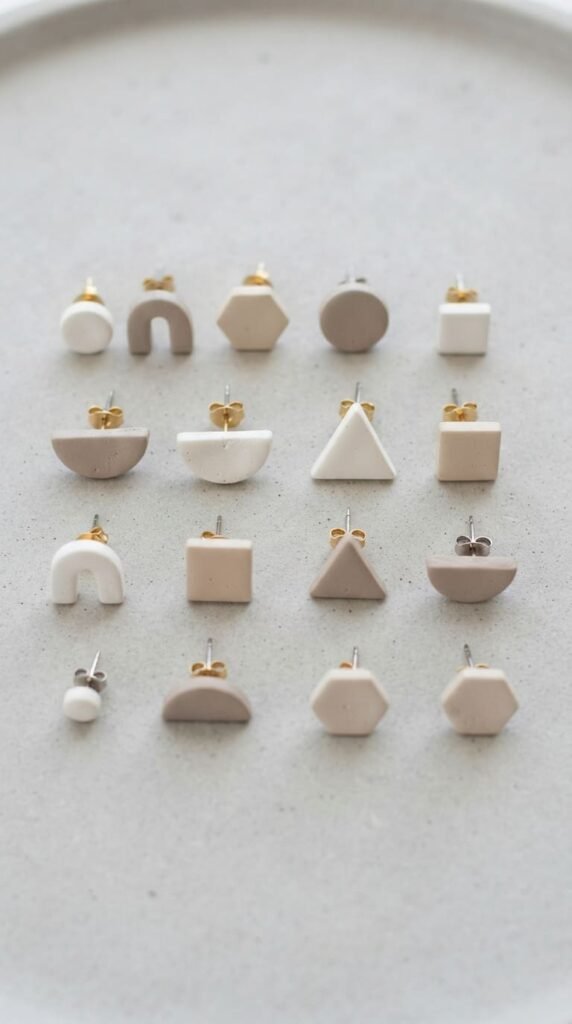
Not every earring needs to be bold. Simple geometric studs in neutral tones are consistently among the best-selling styles because they match everything. Cut small circles, triangles, or half-moons from a single color of clay. Keep each piece under 15mm for comfort. Budget tip: one block of clay in beige or white can produce 15 to 20 pairs since so little material is needed. Attach post findings before baking for a secure hold, or use liquid clay as glue afterward. These studs are a smart choice for beginners still learning to bake without warping since the small size reduces the risk of cracking. Offer them in a set of three neutral shades so buyers can pick their favorite. Neutral studs also make a great “starter item” for a new shop because they’re quick to produce, affordable to price, and appeal to almost any customer.
9. Boho Fringe Danglers
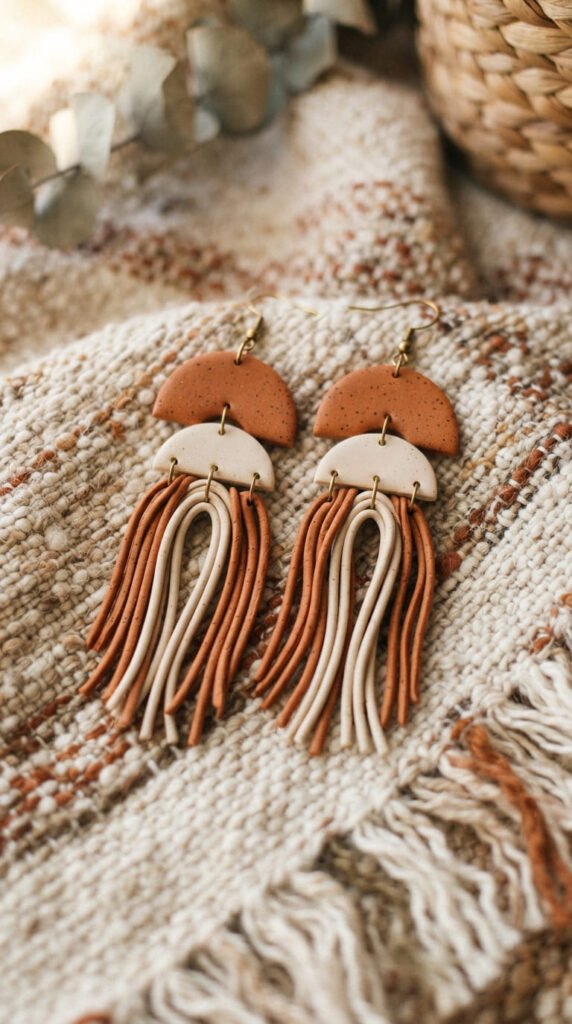
Boho styles remain steady sellers because they pair well with casual, everyday outfits. Roll thin clay strips and cut them into narrow fringe pieces, then attach several to a small clay or metal base. Bake the base and fringe pieces separately for easier handling, then assemble with jump rings. Budget tip: thin strips use minimal clay, so this design stretches your materials further than solid shapes. Rust, cream, and mustard combinations give that classic boho warmth. Keep fringe pieces uniform in length for a polished look, or vary them slightly for a more relaxed, handmade feel. These earrings tend to be lightweight despite their size since much of the design is open space between strands. Boho fringe pairs well with layered necklaces in product photos, so consider styling them together for social media posts to boost visual appeal for shoppers browsing your shop.
10. Charcuterie Board Minis
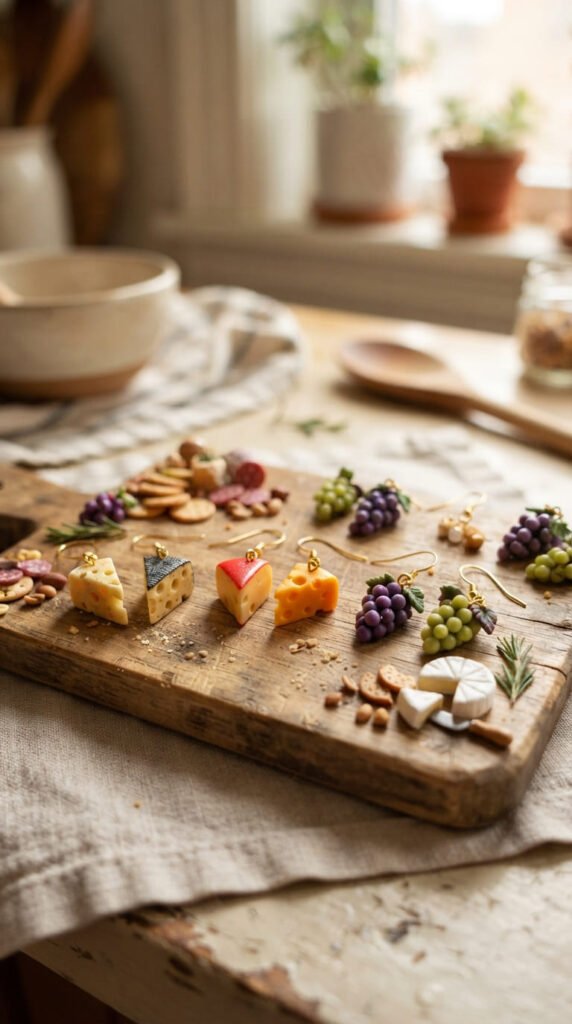
Food-themed earrings consistently perform well because they’re fun conversation starters. A charcuterie set is a great pick since it uses several small clay pieces you can mix and match. Shape mini cheese wedges, grape clusters, and cracker circles, each just a few millimeters wide. Budget tip: this design uses tiny amounts of clay per piece, so one block can make dozens of charms. Paint on small details after baking with acrylic paint and a fine brush for extra realism. Seal with a matte varnish to protect the paint. These earrings appeal to food lovers and make excellent conversation pieces at markets or fairs. Because each earring can feature a different mini food item, no two pairs need to be identical, which adds novelty appeal. Package these with a fun tag describing the “board” for an extra personal touch that helps justify a slightly higher price.
11. Blueberry Pie Slice Charms
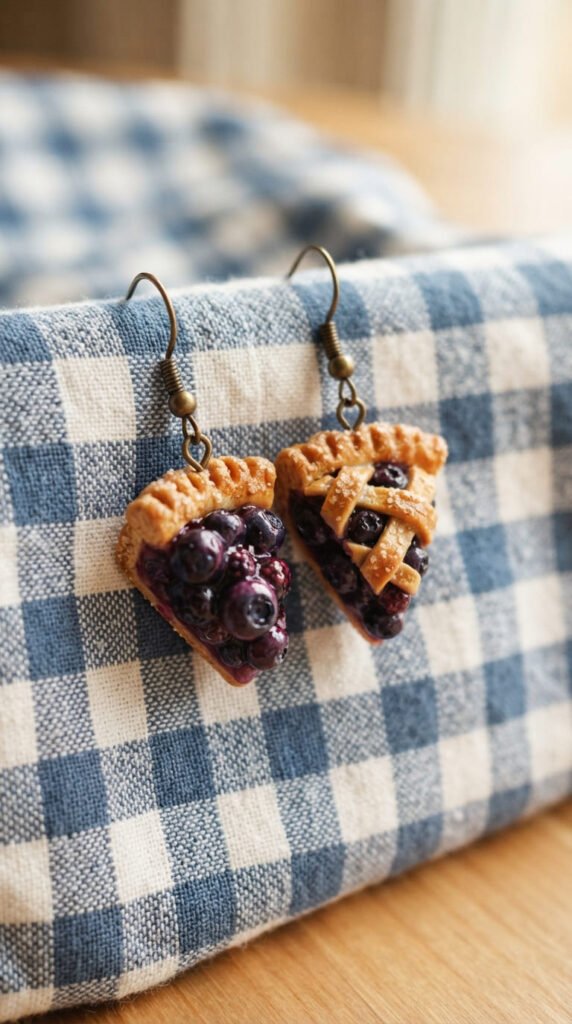
Pie slice earrings are a playful, seasonal-feeling design that works year-round. Shape a triangle for the crust using tan clay, then add a thin layer of purple-blue “filling” clay on top. Use a toothpick to press in small texture marks resembling berries. Budget tip: this project uses small amounts of two or three colors, keeping cost per pair low. A light dusting of white pastel or chalk before baking can mimic a sugared crust top. Bake carefully since thin crust edges can be prone to breaking if too thin. Keep the crust at least 3mm thick for durability. These earrings work great as a limited seasonal release around fall or summer months tied to pie-themed holidays. Because the design is instantly recognizable, it photographs well for quick-scroll social platforms. Bundle with other food-themed pieces from this list for a “kitchen collection” that appeals to a specific buyer niche.
12. Abstract Geometric Cutouts
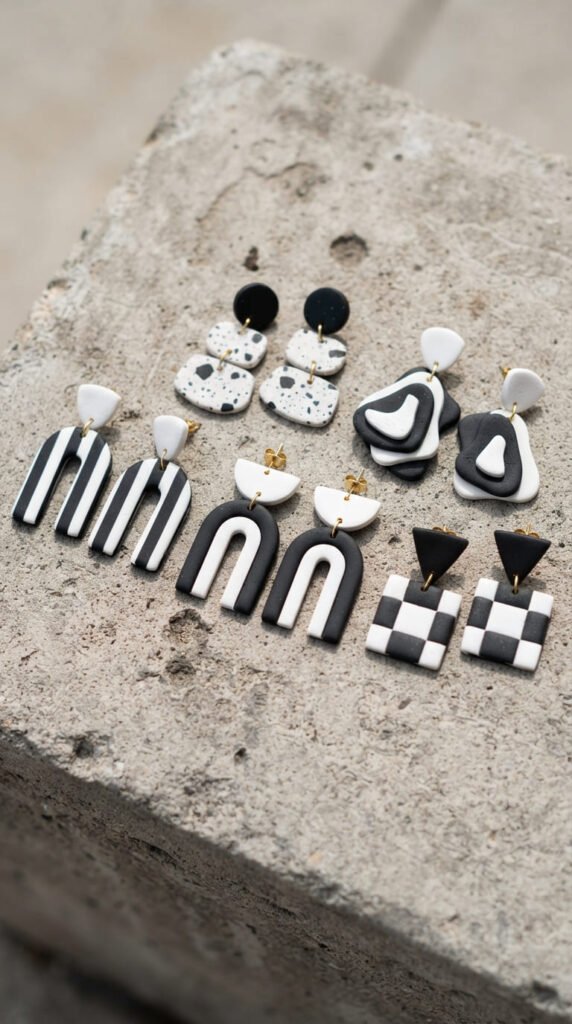
Abstract geometric shapes give you room to experiment without needing precise drawing skills. Cut basic shapes like triangles, half-circles, and rectangles, then combine two or three per earring using jump rings so they move and layer naturally. Budget tip: geometric shapes waste very little clay since they nest together easily on a rolled slab. Stick to a two-color palette like black and white or navy and cream for a clean, modern look. This style suits customers who want something bold but not overly decorative. Keep each individual shape lightweight by rolling clay thin, around 2mm, so the combined earring doesn’t feel heavy on the ear. Mixing matte and glossy finishes on different shapes within the same earring adds visual interest without extra cost. These earrings are quick to produce once you’ve cut a batch of base shapes, since assembly is the only step left before adding findings.
13. Monstera Leaf Statement Pairs
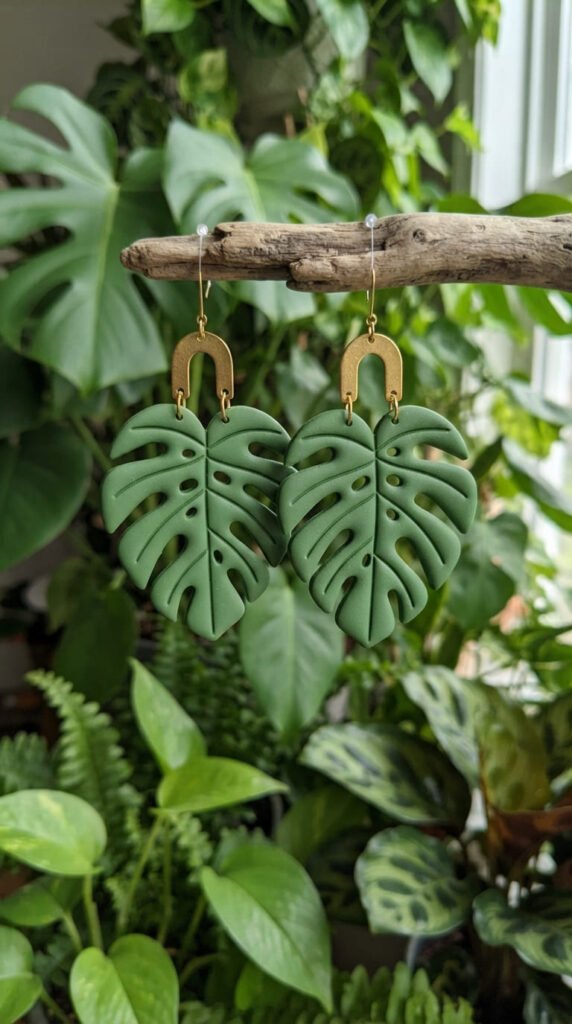
Monstera leaves are a popular houseplant shape that translates beautifully into clay. Cut the classic split-leaf silhouette using a template or freehand knife work, then use a small cutter or knife to carve the signature leaf holes. Budget tip: one leaf shape uses a moderate amount of clay, but the bold size means you can charge more per pair, balancing material cost. Deep green with a slight color variation adds depth and looks more like a real leaf. Keep the earring lightweight by rolling clay thin and choosing simple post or lightweight hook findings. This design works well as a single statement stud on one ear or a matching pair for full impact. Monstera earrings appeal strongly to plant lovers and pair well with neutral, minimalist outfits. Photograph them near real greenery for product listings to strengthen the nature-inspired appeal.
14. Glow-in-the-Dark Novelty Studs
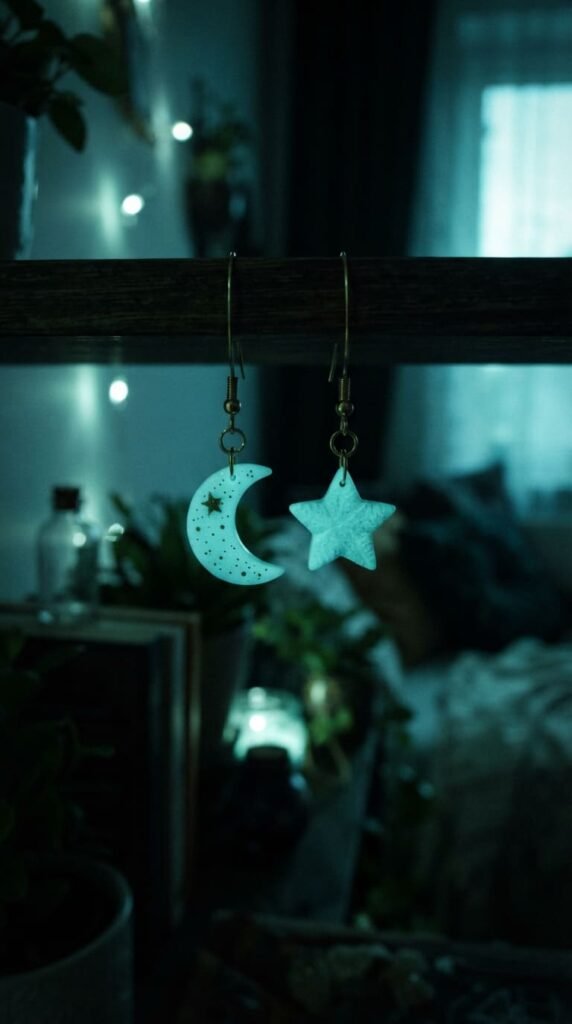
Specialty effect clays are gaining attention, and glow-in-the-dark studs are a fun way to try them. Mix a small amount of glow powder or glow clay into a base color, then shape into stars, moons, or simple dots. Budget tip: a small jar of glow powder goes a long way, so this novelty upgrade costs very little per pair. Charge the earrings under a bright light before wearing them out for the best glow effect. These make excellent gifts for teens or anyone who loves quirky accessories. Keep shapes small and simple since the glow effect is the main attraction, not intricate detail. This is also a fun item to demonstrate on video, since the glow transition makes for engaging content on social platforms. Package with a short note explaining how to “charge” the earrings so buyers know how to get the best effect.
15. Translucent Ombre Drops
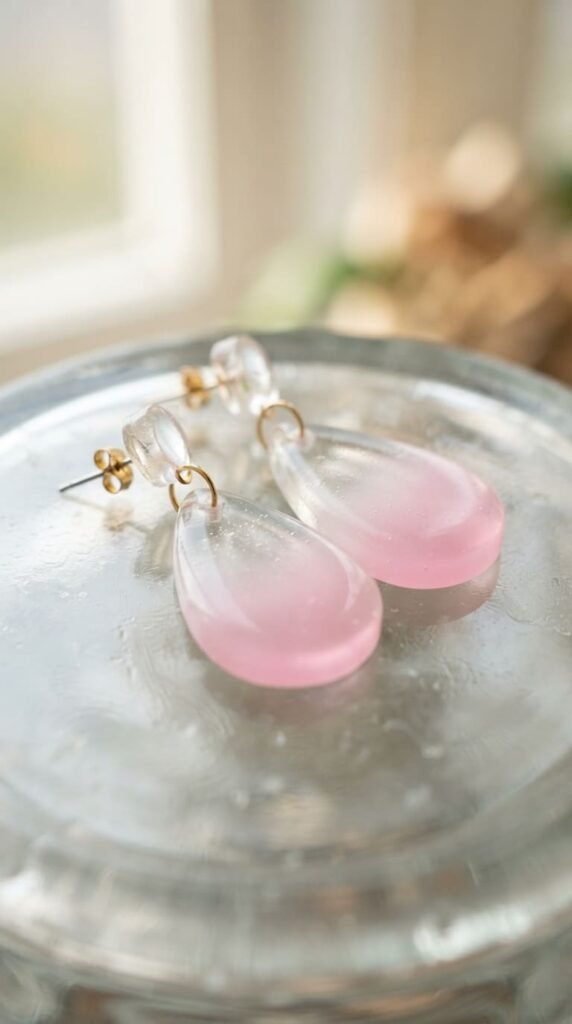
Translucent clay creates a soft, glassy look that stands out from typical opaque designs. Blend translucent clay with small increasing amounts of one color, from clear to full saturation, to create an ombre gradient. Roll each shade into thin sheets and cut matching drop shapes, then layer or stack them. Budget tip: translucent clay is often priced similarly to regular clay, so this technique doesn’t cost more, just requires patience. Bake at a slightly lower temperature if your package suggests it for translucent formulas, since these can scorch more easily. Sand and buff well after baking to enhance the glassy quality. These earrings look striking backlit or under sunlight, so they photograph beautifully outdoors. This design suits customers looking for something more delicate to feel elegant rather than bold statement pieces.
16. Metallic Foil Accent Hoops
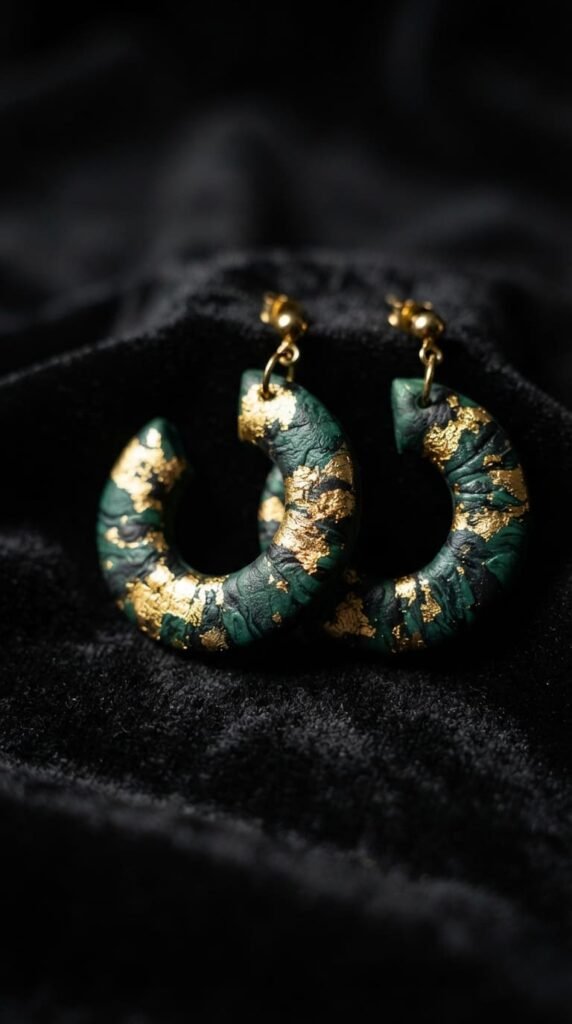
Metallic finishes add a premium feel without much extra effort. Roll a base color of clay, then press metallic foil sheets onto the surface before baking. The foil transfers and creates a shiny, crackled gold or silver pattern. Budget tip: foil sheets are inexpensive and one small pack covers many pairs. Cut into simple hoop or crescent shapes to let the metallic pattern stand out. Bake as normal, since foil holds up well to standard clay temperatures. Buff gently after baking to smooth any rough foil edges. This technique pairs especially well with black or deep jewel-tone clay bases for maximum contrast against the metallic shine. These earrings tend to photograph well under studio lighting because the foil catches reflections nicely. Offer gold and silver versions side by side so shoppers can choose based on their existing jewelry preferences.
17. Tulip Garden Studs
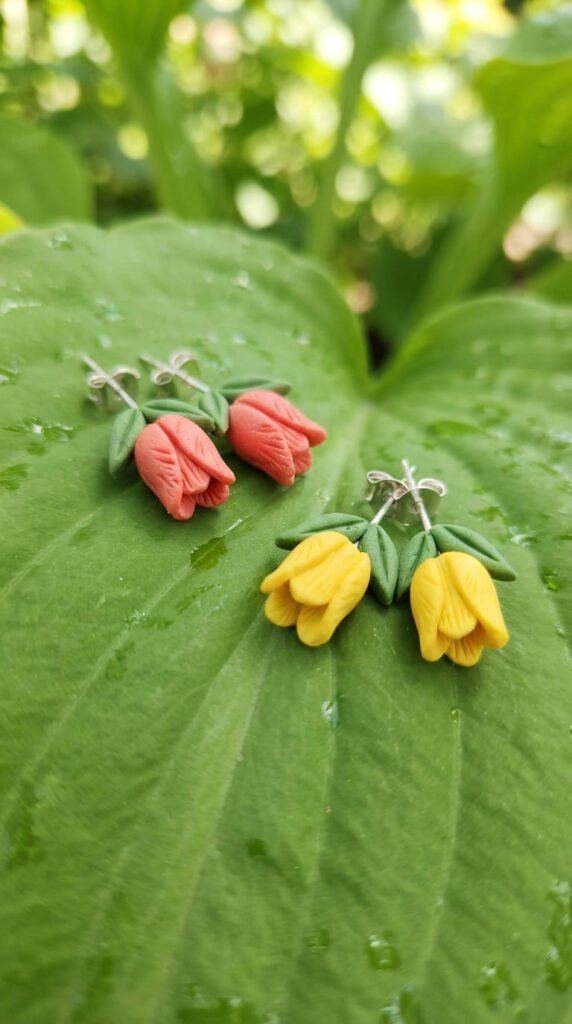
Floral studs remain a steady favorite, and tulips offer a simple shape that’s easy to master. Shape a small cup form for the flower head and a thin stem with a leaf attached. Budget tip: this design uses very little clay per pair, keeping production costs low even at scale. Coral, yellow, and soft pink give a cheerful spring feel, though you can adjust colors seasonally. Keep the flower head slightly domed for a more realistic, three-dimensional look. Attach a post finding to the back before baking for a secure, comfortable stud. These earrings work well as part of a themed spring collection alongside leaf and mushroom charms from earlier in this list. Because tulips are instantly recognizable, they appeal to a wide age range of buyers. Consider offering a mixed pack of three colors so customers can build a small collection at once.
18. Teacup Charm Dangles
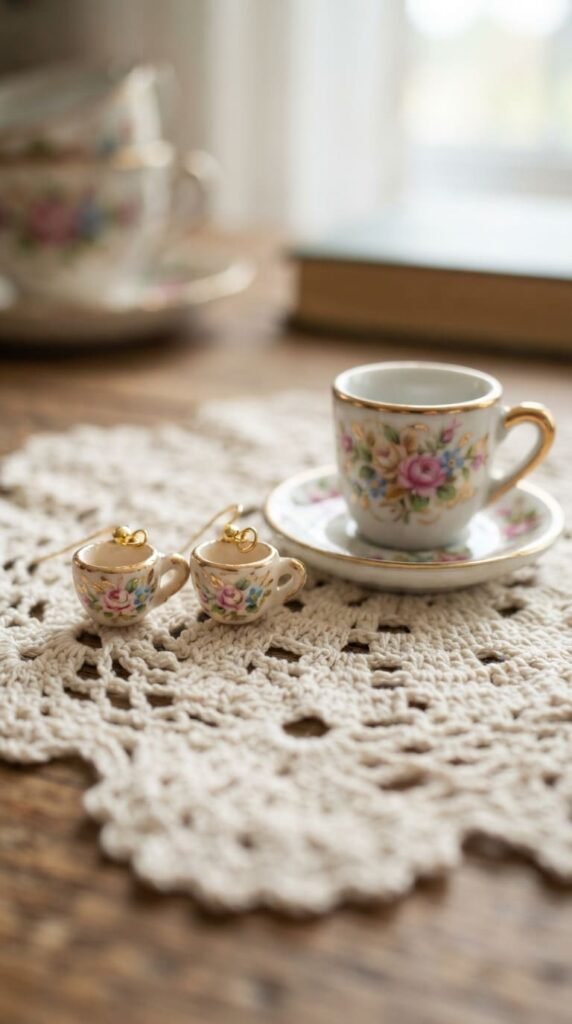
Teacup earrings bring a vintage, whimsical charm that appeals to collectors and gift shoppers alike. Shape a small cup and saucer from clay, keeping proportions simple rather than overly detailed. Budget tip: this design uses a small amount of clay but takes a bit more shaping time, so price accordingly for the extra labor. Paint tiny floral or striped patterns after baking using a fine detail brush and acrylic paint. Seal with a matte varnish to protect the painted design from wear. These earrings work best as dangles, hung from a small jump ring beneath the cup shape for movement. Teacup charms make excellent gifts for tea lovers or as a birthday present alternative. Because the design has nostalgic appeal, it often draws attention at in-person markets where buyers can see the fine detail up close before purchasing.
19. Two-Tone Half-Moon Studs
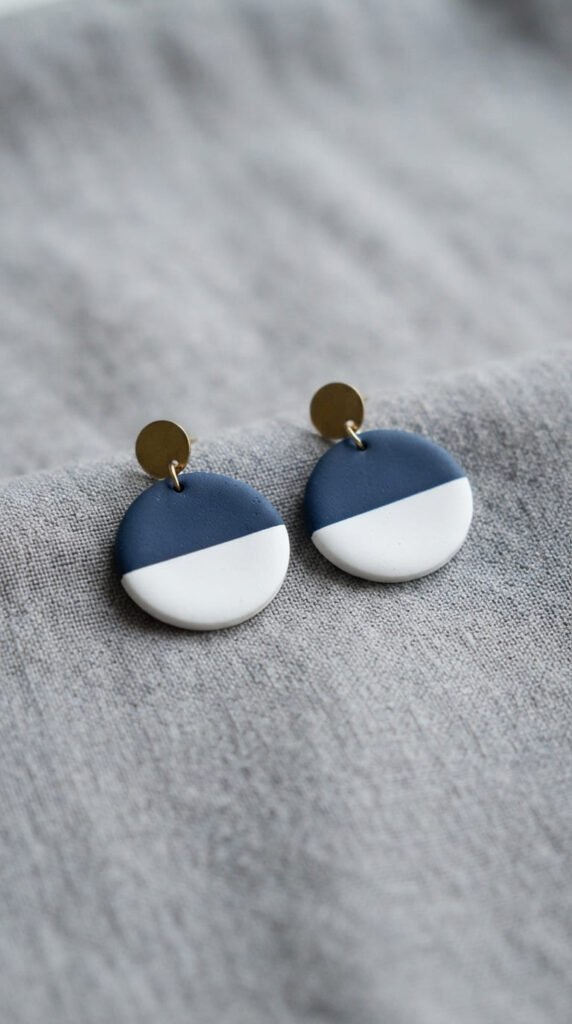
Simple two-tone shapes are an easy way to practice clean color blocking without complicated techniques. Cut a full circle from one color, then trim half away and replace it with a second color, pressing the seam smooth. Budget tip: this uses minimal clay and works well with leftover colors from bigger projects. Navy and white or black and cream give a crisp, modern contrast that suits professional or casual outfits alike. Keep the seam line as smooth as possible before baking to avoid visible cracks later. This is a great project for practicing precision cuts since the straight edge needs to be clean. These studs are lightweight and comfortable for all-day wear, making them a practical everyday accessory rather than a statement piece. Offer a few color combinations side by side so buyers can pick the pairing that matches their personal style most closely.
20. Speckled Egg Spring Studs
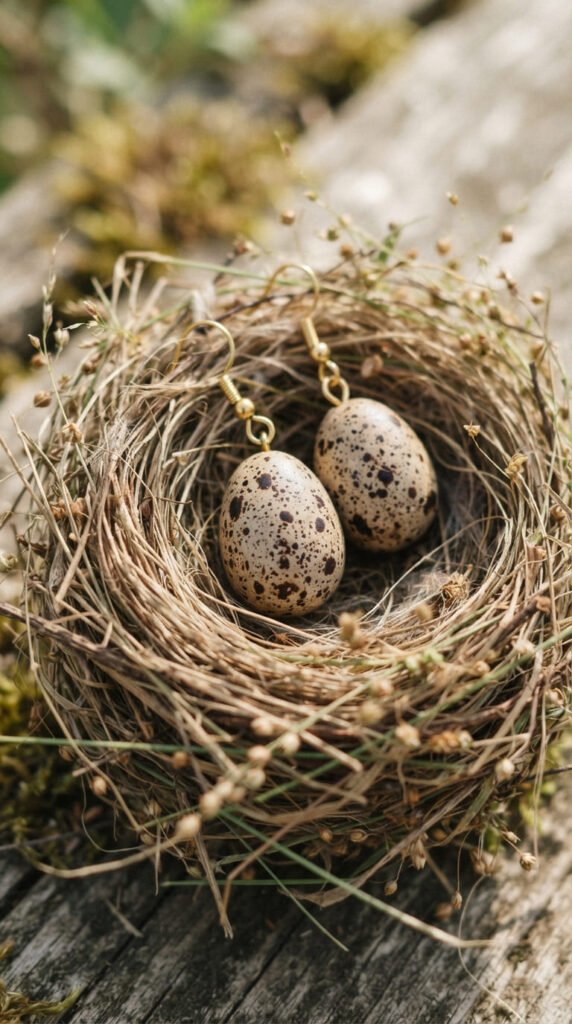
Speckled egg studs are a simple seasonal design that works well around spring holidays or farmhouse-style collections. Shape small ovals from cream or pale blue clay, then dot on tiny brown or rust speckles using a fine tool or toothpick dipped in a slightly darker clay. Budget tip: this design uses only a small amount of two colors, making it one of the more affordable studs to batch-produce. Keep the speckles randomly placed for a natural, realistic look rather than a perfect pattern. Bake as normal, then seal with a light glaze to protect the delicate speckled surface. These earrings pair nicely with a small nest-themed display for in-person markets, which can help draw attention from a distance. Offer them individually or bundled with tulip studs from earlier in this list for a full “spring collection” that appeals to seasonal shoppers looking for a fresh accessory update.
21. Granite Texture Chunky Hoops
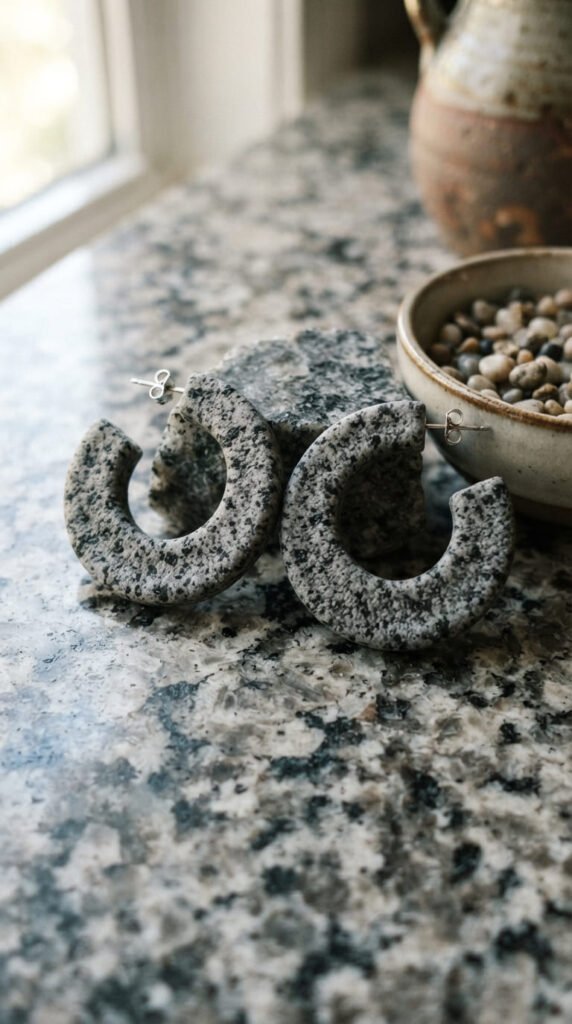
Granite texture gives a heavier, more architectural feel compared to softer marbled styles. Mix black, gray, and white clay in small uneven chunks rather than fully blending, then roll flat to reveal a stone-like speckled surface. Budget tip: like terrazzo, this technique uses scrap clay well, so it’s a low-cost way to make a bold-looking piece. Cut into chunky hoop or rectangle shapes for a modern, structural look. Bake as usual, then sand thoroughly to bring out the granite pattern clearly under light. A glossy sealant afterward gives it a polished, countertop-like shine that photographs well. These earrings suit customers looking for something with more visual weight than delicate florals or minimalist studs. Because the pattern hides small texture imperfections naturally, this is a forgiving technique for beginners still building confidence with mixed-color clay work.
22. Custom Palette Signature Set
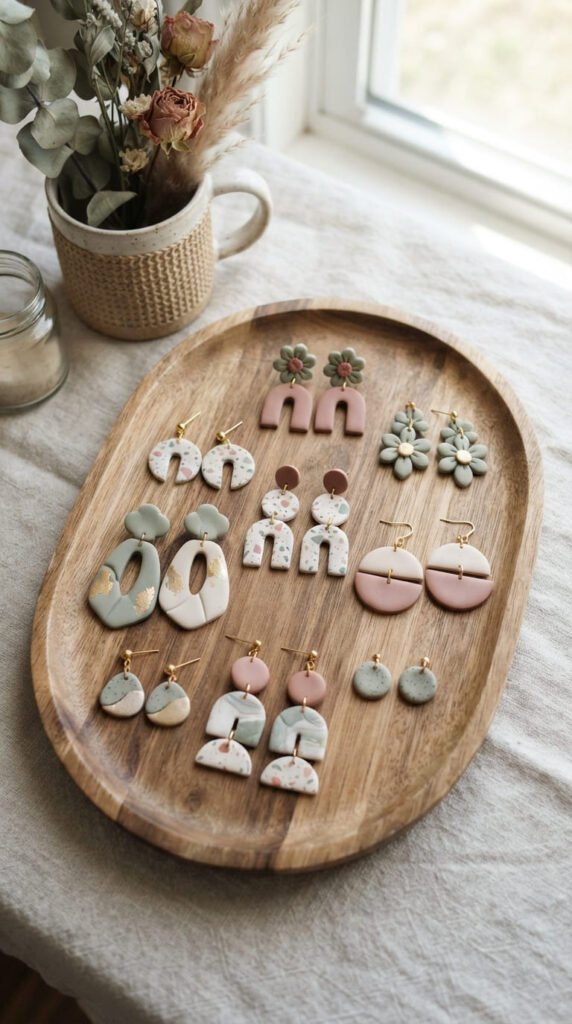
Once you’ve tried several techniques from this list, put together a signature set using one custom color palette across three or four shapes. Pick two to three colors that work well together, like dusty rose, sage, and cream, then repeat them across studs, hoops, and drops. Budget tip: buying clay in a coordinated palette upfront, rather than one-off colors, keeps costs predictable and reduces waste from unused shades. This approach helps build a recognizable style for your shop, making your pieces easier to spot in a crowded market. Photograph the full set together for listings, since buyers often purchase multiple pairs when they see a cohesive collection. Keep a small swatch card of your signature colors so you can mix consistent batches later without guessing proportions. A signature palette also makes it simple to introduce new shapes each season while keeping your overall brand feel steady and familiar to returning customers.
Conclusion
Polymer clay earrings give you a low-cost way to build a creative habit or a small shop from your kitchen table. Start with a few basic tools, pick two or three techniques from this list, and give yourself room to practice before baking a full batch. Pay attention to oven accuracy, keep your clay thickness even, and choose findings that feel comfortable for sensitive ears. Small, steady batches will teach you more than trying to perfect everything at once. Pick your favorite idea from this list, gather a little clay, and make your first pair this week.