If your finished clay pieces keep cracking or breaking, the problem probably started before you ever shaped anything. It started with skipping conditioning. This one step is the difference between a piece that snaps in half and one that lasts for years. It sounds boring, but it’s the most important habit you can build as a clay beginner. Here’s exactly how to do it right, no matter which brand of clay you’re using.
What Conditioning Actually Does
Polymer clay is packed with plasticizers that keep it soft. Straight out of the package, those plasticizers aren’t evenly spread through the block.
Conditioning mixes everything together so the clay:
- Bends without cracking
- Holds fine detail
- Cures stronger in the oven
- Feels smooth instead of crumbly
Even clay that feels soft out of the pack still needs this step. Skipping it is the number one reason beginner pieces break after baking.
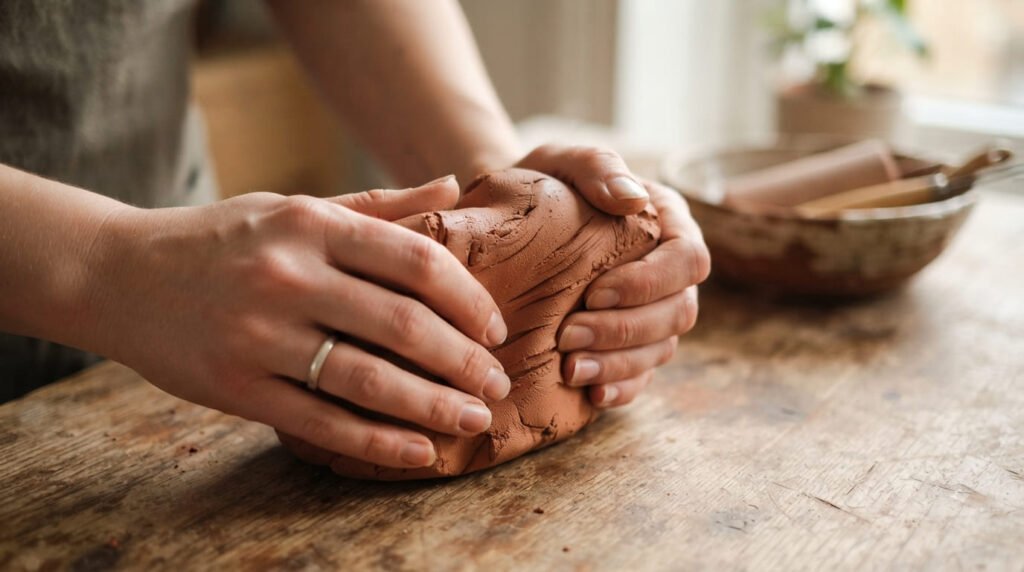
Method 1: Condition by Hand
This is the simplest way to start, and it needs zero tools.
- Break off a piece no bigger than 2 ounces
- Warm it in your palms for a minute
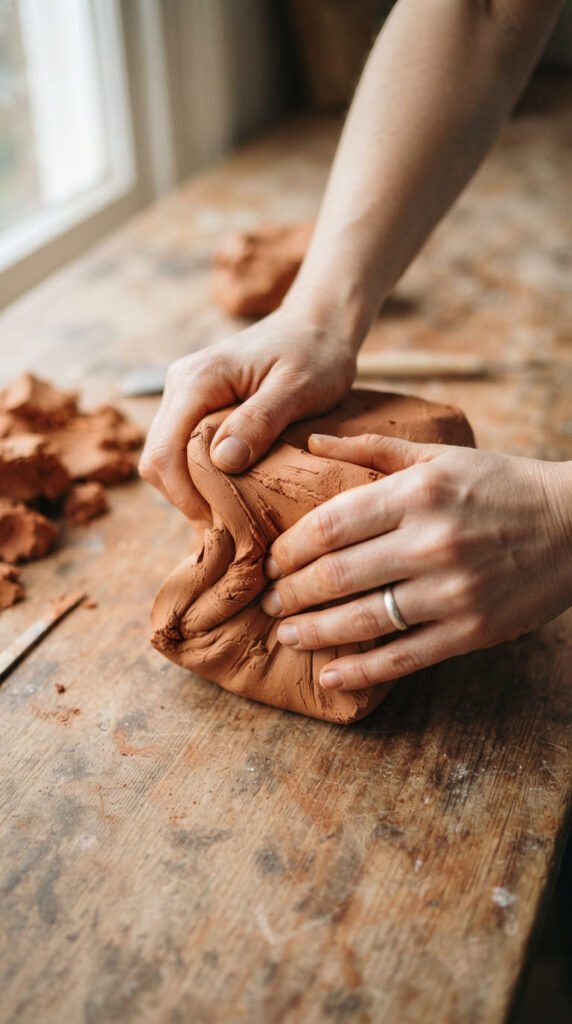
- Knead using the heel of your hand, not just your fingers
- Fold, press, and roll it into a ball, then flatten and repeat
Keep going until the clay feels soft and bends without cracking at the edges. A good rule of thumb: condition for as long as it would take to fully blend two different colors together, usually 3 to 10 minutes.
Budget tip: this method costs nothing but a little arm strength. If your wrists get tired, take breaks and use your palm instead of pinching with your fingertips.

Method 2: Use a Pasta Machine
A pasta machine is the tool most experienced crafters swear by, and it’s worth the investment if you plan to make clay projects often.
- Flatten your clay into a rough sheet
- Run it through the machine on a medium thickness setting
- Fold it in half, then feed the folded edge in first to avoid trapping air
- Repeat about 15 times
That fold-first trick matters. Feeding the open edge in first is the main cause of air bubbles, which show up as weak spots or bumps after baking.
Budget tip: a basic hand-crank pasta machine costs about the same as a nice dinner out, and it’ll condition clay in a fraction of the time hand-kneading takes.
Method 3: Rescue Old, Stiff Clay
Some clay brands are naturally firmer, and older packs can turn crumbly over time. If yours won’t soften no matter how long you knead it, try this:
- Add a few drops of clay softener or liquid clay
- Work it in gradually, a little at a time
- Avoid adding too much at once, since over-softened clay can turn mushy
Mixing a stiff block with a softer one from another pack also works well. This blends the properties of both without needing any extra product.
Budget tip: a small bottle of clay softener lasts a long time since you only need a few drops per batch.
Method 4: Fix Clay That’s Too Soft or Sticky
Sometimes the opposite problem shows up. Clay that’s too soft holds fingerprints and feels sticky to work with.
- Roll it out flat
- Sandwich it between two sheets of plain paper
- Let it sit for about 30 minutes
This pulls out some of the excess plasticizer and firms the clay back up. Don’t leave it too long, though. Over-leaching can make the clay brittle once it’s cured.
A quick trip to the freezer for 10 to 15 minutes can also firm up clay that’s gotten too warm and soft from handling.
How to Tell When It’s Ready
Not sure if you’ve conditioned enough? Try this simple check:
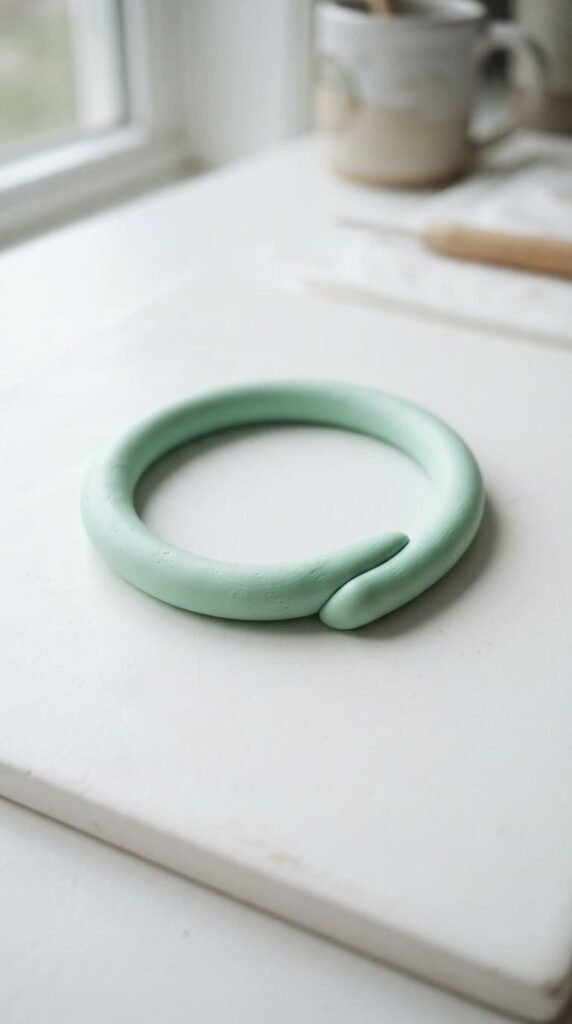
- Roll the clay into a small snake shape
- Bend it into a loop
- If it bends smoothly with no cracks, it’s ready
- If the edges crack or crumble, keep conditioning
It’s better to over-condition than under-condition. There’s no real downside to working the clay a little longer, but skipping this step leads to weak, breakable pieces every time.
A Few More Tips to Remember
- Warm your clay in your pocket or a warm room before starting to make conditioning easier
- Clean your work surface first, since lint and dust stick to fresh clay
- Work with small amounts at a time rather than one giant block
- Stiffer brands like Kato usually need more time than softer ones like Sculpey Premo
Ready to Get Started?
Conditioning isn’t the most exciting part of working with polymer clay, but it’s the step that makes every project after it actually work. Once you’ve got the hang of it, it becomes second nature, just a few minutes of kneading or a quick pass through the pasta machine before you dive into the fun part. Save this guide for your next clay session, and you’ll never have to guess why your pieces keep cracking again.