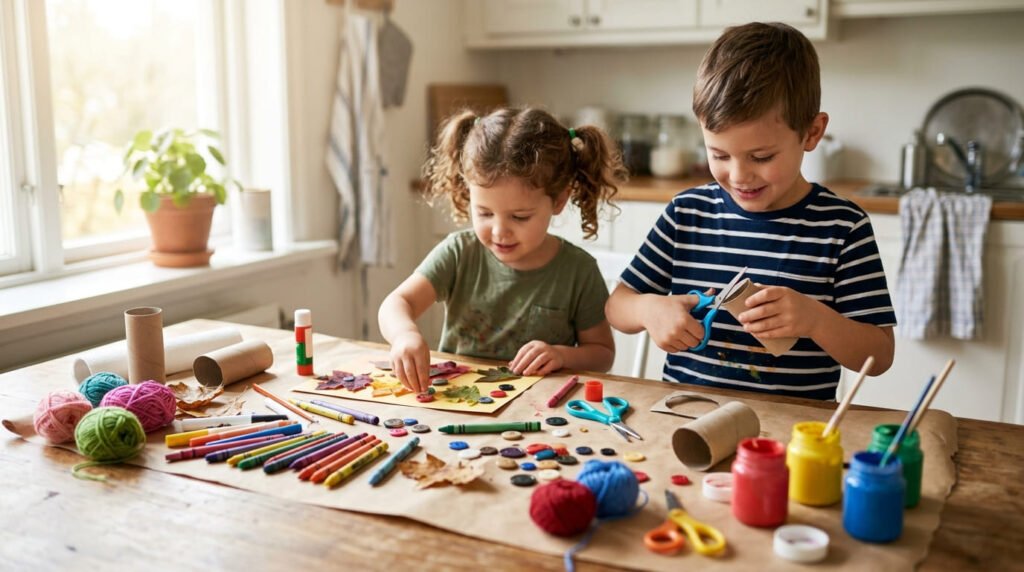
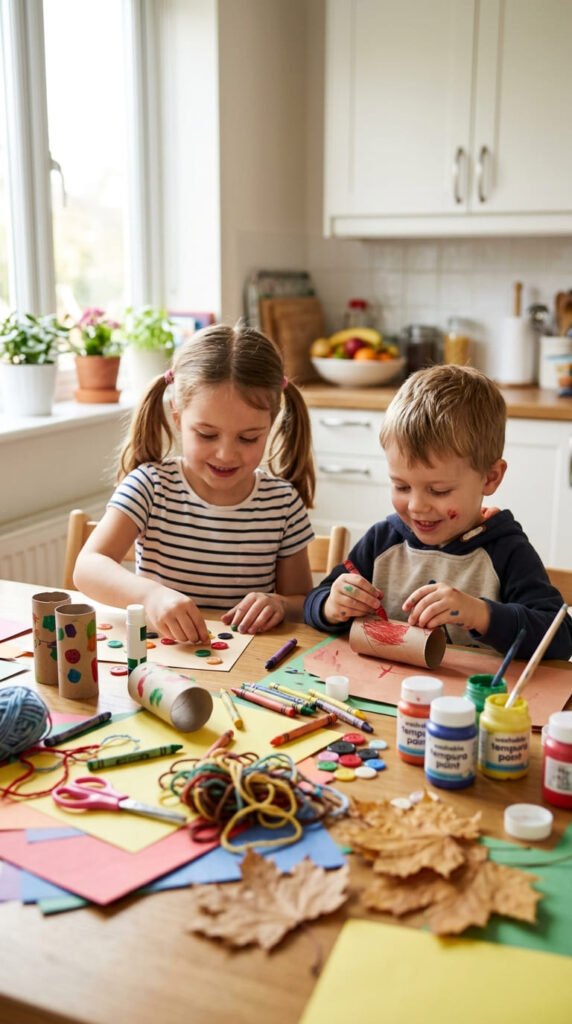
Screen-free afternoons can feel much easier when kids have a pile of paper, glue, crayons, and a few household items ready to turn into something fun. These creative craft ideas for kids use low-cost supplies, recycled materials, and simple steps that work well for rainy days, weekends, school breaks, playdates, and quiet after-school time. Each idea gives children a chance to cut, color, fold, stick, build, and imagine without sitting in front of a screen.
1. Paper Plate Animal Masks
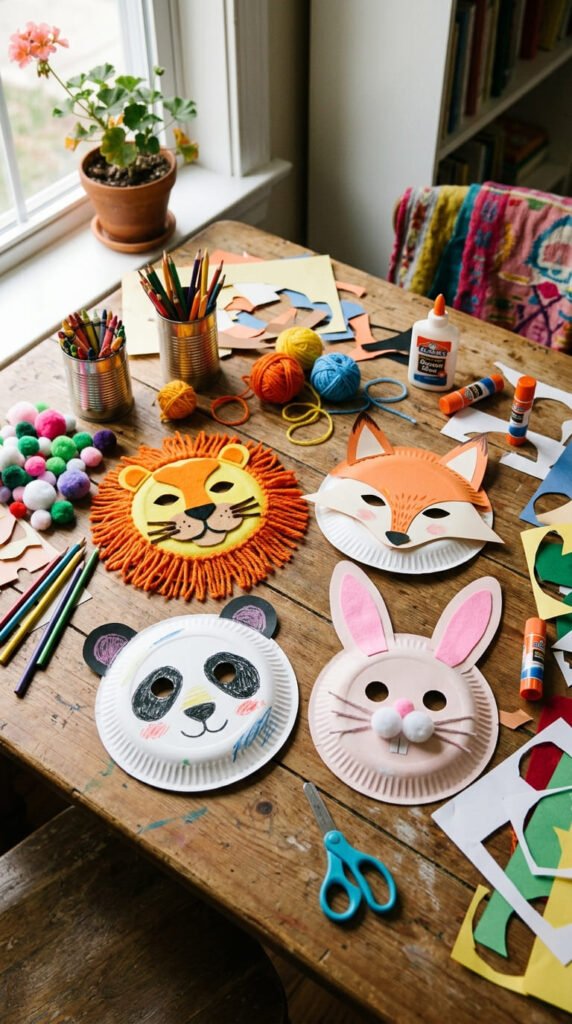
Paper plates are one of the easiest supplies for kids’ craft activities because they already have a round face shape. Turn them into lions, bears, cats, rabbits, frogs, or silly monsters with crayons, paint, paper ears, and yarn whiskers.
Cut two eye holes first. An adult can help younger kids with this part. Then let children color the plate and glue on details. Use yarn for hair, cotton balls for cheeks, and paper scraps for ears.
Punch small holes on both sides and tie string so the mask can be worn. A craft stick can also be glued at the bottom as a handle.
This project is cheap, playful, and great for pretend play after the craft is done. Kids can make a whole animal parade, act out a zoo story, or create masks for siblings and friends. It turns one simple plate into both art and a toy.
2. Cardboard Roll Binoculars
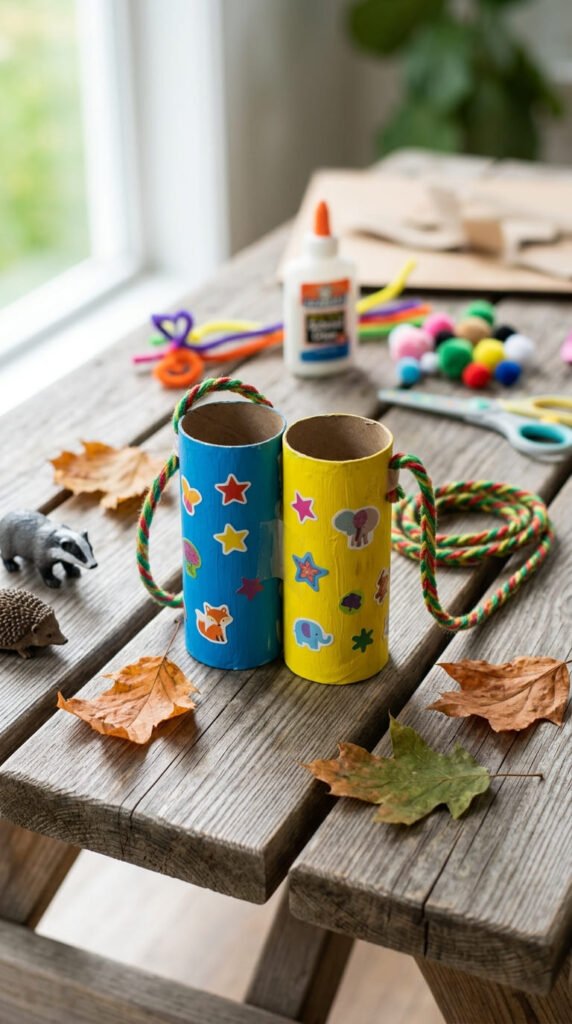
Cardboard roll binoculars are perfect for kids who love exploring. Save two empty toilet paper rolls, tape or glue them side by side, then decorate them with paint, markers, stickers, or washi tape.
Add a yarn strap by punching a hole on each outer side. Tie the yarn securely, but keep it loose enough to hang around a child’s neck during pretend play. For younger kids, a short handle may be safer than a long strap.
This craft works well with a backyard nature hunt. Kids can search for birds, clouds, leaves, flowers, and bugs. Inside the house, they can use the binoculars for a stuffed animal safari or treasure hunt.
It is also a smart recycled craft for kids because the main supply comes from the trash bin. Keep a small box of cardboard rolls, paper scraps, and stickers ready. When boredom hits, children can build travel gear, explorer tools, or spy props in minutes.
3. Handprint Flower Garden
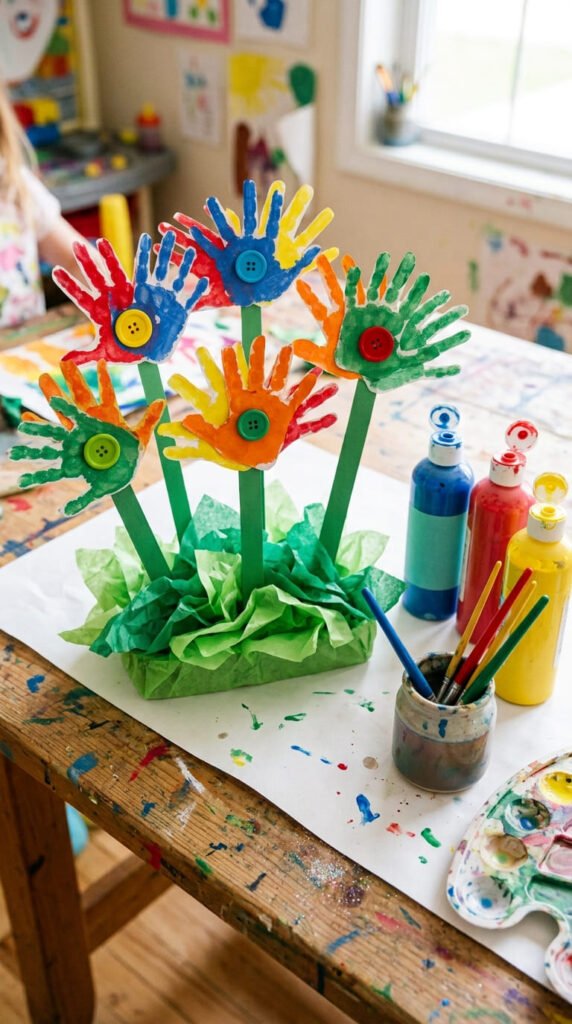
A handprint flower garden makes a sweet keepsake and a fun art session. Trace your child’s hand on colored paper, then cut out several hand shapes. Each handprint becomes the petals of a flower.
Glue the handprints at the top of green paper strips or popsicle sticks. Add buttons, pom-poms, or small paper circles in the center. Children can make flowers in many colors and sizes. They can also add paper leaves, tissue paper grass, and a cardboard base.
For a cheaper version, use old magazines, cereal box cardboard, or wrapping paper scraps. The different patterns make the garden look playful and personal.
This craft is good for Mother’s Day, spring projects, classroom displays, or a simple rainy-day activity. It also helps kids practice tracing, cutting, and arranging shapes. When finished, place the garden in a jar, tape it to the fridge, or glue it onto a folded card for a handmade gift.
4. Popsicle Stick Picture Frames
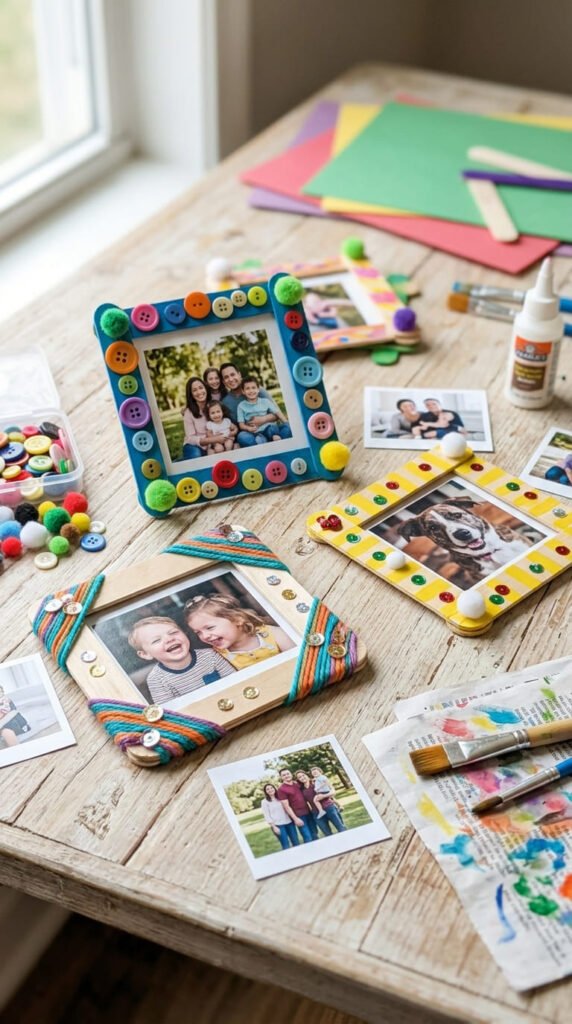
Popsicle stick frames are easy to make and useful after craft time. Lay two sticks vertically and two sticks horizontally to form a square. Glue the corners together. Add more sticks if you want a thicker frame.
Once the frame dries, kids can decorate it with paint, crayons, buttons, pom-poms, pasta, beads, or paper shapes. A magnet on the back turns it into fridge art. A loop of ribbon makes it easy to hang on a wall.
This is a budget-friendly project because popsicle sticks cost very little, and many decorations can come from leftover craft supplies. Kids can also use twigs from the yard for a nature-style frame.
Add a printed photo, a small drawing, or a family note inside the frame. It becomes a gift for grandparents, teachers, or friends. The project teaches patience because the glue has to dry, yet the steps stay simple enough for most kids to follow.
5. Egg Carton Mini Creatures
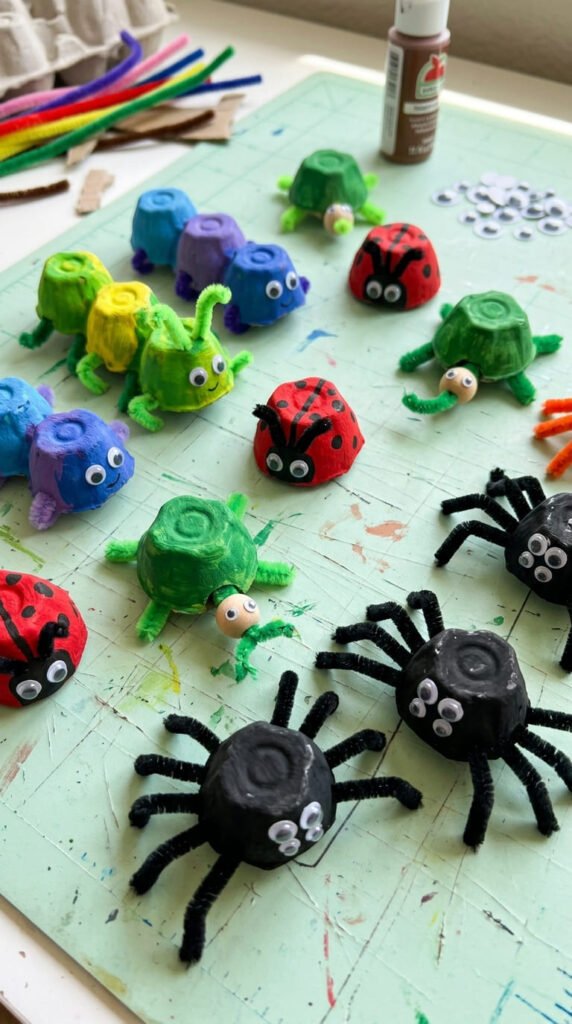
Egg cartons are perfect for making tiny creatures. Cut apart the cups and let kids turn each piece into a bug, turtle, crab, spider, or caterpillar. Paint the carton pieces first, then add eyes, legs, wings, or spots.
Pipe cleaners work well for legs and antennae. Paper scraps can become wings. Small buttons can become shells or spots. For a no-buy version, draw eyes with a marker and use torn paper for details.
This craft is great for kids who enjoy small toys. Once dry, the creatures can live in a shoebox habitat. Add leaves, stones, paper grass, and cotton clouds to build a mini world.
Egg carton crafts also teach kids to see value in recycled items. Instead of throwing the carton away, they learn to change it into something fun. This keeps the craft low-cost and gives children a playful way to practice painting, gluing, and storytelling.
6. Tissue Paper Stained Glass
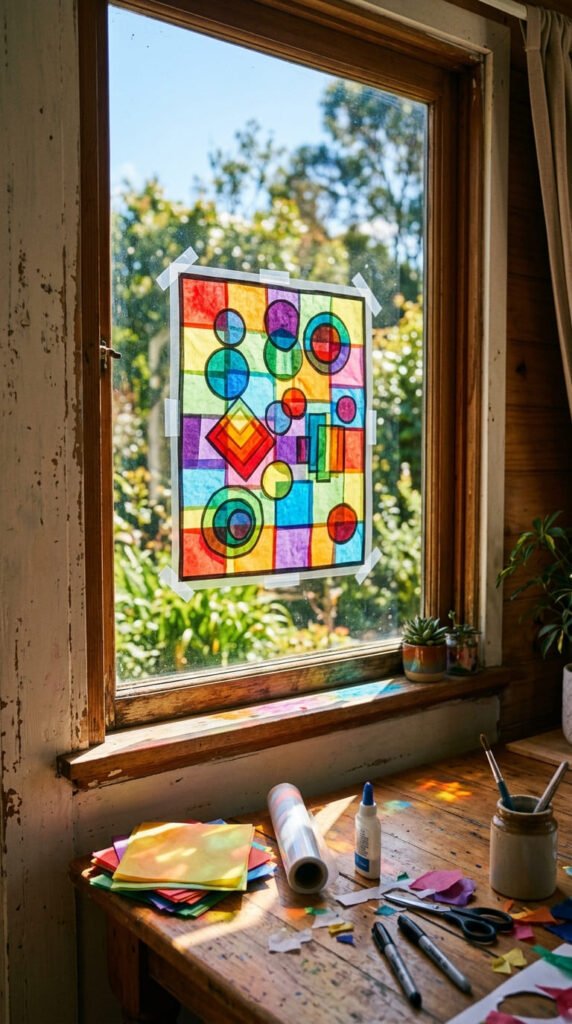
Tissue paper stained glass gives kids a colorful window craft without real glass. Cut clear contact paper into a rectangle, heart, butterfly, star, or circle. Peel the backing and place the sticky side up on the table.
Kids can press small tissue paper pieces onto the sticky surface. They can use random colors, make stripes, or create a picture. When finished, seal it with another piece of contact paper.
Trim the edges, punch a small hole, and hang it in a window with string. Sunlight makes the colors glow, which feels magical for young children.
This project is fairly low-mess because it can be done without glue. It is also great for fine motor practice since kids pinch, tear, and place small paper pieces. Use leftover tissue from gift bags to keep costs low. Try seasonal shapes, such as leaves for fall, flowers for spring, snowflakes for winter, or hearts for handmade cards.
7. DIY Pasta Necklaces
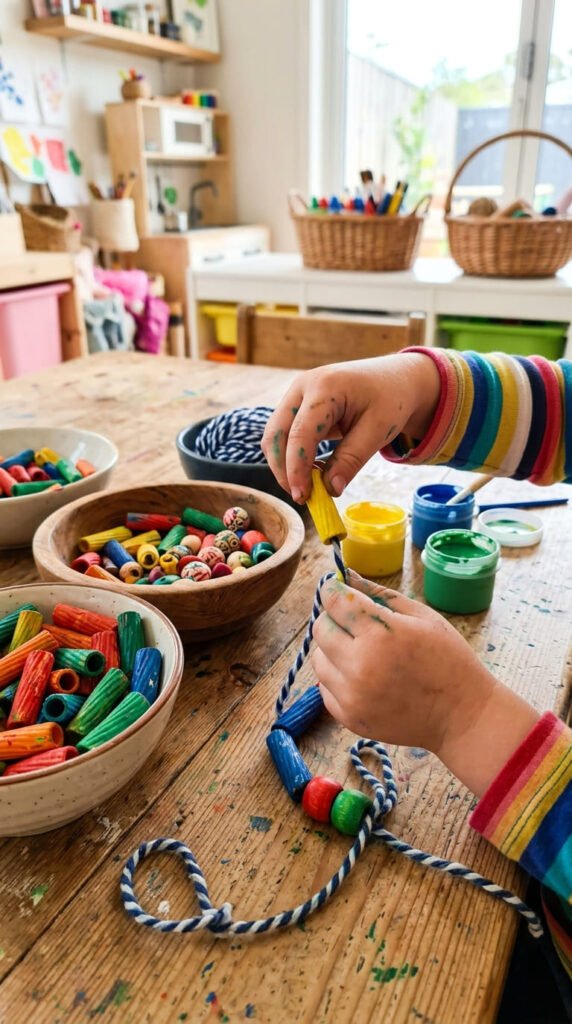
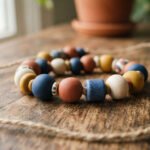
Pasta necklaces are a classic screen-free craft for kids because they are simple, cheap, and fun to wear. Use tube-shaped pasta, such as penne or rigatoni, since yarn can pass through the middle.
Paint the pasta first and let it dry. Kids can make rainbow pieces, polka dots, stripes, or one-color sets. For a faster version, color dry pasta with markers instead of paint.
Cut a length of yarn and wrap tape around one end to make threading easier. Tie a large pasta piece or bead at the other end so the pieces do not fall off. Then let kids thread their pattern.
This activity helps with hand-eye coordination and pattern practice. Children can make necklaces, bracelets, backpack charms, or garlands. Store extra colored pasta in a jar for another craft day. It is a great project for siblings, classrooms, or birthday party activity tables.
8. Paper Bag Puppets
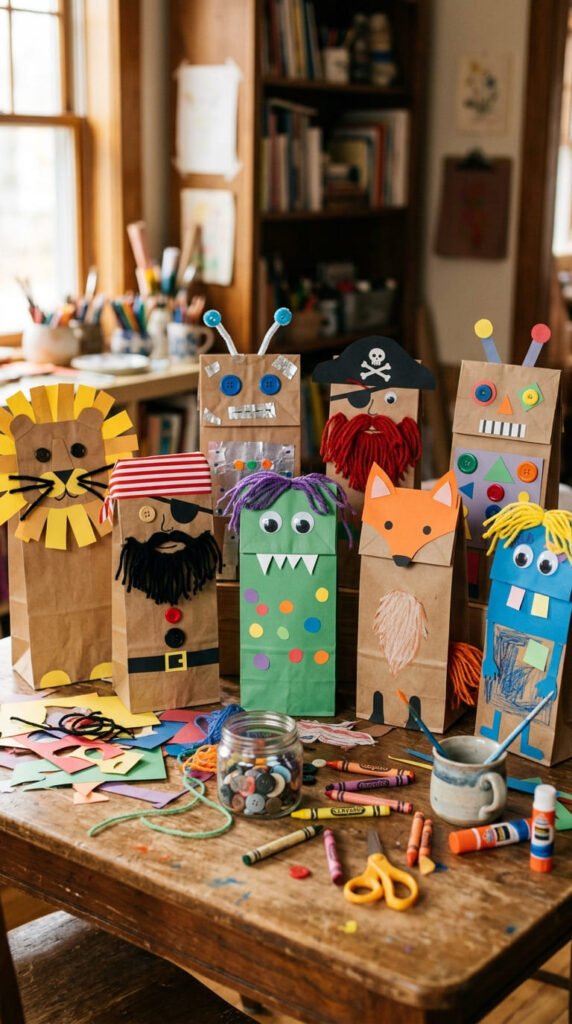
Paper bag puppets turn a basic lunch bag into a character. Place the bag flat with the folded bottom facing up. That folded flap becomes the puppet’s mouth. Kids can add eyes, hair, clothes, ears, teeth, or hats.
Use construction paper, yarn, buttons, cotton balls, foil, and markers. A cat puppet might have triangle ears and yarn whiskers. A monster puppet might have three eyes and paper teeth. A robot can have foil squares and bottle cap buttons.
After decorating, children can slip a hand inside and move the mouth. This gives the craft a second life as storytelling play. Kids can make puppet shows, act out fairy tales, or invent their own silly scenes.
Paper bag puppets are great for building confidence because there is no perfect version. Every puppet can look different. Keep a stack of bags and paper scraps in a craft bin, and kids can create characters whenever they want a fun no-screen activity.
9. Nature Leaf Collage
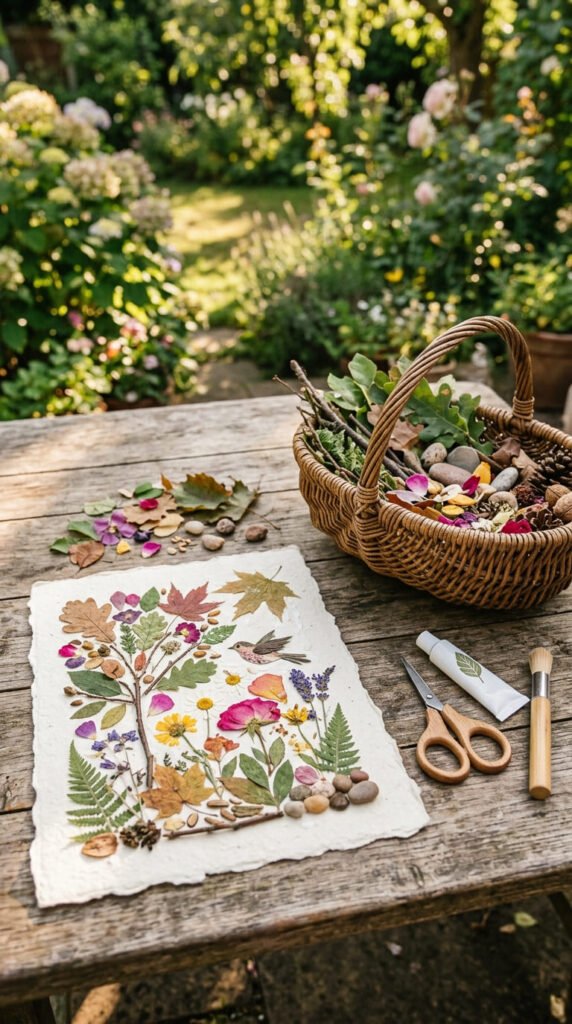
A nature leaf collage begins with a short walk outside. Give kids a small bag or basket and ask them to collect fallen leaves, petals, grass, twigs, and tiny stones. Skip anything sharp, wet, or unsafe.
Back inside, lay the pieces on thick paper. Kids can arrange them into animals, trees, faces, houses, or abstract patterns. Once they like the layout, they can glue everything down.
This craft costs almost nothing and connects art with outdoor time. It also teaches children to notice colors, textures, shapes, and seasons. A brown leaf can become a fox body. A long blade of grass can become a stem. Small petals can become butterfly wings.
For younger kids, offer fewer pieces so the table stays calm. Older kids can create detailed scenes. Pressing leaves in a book for a day before crafting makes them flatter and easier to glue. Display the finished collage on a wall or turn it into a handmade card.
10. Sock Puppets From Singles
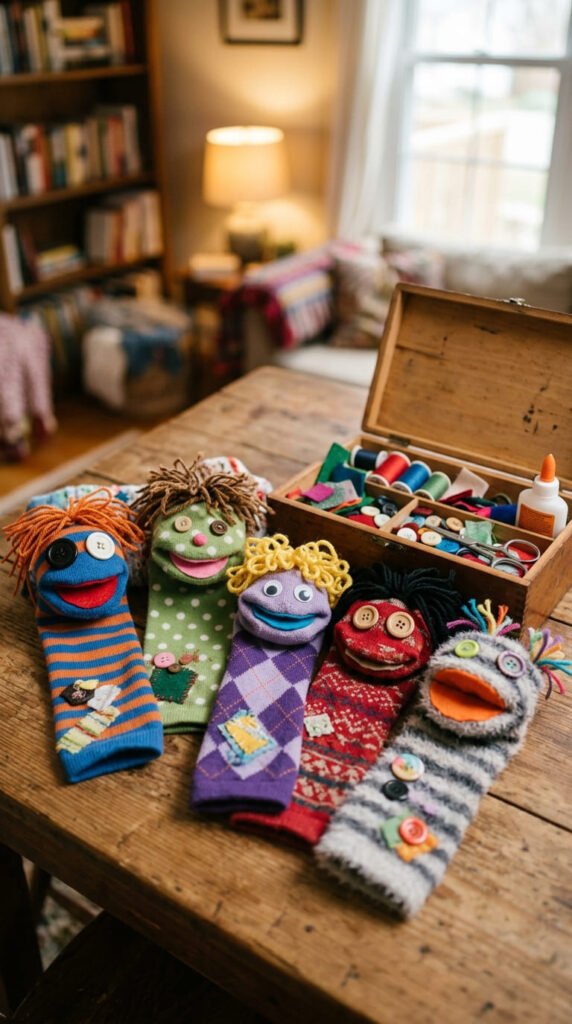
Mismatched socks can become silly puppets instead of staying lost in a drawer. Choose clean socks with no holes near the toe. Slide one over a child’s hand and mark where the eyes and mouth should go.
Use buttons, felt, yarn, fabric scraps, or paper pieces for the face. Fabric glue works best, but a grown-up can sew parts on if the puppet will get lots of play. For younger children, use felt circles instead of small buttons.
Add yarn hair, paper hats, bow ties, or tiny capes. Each sock can become a dragon, puppy, teacher, chef, alien, or sleepy bear.
Once the glue dries, kids can name their puppet and create a small show. A cardboard box can become the stage. This craft encourages storytelling, voice play, and imagination. It also uses something most homes already have, which makes it a smart low-cost project for a slow afternoon.
11. Cardboard Box Town
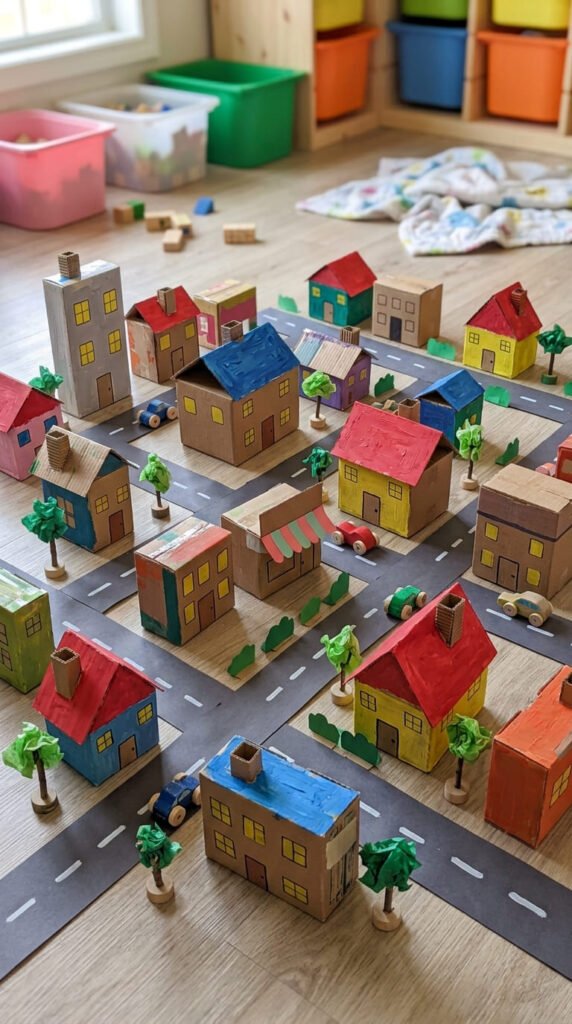
A cardboard box town can grow from cereal boxes, tissue boxes, shoe boxes, and shipping boxes. Kids can turn each box into a house, shop, school, library, garage, or animal shelter.
Cover boxes with paper or paint. Cut doors and windows. Add paper roofs, bottle cap wheels, cotton clouds, and small trees made from cardboard tubes. Use a large piece of cardboard as the town base and draw roads, parks, and paths.
This project is bigger than many quick crafts, so it works well across several days. Kids can add one building at a time. They can also use toy cars, small dolls, or animal figures once the town is done.
The best part is that the craft becomes open-ended play. Children build, move, plan, and tell stories. It is also budget-friendly because the main material is recycled cardboard. Keep a small box of clean packaging, and your next craft city is already halfway ready.
12. Coffee Filter Butterflies
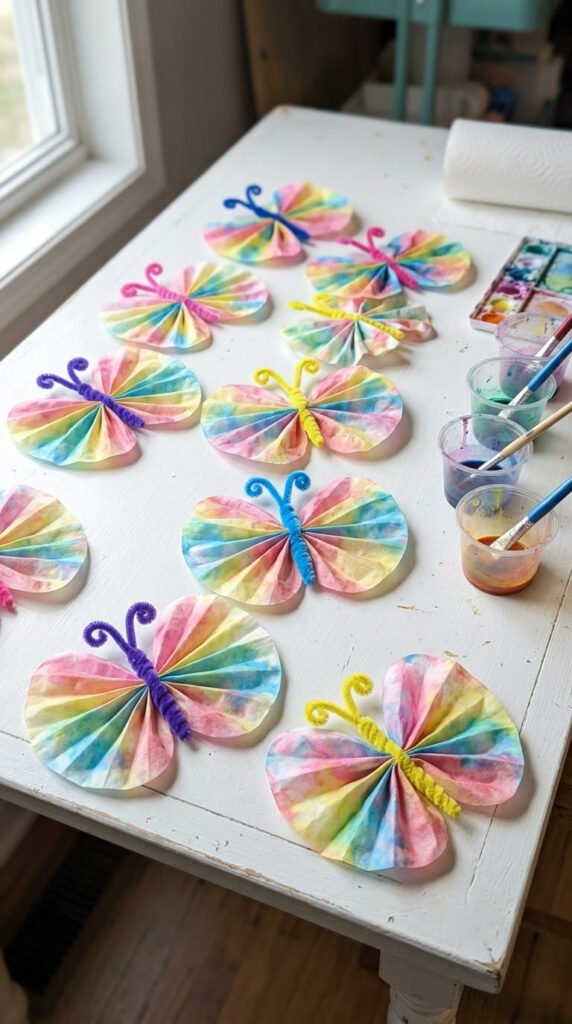
Coffee filter butterflies are light, colorful, and easy for young kids. Flatten a coffee filter and let children color it with washable markers. Dots, stripes, rainbow patches, and scribbles all work well.
Lightly spray the filter with water or dab it with a wet paintbrush. The colors spread across the paper and create a soft watercolor effect. Let it dry fully before shaping it.
Pinch the middle of the filter and wrap a pipe cleaner around it to make the butterfly body. Twist the ends into antennae. Kids can gently pull the wings open and watch the shape appear.
This craft is low-cost and great for spring, garden themes, or insect lessons. It also lets children see how water moves color across paper. Make several butterflies and hang them from string, tape them to a window, or glue them onto a poster. Use white filters for bright colors or brown filters for a softer nature look.
13. Button Rainbow Art
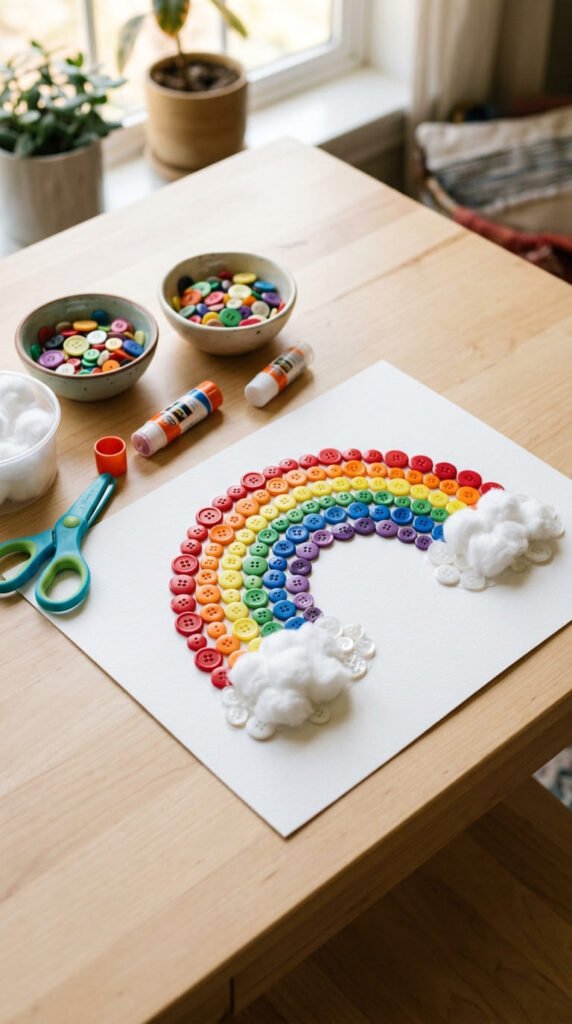
Button rainbow art is a cheerful way to use spare buttons from a sewing box. Draw a rainbow outline on thick paper or cardboard. Sort buttons by color, then glue them along each curved stripe.
Kids can use large buttons for younger hands and smaller buttons for older children. Add cotton ball clouds at each end. A blue paper background makes the rainbow stand out.
For a cheaper option, cut small circles from scrap paper instead of using real buttons. This gives the same color-sorting activity without buying supplies. Bottle caps, foam circles, or dried beans painted in colors can work too.
This project builds sorting skills, patience, and hand control. It also looks nice enough to display in a bedroom or classroom. Let kids decide whether the rainbow will be neat or silly. Some may use all colors in order, while others may create a rainbow of favorite shades. Both versions are worth saving.
14. Paper Chain Countdown Craft
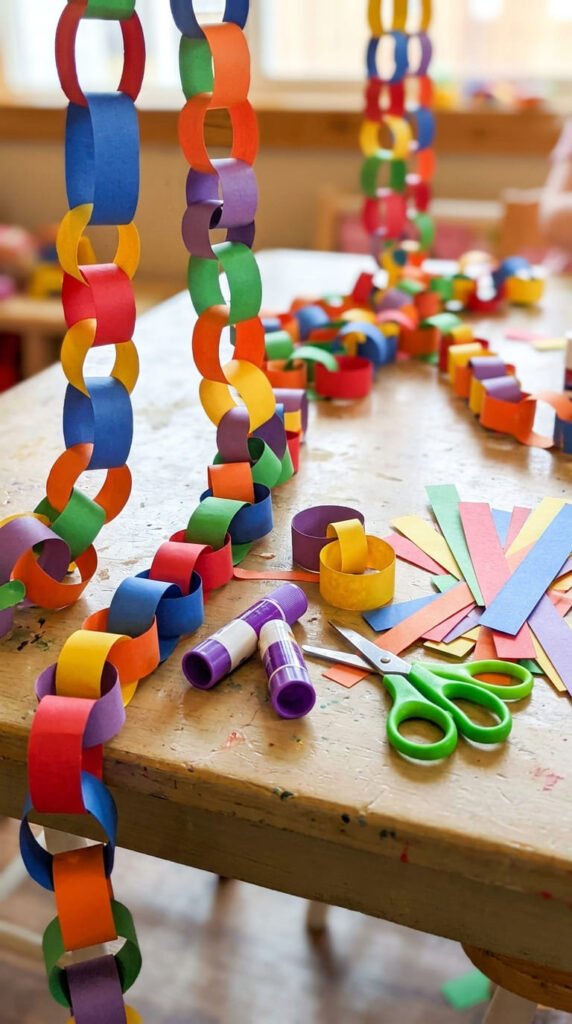
Paper chains are easy to make and great for counting down to birthdays, holidays, school breaks, or family trips. Cut paper into strips. Kids can use construction paper, magazine pages, wrapping paper, or old artwork.
Loop one strip into a circle and glue or tape the ends. Slide the next strip through the first loop and close it. Keep adding loops until the chain is long enough.
Children can choose patterns, such as red-blue-red-blue, rainbow order, or random colors. Older kids can cut the strips themselves. Younger kids can help glue and link the loops.
This craft is cheap and gives kids something useful after the activity. Each day, they can remove one link as the special date gets closer. It also works as party decor or bedroom decoration. For a learning twist, use different colors for days of the week, chores, kindness tasks, or reading goals. The chain becomes art, practice, and daily fun in one project.
15. Rock Painting Characters
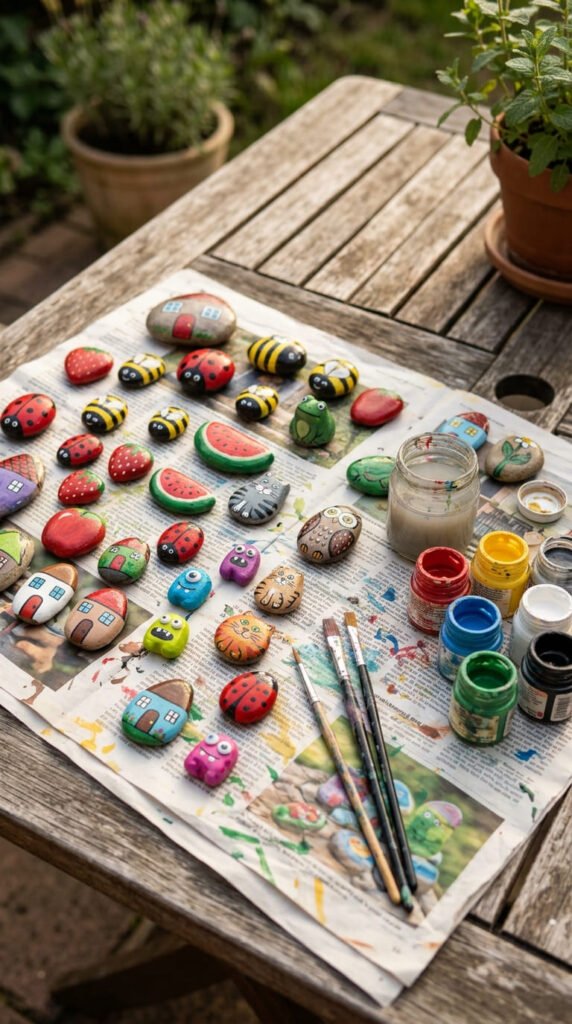
Rock painting starts with a hunt for smooth stones. Wash them and let them dry before painting. Acrylic paint works well, though washable paint is better for younger children if mess is a concern.
Kids can paint ladybugs, turtles, owls, strawberries, houses, emojis, monsters, or tiny planets. Use a pencil to sketch shapes first, or let kids paint freely. Once dry, add details with paint pens or a fine brush.
For outdoor use, a grown-up can seal the rocks with clear craft sealer. For indoor display, sealing is optional. Place the finished rocks in a garden, on a desk, near a plant, or inside a pretend play scene.
This project is budget-friendly because rocks are free and each one has its own shape. A round rock can become a ladybug. A long rock can become a snake. Kids learn to work with what they find, which makes the final character feel personal.
16. Homemade Paper Crowns
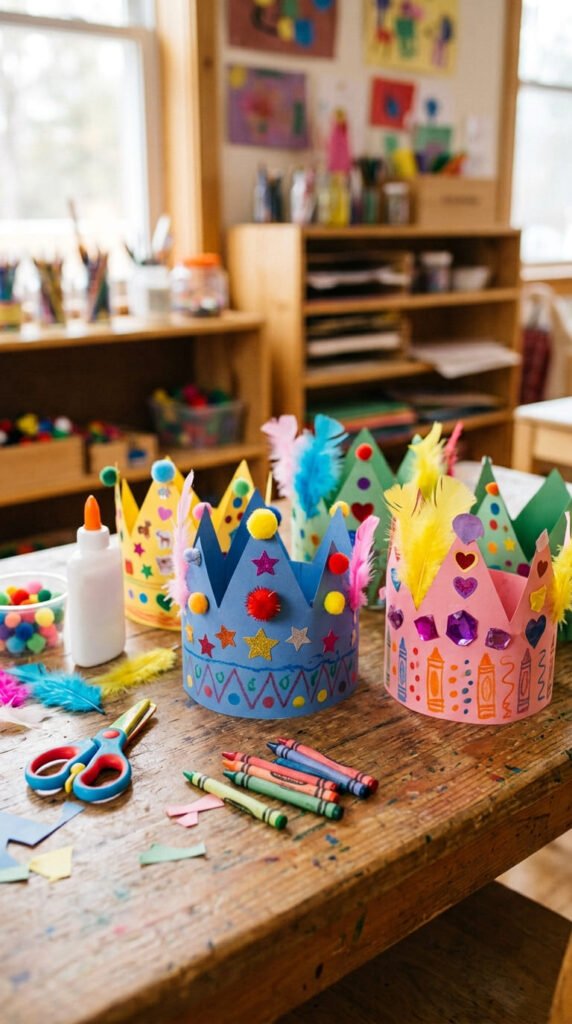
Paper crowns turn craft time into dress-up time. Cut a long strip of cardstock or construction paper. Wrap it around your child’s head, mark the size, then tape or glue the ends after decorating.
Cut points, waves, or rounded shapes along the top. Kids can add paper jewels, stickers, feathers, pom-poms, sequins, or drawings. Foil scraps make shiny gems without buying special supplies.
This craft is great for birthday parties, pretend castles, fairy tales, superhero play, or classroom themes. Children can make a king crown, queen crown, flower crown, dinosaur crown, or space crown.
For younger kids, pre-cut the crown shape so they can focus on decorating. Older kids can design the full shape themselves. Add yarn braids, paper flowers, or cardboard stars for extra character. Once done, the crown becomes part of play, photos, and stories. It is quick to set up and easy to repeat with different themes.
17. Yarn Wrapped Letters
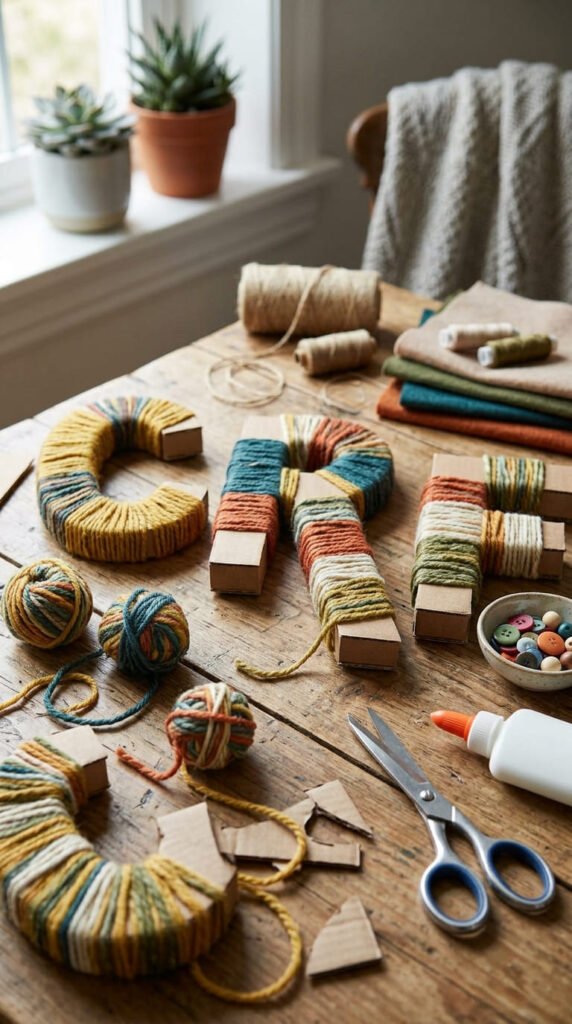
Yarn wrapped letters are a fun way for kids to decorate their initials or make room decor. Cut a large letter from cardboard. Cereal boxes work well if you stack two layers for strength.
Tape one end of yarn to the back of the letter. Then let kids wrap the yarn around the cardboard until most of it is covered. Change colors by tying or taping a new piece at the back.
This craft is calm and repetitive, which makes it good for quiet afternoons. It also helps children practice hand control and patience. Thick yarn is easier for little hands, while older kids can try thinner yarn or color patterns.
Add pom-poms, felt flowers, paper stars, or buttons after wrapping. The finished letter can hang on a bedroom door or sit on a shelf. For a group craft, every child can make their own initial. It feels personal, yet the supplies stay simple and cheap.
18. Cereal Box Aquarium
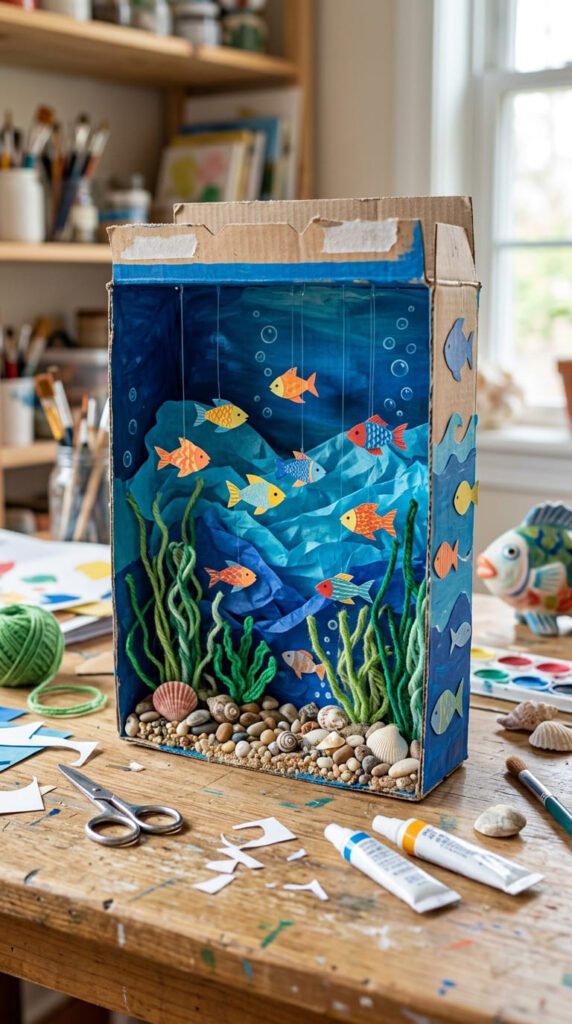
A cereal box aquarium is a small world kids can build from recycled packaging. Cut a window into the front of the box, leaving a frame around the edges. A grown-up can handle this step.
Paint the inside blue or glue in blue paper. Add paper seaweed, tissue paper waves, cotton bubbles, and small pebble shapes. Cut fish from colored paper and decorate them with crayons or scraps.
Hang the fish inside the box with thread or thin yarn taped to the top. This makes them look like they are floating. Kids can add crabs, turtles, jellyfish, treasure chests, or coral.
This craft is great for ocean themes and pretend play. It also uses a cereal box that might have been thrown away. Children can keep adding new sea creatures across the week. Place the finished aquarium on a shelf, or use it as a storytelling prop for ocean adventures.
19. No-Sew Felt Food
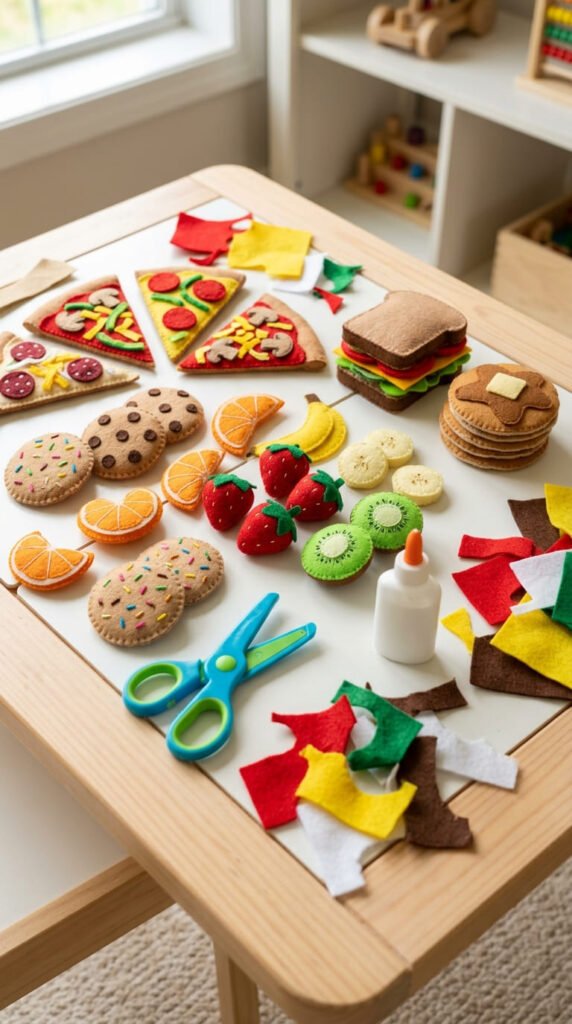
No-sew felt food is perfect for kids who love pretend kitchens and toy picnics. Cut simple food shapes from felt, such as pizza slices, cookies, pancakes, strawberries, lettuce, cheese, and bread.
Use fabric glue to add toppings and details. Red circles can become pepperoni. Yellow strips can become cheese. Brown circles can become chocolate chips. Green scraps can become lettuce or herbs.
This project works best with older kids who can cut simple shapes. Younger children can help sort colors and glue toppings onto pre-cut pieces. Felt holds up better than paper, so the finished food can be used again and again.
To save money, buy a small felt pack or use fabric scraps. A cardboard plate or shoebox can become a pretend restaurant tray. Kids can make menus through drawings, set up a cafe, and serve stuffed animals. The craft turns into role play, which keeps the screen-free fun going longer.
20. Clothespin Airplanes
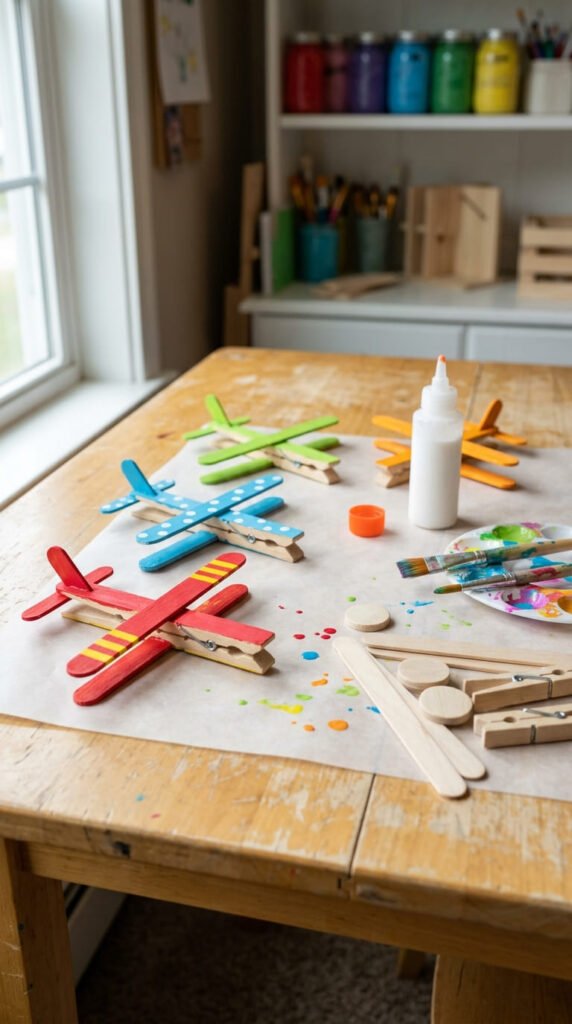
Clothespin airplanes are quick to build and fun to fly by hand. Use a wooden clothespin for the body. Glue one popsicle stick across the top for the main wings and another across the bottom for the lower wings.
Cut a smaller stick piece for the tail. A grown-up can trim the wood if the sticks are tough. Let the glue dry, then paint the airplane in bright colors. Kids can add dots, stripes, stars, or tiny windows.
This craft is cheap because clothespins and popsicle sticks are easy to find at dollar stores. It also teaches basic building as children see how wings and tails change the airplane shape.
Once dry, kids can create a runway from tape on the floor or build a cardboard airport. They can make several airplanes for races, rescue missions, or travel stories. It is a simple craft with plenty of play after the table is cleaned.
21. Sponge Stamp Art
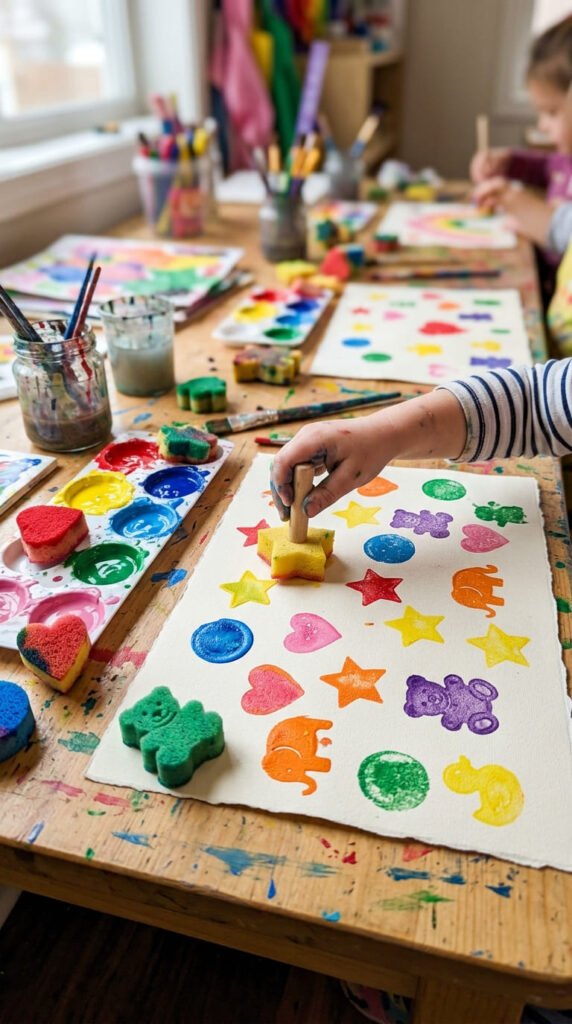
Sponge stamp art is a low-cost painting activity that feels different from using brushes. Cut kitchen sponges into shapes like circles, squares, hearts, stars, flowers, fish, or clouds. An adult can do the cutting for younger kids.
Pour small amounts of paint onto plates. Kids dip the sponge into paint, press it onto paper, and lift it to reveal the shape. They can repeat the stamps to make patterns, scenes, wrapping paper, or cards.
This craft works well for toddlers, preschoolers, and older kids. Younger children enjoy stamping freely. Older kids can plan designs, layer colors, or create scenes like gardens, oceans, and night skies.
Use washable paint for easy cleanup. Lay newspaper or an old towel under the paper. When finished, rinse the sponges and save them for another day. Sponge stamping gives kids a chance to explore color, pressure, pattern, and shape with simple supplies from the kitchen.
22. Toilet Roll Race Cars
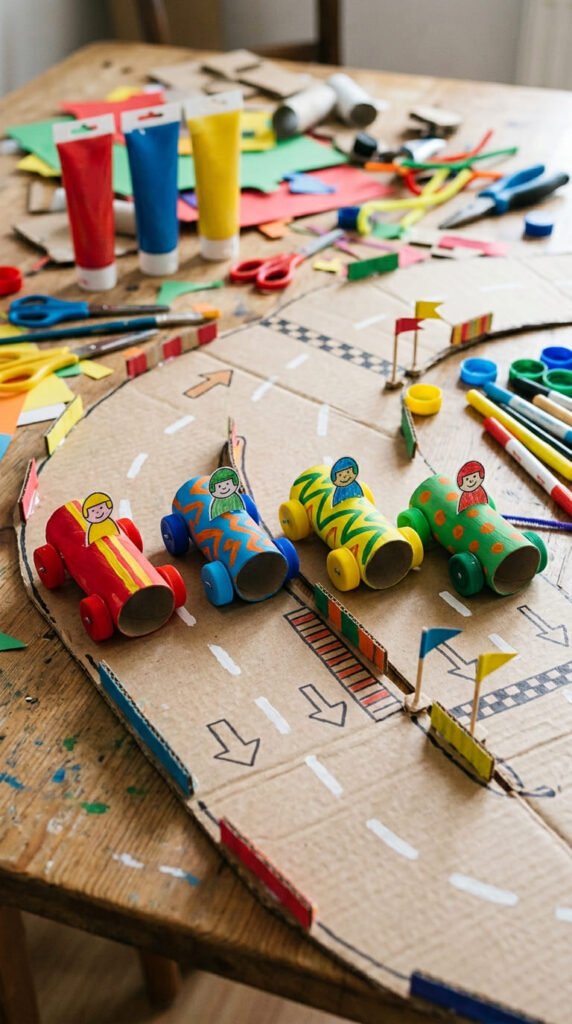
Toilet roll race cars are a fun way to reuse cardboard tubes and bottle caps. Paint the cardboard roll first. Once dry, cut a small seat opening near the top. A grown-up can help with this part.
Glue four bottle caps on the sides as wheels. If you want rolling wheels, use straws and wooden skewers as axles, but glued wheels are easier for young kids. Add paper circles, stickers, or painted stripes for decoration.
Kids can make drivers from small paper faces, pom-poms, or tiny toys. A long piece of cardboard can become a race track. Add blocks as tunnels and paper tubes as garages.
This craft is great for siblings because each child can design a different car. It also encourages play after crafting. Kids can race them, line them up, or build a whole city road. Supplies are simple, and most families already have tubes and caps at home.
23. Paper Bowl Hot Air Balloons
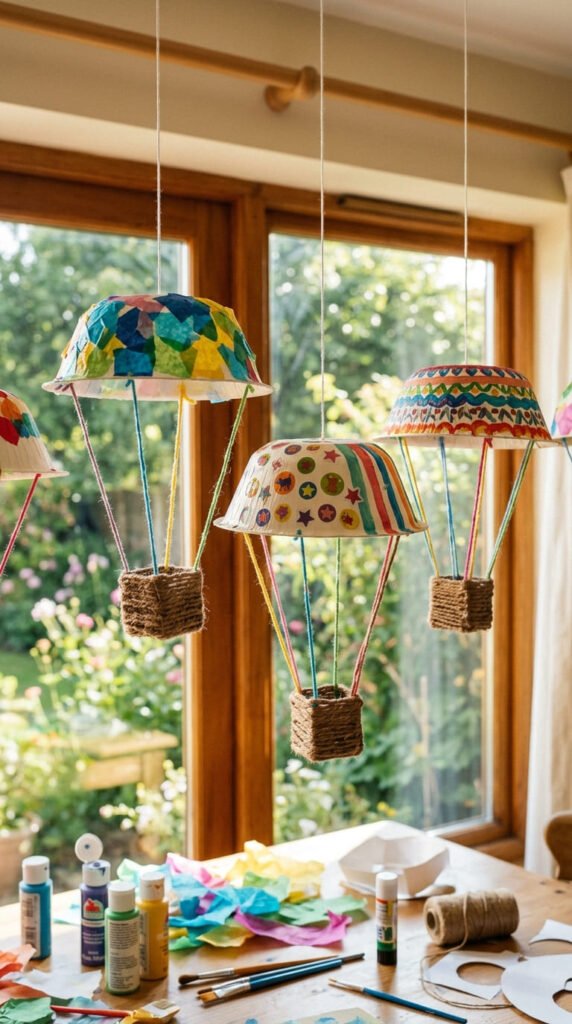
Paper bowl hot air balloons look charming when hung near a window or from a playroom ceiling. Start with a paper bowl turned upside down. Let kids paint it or cover it with tissue paper squares.
Punch four small holes around the bowl rim. Tie yarn pieces through the holes and connect them to a small paper cup or folded cardstock basket. Keep the strings even so the basket hangs straight.
Decorate the basket with crayons, stickers, or paper scraps. Add a tiny paper passenger, cotton clouds, or a small flag shape without any lettering. Kids can make one balloon or a whole sky full of them.
This craft teaches gentle building because the pieces hang together. It also works well for travel themes, weather lessons, or bedroom decor. Use leftover party bowls and cups to keep costs low. The finished balloon feels light, playful, and special without using expensive supplies.
24. Recycled Robot Builders
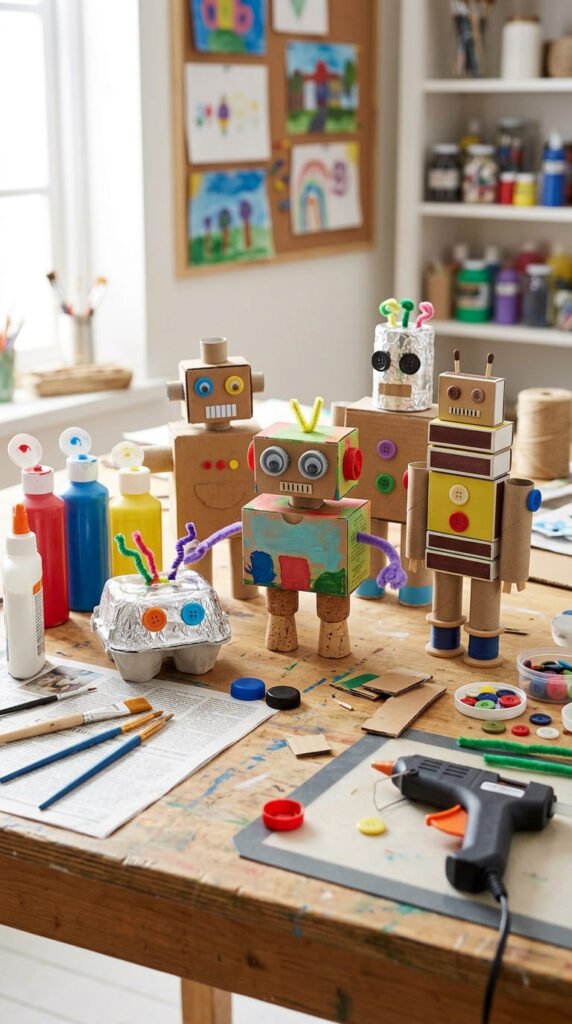
Recycled robots are perfect for kids who like building. Gather small boxes, lids, bottle caps, foil, cardboard tubes, buttons, paper scraps, and pipe cleaners. Set everything on the table and let kids choose robot parts.
A small box can become the body. A cardboard tube can become an arm or leg. Bottle caps make eyes, buttons, or wheels. Foil gives the robot a shiny metal look.
Use glue or tape to attach the parts. Younger kids may do better with tape because it holds faster. Older kids can plan a robot with moving arms, antennae, or a backpack.
This craft is open-ended, so every robot looks different. Kids can name their robot, decide its job, and create a story about where it lives. It also makes recycled items feel exciting. Keep a “robot parts” bin with clean packaging and safe lids, and kids can build whenever they feel ready for a hands-on project.
25. Mini Memory Scrapbook
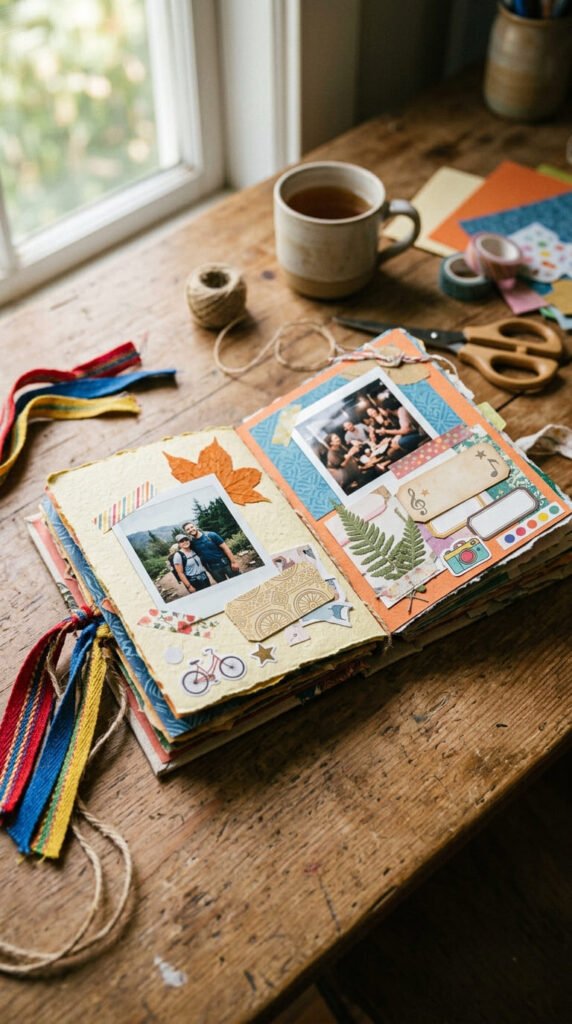
A mini memory scrapbook helps kids save favorite moments through paper, photos, drawings, and small keepsakes. Fold several sheets of paper in half and stack them like a booklet. Staple the fold or tie the pages with yarn through punched holes.
Each page can hold a drawing, photo, sticker, pressed leaf, birthday memory, pet picture, or weekend adventure. Kids can decorate the edges with crayons, washi tape, paper scraps, and stamps.
This craft is great for older children, but younger kids can make a simpler version with help. It also works for summer break, school holidays, family trips, or “my favorite things” themes.
To keep it low-cost, use scrap paper, old greeting cards, magazine cutouts, and printed photos from home. The finished scrapbook becomes more than a craft. It becomes a small memory book children can look through again later. It also gives them a calm way to tell stories without using screens.
Conclusion
Craft time gives kids a simple way to play, build, imagine, and practice hands-on skills with supplies that are easy to find at home. Paper plates, cardboard rolls, boxes, yarn, buttons, pasta, and nature finds can turn a quiet afternoon into masks, puppets, towns, animals, keepsakes, and toys. Pick one idea, set out a few materials, and let children make it their own. The best screen-free craft is not the neatest one. It is the one that keeps kids curious, busy, and proud of what they made.