
Have you ever spent an hour placing tiny Perler beads only to ruin the whole design when ironing? Maybe the beads turned into melted blobs, holes closed up, or the design warped into a weird shape. Ironing Perler beads looks simple, but small mistakes can ruin hours of work. The good news is that with the right heat, timing, and technique, anyone can iron Perler beads perfectly the first time. This step-by-step guide shows you exactly how to fuse your beads without ruining your design.
What You Need Before You Start
Gather these basic supplies before turning on the iron. Each one plays a key role in protecting your design.
- Perler beads placed on a pegboard
- Parchment paper or official ironing paper
- An iron with no steam setting
- A flat heat-safe surface like a tile, metal tray, or ceramic
- A heavy book for cooling
Pro tip: never iron directly on a kitchen table or wood surface. The pegboard can get hot enough to leave marks.
Set Your Iron to Medium Heat
The ideal setting is medium heat, which matches the wool or polyester setting on most irons.
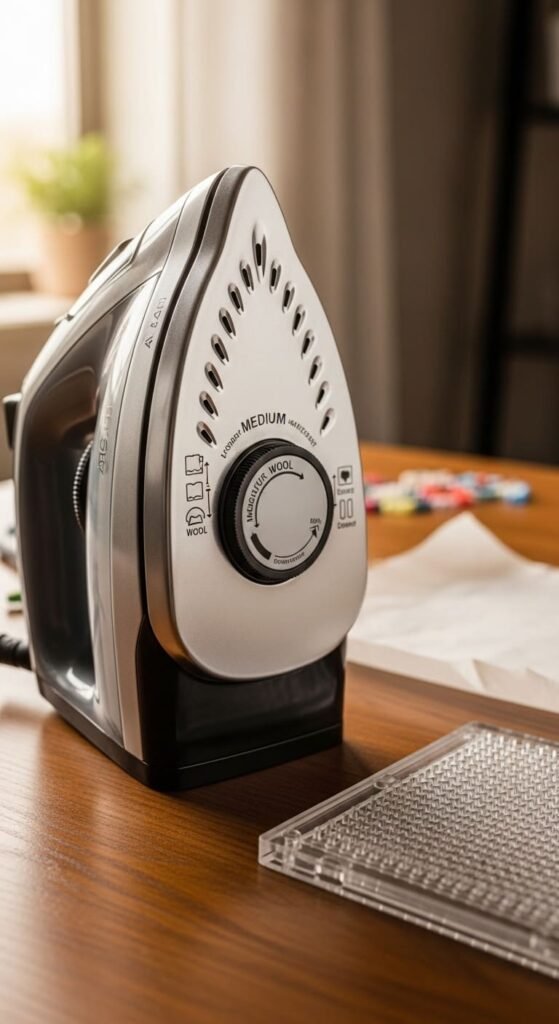
Turn the steam OFF. Steam can warp your design and make beads slide around. Always use the dry setting.
If you are not sure about your iron’s heat, do a quick test on a small 4-by-4 square of beads first. This saves you from ruining a big project.
Bullet points to remember:
- Medium heat works for most projects
- Lower heat for 3D builds or mini beads
- Higher heat is rarely needed and risks melting holes shut
- Always test on scrap beads first
Place the Parchment Paper
Lay a piece of parchment paper or ironing paper flat over your bead design. Make sure the paper covers all the beads with a small overhang on each side.
This step is non-negotiable. Never iron Perler beads without paper. The plastic will stick to your iron and ruin both the design and the iron itself.
Budget tip: parchment paper from any grocery store works just as well as branded ironing paper at a fraction of the price.
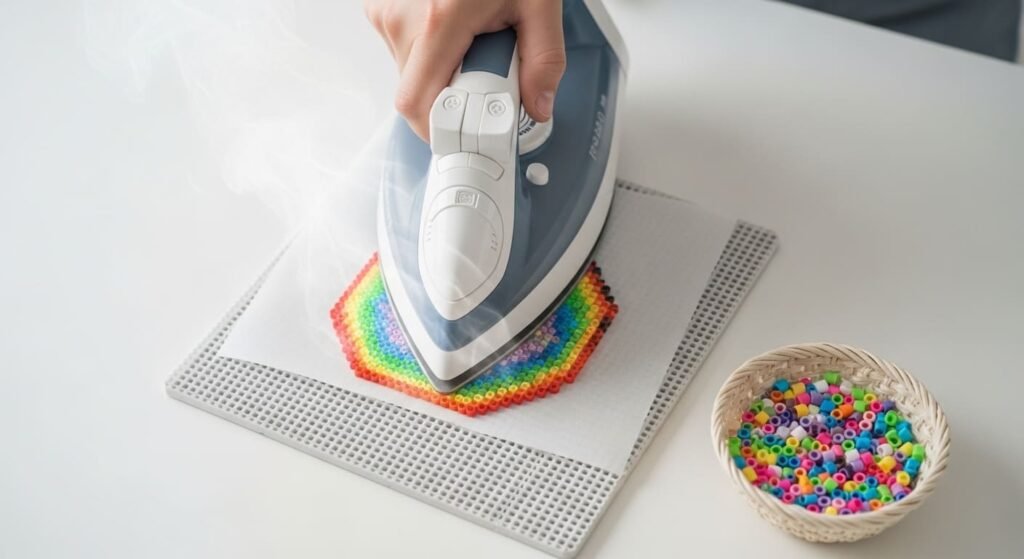
Iron with Circular Motion
Now for the most important rule: do not press down on the iron.
Hold the iron above the paper and move it in slow circles. The weight of the iron alone is enough to melt the beads. Pressing down flattens them too much and can cause holes to close.
Iron for about 10 to 20 seconds for small designs. Larger pieces may need 30 seconds or more.
Move the iron evenly across the entire design. Spending too long in one spot creates uneven melting.
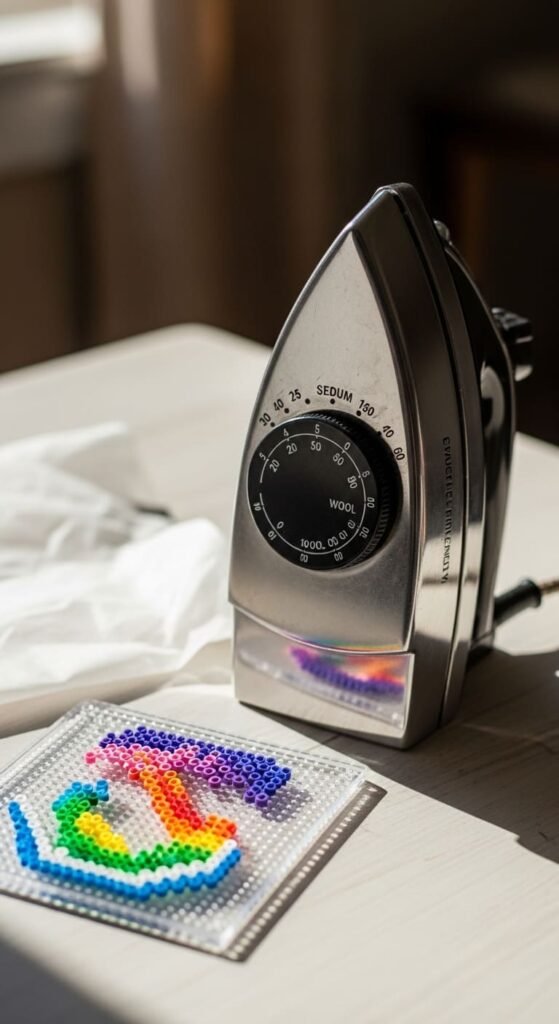
Lift and Check Your Progress
After about 15 seconds, carefully lift one corner of the parchment paper to check the beads underneath.
Look for these signs:
- Beads are fused together but still hold their shape
- Holes are still visible on the top of each bead
- Edges look smooth but not melted into puddles
- Color is even across the design
If beads are still loose, replace the paper and iron for another 10 seconds. If they look perfect, stop ironing immediately.
Critical tip: it is much better to under-iron than over-iron. You can always heat more, but you cannot un-melt a ruined design.
Flip and Iron the Back Side
For extra durability, flip your design over and iron the back too.
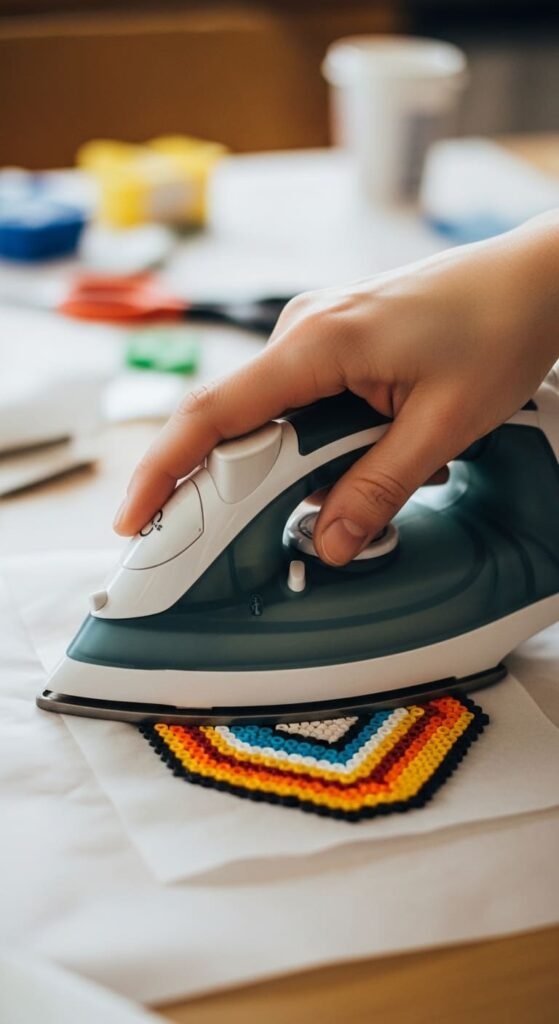
Use a fresh piece of parchment paper because the first piece may stick to spots. Iron for another 15 seconds in slow circles.
This second pass strengthens the design and helps it stay flat. It also keeps both sides looking clean for keychains or magnets that show both sides.
Let It Cool Flat
Once you finish ironing, place a heavy book on top of the design while it cools.
Let it sit for at least 10 minutes without touching it. Moving warm beads can warp the shape or cause cracks once cool.
This cooling step is where many beginners go wrong. Patience pays off here.
Common Mistakes to Avoid
Here are the top problems and how to fix them:
Holes melted shut: you ironed too hot or too long. Use a heated needle to carefully poke holes through.
Beads turned into puddles: lower the heat or shorten the time on next attempt.
Design warped: you skipped the cooling step. Place under a heavy book while still warm.
Beads not fully fused: iron longer in 10-second increments, checking each time.
Paper stuck to beads: let cool fully before peeling. Pull slowly and steadily.
Special Techniques to Try
Once you master the basics, try these advanced techniques:
- Flat melt method: apply slightly more heat for completely smooth, pixel-art style finish
- Standard melt method: lighter pressure keeps beads dome-shaped and traditional
- Masking tape method: stick beads to tape, then iron off the pegboard for safer fusing
- No-tape method: keep beads on pegboard for crisp edges
Each method has its place depending on your final project. Keychains and magnets work best with flat melts, while wall art looks great with standard rounded beads.
Save This Guide for Your Next Project
Ironing Perler beads correctly takes practice, but these steps work for every design from tiny keychains to huge wall art pieces. Remember: medium heat, no pressing, parchment paper, lift to check, and cool flat. Save this guide to Pinterest for your next craft session, and try a small practice grid before tackling a big project. Your future Perler designs will turn out beautiful every single time.