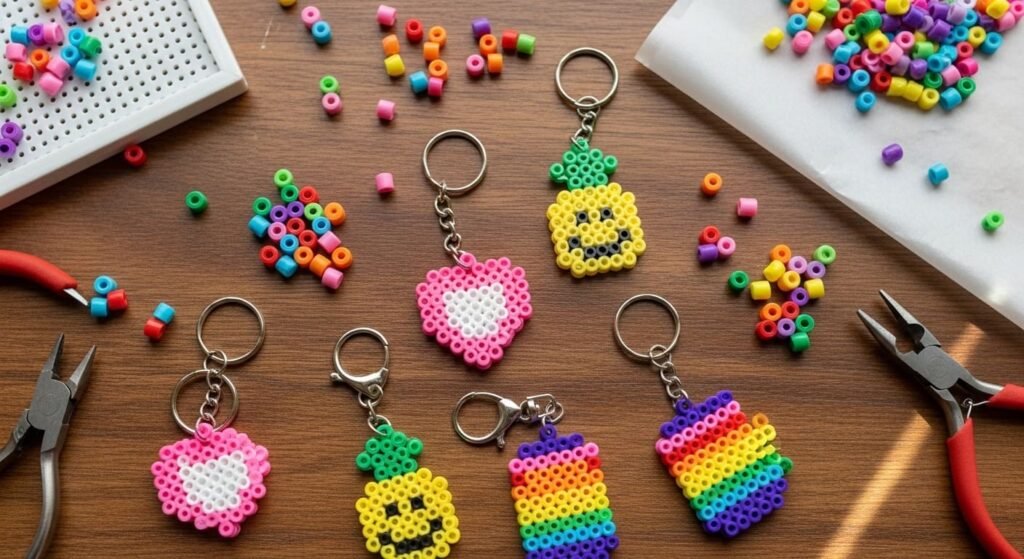
Want to make adorable handmade keychains your friends will actually want? Perler bead keychains are one of the easiest crafts you can pick up in an afternoon. They cost just pennies in supplies, take about 15 minutes each, and turn into cute charms for backpacks, keys, lanyards, or party favors. Whether you love hearts, fruits, animals, or pixel game designs, this step-by-step guide shows you exactly how to make Perler bead keychains from start to finish.
What You Need to Get Started
Before you begin, gather these basic supplies. Most of them cost under a few dollars at any craft store or online.
- Perler beads in your chosen colors (or generic fuse beads)
- Pegboard (square, round, or heart-shaped)
- Parchment paper or ironing paper
- An iron (no steam setting)
- Jump rings (10-12 mm work best for beginners)
- Keychain split rings or lobster clasp hardware
- Jewelry pliers (two pairs make life easier)
Budget tip: buy jump rings and split rings in bulk packs of 50 online for pennies each instead of single packs at craft stores.
Step 1: Pick Your Design
Start with something simple. A small pixel heart, smiley face, or fruit shape works great for beginners.
Look for designs under 60 beads if you are just starting. The smaller the design, the lighter and more comfortable the keychain feels on a backpack or key ring.
Easy starter designs include:
- Heart shape (about 30 beads)
- Smiley face emoji (about 40 beads)
- Watermelon slice (about 35 beads)
- Pineapple (about 50 beads)
- Rainbow arch (about 45 beads)
Print a free pattern online or freestyle your own design on the pegboard.
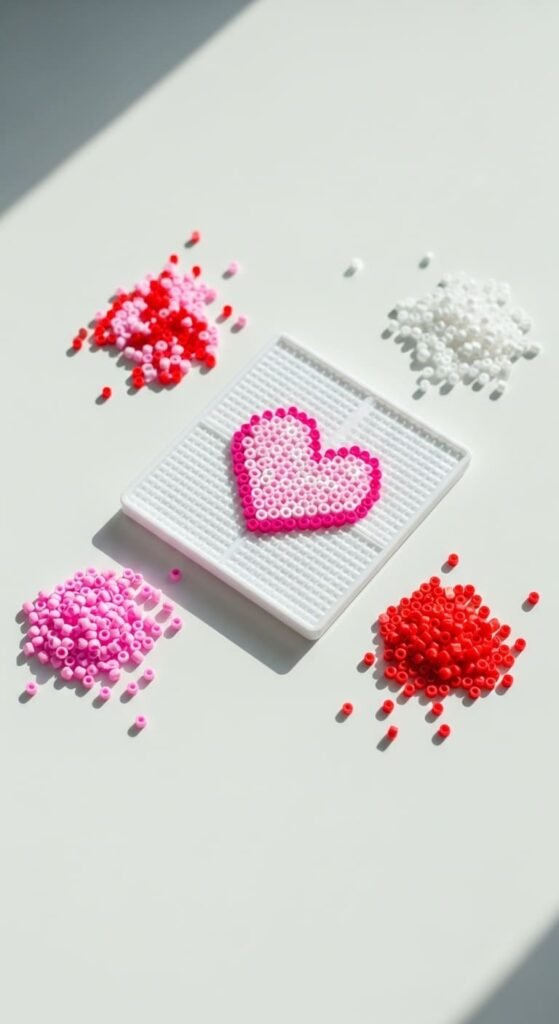
Step 2: Place Your Beads
Carefully place each bead onto the pegboard pegs following your pattern. Use tweezers if your fingers feel clumsy with the small beads.
Take your time with this step. Mistakes are easy to fix before ironing because beads pop right off.
Pro tip: leave a small empty peg or two at the top of your design where you will add the jump ring later. This creates a clean hole for hardware after fusing.
Step 3: Iron the Beads Together
Now comes the fun part. Place a piece of parchment paper over your bead design.
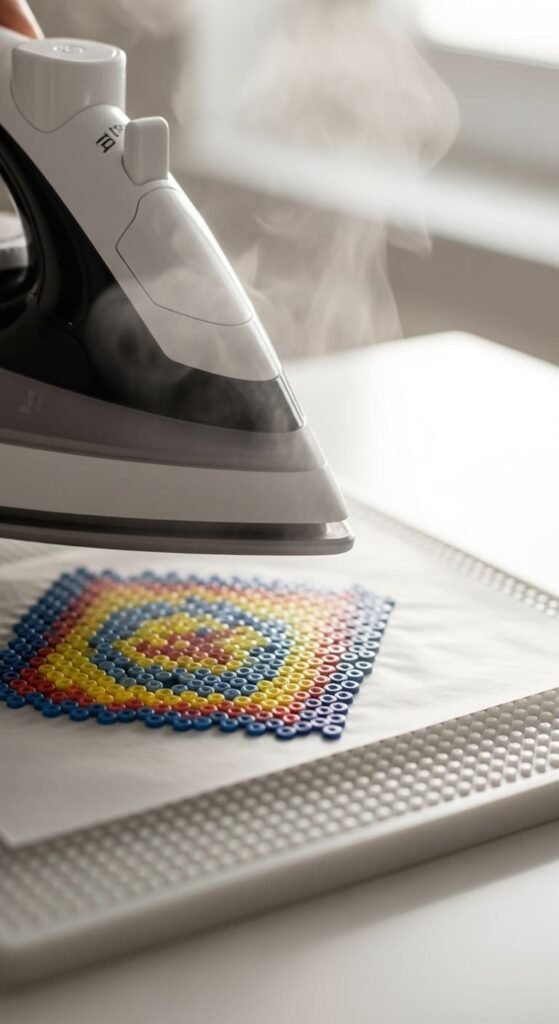
Set your iron to medium heat with no steam. Press the iron flat onto the parchment paper for about 20 seconds. Move in small circles to evenly melt the beads.
Safety reminder: kids should always have adult supervision during this step. Irons get extremely hot and can burn skin in seconds.
Lift the parchment paper and check your design. If beads look fully fused with smooth tops, you are done. If some beads still look loose, press for another 10-15 seconds.
Let the design cool flat for about a minute before peeling it off the pegboard.
Step 4: Flip and Iron the Other Side
For extra durability, flip your design over and iron the back side too. This makes your keychain stronger and less likely to break.
Use a fresh piece of parchment paper and press for another 20 seconds. Let cool flat under a heavy book to keep it from warping.
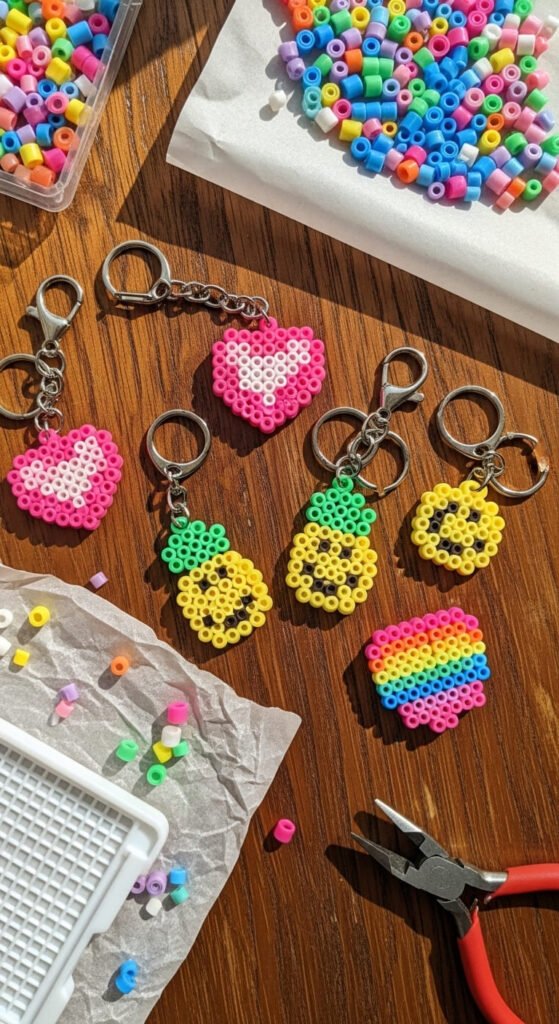
Step 5: Add the Hardware
Here is where your bead design becomes a real keychain.
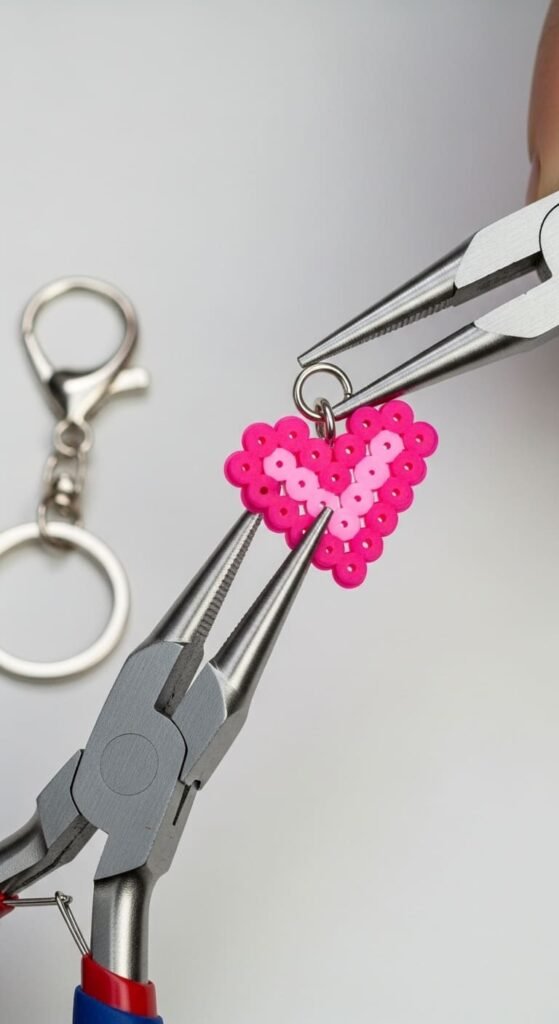
Follow these simple steps:
- Open the jump ring using two pairs of pliers, twisting one side toward you and the other away
- Thread the open jump ring through the small hole at the top of your bead design
- Slide on the keychain split ring before closing the jump ring
- Close the jump ring by twisting it back together with your pliers
If your design did not have a hole, use a heated needle to carefully pierce one through the top. Adult supervision is essential for this step.
Troubleshooting Common Problems
Beads not fully melted? Press the iron longer or increase the heat slightly. Test on a corner first.
Holes melted shut? Use a heated needle to gently re-pierce the hole.
Design warped after cooling? Place it under a heavy book while still warm to flatten it.
Beads scattered everywhere? Work over a tray or shallow box to catch loose beads.
Fun Keychain Ideas to Try Next
Once you master the basics, the design options grow endless:
- Pixel game characters like Pokemon or Mario
- Cute animals like cats, dogs, or pandas
- Glow-in-the-dark stars for night use
- Best friend matching sets
- Holiday themed designs for Halloween or Christmas
- Personalized initial letters
Try glow-in-the-dark beads for keychains that light up in the dark. They cost a bit more but add real magic to night keys.
Save This Tutorial for Your Next Craft Day
Perler bead keychains turn simple plastic pieces into cute, personal accessories that make great handmade gifts. Each one takes only minutes to make and costs less than a dollar in supplies. Save this guide to Pinterest for your next craft afternoon, then start making cute keychains for your friends, family, and yourself.