You spent ages sculpting the cutest little clay panda. You glue a magnet on the back. Two days later, it slides down the fridge and lands behind the bin. Frustrating, right?
The good news: a magnet that stays put for years comes down to three things. The right glue. Clean surfaces. And a little patience while it cures.
Let’s get your magnets sticking like they mean it.
Rule Number One: Never Bake the Magnet
This is the mistake that ruins magnets before you even start.
Heat weakens magnetic force. So if you bake your magnet inside polymer clay, it comes out weak and floppy.
The fix is simple:
- Bake the clay first. Get it hard and no longer bendy.
- Let it cool completely. Warm clay can warp when you glue.
- Then attach the magnet to the cooled back.
For air-dry clay, the same logic applies. Let it dry a full 24 to 48 hours before gluing. Patience here saves heartbreak later.
Step 1: Pick the Right Glue
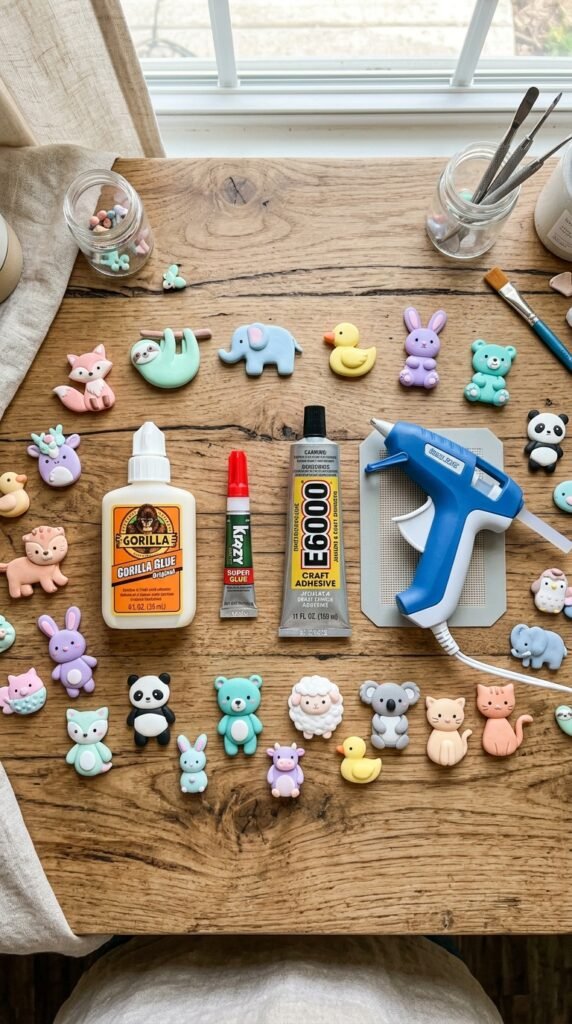
Not all glues hold a magnet on a fridge. Here are the ones that work, ranked by how crafters actually use them.
Gorilla Glue is the top pick for bumpy or textured pieces. It expands as it dries. That helps it seep into little cracks and grip tight. Check it after 10 minutes and wipe away any extra with a toothpick.
Super glue is the fastest and most common choice. Loctite is a reliable brand. It sets in 30 to 60 seconds. Great for flat backs and small magnets.
E6000 dries clear and holds strong. Pick this when you want the glue to stay invisible.
Epoxy glue suits ceramic and resin pieces. It forms a smooth, solid bond.
Hot glue works in a pinch. It is fast but less durable, so skip it for magnets you handle a lot.
Budget tip: one small tube of super glue does dozens of magnets. You do not need anything fancy.
Step 2: Clean Both Surfaces First
This tiny step makes a big difference, and most people skip it.
Dust, oil, and clay residue stop glue from gripping. A quick wipe fixes that.
- Dab a little rubbing alcohol on a cloth.
- Wipe the back of the clay where the magnet goes.
- Wipe the magnet too.
- Let both dry for a few seconds.
Clean surfaces give the glue something solid to bond to. That alone stops a lot of fall-offs.
Step 3: Glue and Hold Steady
Now for the actual attaching. Keep it simple.
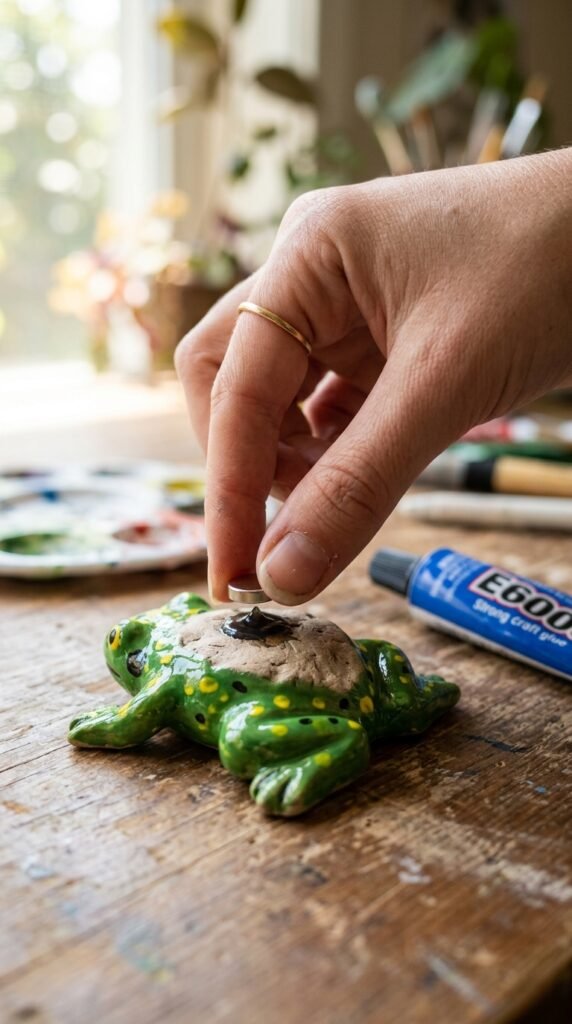
- Add a small dot of glue to the magnet, not a flood.
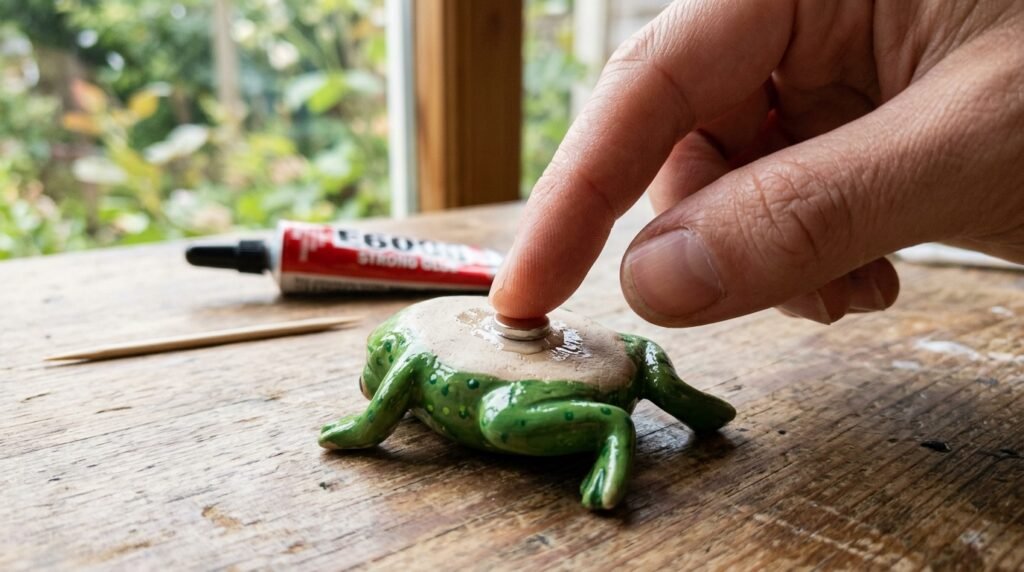
- Press the magnet onto the cool clay back.
- Hold it steady for 30 seconds to a minute.
For super glue, a quick hold is enough. For Gorilla Glue, check after 10 minutes and clean any expanding excess with a toothpick.
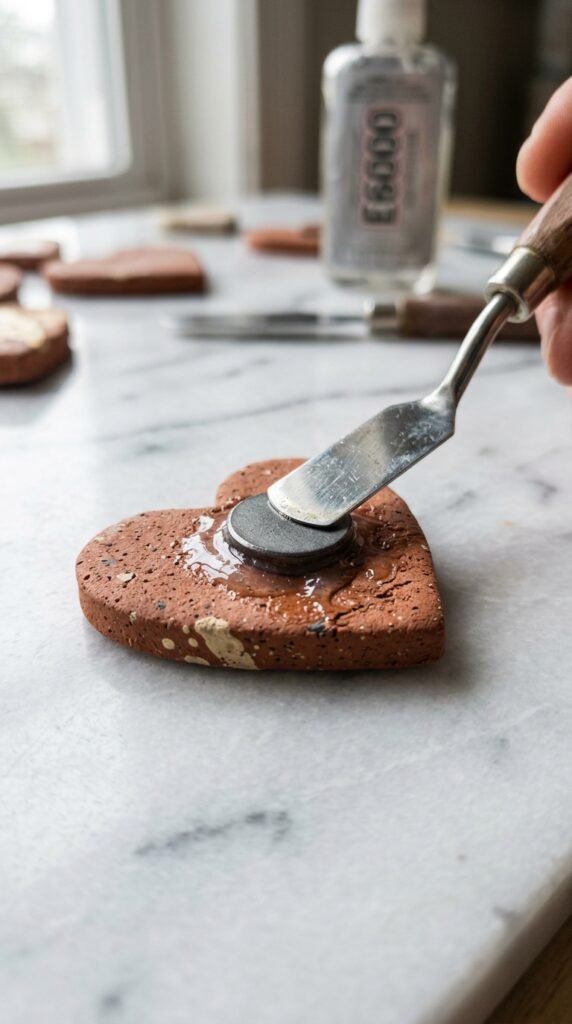
A handy trick: hold the magnet down with a metal tool or a butter knife while it sets. The magnet sticks to the metal, so it does not twist or slide as the glue grabs.
Step 4: Match the Magnet to the Size
One magnet is not always enough.
- Small magnets (cherries, letters): one round magnet works fine.
- Bigger or heavier pieces: use two magnets, spaced apart.
- Strong neodymium magnets hold heavier sculptures despite their tiny size.
A quick tip on orientation: one side of a magnet often grips the fridge better. Stick a piece of tape on each side and test which holds stronger. Glue the weaker side to the clay so the strong side faces out.
Safety note: keep tiny strong magnets away from young kids. Swallowed magnets are dangerous.
Step 5: Wait 24 Hours Before Using
This is the patience part, and it matters most.
Glue may feel dry in minutes. It is not fully cured yet.
Let the magnet sit for a full 24 hours before you stick it on the fridge. Rushing this is the number one reason magnets fall off after a few days.
Want a flush, pro look? Press a small pocket into the clay before baking. After it cools, drop the magnet into that pocket and glue. It sits level with the surface.
Final Takeaway
A magnet that never falls off is not about luck. Bake and cool the clay first. Clean both surfaces with alcohol. Use a strong glue like Gorilla or super glue. Hold it steady, then wait a full day before testing it on the fridge.
Do that, and your handmade clay friends will hang on tight for years.
Save this guide for your next clay session, and glue those magnets the right way the first time.