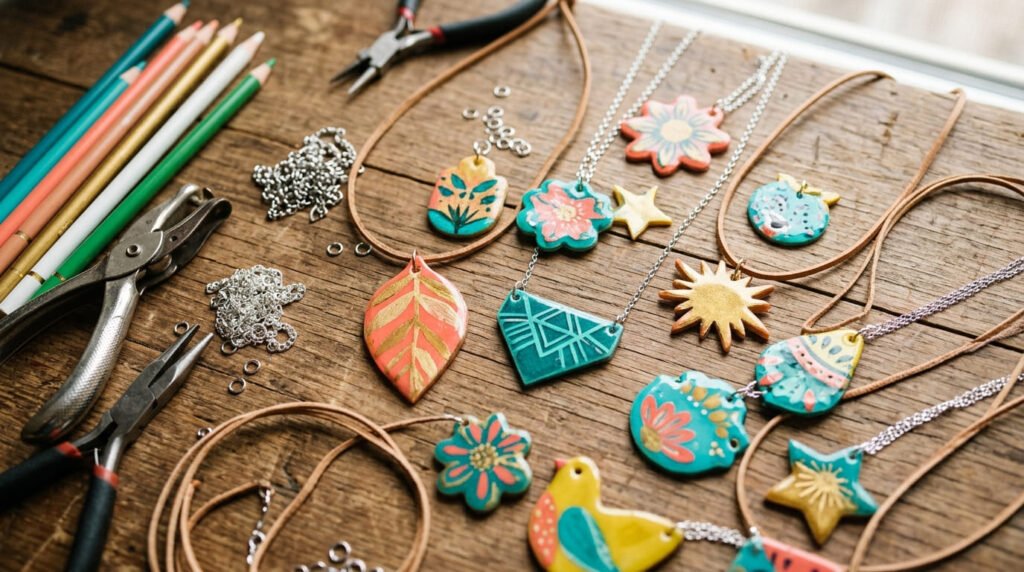
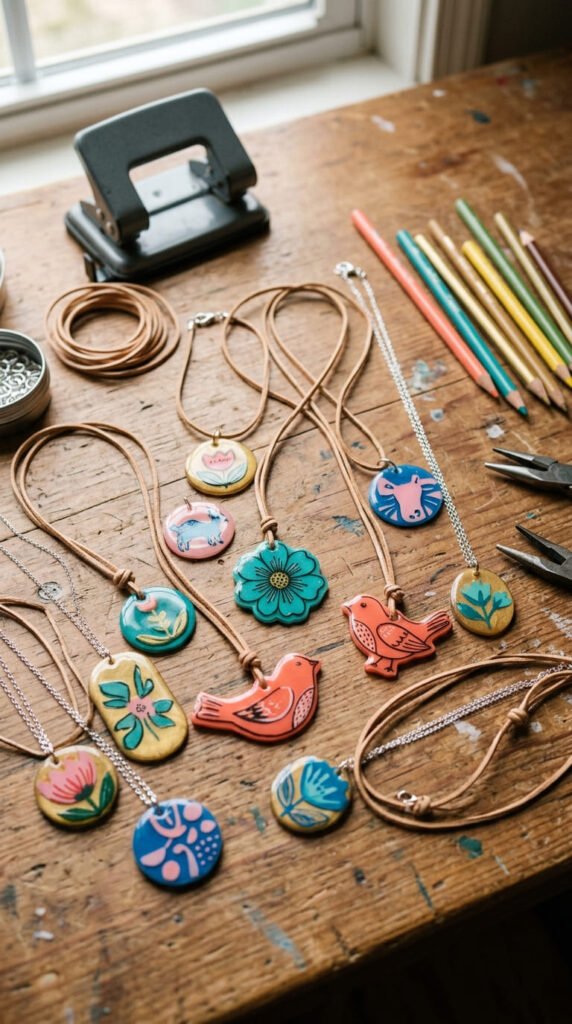
Shrinky Dink necklaces give you real jewelry from a sheet of plastic and an oven. You draw, you cut, you bake, and the design shrinks into a thick, glossy charm. The whole thing costs a few dollars and takes one rainy afternoon. Kids can do it. Beginners can do it. And the results look far more expensive than they are. Below are 25 ideas you can make this weekend, each with a simple plan, a budget tip, and an easy way to start. Grab a pack of shrink plastic, a permanent marker, and a baking tray, and pick whichever one speaks to you.
1. Family Silhouette Pendant
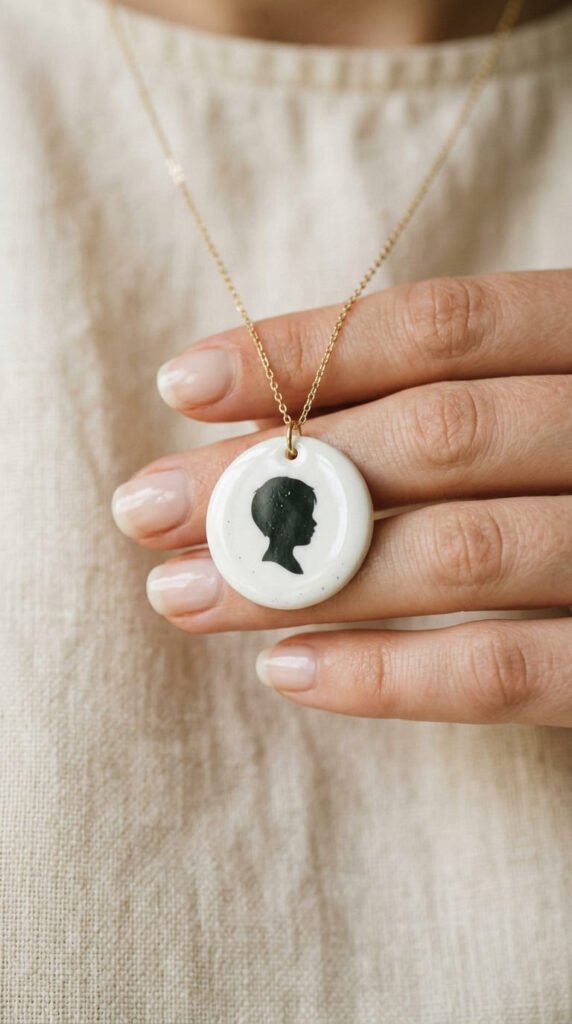
Trace a profile photo and turn it into a keepsake. Side-profile silhouettes read beautifully once they shrink and darken. Snap a phone photo of someone facing sideways. Print it small. Tape the print under your shrink plastic and trace the outline with a fine black marker. Fill the shape solid. Punch a hole at the top before you cut it out. Then bake.
The plastic shrinks to about a third of its size, so your lines get sharp and bold. A wobbly trace cleans up on its own.
Budget tip: You don’t need fancy supplies. A regular Sharpie and free printer paper work fine. One sheet of shrink plastic makes four or five pendants.
Make a set for grandparents using each grandchild’s profile. String them on one chain. Or do the whole family on separate charms and gift them at the holidays.
If your first trace looks rough, flip the sheet and try the cleaner side. Keep the original photo small. Smaller traces hide mistakes because shrinking tightens every line. Seal the finished charm with a dab of clear nail polish for shine.
2. Hand-Lettered Name Necklace
A name charm feels personal and takes ten minutes. Hand-lettering looks intentional even if your handwriting is plain. Write the name in pencil first on the shrink sheet. Go slow. Then trace over it with a permanent marker once you like the spacing.
Shrinking makes thin letters thicker and smoother, so don’t stress about perfect strokes. A casual script tightens into something that looks polished.
Budget tip: Skip stencils. Print the name in a font you like, tape it underneath, and trace. Free fonts online give you script, bubble, or block styles for nothing.
Try a kid’s name for a backpack charm. Try a nickname for a friend. Try a single initial if a full name feels busy.
Leave breathing room around the edges. Letters near the border can tear after the plastic curls and flattens. Punch your hole inside a thick part of a letter or just above the word.
Color the background a soft tone with colored pencil for contrast. Bake, press flat with a spatula while warm, and let it cool. Add a jump ring and a chain.
3. Tiny Pressed Flower Charms
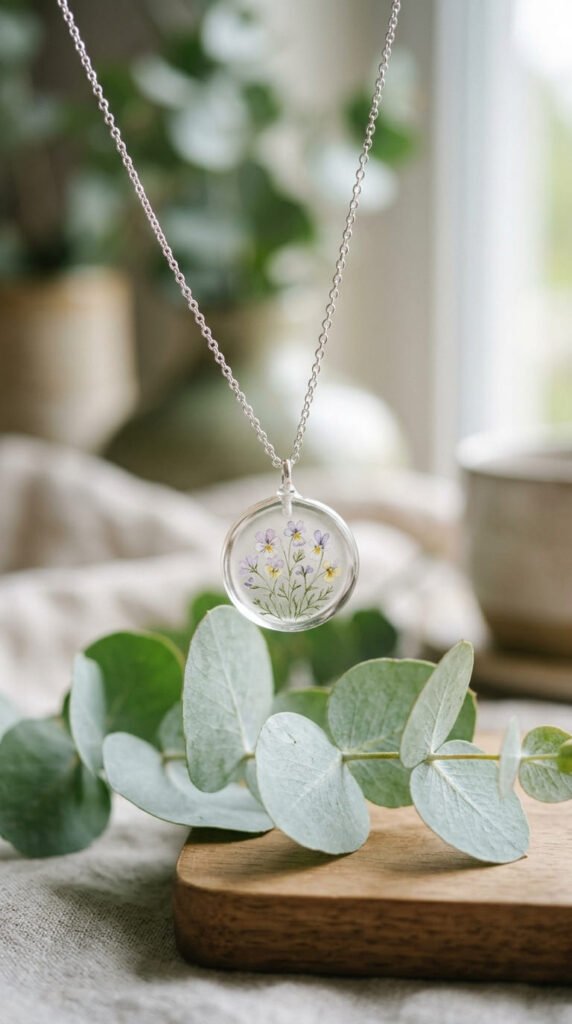
Mimic the look of pressed flowers without real petals. Hand-drawn blooms stay flat, last for years, and never crumble. Sketch a few small flowers with colored pencils on frosted shrink plastic. Frosted sheets grab pencil color better than glossy ones.
Keep each flower small. Once it shrinks, color deepens and edges sharpen, so a faint sketch turns vivid.
Budget tip: Colored pencils you already own work great here. You don’t need craft markers. A basic 12-pack covers every petal shade you’ll want.
Cluster three tiny flowers on one charm for a garden feel. Or do one bloom per pendant and link several on a chain.
Outline each petal lightly in marker if you want crisp edges. Soft pencil alone gives a dreamy look. Both bake fine.
Punch the hole before baking, always. Drilling shrunken plastic afterward cracks it. Place the hole near a stem or leaf so it blends in.
After baking, the surface stays a little matte. A thin coat of clear gloss or floor wax brings out the colors and protects them from scuffs over time.
4. Layered Flower Stack Pendant
Stack two charms for a piece with real depth. Layering turns flat plastic into something dimensional. Make one large flower and one smaller flower in a different color. Bake both. Then glue the small one on top of the large one.
The size contrast does the work. A tiny white bloom on a big coral bloom looks designed, not homemade.
Budget tip: Use scraps. The leftover bits from other projects are perfect for small top layers. Nothing goes to waste, and you spend zero extra dollars.
Try a flower on a flower. Try a heart on a circle. Try a star on a moon. Any pair with a size gap works.
Glue matters here. A dot of strong craft glue or a glue gun holds the layers tight. Press and let it set fully before wearing.
Punch the hole through the bottom layer only, near the top edge. Thread the chain through the back charm so the front layer floats clean.
Add a clear gloss coat over both pieces once glued. The shine ties the two colors together and hides any glue lines along the edges.
5. Sharpie Galaxy Pendant
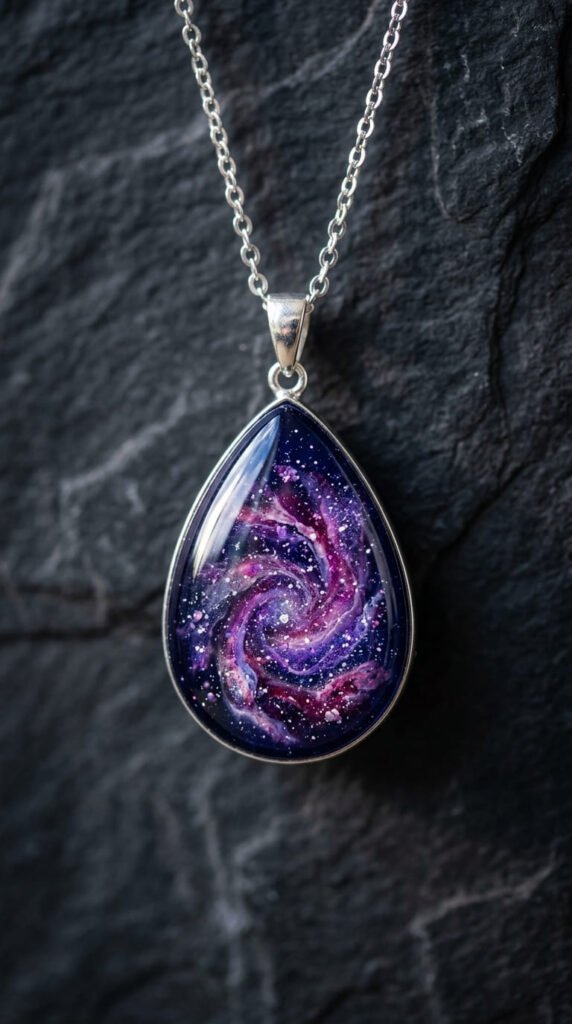
Make a swirling night-sky charm with markers alone. A galaxy effect looks complicated but uses simple layering. Color a charm with deep blue and purple permanent marker. Blend the edges while wet. Then dab white paint or a white gel pen for stars.
Shrinking pulls the colors tighter, so the swirls grow rich and saturated. A patchy job evens out in the oven.
Budget tip: Two or three markers cover this whole design. A white gel pen from any dollar store handles the stars. Total spend stays under a few dollars.
Flick tiny white dots for distant stars. Add one or two bigger dots for nearby ones. Less is more.
Cut the charm into a circle, a teardrop, or a tiny moon shape. Round shapes suit galaxy designs and feel finished.
Punch your hole first. Bake on the shiny side down so the colored side faces up clean. Watch it curl, flatten, and settle.
Seal it well. Galaxy charms get touched a lot, and the gel-pen stars can rub off without a clear topcoat. A glossy finish also makes the whole sky look wet and deep.
6. Initial Monogram Charm
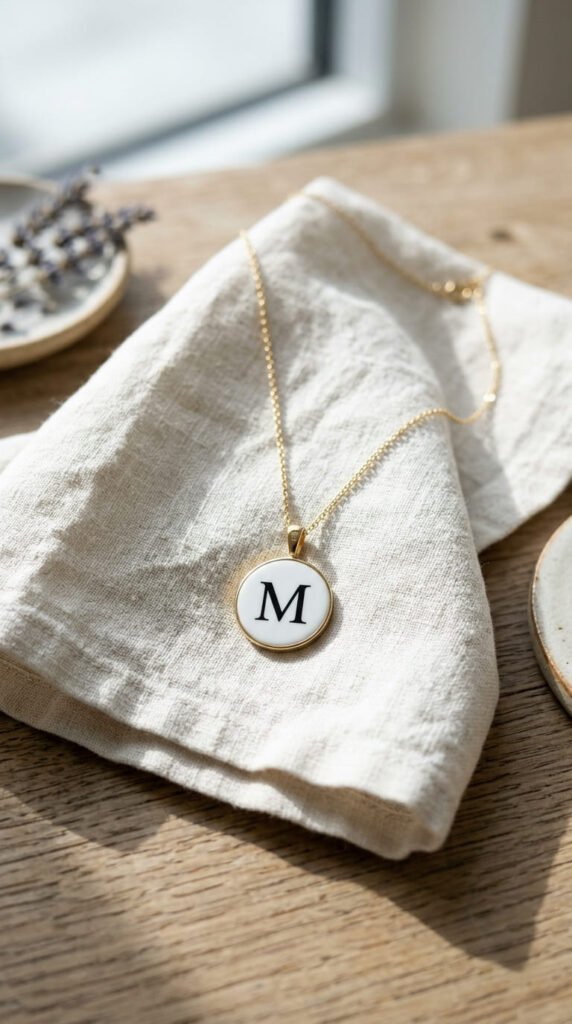
One letter says plenty. A single-initial charm is the fastest project on this list and works for any age. Pick a font you like. Print the letter at about three inches tall. Trace it onto your shrink sheet and fill it in.
Big letters shrink down to a tidy, weighty charm. The thickness after baking gives it a premium feel.
Budget tip: Free font sites let you preview hundreds of styles. Pick a bold serif for a classic look or a round font for something playful. Costs nothing.
Make matching initials for a group of friends. Make a stack of initials for one family on a single cord. Make a set in different colors.
Outline the letter, then fill with marker or colored pencil. Solid fills shrink darker and cleaner than open outlines, so go bold.
Punch the hole inside a thick part of the letter when you can. It hides the hardware and keeps the shape strong.
Bake, flatten while warm, cool, and seal. A clear coat over a glossy letter gives it that enamel-charm shine you’d pay real money for in a store.
7. Birthstone-Color Geometric Pendant
Skip real gems and fake the color instead. Birthstone shades carry meaning, and colored marker mimics them well. Cut a simple diamond or hexagon shape. Color it in the birth month’s stone color. Add darker shading near one edge for a faceted look.
Shrinking deepens the tone, so a medium green turns into a rich emerald. The shaded edge reads like a real cut stone.
Budget tip: A basic marker set covers every birthstone color. No gemstones, no settings, no jeweler. Each charm costs pennies in materials.
Make one charm per family member in their stone color. String them together for a mother’s necklace. Or gift a single birthstone charm for a birthday.
Draw a few light lines across the shape to suggest facets. Faux facets sell the gem illusion once everything shrinks tight.
Keep the geometry clean. Sharp corners shrink sharper, so a crisp cut pays off.
Punch the hole at a point or flat edge. Bake, flatten, cool. A heavy gloss coat is the secret here. It makes flat plastic look glassy and catches light like a polished stone would.
8. Pet Portrait Pendant
Carry your pet everywhere on a tiny charm. A pet portrait sounds hard but a traced photo makes it doable. Pick a clear side photo of your dog or cat. Print it small. Tape it under the sheet and trace the main shapes and features.
Detail tightens as it shrinks, so even a loose trace looks recognizable after baking. Wonky eyes straighten out.
Budget tip: Use a phone photo and home printer. No art skills required. Tracing does the drawing for you, and one sheet makes several attempts.
Add fur color with colored pencil. Keep it simple. A few well-placed marks read as fur better than scribbling the whole thing.
Outline in black marker for definition. Color the background or leave it clear.
Punch the hole near the top before cutting and baking. Round the charm corners so it sits comfortably against skin.
Bake on parchment, flatten while warm, and cool flat. Seal with gloss to protect the face from wear. Pet charms become daily-wear pieces, and a topcoat keeps the portrait sharp. Make a second one as a gift for anyone who loves the same pet.
9. Stamped Heart Charm
Borrow the look of a metal locket with a heart charm. Stamped patterns around the edge give a vintage, engraved feel. Cut a heart shape. Draw a simple border of dots, dashes, or tiny flowers around the rim with a fine marker.
The pattern shrinks into a delicate, lacy edge. Hand-drawn dots that look uneven turn even and tight.
Budget tip: No stamps or metal tools. A fine-tip marker draws every “stamped” mark for free. The whole charm costs almost nothing.
Fill the center with a soft color or a tiny initial. A small detail in the middle keeps the heart from looking empty.
Try a blush pink heart with a gold-pencil border. Try a red heart for a bolder look. Both shrink beautifully.
Punch the hole at the dip of the heart or off to one side. Cut clean, smooth curves so the shape stays soft.
Bake, press flat, cool. Heart charms make easy gifts for partners, friends, or moms. Seal with a glossy coat so the blush color stays bright. Pair it on a fine chain for a piece that looks like it came from a jewelry counter.
10. Watercolor Pencil Ombre Pendant
Get a soft gradient using colored pencils. An ombre fade looks modern and takes patience, not skill. Use frosted shrink plastic. Color heavily at one end and lighter toward the other. Blend the middle with your finger or a tissue.
Shrinking concentrates the color, so a gentle fade becomes a smooth, rich gradient. Light pencil pressure leaves room to deepen the bottom.
Budget tip: Two pencils in similar shades make the cleanest fade. Peach to coral, or sky blue to navy. Use what’s in your pencil case.
Pick a tall rectangle or a long oval shape. Vertical charms show off gradients best because the eye reads top to bottom.
Layer two colors at the dark end for extra depth. Keep the light end barely touched.
Punch the hole at the top. Bake on parchment so the matte surface stays even. Frosted plastic can stay cloudy, which suits the soft look.
Once cool, brush on a clear gloss to wake up the colors and add shine. The matte fade turns glossy and bright. Wear it on a simple chain so the gradient does all the talking.
11. Zodiac Constellation Necklace
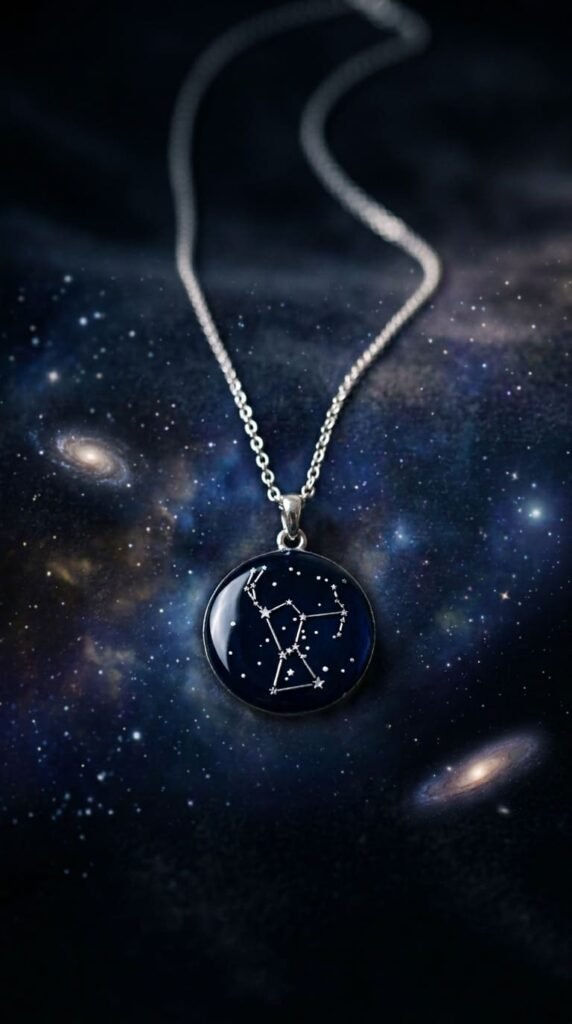
Map a star sign onto a charm. A constellation design feels personal and looks elegant. Find the dot pattern for a zodiac sign online. Draw the stars as white or gold dots on a dark-colored charm. Connect them with thin lines.
Shrinking pulls the dots and lines close, so a sparse pattern becomes a tidy little sky map. Loose spacing tightens up nicely.
Budget tip: A white gel pen and one dark marker make this whole design. Both cost a couple of dollars and last for dozens of charms.
Color the charm deep blue or black first. Let it dry. Then add the stars. Dark backgrounds make pale stars pop after baking.
Make a set for friends, each with their own sign. Or do your sign and a partner’s on two charms.
Cut a circle or a small rectangle. Punch the hole at the top before baking.
Bake on the colored side up so the stars stay crisp. Flatten while warm, cool, and seal with gloss. The shine makes the dark sky look like glass and the stars look lit. Hang it on a delicate chain for an everyday piece.
12. Mini Photo-Frame Charm
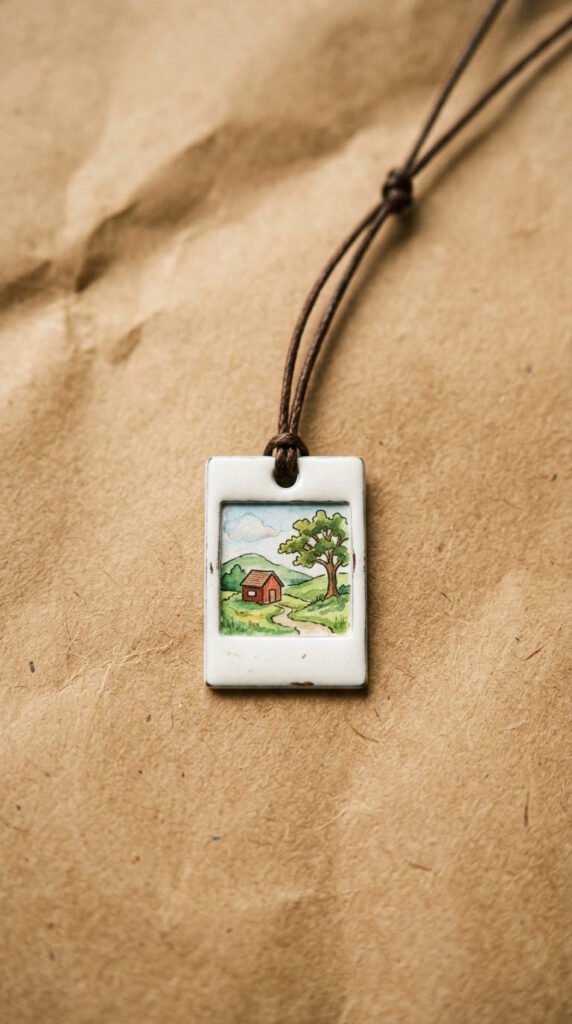
Make a charm that looks like a tiny instant photo. The white-border frame look is instantly recognizable and sweet. Cut a small square. Draw a white border around the edge, leaving a thick strip at the bottom. Fill the center with a tiny scene or face.
Shrinking keeps the frame proportions, so your little photo charm looks like a shrunk-down snapshot. Rough borders clean up.
Budget tip: Trace a real photo for the center if drawing feels hard. Print it small, tape it under, and trace the basics. Free and easy.
Draw a beach, a pet, or a simple landscape inside. Keep the center scene simple since detail gets tiny after shrinking.
Leave the bottom strip blank like a real instant photo. That white space sells the whole look.
Punch the hole in the top border. Cut clean square edges.
Bake on parchment, flatten while warm, cool flat. Seal the front with gloss so it looks like a glossy print. These make charming gifts for anyone feeling nostalgic. String one on a cord for a casual, playful necklace that always starts a conversation.
13. Stained-Glass Effect Pendant
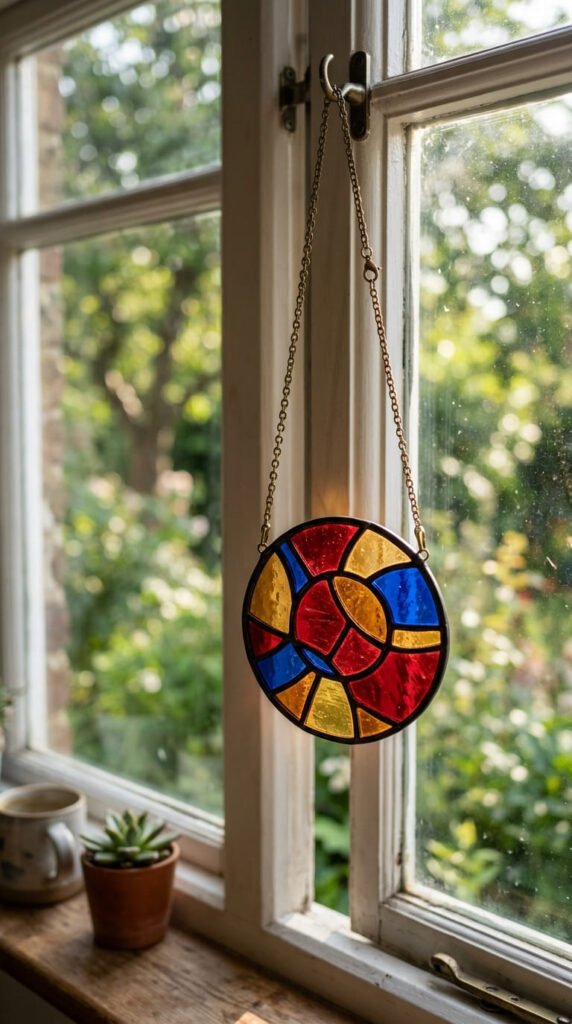
Fake the look of stained glass with bold outlines. The black-line grid is what makes this design work. Draw a simple shape divided into sections with thick black marker lines. Fill each section with a different bright color.
Shrinking thickens the black lines and deepens the colors, giving you that leaded-glass look. Thin lines become bold borders on their own.
Budget tip: Bright markers in a few colors cover this. The black outline does the heavy lifting, so even basic colors look rich inside it.
Try a flower, a heart, or a geometric pattern broken into chunks. Bold outlines around every shape are the trick, so don’t skip them.
Keep each color section solid and separate. Gaps between colors read as glass seams.
Cut a clean shape. Punch the hole at the top before baking.
Bake on the colored side facing up. Flatten, cool, and seal with a heavy gloss. The shine is what completes the glass illusion. Hold the finished charm to a window and the colors glow. Hang it on a chain and it catches light all day like real stained glass would.
14. Map Coordinates Pendant
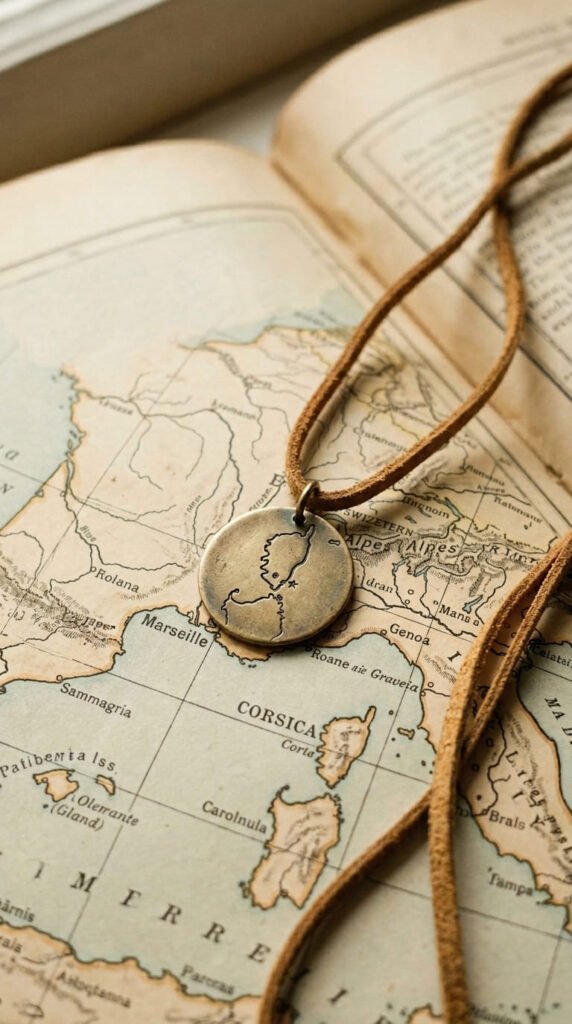
Pin a meaningful place on a charm. A map or coordinates design holds real sentiment. Draw a simple map outline of a favorite spot, or just write the latitude and longitude numbers. Add a small dot or heart on the exact location.
Shrinking sharpens thin lines and tiny text, so a delicate map stays readable after baking. Shaky lines firm up.
Budget tip: Print a screenshot of the map area, tape it under the sheet, and trace the main roads or coastline. No drawing talent required, and it’s free.
Mark where you met someone. Mark a hometown. Mark a place you traveled. The single dot carries the whole meaning, so keep the rest minimal.
Use a fine-tip marker for clean lines. Sepia or brown pencil gives a vintage-map feel.
Cut a circle. Punch the hole at the top before baking.
Bake, flatten while warm, and cool. Seal with a matte or gloss coat depending on the look you want. Matte suits the old-map vibe. These make deeply personal gifts for anniversaries or moves. String one on a leather cord for a piece with a story behind it.
15. Faux Marble Swirl Pendant
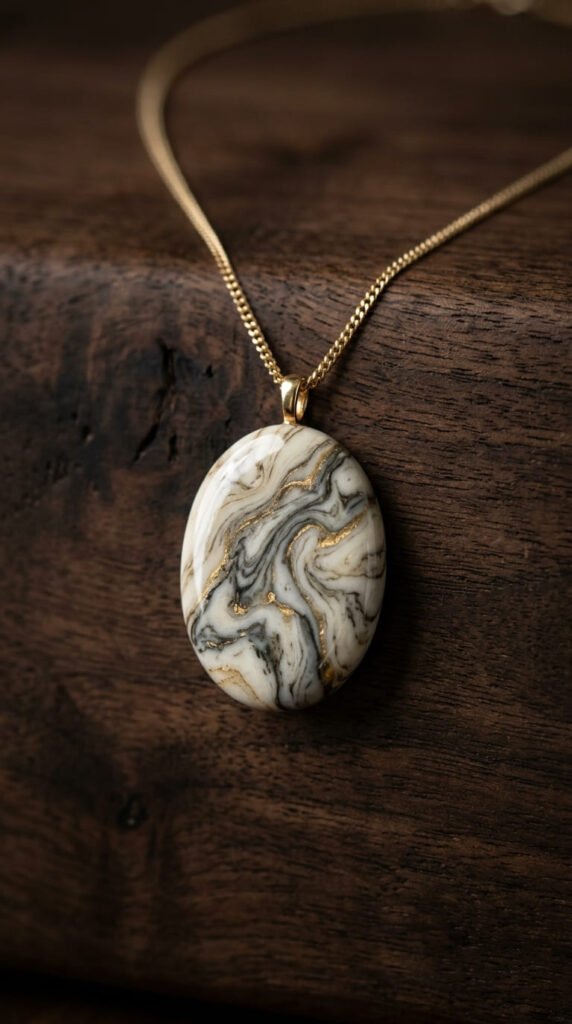
Get the look of marble with two markers and a swirl. Faux marbling turns a plain charm into something that looks like stone. Color the charm with light gray. While the ink sits wet, drag a darker gray and a touch of gold in swirling lines. Let them blend slightly.
Shrinking tightens the swirls into fine veins. Loose, messy marbling actually shrinks into convincing stone texture.
Budget tip: Gray and gold markers are all you need. A metallic gold pen adds the luxe veins that make marble look real. Both reuse for many charms.
Keep the veins thin and uneven. Real marble is never symmetrical, so embrace the randomness.
Cut a clean circle, oval, or bar shape. Simple shapes show off the pattern best.
Punch the hole at the top before baking. Bake on parchment, colored side up.
Flatten while warm and let it cool fully. The gloss coat is non-negotiable here. A high-shine finish makes plastic look polished, like a real marble cabochon. Hang it on a thin gold chain and most people won’t guess it started as a sheet of plastic and a couple of markers.
16. Pop-Art Comic Charm
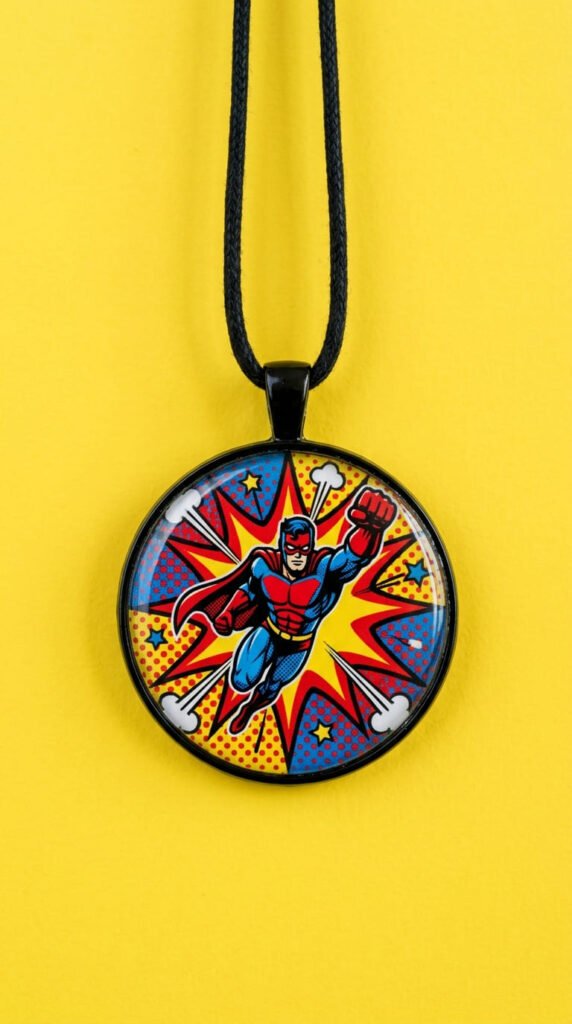
Channel comic-book energy into a charm. A pop-art design uses bold colors and thick lines that shrink beautifully. Draw a simple icon, a speech bubble, or a lightning bolt. Outline everything in heavy black. Fill with primary colors. Add dots for that comic shading.
Shrinking thickens the outlines and tightens the dots, giving you a crisp, printed look. Hand-drawn dots even out in the oven.
Budget tip: Red, yellow, blue, and black markers make every pop-art look. Four markers, dozens of charms. The dot pattern needs only the black pen.
Pick one bold image. Simple icons read best because comic style is all about clean, loud shapes.
Keep the black outlines thick. Thin lines lose the comic punch.
Cut a clean shape and punch the hole before baking. Bake colored side up.
Flatten while warm, cool flat, and seal with heavy gloss. The shine mimics a printed comic panel. These charms suit anyone with a playful style. String one on a black cord for an everyday piece that feels fun and a little retro without costing more than spare change.
17. Botanical Leaf Pendant
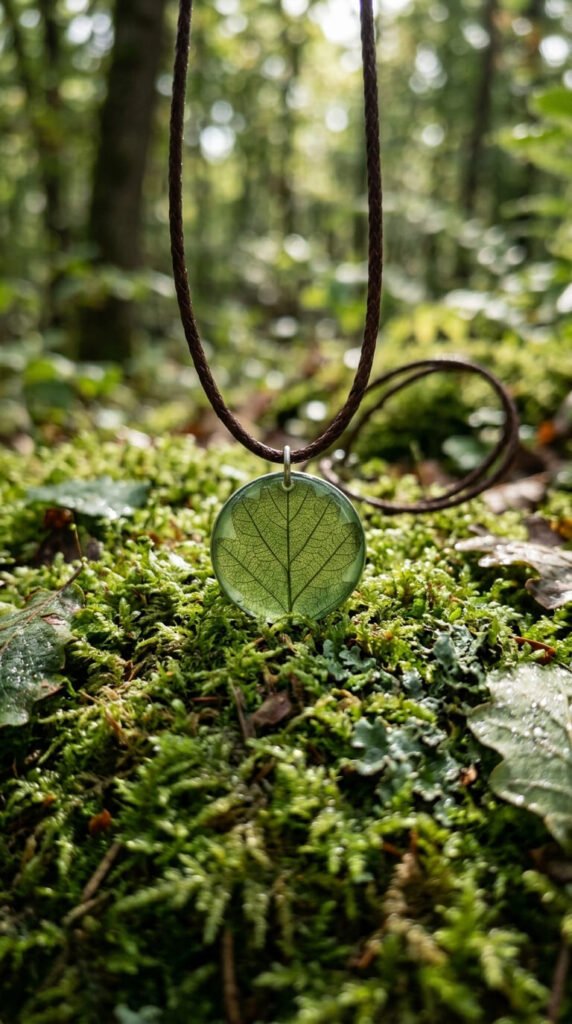
Capture a leaf’s detail in a charm. A botanical leaf design looks organic and calming. Place a real leaf under your shrink sheet and trace its outline and veins. Or draw a simple leaf shape and add veins freehand. Color it in greens.
Shrinking sharpens the fine vein lines, so a delicate tracing becomes a detailed, natural-looking charm. Faint lines darken just right.
Budget tip: Real leaves from your yard are free templates. Lay one under the sheet, trace, and you’ve got perfect botanical detail with zero cost.
Use two or three green pencils for depth. Layering greens reads as natural shading once shrunk.
Outline the leaf in a darker tone for definition. Keep the veins thin and branching.
Cut along the leaf shape for an organic edge. Punch the hole at the stem end before baking.
Bake on parchment, flatten while warm, and cool. Seal with a matte coat for a natural feel or gloss for a fresh-leaf shine. Both work. These charms suit plant lovers and gardeners. String one on a natural cord for a piece that feels grounded and earthy without any real foliage to wilt.
18. Multi-Charm Cluster Necklace
Group several small charms on one cord. A charm cluster looks abundant and lets you use up odd pieces. Make five or six tiny charms in a theme. Mixed shapes, mixed colors. Then string them all close together near the bottom of one chain.
Small charms shrink fast and bake evenly, so a batch comes together quickly. Tiny shapes hold detail surprisingly well.
Budget tip: This is the leftover project. Use scraps and test pieces from everything else. Nothing goes to waste and you spend zero extra.
Pick a loose theme. Stars and moons. Fruits. Flowers. A shared theme ties random charms together so the cluster looks planned.
Vary the sizes a little for visual interest. Punch a hole in each before baking.
Bake them all on one tray. Flatten while warm. Cool flat.
Add a jump ring to each charm. String them onto a chain or cord, bunched near the center. Seal them all with gloss for a uniform shine. The cluster sways and catches light as you move. It’s the kind of layered, collected look that usually costs a lot from a boutique but here comes from your scrap pile.
19. Honeycomb Geometric Pendant
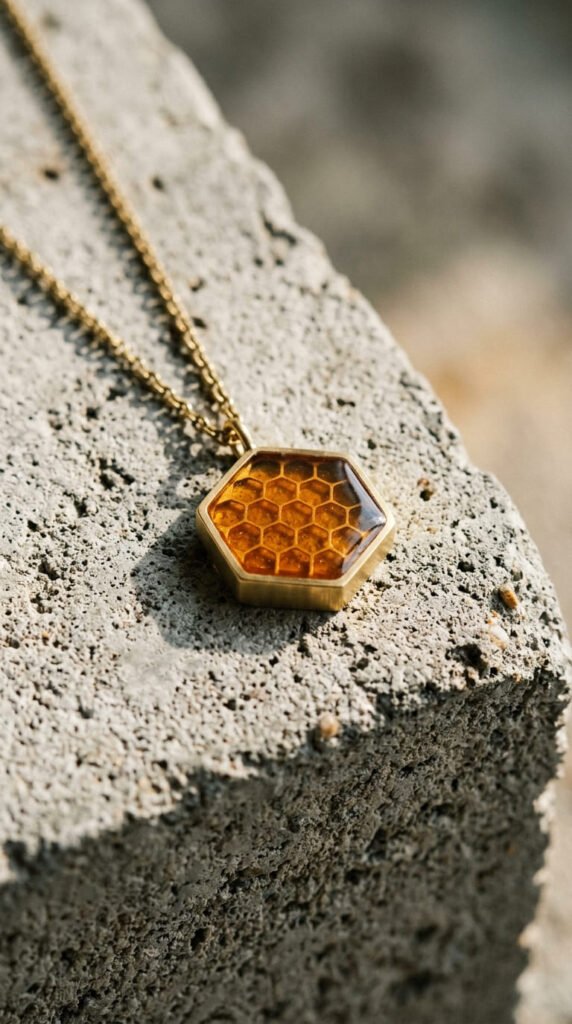
Lean into clean lines with a honeycomb charm. A geometric hex pattern feels modern and minimal. Cut a hexagon shape. Draw a few smaller hexagon cells inside with thin lines. Color them in warm amber and gold tones.
Shrinking sharpens the angles and lines, so a slightly off hexagon bakes into a crisp, even shape. Geometry forgives a shaky hand.
Budget tip: A ruler and one or two markers make this. Straight edges keep it clean, and you likely have both already. Cost is basically nothing.
Keep the cell pattern simple. Three or four cells read as honeycomb without crowding the shape.
Use amber, gold, and a touch of brown for a warm, hive-like feel. Or go cool with grays for an industrial look.
Cut clean straight edges. Punch the hole at one point of the hexagon before baking.
Bake colored side up, flatten while warm, and cool flat. Seal with gloss for shine or matte for a stone-like finish.
This design suits anyone who likes minimal, modern jewelry. Hang it on a brass chain for a piece that looks architectural and intentional, the kind of clean geometric charm you’d expect to find in a design-shop window.
20. Cloud and Rainbow Charm
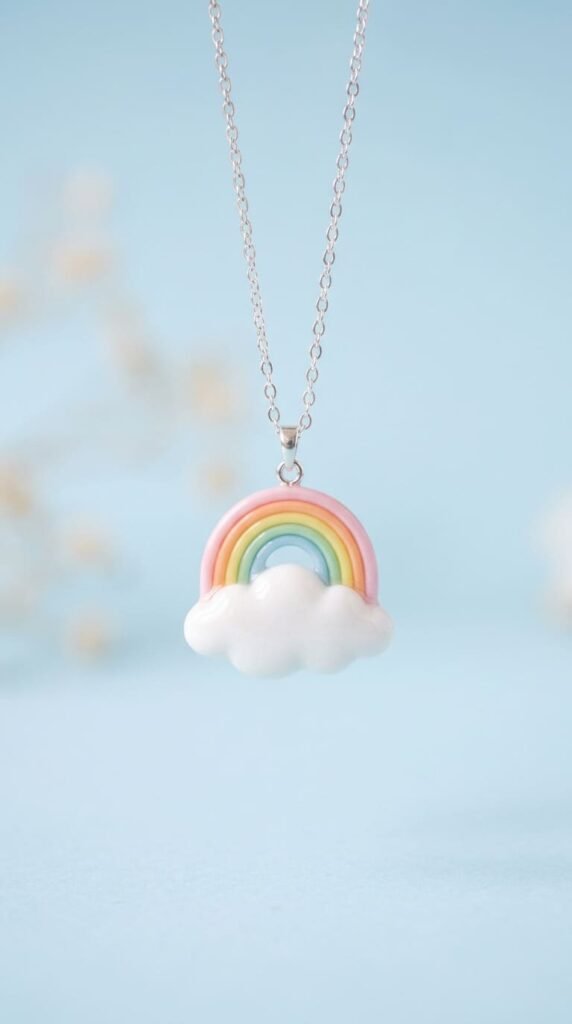
Make a happy little weather charm. A cloud-and-rainbow design is cheerful and great for kids. Draw a rounded cloud shape. Add a soft rainbow arc above or beside it. Color the cloud white or pale gray and the rainbow in pastel bands.
Shrinking smooths the rounded edges and brightens the pastels. Soft, fuzzy coloring tightens into clean bands.
Budget tip: Pastel markers or light pencil pressure give the soft look. You don’t need special colors. Light pressure makes pastels, so press gently.
Keep the rainbow to three or four colors. Too many bands get muddy after shrinking.
Outline the cloud lightly in gray for shape. Leave the inside mostly white.
Cut around the cloud-and-rainbow shape for an organic edge. Punch the hole at the top before baking.
Bake on parchment, flatten while warm, and cool flat. Seal with gloss for a bright, candy-like shine.
This charm suits kids and anyone who likes a bit of whimsy. It’s a quick, low-cost project for a party craft or a rainy-day activity. String one on a short chain for a sweet, lighthearted necklace that makes people smile.
21. Faux Sea Glass Pendant
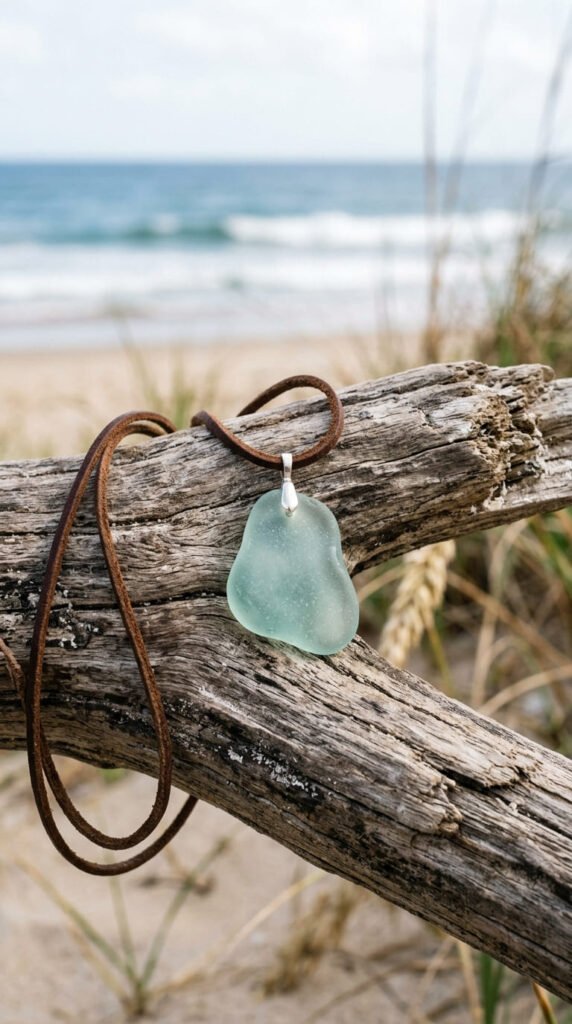
Recreate beachy sea glass without the beach. Frosted, soft-edged charms mimic sea glass perfectly. Use frosted shrink plastic. Color it lightly in seafoam, aqua, or pale green. Keep the color uneven and soft. Round all the corners.
Shrinking deepens the soft color while the frosted surface stays cloudy, giving you that tumbled-glass look. Uneven coloring reads as natural wear.
Budget tip: One or two ocean-toned pencils make this. Light, patchy coloring is the goal, so you barely use any ink. Less color looks more authentic.
Round every edge with scissors. Soft, smooth corners sell the sea-glass illusion since real beach glass has no sharp points.
Skip the gloss coat on this one. The matte, frosted finish is exactly the look. A shiny coat would ruin the effect.
Punch the hole at the top before baking. Bake on parchment so the surface stays even and cloudy.
Flatten gently while warm and let it cool flat.
This charm suits beach lovers and anyone who likes calm, coastal style. String one on a leather cord for a relaxed, natural piece. It looks like you found it washed up on the shore, not made it on your kitchen counter.
22. Mantra Word Pendant
Wear a word that means something. A single-word charm keeps a reminder close. Pick one word. Calm. Brave. Breathe. Write it in your nicest script on the shrink sheet. Keep the rest of the charm simple.
Shrinking thickens and smooths the letters, so a casual script bakes into clean, polished lettering. Imperfect handwriting improves on its own.
Budget tip: No stencils. Write freehand or trace a printed word. One marker does the job, and a single sheet makes a whole set of word charms.
Pick a word that matters to you. Short words read clearest after shrinking, so one or two syllables work best.
Center the word and leave space around it. Crowded edges can tear after baking.
Color the background a soft neutral if you want contrast, or leave it clear.
Punch the hole at the top before cutting and baking. Bake, flatten while warm, cool flat.
Seal with gloss for a refined finish. These make thoughtful, low-cost gifts for someone going through a big change. String one on a fine chain for a quiet, personal piece that carries a daily reminder wherever you go.
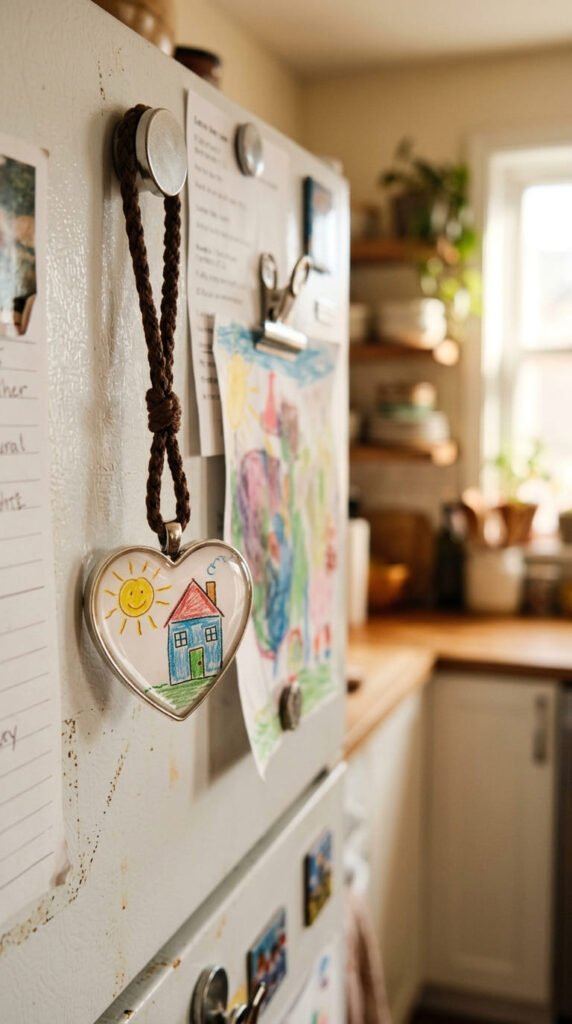
23. Kid’s Doodle Keepsake Pendant
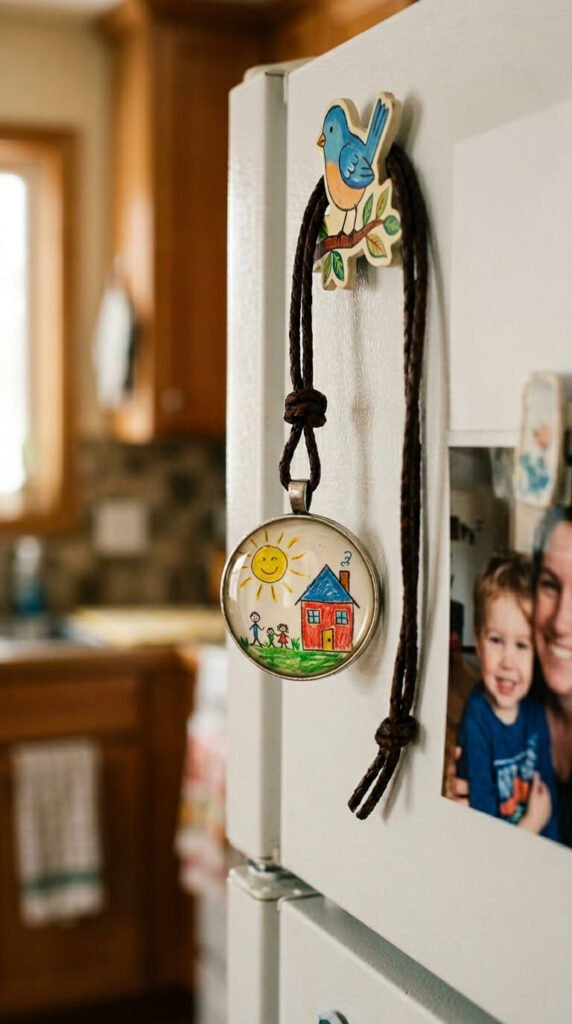
Turn a child’s drawing into wearable art. A kid’s doodle charm preserves a moment forever. Have a child draw something small directly on the shrink sheet with permanent markers. Or trace a doodle they already made onto the plastic.
Shrinking tightens the wobbly lines into a charming, detailed little piece. The childlike quality stays, just smaller and sturdier.
Budget tip: The art is free and one of a kind. Your kid is the designer here, so there’s no template to buy and no skill required from you.
Let them pick colors and shapes. A sun. A flower. A scribble that means something to them.
Help with the hole and the cutting for safety. Punch the hole before baking, always.
Bake it together as part of the activity. Watching it curl and shrink is half the fun for kids.
Flatten while warm and let it cool. Seal with gloss so the artwork survives daily wear.
These make priceless gifts for grandparents and parents. Each one captures a kid’s exact drawing at a certain age. String it on a cord and wear a piece of childhood that cost almost nothing to make but means everything.
24. Seasonal Holiday Charm Set

Match your jewelry to the season. Holiday-themed charms let you swap your look all year. Make a small batch tied to a season. Snowflakes for winter. Hearts for February. Pumpkins for fall. Keep each one simple and themed.
Small seasonal charms shrink fast, so you can make a whole holiday set in one baking session. Simple shapes hold up best.
Budget tip: One sheet makes a year’s worth of seasonal charms. Batch them all at once and store them to swap as the months change. Huge value from one cheap sheet.
Pick clear seasonal symbols. A snowflake. A heart. A leaf. A star. Recognizable icons read instantly even when tiny.
Use seasonal colors. Cool blues for winter, warm oranges for fall, reds and pinks for spring.
Punch a hole in each before baking. Bake the batch together on one tray.
Flatten while warm and cool flat. Seal each with gloss for shine.
Keep them in a small box and switch your charm with the season. These also make easy, affordable handmade gifts or party favors. One afternoon gives you a charm for nearly every holiday, all from a single inexpensive sheet of plastic.
25. Faux Enamel Pin Pendant
Copy the trendy enamel-pin look in charm form. A faux enamel design has bold flat colors and clean outlines. Draw a simple icon. A cactus, a star, a cute animal. Outline it in heavy black or gold. Fill with flat, solid bright colors.
Shrinking thickens the outline and saturates the flat colors, giving that glossy enamel-pin finish. Solid fills bake darker and richer.
Budget tip: Bold markers and one outline pen make this. A gold outline mimics metal pin edges, and a metallic gold pen costs only a couple of dollars.
Keep the icon simple and the colors flat. No shading needed, since enamel pins are all about clean, solid color blocks.
Outline everything clearly. The bold border is what makes it look like a real pin.
Cut along the icon’s edge. Punch the hole at the top before baking.
Bake colored side up, flatten while warm, and cool flat.
Seal with a thick gloss coat. The heavy shine is what sells the enamel look, so don’t skip it. The glossier, the better. String it on a thin chain for a charm that looks like the enamel pins everyone loves, made for a fraction of the price right at your own table.
Conclusion
Shrinky Dink necklaces prove you don’t need a big budget or fancy tools to make jewelry you’ll actually wear. A sheet of plastic, a marker, and your oven cover almost every idea on this list. Start with one easy project, like a single initial or a name charm, then work up to layered flowers or a marble swirl once you’ve got the rhythm. Punch your hole before baking, seal the finished charm with gloss, and you’ll have a piece that looks far pricier than it is. Pick two or three ideas, grab your supplies this weekend, and make something. The best part is that no two charms ever come out exactly alike, so whatever you create is one of a kind.