That curling, flipping, melting mess in the oven has ruined plenty of shrink plastic projects. You draw something perfect, slide it in to bake, and watch it fold over and stick to itself. The good news? Warping and curling are normal parts of the process, and once you know how the plastic behaves, you can guide it to lie flat every single time.
Here’s how to shrink plastic in the oven and get smooth, even pieces without the frustration.
Why Plastic Curls in the First Place
Curling isn’t a mistake. It’s just physics.
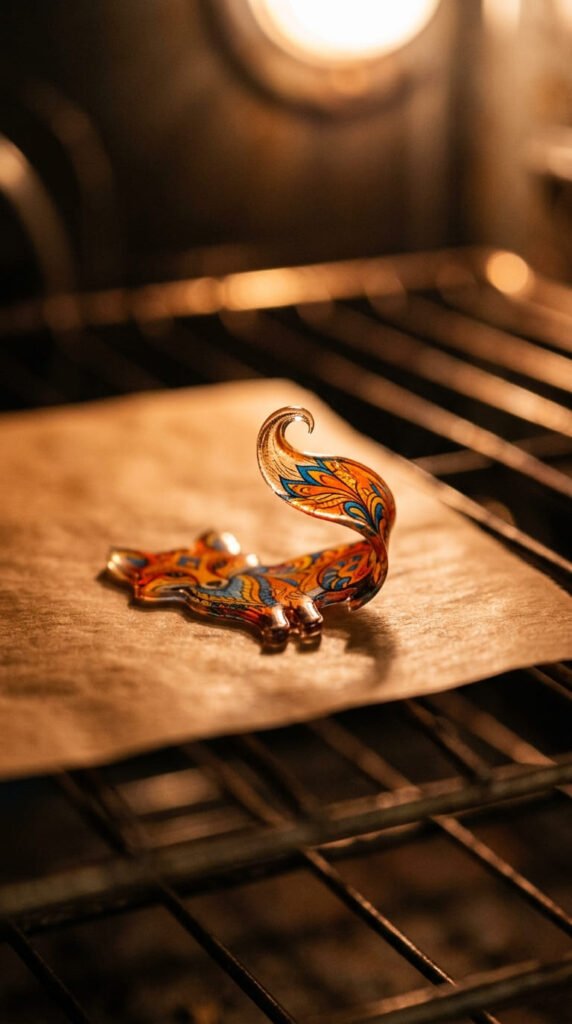
When shrink plastic hits the heat, the surface warms unevenly. One side tightens faster than the other, so the piece curls up, twists, and sometimes folds over completely. This is the scary part where most people panic and pull it out too early.
Don’t. The curling almost always sorts itself out.
If you wait a few more seconds, the plastic relaxes, uncurls, and settles flat on its own. The trick is knowing when to step in and when to leave it alone.
Get Your Setup Right Before You Bake
Most warping problems start before the oven even turns on. A few small prep steps prevent the worst of it:
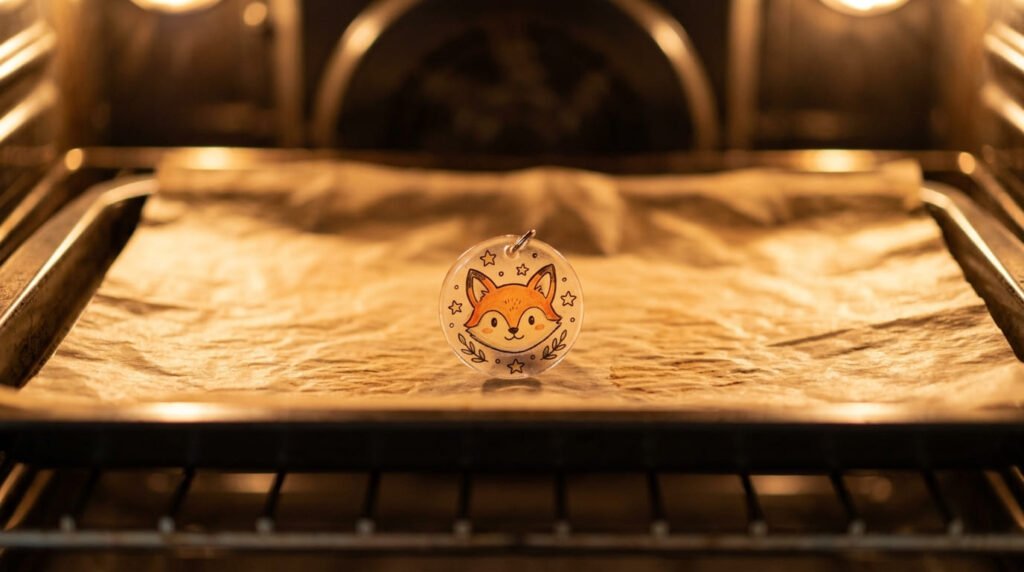
- Line your tray with parchment paper. It stops the plastic from sticking and lets it move freely as it shrinks.
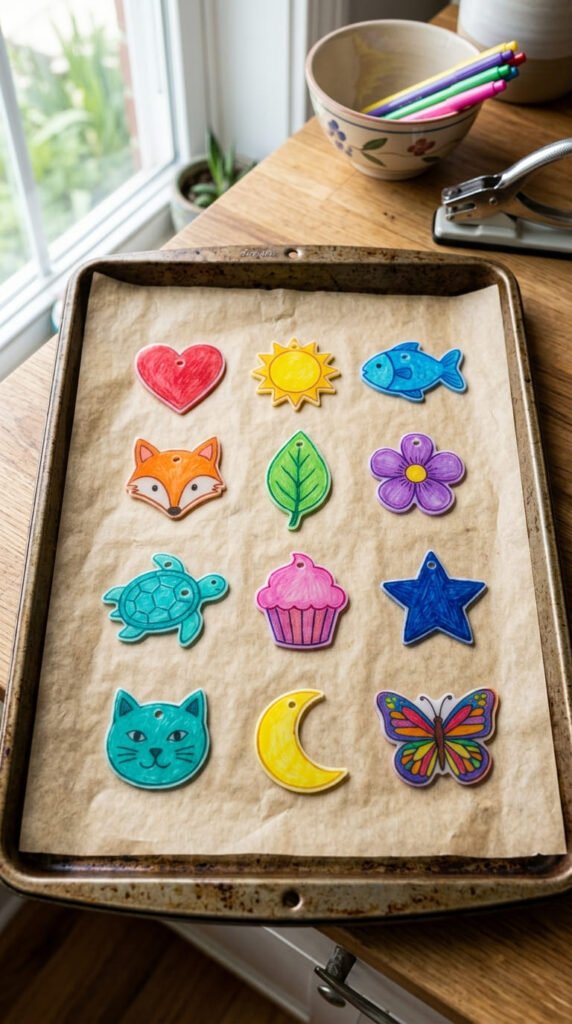
- Punch any holes before baking. Trying to drill a hole afterward cracks the hard, shrunken plastic.
- Leave space between pieces. Charms that touch in the oven will fuse together into one melted blob.
- Cut clean edges. Rough, jagged cuts curl more aggressively than smooth ones.
Give each piece room to do its thing. Crowding the tray is one of the most common causes of warped, stuck-together results.
Dial In the Right Temperature
Temperature is where most warping comes from. Too hot, and the plastic seizes up and curls violently.
Aim for a lower, steadier heat rather than blasting it:
- Preheat your oven to around 250–325°F (120–163°C).
- Lower temperatures shrink slower but give you far more control.
- If your pieces keep curling badly, drop the temperature and let them take a little longer.
Home ovens lie about their temperature all the time. If your results feel random from batch to batch, slip an oven thermometer inside and check the real reading. A 50-degree difference completely changes how the plastic behaves.
Slow and steady wins here. A gentler bake almost always lies flatter than a hot, fast one.
Watch It, Don’t Time It
Forget setting a timer and walking away. Shrink plastic doesn’t follow the clock.
Stay at the oven and watch the whole cycle:
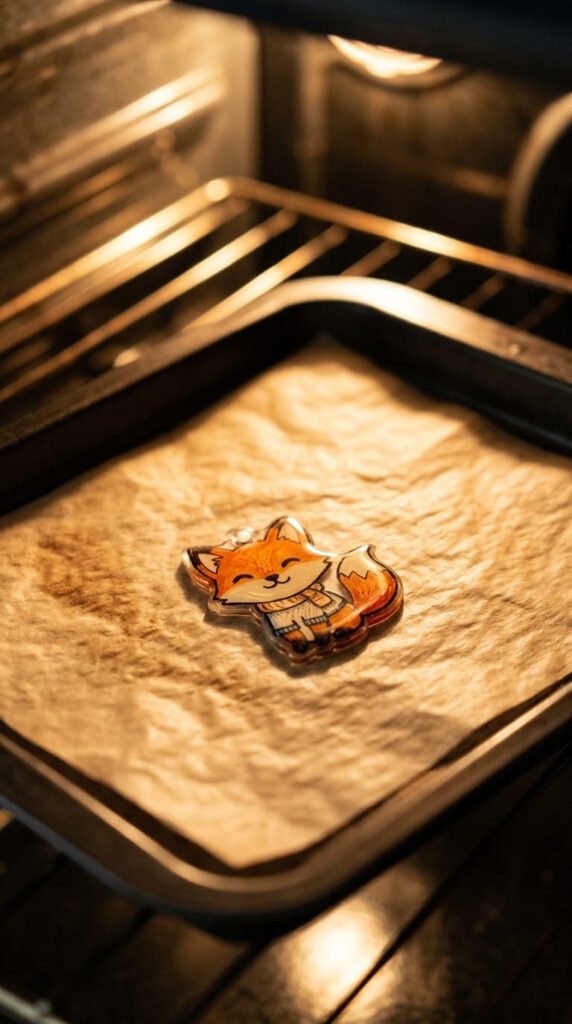
- The piece curls up and twists.
- It keeps moving and shrinking.
- It uncurls and flattens back down.
- It stops moving completely.
That last step is your signal. When the plastic stops moving, it’s done. Pull it out then, not a moment before the curling settles.
The whole thing usually takes 30 seconds to 3 minutes, but the time matters less than the motion. Trust your eyes over any number.
Flatten It Fast While It’s Warm
Even with a perfect bake, a piece can come out slightly bent. The fix takes about five seconds.
The moment you remove it from the oven, the plastic is still soft and bendable. Press it flat right away:
- Lay a flat, heavy object on top, like a hardcover book or a glass.
- Press gently and hold for a few seconds.
- Let it cool completely under the weight.
The plastic hardens fast as it cools, locking in whatever shape it’s in. So if you want it flat, flatten it in those first few warm seconds.
A small spatula also works to press down stubborn curled corners while they’re still soft.
Quick Fixes for Common Problems
A few troubleshooting tips for when things still go sideways:
- Still curling and won’t flatten? Your oven is too hot. Lower the temperature next batch.
- Pieces fusing together? Space them farther apart on the tray.
- Plastic sticking to the tray? Use fresh parchment every time.
- Edges folding over? Pull the piece out the second it uncurls, then press flat immediately.
Most warping comes down to too much heat or too little space. Adjust those two things and your success rate climbs fast.
Final Takeaway
Shrinking plastic without warping comes down to three simple habits: bake at a lower temperature, watch the piece instead of the clock, and flatten it the moment it leaves the oven. Curling is part of the process, not a failure, so don’t yank pieces out the second they twist up. Give them a few extra seconds to settle.
Once you get the rhythm, flat, smooth charms become the easy default.
Save this for your next shrink plastic project, and bake your next batch with total confidence!