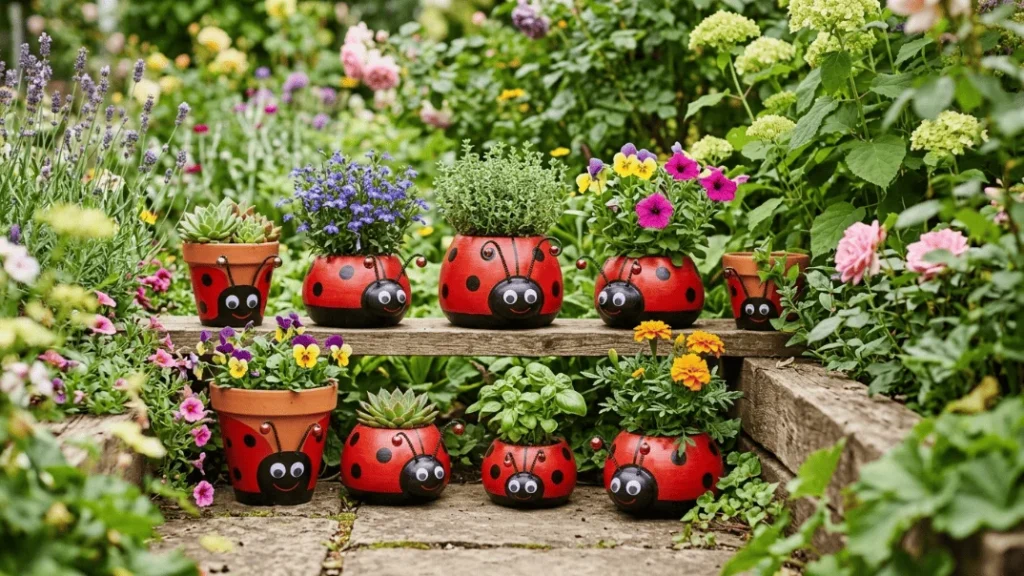

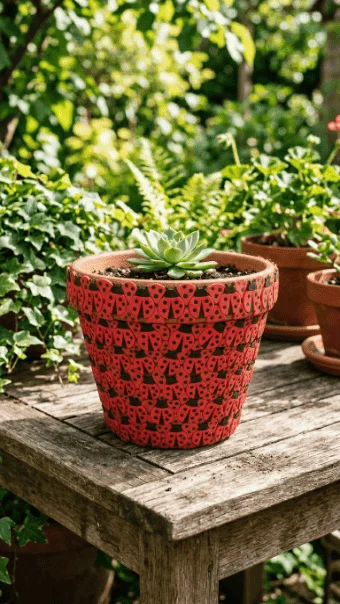
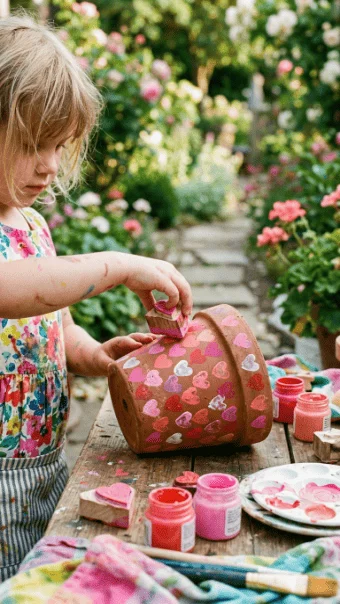
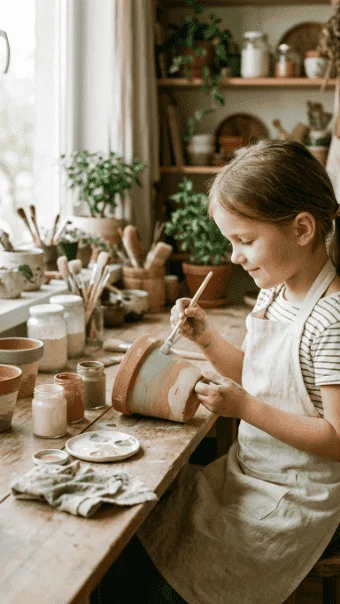
Ladybug flower pot painting is one of those simple ideas that actually delivers. It’s cheap, easy, and visually strong in a garden. You’re taking plain terracotta and turning it into something playful that stands out. The appeal is obvious—bold red, black contrast, and endless room for small creative tweaks. Whether you’re working with kids or just want something different in your outdoor space, these ideas push beyond the basic dot-and-line approach. Some are quick. Some take a bit more patience. All of them are doable without expensive supplies.
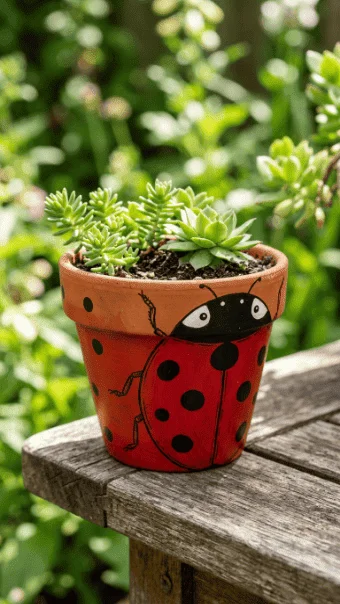
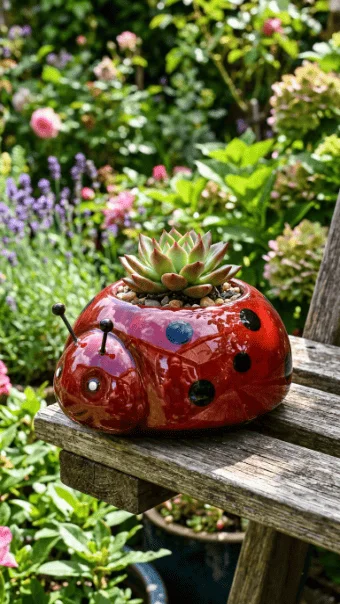
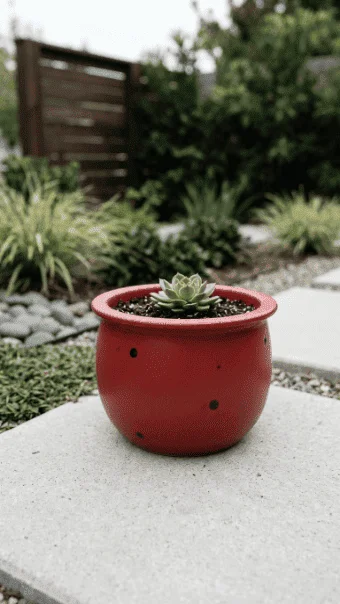
1. Classic Red Shell Ladybug Pot
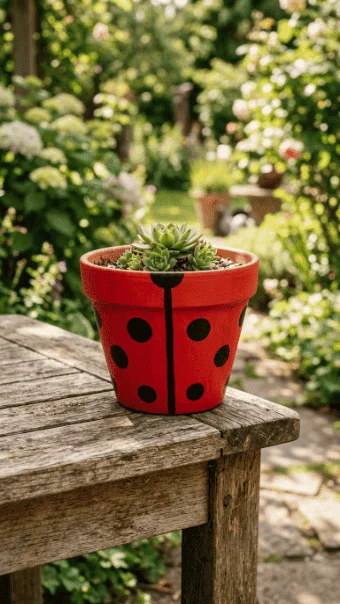
Start with the foundation. A clean red base coat is what makes or breaks this look. Terracotta soaks paint unevenly, so don’t rush. Apply two thin coats instead of one thick layer. Let each coat dry fully.
Next, paint a black line straight down the middle. This divides the wings. If your hand isn’t steady, use tape. Don’t pretend you’ll freehand it perfectly.
For the spots, skip brushes. Use a sponge or even the back of a pencil eraser. Dip lightly and press. Too much paint ruins the shape.
Seal the pot if it’s going outside. Sunlight and water will fade cheap acrylic fast.
Keep it simple. This design works because it’s bold, not complicated.
2. Fingerprint Ladybug Kids Pot
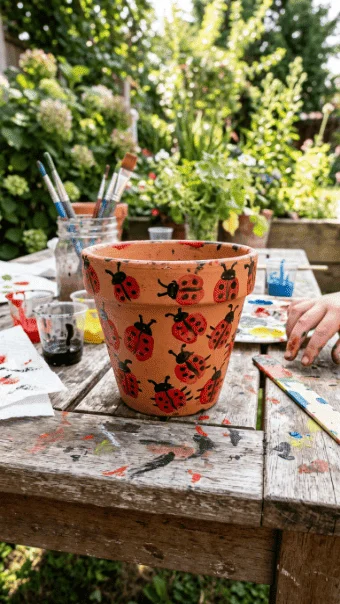
This one is about speed and fun, not perfection.
Paint the pot white or pale green first. That gives contrast. Once dry, dip thumbs into red paint and press onto the surface.
Let those prints dry before adding details. Then use a black marker to create tiny heads and dots.
Kids will make uneven shapes. Good. That’s the charm.
Don’t over-control the process. If you do, it stops being a kids’ activity and turns into your project instead.
Use washable paint if you’re worried about mess. But don’t go overboard trying to keep things clean.
This idea works because it’s fast and visual. Kids see results immediately.
3. Sponge Dot Ladybug Pot

If your spots always look bad, it’s your technique.
Cut a small circle from a kitchen sponge. Dip it lightly into black paint. Dab, don’t press hard.
You’ll get clean, round spots every time.
This method removes guesswork. No shaky lines. No uneven blobs.
Pair it with a smooth red base. Let that base dry completely or the sponge will smear it.
You can create different spot sizes by cutting multiple sponge shapes. It adds variation without effort.
Use old sponges. There’s no reason to spend money here.
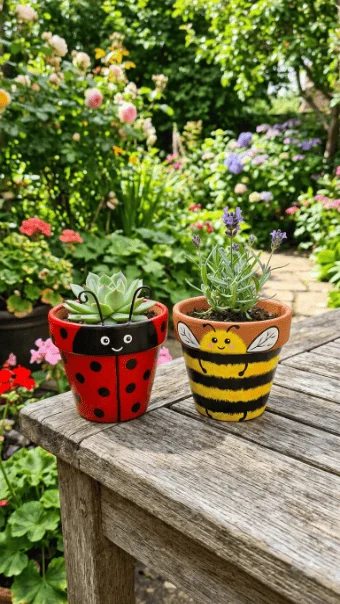
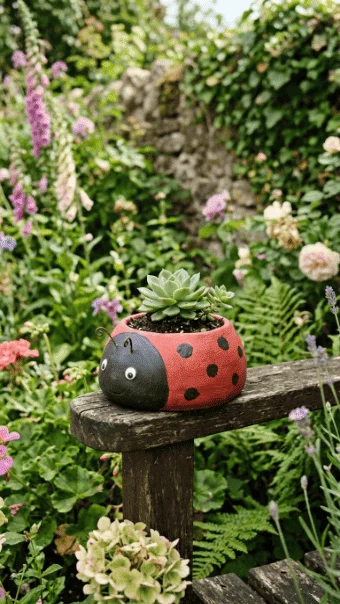
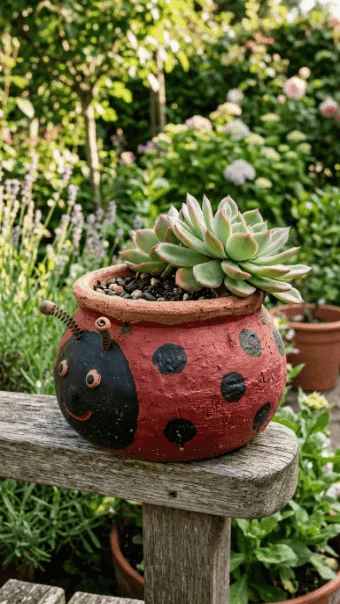
4. Googly Eye Ladybug Pot
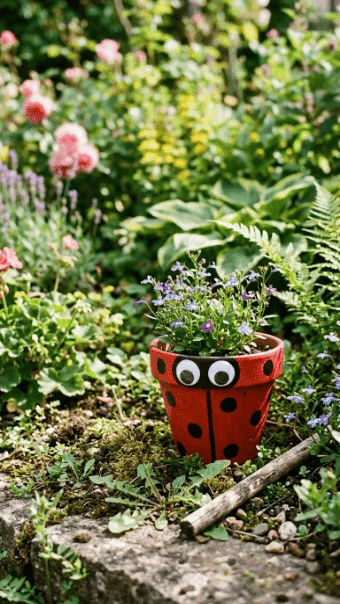
Flat designs feel lifeless. Adding eyes changes everything.
Glue googly eyes near the rim. Place a black half-circle below them to form the head.
Now your pot has personality.
Don’t use weak glue. Outdoor conditions will break it fast. A glue gun works best, but handle it yourself if kids are involved.
Want extra detail? Add eyelashes or eyebrows with a paint marker.
This idea is simple but effective. It turns a basic craft into something expressive.
5. Pipe Cleaner Antennae Pot
You’re missing dimension if everything is flat.
Cut a pipe cleaner in half. Curl the ends slightly. Glue them inside the rim so they stick upward.
Now your pot has antennae that actually stand out.
If glue doesn’t hold, poke tiny holes and insert them instead. That’s more durable.
Don’t overcomplicate the shape. Simple curves look better than messy bends.
Cheap material, strong visual impact. That’s the point.
6. Foam Head Ladybug Pot
Painting heads can look messy fast. Foam fixes that.
Cut a half-circle from black craft foam. Glue it to the front of the pot.
It creates a sharp, clean head shape without effort.
Add eyes on top for a complete look.
Foam is cheap and forgiving. If you mess up, cut another piece. No stress.
7. Marker Detail Ladybug Pot
Once your paint is dry, refine everything with a marker.
Add legs, outlines, and sharper edges. This step upgrades the look instantly.
Paint alone often looks soft. Markers add definition.
Use a waterproof marker if the pot goes outside. Otherwise, rain will undo your work.
Keep lines simple. Over-detailing makes it look cluttered.
8. Pink Ladybug Variation
Red isn’t mandatory. That’s just tradition.
Try a pink base coat with black spots. It softens the look and stands out in a different way.
Same process. Just swap the color.
This works well in decorative spaces where bold red feels too harsh.
Cheap change, completely different vibe.
9. Spray Paint Quick Base Pot
Brushing takes time. Spray paint is faster.
Use a red spray for the base. Keep distance consistent. Move your hand evenly.
You’ll get a smooth, streak-free finish in minutes.
Let it dry fully before adding details.
Don’t spray too close or you’ll get drips. That’s beginner mistake number one.
10. Mini Baby Ladybug Pots
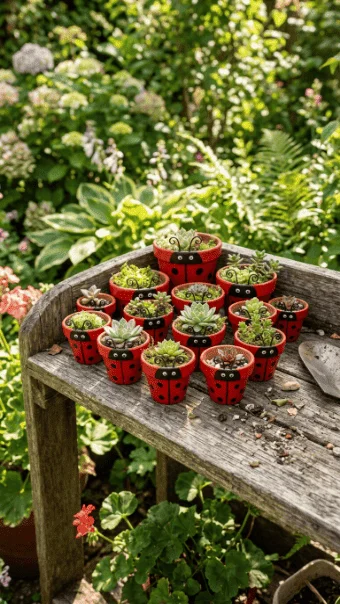
Small pots look better in groups.
Paint several mini pots as ladybugs. Place them together for a cluster effect.
This works better than one large pot alone.
Use the same technique, just scale down your dots.
Budget tip: buy small pots in bulk. They’re cheaper that way.
11. Mama and Baby Pot Set
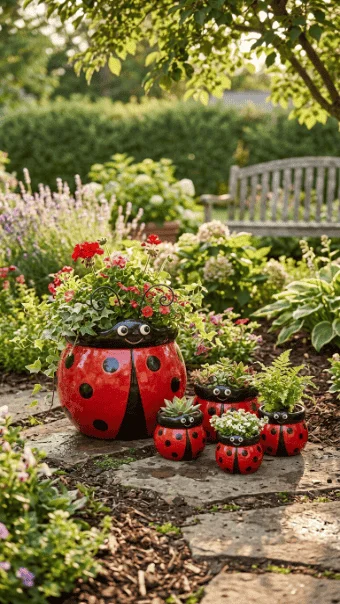
Pair a large pot with smaller ones.
Make a “family” set. One big ladybug and smaller ones beside it.
This adds structure to your garden display.
Keep colors consistent so they match.
12. Life Cycle Ladybug Pots
Go beyond decoration.
Paint multiple pots to represent stages: egg, larva, adult.
It’s simple but adds meaning.
Great for kids who are learning while crafting.
13. No-Paint Foam Ladybug Pot
Skip paint entirely.
Use red and black foam shapes. Glue them directly onto the pot.
No drying time. No mess.
It’s faster and cleaner, especially for younger kids.
14. White Eye Base Design
Paint white circles first where the eyes go.
Then add black pupils.
This makes the eyes stand out more.
It’s a small detail, but it improves the overall look.
15. Terracotta Saucer Base Display
Don’t ignore the saucer.
Paint it to match the pot. Or keep it simple black.
It grounds the design visually.
Most people skip this. That’s why their setup looks incomplete.
16. Chenille Stem Legs Pot
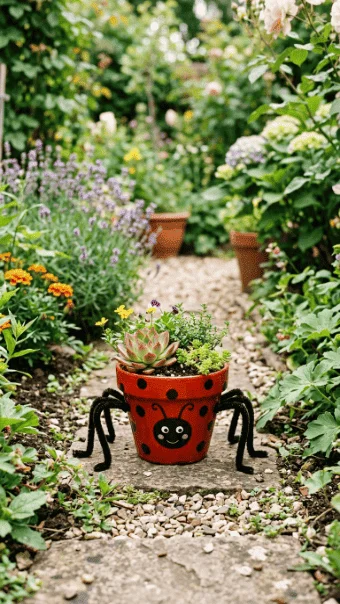
Add legs using chenille stems.
Attach them to the sides with glue.
Now the pot has a fuller insect look.
Keep them short. Long legs look awkward.
17. Gloss Finish Ladybug Pot
After painting, apply a gloss sealant.
It adds shine and protects the paint.
Matte looks dull outside. Gloss catches light better.
This step matters if you care about durability.
18. Matte Rustic Ladybug Pot
If you prefer subtle over shiny, go matte.
Skip gloss and use a matte seal.
It keeps a natural, earthy feel.
Works well in rustic gardens.
19. Stacked Ladybug Pot Tower
Stack pots of different sizes.
Paint each one as a ladybug.
Now you’ve got height and structure.
Secure them properly so they don’t fall.
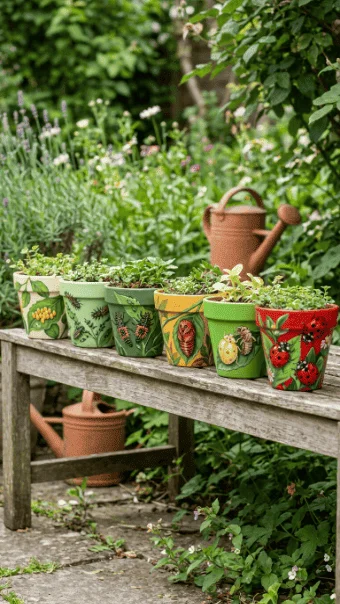
20. Mixed Color Ladybug Collection
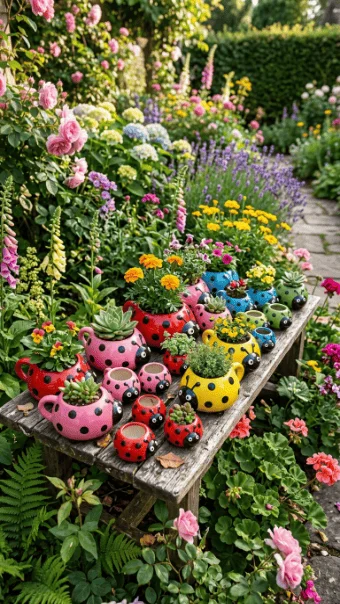
Break the rule completely.
Use yellow, orange, even blue.
Keep the spots black so the theme stays clear.
It creates variety without losing identity.
21. Minimalist Ladybug Pot
Strip it down.
Red base. Few spots. No face.
It’s clean and modern.
Sometimes less looks better than overloaded designs.
22. Textured Clay Ladybug Pot
Don’t fully smooth the surface.
Let some clay texture show through.
It gives character.
Perfect if you’re tired of overly polished crafts.
Conclusion
Most people overcomplicate this kind of project. They think more detail equals better results. It doesn’t. Clean color, simple shapes, and a few smart additions beat messy over-design every time. Pick one idea and execute it properly instead of trying five at once and doing all of them poorly. Use cheap materials, take your time with drying, and focus on neatness where it actually matters. That’s how you get a result that looks intentional instead of rushed.