Ever picked up a pair of earrings at a boutique, flipped the price tag, and put them right back? Here’s a secret: you can make pieces that look just as polished at home, for about $5 a pair. The trick is shrink plastic. You draw a design, bake it, and watch a flat sheet curl up into a thick, glossy charm in minutes. The finished look is the part that surprises people — done right, nobody guesses it came out of your oven.
Let’s walk through the steps that separate a homemade-looking earring from one that looks store-bought.
What You’ll Need
The supply list is short and cheap. Most of it is already in your house.
- #6 plastic or shrink sheets — a pack of 10 sheets runs about $6.
- Permanent markers — Sharpies are the standard for bold color.
- 400-grit sandpaper — to frost the surface so color grips.
- 1/8-inch hole punch — the size that fits jump rings perfectly.
- Parchment paper — wax paper sticks, so skip it.
- Jump rings + earring hooks — bulk packs cost pennies per pair.
- Needle-nose pliers — for opening and closing the rings.
That covers the basics. A clear sealer or resin comes in later for the glossy finish.
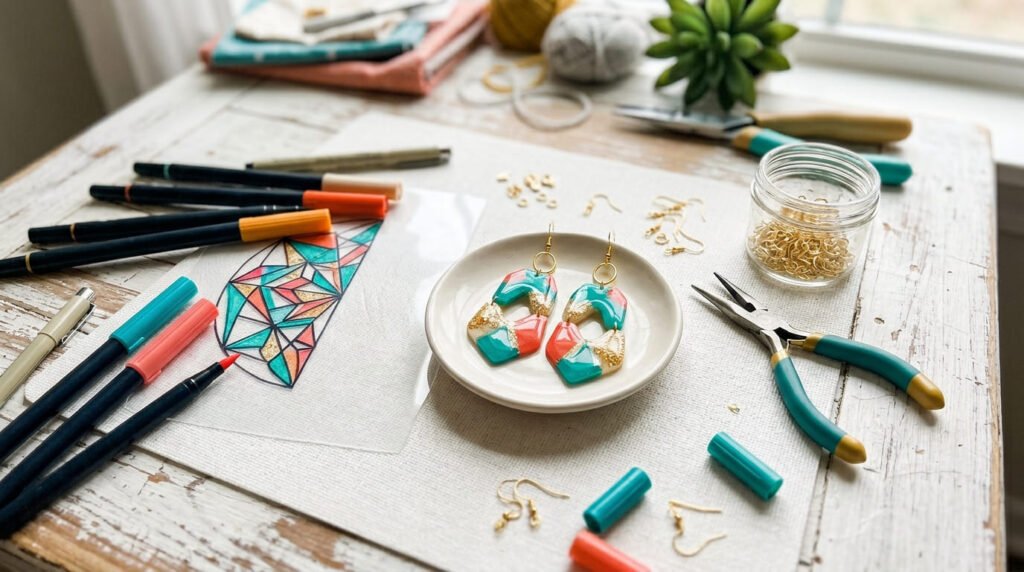
Step 1: Prep and Frost the Surface
Cut a flat piece of plastic. Then rub it lightly with 400-grit sandpaper, rotating 90 degrees so it frosts evenly. This step is what makes colors look rich instead of patchy. It takes a minute or two.
Tip: if your design will finish frosted white and you want solid color, paint the back later with acrylic paint.
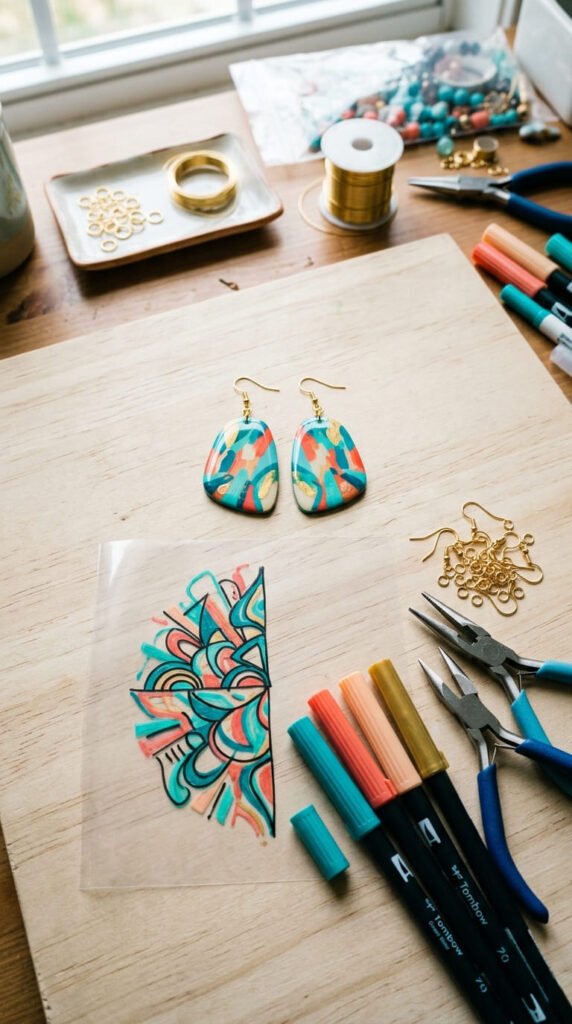
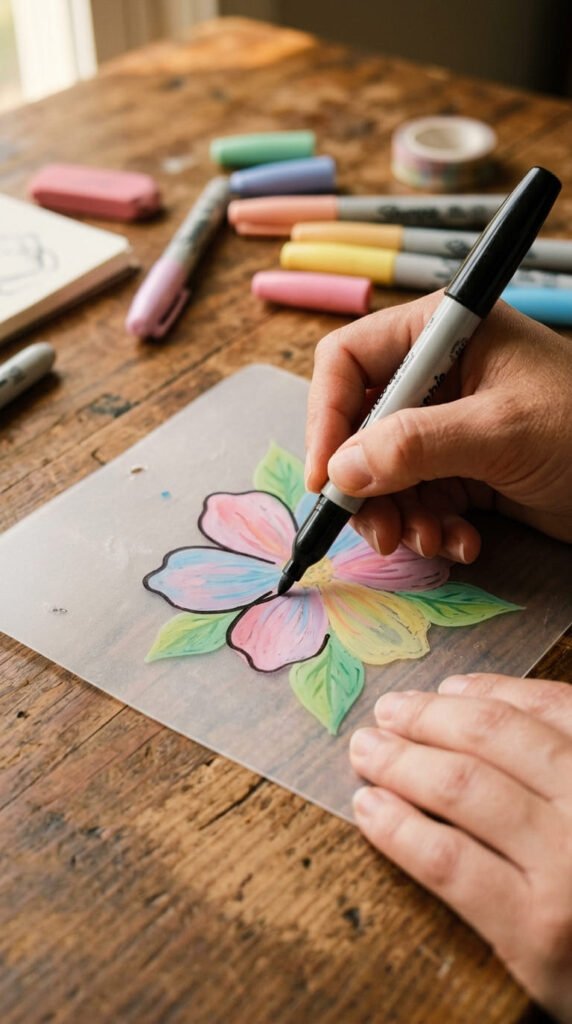
Step 2: Draw Big and Outline Bold
Remember the golden rule: your design shrinks to about one-third its size. So draw it three times larger than you want the final piece.
- Make a 3-inch sketch for a 1-inch earring.
- Color with light tones — color intensifies two to three times after baking.
- Trace a thick black Sharpie outline around the shape. This makes the design pop like a real printed pattern.
No printer? Lay the frosted plastic over any picture and trace it with a pen. Free and easy.
Step 3: Punch, Then Bake
Punch your hole before baking — you can’t do it after the plastic shrinks. Use the 1/8-inch punch near the top edge.
Now bake:
- Preheat to 325°F (150–170°C).
- Lay the piece color side up on parchment paper.
- Bake 2 to 3 minutes, plus about 30 seconds once it’s flat to set it fully.
Watch through the oven window if you can. The piece will curl up dramatically, then relax and flatten on its own. That curl is normal — don’t pull it out early.
Step 4: Flatten and Cool
The second it comes out, press it flat. A ceramic tile works better than a plate. Hold it down for 20 to 30 seconds while it firms up.
Then let it cool fully — about 15 minutes. This matters before you glue or seal anything, so the color sets and the piece hardens.
Step 5: Seal for That Pro Finish
This is the step most beginners skip, and it’s what makes earrings look truly finished.
- For everyday pieces, brush or spray on clear acrylic gloss. It locks in color and adds shine.
- For alcohol ink or painted designs, a gloss spray protects the marbled look.
- For a thick, glassy, boutique-level finish, add crystal doming resin and let it cure 24 hours. Pop any bubbles with a toothpick while it’s wet.

Step 6: Assemble Your Earrings
Almost done. Time to turn charms into wearable jewelry.
- Open a jump ring sideways with needle-nose pliers — never pull it straight apart.
- Thread it through the hole, add the earring hook, and close the ring.
- For studs with no hole, glue a flat post to the back with E6000 and let it cure overnight.
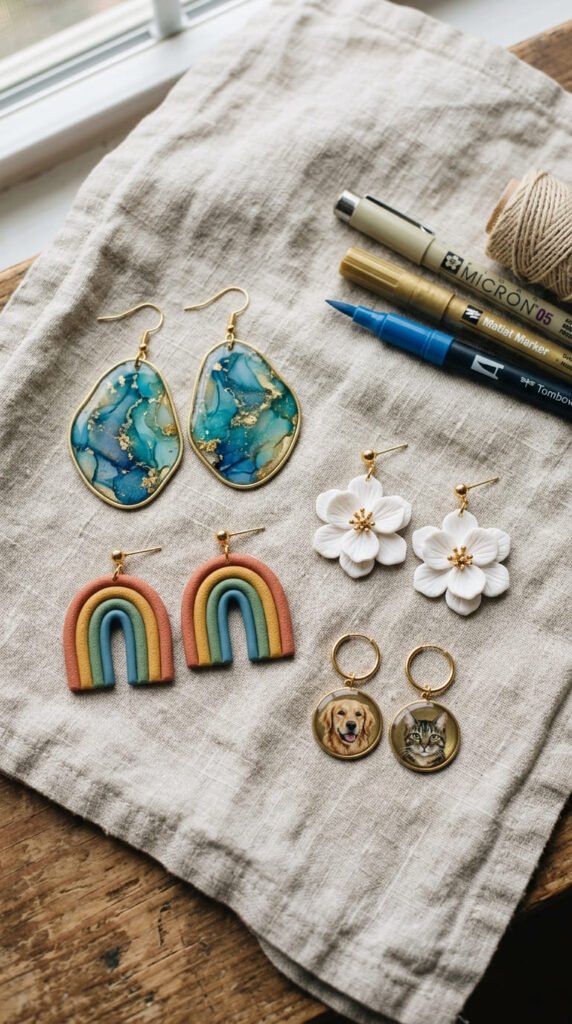
Design Ideas to Try
Once you’ve got the method down, the fun begins:
- Alcohol ink marbled statement pieces
- Rainbow arches in bright bands
- Halloween ghosts, pumpkins, and bats
- Marimekko-style bold white flowers
- Custom pet portraits (a popular Etsy seller niche)
- Terrazzo speckled patterns
Final Thoughts
The whole project takes about 25 minutes, costs around $5 a pair, and is easy enough for a total beginner. The difference between “homemade” and “professional” comes down to three things: frosting the surface, sealing the finish, and assembling with proper hardware. Nail those, and people will assume you bought them.
Save this guide for your next craft afternoon — and make your first pair this weekend!


