You spent an hour sculpting the perfect little clay magnet. You baked it, let it cool, and now it’s sitting on your desk looking adorable. Then you paint it — and two weeks later, the color is chipping, fading, or peeling off in sad little flakes.
Sound familiar?
Painting clay magnets isn’t difficult, but there are a few things that make the difference between color that lasts for years and color that gives up after a month. This guide walks you through exactly what to do — from the right paints to the final seal — so your magnets stay bright and beautiful long after they hit the fridge.
Start With a Clean, Smooth Surface
Before any paint touches your magnet, the surface needs to be ready.
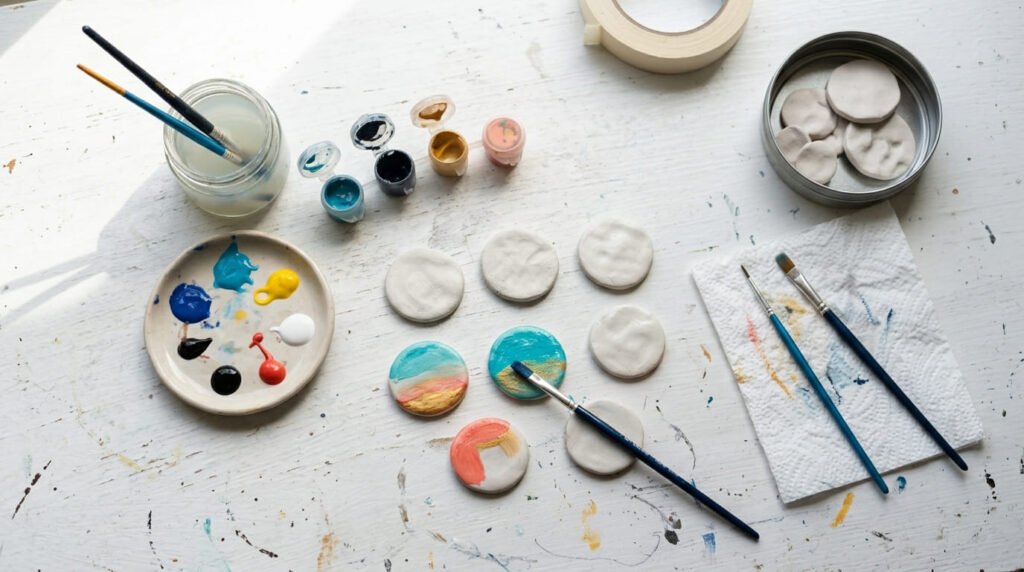
For polymer clay: Let your baked magnets cool completely — at least 30 minutes. Painting while warm causes paint to sit unevenly and dry with a streaky texture.
For air-dry clay: Wait the full cure time. This is usually 48–72 hours minimum, and skipping this step is the number one reason paint peels later. If the clay is even slightly damp inside, moisture will push the paint off from underneath.
Once cool and dry, lightly sand the surface with fine-grit sandpaper (400 grit) if you want a smoother finish. Wipe away any dust with a dry cloth before painting.
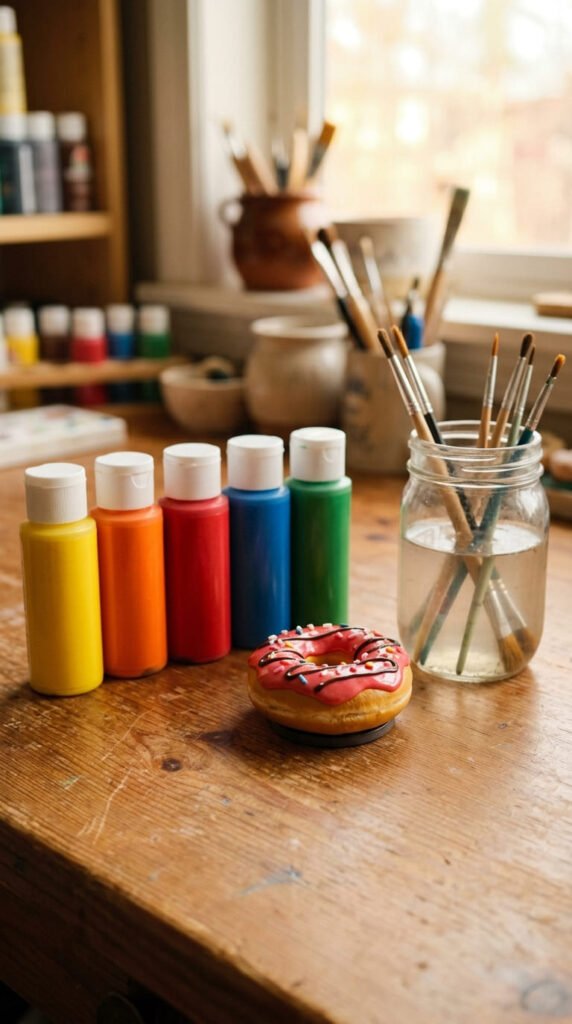
Choose the Right Paint
Not all paint works equally well on clay. Here’s what actually holds up:
- Acrylic craft paint — the gold standard for clay magnets. Brands like Apple Barrel, Folk Art, or DecoArt all work well and cost about $1–2 per bottle.
- Acrylic artist paint (like Golden or Liquitex) — more pigmented and richer color, worth it for detailed work.
- Nail polish — works in a pinch for small details or a shiny finish, but can crack over time.
Avoid watercolor and tempera paint. They’re water-soluble, which means humidity and even occasional splashes near the fridge will ruin them.
Apply Paint in Thin Layers
This is the most common mistake people make — loading too much paint on at once.
Thick paint layers crack as they dry, especially on the curved edges of your magnet.
The right approach:
- Apply a thin first coat and let it dry completely (10–15 minutes)
- Add a second coat for full coverage
- Use a third coat only in areas that still look patchy
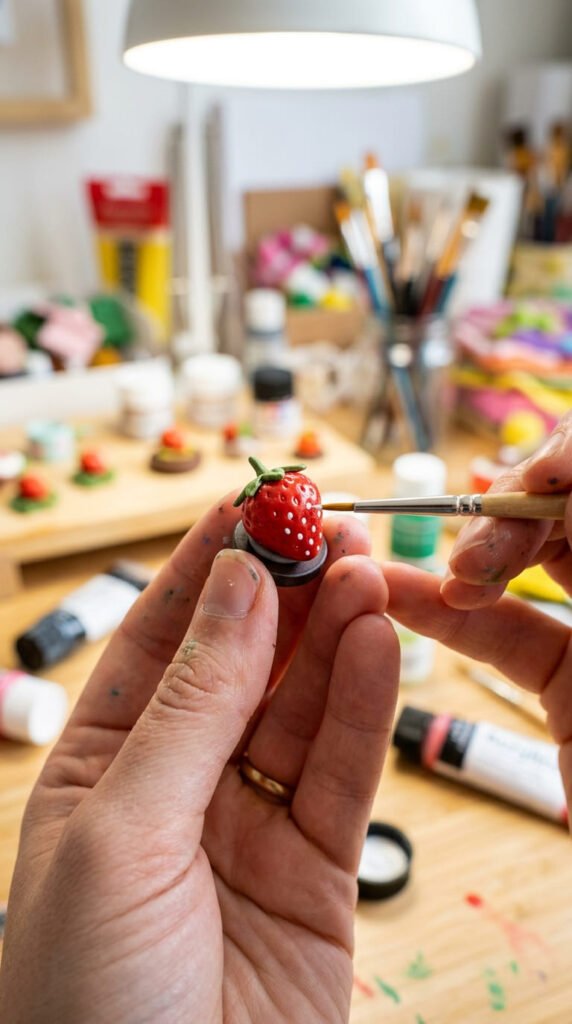
Use a dry brush technique for detail work — dip your brush in paint, wipe most of it off on a paper towel, then lightly drag it across the surface. This is perfect for adding texture, highlights, or blush cheeks on kawaii designs.
A fine-tip brush (size 0 or 00) gives you control for tiny details like eyes, seed dots on fruit magnets, or letter outlines.
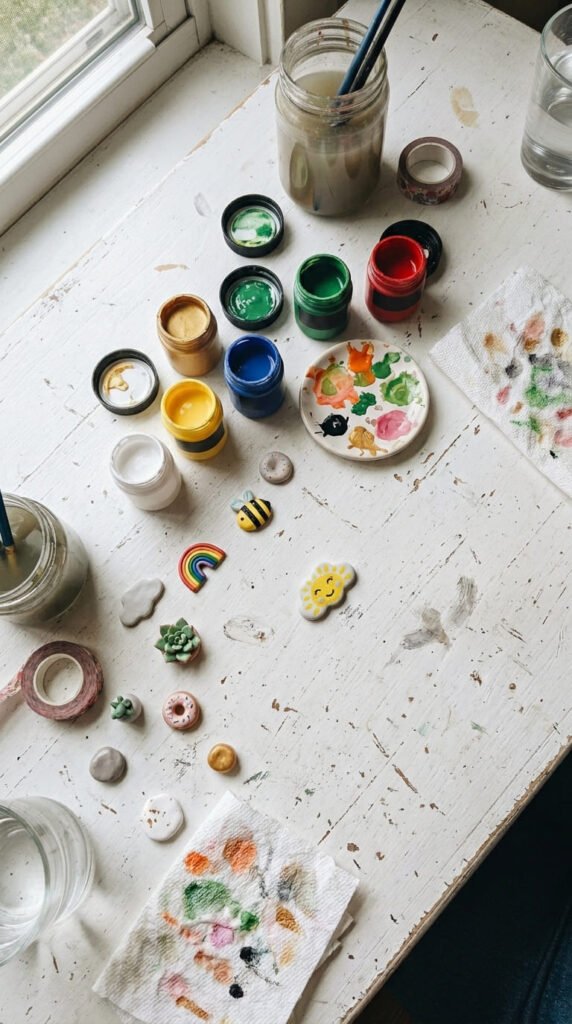
Add Details That Pop
Once your base color is dry, the details are what bring the magnet to life.
A few techniques that work really well:
- Dry brushing lighter color over a darker base — creates a natural highlight effect on rounded shapes like fruits or faces
- Dot tool or back of a pencil — makes perfect round dots for seeds, eyes, or decorative patterns
- Thin wash of a darker color in recessed areas — adds shadow and depth without any special skill
Let each detail layer dry before adding the next. Rushing this step causes colors to bleed together.
Seal It — This Step Is Non-Negotiable
Sealing is what locks in all your hard work and protects the color from chipping, moisture, and everyday fridge contact.
Best sealers for clay magnets:
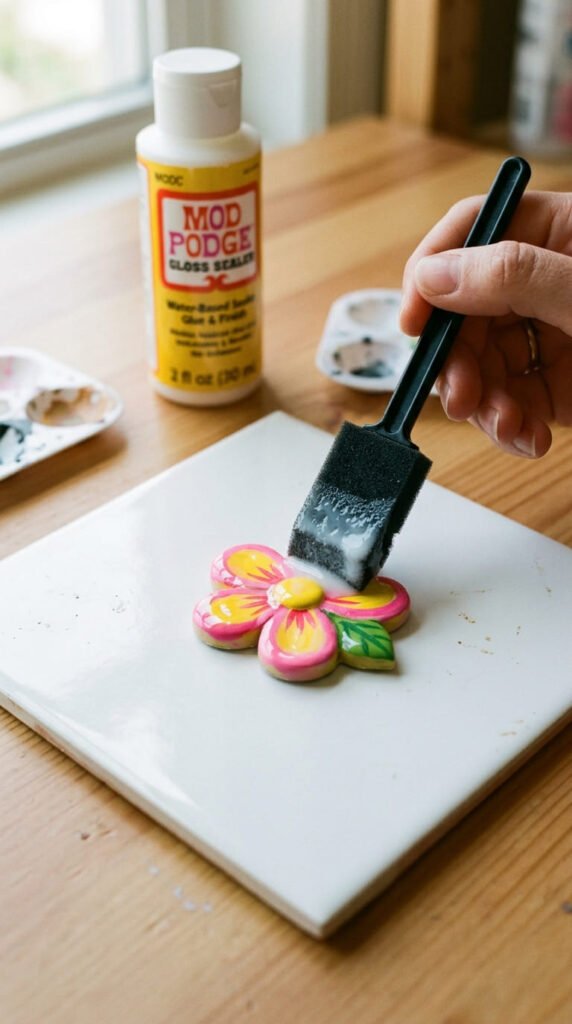
- Mod Podge (gloss or matte) — affordable, easy to apply, dries clear
- Clear acrylic spray sealer — great for an even coat with no brush marks
- Resin — gives a thick, glass-like finish but requires more preparation
Apply two thin coats of sealer, letting each dry fully between applications.
For magnets that will be handled often or kept in a humid kitchen, the spray sealer gives the most durable finish.
Let It Cure Before Using
After sealing, give your magnets a full 24 hours before sticking them on the fridge or gifting them.
The sealer may feel dry to the touch in 30 minutes, but it takes longer to fully harden. Handling too soon can leave fingerprint marks in the finish or cause the sealer to peel.
You’re Ready to Paint With Confidence
The difference between a clay magnet that fades in a month and one that looks great for years comes down to four things: clean surface, right paint, thin layers, and a solid sealer.
Follow these steps and your colors will stay just as vibrant on day 365 as they were on day one.
Save this guide for your next clay project — and if you’re just starting out, go back and pick one magnet design to try first. Once you nail the painting process, every magnet you make from here gets easier and better.


