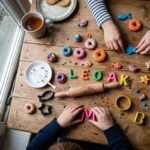
Clay animal magnets turn a plain fridge into a tiny zoo. They cost a few dollars to make. They take minutes to shape. And they work for a six-year-old and a grown-up alike. You roll. You press. You bake. Then you glue a small magnet on the back. That is the whole craft. Polymer clay is the popular pick because it stays soft until you bake it. Air-dry clay works too if you have no oven. The animal styles below lean kawaii, which means big heads, round bodies, and sweet little faces. Some are sea creatures. Some are forest friends. A few use molds so beginners win on the first try. Each idea keeps the cost low and the steps short. Grab your clay and let’s make some friends for the fridge.
1. Kawaii Panda
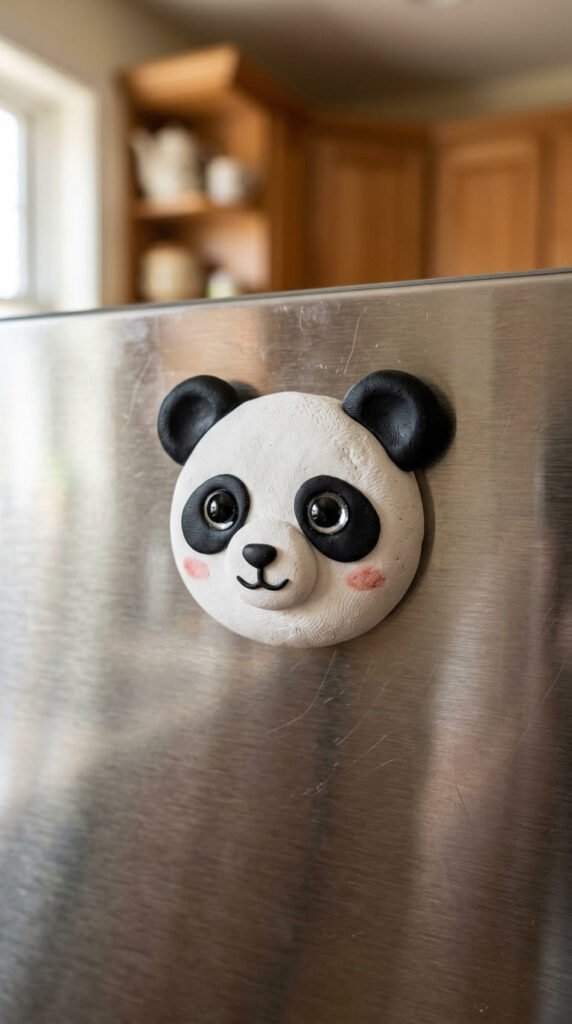
The panda is the friendliest place to start. Roll a white ball for the head. Add a smaller white ball for the body. Two black ovals become the arms. Two tiny black circles sit on top as ears. The eye patches are the fun part. Press two black teardrops near the cheeks. Add a white dot in each eye for life. Keep the face simple. A small mouth and pink cheeks do the rest. Use pink chalk pastel for the blush. Rub a cotton swab on the chalk, then dab the cheeks. Budget tip: one small block of black and one of white make ten pandas. Bake at the temperature on your packet, usually around 110°C for 15 minutes. Let it cool fully before you glue. Press a flat magnet on the back with strong glue. Let it sit overnight. Flat backs stick best. So press the panda gently against the table while it is soft. This gives you a level base. Kids love dabbing the cheeks. Adults love how clean it looks on steel. One panda quickly becomes a whole bamboo family.
2. Sleepy Fox
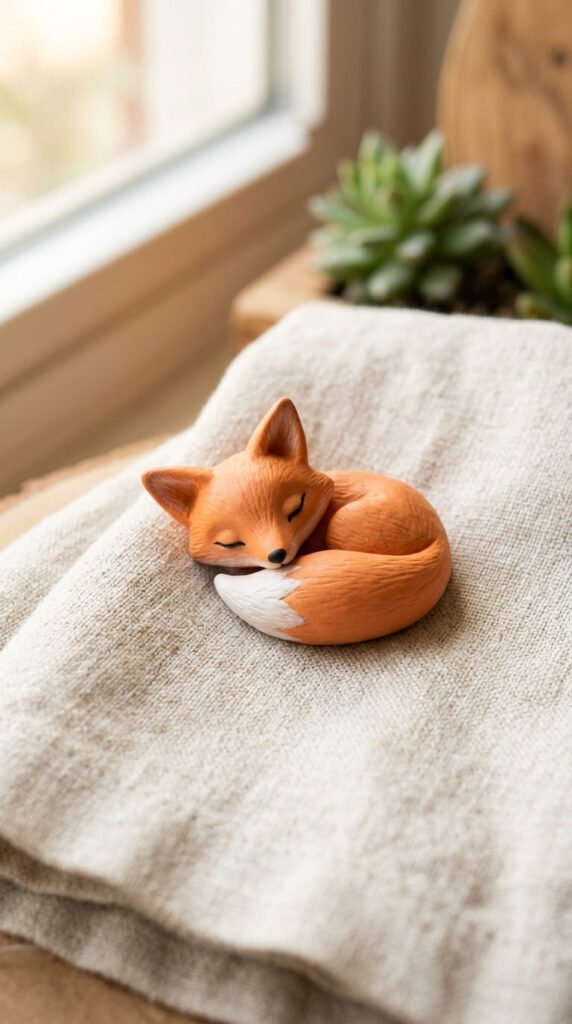
A fox brings warm color to your fridge. Mix orange clay for the head and body. Use white for the cheeks, chest, and tail tip. Shape a rounded triangle for the face. Add two pointed ears with dark inner tips. The sleepy look is the charm here. Press two short curved lines for closed eyes. Skip round eyes and the fox looks calm and cozy. Curved lines read as a smile. Roll a fat tail and curl it beside the body. Tip the white end so it pokes out. For budget color, mix red and yellow clay scraps to get orange. You do not have to buy a new block. Bake, cool, then glue your magnet. A small nose dot in dark brown finishes the face. Kids can roll the tail while you handle the fine bits. This fox pairs well with a bear and an owl for a forest set. Sell or gift them as a three-piece pack. Sets feel more special than singles. Keep the clay scraps. Leftover orange becomes a baby fox next time.
3. Mold-Made Cat
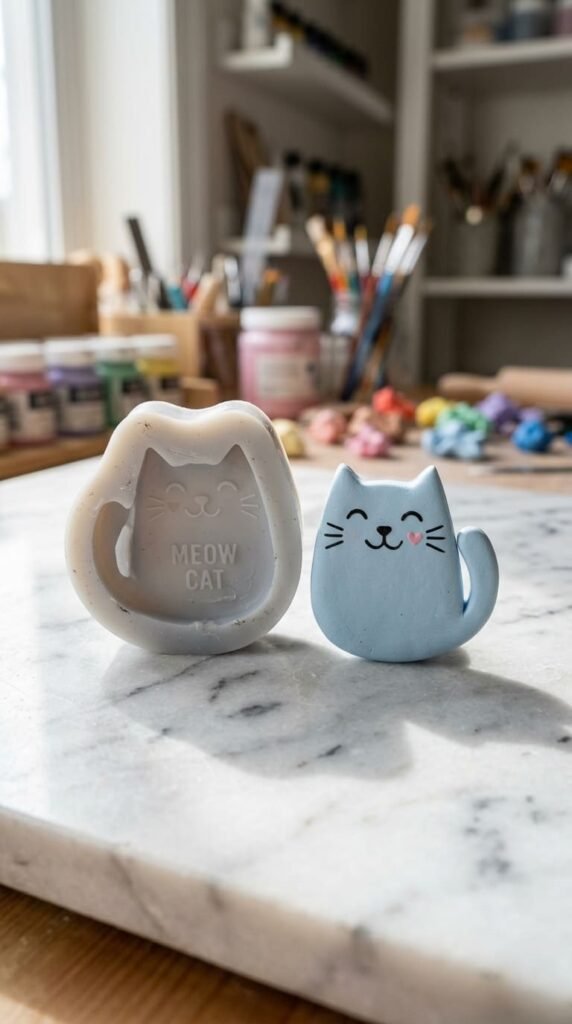
No sculpting skill? A silicone mold does the shaping for you. Press clay into a cat-shaped mold. Peel it out. You have a clean cat in seconds. This is the fastest win for nervous beginners. Molds remove the guesswork. A small cat mold costs only a few dollars online. One mold makes endless cats. Pick any color you like. Pastel blue, soft pink, or classic gray all look sweet. Press the clay in firmly so the ears and tail fill out. Trim any clay that spills over the edge. A craft knife or even a butter knife works. Bake by your packet instructions. Once cool, paint a face with a fine brush. Two dots and a tiny mouth are enough. Add whiskers with a thin marker if you want. Glue the magnet last. Budget tip: one mold plus one clay block can make a full litter of cats in different colors. Kids can press the clay in while you trim. These cats also work as charms, buttons, or pin toppers. One mold, many uses. That stretches your money far.
4. Wide-Eyed Owl

Owls look hard but they are mostly circles. Roll a fat brown egg shape for the body. Flatten the bottom so it stands. Add two big white circles for eyes. Top each with a smaller dark dot. Big eyes make the owl adorable. Press a tiny orange triangle for the beak. Two teardrop wings hug the sides. Pinch two small horns on top of the head for ears. For the belly, press a lighter cream oval on the front. Use a toothpick to poke feather marks. Those little lines add charm without much effort. Budget tip: brown owls hide fingerprints well, so beginners look pro. Bake and cool as usual. A flat back keeps the owl steady on the fridge. Press it down while soft to get that level base. Glue your magnet and wait a day. Kids enjoy poking the feather lines. Adults like the calm, folksy look. Make a few in different browns and grays. A row of owls looks like a tiny tree branch. Add a green leaf or two for a woodland feel. Cheap, cute, and quick.
5. Smiling Frog
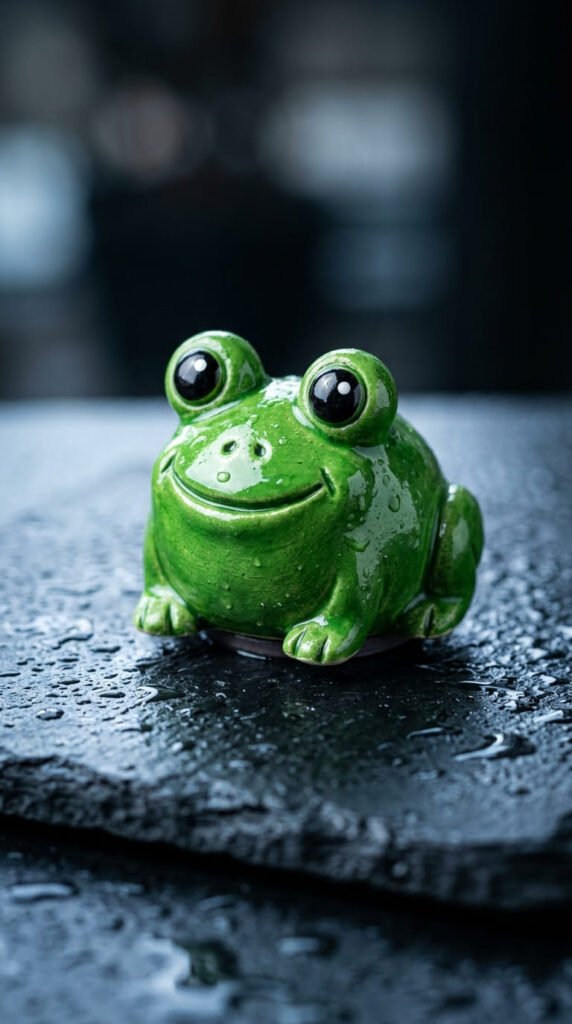
Frogs are pure fun and almost foolproof. Roll a green ball for the body. Flatten it a touch so it sits flat. Add two small green balls on top for the eyes. Press white circles and dark dots into each eye. The eyes on top make it a frog. Carve a wide smile with a toothpick. A big curve gives that happy look. Add two tiny front legs at the base. Two back legs fold beside the body. For a green color on a budget, mix blue and yellow scraps. You skip buying a new block. Want extra shine? A thin coat of clear gloss makes the frog look wet and lively. Bake first, then glaze, then glue. Kids love how silly the bug eyes look. You can even add a tiny red fly on its nose for a laugh. Make a lily pad from flat green clay to sit it on. Small extras like a lily pad raise the cuteness. These sell well at craft fairs because they make people smile. One block of green clay makes a whole pond.
6. Glossy Dolphin
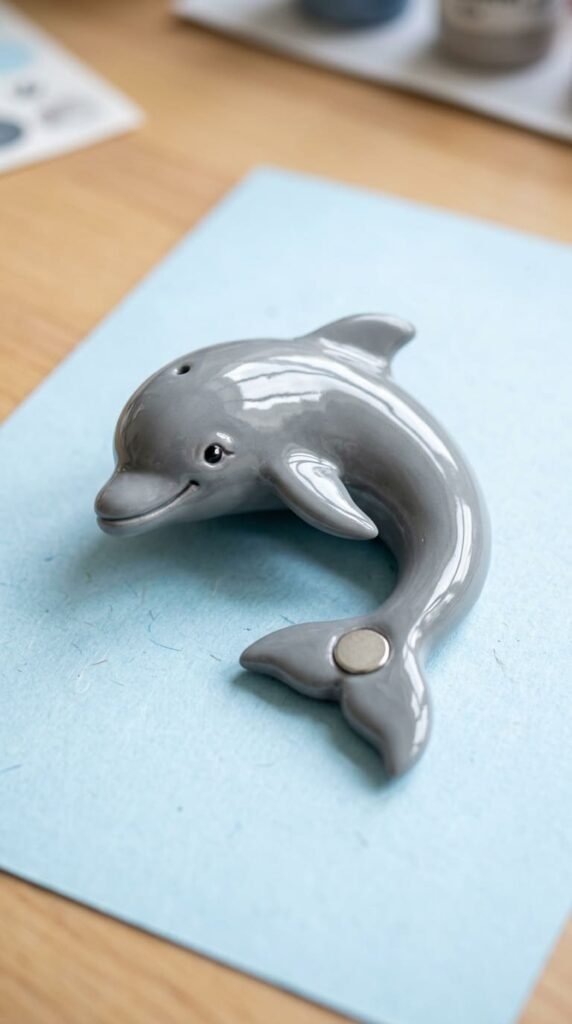
A dolphin adds a sea theme that few magnets cover. Roll gray clay into a smooth curve. Pinch one end into a tail. Shape a small fin on the back. Keep the body sleek and rounded. Add a soft white belly on the underside. The face is simple. Two dots for eyes and a gentle smile line. Smooth shapes look best on dolphins. So roll the clay between your palms until it is even. Bake and cool. The shine is what makes this one pop. Brush on UV resin and cure it under a lamp. No UV lamp? A clear gloss varnish gives a similar wet look on a budget. The glossy finish makes it look like it just leapt from the water. Glue the magnet once the coat is dry. Kids can pick the belly color while you shape the curve. Pair the dolphin with a turtle and a fish for an ocean set. Sea sets stand out from the usual cats and dogs. That makes them great gifts for beach lovers. One gray block stretches into many sea friends.
7. Whale Shark
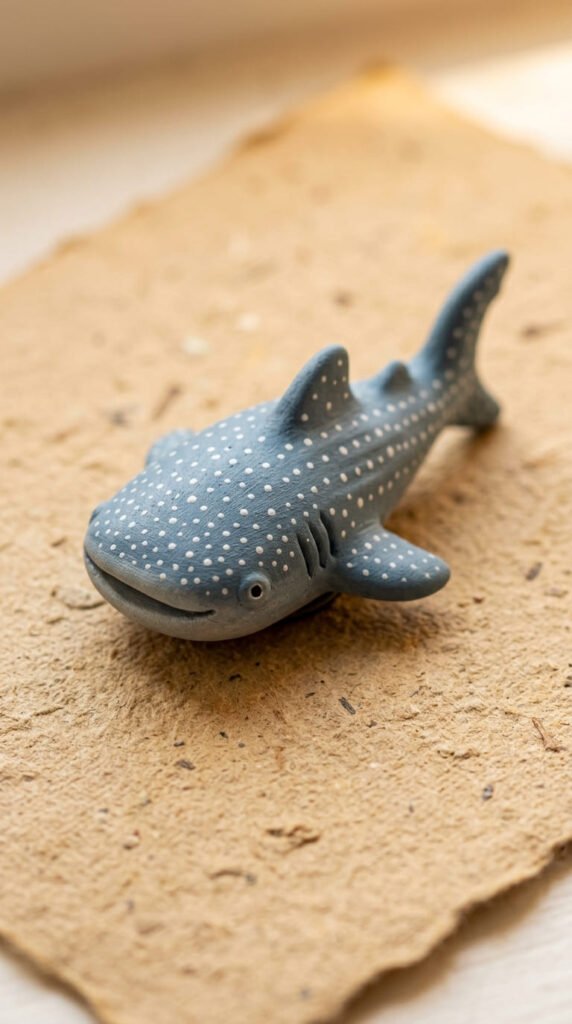
The whale shark is rare in magnet lists, so it stands out. Roll a fat blue-gray body. Make it plump and friendly, not scary. Add a wide flat mouth at the front. Two tiny eyes sit near the sides. Shape small fins and a tail. The spots are the signature look. Dot tiny white circles all over the back. Use a toothpick dipped in white paint. The dots make it a whale shark. Space them out for a clean pattern. For color on a budget, mix blue and a touch of white and black. You get that soft gray-blue without a new block. Bake, cool, then add the spots after baking so they stay crisp. Glue the magnet and wait a day. Kids love placing the dots like a dot-to-dot game. Adults love that nobody else has this one on their fridge. Unique animals make better gifts. Make it part of a deep-sea set with a turtle and a koi. Keep your spot pattern loose and it always looks right. Big, gentle, and full of charm.
8. Sea Turtle
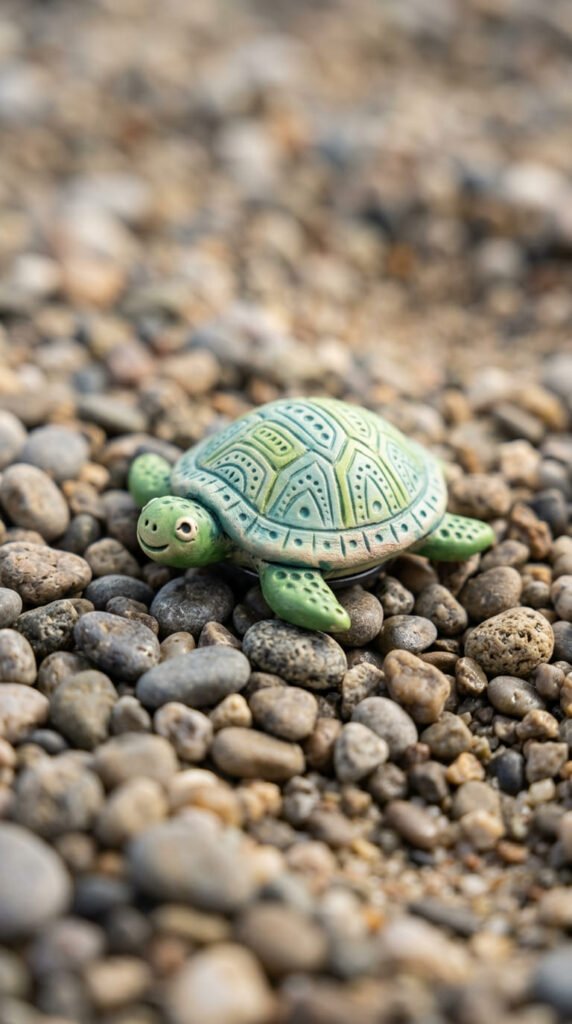
A sea turtle is calm, cute, and easy to shape. Roll a green dome for the shell. Press a flatter green oval underneath for the body. Add four short flippers around the sides. Pull a small head out the front. The shell pattern adds the magic. Press a toothpick to draw hexagon lines on the dome. Or push small dots of darker green for a spotted shell. The shell pattern sells the turtle. Two tiny eyes and a smile finish the head. For color, mix green scraps with a hint of brown for a natural look. That saves you a fresh block. Bake and cool fully. A flat belly keeps it steady on the fridge. Press it down while soft to flatten the base. Glue your magnet and let it cure overnight. Kids enjoy pressing the shell lines. Adults like the peaceful vibe it brings. Pair it with a dolphin and a whale shark for a full ocean trio. Trios make a tidy gift pack. Wrap them in a small box for beach-loving friends. One green block makes a whole turtle family.
9. Koi Fish
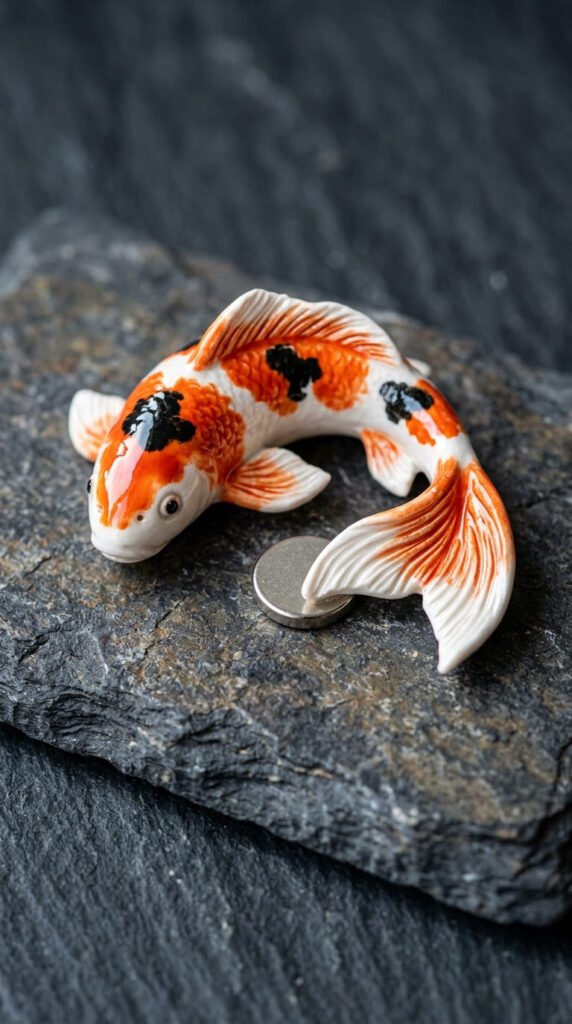
Koi fish bring bold color and a graceful curve. Roll white clay into a fish shape. Curve the body slightly so it looks like it is swimming. Pinch out a flowing tail and side fins. Now add the patches. Press flat bits of orange and black onto the white body. The orange patches make it a koi. Keep the patches uneven, like real koi markings. Two small eyes and a tiny mouth finish the face. A thin gloss coat makes the fish shine like water. Brush it on after baking. No gloss? A drop of clear nail polish works on a budget. Bake and cool before you glaze. Glue the magnet once dry. Kids love picking where the orange spots go. There is no wrong pattern, which keeps it stress-free. Adults love the calm, elegant feel koi carry. Make a pair in white-orange and white-black for balance. A koi pair looks lucky and complete. These work as thoughtful gifts for a new home. Curl two koi together for a yin-yang look. One white block plus scraps makes a small school.
10. Cozy Sloth
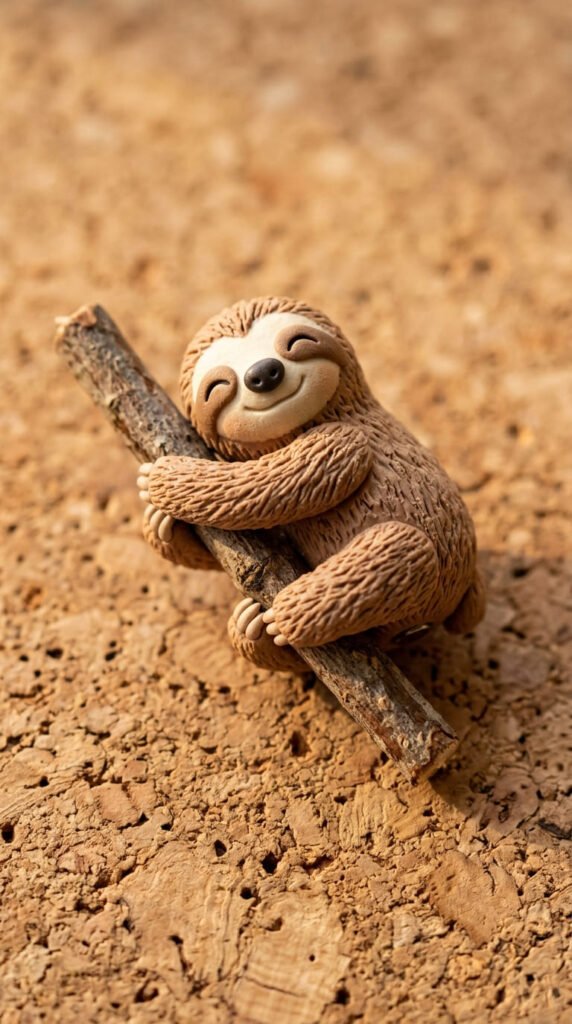
A sloth is slow, sleepy, and impossible not to love. Roll a soft brown oval for the body. Add a lighter face patch on the front. Press two long arms down the sides. The closed eyes make it cozy. Use two curved lines instead of round eyes. Closed eyes give that sleepy charm. Add a tiny nose and a small smile. Two dark patches around the eyes complete the face. For a fuzzy look, drag a toothpick across the body to mark fur. That texture adds warmth without paint. For color, mix brown and cream scraps to get that tan tone. You skip buying a new block. Bake and cool as normal. Want a cute pose? Press the sloth around a small clay branch so it hugs it. A branch makes the sloth look like it is clinging on. Glue the magnet to the back and wait a day. Kids love the lazy face. Adults relate to it on a Monday. These make funny gifts for tired friends. Add a tiny coffee cup nearby for a laugh. One brown block makes a whole slow-moving crew.
11. Your Real Pet
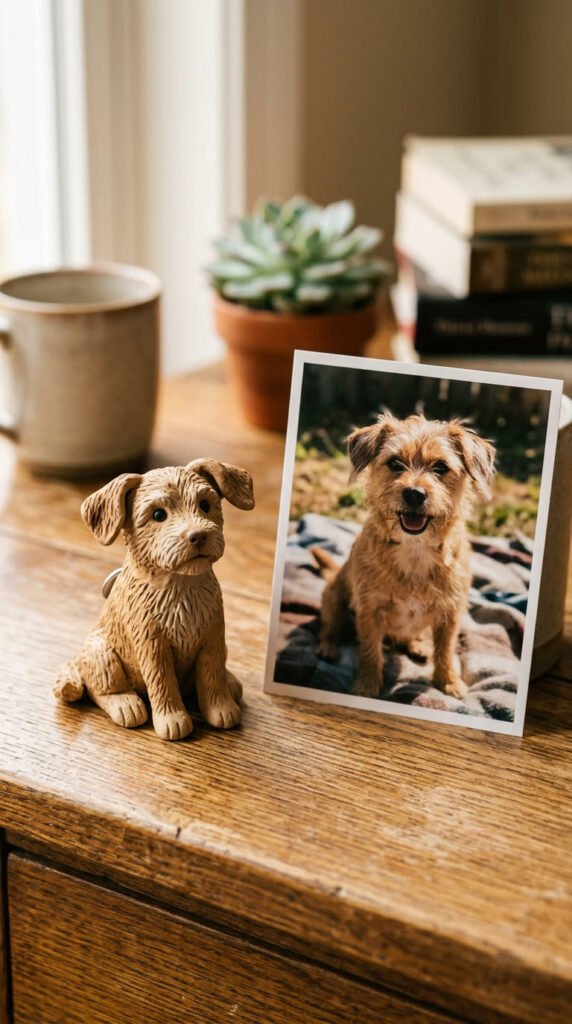
The most loved magnet is your own pet. Find a clear photo of your dog or cat. Match the clay colors to their fur. Roll a head and body in those shades. Add ears, a tail, and any markings they have. Markings make it look like your pet. A white chest patch or a spotted ear does a lot. Keep the face simple. Two dots and a small nose read as your pet even without detail. Use a toothpick to mark fur direction. For a long-haired pet, drag the tool more. For budget colors, mix scrap clay to match the coat. You rarely need a new block. Bake, cool, then paint tiny details like eye color. Glue the magnet and let it cure overnight. This one means the most as a gift. Make one for a friend who just lost a pet. A pet magnet becomes a small keepsake. It is a kind, personal present that costs almost nothing. Kids love making one of the family dog. Take your time on the markings. That is what makes people gasp when they see it.
12. Lucky Cat (Maneki-neko)
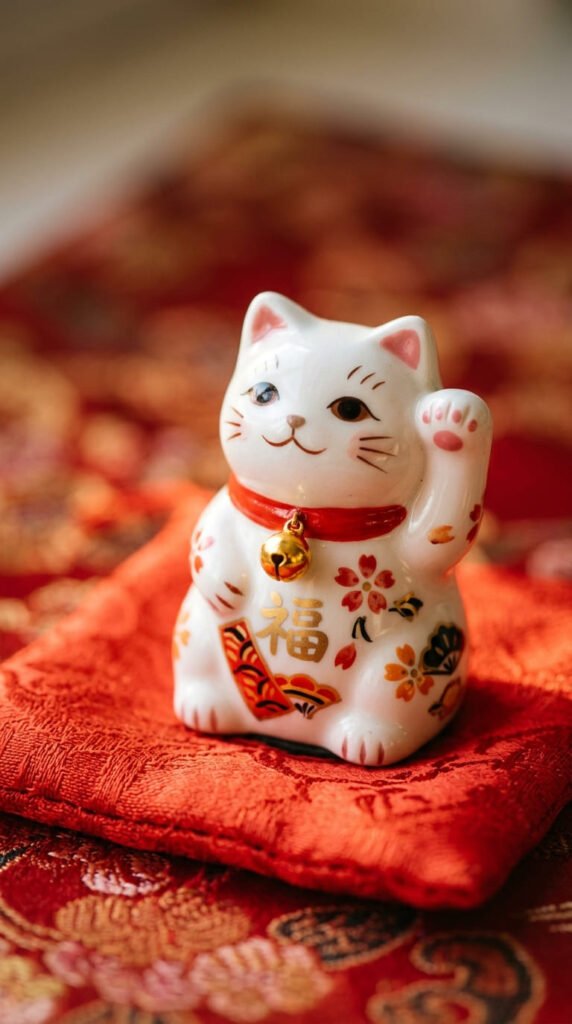
The Japanese lucky cat is a cultural favorite that few magnets show. Roll a white sitting cat shape. Keep the body round and upright. Raise one front paw up high. That raised paw is the whole point. The lifted paw means good luck. Add two pointed ears and a curled tail. Paint a red collar with a small gold bell. Two big eyes and a tiny smile finish the face. A gold coin on the chest adds a rich touch. Use a toothpick dipped in paint for the fine lines. For color on a budget, white clay plus a little red and gold paint covers it all. You only buy paint, not extra blocks. Bake and cool before painting the details. Glue the magnet last and wait a day. Kids love the waving paw. Adults like the meaning behind it. These make great gifts for a new shop or home. A lucky charm gift feels thoughtful. Hamza, this one fits a desi audience too, since lucky symbols travel well. Make a pair in white and black for balance. One white block makes a lucky crew.
13. Tiny Dinosaur
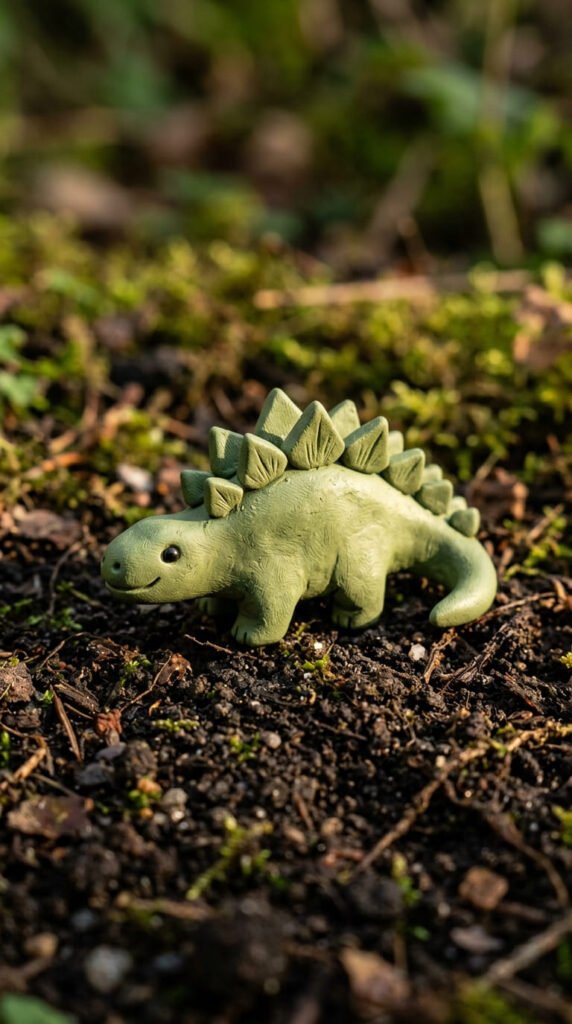
Dinosaurs win over kids every single time. Pick an easy one like a stegosaurus. Roll a green body with a long neck and tail. Add four short legs so it stands. The back plates are the fun part. Press small triangle shapes in a row down the spine. The plates make it a dino. Use a contrasting color for pop, like orange triangles on green. Two tiny eyes and a smile keep it friendly, not fierce. For a budget green, mix yellow and blue scraps. You skip a new block. Bake and cool fully. A flat belly keeps it steady on the fridge. Press it down while soft for a level base. Glue the magnet and let it cure overnight. Kids can press in every plate themselves. That makes it a fun project to do together. Ceramic dinosaur magnets already sell on Etsy, so this idea has buyers. Dino magnets have proven appeal. Make a small set with a long-neck and a t-rex too. Keep them chunky and cute, not scary. One green block makes a tiny prehistoric pack.
14. Forest Bear
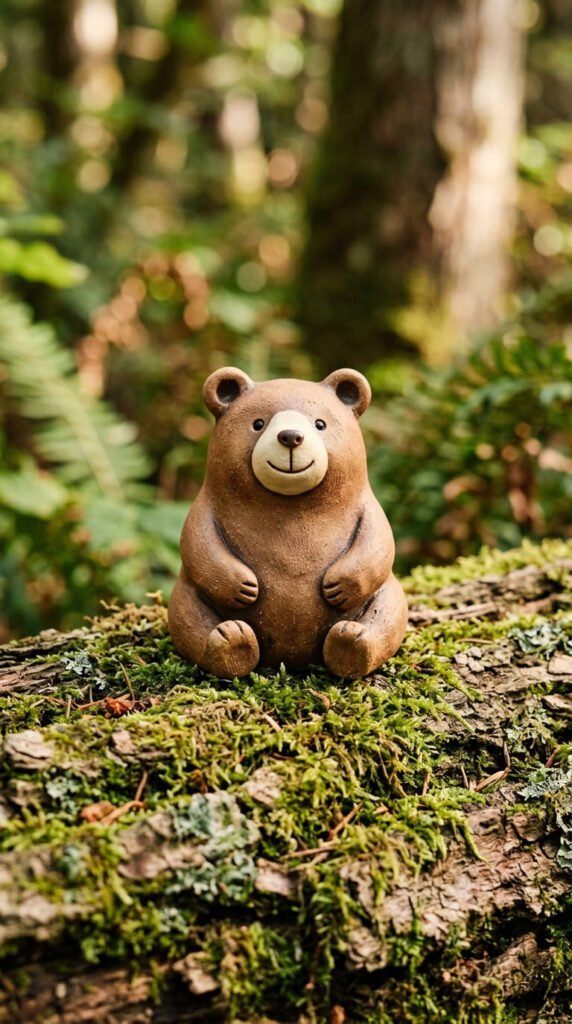
A bear anchors any forest set. Roll a brown ball for the head. Add a bigger brown ball for the body. Two small round ears sit on top. Press a cream oval on the lower face for the muzzle. The round ears make the bear sweet. Keep the ears low and round. Add a tiny dark nose and a small smile. Two dot eyes finish the face. Use a toothpick to drag light fur marks across the body. For color, mix brown scraps with a hint of black for depth. That saves a new block. Bake and cool as normal. A flat back keeps the bear stable. Press it gently while soft for a level base. Glue the magnet and wait a day. Kids love how huggable it looks. Adults like the cozy woodland feel. Pair the bear with a fox and an owl for a forest trio. A matching trio feels like a curated gift. Add a tiny clay honey pot for a cute touch. Wrap them in brown paper for a rustic look. One brown block makes a whole den.
15. Holiday Reindeer
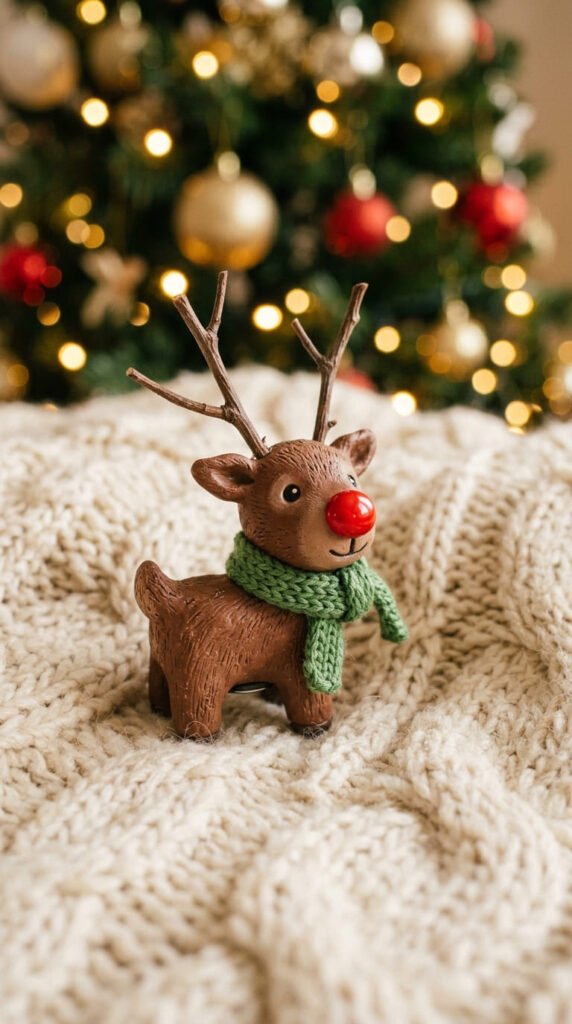
Seasonal magnets sell fast around the holidays. A reindeer is the easy festive pick. Roll a brown head and body. Add two long ears on the sides. The antlers and red nose make it Christmas. A red nose turns it into Rudolph. Roll thin brown clay into branchy antlers. Press them on top of the head. Add a bright red ball for the nose. Two dot eyes and a smile finish the face. A tiny green scarf adds a festive pop. For budget color, brown scraps plus a dab of red paint cover it. You only buy a little paint. Bake and cool before adding the scarf details. Glue the magnet and let it cure overnight. Kids love the glowing red nose. Adults love how festive the fridge looks in December. Make a small herd to sell at a holiday market. Seasonal items move quickly in their season. Pair the reindeer with a snowman and a tree. Wrap three in a tiny box as a gift set. Start early so you have stock ready. One brown block makes a whole sleigh team.
16. Bottle Cap Ladybug
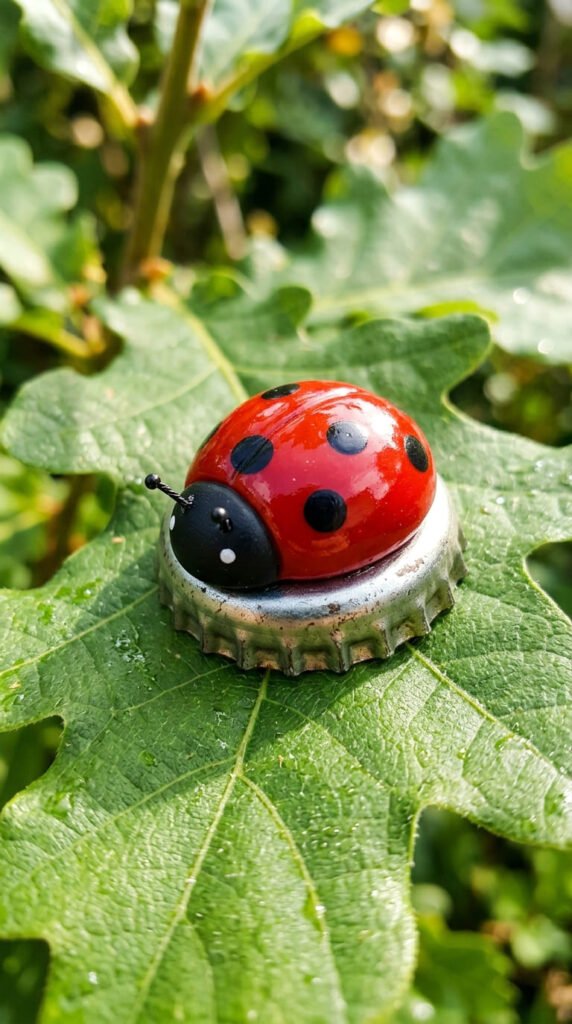
This one upcycles trash into treasure. Save a metal bottle cap from a soda. Fill it with red clay to make a domed back. Add a black clay head at one end. Press a line down the middle for wings. The dots and cap make it special. The bottle cap gives a ready-made round base. Press small black balls onto the red back for spots. Two tiny dot eyes sit on the head. A thin gloss coat makes the shell shine. Brush it on after baking. This costs almost nothing since the cap is free. Free materials keep the budget at zero. Bake and cool fully before the gloss. Glue the magnet to the bottom of the cap. Wait a day for it to set. Kids love using a bottle cap they found. It feels like making something from nothing. Adults like the eco angle of reusing waste. Make a few in red and yellow for variety. Add a tiny bee using the same cap trick. Upcycled magnets tell a nice story. One bag of caps makes a garden of bugs.
17. Floppy-Eared Bunny
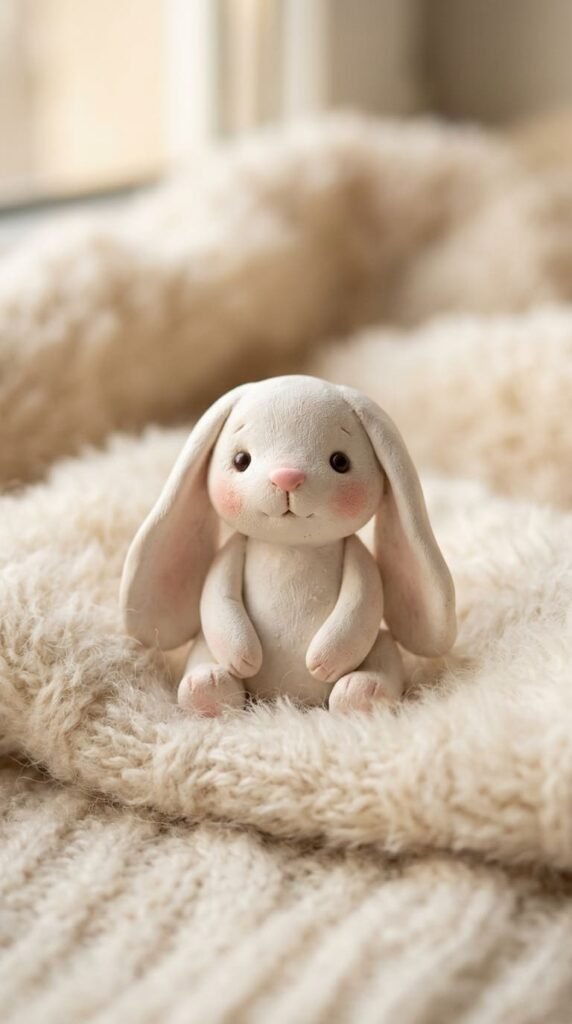
A bunny is soft, simple, and sweet. Roll a white ball for the head. Add an egg shape for the body. The long floppy ears are the charm. Floppy ears beat upright ears for cuteness. Roll two long flat ovals and let them droop down the sides. Add a small pink inner ear to each. Press a tiny pink nose and two dot eyes. Pink cheeks finish the soft look. Dab pink chalk pastel with a cotton swab for the blush. Add a small white tail ball on the back. For color, white clay covers most of it. You only buy a little pink, or mix red and white scraps. Bake and cool as normal. A flat back keeps the bunny steady. Press it down while soft for a level base. Glue the magnet and wait a day. Kids love the droopy ears. Adults love the pastel, gentle feel. Bunnies sell well around spring and Easter. Spring themes have a clear selling window. Make a few in white, gray, and brown. Add a tiny carrot for a fun extra. One white block makes a whole warren.
18. Round Penguin
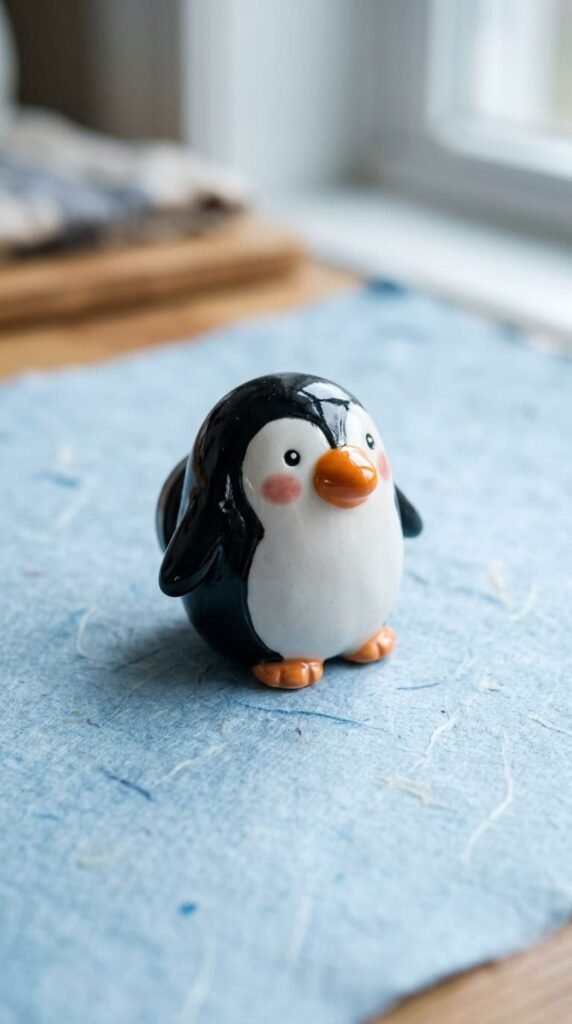
Penguins are basically a black-and-white snowball, so they are easy. Roll a black egg shape for the body. Press a white oval on the front for the belly. The orange beak and feet add the pop. Orange feet make the penguin lively. Add a small orange triangle beak. Two flat orange feet sit at the base. Two dot eyes and pink cheeks finish the face. Press two small black flippers on the sides. For color, black and white clay do most of the work. A little orange scrap covers the rest. Bake and cool fully. A flat bottom keeps the penguin upright on the fridge. Press it down while soft for a level base. Glue the magnet and let it cure overnight. Kids love how round and chubby it looks. Adults like the clean black-and-white style. Penguins fit a winter set with a polar bear. Winter sets pair well for cold-month sales. Add a tiny scarf for extra charm. Make a small waddle of three. Wrap them in a snowy-themed box. One black block makes a whole colony.
19. Spiky Hedgehog
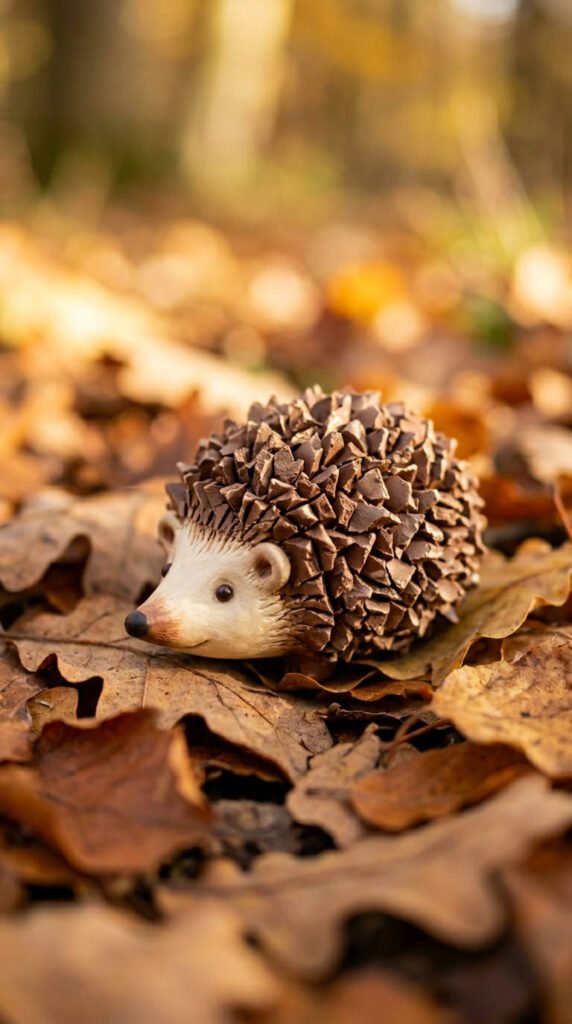
A hedgehog looks detailed but uses a simple trick. Roll a brown teardrop for the body. The pointed end becomes the face. The spikes are the fun part. Tiny snips make the spiky back. Use small scissors to clip little peaks all over the back. Each snip lifts a spike. Leave the face smooth. Add a cream face patch at the point. A tiny dark nose and two dot eyes finish it. For color, mix brown scraps for the body. Use cream for the face. You rarely need a new block. Bake and cool fully. A flat belly keeps the hedgehog steady. Press it down while soft for a level base. Glue the magnet and wait a day. Kids love snipping the spikes, with help on the scissors. Adults love how textured and real it looks. Hedgehogs fit a forest set with the fox and bear. Texture makes simple shapes look advanced. Add a tiny apple or leaf on its back. Make a few in different browns. One brown block makes a prickly little family.
20. Bumblebee
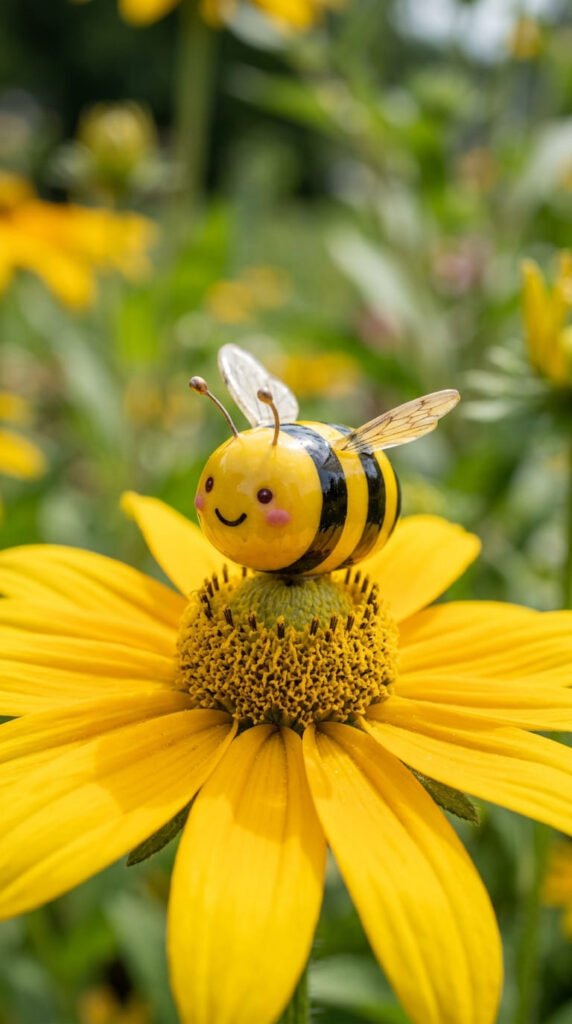
A bee is small, bright, and quick to make. Roll a yellow oval for the body. Press flat black strips across it for stripes. The stripes and wings make the bee. Even stripes look the cleanest. Add two small white wings on the back. Flatten thin white clay for these. A tiny black head sits at the front. Two dot eyes and a smile keep it friendly. Pink cheeks add the cute factor. For color, yellow and black clay cover the body. A scrap of white makes the wings. Bake and cool as normal. A flat back keeps the bee steady. Press it down while soft for a level base. Glue the magnet and wait a day. Kids love the happy buzzing face. Adults like the bright pop of yellow on the fridge. Bees pair with the ladybug and frog for a garden set. Garden sets feel cheerful and fresh in spring. Add a tiny flower for the bee to sit on. Make a small swarm in minutes. One yellow block makes a whole hive.
21. Animal Note Holder
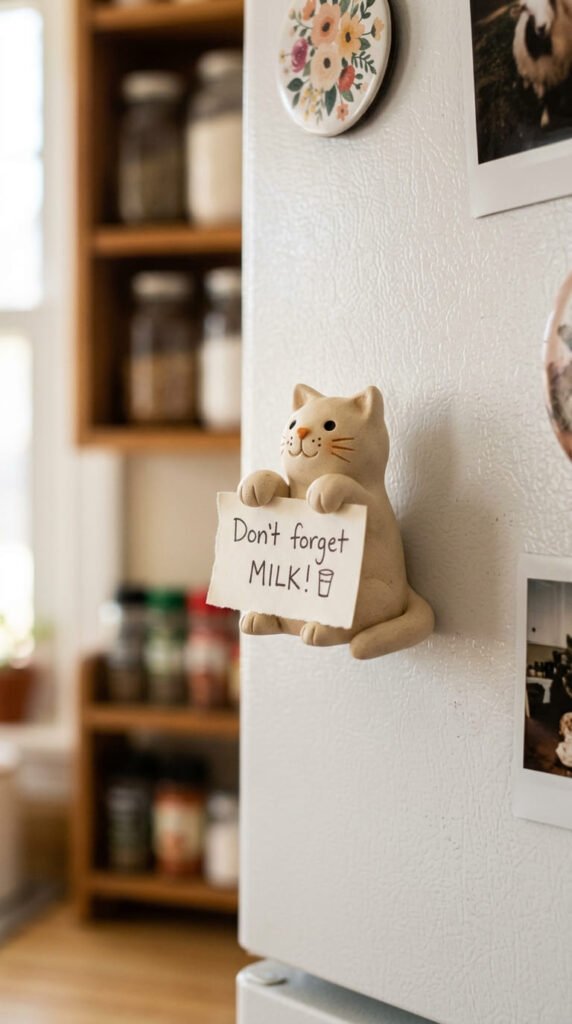
Make a magnet that also does a job. Shape a sitting cat or bear with both arms raised. The raised arms hold a note or photo. That function makes it useful, not just cute. A working magnet earns its spot on the fridge. Roll the body as normal. Press two arms up and slightly forward. Leave a small gap between the paws and body. A note slides into that gap. The magnet behind holds the whole thing to the fridge. Use a strong magnet here since it carries weight. For color, any animal you like works. A cream cat or brown bear both look great. Bake and cool fully. Glue a flat, strong magnet to the back. Let it cure a full day before testing the grip. Kids love that it holds their drawings. Adults love that it pins bills and shopping lists. This one sells better because it solves a small problem. Useful gifts get used every day. Make a few in different animals. One block plus strong magnets makes handy helpers for every kitchen.
22. Farm Pig
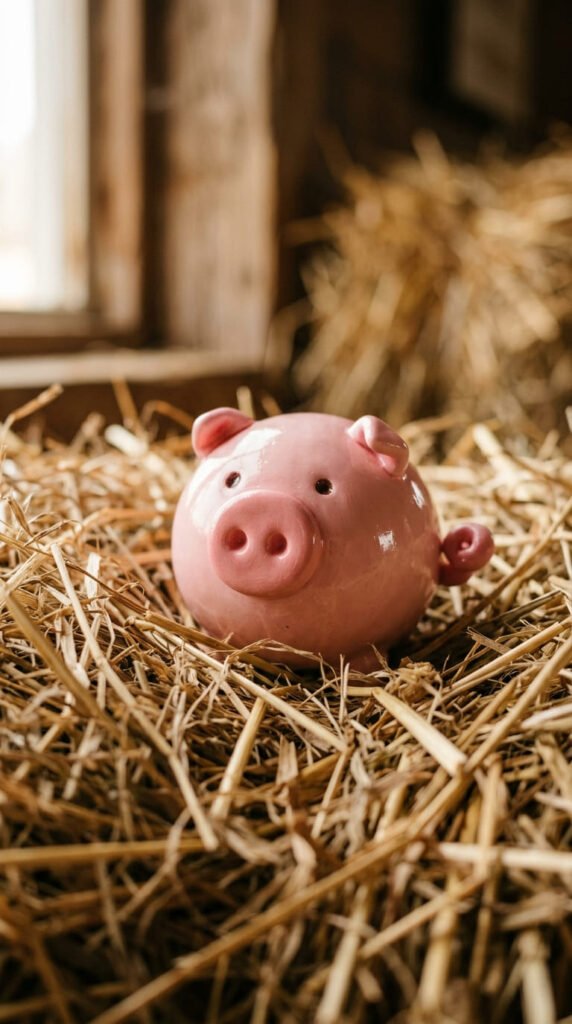
A pig is round, pink, and full of personality. Roll a pink ball for the head and a bigger one for the body. The flat snout makes the pig. A round snout with two dots reads as a pig instantly. Press a small pink circle on the face for the snout. Poke two nostril holes with a toothpick. Add two triangle ears that flop forward. Two dot eyes and a smile finish the face. Roll a thin tail and curl it on the back. For color, pink clay covers it all. Mix red and white scraps if you have no pink. That saves a block. Bake and cool fully. A flat belly keeps the pig steady. Press it down while soft for a level base. Glue the magnet and wait a day. Kids love the curly tail and snout. Adults like the cheerful farm vibe. Pigs fit a farm set with a cow and a sheep. Farm sets are great for kids’ rooms and classrooms. Add a tiny mud puddle base for a laugh. One pink block makes a whole pen.
Conclusion
Clay animal magnets prove that a few dollars and a free afternoon go a long way. You roll a ball. You press a face. You bake, glue, and wait a day. That simple loop turns a plain fridge into a tiny zoo full of pandas, foxes, dolphins, and pigs. The best part is how forgiving the craft stays. Molds help shaky hands. Scrap clay saves money on color. And small extras like a lily pad or a curly tail raise the charm without raising the cost. Start with one easy animal, like the panda or the frog, and build from there. Group them into forest, ocean, or farm sets for gifts that feel thoughtful. Add a working note holder if you want a magnet that earns its keep. Kids get to play, paint, and snip along the way. Adults get a calm, cheap hobby with a cute payoff. Whether you make these for your own kitchen, a friend’s new home, or a small Etsy shop, the path is the same. Grab a block of clay today. Shape your first animal. Then watch your fridge fill up with a little family you made by hand.