You spent an afternoon shaping tiny clay pandas and frogs. They look adorable on the fridge. Then a few weeks later, the paint chips, the edges scuff, and one gets a little sticky. Heartbreaking, right?
The fix is simple: seal them properly. A good seal locks in the color, guards against kitchen moisture, and keeps your magnets looking sharp for years. One crafter sealed her clay decorations with a basic glue mix and they showed no yellowing after six years. That is the kind of life you want.
Here is exactly how to do it.
Step 1: Wait Until the Clay Is Bone Dry
This is the step people rush, and it ruins everything.
Sealing wet or warm clay traps moisture inside. That leads to cloudiness, cracks, and peeling later.
- Air-dry clay: wait 24 to 72 hours, depending on thickness.
- Polymer clay: bake by the packet, then let it cool fully.
- Painted magnets: give acrylic paint a full 24 hours to dry before you seal.
A quick test: touch the back of the thickest part. If it feels cool, it is still drying. Cool means wait.
Step 2: Pick the Right Sealant
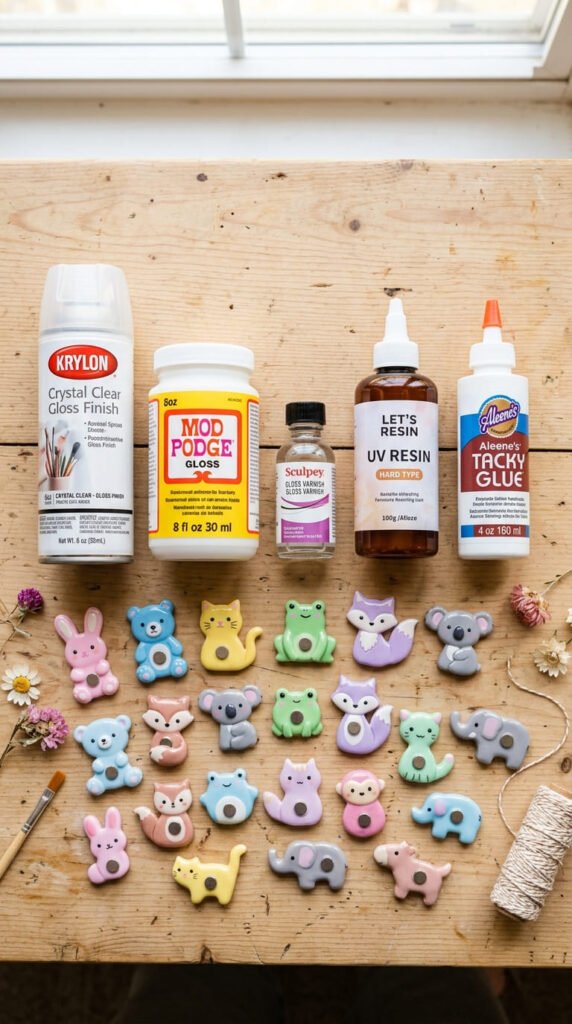
There is no single best sealer. It depends on the look you want and how much the magnet gets handled. Here are the main options.
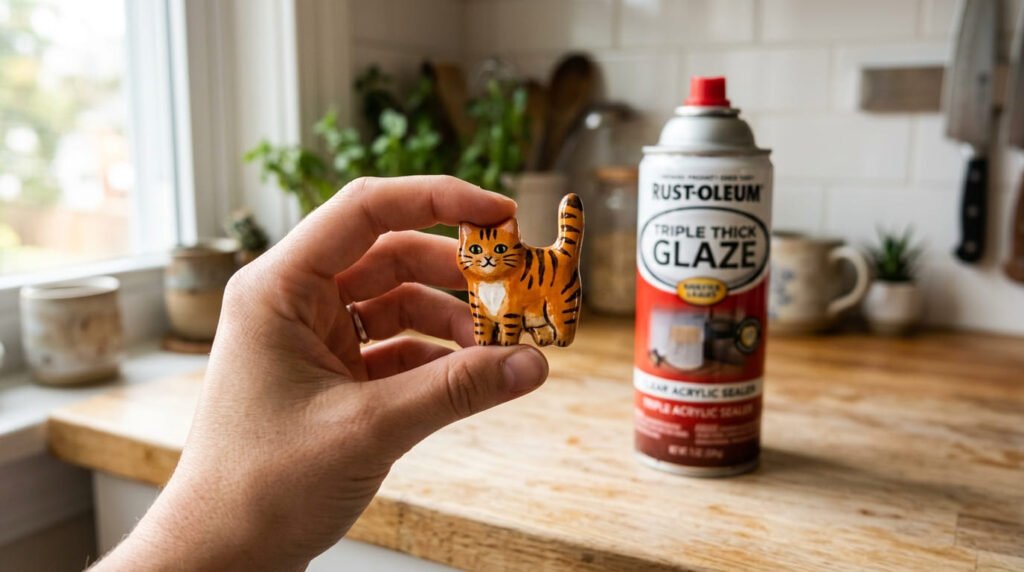
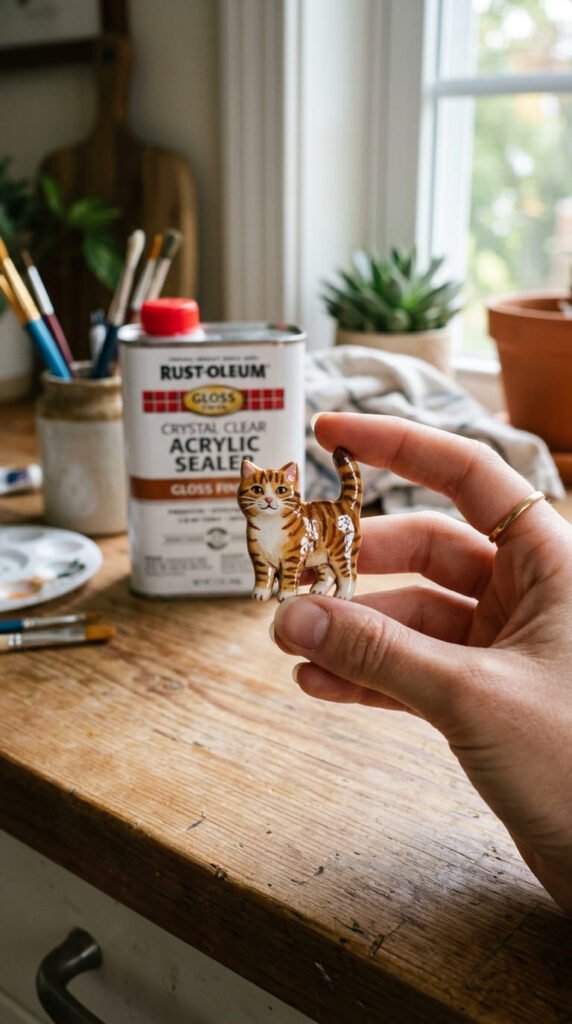
Clear acrylic spray sealer is the top pick for most people. It dries fast, leaves no brush marks, and works on both clay types. Spray from 6 to 8 inches away in light passes.
Mod Podge is the crafter’s go-to. It is cheap, non-toxic, and seals plus finishes in one. It comes in matte, gloss, and even dishwasher-safe versions. Dries in about 20 to 30 minutes per coat.
Polyurethane varnish gives a tough, glossy, professional finish. Great for magnets that get touched a lot.
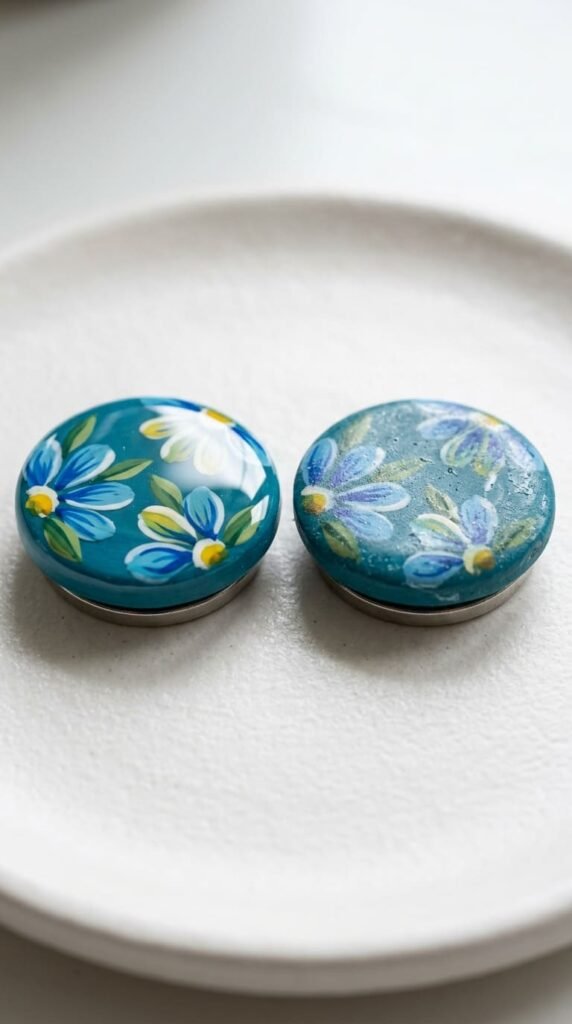
UV resin gives a glass-like shine and cures in just 2 to 4 minutes under a UV lamp. Beautiful, but you do need the lamp.
Epoxy resin is the most durable and water-resistant, but it takes 24 hours to cure and needs good ventilation.
On a budget? Mix equal parts PVA glue and water for a basic seal on decorative pieces.
Step 3: Apply Thin Coats, Not Thick Ones
This is the secret to a clean finish.
One thick coat cracks, streaks, and stays sticky. Two or three thin coats dry evenly and last far longer.
- Apply a light layer.
- Let it dry fully.
- Add the next thin layer.
- Repeat for 2 to 3 coats total.
If you brush instead of spray, use a soft foam brush to avoid streaks.
Step 4: Fix the Sticky Polymer Clay Problem
Here is a trap that catches a lot of beginners. Many sprays turn sticky on polymer clay like Fimo and Sculpey. Annoying and hard to undo.
To avoid it:
- Test your sealer on a scrap piece first.
- Use a clear acrylic sealer or polyurethane made for polymer clay.
- Skip regular school-glue-style sealers on Sculpey and Fimo.
If a magnet already turned tacky, sealing over it with acrylic spray or polyurethane usually rescues it.
Step 5: Attach the Magnet and Let It Cure
Sealing protects the front. A strong glue holds the magnet on the back.
- Use E6000 or a strong super glue, not basic craft glue.
- Add a generous dab and press the magnet flat.
- Let it cure a full 24 hours before you stick it on the fridge.
Rushing this is why magnets fall off and slide down the door. Patience wins.
A Few Honest Truths
Set your expectations right:
- Sealed clay is water-resistant, not waterproof. It handles kitchen steam, not a soak.
- Air-dry clay is not food safe, even sealed. Keep it decorative.
- Matte seal gives a natural look. Gloss makes colors pop. Pick your vibe.
Final Takeaway
Sealing clay magnets is the small step that decides whether your little zoo lasts a month or many years. Let the clay dry fully. Pick a sealer that matches your clay and finish. Build up thin coats. Then glue and cure with patience.
Do that, and those handmade animals will stay bright and chip-free on the fridge for a long time.
Save this guide for your next clay session, and seal those magnets before they ever get the chance to chip.