Making clay figurines looks tricky until you break it into small shapes. A head is a ball. A body is a teardrop. Arms are tiny coils. Once you see it that way, sculpting becomes much less scary and a lot more fun.
Choose the Right Clay First
For your first clay figurine, pick a clay that matches your setup.
If you want something easy and no-oven, use air-dry clay. It dries on its own and works well for cute animals, small characters, charms, and desk decor.
If you want smoother details and stronger small parts, use polymer clay. It stays soft until baked, which gives you more time to shape the figurine.
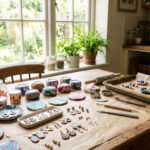
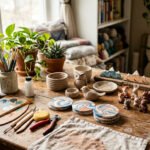
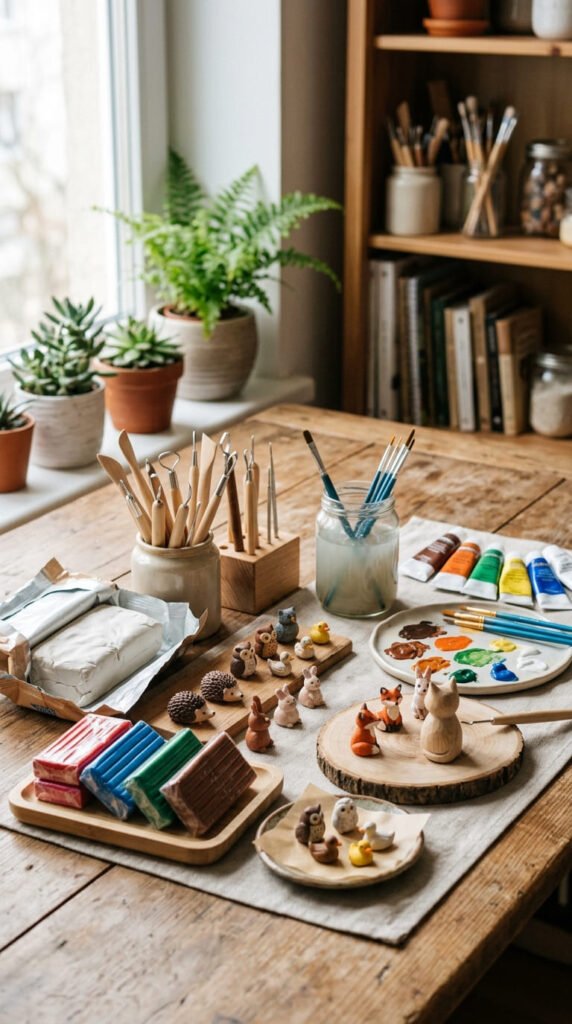
Good beginner supplies:
- Air-dry clay or polymer clay
- Toothpicks
- Small knife or clay blade
- Rolling pin or smooth bottle
- Aluminum foil
- Water cup
- Acrylic paint
- Clear varnish
- Soft paintbrushes
You do not need fancy tools at the start. A toothpick, your fingers, and a damp brush can do most of the work.
Plan a Simple Figurine Shape
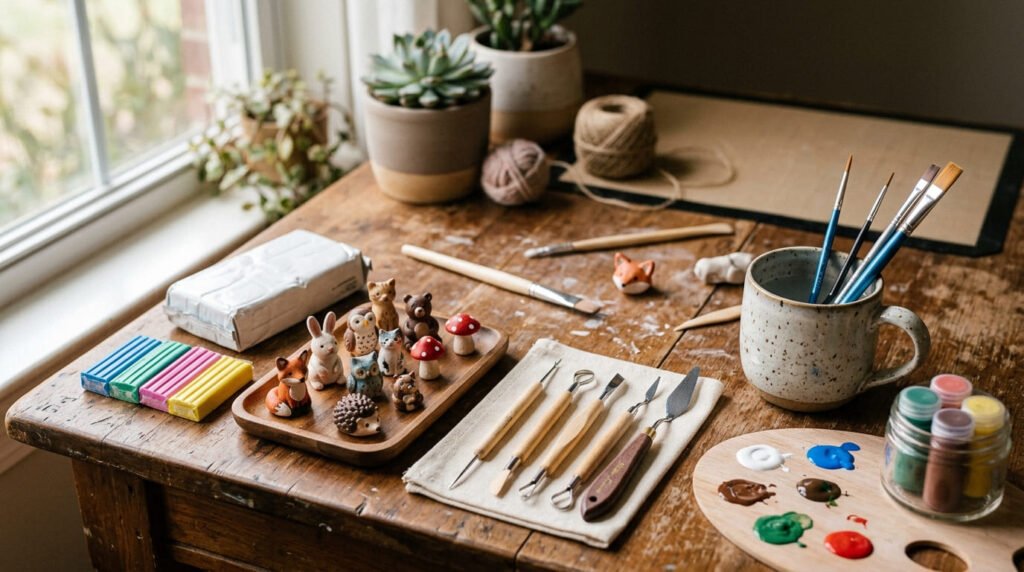
Do not start with a complex human figure. Begin with something cute and simple, like:
- A bear
- A cat
- A mushroom person
- A tiny frog
- A bunny
- A simple cartoon character
Sketch the figurine from the front and side. It does not have to look perfect. You only need a guide for the main shapes.
Think in parts:
- Head = ball
- Body = oval or teardrop
- Arms = small coils
- Legs = short cylinders
- Ears = flattened balls
- Nose = tiny oval
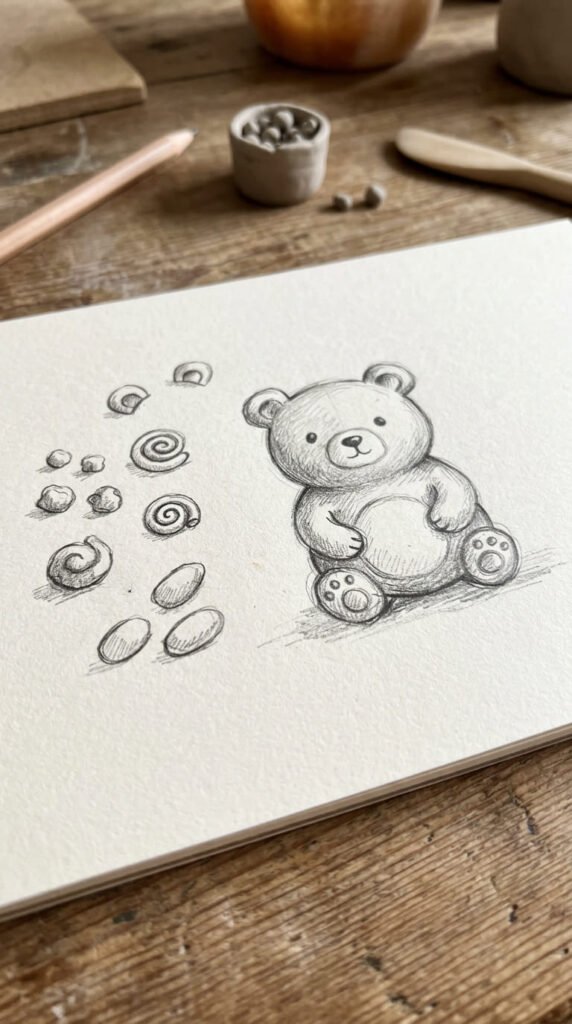
This shape plan keeps you from adding too many details too soon.
Knead and Soften the Clay
Before sculpting, knead your clay. Press it in your palms, roll it, fold it, and warm it with your hands.
This makes the clay easier to shape and helps reduce cracks.
For polymer clay, kneading is extra helpful because some blocks feel firm at first. For air-dry clay, keep unused clay covered so it does not dry while you work.
Try this quick test:
- Roll a small coil.
- Bend it gently.
- If it cracks, add a tiny bit of water for air-dry clay.
- If polymer clay crumbles, knead it longer.
Keep your hands clean while working. Dust, lint, and dry clay crumbs can stick to the surface.
Build a Basic Armature
A small figurine may not need a full frame, but a simple armature helps taller shapes stand better.
Use aluminum foil to make the inner body. Roll it into a small oval or teardrop. This saves clay and keeps the figurine lighter.
Cover the foil with a thin layer of clay. Smooth it with your fingers until the foil is hidden.
For a tiny animal, the body armature is enough. For a standing character, you can add toothpicks or wire inside the legs, but keep it simple for your first project.
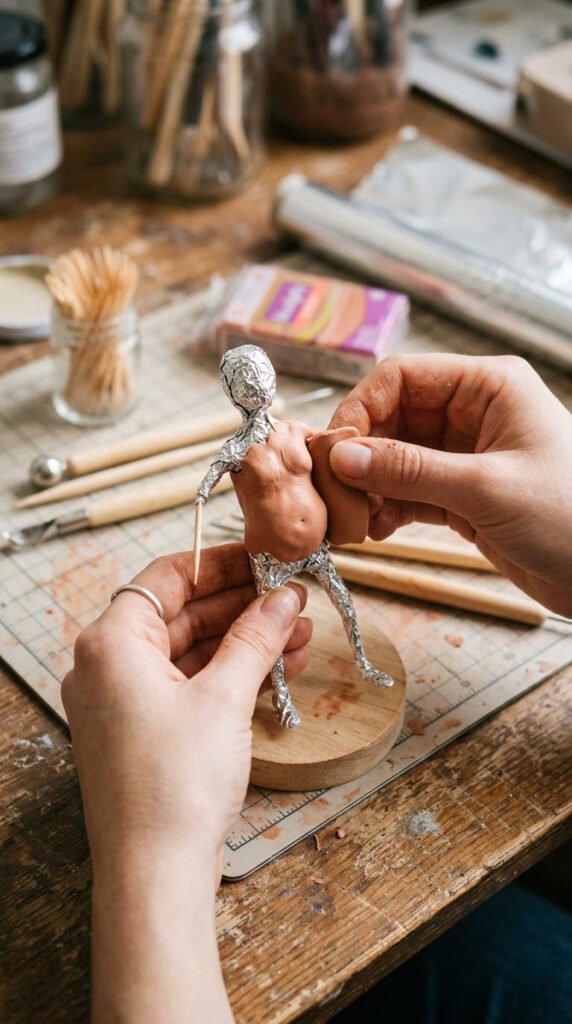
Make sure the base is wide enough. A figurine with tiny feet may fall over. Bigger feet or a small clay base will make it more stable.
Shape the Body, Head, and Limbs
Start with the largest pieces first.
Roll an oval or teardrop for the body. Then roll a ball for the head. Press the head gently onto the body.
To attach pieces, lightly scratch both surfaces with a toothpick. Add a tiny bit of water if using air-dry clay. Then press the parts together and smooth the seam.
Now add arms and legs. Roll short coils for each limb. Keep them thick enough so they do not snap.
For ears, roll two small balls, flatten them slightly, and press them onto the head. For a tail, use a tiny coil or ball.
Do not worry about details yet. Your goal is to create the full silhouette first.
Check the figurine from every angle. Turn it around often. This helps you spot uneven arms, tilted heads, or wobbly feet before the clay dries.
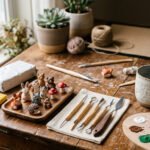
Add a Cute Face and Details
The face brings the figurine to life. Keep it simple.
Use a toothpick to mark eye spots. Add tiny clay balls for cheeks, nose, or eyebrows. For a smile, roll a very thin coil and press it gently onto the face.
Beginner-friendly face ideas:
- Two dot eyes and a tiny smile
- Closed curved eyes
- Small oval nose
- Pink painted cheeks
- Tiny ears or horns
- Little bow, scarf, or hat
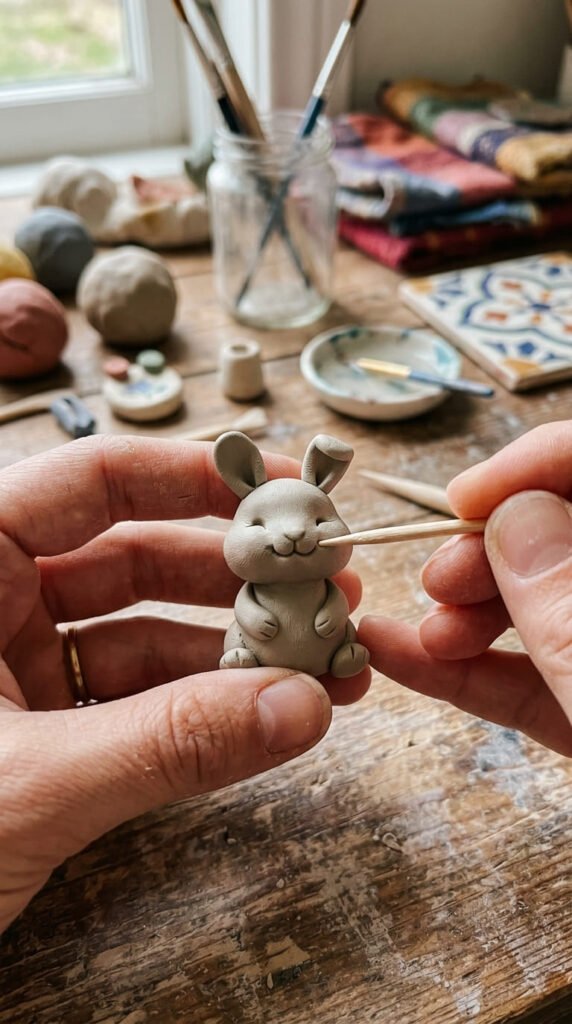
Smooth seams with a damp brush or fingertip. Do not soak the clay. Too much water can make air-dry clay sticky and weak.
Small accessories can hide mistakes. A scarf can cover a rough neck seam. A flower can cover a dent. A hat can fix a flat head shape.
Dry or Bake the Figurine
If you used air-dry clay, place the figurine in a cool, dry spot. Let it dry fully before painting. Small figurines may dry in a day or two. Thicker pieces can take longer.
Do not place it in direct sun or near strong heat. Fast drying can cause cracks.
If you used polymer clay, bake it according to the package directions. Use the right temperature and time for the brand. Let it cool fully before painting.
Once dry or baked, check for rough spots. Sand them gently with fine sandpaper. Be careful around ears, arms, and tiny details.
Paint and Seal Your Figurine
Acrylic paint is the easiest choice for beginner clay figurines. Start with a base color. Let it dry. Then add details.
Paint order:
- Body color
- Face details
- Accessories
- Cheeks and highlights
- Final touch-ups
Use thin layers instead of thick paint. Thin layers look smoother and dry better.
For a cute style, try soft colors like cream, blush, sage, brown, white, and pastel yellow.
After painting, add clear varnish. Glossy varnish gives a shiny toy-like finish. Matte varnish gives a soft handmade look.
Final Takeaway
Clay figurines are easier when you build them from simple shapes. Start small, use a basic body, smooth each seam, and save tiny details for the end. Your first figurine does not have to be perfect. It just has to teach your hands how clay works.
Save this guide for your next craft day, and try making one tiny animal figurine first.