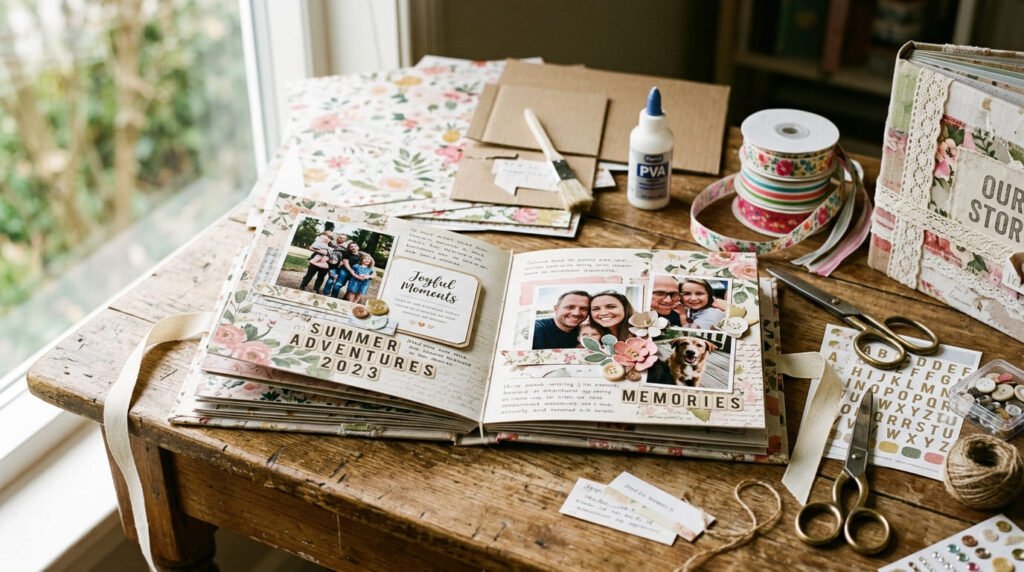
A handmade scrapbook already feels special, but the cover is what makes it feel like a real keepsake. It is the first thing people see, and it gives a little preview of all the memories inside. The best part? You can make a cute scrapbook cover with paper using simple supplies you probably already have at home.
You do not need fancy tools, expensive fabric, or professional bookbinding skills. With scrapbook paper, cardboard, glue, and a few pretty details, you can create a cover that looks sweet, personal, and gift-ready. This is perfect for birthday albums, baby memory books, friendship scrapbooks, travel journals, school projects, or wedding keepsakes.
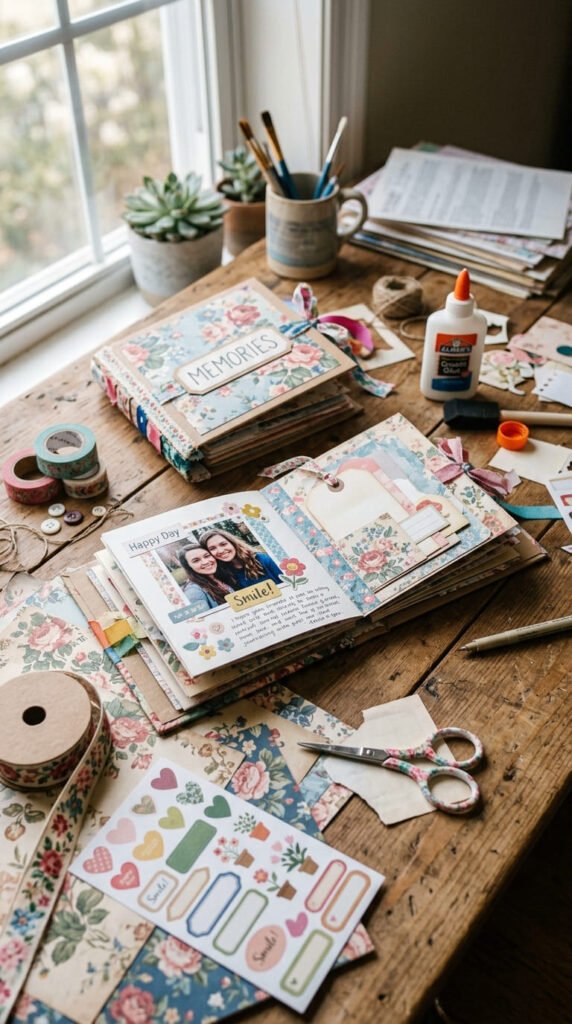
Gather Your Simple Supplies
Start by collecting everything before you begin. This keeps the project easy and less messy.
You will need:
- Thick cardboard or chipboard
- Scrapbook paper or patterned cardstock
- Plain cardstock for the inside cover
- Glue stick or craft glue
- Double-sided tape
- Scissors
- Ruler
- Pencil
- Bone folder or any smooth pressing tool
- Ribbon, stickers, paper flowers, or labels
For a budget version, use clean cardboard from packaging boxes. For a stronger album, use chipboard. Scrapbook paper works beautifully for the outside because it comes in floral, pastel, vintage, colorful, and themed designs.
If you want the cover to last longer, choose paper that feels slightly thick, not too thin or flimsy.
Choose the Album Size and Theme
Before cutting your cover, decide how big your scrapbook should be. A smaller album is easier for beginners, while a bigger one gives you more space for photos and decorations.
Beginner-friendly sizes include:
- 6 x 6 inches for a mini memory album
- 8 x 8 inches for a cute photo scrapbook
- 5 x 7 inches for a simple gift album
- 8.5 x 11 inches for a school-style scrapbook
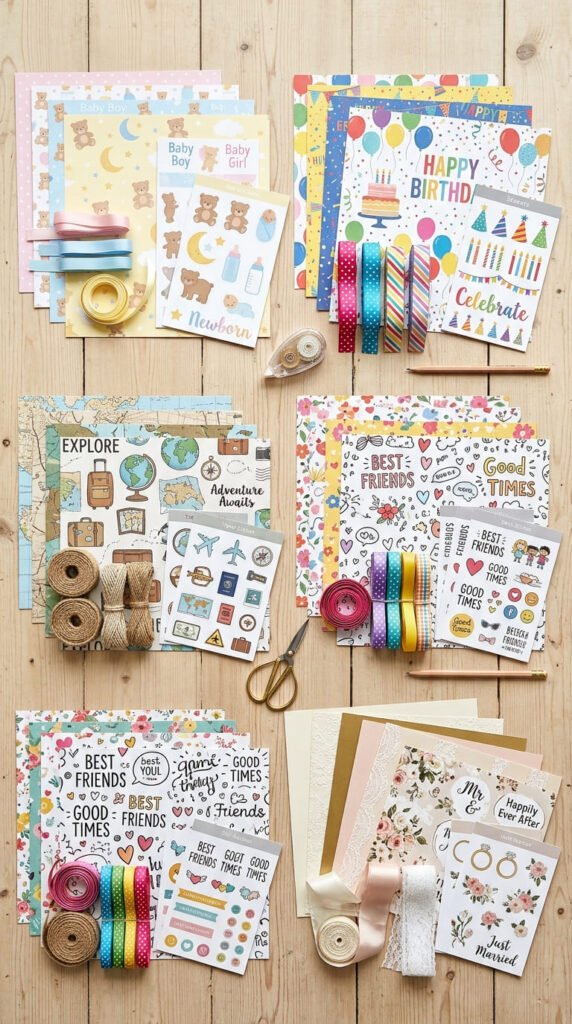
Now choose a theme. Your theme will help you pick the right paper and decorations.
Cute theme ideas:
- Baby album with pastel paper and tiny animal stickers
- Birthday album with bright colors and star shapes
- Travel album with map paper and ticket-style labels
- Friendship album with hearts, doodles, and fun photos
- Wedding album with cream, gold, florals, and ribbon
Cut the Cover Pieces
A scrapbook cover usually needs three parts: the front cover, back cover, and spine.
Cut two pieces of cardboard for the front and back. Then cut one narrow strip for the spine. The spine is the part that connects the two covers and gives your album shape.
For an 8 x 8 inch scrapbook, you can use:
- Front cover: 8 x 8 inches
- Back cover: 8 x 8 inches
- Spine: 1 to 2 inches wide
The spine width depends on how many pages you want inside. A thin album needs a narrow spine. A thicker memory book needs a wider spine.
Lay the pieces on the table in this order: back cover, spine, front cover. Leave a small gap between the spine and each cover so the album can open and close easily.
Wrap the Cover with Scrapbook Paper
Now it is time to make the cover look pretty.
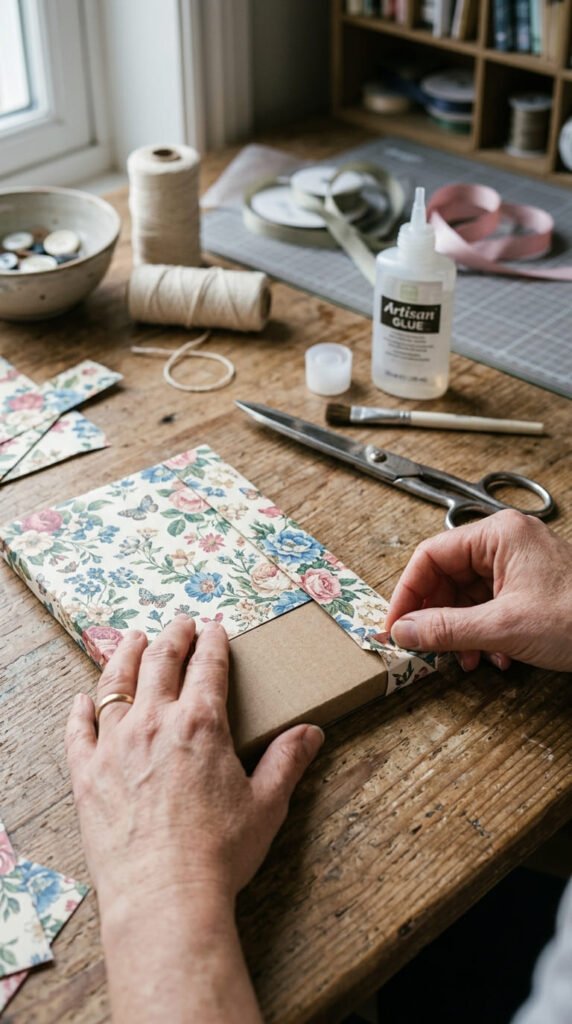
Place your scrapbook paper face down on the table. Put the cardboard pieces on top, leaving space around the edges. Cut the paper about 1 inch larger on all sides so you can fold it over the cardboard.
Add glue or double-sided tape to the cardboard. Press it onto the back of the scrapbook paper. Smooth it gently from the center outward to remove bubbles.
Then fold the extra paper over the edges and glue it down on the inside.
For clean corners:
- Trim each corner at an angle.
- Leave a tiny bit of paper near the cardboard corner.
- Fold one side first, then the next side.
- Press firmly with your fingers or a smooth tool.
Take your time here. Neat corners make the scrapbook cover look much more polished.
Cover the Inside Neatly
After wrapping the outside, the inside may look a little messy because of the folded paper edges. That is easy to fix.
Cut plain cardstock slightly smaller than the front and back covers. Glue one piece inside the front cover and one inside the back cover. This hides the folded edges and gives the album a clean finish.
You can use:
- White cardstock for a clean look
- Kraft paper for a rustic style
- Pastel paper for a soft cute album
- Matching scrapbook paper for a coordinated design
Press the inside paper down firmly and let it dry flat.
Decorate the Front Cover
This is the most fun part. Keep your decoration cute but not too crowded.
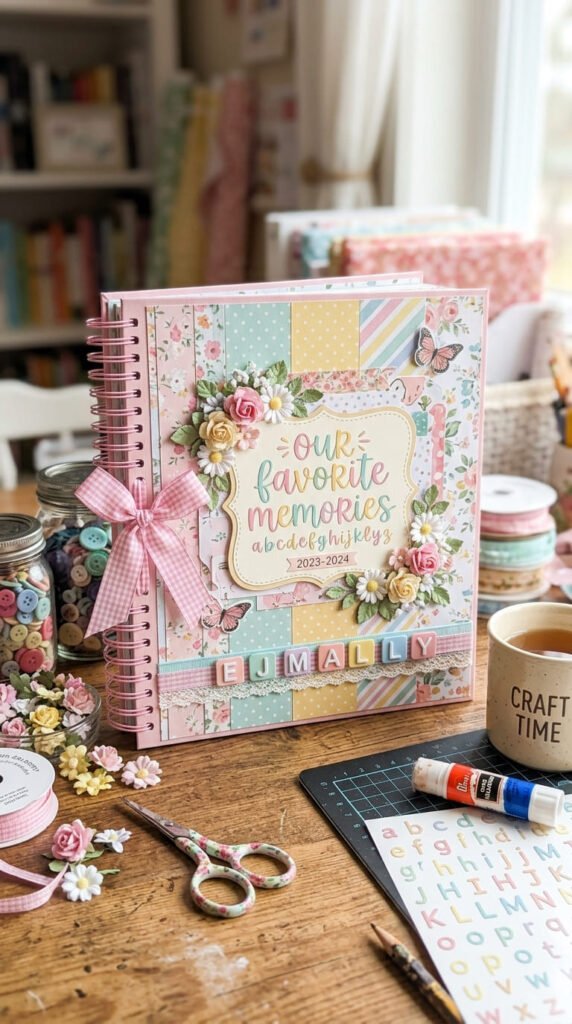
Start with a main title or label. You can write it by hand, use alphabet stickers, or print a small title card.
Cute title ideas include:
- Our Memories
- Sweet Moments
- Baby Days
- Best Friends
- Birthday Fun
- Travel Diary
- My Little Album
Then add a few simple decorations around the title. Try ribbon, stickers, paper flowers, washi tape, buttons, or a small photo.
A pretty layout can include:
- Title in the center
- Ribbon across the bottom
- Paper flowers in one corner
- Stickers near the title
- A small date label under the title
Add Pages and Final Touches
Once the cover is dry, add your scrapbook pages. You can attach them with rings, ribbon binding, glue binding, or a simple folded spine method depending on your album style.
Before adding pages, check that the cover opens easily. If it feels stiff, gently bend near the spine gaps.
For a final polished look:
- Press the cover under heavy books overnight.
- Add a ribbon tie closure.
- Keep bulky decorations away from the spine.
- Use strong tape for edges that may lift.
- Add a name, date, or small quote for a personal touch.
Final Takeaway
Making a scrapbook cover with paper is simple, affordable, and perfect for creating a cute handmade album. With cardboard, scrapbook paper, glue, and a few decorations, you can turn plain supplies into a beautiful memory book cover.
Start with a simple size, choose paper that matches your theme, wrap the cover neatly, and decorate it with personal details. Save this scrapbook cover tutorial for later, and use it whenever you want to make a sweet handmade album for yourself or someone special.