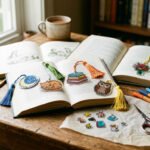
Remember those tiny plastic charms that magically shrink in the oven? You do not need a store-bought kit to make them at home. With the right recycled plastic, a few markers, scissors, and a baking tray, you can make DIY Shrinky Dinks from items you may already have in your kitchen.
The trick is using the correct plastic. Look for clear plastic marked with the recycling symbol #6. This is usually found on some takeout lids, bakery containers, salad boxes, and deli clamshells. Once you find it, the process is simple: clean it, draw on it, cut it, bake it, and turn it into charms, keychains, earrings, ornaments, or magnets.
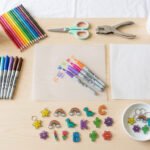
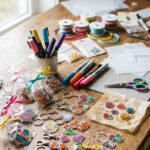
What You’ll Need
You only need basic household and craft supplies for this project. Keep everything simple, especially if you are making Shrinky Dinks with kids.
Gather these items:
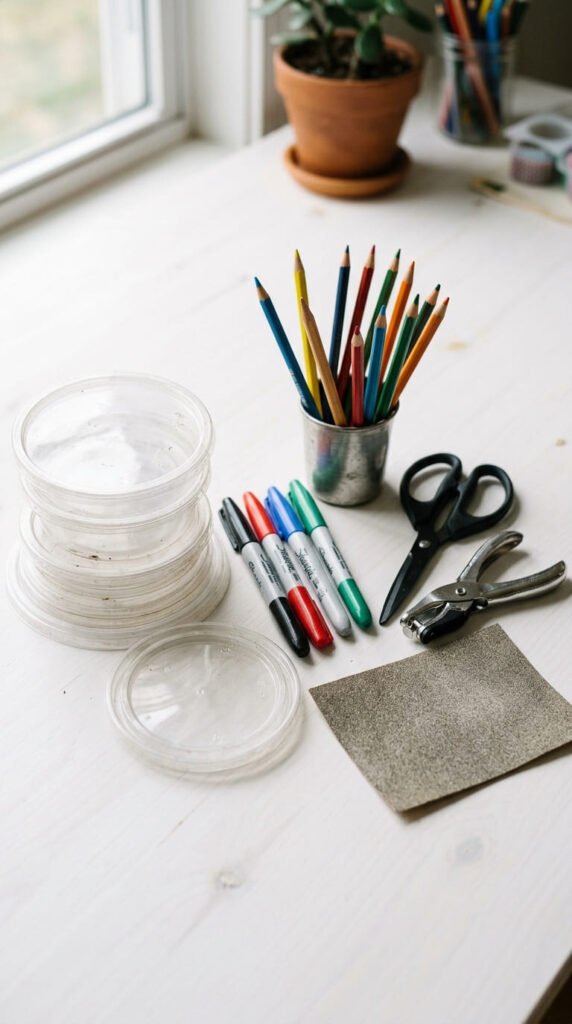
- Clear #6 plastic container lids or flat panels
- Permanent markers or colored pencils
- Fine sandpaper, optional
- Scissors
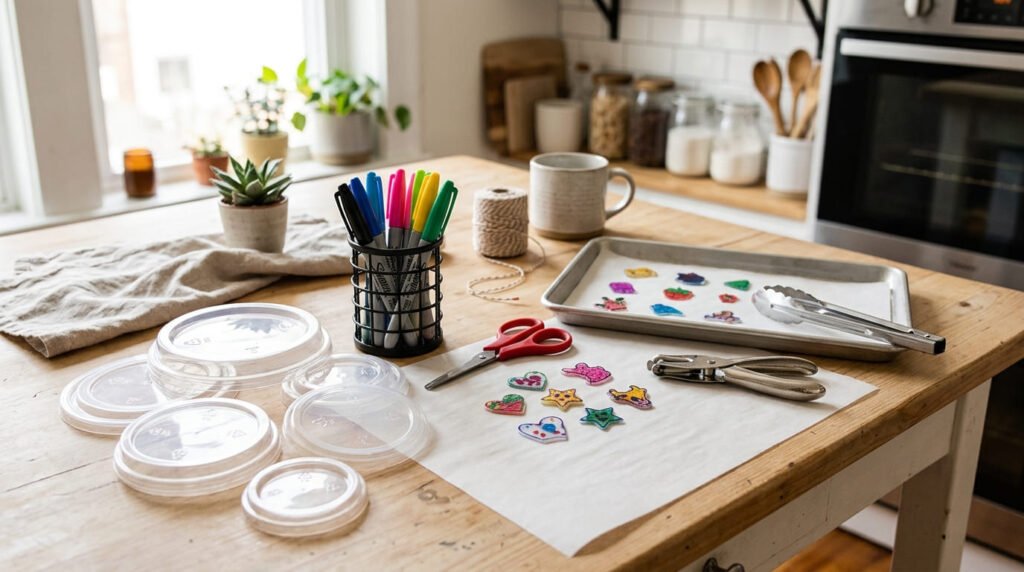
- Hole punch
- Baking tray
- Parchment paper or foil
- Oven or toaster oven
- Metal spatula or flat tool
- Key rings, jump rings, ribbon, magnets, or string
Permanent markers work best on smooth recycled plastic. Colored pencils can work too, but the plastic surface should be lightly sanded first so the color can grip.
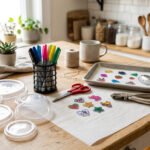
Step 1: Find and Prep the Right Plastic
Start by checking your recycling bin or kitchen packaging. Look at the bottom of clear plastic food containers for the recycling triangle with the number 6 inside. Do not use random plastic, because other types may melt badly or fail to shrink.
Good places to check include:
- Clear bakery lids
- Salad container tops
- Berry boxes
- Deli clamshells
- Flat takeout lids
Wash the plastic with dish soap and warm water. Dry it fully before drawing. If there is sticky label glue, remove it before crafting. Grease, crumbs, or sticker residue can make the marker smear.
Cut away raised edges, ridges, and bumpy areas. Save the flat parts for your designs. Small flat scraps are great for earrings, charms, and zipper pulls.
Step 2: Draw Your Design Larger Than You Want
Shrinky Dinks shrink a lot, so draw your design about three times larger than the final size you want. A large heart, flower, star, or initial will become a small thick charm after baking.
Simple designs work best. Try:
- Hearts
- Stars
- Flowers
- Initials
- Rainbows
- Animals
- Mini food shapes
- Holiday ornaments
- Pet tags
- Keychain shapes
Use black permanent marker for outlines, then add color. Keep the colors slightly lighter than your final goal because they often become darker after shrinking.
If you are not confident drawing freehand, place the plastic over a printed image and trace it. You can also trace cookie cutters, bottle caps, small bowls, or toy shapes.
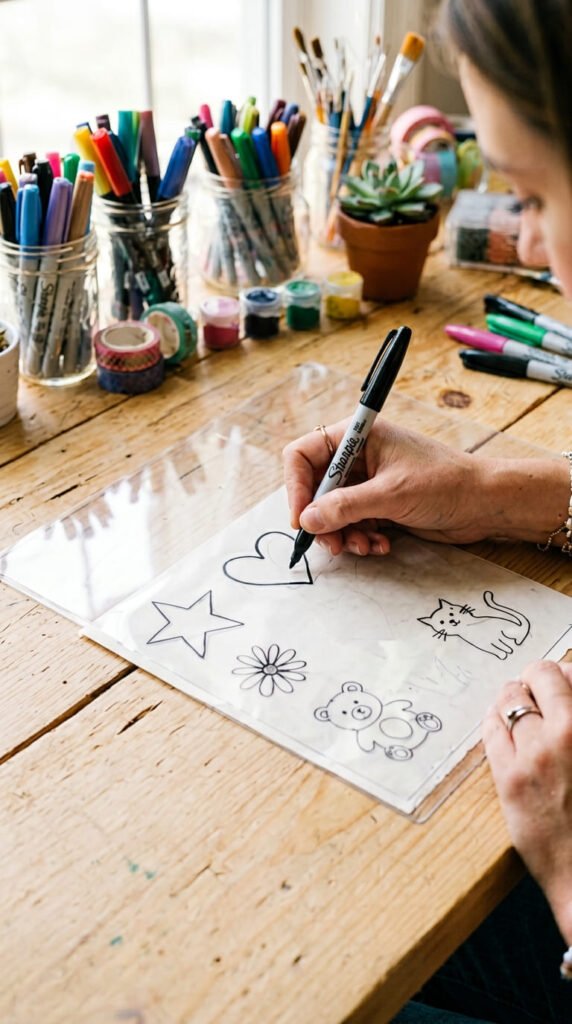
Step 3: Cut, Round the Corners, and Punch Holes
Once your design is dry, cut around it carefully. Leave a little space around the drawing so the edges stay strong. Sharp corners can become pokey after shrinking, so round every point with scissors.
This is especially helpful for:
- Keychains
- Earrings
- Necklaces
- Backpack charms
- Gift tags
- Ornaments
If you want to hang your Shrinky Dink, punch the hole before baking. The hole will shrink too, so use a normal hole punch. Tiny holes may close up in the oven.
Place the hole away from the edge so the charm does not snap. For earrings, try to punch both pieces in the same spot so they hang evenly.
Step 4: Bake and Watch the Magic Happen
Preheat your oven or toaster oven to around 350°F. Line a baking tray with parchment paper or foil. Do not place the plastic directly on the tray.
Put your plastic pieces on the lined tray with space between them. They will curl, twist, shrink, and then flatten. This part can look strange, but do not panic. The curling stage is normal.
Bake for about 2–3 minutes, or until the pieces have shrunk and flattened. Some ovens may take a little longer, so watch through the oven window if possible.
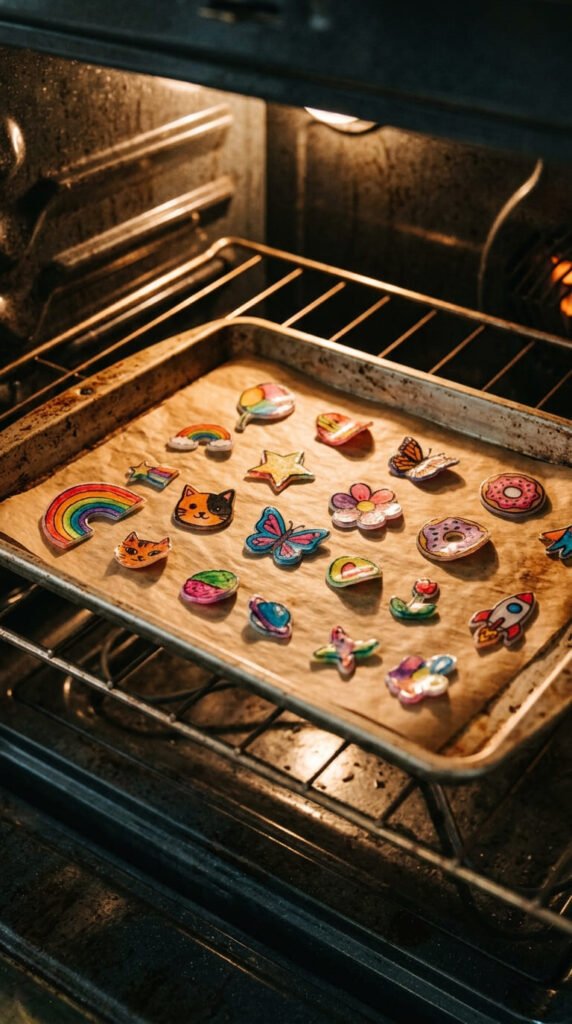
When they look mostly flat, remove the tray carefully. While the pieces are still warm, you can press them gently with a metal spatula or another flat tool. Let them cool before touching.
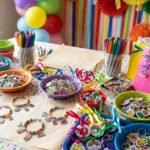
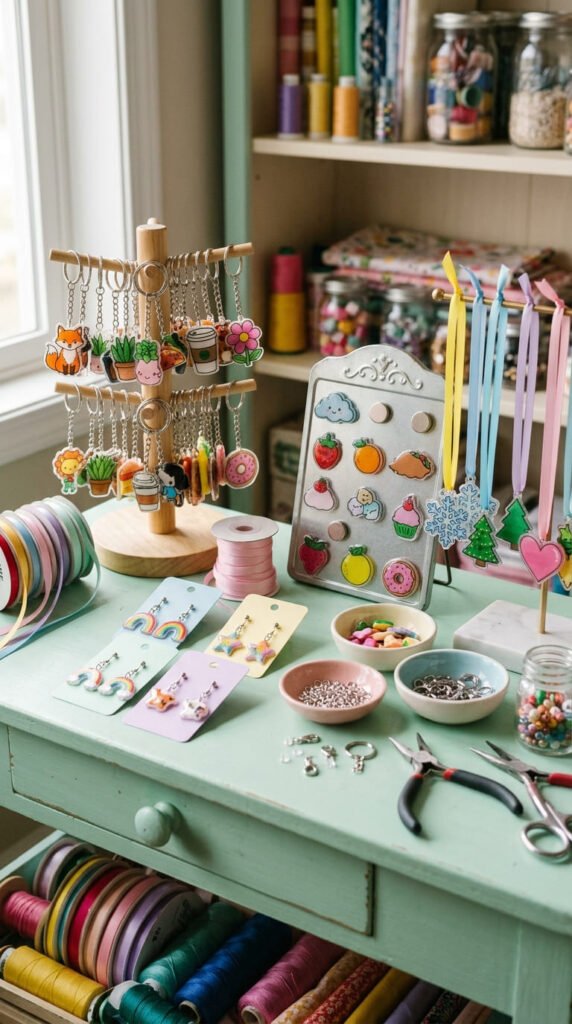
Step 5: Turn Them Into Finished Crafts
Once the pieces cool, they will feel thicker and harder. Now you can turn them into gifts, decorations, or accessories.
Try these easy ideas:
- Add key rings for custom keychains
- Glue magnets to the back for fridge art
- Add jump rings for earrings
- Tie ribbon through the hole for ornaments
- Attach to zipper pulls for backpacks
- Glue to cards for handmade embellishments
If you want the color to last longer, seal the colored side with clear Mod Podge or acrylic sealer. This is helpful for pieces that will be handled often, like keychains or jewelry.
Helpful Tips for Better Results
A few small tricks can make homemade Shrinky Dinks look much better.
- Test one small piece first to check shrink size.
- Use lighter colors because shades darken after baking.
- Do not make designs too tiny, or they may curl into themselves.
- Keep windows open or use a kitchen fan while baking.
- Let pieces cool before adding hardware.
- Use parchment paper to stop sticking.
- Sand smooth plastic if you want to use colored pencils.
Final Takeaway
Making Shrinky Dinks without a kit is simple, cheap, and surprisingly fun. All you need is clean #6 plastic, basic coloring tools, a lined baking tray, and a little patience while the plastic curls and shrinks. Start with easy shapes, test one piece first, and turn the finished charms into cute gifts or keepsakes. Save this craft idea for your next weekend DIY project!