Ever finished a clay piece, stepped back, and noticed every fingerprint, lump, and seam staring right back at you? You are not alone. The gap between a “homemade” look and a polished one almost always comes down to the surface. The good news? You do not need fancy gear or years of practice. A few simple tricks, the right tool for your clay, and a little patience will get you there.
Let’s walk through the easy, budget-friendly ways to get that clean, professional finish.
First, Know Your Clay
Your clay decides your method. Pick the wrong one and nothing works.
- Water-based clay → smooth with water and your fingers.
- Air-dry clay → smooth best once dry, using sandpaper.
- Polymer or oil-based clay → use alcohol or a drop of oil (water just beads off).
Quick test: dab a wet finger on a hidden spot. If the surface softens, water is your friend. If nothing happens, reach for alcohol or oil instead.
Start With Damp Fingertips
Your fingers are the cheapest tool you own. Dip a fingertip in water, shake off the extra, and glide it gently over the clay.
This closes seams, softens creases, and presses down rough spots. Keep the touch light, though. Press too hard and you flatten the detail you worked for. Too much water turns the surface mushy, so go slow.
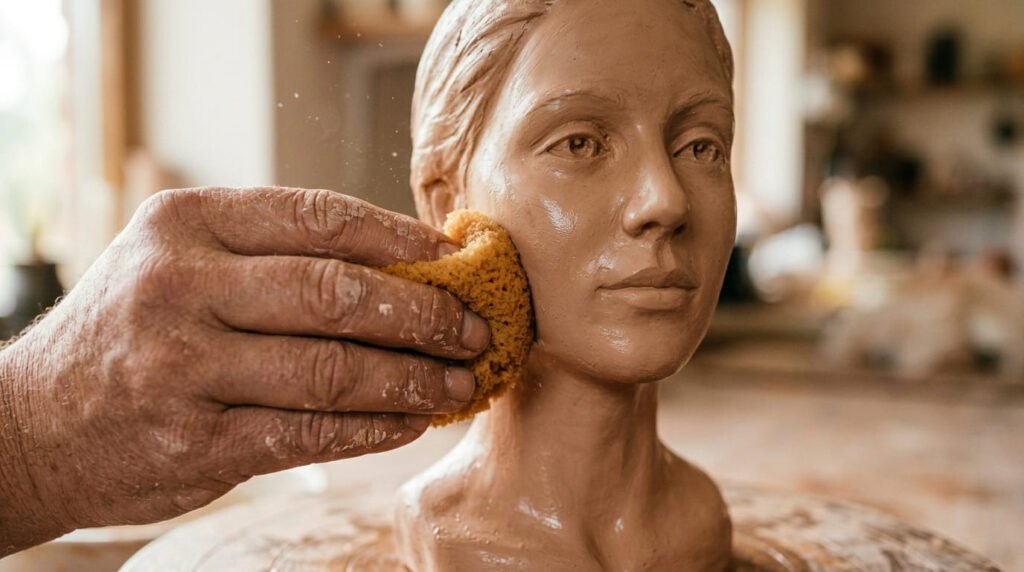
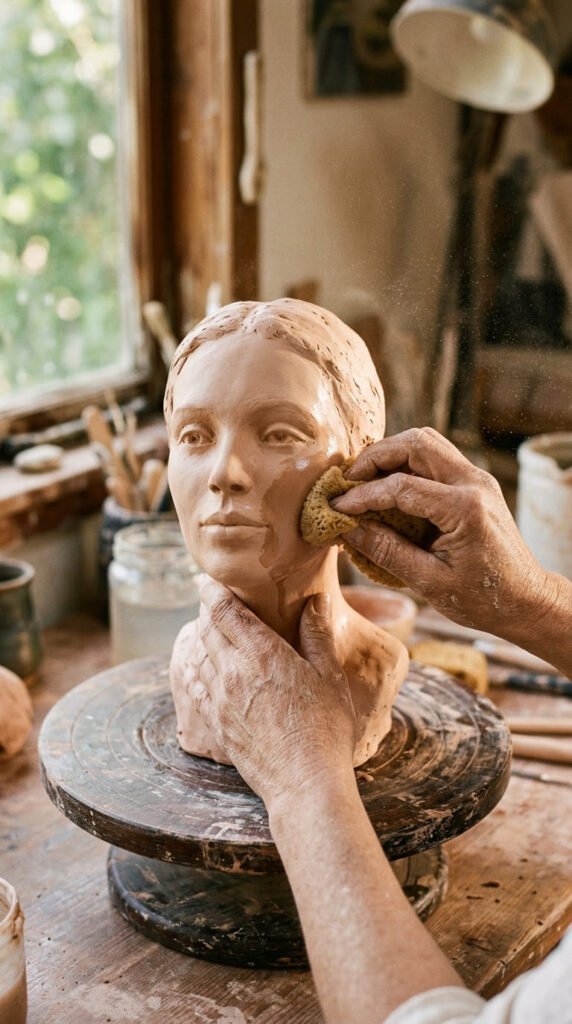
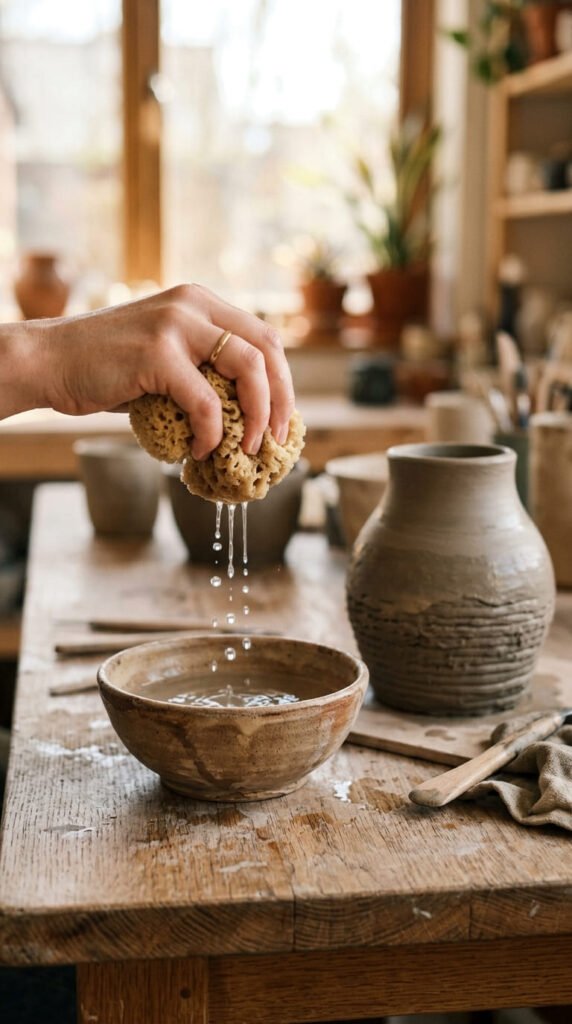
Reach for a Sponge on Bigger Areas
For larger surfaces like a vase body or a flat base, fingers leave streaks. A damp sponge fixes that.
- Wet a soft sponge, then squeeze out most of the water.
- Move it in small circles with light pressure.
- Rinse it often so built-up clay doesn’t scratch.
Budget tip: a clean kitchen sponge with the rough side cut off works just as well as a pricey pottery sponge.
Use Alcohol for Polymer Clay
Water does nothing on polymer clay. Isopropyl alcohol is the trick everyone swears by.
Dip a cotton swab or soft brush, then sweep it over fingerprints and rough edges before baking. A light touch fades marks fast. A heavy hand leaves a sticky patch, so easy does it.
- 70% is mild and forgiving (great for beginners).
- 90%+ cuts through deeper scratches.
One small bottle from the pharmacy lasts months and cleans your tools too.
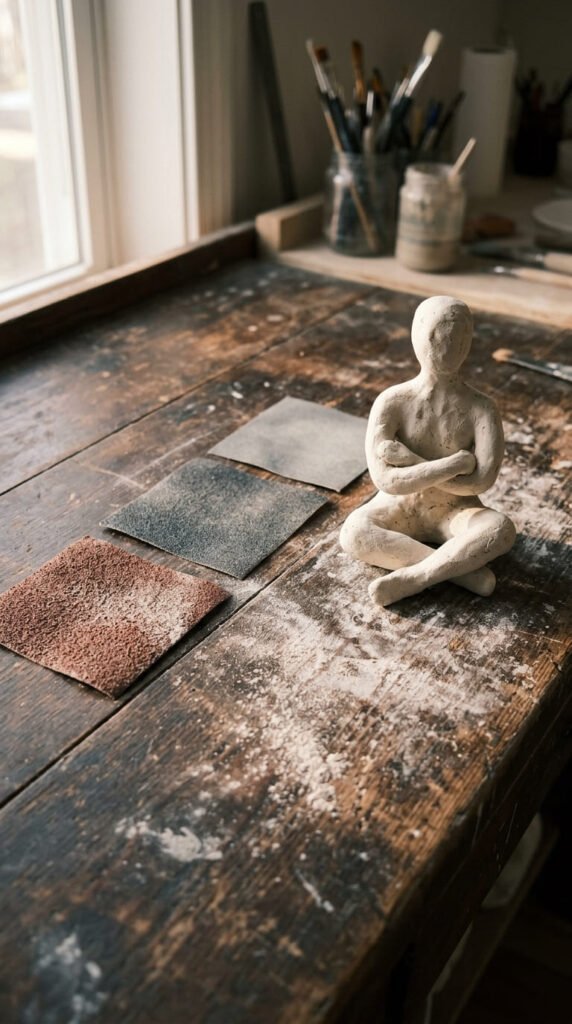
Sand Air-Dry Clay the Right Way
Air-dry clay smooths best once it is fully hard, and the order of grits matters:
- Coarse (60–120 grit) → knock down lumps.
- Medium (160–240 grit) → even it out.
- Fine (400–800 grit) → that smooth, finished feel.
Sand lightly, wear a mask, and wipe off the dust between grits. Want even less mess? Dip the fine sandpaper in water first. Wet sanding makes almost no dust and leaves a softer finish.
Smart Little Tricks That Make a Big Difference
A few extra moves take your piece from “almost there” to clean:
- Q-tips for crevices – smooth the open areas with your finger, then reach the tight folds with a swab.
- Soft brush for fuzz – a clean makeup brush clears dust without reshaping anything.
- Slip to fill gaps – mix a clay scrap with water into a paste and brush it into pits and seams.
- Cornstarch buffing – no alcohol? Dust a little on your finger and buff fingerprints away before baking.
Prevent Cracks and Fingerprints Before They Happen
The easiest flaw to fix is the one you never make.
- Wear thin disposable gloves to skip fingerprints entirely.
- Dry pieces slowly, away from heaters and direct sun.
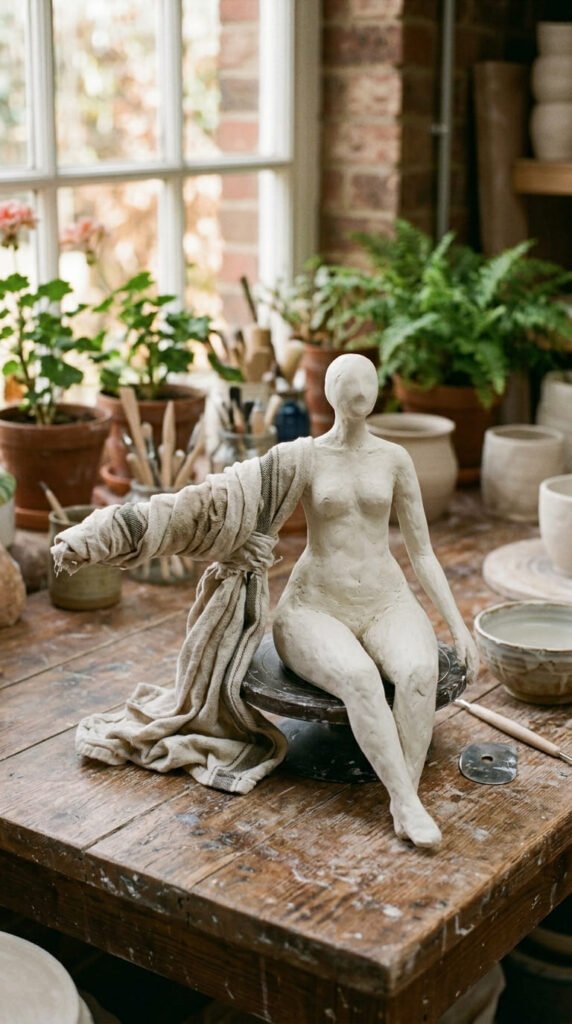
- Cover thin sections with a damp tea towel so they don’t dry faster than the thick parts and crack.
- Don’t overwork the clay. Smooth a section, then walk away before it tears.
The Final Polish
For that pro shine:
- Polymer clay → rub baked pieces with 1000+ grit sandpaper for a soft gloss.
- Air-dry clay → a thin coat of white glue seals the surface and hides stray fibers.
Then wipe everything down with a slightly damp cloth, tilt it toward the light, and touch up any spot you missed.
Save This for Your Next Project
A clean finish really comes down to three things: match the method to your clay, work with a light hand, and let your piece dry slowly. Pick two or three tricks from this list and try them on a scrap first.
Pin this guide for later and grab a piece of clay today, your next sculpture will look smoother than ever. 🏺