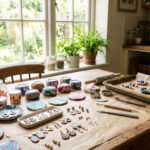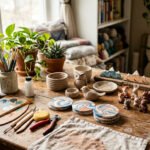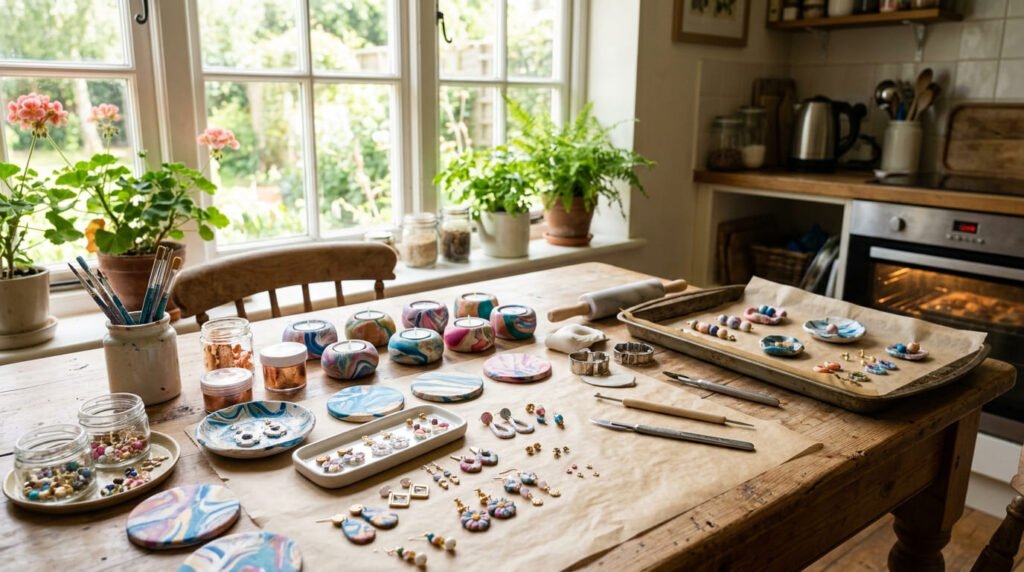
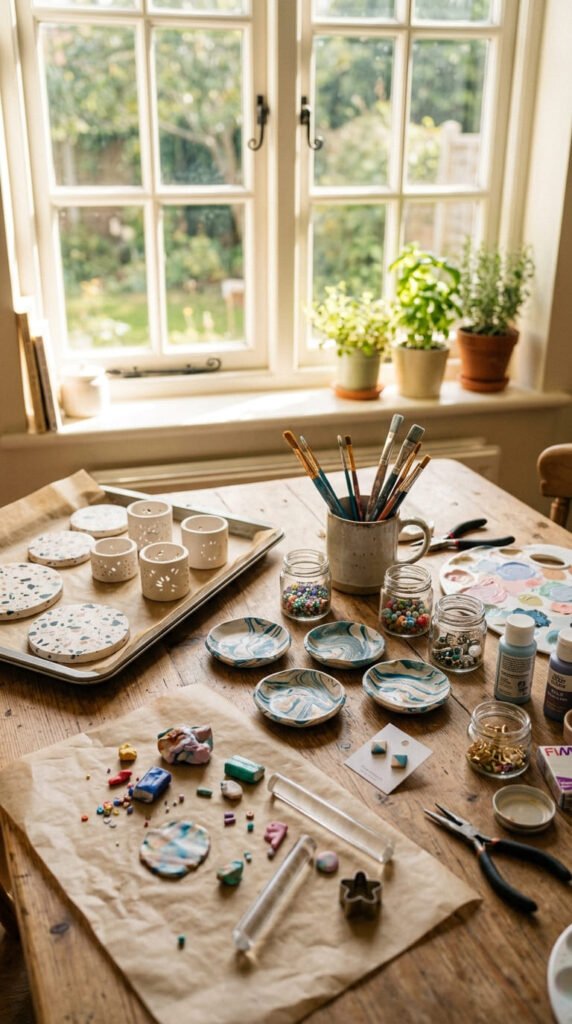
Oven bake clay is perfect for a cozy weekend at home because it lets you make small, polished projects without a kiln. You can shape jewelry, home decor, desk pieces, magnets, trays, and tiny gifts, then cure them in your home oven. The best part is how flexible the craft session feels. You can make one tiny charm or spend the whole afternoon building a full gift set. Start with polymer clay, parchment paper, a baking tray, an oven thermometer, and a few basic tools. Then pick one of these oven bake clay projects and enjoy a slow, hands-on weekend.
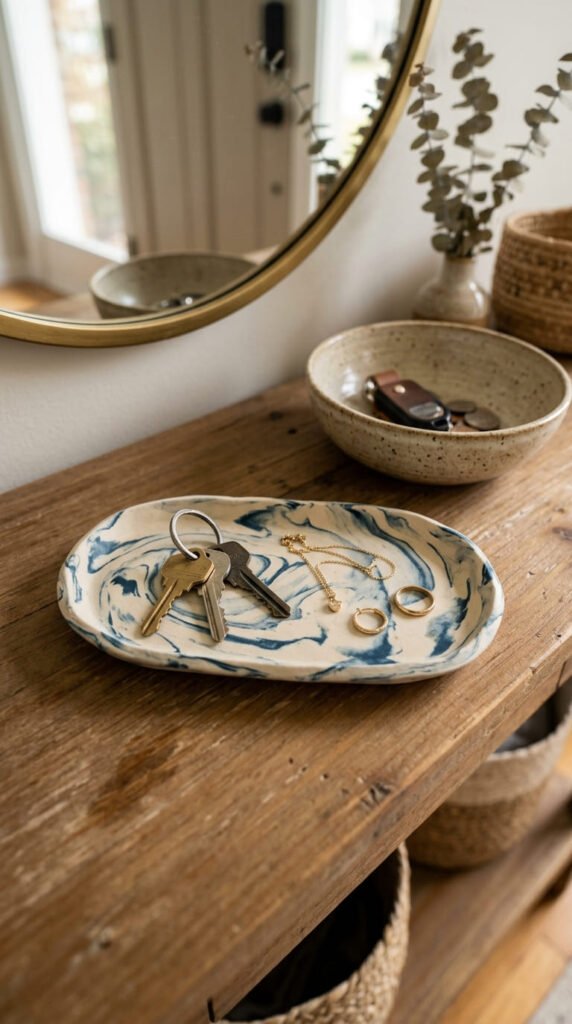
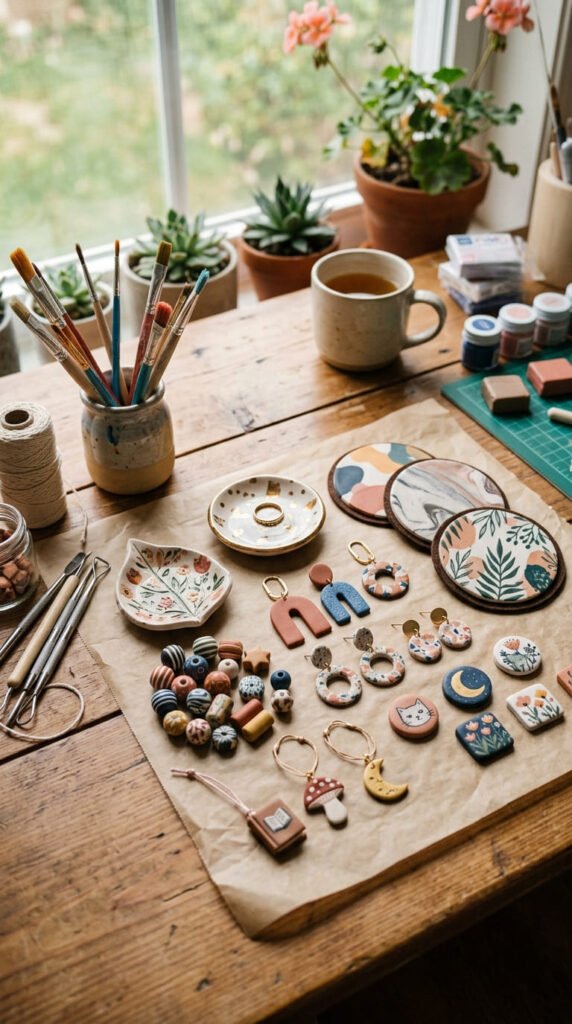
1. Marbled Ring Dish
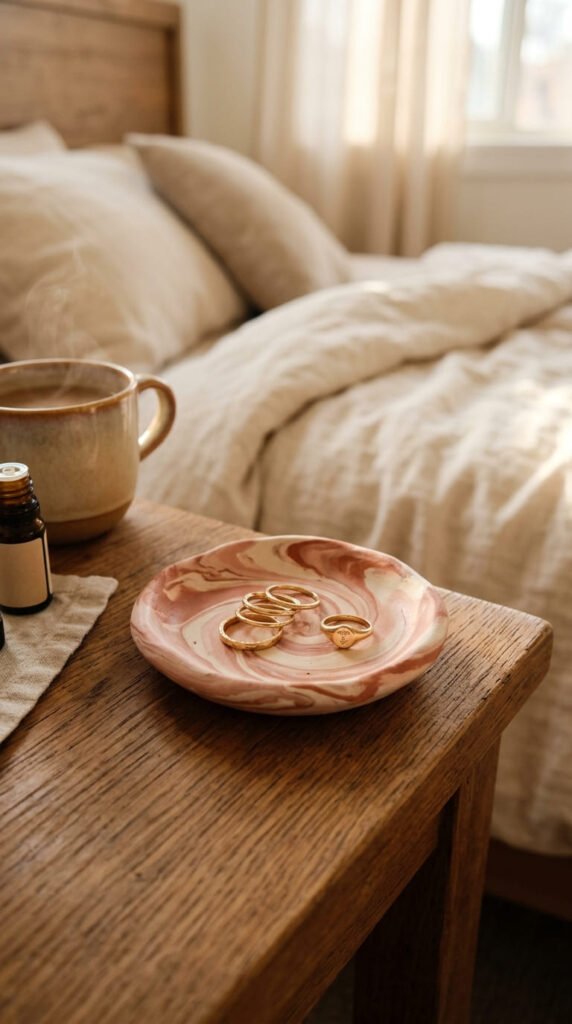
A marbled ring dish is a classic oven bake clay project because it looks expensive but starts with tiny clay scraps. Pick two or three clay colors. White, blush, tan, rust, and soft brown work beautifully together.
Roll each color into a rope. Twist the ropes, fold them, then roll them into a ball. Flatten the ball with a rolling pin or smooth bottle. Stop while the color swirls still look clear.
Cut a circle with a cup or bowl. Place the clay gently inside a small oven-safe bowl to create a shallow curve. Bake it on parchment paper according to the package directions.
Once cooled, sand the edge lightly if it feels rough. Paint the rim gold, copper, or black for a cleaner finish.
Budget tip: use leftover clay from other projects for the marbling. Small offcuts create the prettiest swirls.
Use the dish for rings, earrings, keys, coins, or tiny desk items. It also makes a sweet handmade gift for birthdays, bridesmaids, or housewarmings.
2. Painted Pattern Coasters
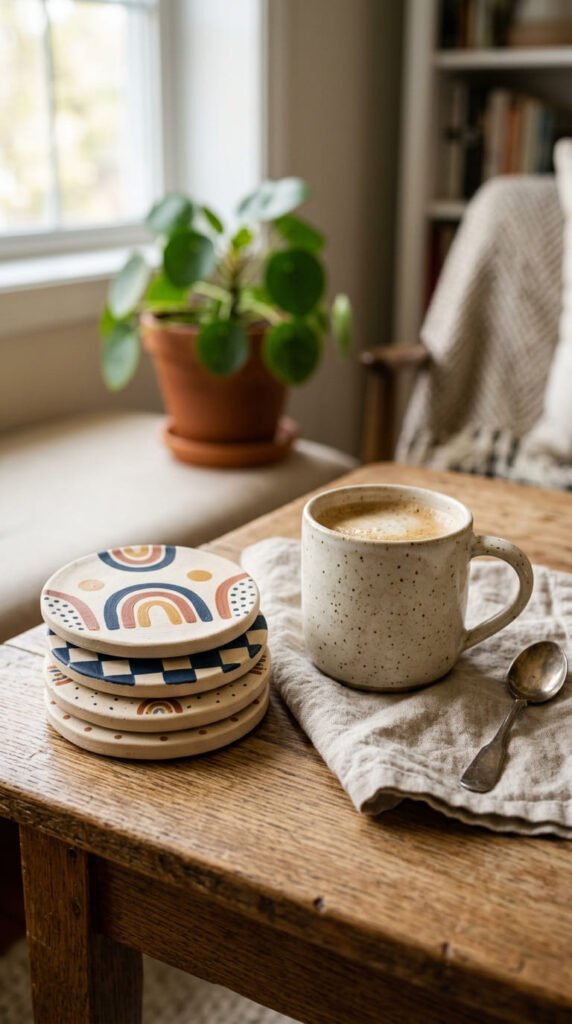
Oven bake clay coasters are simple, useful, and perfect for a weekend craft table. Roll your clay into an even slab. Cut circles, squares, arches, or organic blob shapes.
Keep each coaster close to the same thickness so they bake evenly. Place them on parchment paper and cure according to the brand directions. Let them cool before painting.
Once cool, paint patterns with acrylic paint or nail polish. Try checkerboards, tiny dots, stripes, arches, flowers, or abstract curves. A small detail brush helps keep the design neat.
Seal the surface after the paint dries. This helps protect the pattern from light use.
Budget tip: make two coasters instead of four if you are testing the idea. Add more later once you find a design you like.
For a high-end look, stick to a tight color palette. Cream, black, terracotta, sage, and gold can look very polished.
Tie a finished set with ribbon or cotton cord. It becomes a pretty coffee table gift that feels personal and practical.
3. Raw-Edge Tealight Holders
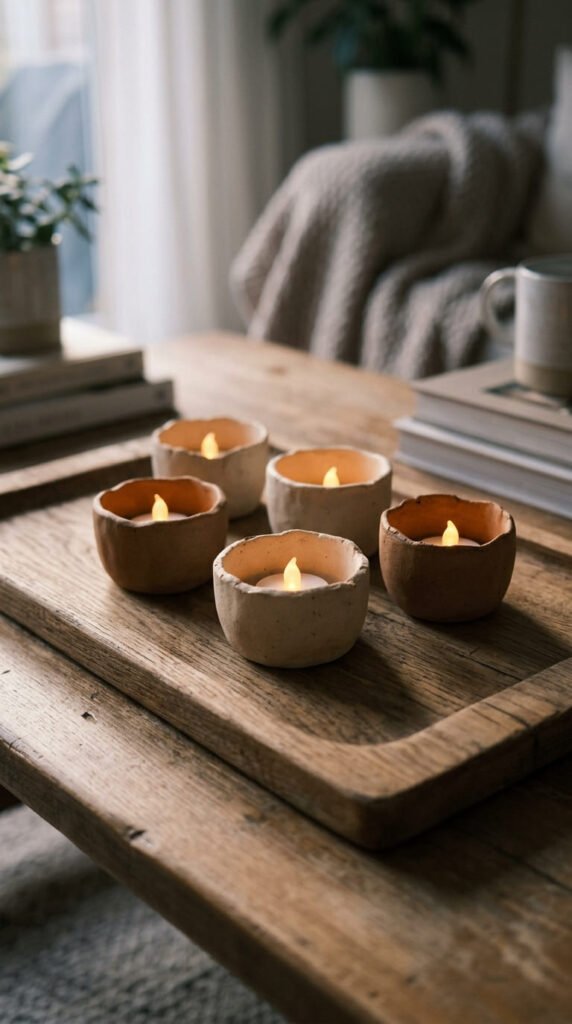
Raw-edge tealight holders are great for beginners because the imperfect edge adds charm. Roll clay into a thick slab, then wrap it around a small oven-safe glass tealight cup or shape it as a shallow ring.
Do not make the walls too thin. A little thickness helps the holder feel sturdy. Press the seam together and smooth it with your finger.
Leave the top edge uneven for a handmade look. You can pinch it softly or cut it into a wavy line.
Bake the clay following the package directions. Let it cool fully before adding color or sealer.
Paint the outside matte white, black, terracotta, or stone gray. You can also leave the clay plain if the color already matches your decor.
Budget tip: use battery tealights for safer display. They also work better if the holder has clay close to the light area.
Make a set of three in different heights for a cozy shelf, nightstand, or dining table. Simple shapes often look the most expensive.
4. Moon Phase Wall Hanging
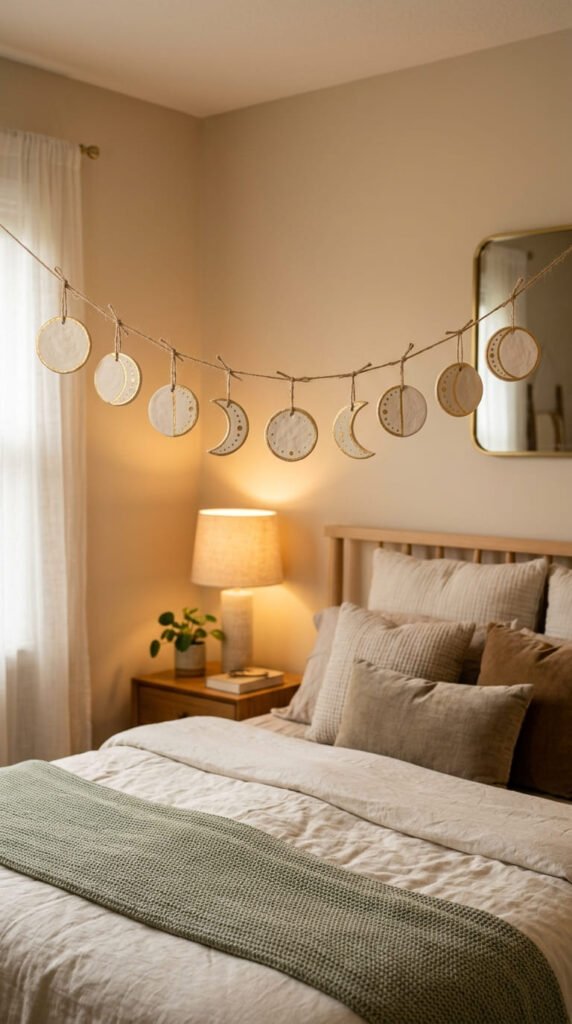
A moon phase wall hanging turns a small amount of oven bake clay into wall decor. Roll clay into a thin slab and cut several circles. Use a smaller cutter to remove part of some circles and form crescent shapes.
Make a small hole near the top and bottom of each piece before baking. This lets you connect the moons later with cord.
Bake on parchment paper. Keep thin pieces flat while baking so they do not warp. Let everything cool before painting.
Paint the moons ivory, black, gold, silver, or terracotta. You can marble the clay before cutting for a softer look.
String the pieces with fishing line, cotton thread, or thin cord. Arrange them from crescent to full moon and back again.
Budget tip: use bottle caps as cutters. They create small, neat circles without buying clay tools.
Hang it over a desk, bed, shelf, or vanity. It adds movement and shape to a blank wall while still feeling calm and cozy.
5. Colorful Clay Beads
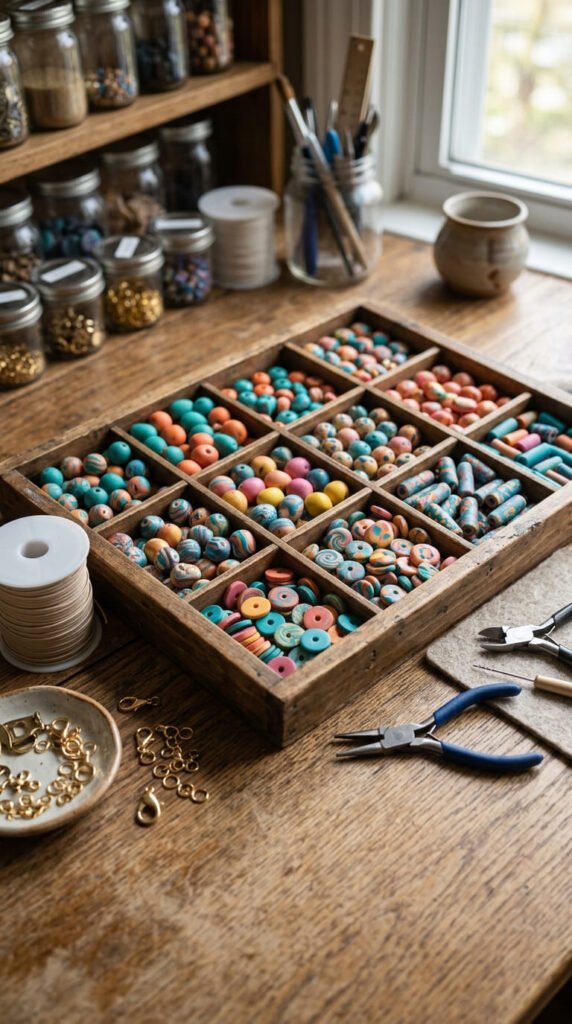
Clay beads are a relaxing oven bake project because you can make many in one sitting. Roll small balls, tubes, discs, cubes, or flat oval shapes.
Use a toothpick or skewer to make a hole through each bead before baking. Twist gently so the hole stays clean.
Place the beads on parchment paper. Bake according to the package directions. Let them cool before stringing.
You can use solid clay colors, marbled clay, speckled clay, or painted designs. For a modern look, make all beads in one color family. For a playful look, mix many colors and shapes.
Budget tip: beads are perfect for using tiny scraps. Even the smallest clay pieces can become spacer beads.
Turn them into necklaces, bracelets, keychains, bag charms, or zipper pulls.
For a polished finish, sand rough edges around the holes. Add clear varnish if you want shine.
This project is also great for group crafting. Everyone can make their own beads, then trade colors and shapes before stringing.
6. Alphabet Stamp Beads
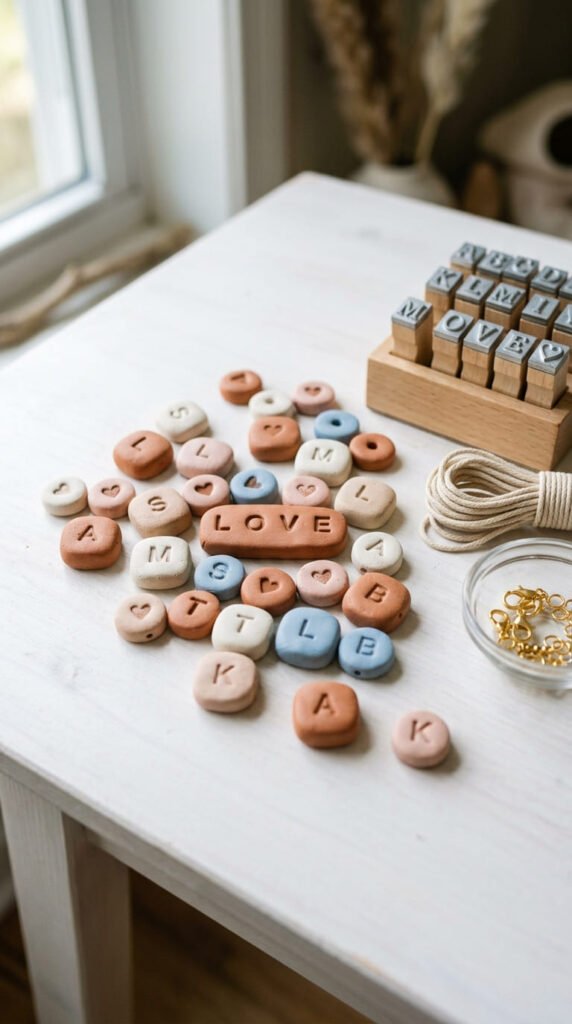
Alphabet stamp beads are perfect for personalized gifts. Roll clay into small discs, rectangles, hearts, or round beads. Press alphabet stamps gently into the clay before baking.
You can add names, initials, short words, dates, or tiny symbols. Keep the letters simple and centered so the bead looks clean.
Make a hole before baking if you plan to string the bead. Use a toothpick or small skewer, then twist slowly to keep the shape from stretching.
Bake the beads on parchment paper. After cooling, brush a little dark acrylic paint into the stamped letters and wipe the surface. The letters will stand out more.
Budget tip: one set of alphabet stamps can be used for jewelry, ornaments, tags, and keychains, so it is worth keeping in your craft box.
Use stamped beads for friendship bracelets, bag charms, teacher gifts, bookmarks, or custom necklaces.
Stick to soft clay colors like white, cream, blush, or tan if you want the letters to feel clean and easy to read.
7. Geometric Clay Earrings
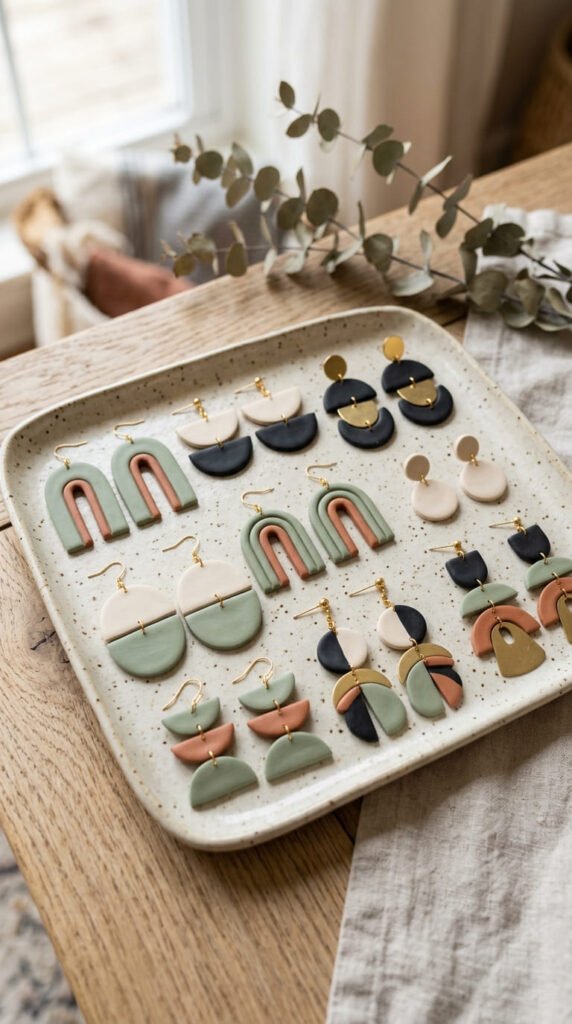
Geometric clay earrings are stylish, lightweight, and fun to make. Roll the clay into an even slab. Cut circles, arches, rectangles, half-moons, flowers, or abstract shapes.
Make small holes where the jump rings will go before baking. A needle tool, toothpick, or skewer works well.
Bake the pieces flat on parchment paper. Let them cool, then sand any rough edges.
Paint the clay with acrylic paint or nail polish. Nail polish can give bright color and shine without extra supplies. Use a tiny brush for details if you want stripes, dots, or small florals.
Add jump rings, hooks, or posts once the paint is dry.
Budget tip: start with one pack of neutral clay and paint every pair differently. You can make many earring styles from the same base.
For a boutique look, use matte colors and simple shapes. Cream with black, sage with gold, or rust with ivory can look very polished.
Make two or three pairs during one weekend and package them on small cards.
8. Minimal Incense Holder
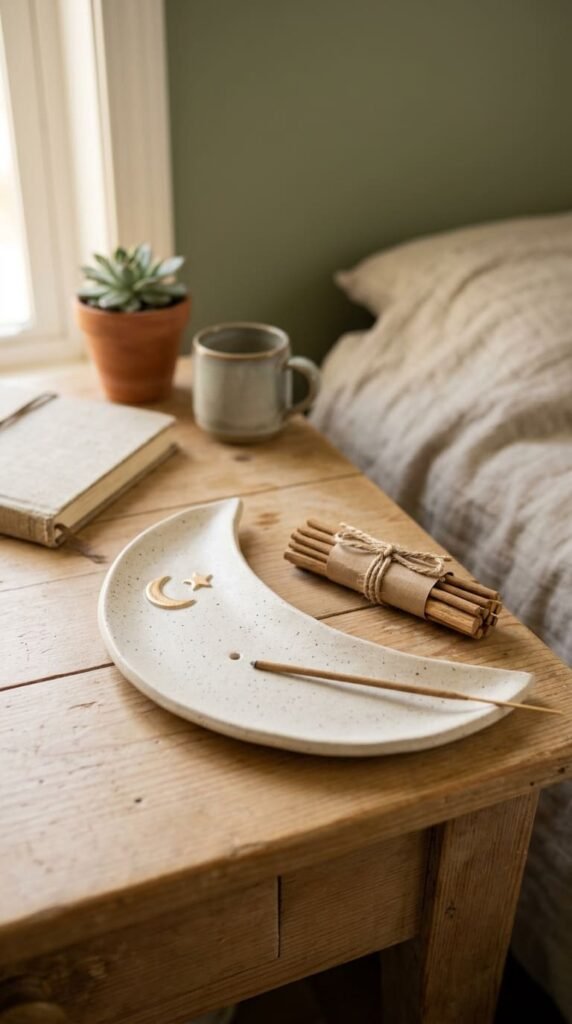
A minimal incense holder is a small project with a calm finish. Shape a flat oval, crescent, leaf, or small dish from oven bake clay.
Add a raised clay bead at one end. Before baking, press an incense stick into the bead at an angle to make the hole. Remove the stick before placing the piece in the oven.
Keep the holder long enough to catch ash. Slightly lift the edges if you want a shallow tray shape.
Bake it on parchment paper. Let it cool fully before painting or sealing.
Paint it black, cream, clay brown, deep green, or soft gray. Add gold dots, stars, or moon details if you want a little shine.
Budget tip: this project uses very little clay, making it great for scraps.
Pair the holder with a few incense sticks and wrap it in tissue paper for a cozy handmade gift.
Use it on a nightstand, desk, meditation shelf, or bathroom tray. The shape stays simple, but the finished piece feels thoughtful and useful.
9. DIY Ring Cone Set
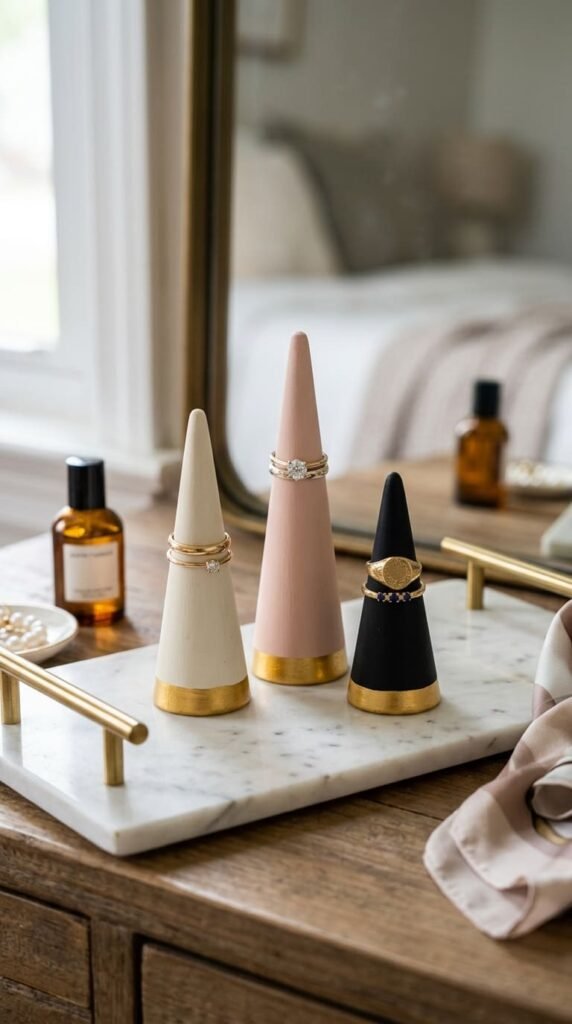
A ring cone set is easy to sculpt and great for jewelry storage. Roll clay into cone shapes with flat bottoms. Make a few in different heights for a balanced display.
Keep the tips rounded instead of sharp. Thin points can break during use. Smooth each cone with your fingers before baking.
Place the cones upright on parchment paper. If they tip, flatten the bases again before baking.
After cooling, paint them in solid colors. Blush, cream, black, sage, and terracotta all work well. Add a metallic band around the bottom for a finished look.
Budget tip: one small clay block can make several ring cones. Give one as a gift and keep the others for your own dresser.
Seal the cones after painting so rings slide on smoothly.
This project looks great on a vanity, bathroom shelf, or bedside table. It also works for bridesmaid gifts. Add a simple ring or pair of earrings beside the cone for a fuller gift presentation.
10. Book Lover Bookmark Charms
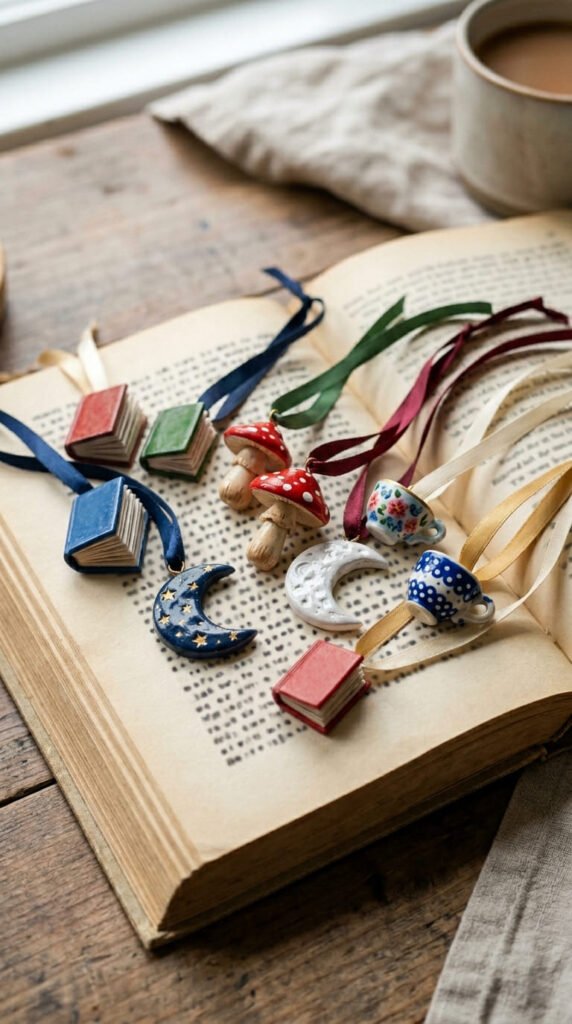
Bookmark charms are a sweet project for readers. Make tiny clay shapes like books, teacups, moons, flowers, cats, mushrooms, stars, or hearts.
Keep the charm thin and light so it does not pull too hard on the bookmark. Add a small hole before baking.
Bake the charms on parchment paper. Once cool, paint the details with a tiny brush. You can add page lines, flower centers, cat whiskers, or little dots.
Tie each charm to ribbon, cord, or embroidery thread. Add a tassel or bead if you want more texture.
Budget tip: use ribbon scraps from old gift wrapping. The clay charm will make even simple ribbon look pretty.
Pair the bookmark with a used book, journal, or reading mug for a low-cost gift.
This project is great for book clubs, teacher gifts, stocking stuffers, or quiet weekend crafting. Make a few different charms in one batch so you always have small handmade gifts ready.
11. Desk Buddy Sculptures
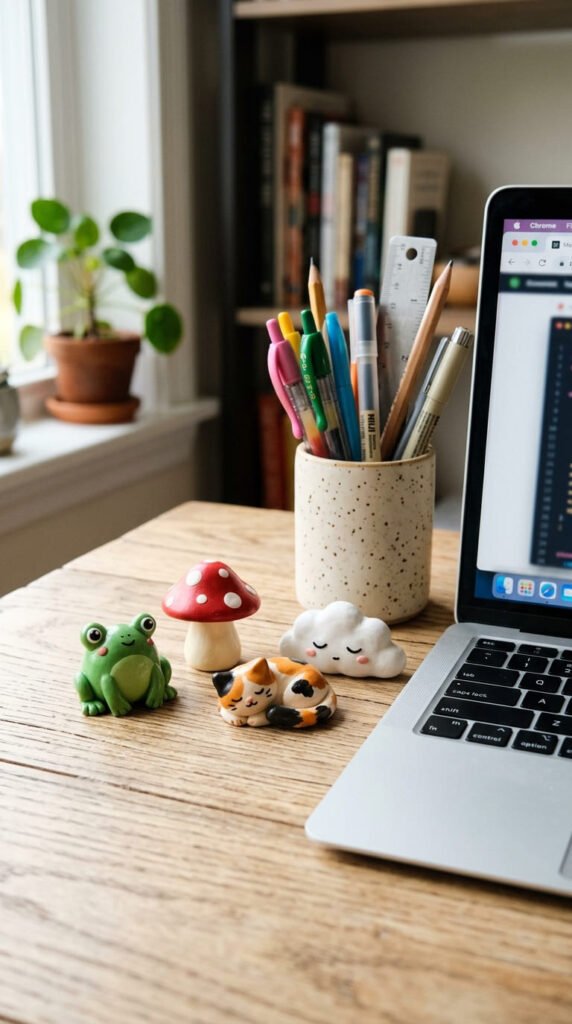
Desk buddy sculptures bring personality to a workspace. Pick a simple character, such as a frog, cat, mushroom, turtle, cloud, ghost, or tiny bear.
Build the figure from basic shapes. A body can be an oval. A head can be a ball. Ears and paws can be tiny flattened pieces.
Smooth seams with your finger or a soft tool. If any parts are thin, support them with a small bit of foil while baking.
Bake according to the clay package directions. Let the piece cool before painting.
Use acrylic paint for faces, cheeks, accessories, and tiny patterns. Add clear varnish if the piece will be touched often.
Budget tip: desk buddies are great for leftover clay because they are small.
Place one near your keyboard, pencil cup, bookshelf, or monitor stand. You can also make a set of themed buddies, like forest friends or coffee shop minis.
For a cozy weekend, make one for yourself and one for a friend. Small figurines feel personal without taking too much time.
12. Ridged Soap Dish
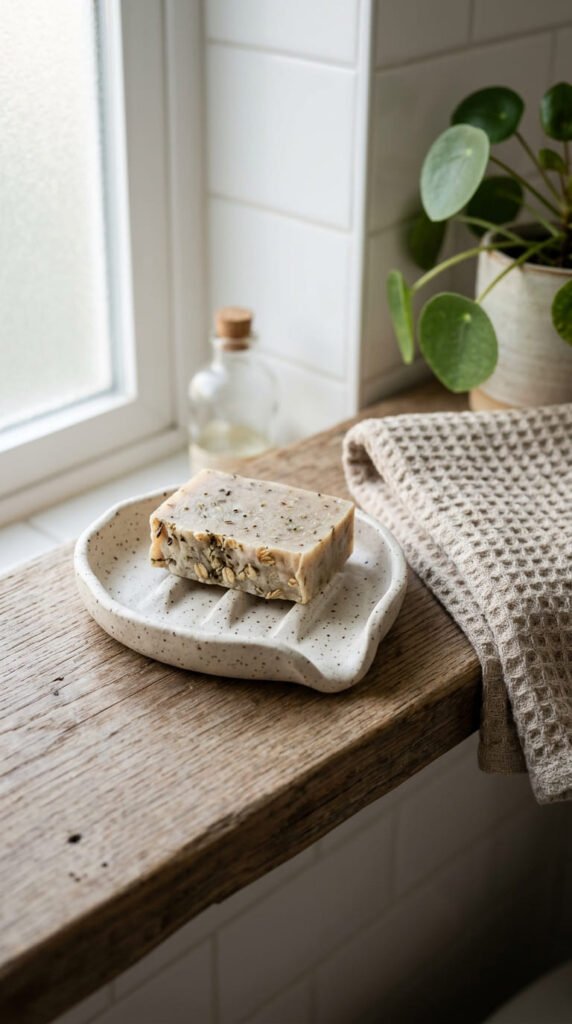
A ridged soap dish is useful and looks handmade in the best way. Roll clay into a rectangle, oval, or shell shape. Lift the sides slightly to hold the soap.
Add raised ridges across the base using thin clay coils. These ridges help the soap sit above water instead of resting flat.
Make the dish thick enough to feel sturdy. Thin clay may bend or snap.
Bake on parchment paper. After cooling, sand any rough parts and add sealer.
For color, use speckled clay, white clay, terracotta, stone gray, or soft blue. Keep the surface simple so it feels like bathroom decor, not a busy craft.
Budget tip: reuse a bar of soap you already have to test the dish size before baking.
This project works well for bathrooms, guest sinks, kitchen sinks, and handmade gift baskets.
To help the dish last longer, do not let it sit in standing water. Place it where it can dry between uses.
Pair it with a wrapped soap bar for a lovely handmade present.
13. Cute Clay Magnets
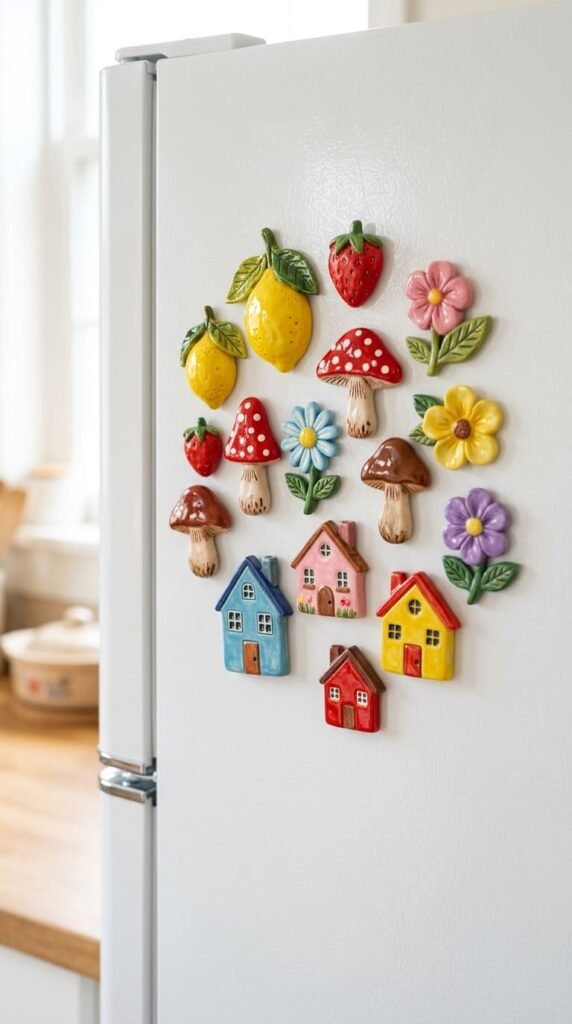
Clay magnets are quick, cheerful, and easy to make in batches. Shape small fruits, flowers, houses, mushrooms, stars, hearts, lemons, strawberries, or smiley faces.
Keep each piece lightweight. A heavy clay magnet may slide down the fridge. Flatten the back before baking so the magnet attaches neatly.
Bake the shapes on parchment paper. Let them cool before painting.
Add acrylic details like seeds, windows, petals, dots, or tiny cheeks. Glue a strong craft magnet to the back once the paint is dry.
Budget tip: make magnets from clay scraps. Tiny pieces are enough for a full set.
These are great for fridges, lockers, office boards, classroom boards, or gift tins.
For a more polished look, choose one theme. A fruit set, mushroom set, flower set, or tiny house set feels more gift-ready than random shapes.
Place the magnets on a small metal tin lid before wrapping. It keeps them together and gives the set a neat display.
14. Mini Desk Planter
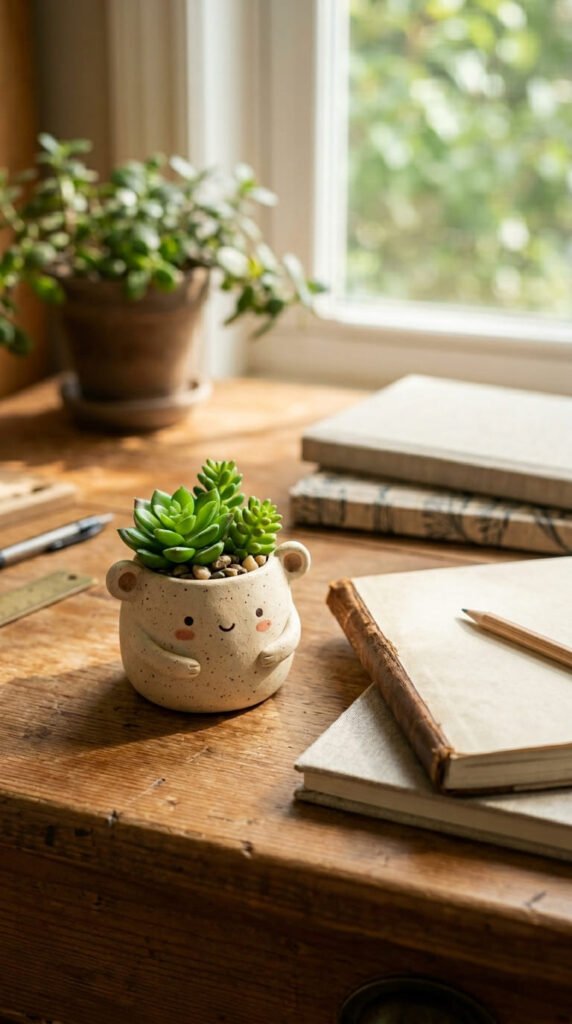
A mini desk planter is perfect for faux succulents, air plants, or tiny dried stems. Shape a small pot from oven bake clay by wrapping it around a small oven-safe form or building it by hand.
Keep the walls even. Add small ears, a face, dots, grooves, or a scalloped rim if you want more detail.
Before baking, check the opening size with your faux plant or air plant. It should fit easily without forcing.
Bake according to the package directions. Let it cool before painting.
Paint the planter cream, sage, tan, terracotta, blush, or black. Add tiny cheeks or a painted rim for extra charm.
Budget tip: use faux plant cuttings from a dollar-store stem. One stem can fill several mini planters.
This project is best for dry display. Avoid wet soil unless you use a small inner liner.
Place the finished planter on a desk, windowsill, shelf, or bedside table. It makes a cozy handmade gift for plant lovers or office friends.
15. Marbled Trinket Tray
A marbled trinket tray is larger than a ring dish and works for keys, coins, clips, or desk supplies. Roll two or three clay colors into ropes. Twist, fold, and roll them into a slab.
Cut an oval, rectangle, circle, or organic blob shape. Lift the edges gently so items stay inside.
Place the tray on parchment paper. You can bake it inside a shallow oven-safe dish if you want a curved shape.
Let it cool, then paint the edge. Gold, black, or copper makes the shape look finished.
Budget tip: make one tray from the leftover clay after making coasters or earrings. Mixed scraps often create beautiful marbling.
This tray works near the front door, beside the bed, on a desk, or in a craft room.
For a more grown-up look, avoid too many bright colors. Cream with rust, white with black, or tan with blush creates a calm, stylish finish.
Seal the tray if it will be used often.
16. Personalized Clay Keychains
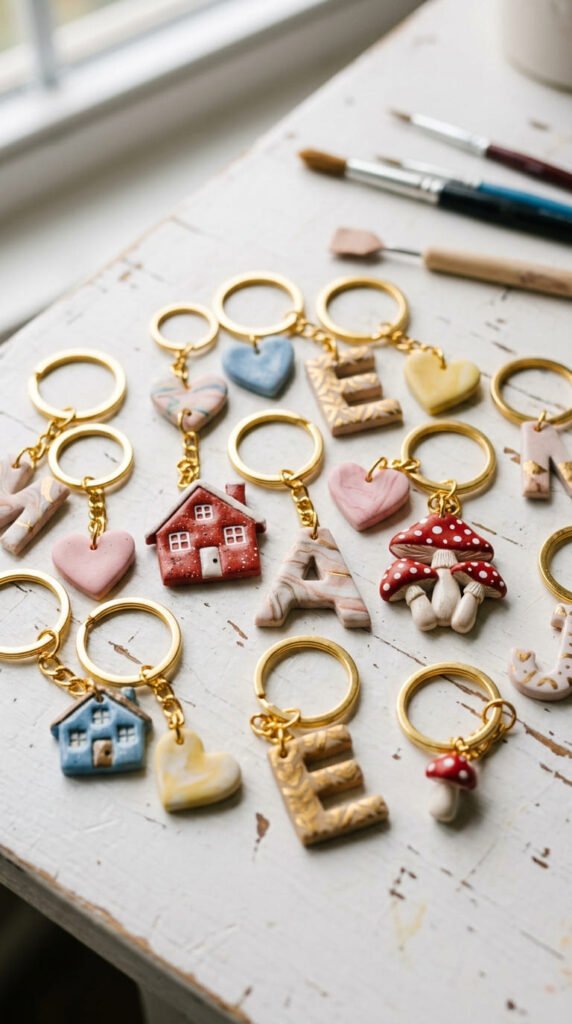
Personalized keychains are small, useful, and easy to gift. Cut clay into hearts, initials, houses, flowers, pets, stars, or mini food shapes.
Make a hole near the top before baking. Keep enough clay around the hole so it does not crack after adding hardware.
Bake the pieces on parchment paper. Cool fully before painting or assembling.
Use alphabet stamps, tiny symbols, or simple painted details. You can add initials, a favorite color, a small flower, or a tiny pet face.
Attach jump rings and keychain hardware after the paint dries.
Budget tip: keychain hardware packs are often cheap and make many gifts at once.
This project works for birthdays, party favors, stocking stuffers, teacher gifts, and best friend gifts.
For a boutique look, keep the shape clean and the colors limited. Matte clay with one small gold detail can look far more polished than a crowded design.
Make several in one batch and store them for last-minute gifts.
17. Clay Hair Clip Decorations

Clay hair clip decorations can turn plain barrettes into cute accessories. Start with simple metal clips or old hair clips you already own.
Make small clay flowers, strawberries, bows, hearts, stars, pearls, or abstract shapes. Keep each clay piece thin so the clip does not feel heavy.
Bake the clay pieces separately on parchment paper. Let them cool before painting.
Paint in soft shades like cream, pink, cherry red, lilac, sage, or butter yellow. Seal the pieces once dry.
Glue them onto clips with strong craft glue. Let the glue set overnight before wearing.
Budget tip: update scratched clips instead of buying new ones. Clay decorations hide wear and make the clips feel new again.
This project is great for gifting, outfit styling, craft fairs, or weekend accessory making.
For a more adult style, make a matching set of three. Use one color palette and similar shapes so the clips look like a planned collection.
18. Tiny Shelf Charms
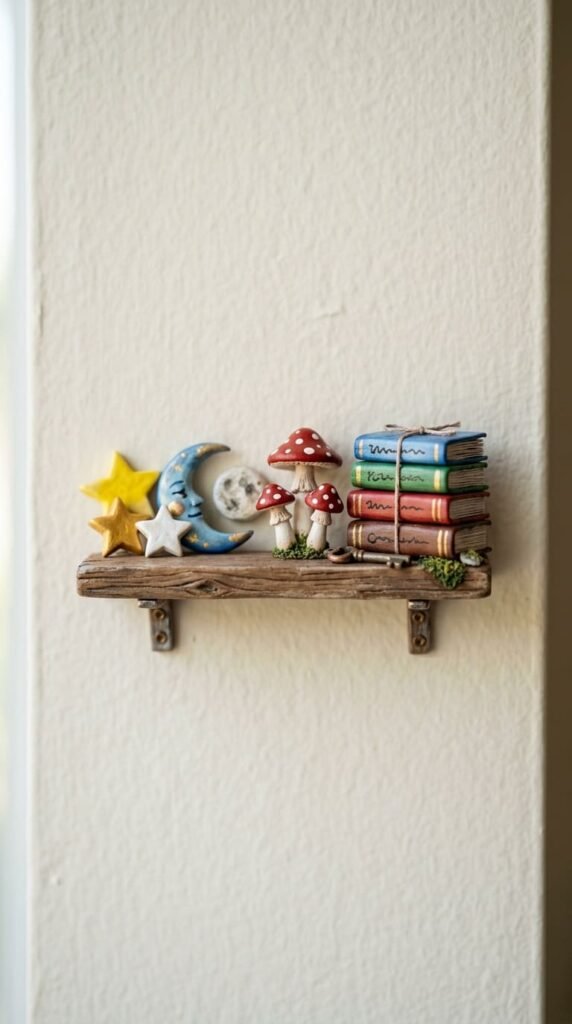
Tiny shelf charms are small sculptural pieces made for display. Think miniature books, moons, cats, mushrooms, teacups, houses, ghosts, or flowers.
Shape each charm from small clay pieces. Keep them under a few inches so they bake evenly and sit nicely on a shelf.
Bake on parchment paper, using foil supports for parts that may droop. Let the pieces cool before painting.
Use a tiny brush for faces, book lines, window details, petals, and dots. Add varnish if you want a glossy collectible-style finish.
Budget tip: make these from leftover clay after bigger projects. Tiny charms are perfect scrap-savers.
Display them on floating shelves, monitor stands, plant shelves, or inside a small shadow box.
You can create a theme, such as cozy reading charms, forest charms, moon and stars, or tiny kitchen pieces.
These little projects are ideal for a slow weekend because they let you sculpt without pressure. Each one is small enough to finish quickly.
19. Herb Pot Plant Markers
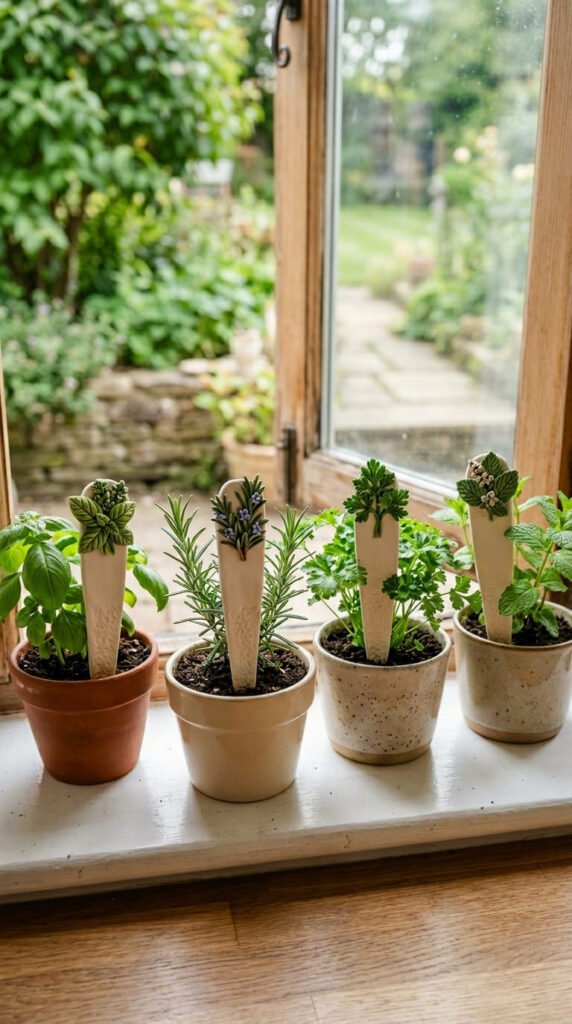
Herb pot plant markers are practical and cute for kitchen windowsills. Roll thin clay strips for the marker stakes. Add tiny toppers like basil leaves, lemons, chili peppers, tomatoes, flowers, or mushrooms.
Press letters with alphabet stamps if you want labels, or keep them image-based with little clay shapes.
Bake the markers flat on parchment paper. Cool fully before painting.
Paint them in natural colors. Green leaves, red chilies, yellow lemons, and warm clay stakes look lovely beside herbs.
Seal them well. Even though they are for pots, try to keep them away from heavy watering.
Budget tip: use wooden skewers as the stake base and add oven bake clay toppers. This saves clay and makes each marker stronger.
This project is great for basil, mint, rosemary, thyme, parsley, and small indoor plants.
Make a set of five and tie them together with twine for a gardener gift.
They bring a handmade touch to kitchen herbs and help turn plain plant pots into cozy decor.
20. Clay Napkin Rings
Clay napkin rings are perfect for a slow weekend before a dinner party. Roll clay into thick strips, then wrap each strip around a cardboard tube covered in parchment paper.
Press the seam together and smooth it. Keep the ring opening wide enough for folded napkins.
Bake the rings according to the clay directions. Let them cool before removing from the tube.
Paint them in colors that match your table. Terracotta, cream, black, olive, and stone gray look beautiful with linen napkins.
Add simple texture before baking with a fork, lace, stamp, or leaf. Keep the design subtle so the rings work for many seasons.
Budget tip: use a toilet paper tube as your shaping form. It is free and gives a good ring size.
Make a set of four or six. Tie them with ribbon for a housewarming gift or keep them for your own table.
These rings make everyday meals feel warmer and more styled without buying new table decor.
21. Mini Food Charms
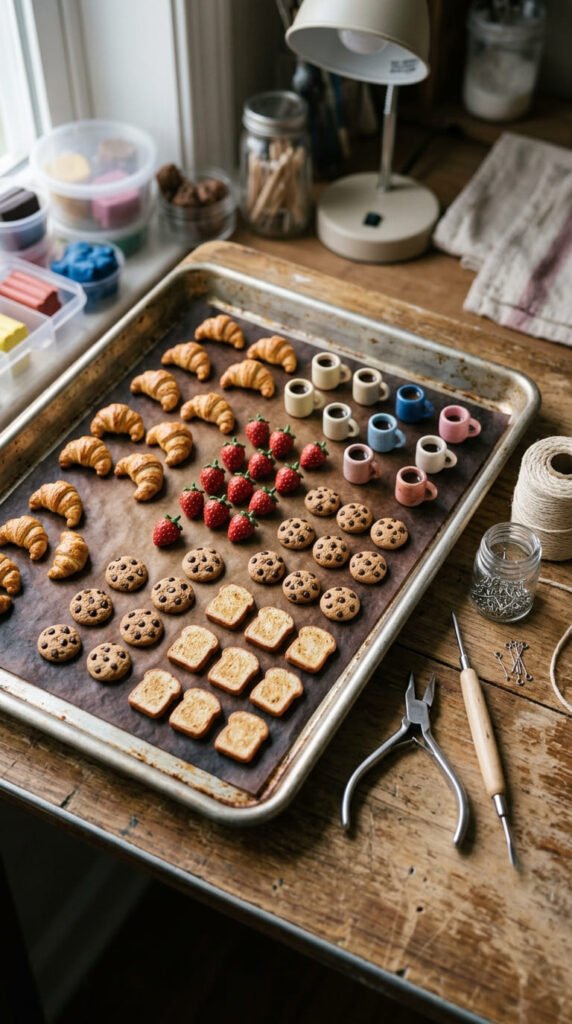
Mini food charms are fun, cute, and great for keychains, earrings, magnets, or shelf decor. Try tiny croissants, cookies, strawberries, toast, mugs, cinnamon rolls, peaches, or pancakes.
Build each food from simple clay shapes. A croissant starts as a curved roll. A strawberry starts as a heart-like cone. A cookie starts as a flat circle.
Add texture before baking. Use a toothpick for seeds, bread lines, mug handles, or pastry marks.
Bake on parchment paper and let the charms cool. Paint extra details with acrylic paint if your clay colors do not show enough contrast.
Budget tip: make mini foods with scrap clay colors. Brown, cream, red, yellow, and pink scraps go far.
Turn them into magnets, charms, earrings, or gift toppers.
For a cozy weekend theme, make a whole bakery set. Tiny bread, mugs, and cookies look adorable together and make great photos for Pinterest-style craft content.
22. Gift Tag Ornaments
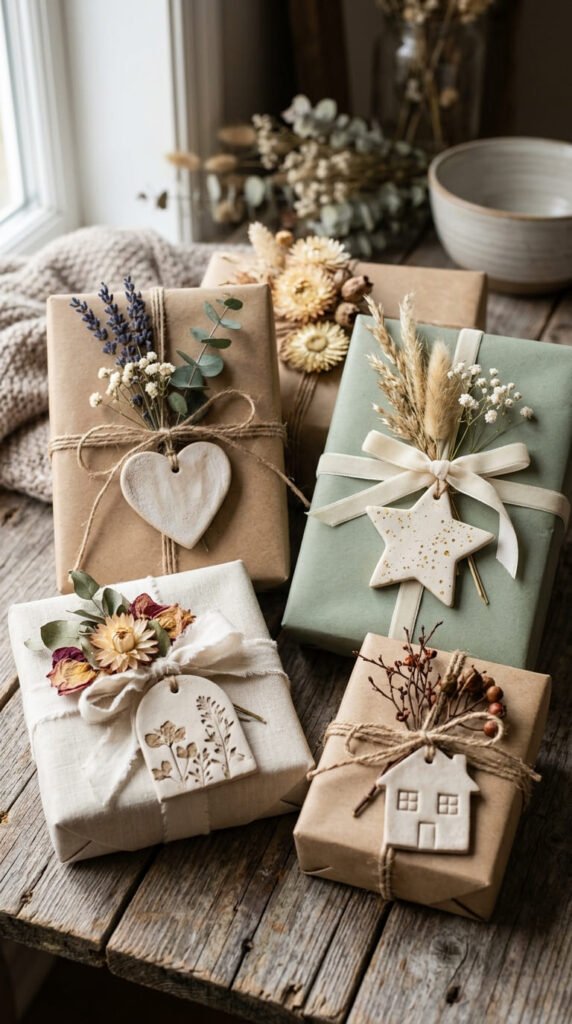
Gift tag ornaments make wrapping feel handmade and special. Roll clay into a thin slab, then cut hearts, stars, houses, arches, moons, or circles.
Make a hole near the top before baking. Add texture with lace, leaves, stamps, or a toothpick.
Bake flat on parchment paper. Let the tags cool before painting.
Paint them ivory, terracotta, black, red, green, or gold. You can also leave natural clay colors and add a painted edge.
Budget tip: make tags from clay leftovers. Small shapes use very little material and turn scraps into pretty gift extras.
Tie them onto wrapped presents, jars, baskets, or handmade candles. After opening the gift, the person can hang the tag as an ornament.
This project is perfect for holidays, birthdays, weddings, baby showers, and party favors.
Make a batch in one afternoon and store them in a small box. They will make future gift wrapping easier and more personal.
23. Weekend Clay Gift Set
A weekend clay gift set lets you combine several tiny projects into one thoughtful package. Pick three matching items, such as a ring dish, earrings, and a bookmark charm.
Use the same clay colors across all pieces. For example, cream, blush, and gold can tie everything together. Or use black, olive, and terracotta for a moodier look.
Make all pieces in one crafting session. Bake them together if they have similar thickness. Give each piece space on the baking tray.
After cooling, paint small details and seal each piece. Let everything dry fully before packaging.
Budget tip: one or two clay blocks can make a full mini gift set if the pieces are small.
Package the set in a kraft box with tissue paper. Add dried flowers, ribbon, or a simple note.
This idea works for birthdays, holidays, bridesmaids, teachers, book lovers, or friends who enjoy handmade decor.
A matching set feels more polished than one random item, and it turns a cozy weekend craft session into a gift-ready result.
Conclusion
Oven bake clay projects are perfect for a cozy weekend because they are small, affordable, and easy to personalize. You can make jewelry, coasters, dishes, magnets, charms, planters, ornaments, and tiny desk pieces from the same basic supplies. Start with one simple project, follow the clay package baking directions, use parchment paper, and let each piece cool before painting or sealing. Save this list for your next weekend in and turn a quiet afternoon into handmade pieces you will actually use.