Want to make adorable handmade earrings for under five dollars? Perler bead earrings are one of the easiest DIY jewelry projects you can pick up in an afternoon. They take about 10 to 15 minutes per pair, cost only pennies in supplies, and turn into colorful accessories you can match to any outfit. Whether you love tiny hearts, fruits, or geometric shapes, this step-by-step guide shows you exactly how to make Perler bead earrings from start to finish.
What You Need to Get Started
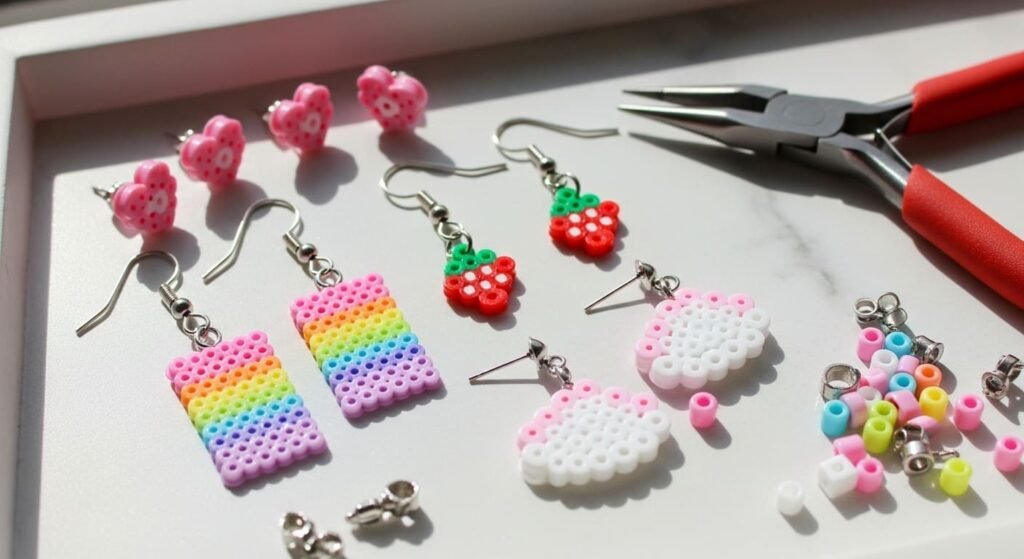
Before you begin, gather these basic supplies. Most cost just a few dollars at any craft store or online.
- Perler beads in your chosen colors
- Pegboard (square or specialty shape works fine)
- Parchment paper or ironing paper
- An iron with no steam setting
- Jump rings (6mm size works great for earrings)
- Ear wires or hooks for dangle styles
- Flat-back stud posts for stud styles
- Jewelry pliers (two pairs make assembly easier)
- Strong jewelry glue like E6000 (for studs only)
Budget tip: buy ear wires, jump rings, and stud posts in bulk packs of 50 online for pennies each instead of single packs at craft stores.
Choose Your Style: Dangle or Stud
The first big decision is what style you want to make.
Dangle earrings hang from your earlobe using a jump ring and ear wire. They show movement and color when you walk.
Stud earrings sit flat against your earlobe using a glued post. They look minimal and stay close to your ear.
Both styles use similar bead designs, but the hardware attachment differs.
Pick a Small, Lightweight Design
Earrings hang from your ears, so weight matters. Stick with small designs under 25 beads to keep them comfortable.
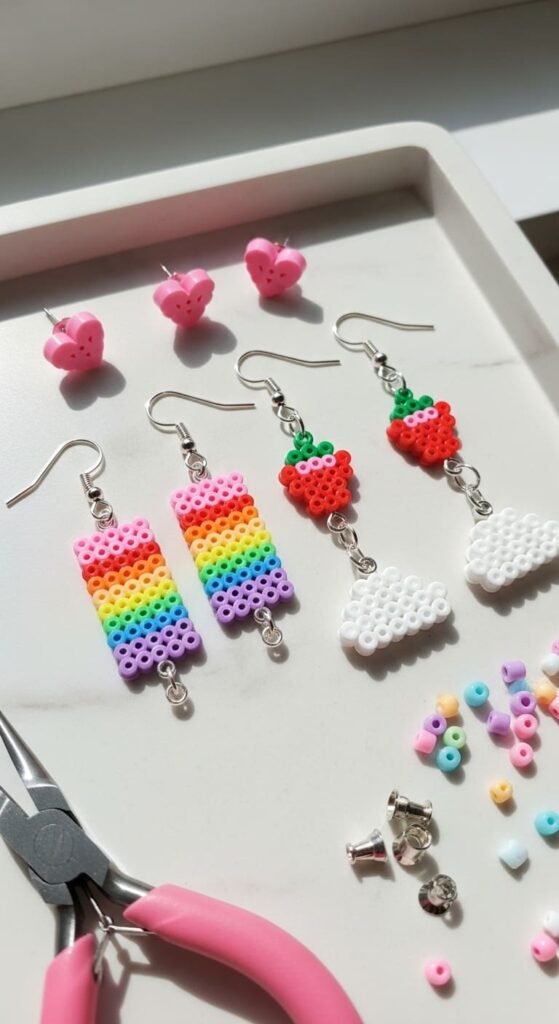
Easy starter shapes include:
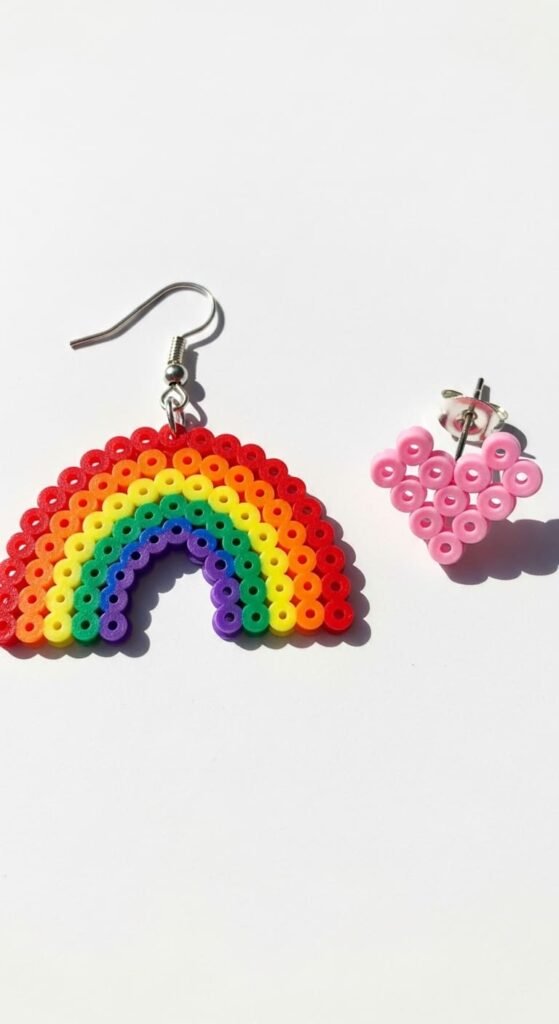
- Tiny hearts (about 15 beads)
- Smiley faces (about 18 beads)
- Watermelon slices (about 18 beads)
- Strawberries (about 20 beads)
- Geometric triangles (about 15 beads)
- Stars (about 22 beads)
Pro tip: make designs symmetrical so both earrings look identical when hanging on each ear.
Place Your Beads Carefully
Lay each bead onto the pegboard pegs following your chosen pattern. Use tweezers if your fingers feel clumsy with the small beads.

For dangle earrings, leave one peg empty at the top of your design. This open space becomes the hole for your jump ring after fusing.
For stud earrings, fill the entire pattern since you do not need a hole. The post will glue to the back later.
Iron the Beads with Care
This step matters most for earrings. Too much heat melts the small beads into puddles. Too little heat leaves them loose.
Set your iron to medium heat with no steam. Place parchment paper over your design.
Iron in slow circles for only 10 to 15 seconds for tiny earring designs. Earrings need less time than larger projects because the beads are small and melt fast.
Critical tip: lift the parchment paper after 10 seconds to check progress. You want beads fused but still showing their hole shapes on top.
If you over-iron, the holes melt shut and the design becomes a flat blob. Always start with less time and add more if needed.
Let the design cool flat for at least 5 minutes before handling.
Add the Hardware for Dangle Earrings
Now turn your bead design into wearable jewelry.
Follow these simple steps:
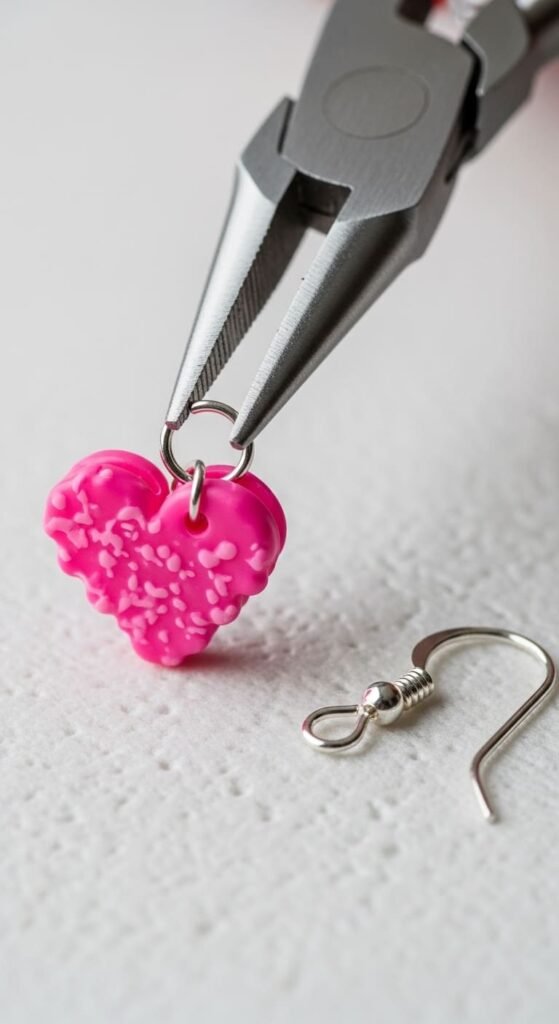
- Open the jump ring using two pairs of pliers, twisting one side toward you and the other away
- Thread the open jump ring through the small hole at the top of your bead design
- Slide on the ear wire before closing the jump ring
- Close the jump ring firmly so it does not snag on hair
Repeat for the second earring, making sure both hang at the same length.
If your design accidentally melted the hole shut, use a heated needle to gently re-pierce it. Adult supervision is important for this step.
Add the Hardware for Stud Earrings
For stud earrings, hardware attachment looks different.
Apply a small drop of strong jewelry glue like E6000 to the back of each bead design. Press a flat-back stud post firmly into the glue.
Pro tip: position the post slightly above center so the earring sits up nicely on your earlobe instead of flopping forward.
Let the glue dry for at least 24 hours before wearing. Rushing this step causes posts to fall off later.
Style Tips for Wearing Your Earrings
Match your earrings to outfits and occasions:
- Pastel hearts and bows look adorable with feminine dresses and brunch outfits
- Rainbow stripes pair well with denim and summer tops
- Geometric shapes suit office wear and minimalist style
- Fruit designs work for casual summer days
- Holographic or glitter beads shine at concerts and parties
Make matching keychains or rings using the same designs for a coordinated handmade jewelry set.
Save This Tutorial for Your Next Craft Day
Perler bead earrings turn simple plastic pieces into colorful, personal jewelry that costs just pennies per pair. Each one takes only 10 to 15 minutes to make and feels totally unique. Save this guide to Pinterest for your next craft afternoon, and try making different designs in pastels, neons, or holographic beads for variety. Whether you craft them for yourself or as handmade gifts, these earrings add personality to any outfit at a budget-friendly price.