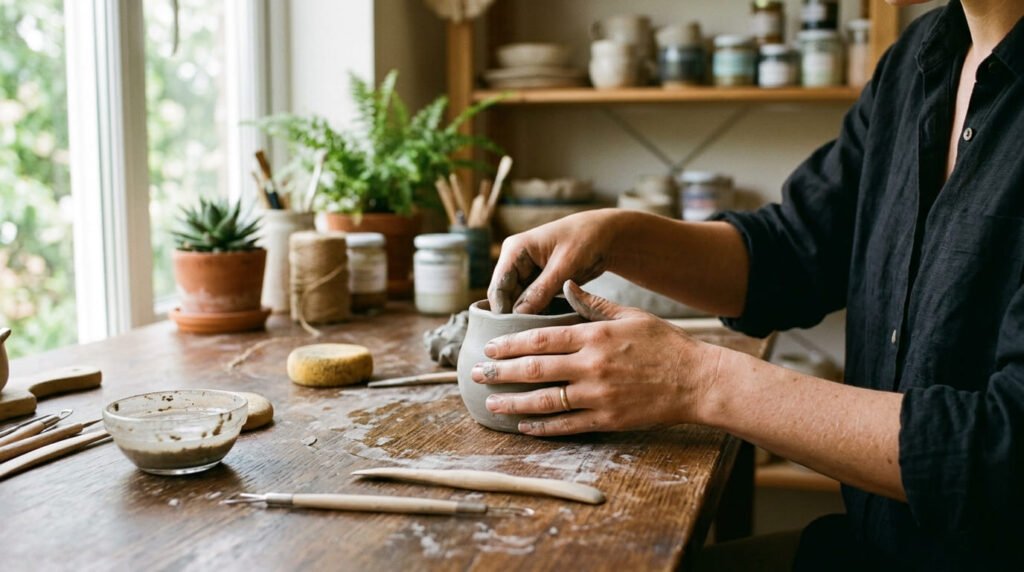
Ever squished a lump of clay between your fingers and thought, I could make something cool with this? You’re not wrong. Clay sculpting is one of the most beginner-friendly art forms out there — no fancy studio, no kiln, and honestly, no talent required to start. Just your hands, a bit of patience, and a willingness to get a little messy.
The best part? You can make genuinely beautiful pieces right at your kitchen table.
Let’s walk through everything you need to go from “blob of clay” to “actual sculpture you’re proud of.”
Step 1: Pick the Right Clay
This is where most beginners overthink things. Keep it simple:
- Air-dry clay — The easiest choice. No baking, no kiln, dries on its own in 24–72 hours. Non-toxic and safe for kids ages 3+.
- Polymer clay (like Sculpey) — Stays soft until you bake it in a regular home oven. Bonus: it’s waterproof once cured.
- Water-based clay — A favorite of pros and a great option if you want that classic “pottery” feel at home.
For your very first project, grab a block of air-dry clay. Brands like DAS, LaDoll, or JOVI are affordable and forgiving.
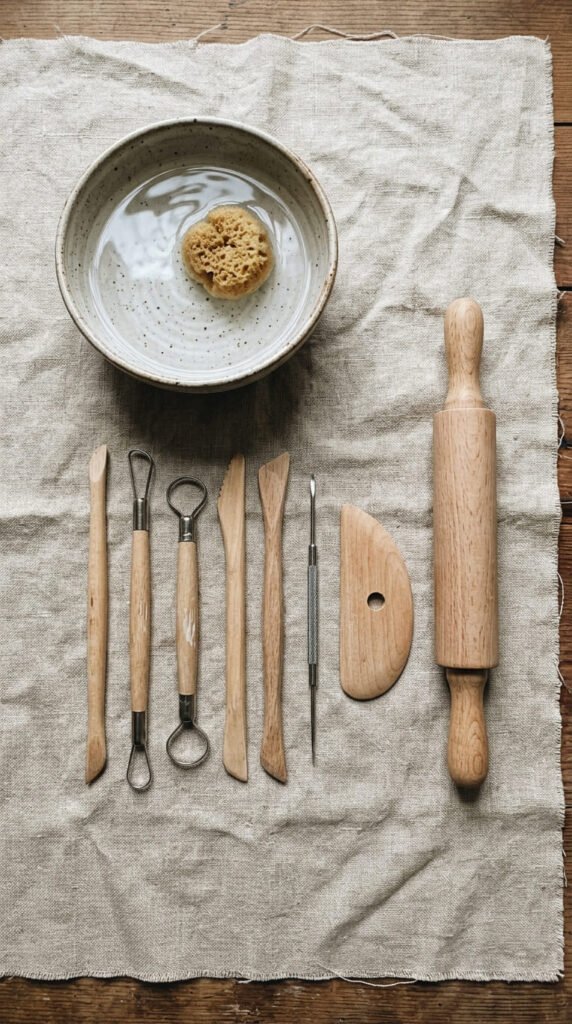
Step 2: Gather Your Basic Tools
You don’t need a $200 kit. Here’s the honest essentials list (most under $20):
- A needle tool for detail and cutting
- A loop tool for carving and scooping
- A small sponge for smoothing
- A rolling pin (a clean glass bottle works too)
- A bowl of water for joining pieces
A turntable is, as sculptors love to say, “very handy but not essential.” Skip it for now.
Step 3: Sketch and Plan First
Before you touch the clay, grab a pencil. Make a quick sketch of your idea from a couple of angles. It sounds boring, but it saves you from that frustrating moment halfway through when you realize your sculpture has no idea what it wants to be.
Start small and simple. A little animal, a mushroom, a heart — something with a solid, chunky shape.
Step 4: Master the Basic Shapes
Every sculpture is built from a few simple forms. Practice rolling clay into these:
- Sphere (the foundation of everything)
- Cube
- Cone
- Strip (rolled flat and long)
- Sheet (rolled out like dough)
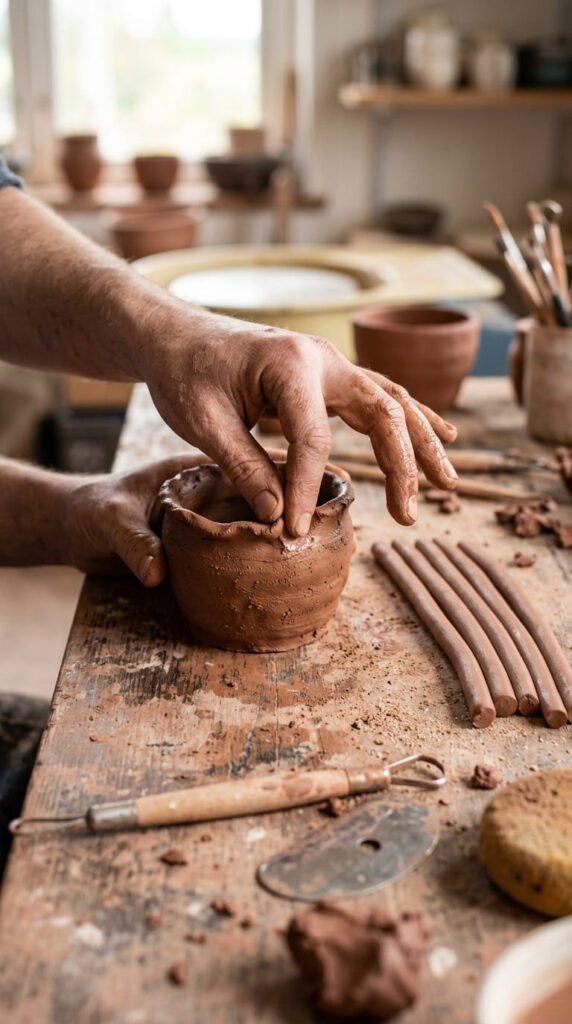
Two beginner techniques will carry you far:
- Pinching — Press your thumb into a ball of clay and pinch the walls to shape it.
- Coil building — Roll long “snakes” of clay and stack them to build up height.
Step 5: Join Pieces the Right Way (Score and Slip)
This is the golden rule that keeps your sculpture from falling apart as it dries. Whenever you attach two pieces:
- Score both surfaces — scratch crosshatch lines into the clay with your needle tool.
- Slip — dab a little water (or runny clay paste) onto the scored areas.
- Press them firmly together and smooth the seam.
No scoring = sad, cracked, broken-off pieces later. Don’t skip it.
Step 6: Avoid the #1 Beginner Mistake
Here it is: thin, protruding parts. Long legs, skinny arms, delicate tails — they crack, droop, and snap. For your first few sculptures, keep shapes compact and grounded. Once you’re comfortable, you can graduate to using a wire armature (a bendable skeleton) to support thinner forms.
Step 7: Let It Dry, Then Finish It
Patience time. Air-dry clay needs 24–72 hours depending on thickness. To prevent cracking:
- Knead out air bubbles before you start
- Keep the piece under a damp cloth while you work
- Dry it slowly, away from direct heat
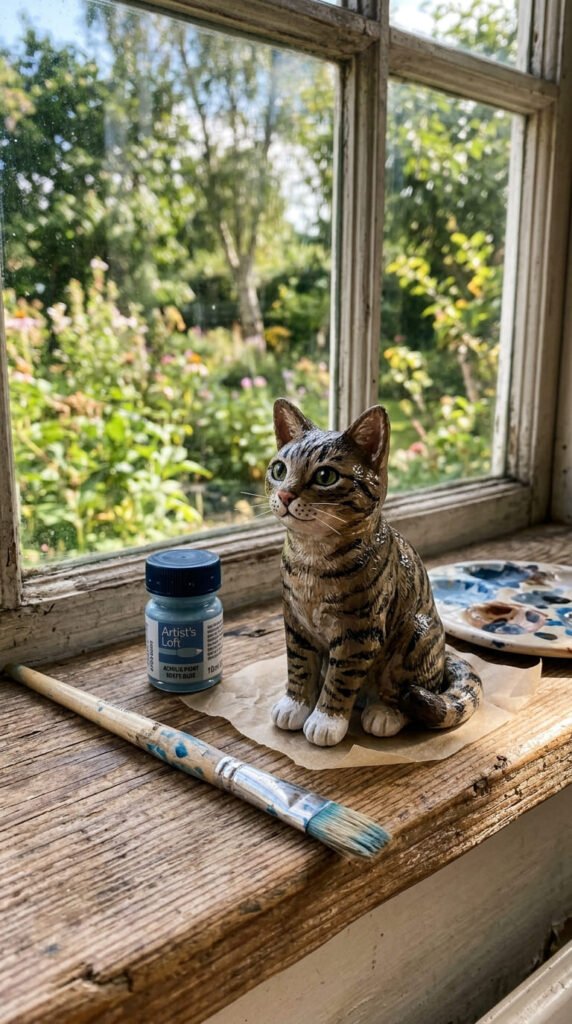
Once fully dry, you can bring it to life:
- Prime it with gesso so paint sticks evenly
- Paint with acrylics (GOLDEN is a pro favorite)
- Seal it with a varnish — glossy for eyes and shiny spots, matte for the body
A Few Quick Tips to Remember
- Work in thin layers — bulk up large shapes with crumpled aluminum foil inside to save clay and reduce cracking.
- Keep a spray bottle nearby to re-wet clay that’s drying too fast.
- Cracks happen — fill them with a little slip paste and smooth over. No piece is ever truly ruined.
Your Turn to Get Your Hands Dirty
Clay sculpting isn’t about getting it perfect the first time — it’s about the joy of making something with your own two hands. Start with one small shape today, embrace the wonky results, and watch how fast you improve.
Save this guide for your next craft afternoon — and don’t forget to pin it so you can come back when you’re ready to sculpt! 🎨


