Ever spotted a pair of handmade clay earrings online and thought, I could never make those? Good news. You absolutely can. With a block of clay, a few cheap tools, and an afternoon, you can turn out earrings that look like they came from a boutique. No pottery wheel. No expensive kit. Just your hands and a little patience.
Let’s walk through it, step by step.
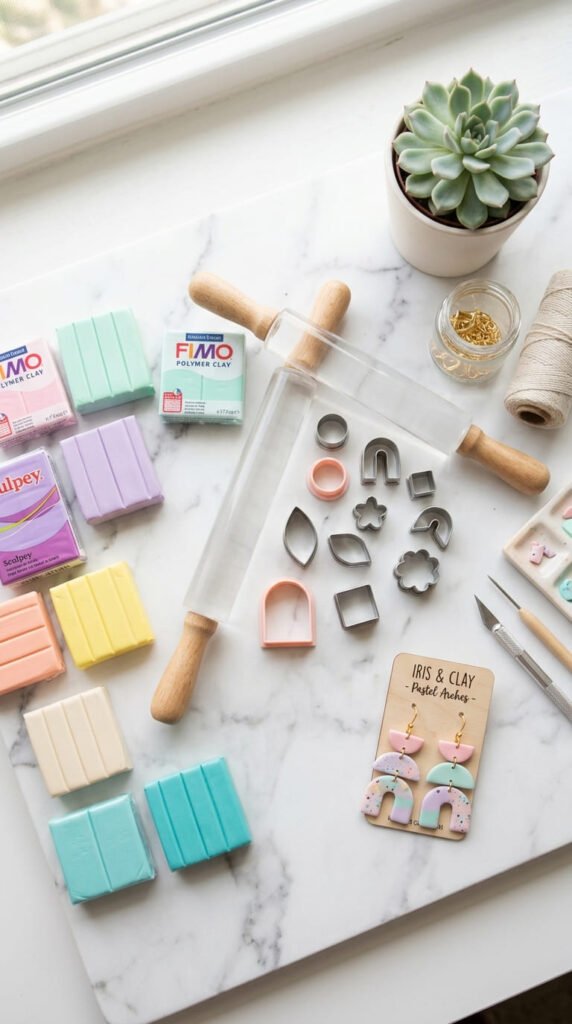
First, Pick Your Clay
You have two main options, and both work.
- Polymer clay is the favorite. It bakes hard in your home oven and gives crisp, durable results. Brands like Sculpey Premo and Souffle are popular for jewelry.
- Air-dry clay is the lower-commitment pick. No oven needed. It just dries on its own over a day or two. Great for a first try.
Polymer clay holds detail better and feels sturdier. Air-dry clay is cheaper and more forgiving. If you want that polished, professional look, go polymer.
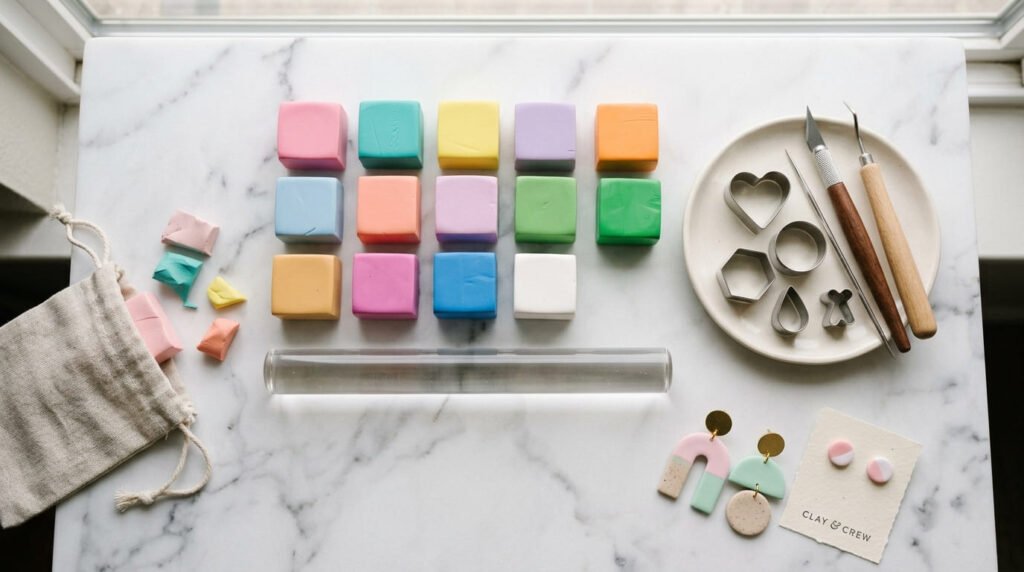
Gather Your Tools
You don’t need much. Here’s the short list:
- An acrylic roller (or a smooth glass jar)
- Shape cutters or a craft knife
- A dotting tool or toothpick for holes
- Jump rings, earring hooks, and posts (these are called findings)
- Small pliers
- Fine sandpaper for after baking
- A ceramic tile to work and bake on
Most of this costs just a few dollars at a craft store or online. You’ll reuse it for every batch.
Prep the Clay
This step matters more than people think.
Polymer clay needs conditioning. That just means warming it up in your hands and kneading it until it’s soft and smooth. This pushes out air bubbles, which is the main reason earrings crack later.
Knead for a couple of minutes until it bends without snapping.
Then roll it out flat. Aim for an even thickness, about the depth of two stacked playing cards. A roller with guide rings helps, but eyeballing it works once you get the feel.
Keep your hands and surface clean. Stray lint and fingerprints show up on the final piece.
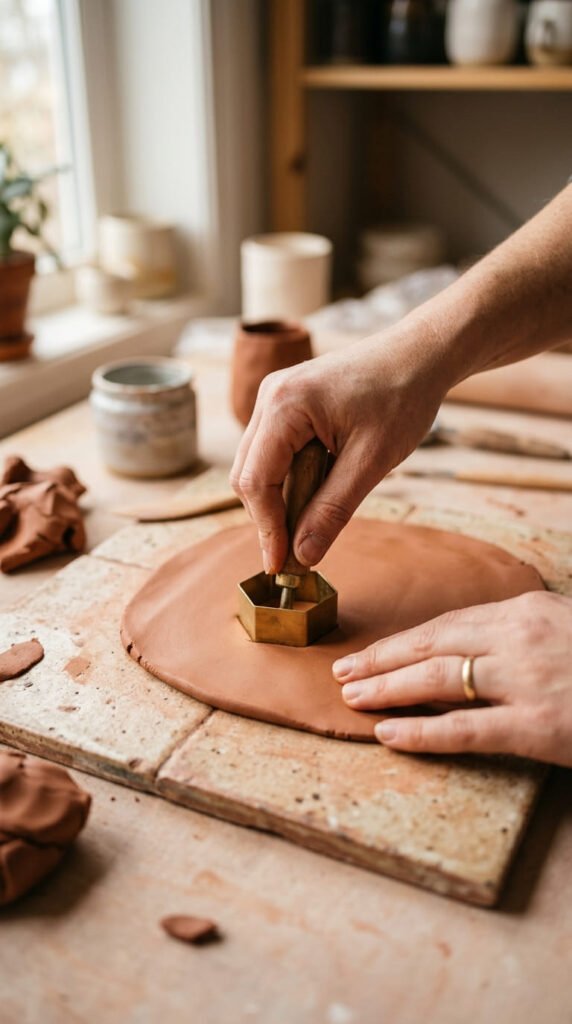
Cut and Shape
Now the fun part.
Press your cutters firmly into the clay and lift straight up. No wiggling, or the edges distort.
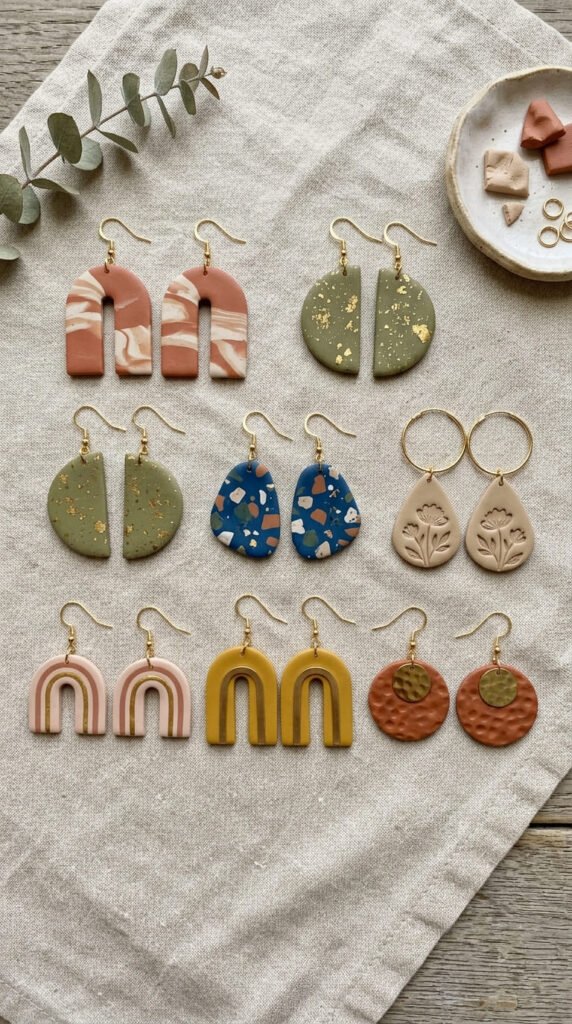
Popular shapes to start with:
- Simple circles or hoops
- Teardrops for an elegant dangle
- Geometric triangles or arches
- Macaron rounds for something playful
Peel away the excess gently. If an edge looks rough, smooth it with a damp fingertip.
Tip: make two of every shape so your pair actually matches.
Poke the Holes Before You Bake
This is the step beginners forget, and it causes real frustration.
Use your dotting tool or a toothpick to poke a hole near the top of each piece. This is where your jump ring will go later.
Do it before baking, not after. Drilling into hardened clay risks cracks and chips.
Make the hole a little bigger than you think you need. It shrinks slightly and tends to close up.
Bake or Dry
For polymer clay, follow the package temperature exactly. Most cure around 130°C (about 275°F) for roughly 30 minutes, depending on thickness.
A few things keep your earrings from cracking or burning:
- Use an oven thermometer. Home ovens lie about their real temperature.
- Bake on a ceramic tile for even heat.
- Don’t rush it with high heat. Low and slow wins.
For air-dry clay, just leave the pieces flat on a tray for 24 to 48 hours. Flip them once so both sides dry evenly.
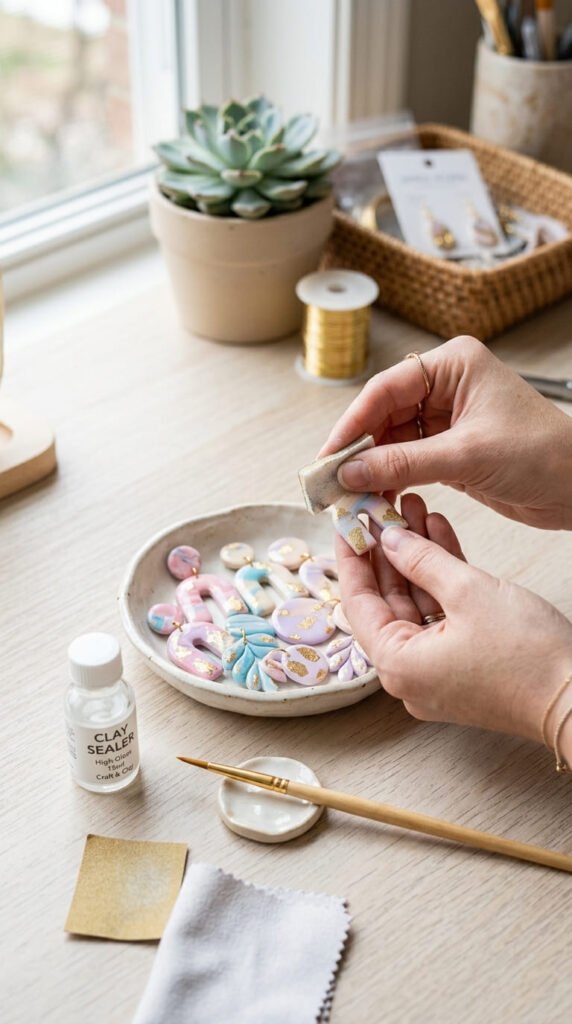
Sand and Finish
Once your pieces are cool and hard, run fine sandpaper over the edges. This removes any rough spots and gives that smooth, professional finish.
Then decide on your look:
- Leave them matte for a natural, earthy vibe.
- Add a glossy sealer for shine.
- Paint details with acrylic paint, then seal to protect them.
A coat of sealer also makes painted designs last much longer.
Assemble the Earrings
Time to turn clay into jewelry.
- Open a jump ring by twisting it sideways with pliers (never pull it apart).
- Thread it through the hole in your clay piece.
- Attach it to an earring hook or post.
- Twist the jump ring closed.
For stud-style earrings, just glue a flat post to the back with strong jewelry glue and let it set.
That’s it. You’ve made a real pair of earrings.
Your Turn to Make a Pair
See? Not so scary. The whole thing comes down to clean prep, even shapes, holes before baking, careful curing, and a smooth finish. Nail those and your earrings will look anything but homemade, in the best way.
Start with one simple shape. Once you’ve got the rhythm, you’ll be making custom pairs for yourself, your friends, and maybe even an Etsy shop.
Save this guide for your next craft afternoon, and tag your first pair when you make them!


