Think you can’t make pottery without a fancy wheel and a hot kiln? Think again. People have shaped clay pots with nothing but their hands for thousands of years, and you can start today on your kitchen table. With a block of air-dry clay and a few simple tools, you can build a planter for your succulents this weekend. No wheel, no kiln, no experience required.
Let’s get your hands messy.
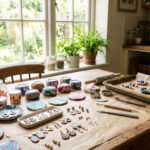
Start With the Right Clay
Your clay choice makes or breaks the project.
- Air-dry clay – the friendliest for beginners. Hardens on its own, no oven.
- Oven-bake clay – sets harder in a home oven, good for sturdier pots.
- Flour-salt dough – the cheapest option, made from pantry items.
One thing to know about air-dry clay: it doesn’t love water. So plant succulents or cacti in it, not thirsty plants.
Budget tip: one block of air-dry clay makes several small pots. Start with one and see how you like it.
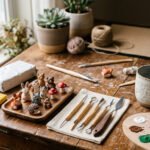
Knead It Until It Bends
Never skip this step. Kneading removes air pockets that cause cracks later.
Press the clay with your palms, fold it over, and press again. Keep going until it feels soft and bends without cracking.
- Too dry and crumbly? Add a little water with your fingers.
- Too sticky? Leave it out a few minutes or work in more clay.
A clean chopping board works perfectly as your surface. No special mat needed.
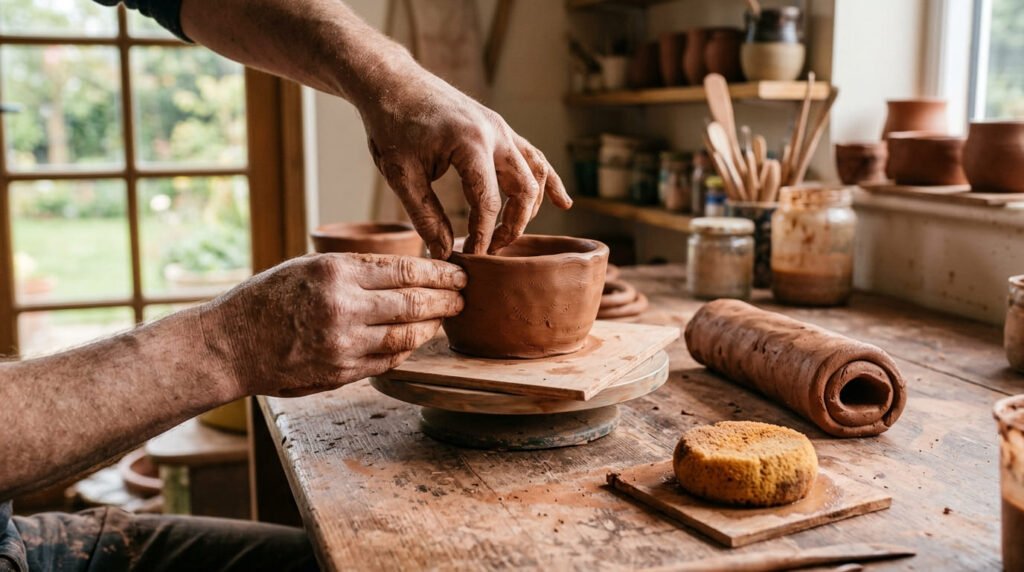
Method 1: The Pinch Pot
This is the easiest pot to make, and the first one everyone learns.
- Roll your clay into a smooth ball.
- Push your thumb into the center, stopping before the bottom.
- Pinch the walls between your thumb and fingers, working outward.
- Turn the ball as you go so the walls grow evenly.
Watch the depth so you don’t poke a hole in the bottom. If small cracks appear, wet your fingers and smooth them away.

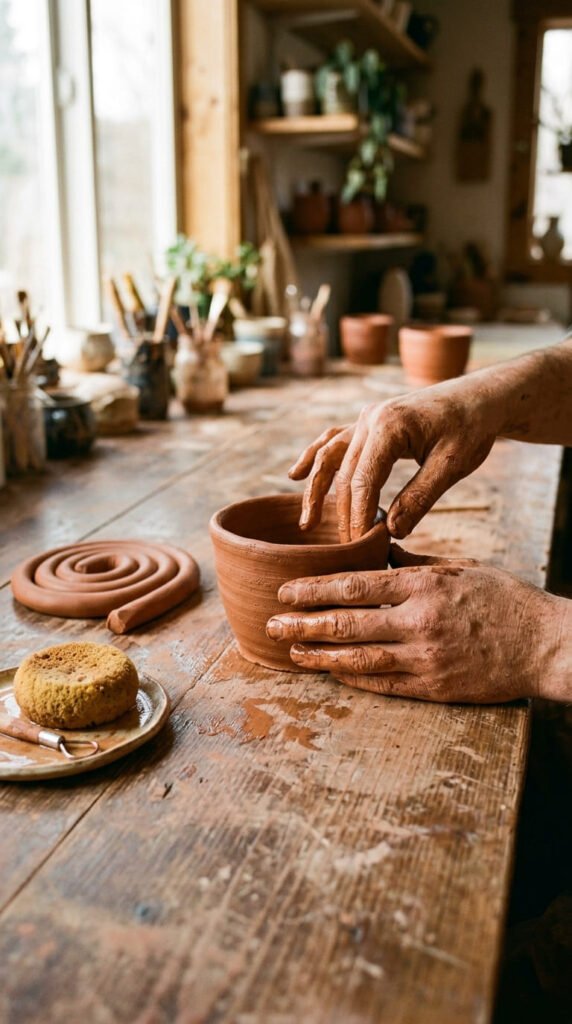
Method 2: The Coil Pot
Want a taller pot? Coil building gets you there, and it starts with rolling snakes.
- Make a flat clay circle for the base.
- Roll long, even ropes of clay (your coils).
- Stack them around the edge, one on top of the other.
- Press each coil into the one below so they hold.
Smooth the inside walls with a wet finger so the coils merge into one solid surface. Leave the coils showing on the outside for a rustic, handmade look.
Method 3: The Slab Pot
Slab building gives you clean, flat sides.
- Press your clay flat, then roll it with a rolling pin.
- Aim for an even quarter-inch thickness all over.
- Cut the slab into walls and a base.
- Wrap and join the edges into your shape.
Budget tip: lay a pencil on each side of the clay and roll over them. The slab comes out perfectly level, no expensive slab roller required.
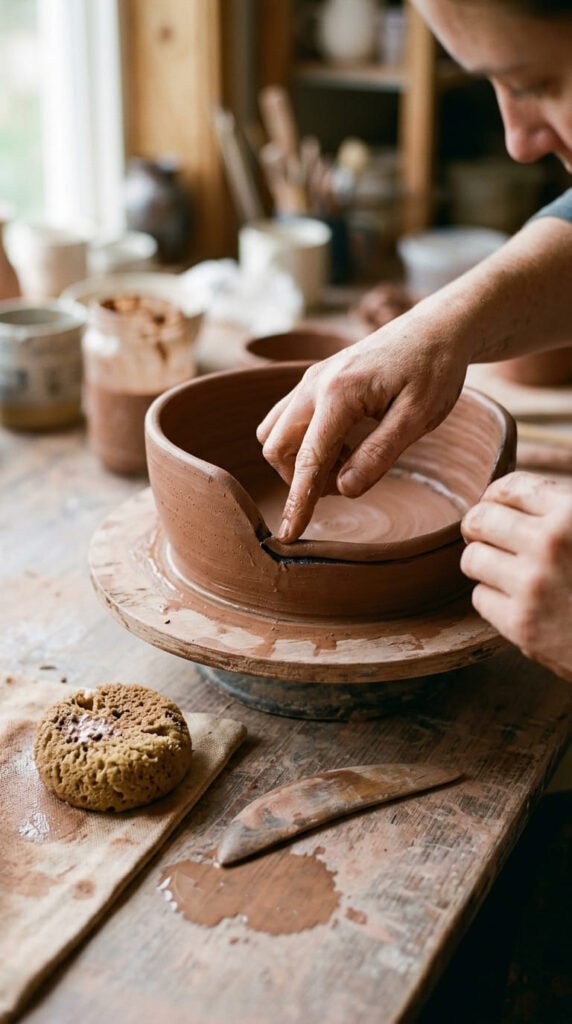
The Secret to Joins That Hold
Most beginner pots fall apart at the seams. This simple trick fixes that.
It’s called score and water:
- Scratch criss-cross lines into both pieces you want to join.
- Wet the scratched spots with a damp sponge.
- Press them together and gently wiggle back and forth.
For a watertight seal, press a thin clay snake along the inside join. Squash and smooth it into both the base and the wall. This locks out leaks.
Dry Slowly to Skip the Cracks
Cracks usually come from drying too fast or uneven walls. Avoid both.
- Keep your walls an even thickness throughout.
- Dry the pot overnight, away from heaters and direct sun.
- Let thick spots catch up before the thin ones dry out.
Slow and steady wins here. Rushing the drying is the number one reason pots crack.
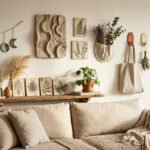
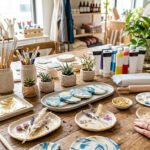
Make It Pretty
Once your pot is bone dry, finish it off.
- Sand the lip and edges with sandpaper to neaten rough bits.
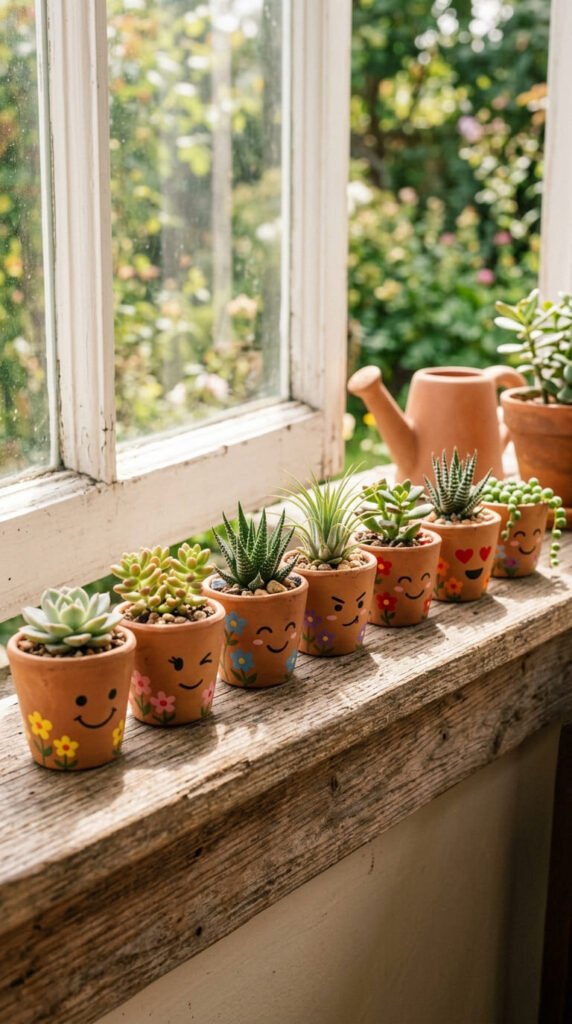
- Paint fun designs: faces, rainbows, spots, or tiny flowers.
- Add carved marks or texture while the clay is still soft for extra character.
For oven-bake pots, fill the finished pot with water to test the seal once it cools.
Your Turn to Get Crafting
Making clay pots by hand comes down to three simple moves: knead well, shape with pinch, coil, or slab, and dry slowly. Score your joins, smooth your seams, and sand the edges, and you’ll have a pot that looks like it came from a little artisan shop. Best of all, you barely spend a thing.
Save this guide for your next craft day, grab a block of clay this week, and shape your first pot. Your succulents will thank you. 🌱