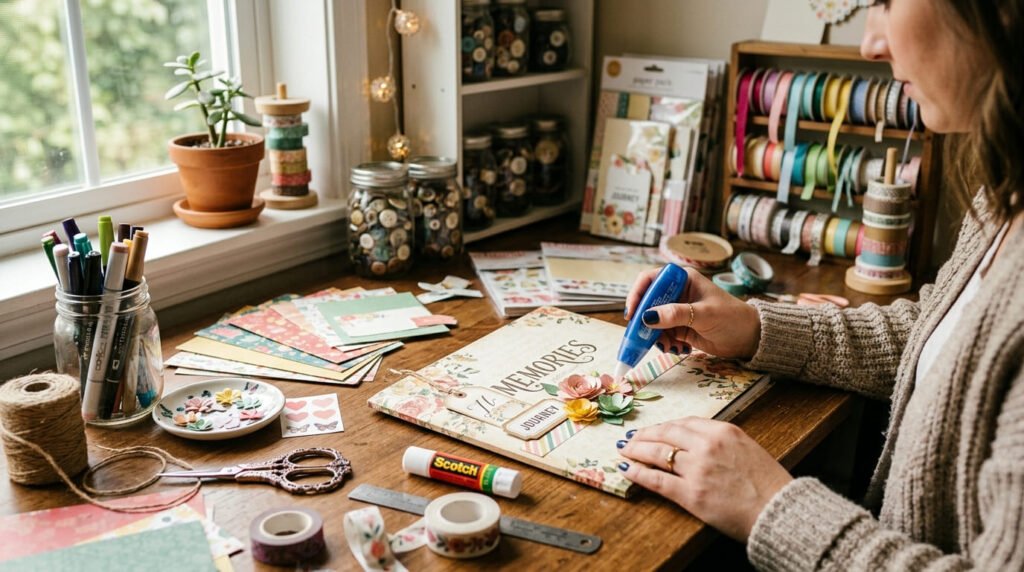
A scrapbook cover page sets the mood before anyone even opens the album. It tells people what the memories are about, whether it is a birthday, wedding, baby book, friendship album, school project, or travel diary. The good news is that you do not need expensive scrapbook kits to make it look beautiful.
With simple craft supplies like decorative paper, stickers, ribbon, markers, and glue, you can turn a plain cover into something creative, personal, and gift-worthy. The secret is choosing a theme, keeping your colors balanced, and adding details that feel meaningful without making the cover too crowded.
Start with a Clear Theme
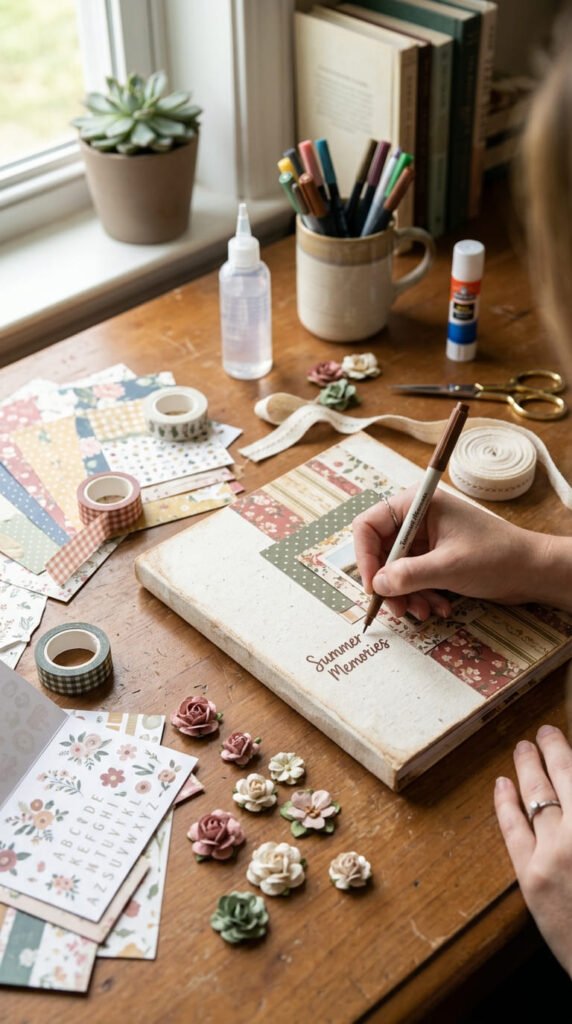
Before you glue anything, decide what the scrapbook is about. A clear theme makes the cover page easier to decorate and helps everything look connected.
Think about the story inside the scrapbook. Is it romantic, playful, nostalgic, elegant, or colorful?
Popular scrapbook cover themes include:
- Birthday memories: balloons, stars, bright colors, number stickers
- Wedding album: cream paper, lace, gold accents, pearls, florals
- Baby scrapbook: pastel colors, clouds, animals, soft ribbon
- Travel journal: maps, kraft paper, ticket shapes, vintage labels
- Friendship book: hearts, photos, cute stickers, handwritten notes
- School scrapbook: bold letters, doodles, paper clips, notebook paper
Once you choose the theme, pick 2 to 4 main colors. This keeps the cover pretty and organized.
Gather Simple Craft Supplies
You do not need a huge collection of supplies. Start with easy items you can find at home, school, or a craft store.
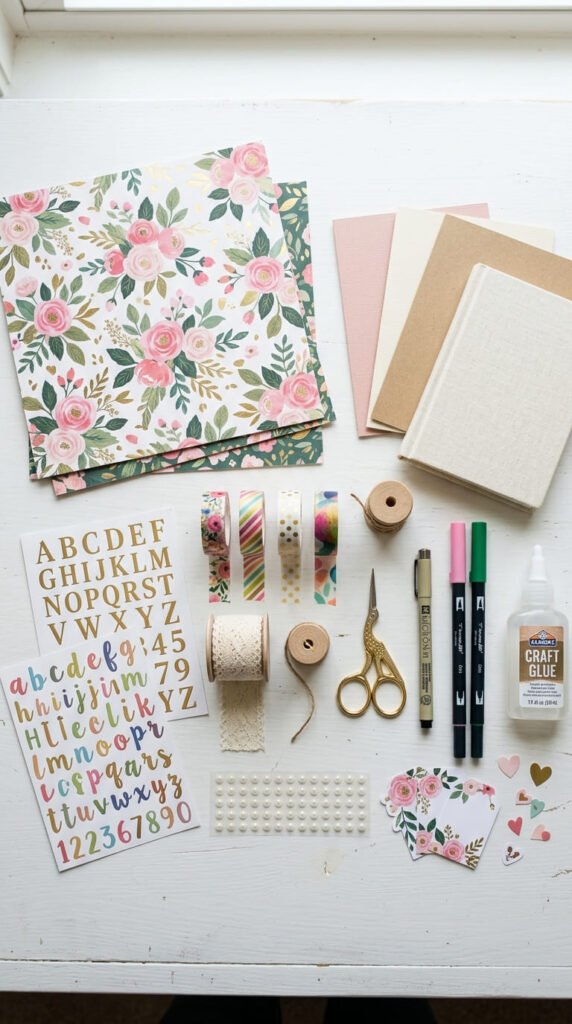
Useful supplies include:
- Decorative paper
- Cardstock
- Glue stick or double-sided tape
- Stickers
- Ribbon
- Washi tape
- Markers or paint pens
- Alphabet stickers
- Small printed photos
- Paper flowers
- Buttons or pearl stickers
- Stamps
- Scrap paper
If you are a beginner, start with decorative paper, stickers, and ribbon. These three supplies can make a cover look polished without much effort.
Create a Pretty Background Layer
The background is the base of your scrapbook cover page. It does not have to be complicated. One beautiful paper sheet can instantly change the whole look.
You can use:
- Floral paper for a soft romantic cover
- Kraft paper for a vintage handmade look
- Pastel paper for baby or friendship albums
- Black cardstock for a bold modern cover
- Map paper for travel scrapbooks
- White paper for a clean minimalist design
Cut the paper to fit your cover page. Use glue or double-sided tape to attach it smoothly. Press from the center outward to avoid bubbles.
For extra style, add a smaller rectangle of paper in the middle. This creates a layered frame effect and gives your title a nice place to sit.
Add a Main Title or Name
Every scrapbook cover page needs a main focus. Most of the time, this is the title.
Keep the title short and clear. A long title can make the cover look busy.
Simple title ideas include:
- Our Memories
- Baby’s First Year
- Best Friends
- Summer Trip
- Wedding Day
- Birthday Moments
- Family Album
- Little Adventures
Use alphabet stickers, hand lettering, printed labels, or marker lettering. If your handwriting is not perfect, write the title on a separate piece of paper first. Then cut it out and glue it onto the cover.
A title looks best when it is placed in the center, near the top, or slightly lower with decorations around it.
Use Ribbon, Washi Tape, and Borders
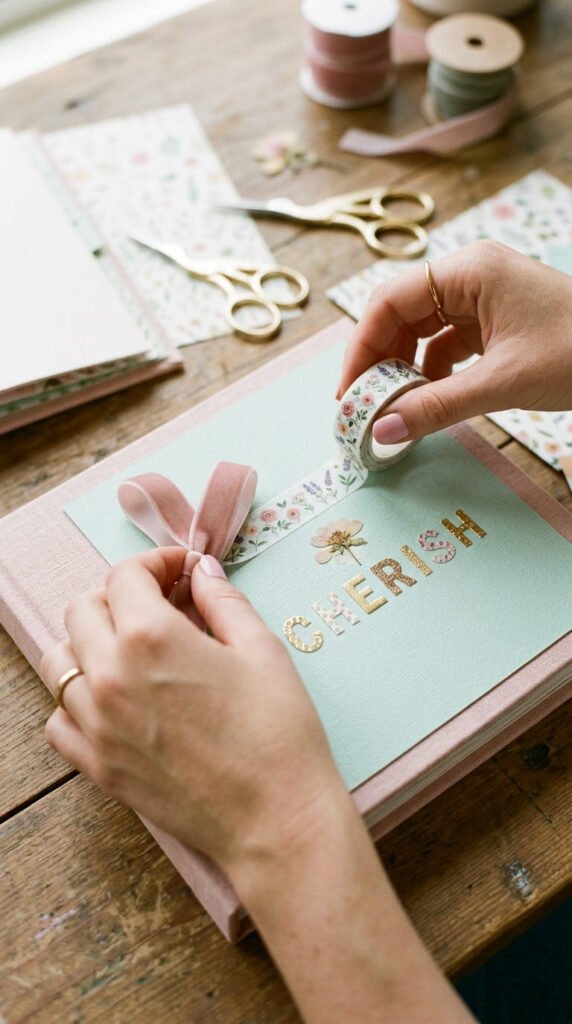
Ribbon and washi tape are easy ways to make a scrapbook cover look finished. They add color, texture, and a handmade touch.
Try these ideas:
- Add ribbon across the bottom of the cover.
- Tie a small bow near the spine.
- Use washi tape as a border.
- Layer two ribbons for extra detail.
- Place tape diagonally in one corner.
- Make a small ribbon tab on the side.
Do not add too many borders at once. One or two simple accents are enough.
Decorate with Stickers and Small Details
Stickers are perfect for quick decoration. They help fill empty spaces and match the theme.
For a cute and balanced look, place stickers in small groups instead of spreading them everywhere. For example, add three small stickers near the title and two near the bottom corner.
Good sticker ideas include:
- Hearts
- Stars
- Flowers
- Butterflies
- Baby animals
- Travel icons
- Date labels
- Photo corners
- Small quotes
- Alphabet letters
You can also add buttons, small paper flowers, pearl stickers, or tiny envelopes. Just keep bulky items away from the edge so the scrapbook stays easy to store.
Add a Personal Photo or Memory Piece
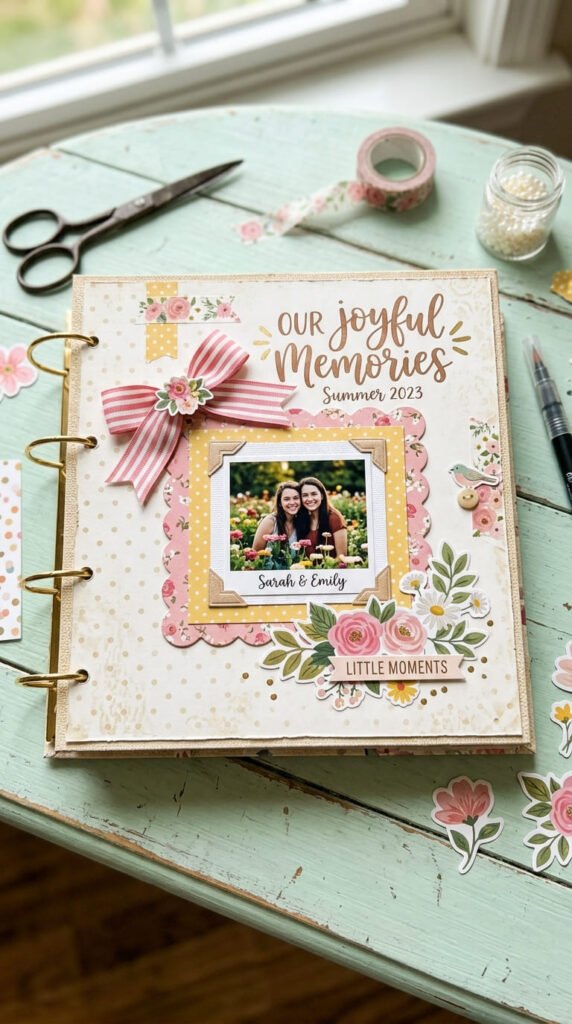
A scrapbook cover feels extra special when it includes something personal. This could be a small photo, a date, a name, or a tiny memory piece.
Try adding:
- One favorite photo
- A mini envelope
- A small handwritten tag
- A date label
- A ticket-style paper piece
- Initials
- A short quote
- A pressed flower look using paper
For a clean design, use only one photo on the cover. Frame it with cardstock or washi tape so it looks intentional.
Keep the Design Balanced
The biggest mistake is adding too many supplies at once. A beautiful scrapbook cover needs space to breathe.
Use this simple layout rule:
- One main title
- One main photo or decoration
- Two or three small accent areas
- A limited color palette
- Some empty space
Step back and look at the cover before adding more. If it already looks pretty, stop there. Simple often looks more stylish than crowded.
Final Takeaway
Decorating scrapbook cover pages with simple craft supplies is easy, affordable, and full of creative possibilities. Start with a theme, choose a pretty background, add a clear title, and finish with ribbon, stickers, photos, or small handmade details.
You do not need perfect art skills. You only need a little planning and supplies that match your memories. Save this scrapbook cover decorating guide for later, and use it whenever you want to make your album look creative, personal, and beautiful.